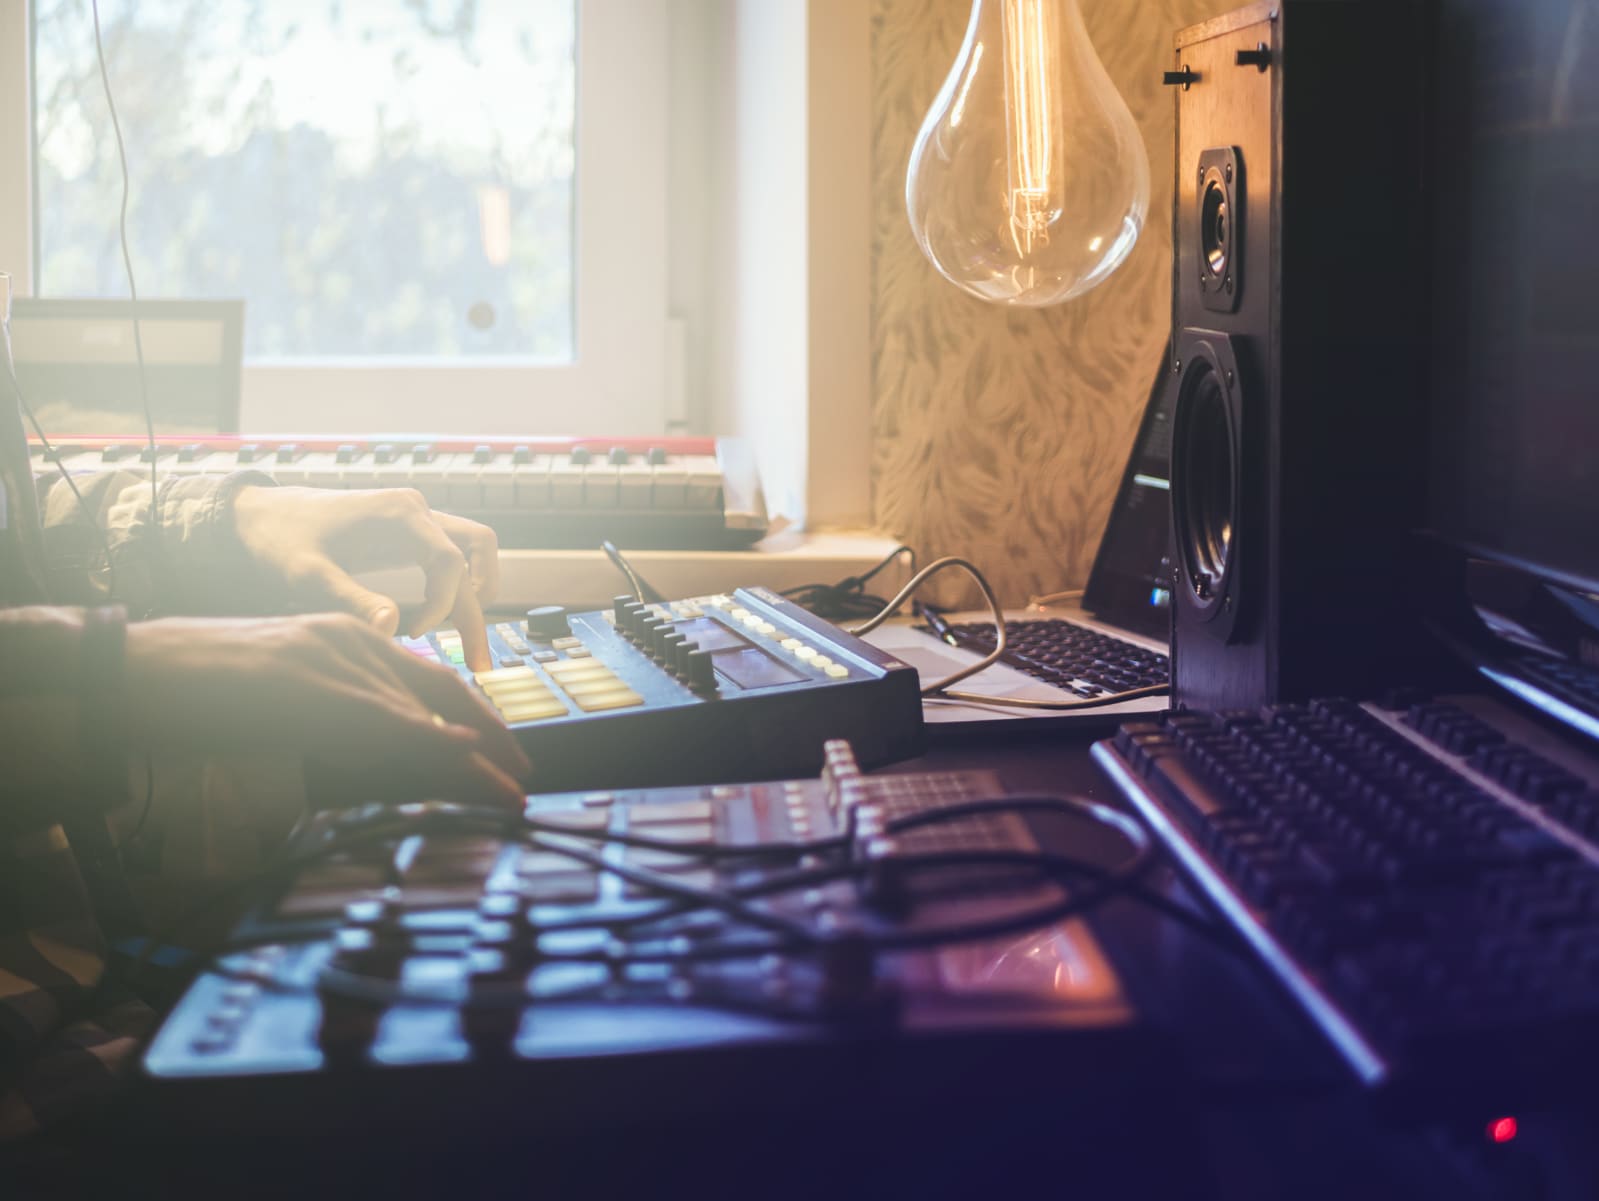
These days it’s not necessary to go to a giant studio with overpriced, pro-grade gear to record a Grammy-winning record. You can do it right from the comfort of your own bedroom in fact, using tools priced for even the most casual of hobbyists. It's not news that the tools of creation or the avenues for distributing art are accessible to more people than ever. But the cultural institutions that have dominated popular music for so long can no longer ignore the bedroom producer or budding Soundcloud star.
Maybe you've been inspired to build your own home recording studio. And maybe, you're not quite sure where to start. Well, an audio interface, a good mic and a decent set of headphones will get you pretty far. But the first thing you'll need is probably staring you right in the face: a computer.
Computer and a DAW
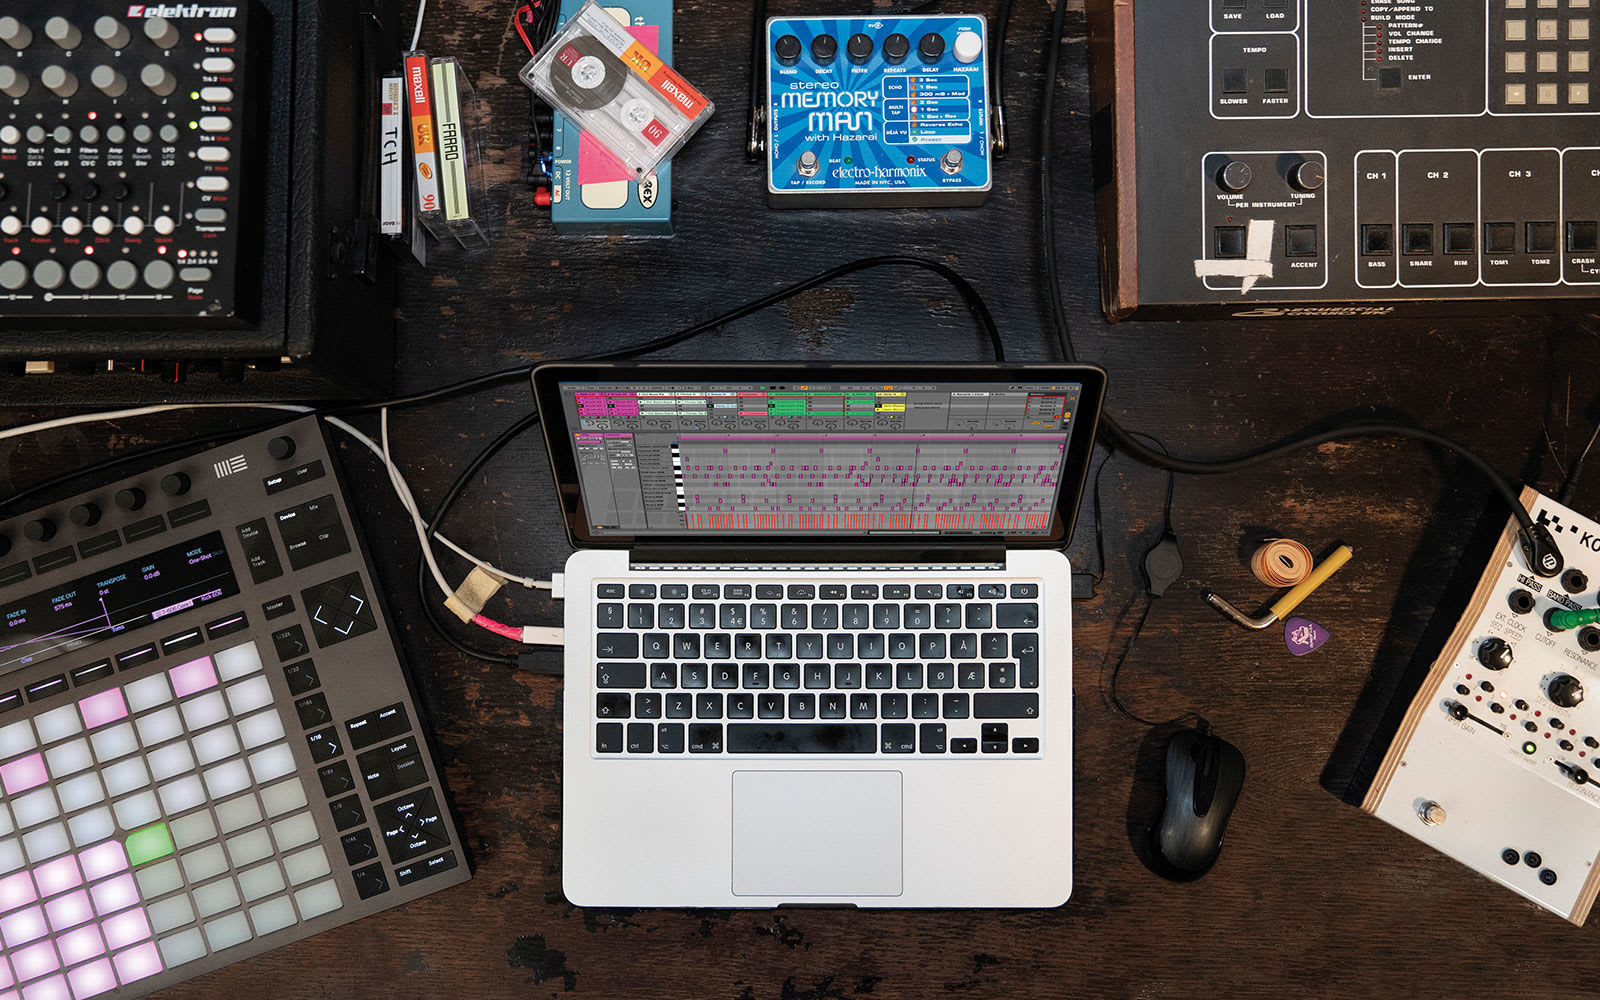
Justin DeLay, Director of Product and Category Marketing at Reverb, drives home just how important the computer is: "You can strip away everything else and as long as you have a computer you can still create music," he told me. He suggests you "spend the money on a good computer and get other gear — such as audio interfaces, mics, headphones, etc. — used or at reasonable price points."
But, truthfully, you can do quite a lot with whatever computer you have on hand. Joe Pecora, the engineer and producer at Red Room Studio, says your set up "could be as simple as an iPhone/iPad with Garage band." (I know someone who recorded an entire album this way.) While he agrees that the most important part is your computer, he argues it doesn't have to be super powerful. It doesn't even have to be a desktop. JDilla famously created many of his beats on a Roland SP303, and you can basically recreate that experience with an iPad and the $4 Koala Sampler for iOS. And don't forget that Gorillaz recorded an entire album on an iPad.
Which leads us to the next thing you'll need: a DAW, or digital audio workstation. If you're a Mac user, then you're lucky enough to have access to Garage Band, a surprisingly capable free option. And upgrading to Logic Pro X is only a $200 investment. If you're on Windows (or just don't like Logic), I often recommend Ableton Live (starting at $99). But honestly there are plenty of great options out there, like FL Studio, BitWig and Cubase all of which start at $99. And often, stripped down versions come free as part of a software bundle when you buy music-making hardware like MIDI controllers and audio interfaces.
Assuming you already have a computer and you just need the accessories to get recording, you can pick up everything you need for under $500 new. But, if you’re patient, you could build a well equipped bedroom studio with used gear for as little as $250.
MIDI controller
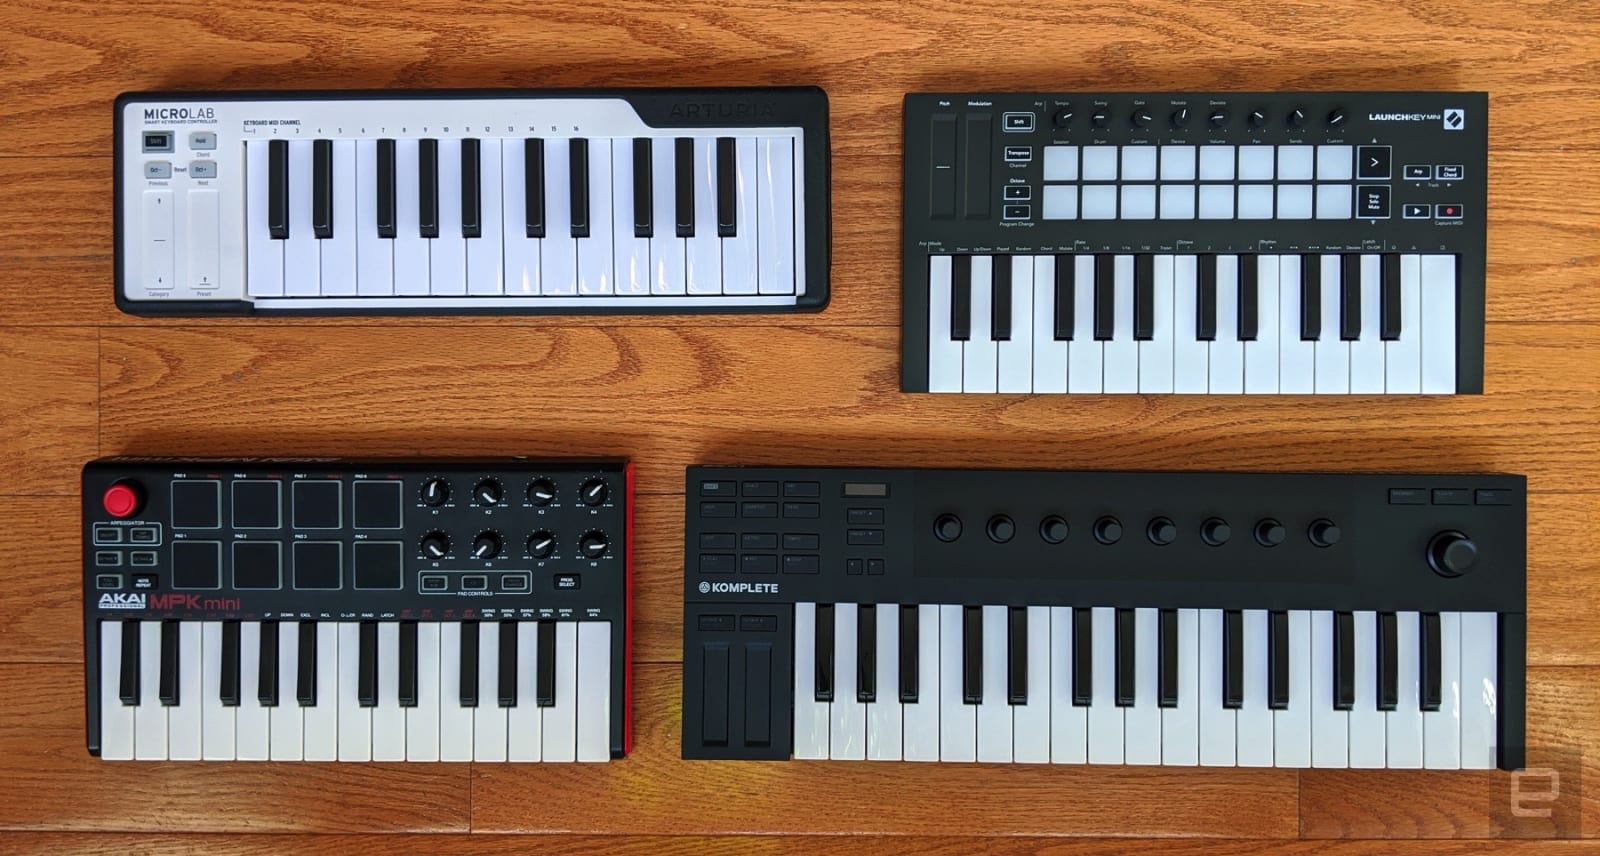
Speaking of which, one of the first additions to your studio should be a MIDI controller. DeLay says this is a piece of gear often overlooked by beginners. "It's not just for playing keyboard sounds," he explained, "it can be used to write drums and percussion, to control mixes and more. It's the creative interface of music production, and you don't have to play the piano in order to harness its power."
We've covered plenty of affordable and portable options before. But if you don't plan to make music on the go, I can't recommend the Arturia MiniLab 3 enough. It punches well above its weight, and even the pros love this thing. And if you have the space, it's not much more to upgrade to something like the Keylab Essential 49 ($269) or Novation Launchkey 49 ($229), which will give you a lot more controls to play with.
Microphone
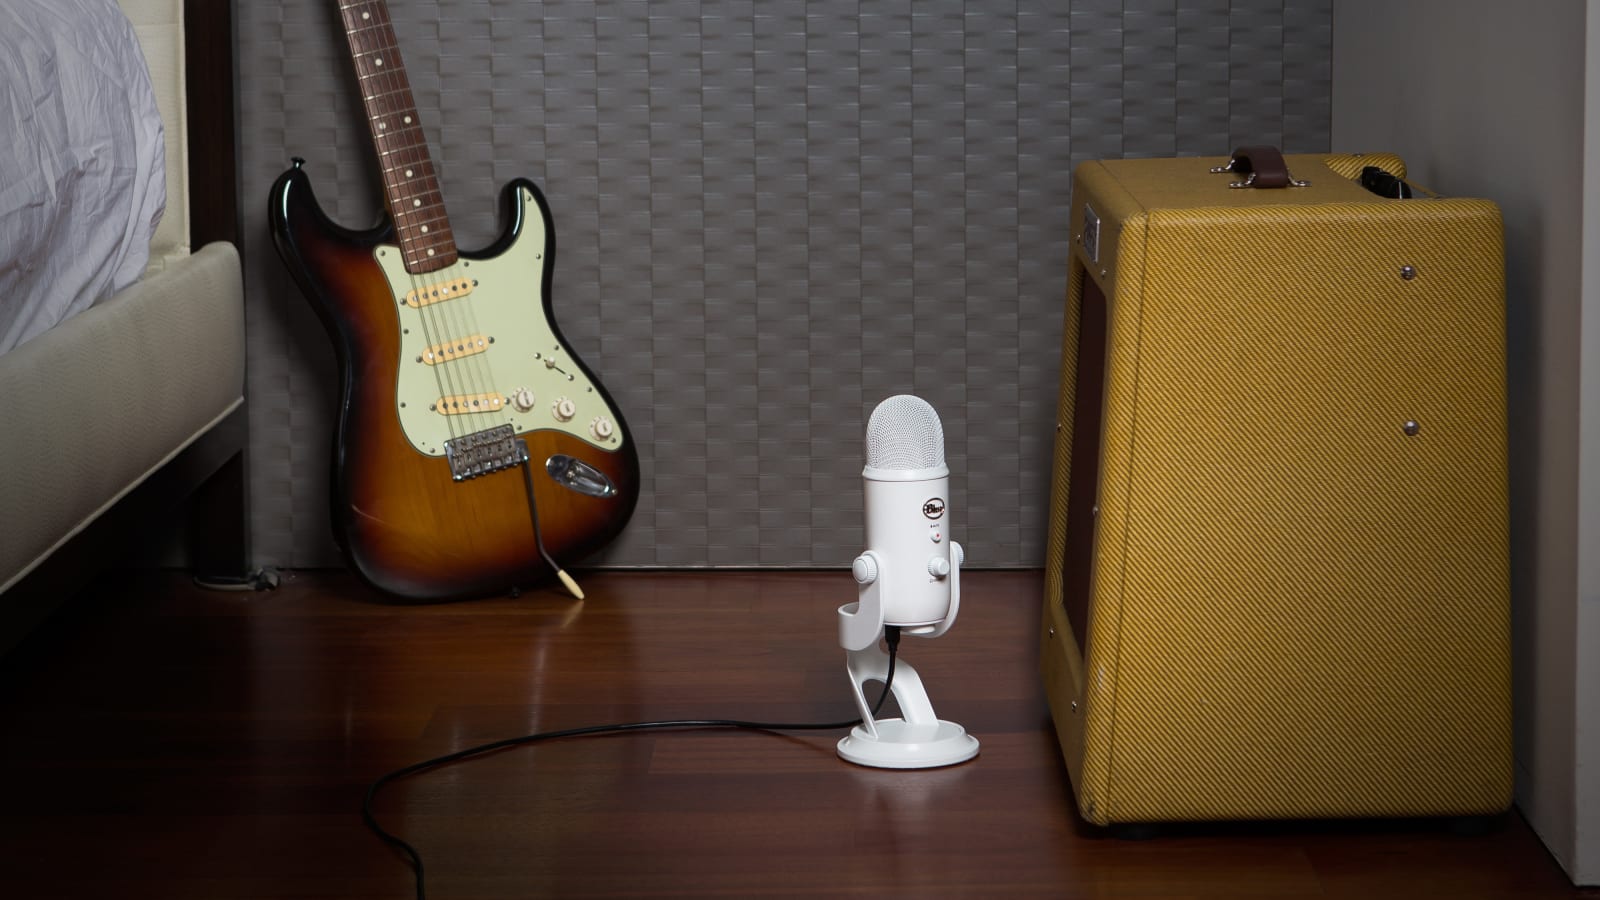
Unfortunately there's no gear that will magically turn you into a breathy pop goddess, but a decent mic and audio interface can at least help you sound your best. Now, you could get a USB microphone, like Blue Microphones’ $130 Yeti, and it will certainly get the job done. Heck, that album I mentioned earlier was recorded using the wired headset that came with the iPhone.
But, honestly, your better bet is to get a regular XLR mic and an audio interface. Pecora specifically warns against splurging too much here. "People will look at their favorite artist and see that they use a certain mic or preamp or plugin and want to use the same thing thinking it will get them the same sound." On early singles like "Ocean Eyes" Billie Eilish used an Audio-Technica AT2020 condenser mic, which costs just $100. And I’ve stuck almost exclusively with cheap Shure SM58s and 57s ($100 new, $50-$75 used) whether I was recording demos with my band in college or voice over for review videos at Engadget.
If you fancy yourself a future pop sensation and want to make sure your vocals are the star of the show, you could consider using a significant chunk of your budget on something like the Rode NT1-A ($229) or Shure SM7B ($390). You will get better results with more flexibility for post production, but you can clearly get excellent results with more affordable options.
Audio interface
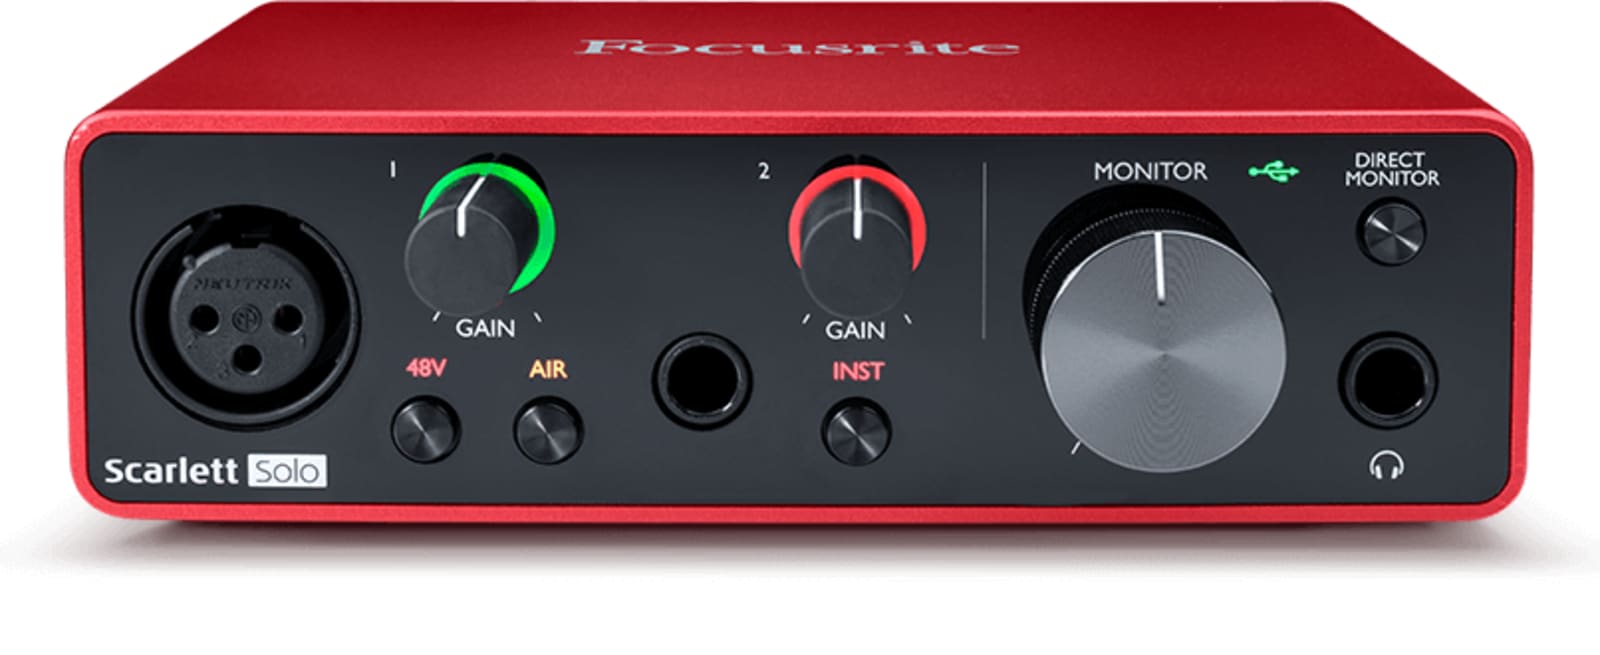
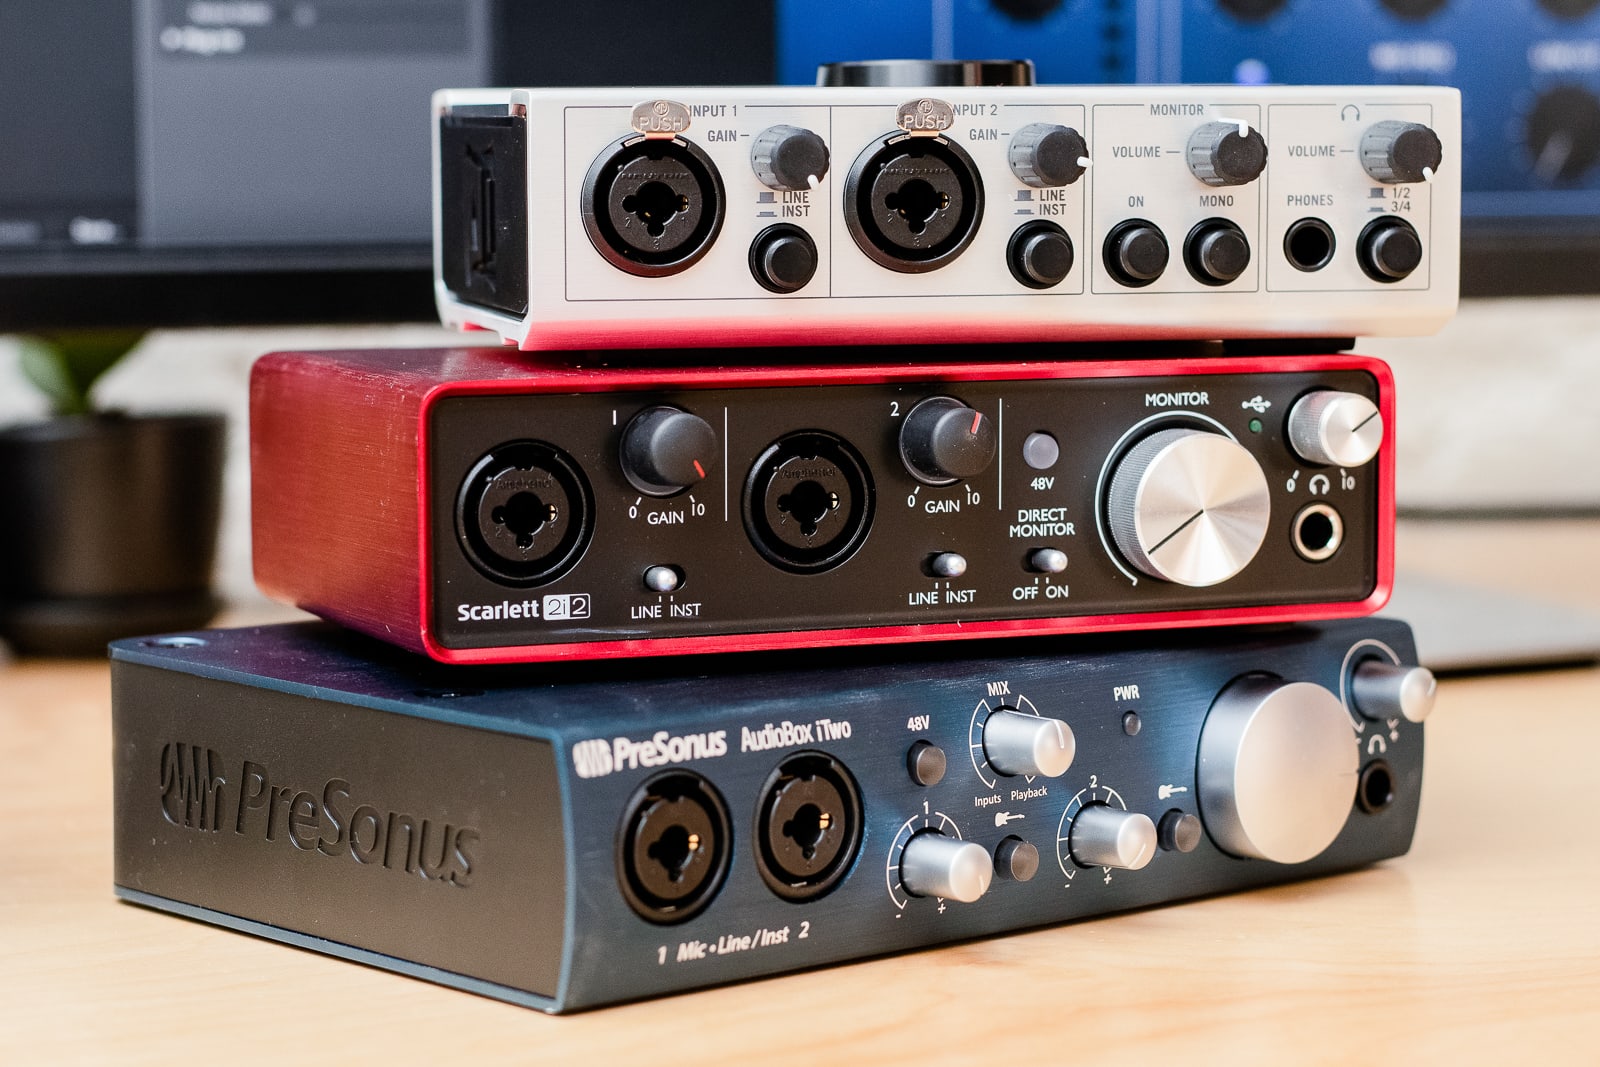
As for the interface, there are tons of great options out there. Companies like Focusrite, Arturia and Tascam make excellent ones. But our new favorites in the budget interface space are Universal Audio’s Volt series. If your budget allows for it we strongly recommend the $299 Volt 276. Though, the $189 Volt 2 is also excellent, it just doesn’t standout from the crowd quite as much.
If you’re trying to save a few bucks, it's hard to beat the Scarlett series from Focusrite (just make sure to get the second- or third-gen models). You can get the latest Scarlett 2i2 for around $130 used, but it's just $180 new (and includes a huge bundle of very useful software).
The reason to opt for an audio interface instead of a simple USB mic is because it offers you a lot more flexibility and room to grow. For one, it offloads a lot of the audio processing from the CPU. Second, it will allow you to connect not just mics (and swap in different ones for different purposes), but also instruments, turntables or anything with an audio-out jack. An audio interface is also necessary if you plan to connect a pair of studio monitors.
Studio monitors and headphones
This is an area that DeLay advises caution. While a good set of studio monitors will obviously be better than the speakers on your laptop and will result in a better mix, it's too easy to get caught up in what he calls monitor envy. "The reality is that monitors at a $300 price point are going to work just fine in most spaces," he says. Plus, your bedroom probably doesn't have the space to really make the most of large, powerful monitors. So, save your money.
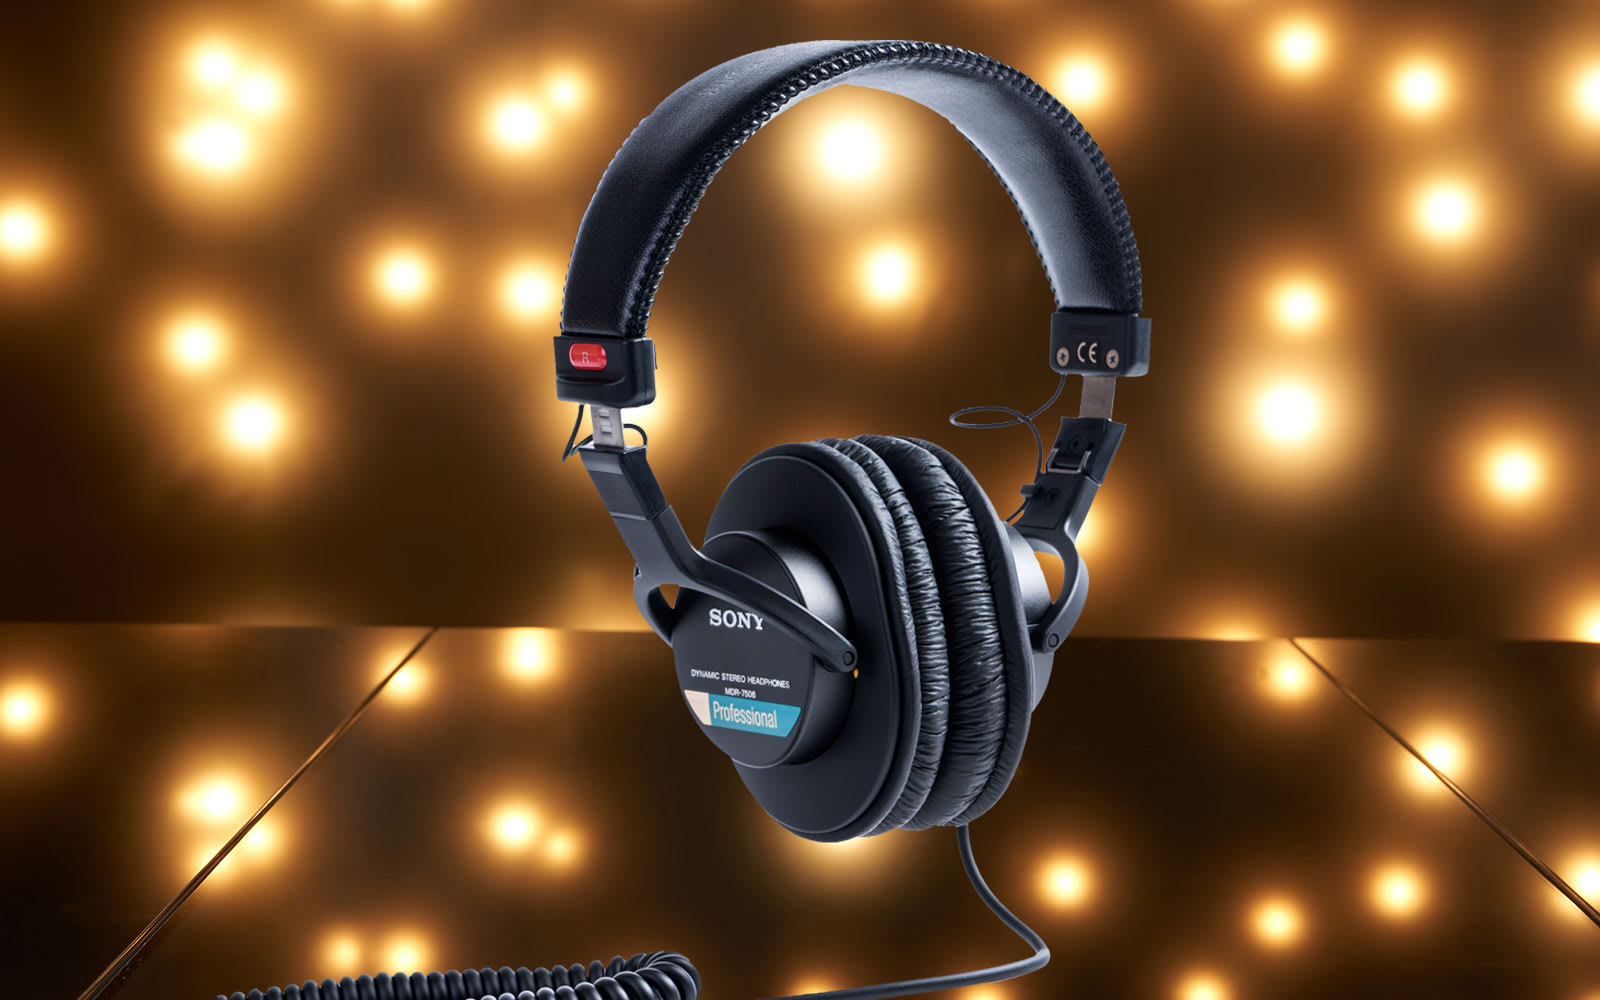
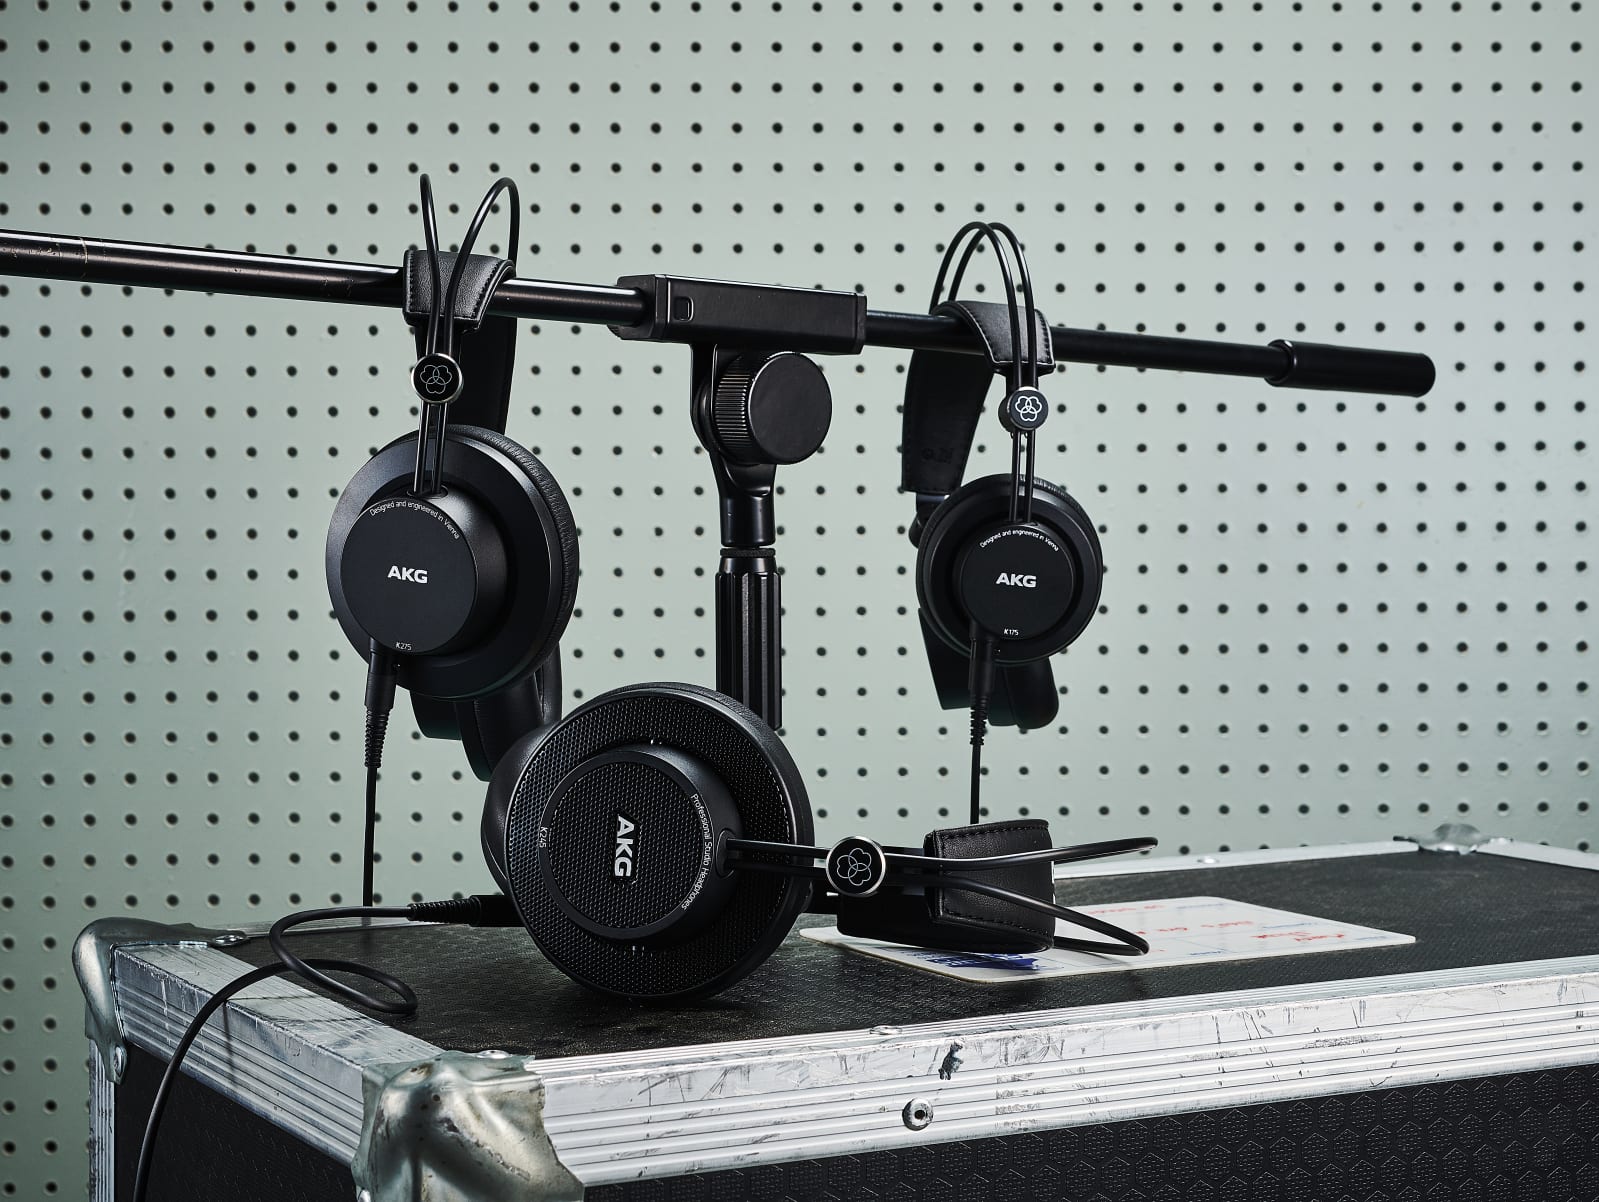
And if you're just starting out, you're probably better off getting a decent set of headphones. There're tons of amazing and affordable studio quality headphones out there for under $200, like the $179 Beyerdynamic DT990PRO (currently down to just $179 on Amazon). But one of our favorites is an old workhorse from Sony, the MDR-7506. They're well under $100 and actual pros have used them for decades to mix music.
One tip DeLay offers for novices: Double check your mixes in the real world. Headphones can over emphasize bass, while smaller studio monitors can have trouble delivering accurate bass response. So make sure to listen to your track on laptop speakers or in a car to get a sense of how it will sound in the wild.
And that's really the key — have the patience to develop your skills and make the most of the gear you have. It's really easy to catch a bad case of GAS (gear acquisition syndrome) when you're first starting out — trust me, I know. But there's no need to shell out thousands of dollars for high-end gear to start making music. You don't even need to buy new gear. Pecora suggests the only thing you absolutely should buy new are headphones. And, presumably, that's just because you don't want to be wearing years worth of someone else's sweat on your ears.

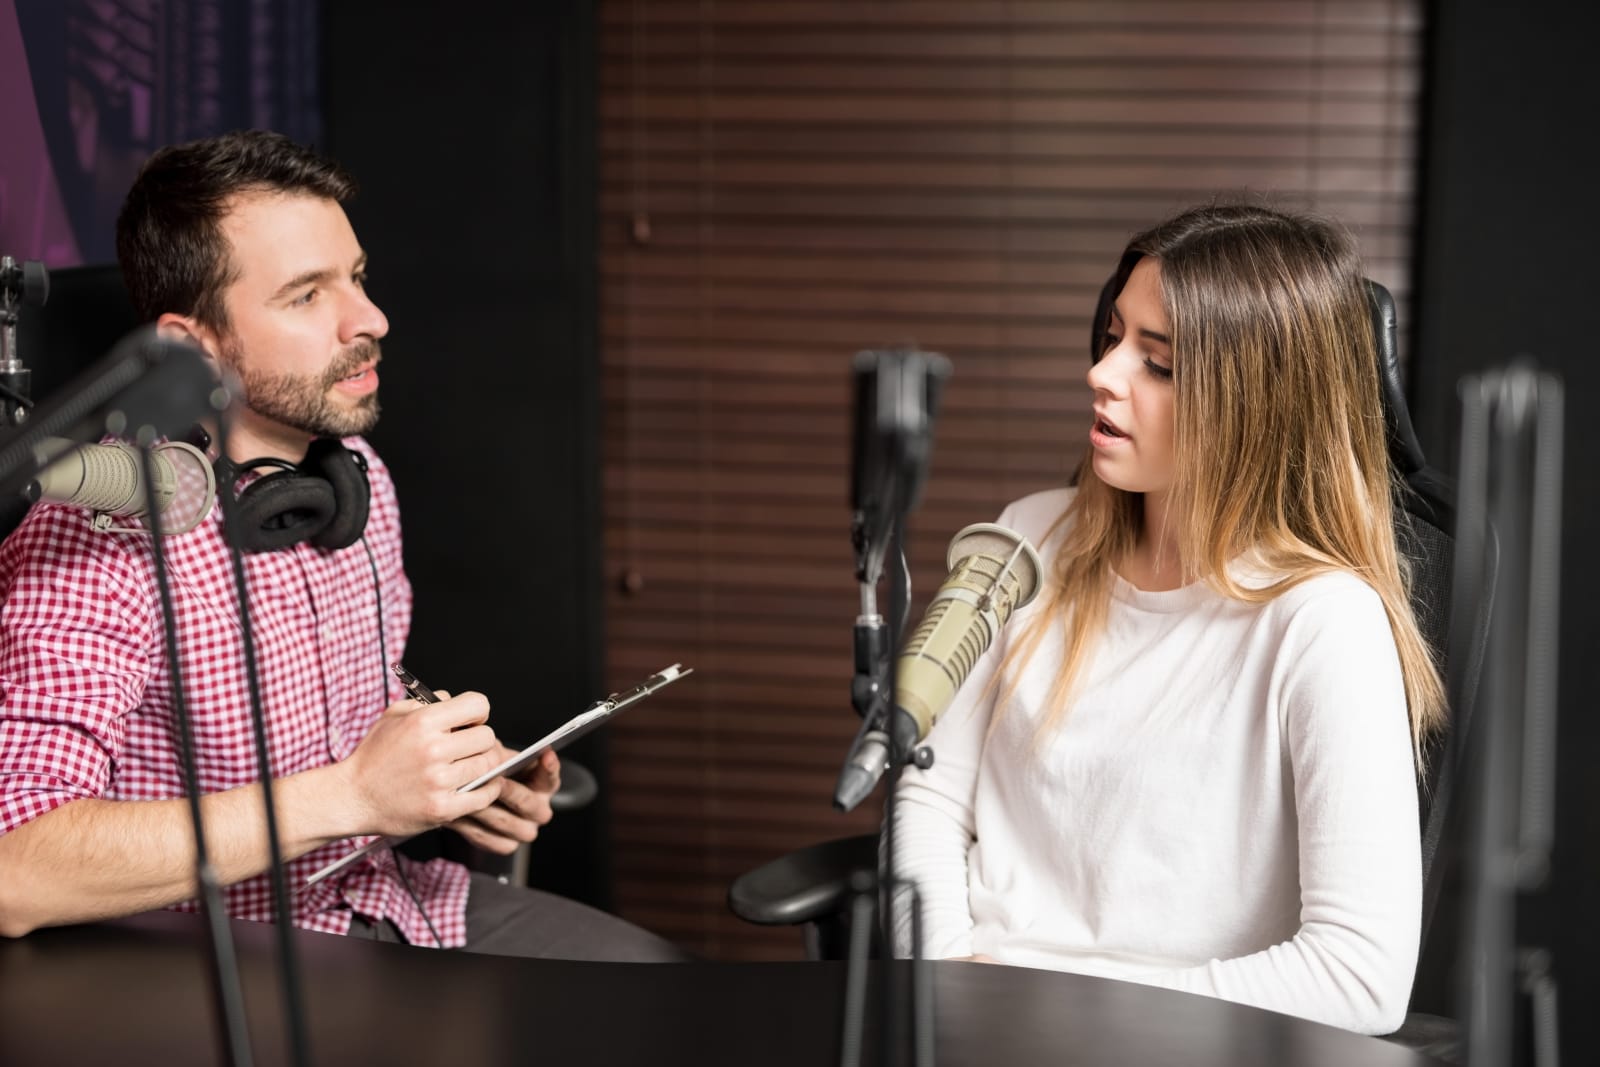
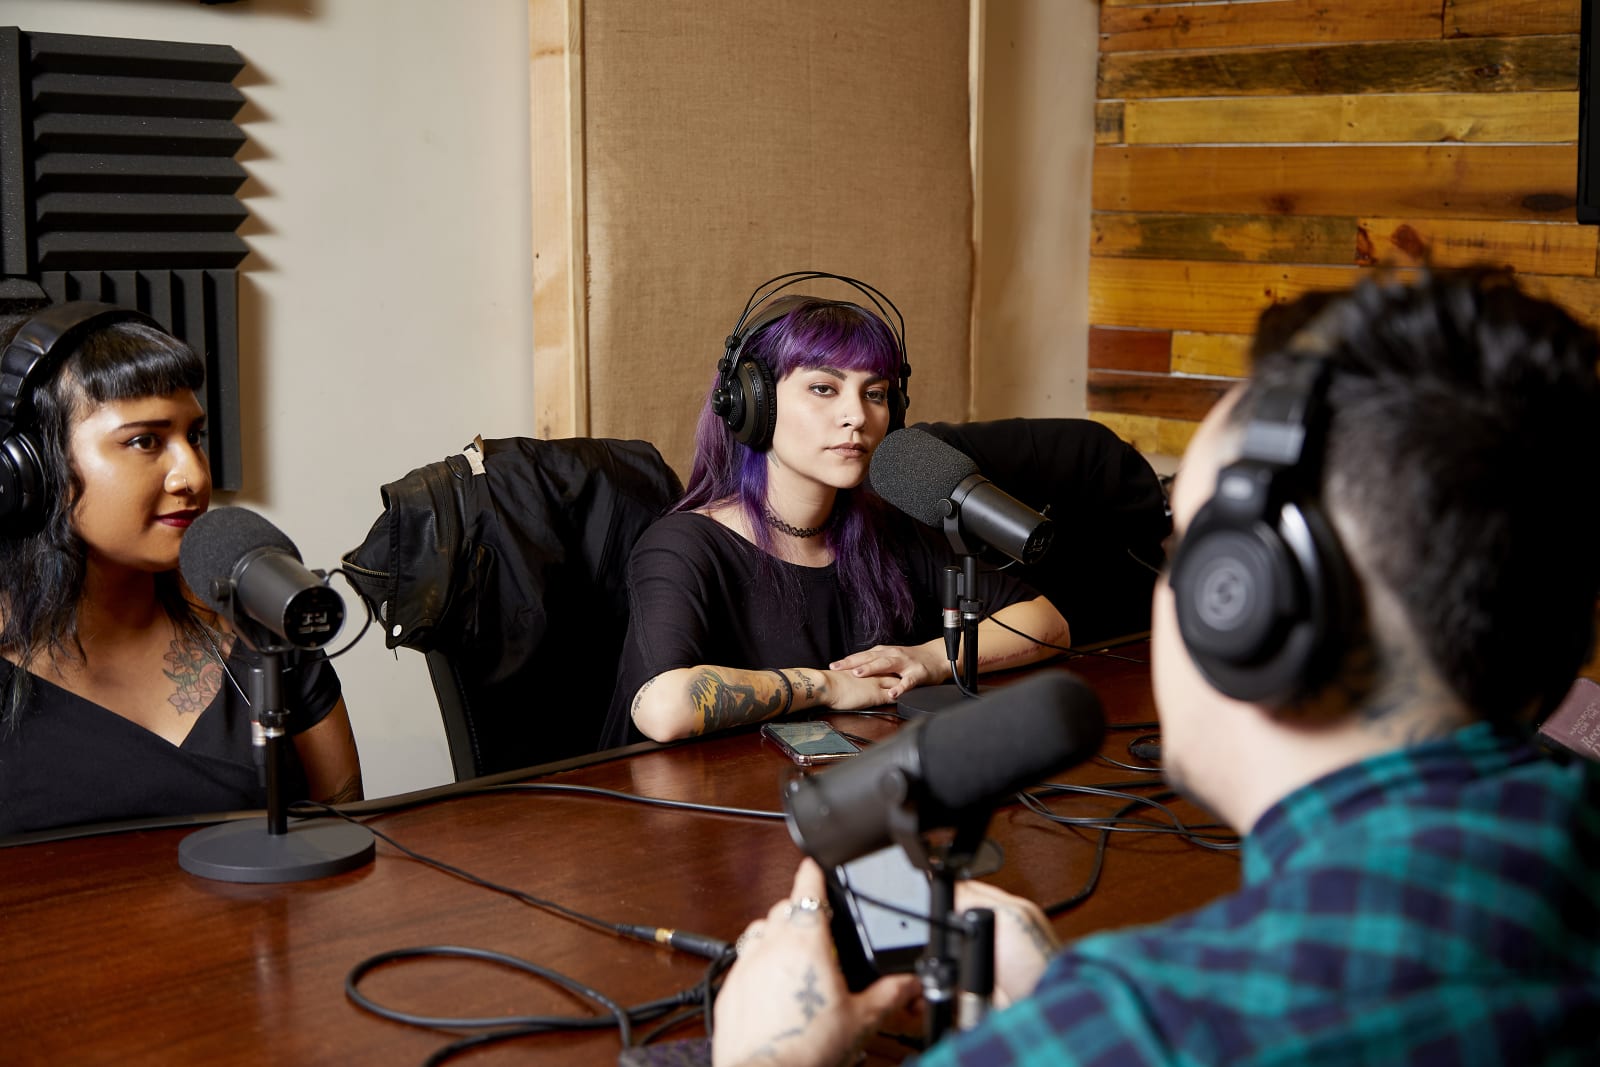 Starting a podcast is easy. Making one that actually sounds good is another story entirely. We can't help much with the bigger problems facing would-be podcasters -- finding a good topic and getting people to listen -- but we can point you to the bes...
 By now, you've no doubt heard that the Grammy-winning song of the year and record of the year were not recorded in some giant studio loaded with over-priced, pro-grade gear. Instead a brother and sister duo recorded them in a bedroom at their parents...
 By Daniel Varghese
This post was done in partnership with Wirecutter. When readers choose to buy Wirecutter's independently chosen editorial picks, Wirecutter and Engadget may earn affiliate commission. Read the full guide to USB audio interfaces....
By Daniel Varghese
This post was done in partnership with Wirecutter. When readers choose to buy Wirecutter's independently chosen editorial picks, Wirecutter and Engadget may earn affiliate commission. Read the full guide to USB audio interfaces....
 By Al Griffin
This post was done in partnership with The Wirecutter, a buyer's guide to the best technology. When readers choose to buy The Wirecutter's independently chosen editorial picks, it may earn affiliate commissions that support its work. R...
By Al Griffin
This post was done in partnership with The Wirecutter, a buyer's guide to the best technology. When readers choose to buy The Wirecutter's independently chosen editorial picks, it may earn affiliate commissions that support its work. R...


