Starting a podcast is easy. Making one that actually sounds good is another story entirely. We can't help much with the bigger problems facing would-be podcasters — finding a good topic and getting people to listen — but we can point you to the best gear to get started. With a few smart purchases, you too can sound like a podcast pro.
Get a decent microphone
You need a good microphone. There's no arguing with this. It doesn't matter if you're starting your own show or planning to guest on someone else's podcast. A great microphone will elevate your voice to help you get the sort of depth and richness you hear on the radio and popular shows like Radiolab. While you could record with your phone or your PC's webcam mic in a pinch, nobody wants to hear that every week.
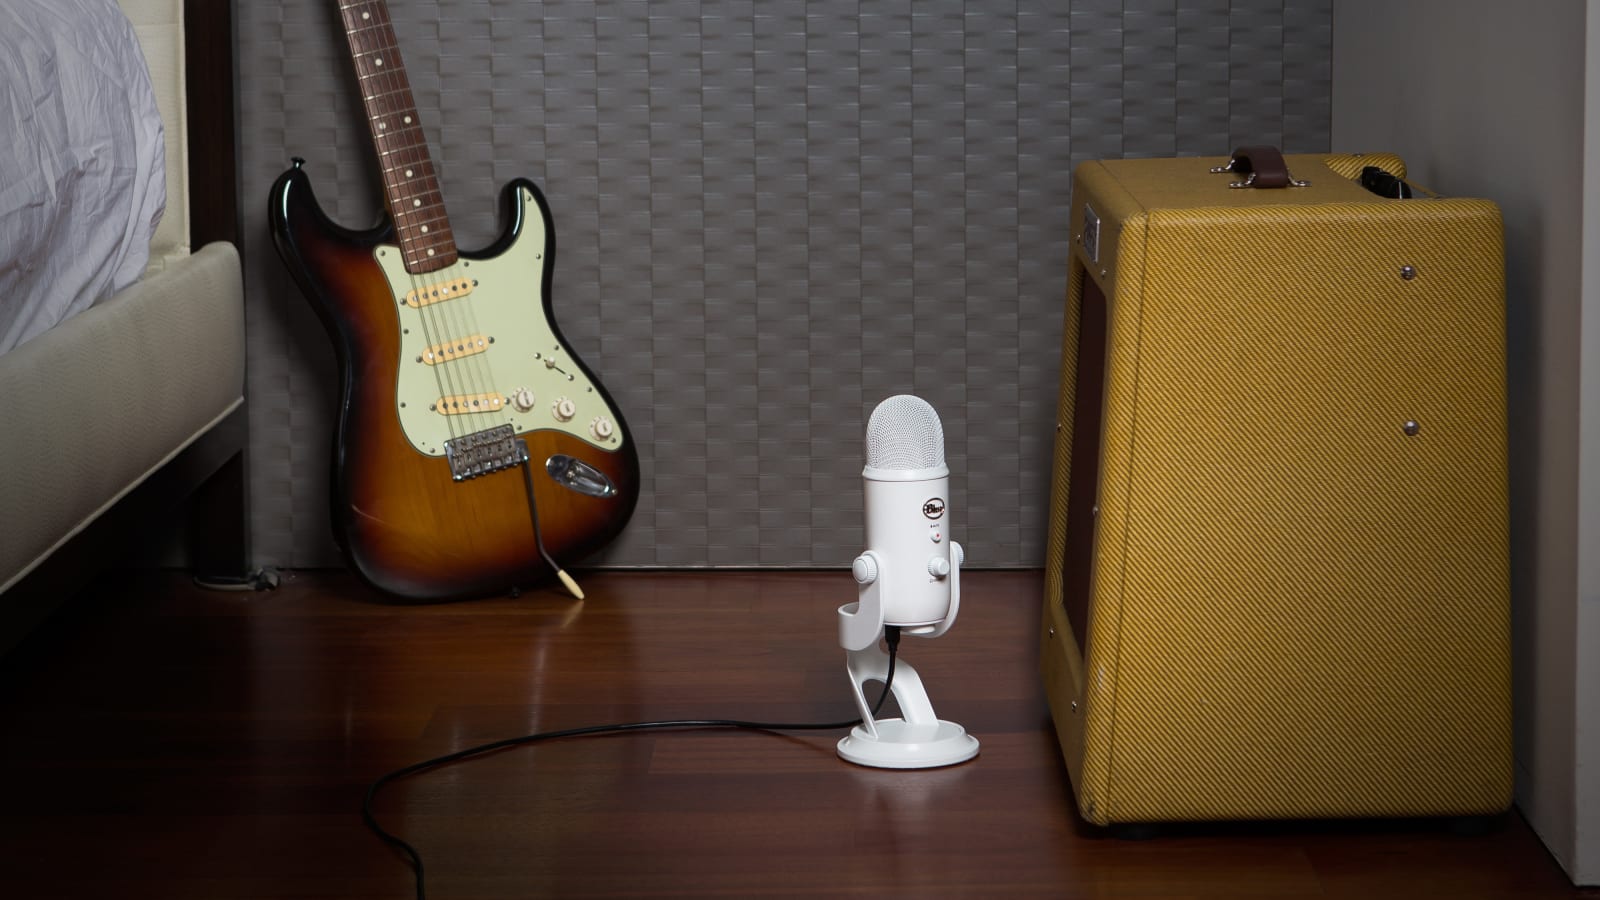
We strongly suggest starting with a solid USB microphone. They can connect easily to any computer (or even phones and tablets with a dongle), and they'll offer a huge leap in sound quality. Previously, we’ve recommended the Blue Yeti as the ideal beginner mic. It’s easy to use and sounds great for the price. But it’s also a condenser microphone, which means it’s not great for the noisy environments most newfound podcasters are recording in. So this year, we’re suggesting you jump straight to an inexpensive dynamic microphone like the Audio Technica ATR-2100X.
Buy Blue Yeti at Amazon - $130Buy Audio Technica ATR-2100X at Amazon - $99Dynamic microphones do a better job of isolating your voice and cutting out background noise — the only downside is that you need to speak close to it like a radio host. The ATR 2100X also has USB-C and XLR connections, which means you can easily bring it over to a more professional audio interface down the line, or drag it along to a friend’s studio.
There are cheaper USB microphones out there like Blue's Snowball ($80) and AmazonBasics' Mini Condenser ($45), but you’ll pay for going cheap with noisier recordings. If you're serious about podcasting, it's worth spending a bit more up front: There's a good chance you'll end up chucking a cheaper mic once you hear the difference.
Buy Blue Snowball at Amazon - $80Buy AmazonBasics Mini Condenser at Amazon - $45Pro tip: RTFM
You should actually read the instructions and make sure you know what every dial and button does. Most importantly, make sure you're speaking in the right direction! With most microphones, including the Blue Yeti, you want to aim at the side with the brand label. Some models, like the ATR2100X and other dynamic mics, need to be addressed from the top. Yes, I know this all sounds basic, but I've encountered dozens of people who end up aiming for the wrong part of their mics when they're getting started.
It's also worth picking up a few accessories to make your recordings sound great. Get a pop filter or foam cover to avoid plosives (that annoying titutal pop when you make "p" sounds). If you're going to be recording regularly, it's worth investing in a tabletop arm to hold your mic in an optimal position (and also avoid the extra noise you get from desktop stands).
You could, of course, start exploring more-expensive microphone options, but I'd suggest holding off on those until you're more committed to the podcasting life. The next big level up from USB options is the world of XLR microphones, the same interface used for professional audio gear. You'll also need a USB audio interface, like the Tascam US-2x2 or FocusRite Scarlett 2i2 ($170), to connect those mics to your computer. At that point, you can start looking at higher-end options like the Rode Procaster ($224). It sounds noticeably richer than the Yeti, and since it's a dynamic microphone, it's also better at cutting out unwanted noise.
Here's some advice: You can save quite a bit by buying all this equipment used or refurbished. I saved $100 on the excellent Shure PG42 USB microphone years ago by going through eBay.
Buy FocusRite Scarlett 2i2 at Amazon - $170Buy Rode Procaster at Amazon - $224
Choose your audio-editing weapons
Now that you have the hardware, you need some software to put your show together. There's no avoiding this part: You need to learn the basics of audio editing. Luckily, there's Audacity, a free, open-source audio editor that works across every computing platform. Its UI is ugly and a bit archaic, but it's also pretty powerful once you get a handle on it. I've edited all of my shows with Audacity, and aside from a few annoying crashes and quirks, it suits my needs well.
If you're looking for something more robust or you grow tired of Audacity, the free version of AVID's Pro Tools is worth a look, and there's Reaper by Winamp creator Justin Frankel. They're both full-fledged digital audio workstations (DAW), and Reaper also has the bonus of working with plenty of tools and plug-ins. At the high end of the spectrum, there's Adobe Audition, but at $21 per month, or $240 for the year, it's not worth considering until podcasting has become your life.
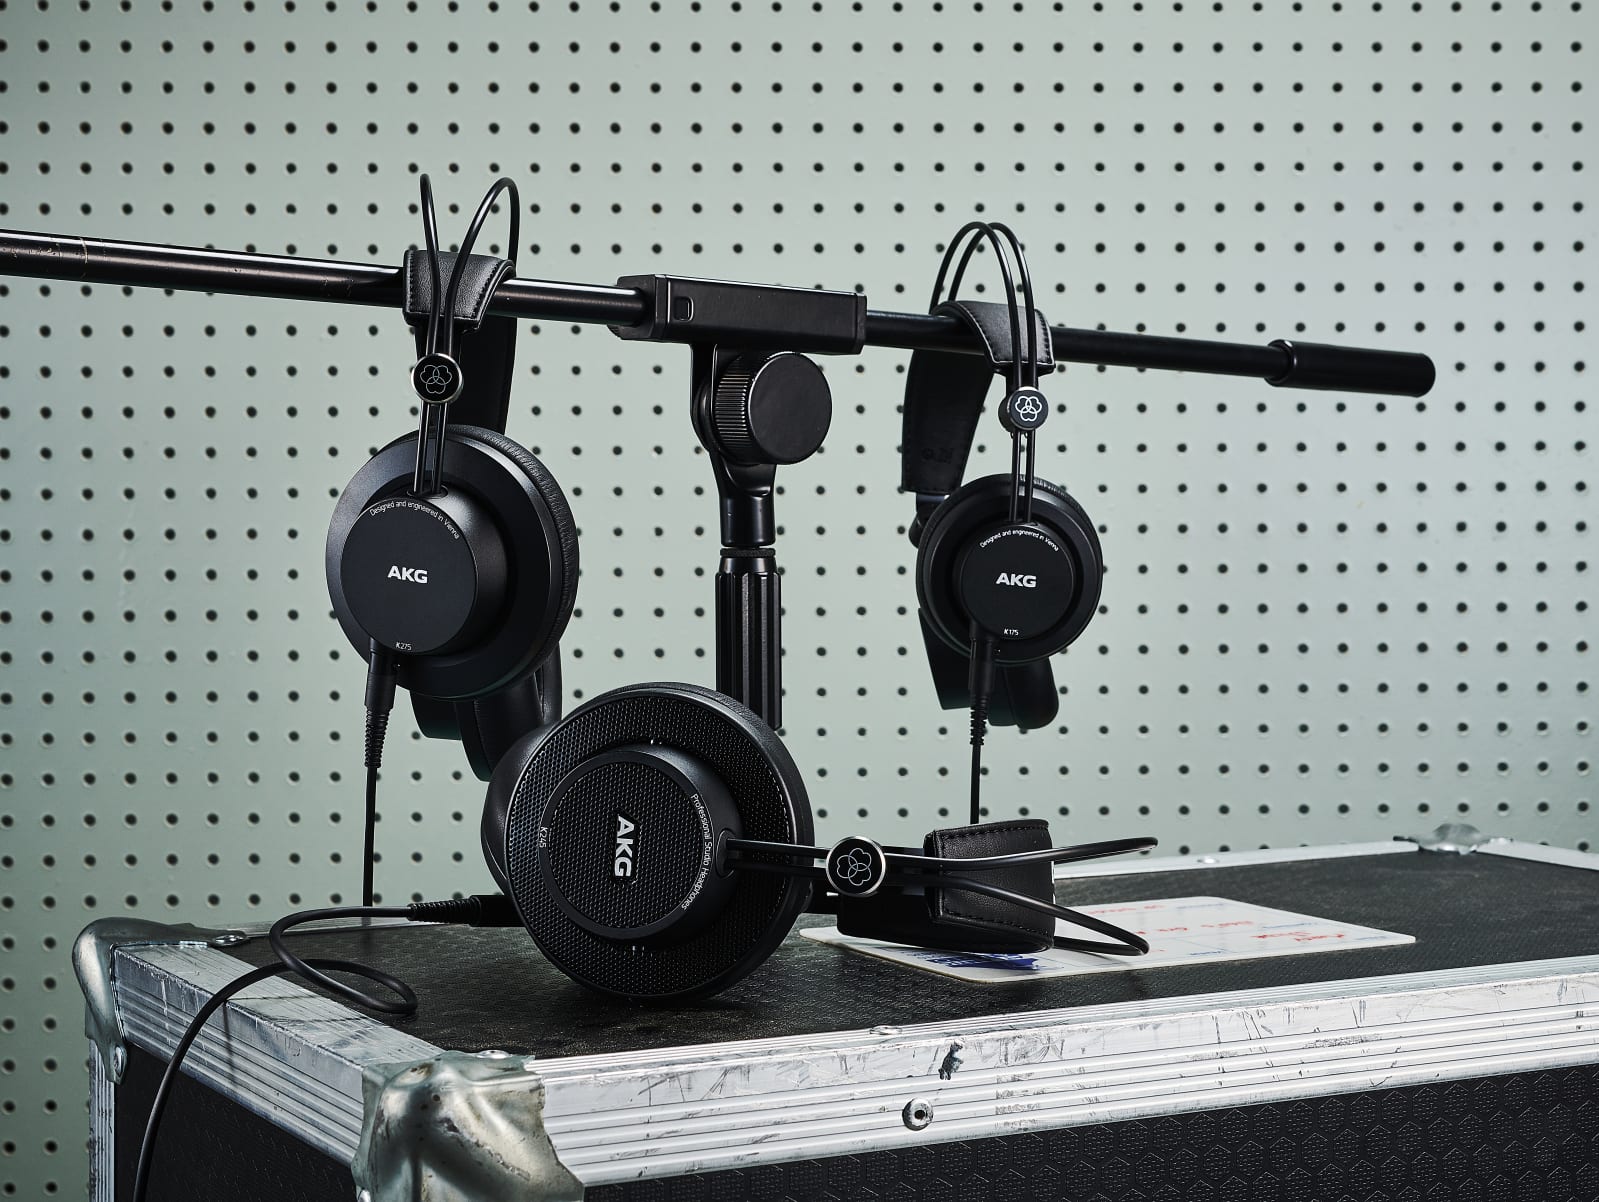
Get good headphones
Headphones are the best way to monitor your recordings — that is, to hear yourself as you're recording — as well as to make sure they sound great once completed. You'll definitely want something better than the earbuds that came with your phones. We recommend starting with something like Sony's MDR-7506 ($98), a pair of over-the-ear headphones that have been studio mainstays for decades. They offer a neutral sound and a light fit, exactly what you'll need for hours of editing. If you've already picked up a pair of great headphones, those will work fine. (Be sure to turn off any noise-canceling features, though, as they can color what you're hearing while monitoring recordings.)
We're not going to go down the rabbit hole of recommending large speakers like you'd find in a real studio. They're not worth it for podcast editing, and most people will be listening to your show with headphones anyway. Of course, if you make something that sounds great on headphones, it'll probably be fine on speakers.
Buy Sony MDR-7506 at Amazon - $98Prep your recording altar
You can't just set up your fancy new microphone anywhere! You'll want to find a room that's as quiet as possible, or even a small closet. If both of those options are out, carve out some space in the corner or along a wall of a larger room. Wherever you set up, you'll need to treat your space a bit with some foam wedges or other sound-absorbing objects. You can always go the simple route: Drape a curtain or blanket over your desk to create an isolated sound-dampened spot.
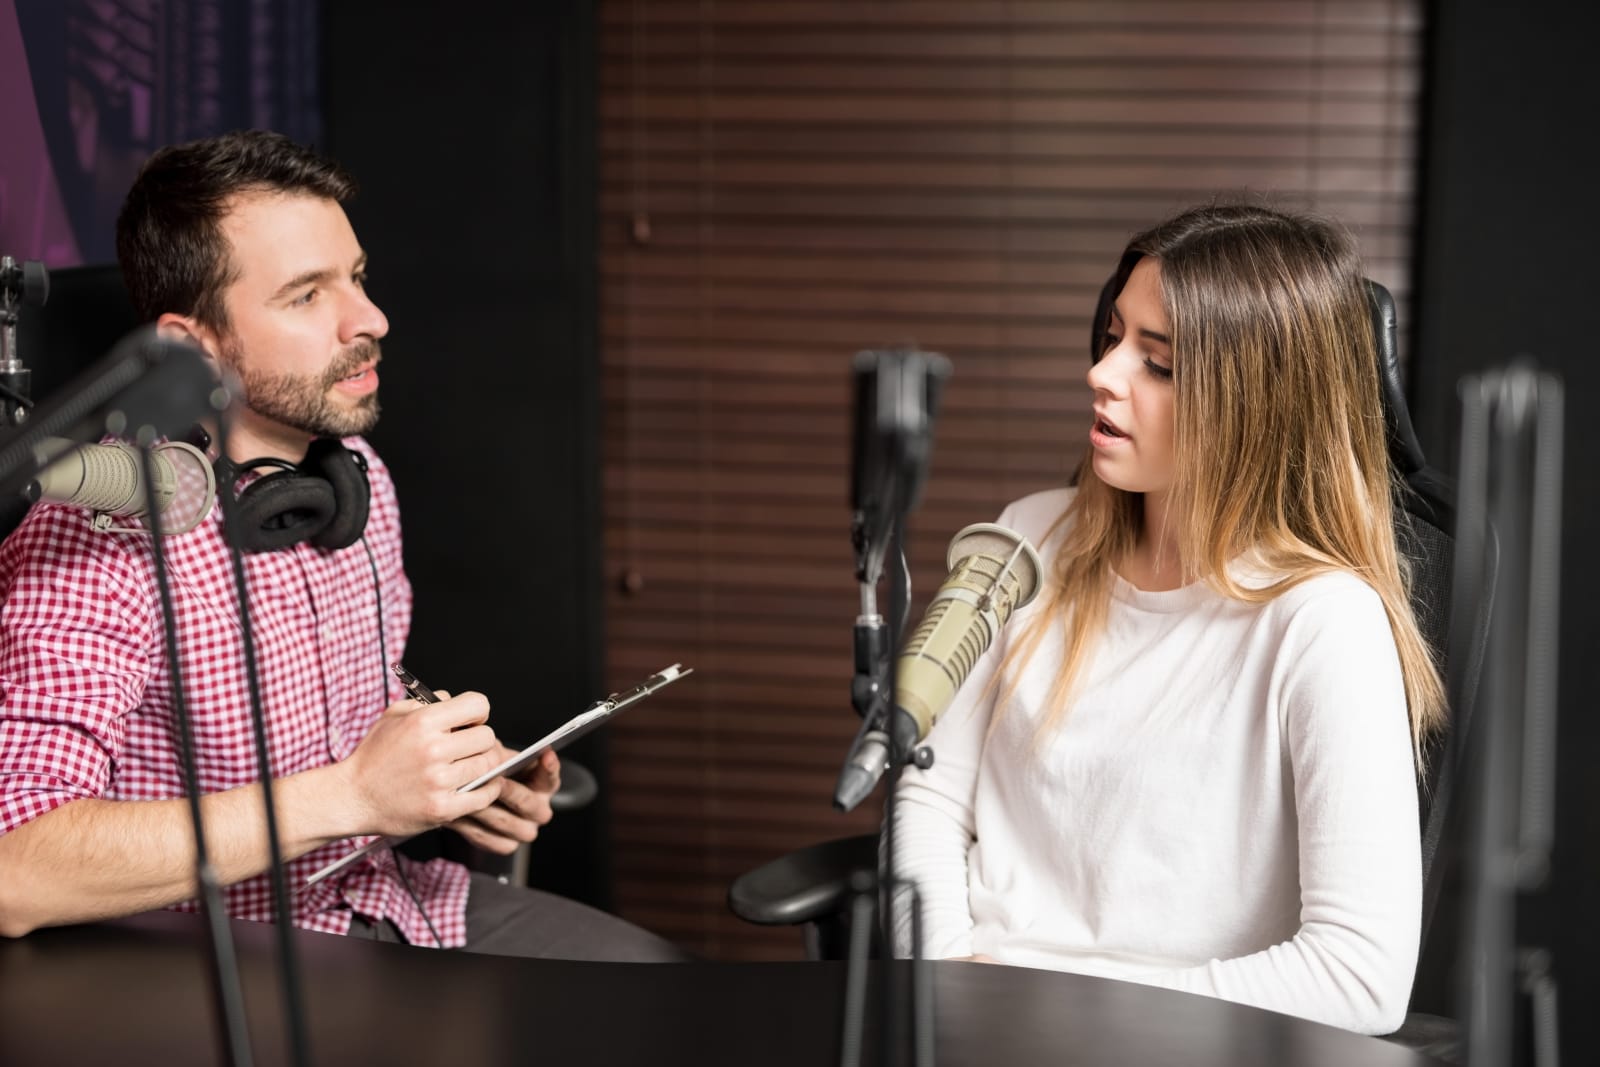
Learn how to record with friends
So now you're all set to record a podcast on your own. But how do you bring in a co-host or guest? That's where things get a bit complicated. You could chat with a friend over Skype and record their audio using something like Total Recorder on Windows or Soundflower on Mac. You'll want to make sure the other person is also aiming for the best audio quality with a high-quality mic. In a pinch, you can have a guest record a voice memo on their phone (but be sure to follow NPR's phone-recording guidelines).
To simplify remote group recordings, you could consider web-based services like Zencastr and Cast, which automatically capture high-quality local audio. They’ll get you better quality than a Skype recording, since you’re not dealing with compressed audio from your guests. These services let you quickly edit and process recordings online as well. While they may sound like podcasting heaven, there are issues to watch out for. Network interruptions could easily render a session useless, and they’re demanding on systems with minimal RAM. If you go this route, be sure to have backup recordings.
For the most control, your co-host can record their side of the conversation on their end and send it to you afterward. This obviously introduces additional layers of complexity, like making sure your audio stays synchronized throughout the whole recording. It's also tougher to edit, since you're juggling multiple files on a timeline instead of one. But honestly, the quality bump is worth it. If you're looking to hone your audio-editing skills, there are online tutorials like this Udemy course or YouTube instructional videos.
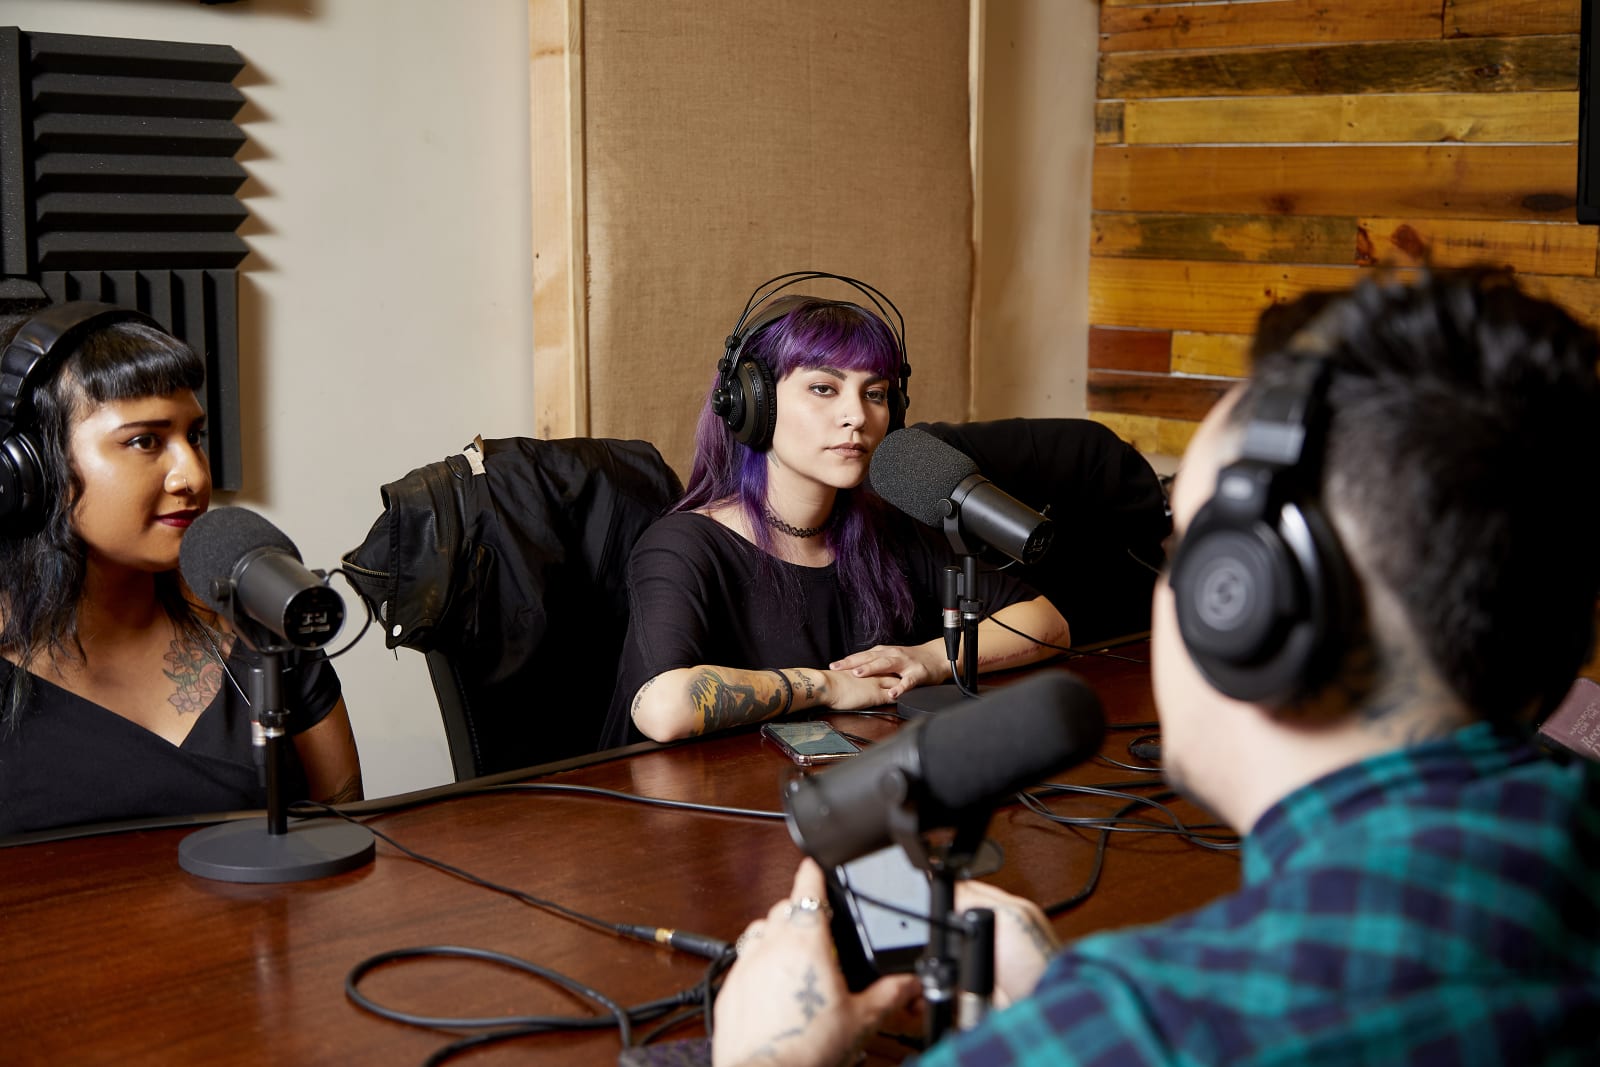
Recording with another person physically near you is a bit tougher. Some mics like the Blue Yeti have modes for shared recording. Otherwise, you'll need to get a USB audio interface to plug multiple XLR mics into your computer. If you're going that route, you'll have to be extra careful about avoiding crossover recordings on those mics. If you're looking to record interviews on the go, nab a digital audio recorder like the Zoom H1n ($120) and a few mics like Rode's Lavalier Go ($79). Since it won't sound nearly as good as a home setup, I wouldn't recommend this as your main recording method (unless you invest in a powerful recorder with support for pro-grade XLR mics).
Buy Zoom H1n at Amazon - $120Buy Rode Lavalier Go at Amazon - $79Choose a podcasting service
Once you've locked in an episode or two, it's time to start exploring podcast hosts. These will host your files, give you a feed you can subscribe to in any podcast app and usually help you list your show on iTunes, Spotify and other services. Most important, you can get some detailed analytics from hosts, and if you get popular enough, they can also help you nab some sponsorships. You can get started for free with Acast, $5 per month with Libsyn, or $10 per month with Audioboom.
Photos: avdyachenko (Mic setup); Olly Curtis/Future Publishing via Getty Images (AKG headphones); Getty Images (podcast interview)
 Starting a podcast is easy. Making one that actually sounds good is another story entirely. We can't help much with the bigger problems facing would-be podcasters -- finding a good topic and getting people to listen -- but we can point you to the bes...


 Google isn't normally the sort to break news at big video game events, but it's making an exception to that rule this year. The company plans to unveil a mysterious gaming project at a Game Developers Conference presentation on March 19th at 1PM East...
 As the market for equipment needed by podcasters, streamers and other content creators grows, Blue Microphones has become a trusted and well-known name. Now Logitech has stepped in to acquire the company for about $117 million in cash. Both companies...
 This post was done in partnership with Wirecutter. When readers choose to buy Wirecutter's independently chosen editorial picks, Wirecutter and Engadget may earn affiliate commissions. that support its work. Read Wirecutter's continuously updated lis...
 It sounds like Google might be working on a game streaming service. According to a report from The Information, the tech juggernaut has been floating the idea for a streaming service (like PlayStation Now or NVIDIA's GeForce Now) for around two years...
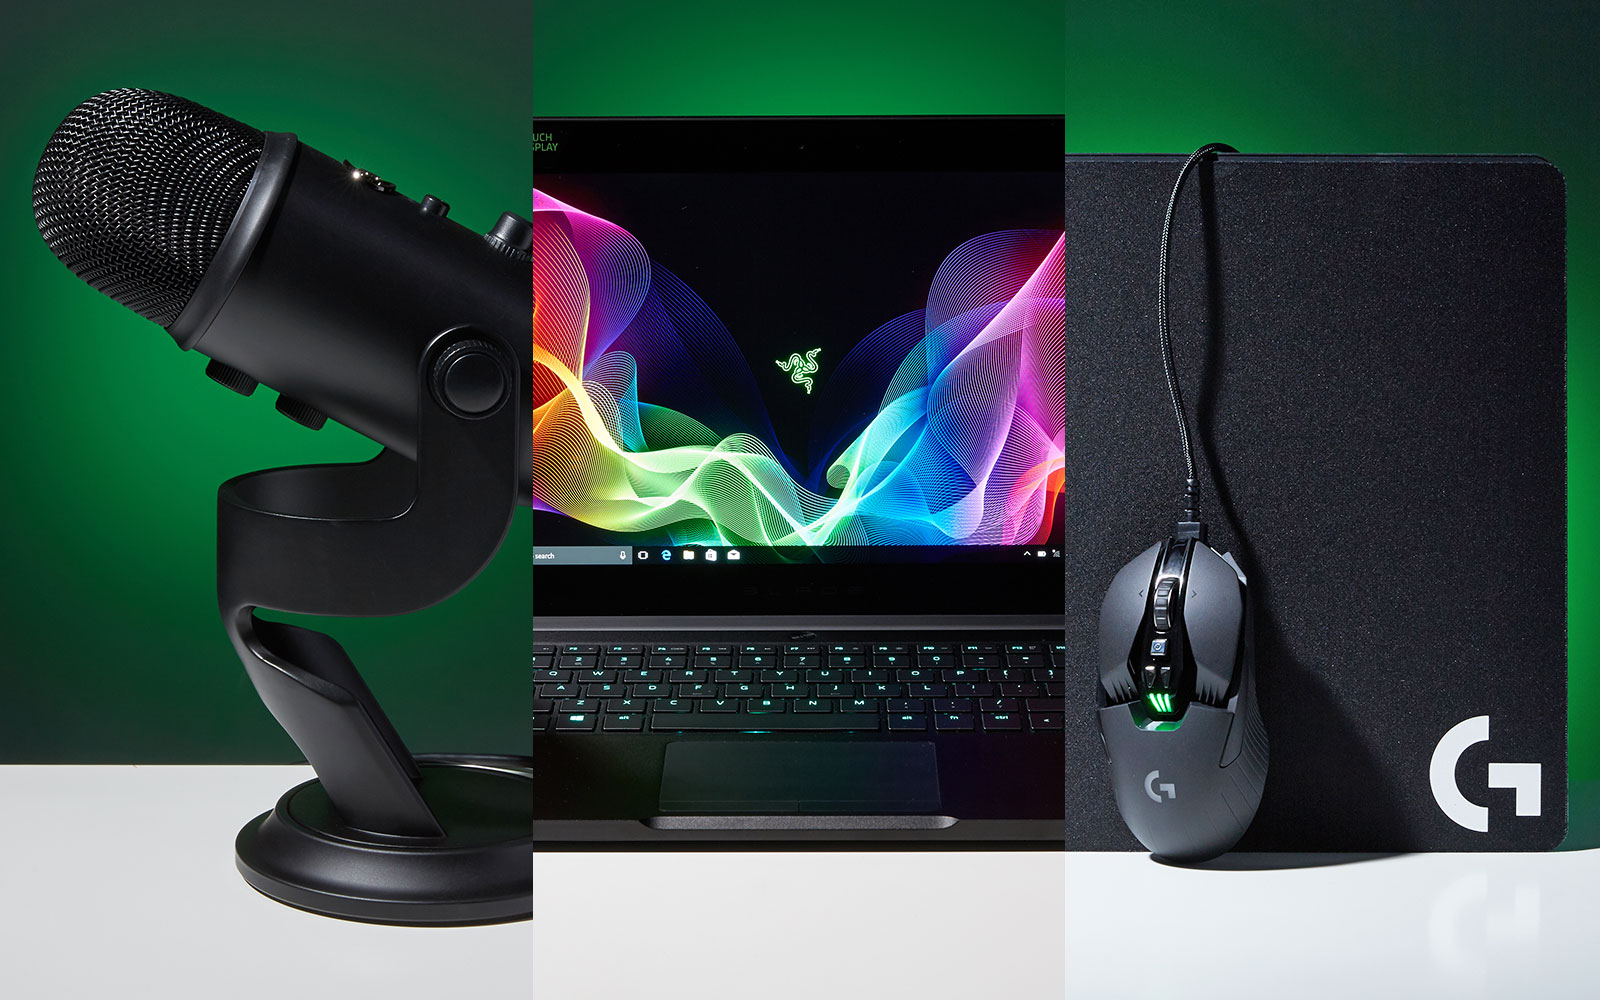 Of the more than two dozen sections in our massive holiday gift guide, the PC gaming is one of the largest. That's because there are so many directions you can go in here: You can splurge on a laptop (we recommend three here) or pick up any number of...

 This post was done in partnership with Wirecutter, reviews for the real world. When readers choose to buy Wirecutter's independently chosen editorial picks, they may earn affiliate commissions that support their work. Read their continuously updated...