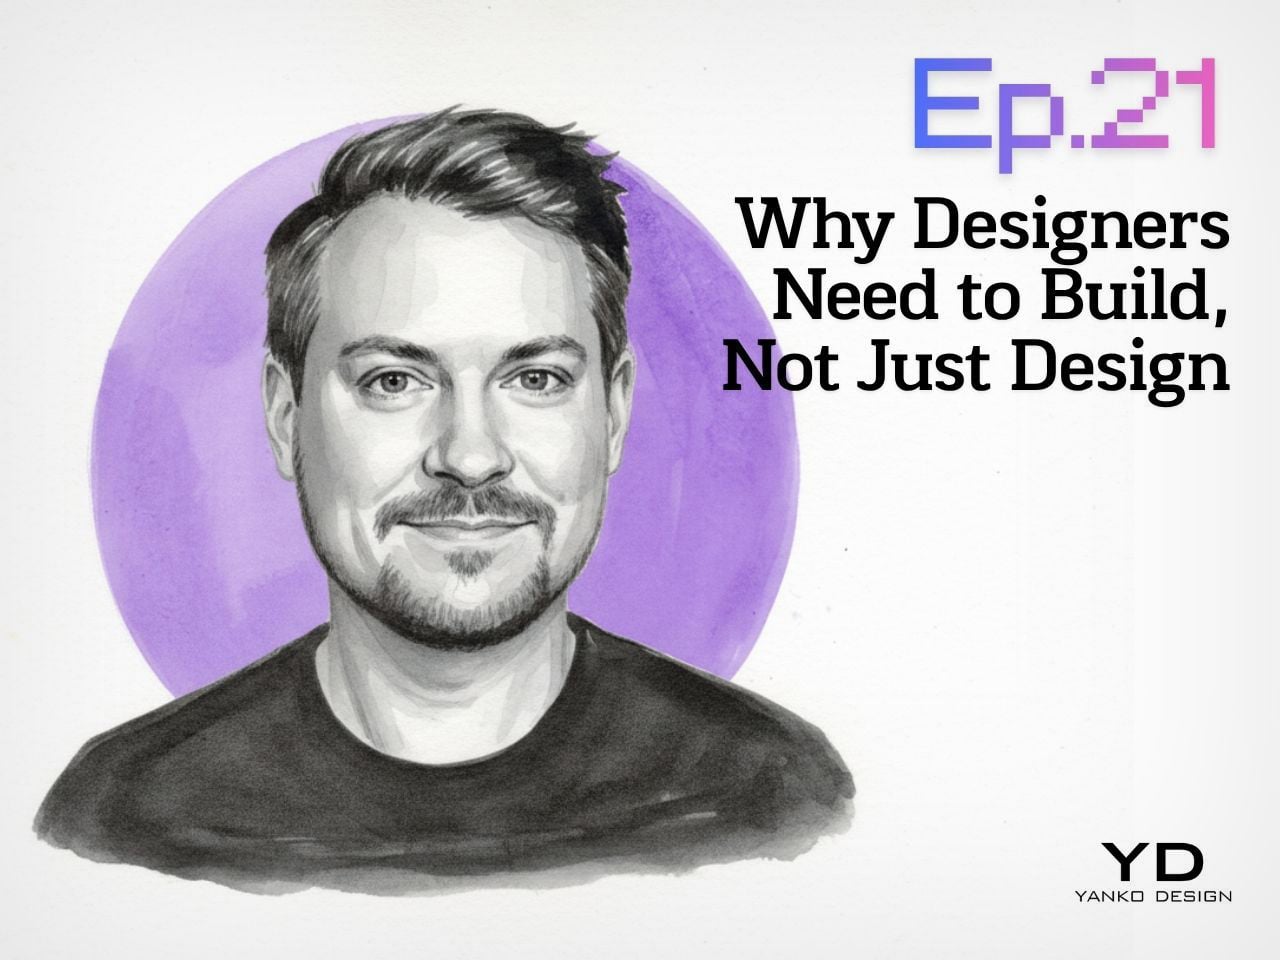
Yanko Design’s Design Mindset, powered by KeyShot, continues to carve out a thoughtful space for conversations around creativity, process, and the way design is evolving in real time. Now at Episode 21, the weekly podcast has become a compelling extension of the publication’s larger design lens, moving beyond products and visuals to focus on the people, principles, and practices shaping the creative world today. Each episode opens up a deeper look at the mindset behind modern design, asking what it really means to create with relevance in a landscape that keeps changing.
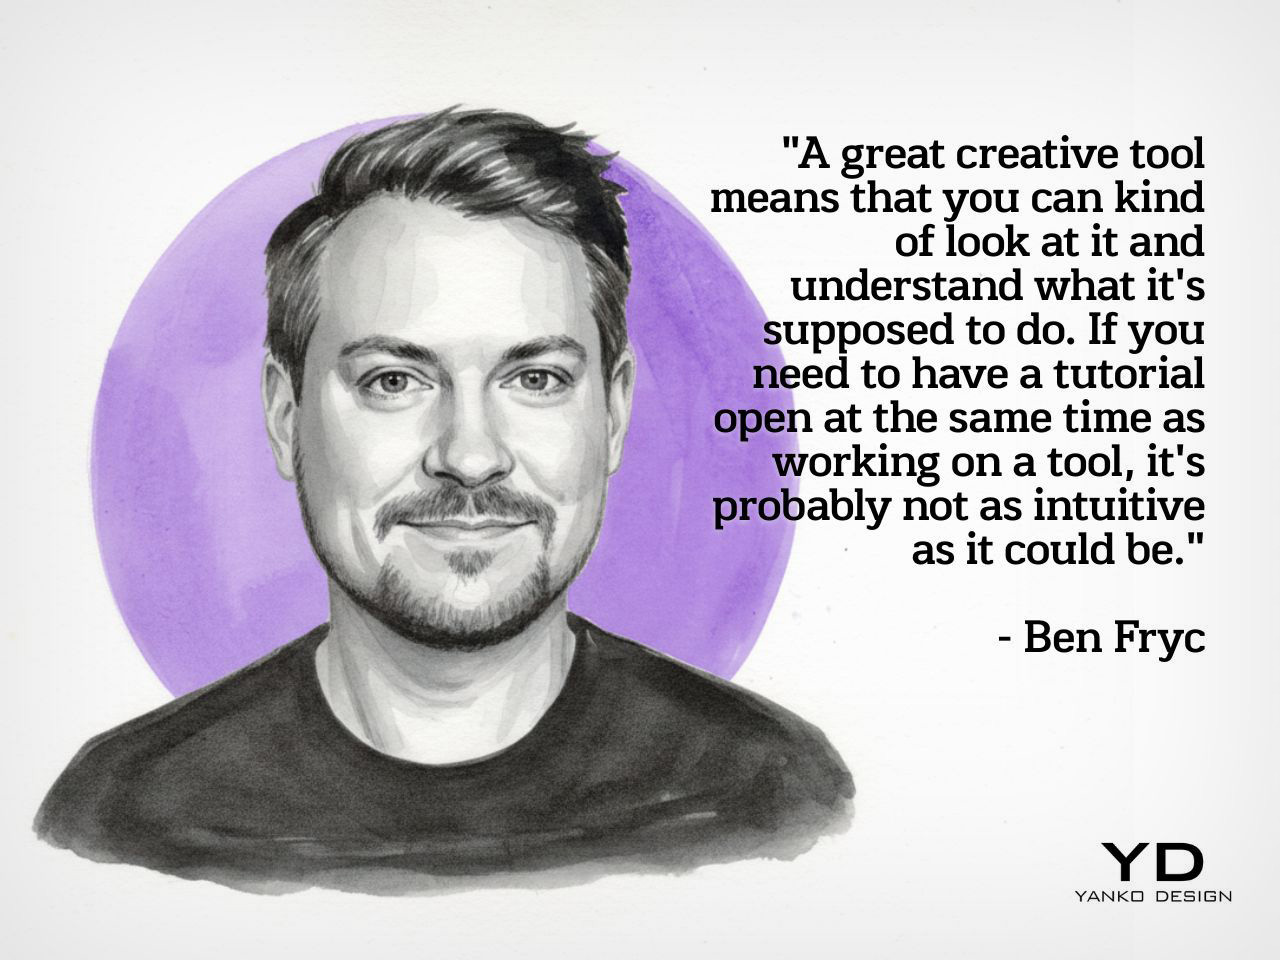
This week’s guest is Ben Fryc of Framer, a creative voice whose work sits at the intersection of storytelling, digital product thinking, and workflow design. In conversation with Radhika Sood, Ben speaks about a shift many designers are already feeling, where the role is expanding from someone who visualizes ideas to someone who can actively bring them to life. The result is a timely discussion about momentum, confidence, tools, and the growing value of designers who know how to build.
Download your Free Trial of KeyShot Here
The Gap Between Taste and Execution
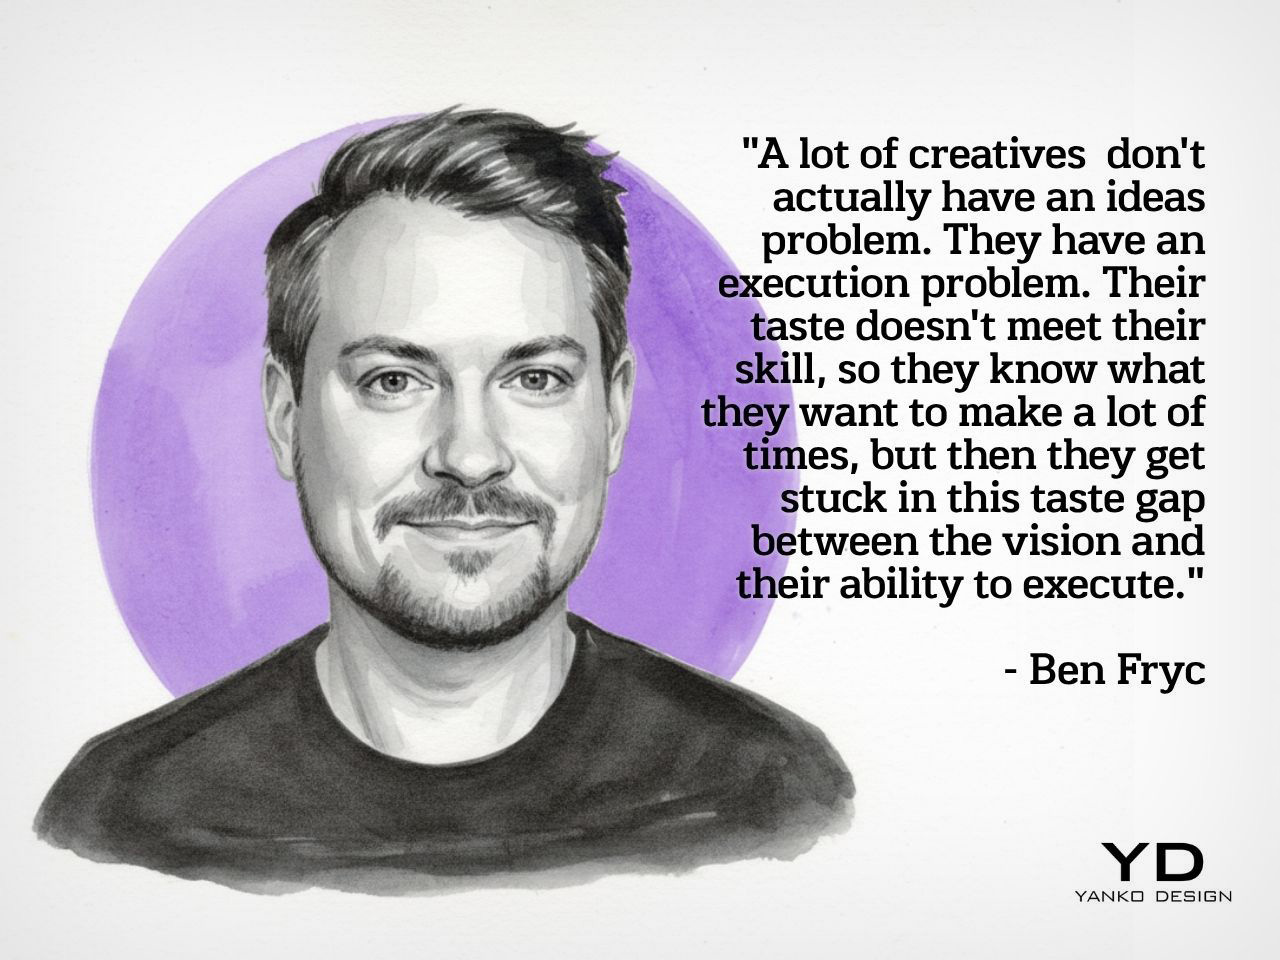
Ben’s central argument lands quickly and stays with you through the rest of the episode: most creatives do not struggle with ideas, they struggle with execution. That distinction gives shape to a frustration many designers know well. The vision is there, the taste is there, and the instinct is often sharp, but the path from concept to finished outcome can still feel longer than expected. Ben attributes that gap to experience, or more specifically, the lack of enough repetition to turn instinct into capability. He speaks candidly about the misconception that strong execution should arrive early, especially for young designers stepping out of school and into the profession.
What makes his perspective resonate is the way he strips away the mythology around creative success and replaces it with something more useful. Good ideas matter, but the people who move forward are usually the ones who learn how to carry those ideas through constraints, revisions, and real-world expectations. Experience becomes the bridge between taste and output, and that bridge is built over time. In Ben’s framing, becoming a stronger designer is less about waiting for talent to click and more about putting in enough cycles of making to close the distance between what you imagine and what you can actually produce.
When Designers Start Becoming Builders
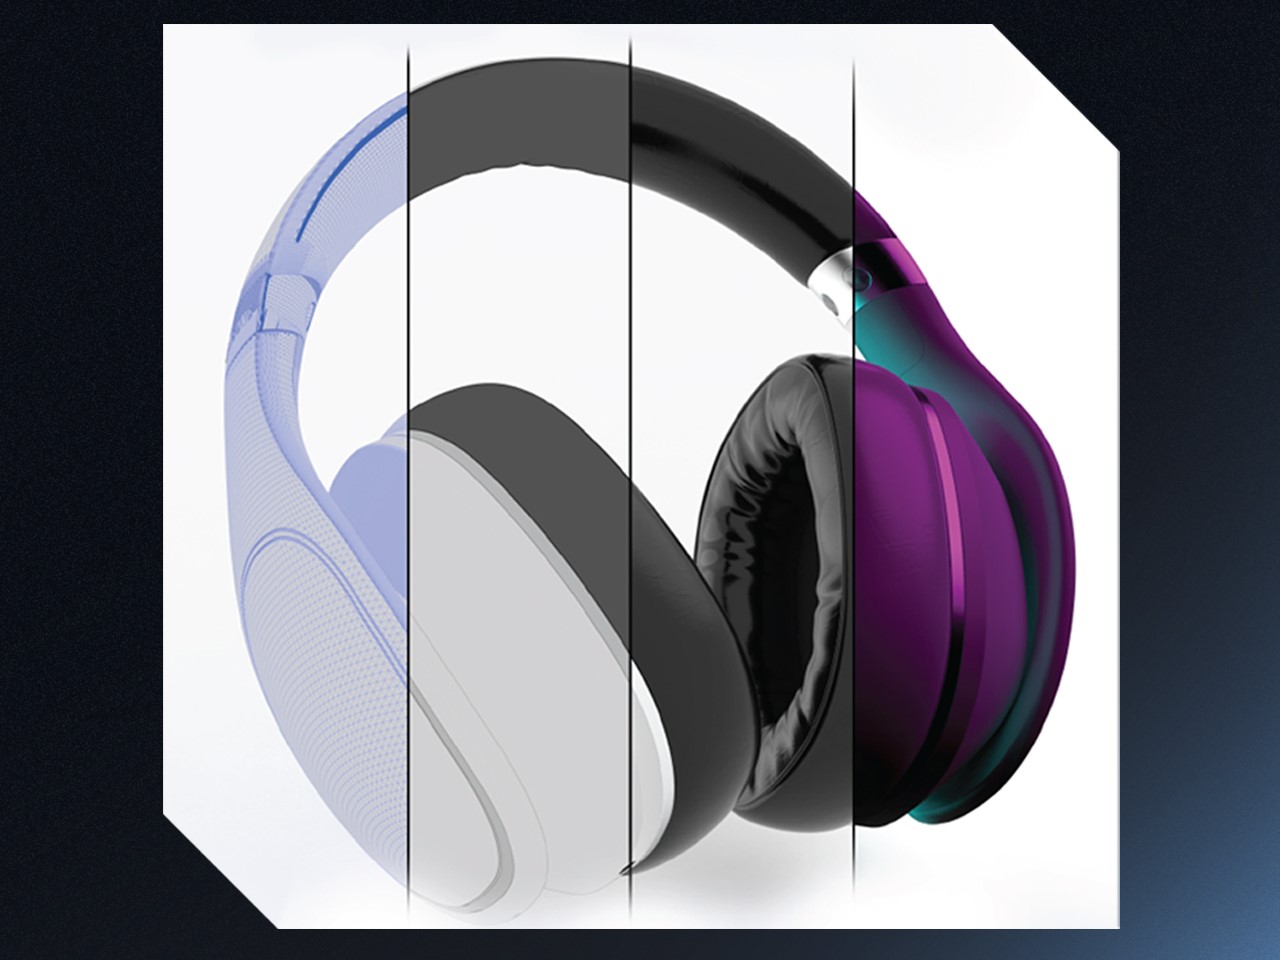
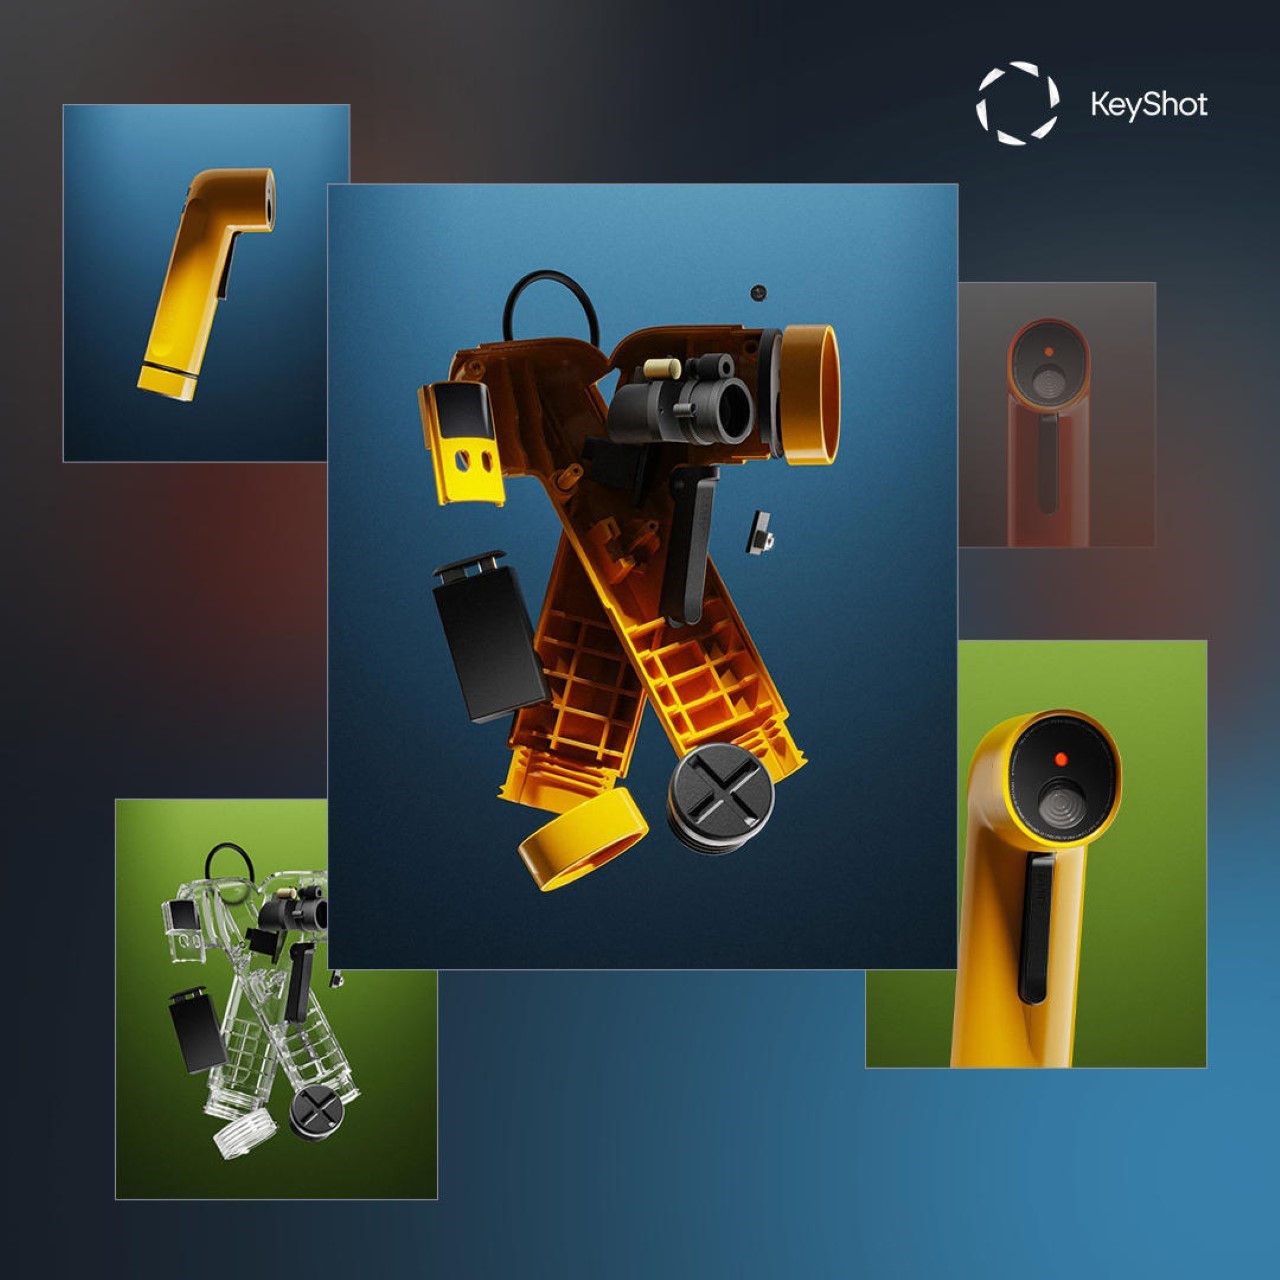
A major theme in the episode is the changing role of the designer, especially in a world where tools have made prototyping, publishing, and testing much more accessible. Ben talks about how the shift often begins the moment a designer starts thinking beyond the static mockup and becomes interested in how something actually works in motion. Once that curiosity enters the process, design starts to feel more active and more complete. The act of building no longer belongs exclusively to another team or another discipline. It becomes part of the designer’s own creative vocabulary.
Ben describes this transition almost like unlocking a new layer of ability, where confidence grows because the work can finally move out of presentation mode and into lived experience. That shift changes more than output. It changes the way a designer thinks about learning, problem-solving, and authorship. Coding, prototyping, 3D modeling, and other adjacent skills begin to feel less like optional extras and more like natural extensions of the design process. What emerges is a broader creative identity, one rooted in agency and in the satisfaction of making something real enough for others to use, experience, or respond to.
Workflow as a Creative Force
One of the most interesting parts of the conversation comes when Ben talks about workflow, not as a backstage concern but as a genuine creative advantage. He pushes back on the idea that workflow is simply a matter of optimization and instead frames it as something that shapes the quality of thinking itself. For him, a smooth workflow creates the conditions for ideas to evolve naturally, especially in projects where the final outcome only becomes clear through the act of making. That kind of process depends on iteration, room for discovery, and enough flexibility to let references, instincts, and experimentation inform the direction of the work.
He also makes an important point about communication, especially in collaborative environments where creative momentum can either build quickly or lose energy just as fast. Sharing work early, being clear about process, and inviting feedback before everything is fully polished all become part of a healthier workflow. Ben’s view is that better work often comes from showing progress sooner rather than later, because feedback strengthens the idea while it is still flexible. In that sense, workflow is not just about personal efficiency. It is also about preserving momentum, protecting creative energy, and giving ideas a better chance to grow into something stronger.
The Tools That Shape Ambition
Because Ben works at Framer, the discussion naturally moves into the role of tools, though what makes his take interesting is that he avoids reducing the conversation to features alone. He speaks instead about the feeling of a tool, how quickly it communicates its purpose, how naturally it invites experimentation, and how much friction it introduces between thought and action. In his view, the best creative tools are the ones that feel legible early on, even if they reveal more depth over time. Complexity can have value, but approachability matters because it determines whether someone begins with curiosity or hesitation.
That idea becomes especially relevant in the context of today’s no-code and low-friction creative platforms, which have changed what designers can realistically attempt on their own. Ben notes that when tools lower the barrier to making, people often become more ambitious because the path from idea to execution feels more direct. Instead of getting lost in abstraction, they can start building, testing, and refining with greater immediacy. The result is not just speed for its own sake, but a more intentional creative process where the tool amplifies possibility and supports the designer’s ability to act on instinct while learning along the way.
Why Shipping Changes the Designer
The episode closes on a note that feels especially relevant for creatives who spend too long refining, adjusting, and waiting for the right moment to release something. Ben speaks honestly about perfectionism and how easily it can interrupt momentum, especially when creators become so focused on improving the work that they never let it exist in the world. His answer is not careless speed, but a healthier relationship with progress. Making something real, even in an imperfect form, creates a kind of confidence that reflection alone cannot produce. The act of shipping becomes a turning point because it changes how the creator sees their own role.
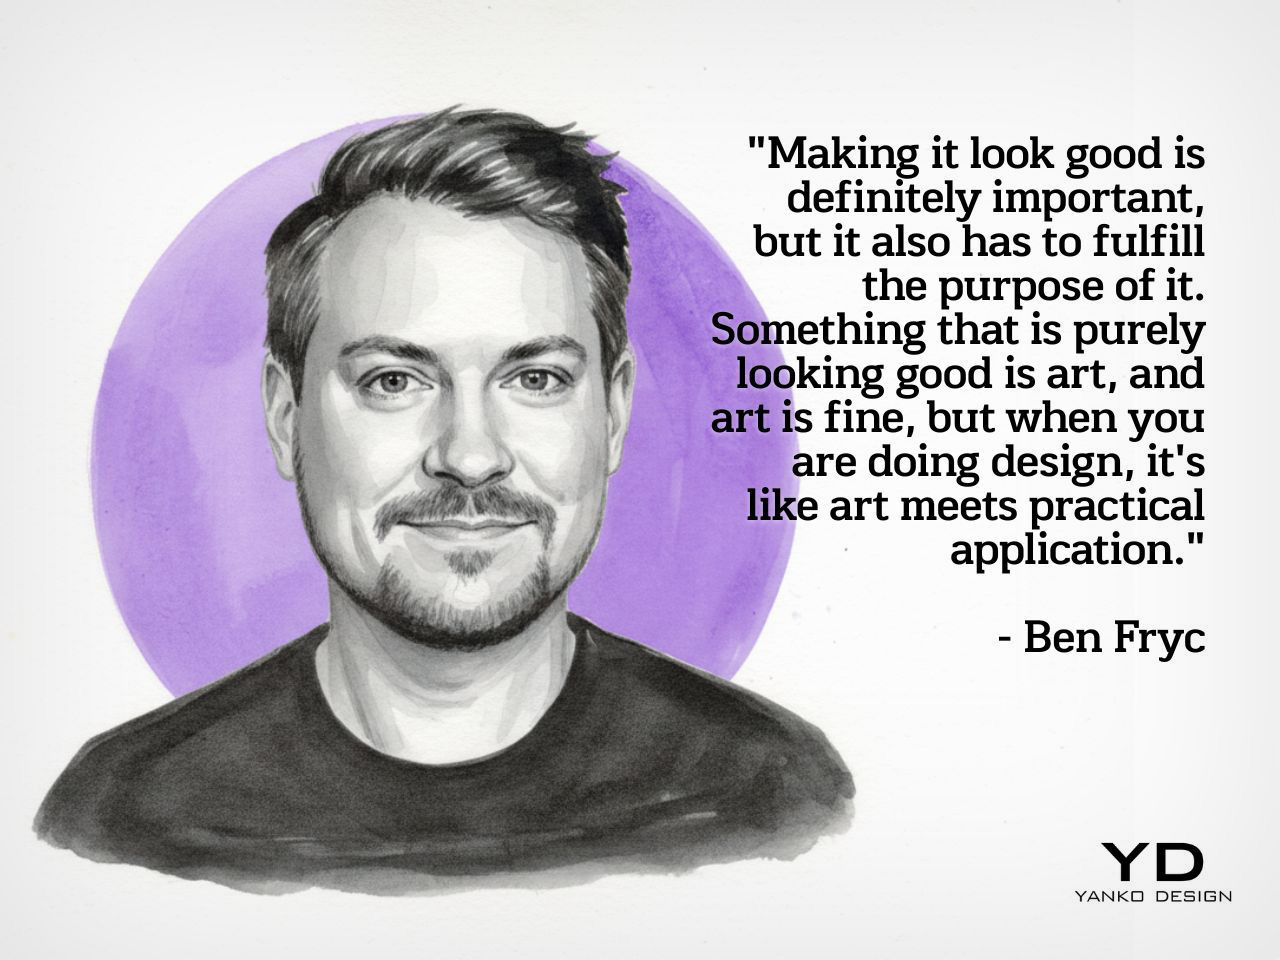
That is ultimately what gives this conversation its energy. Ben is not presenting building as a trend layered on top of design, but as a deeper evolution in how designers participate in their own ideas. Once something moves from concept to reality, even on a small scale, it carries a different weight. It becomes proof of capability, proof of momentum, and proof that taste can be translated into action. For a weekly podcast like Design Mindset, that kind of conversation feels exactly on point, because it captures the creative shift defining this moment. Designers today are being asked to do more than imagine. They are being invited to make.
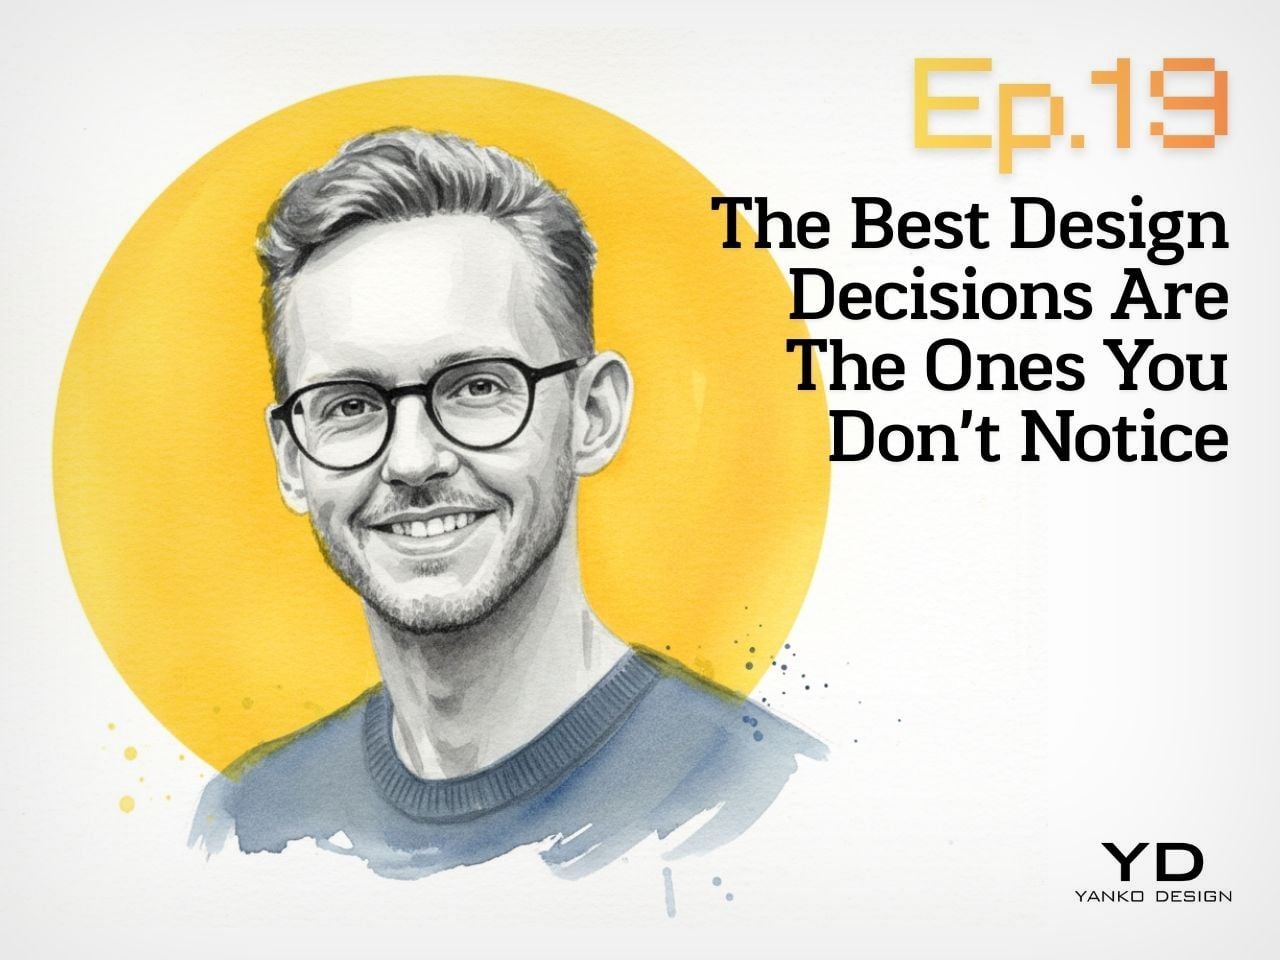
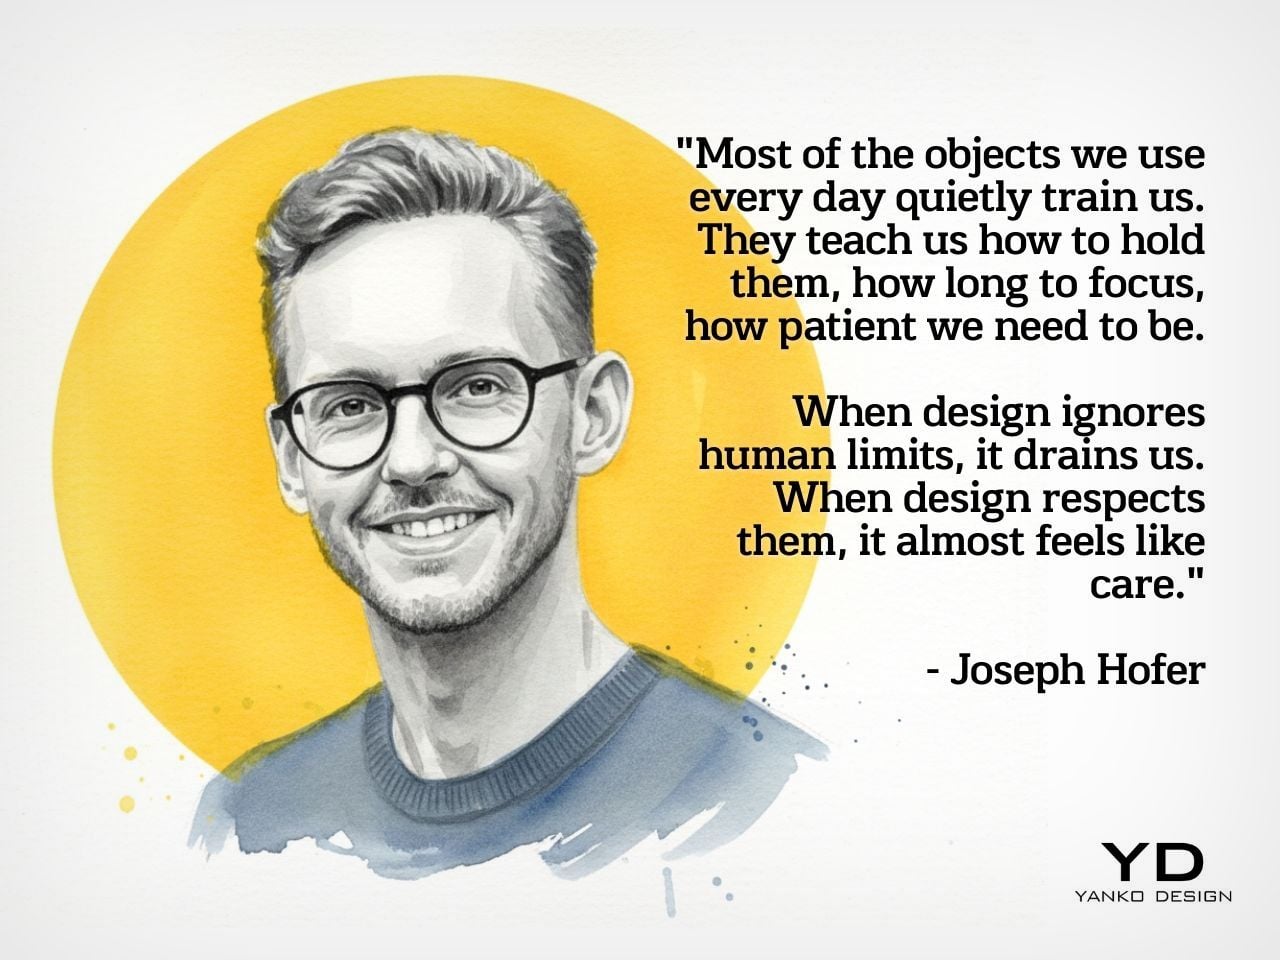
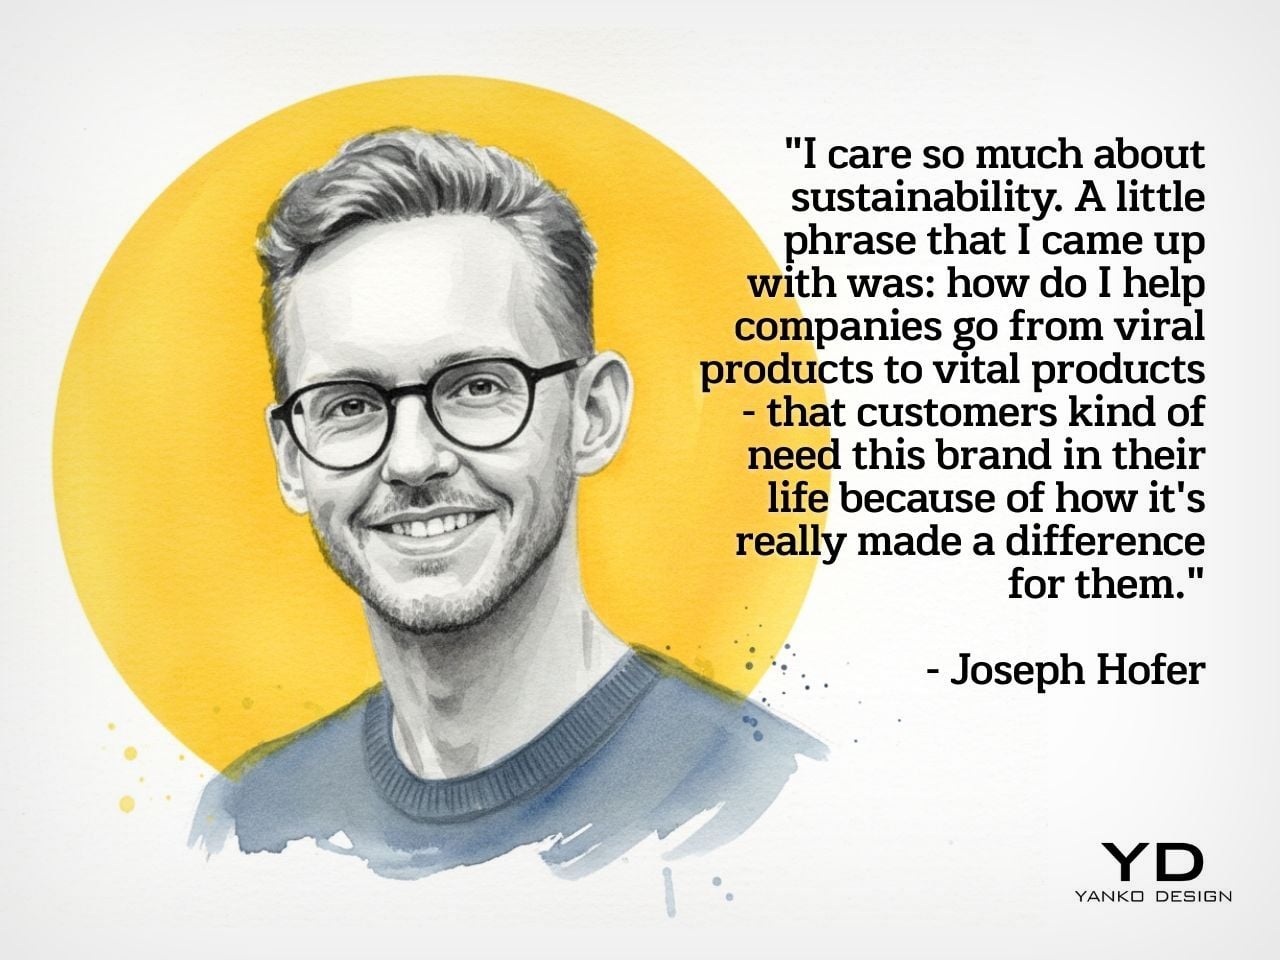
Design Mindset drops every week on Yanko Design. Catch Episode 19 in full wherever you listen to podcasts. For a free trial of KeyShot, visit keyshot.com/mindset.
Download your Free Trial of KeyShot Here
The post Ideas Are Dead. Why Execution Matters More for Designers in 2026 first appeared on Yanko Design.