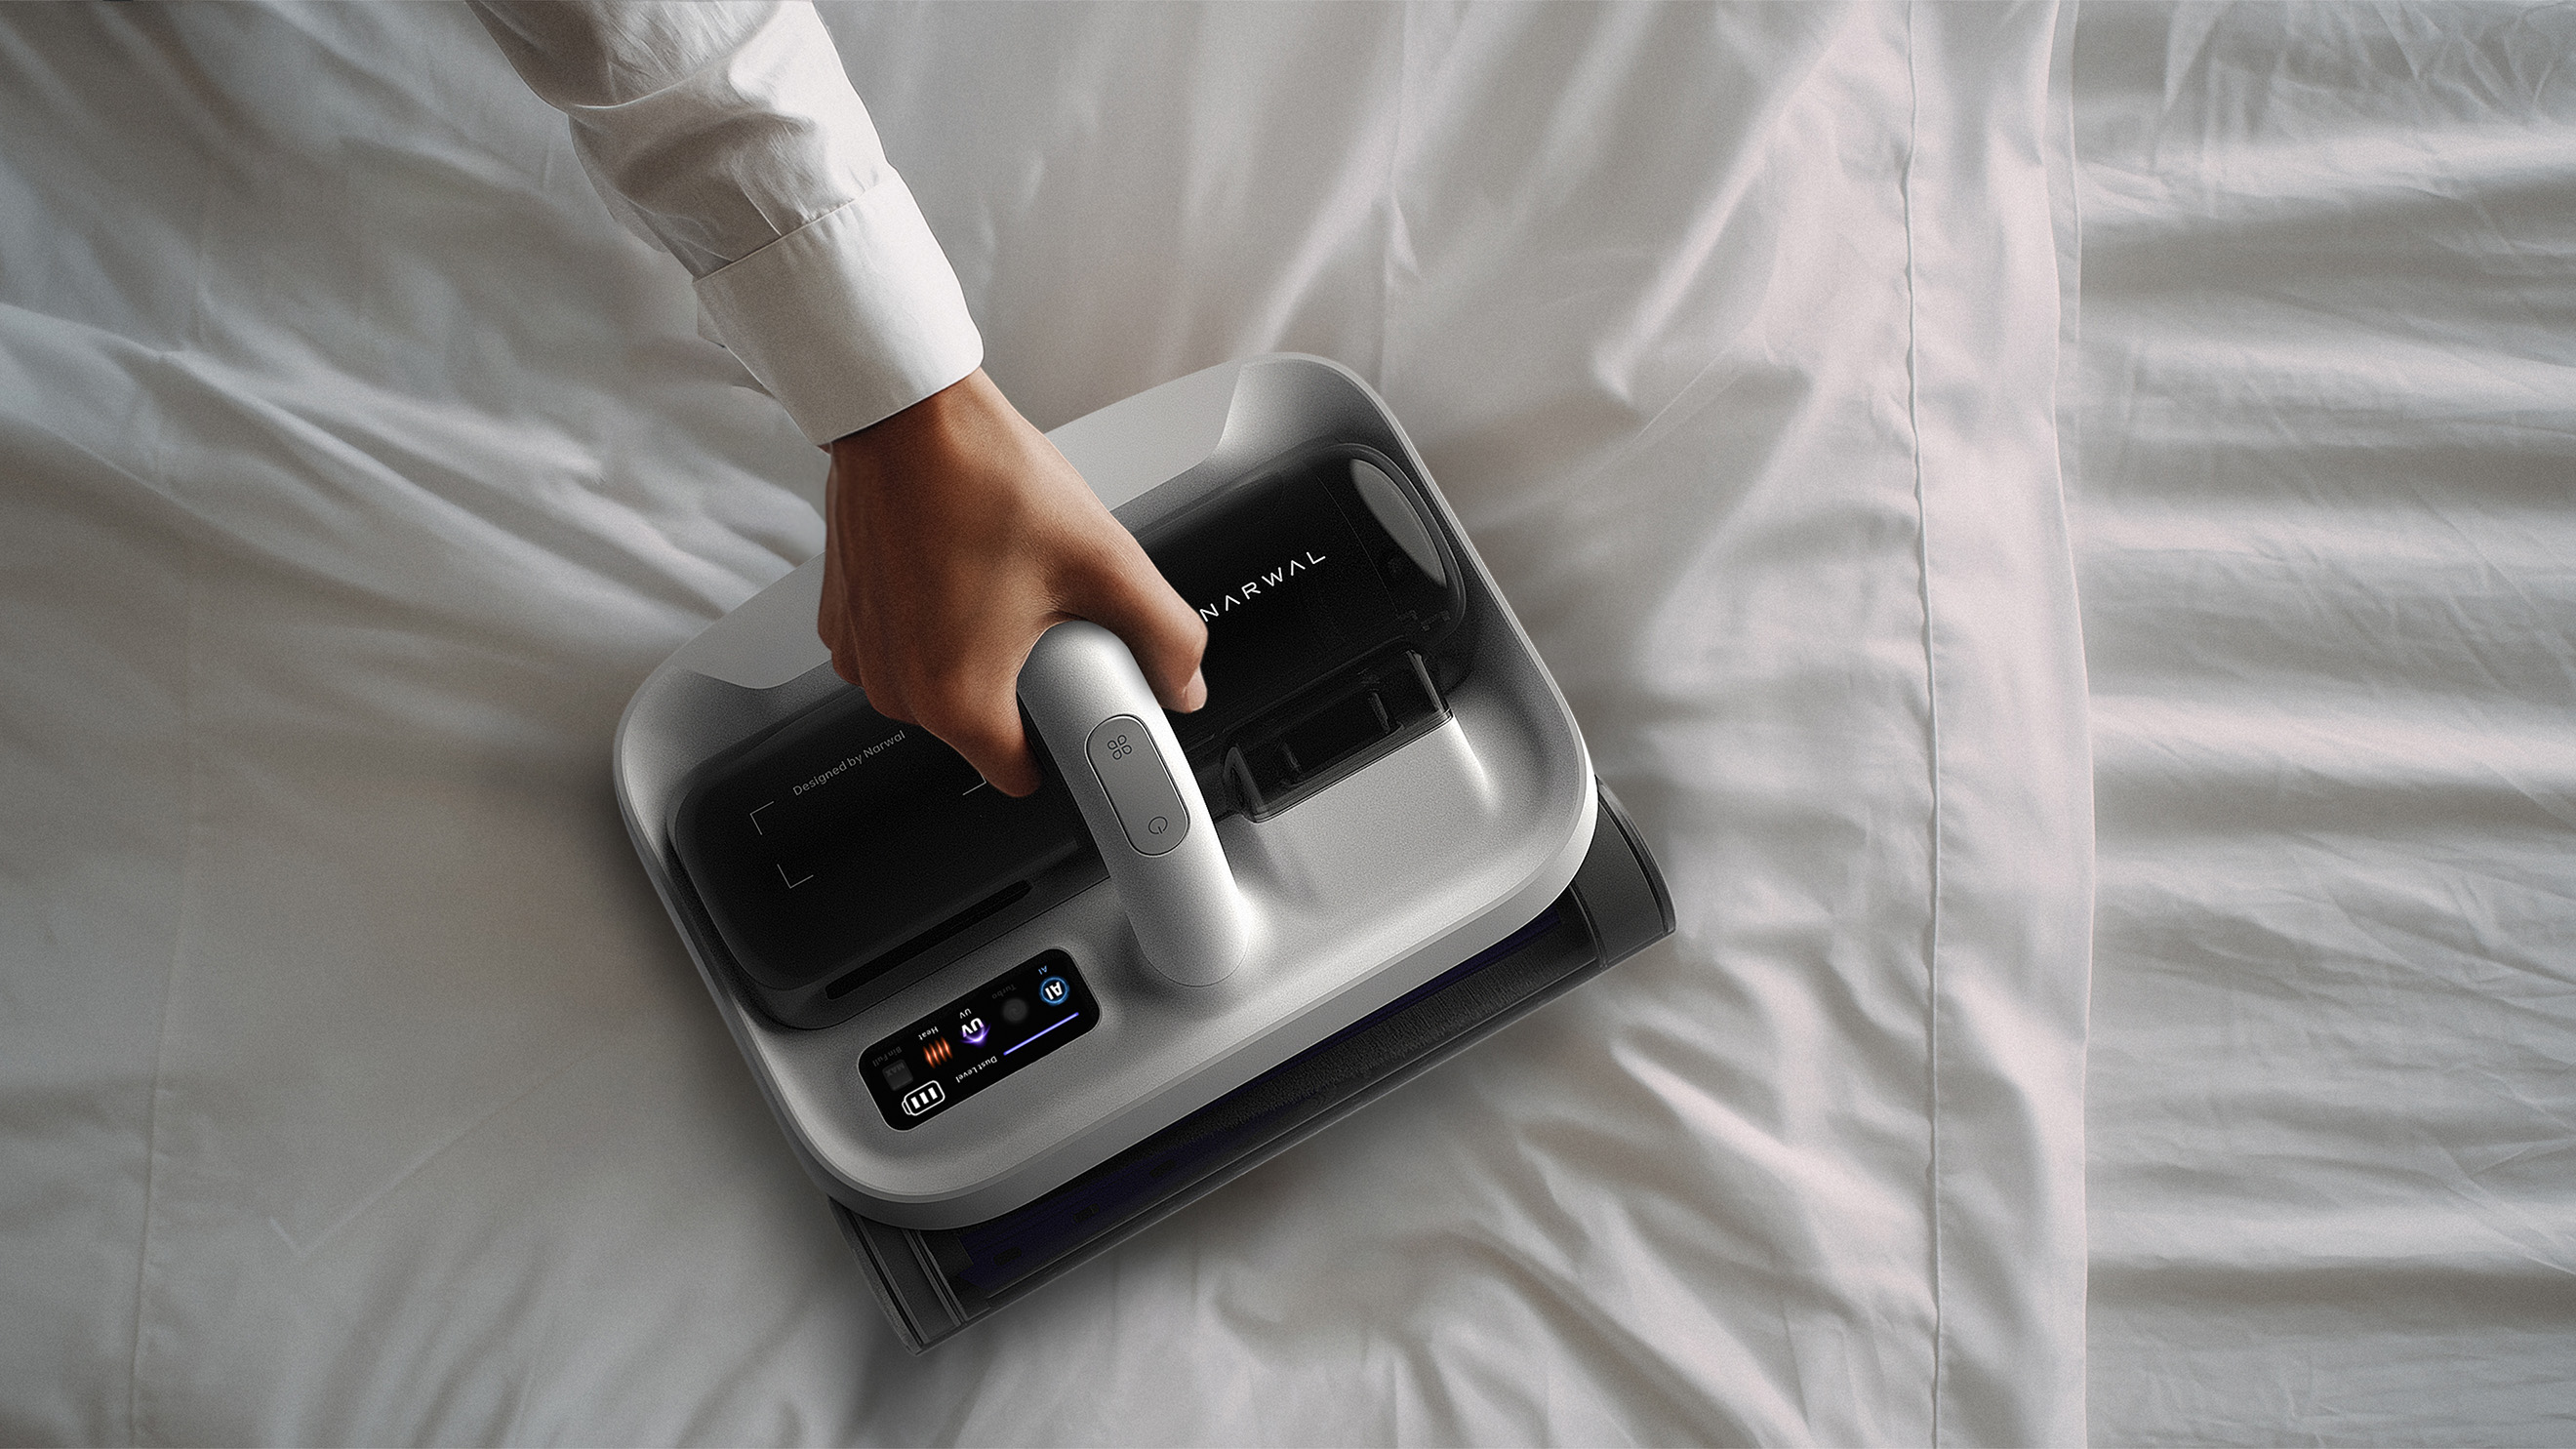
Looking to keep your home clean without having to vacuum and mop every day, pick up dirt, the dinner your child threw on the floor or your furry friend’s endless pet hair? Join the club. Smart home gadgets have come a long way over the years, and that includes robot vacuums. With newer technology including voice controls, object detection and more automation features, investing in a robot vacuum cleaner makes more sense now than ever before. Some of the best robot vacuum cleaners even have mopping capabilities, roller brush options and self-emptying bases, too, and there are plenty that don't cost a fortune either. If you’re ready to adopt a less hands-on approach and let a robot vacuum cleaner do the hard work for you, consider our recommendations below.
Best robot vacuums 2026
Latest robot vacuum news
CES is typically a time for robovac manufacturers to unveil new innovations and this year was no different. Companies like Eufy announced new models, many of which are on the higher end of the price spectrum. Those flagship announcements are often paired with more minor ones that usher in mildly upgraded versions of midrange and entry-level machines.
Now that robot vacuums are ubiquitous, the new models that make headlines tend to have some sort of gimmick like a built-in arm for picking up clothes, or offer (supposedly) top-tier suction power and a slew of extras. They also tend to be super expensive. However, most people will be served just fine with a robot vacuum that doesn’t choke at the first sign of dust bunnies or pet hair, and maybe has mopping capabilities if you want a machine that can tackle hard floors in addition to carpet. Those other innovations are nice-to-haves, not necessities.
Arguably even bigger than CES announcements is the fact that iRobot, a name synonymous with smart cleaning robots, filed for Chapter 11 bankruptcy at the end of 2025. What does that mean for Roomba owners? Not too much immediately, as the company stated that it will continue to operate with “no anticipated disruption to its app functionality, customer programs, global partners, supply chain relationships or ongoing product support." However, this also means that buying a new Roomba in 2026 is a questionable decision.
What to look for in the best robot vacuums
TLDR
Despite companies coming out with gimmicky extras and new software perks in their robot vacuum lineups, the core competency of these devices have remained the same for years: sucking up dirt without needing your attention. You want a robot vacuum with the strongest suction power you can afford. Those with tile and hardwood floors can consider robovacs with mopping capabilities, and those who want peak convenience should opt for a model with a self-emptying base. However, both of those extra features will cost extra.
Floor type
First and foremost, we recommend considering the floors in your home: Do you have carpet throughout, or tile and hardwood floors, or a mix? Robots with stronger suction power will do a better job picking up dirt on carpets as they can get into high piles more easily. Some machines have “max” modes as well, which ups suction power, but also typically eats battery life faster than the “normal” floor cleaning mode.
Vacuum suction
Suction power is an important factor to consider. Unfortunately, there isn’t a standard power scale that all robovacs adhere to, so it’s difficult to compare among a bunch of devices. Some companies provide Pascal (Pa) levels and generally the higher the Pa, the stronger the vacuum cleaner will be. But other companies don’t rely on Pa and simply say their robots have X-times more suction than other robots. If you’re looking for the best vacuum for your needs, it’s helpful to pay attention to real-world testing and how well the machine can pick up fine dust, crumbs and pet hair in an environment similar to that of your home.
Wi-Fi connectivity
Wi-Fi connectivity is a key feature for most robot vacuums. Some of the affordable devices aren’t Wi-Fi connected, so it’s best to double check before you buy something on the low end of affordable. Wi-Fi lets a robot vacuum cleaner do things like communicate with a mobile app, which then allows you to control the device from your phone.
Mapping features and object detection
Past a certain price threshold, you’ll find advanced perks like home mapping features and improved object detection. Home mapping is exactly what it sounds like: The vacuum uses sensors to map your home’s layout as it cleans, allowing you to send it to particular rooms or avoid no-go zones where you don’t want it to roam.
Most robo-vacs have object detection, but some will be better than others at actually avoiding things like chair legs and children’s toys. High-end models even go so far as to promise obstacle avoidance to steer clear of things like pet poop that can potentially ruin your machine.
Mopping capabilities
Mopping features are much more common now in robot vacuums than they were just five years ago. Machines that support this will have a water tank either built into the robot’s chassis, the auto-empty bin or as a separate piece that you swap in for the dustbin when you want to mop your floors. It makes the robo-vac more useful if you have hard floors in your home that you like to keep squeaky clean, but it does require more work on your part.
Filling and emptying the reservoir remains a human’s job for the most part (except on the most expensive machines), as does adding cleaning solutions if the mopping robot comes with this feature to ensure it uses clean water for every cycle.
Self-empty station inclusion
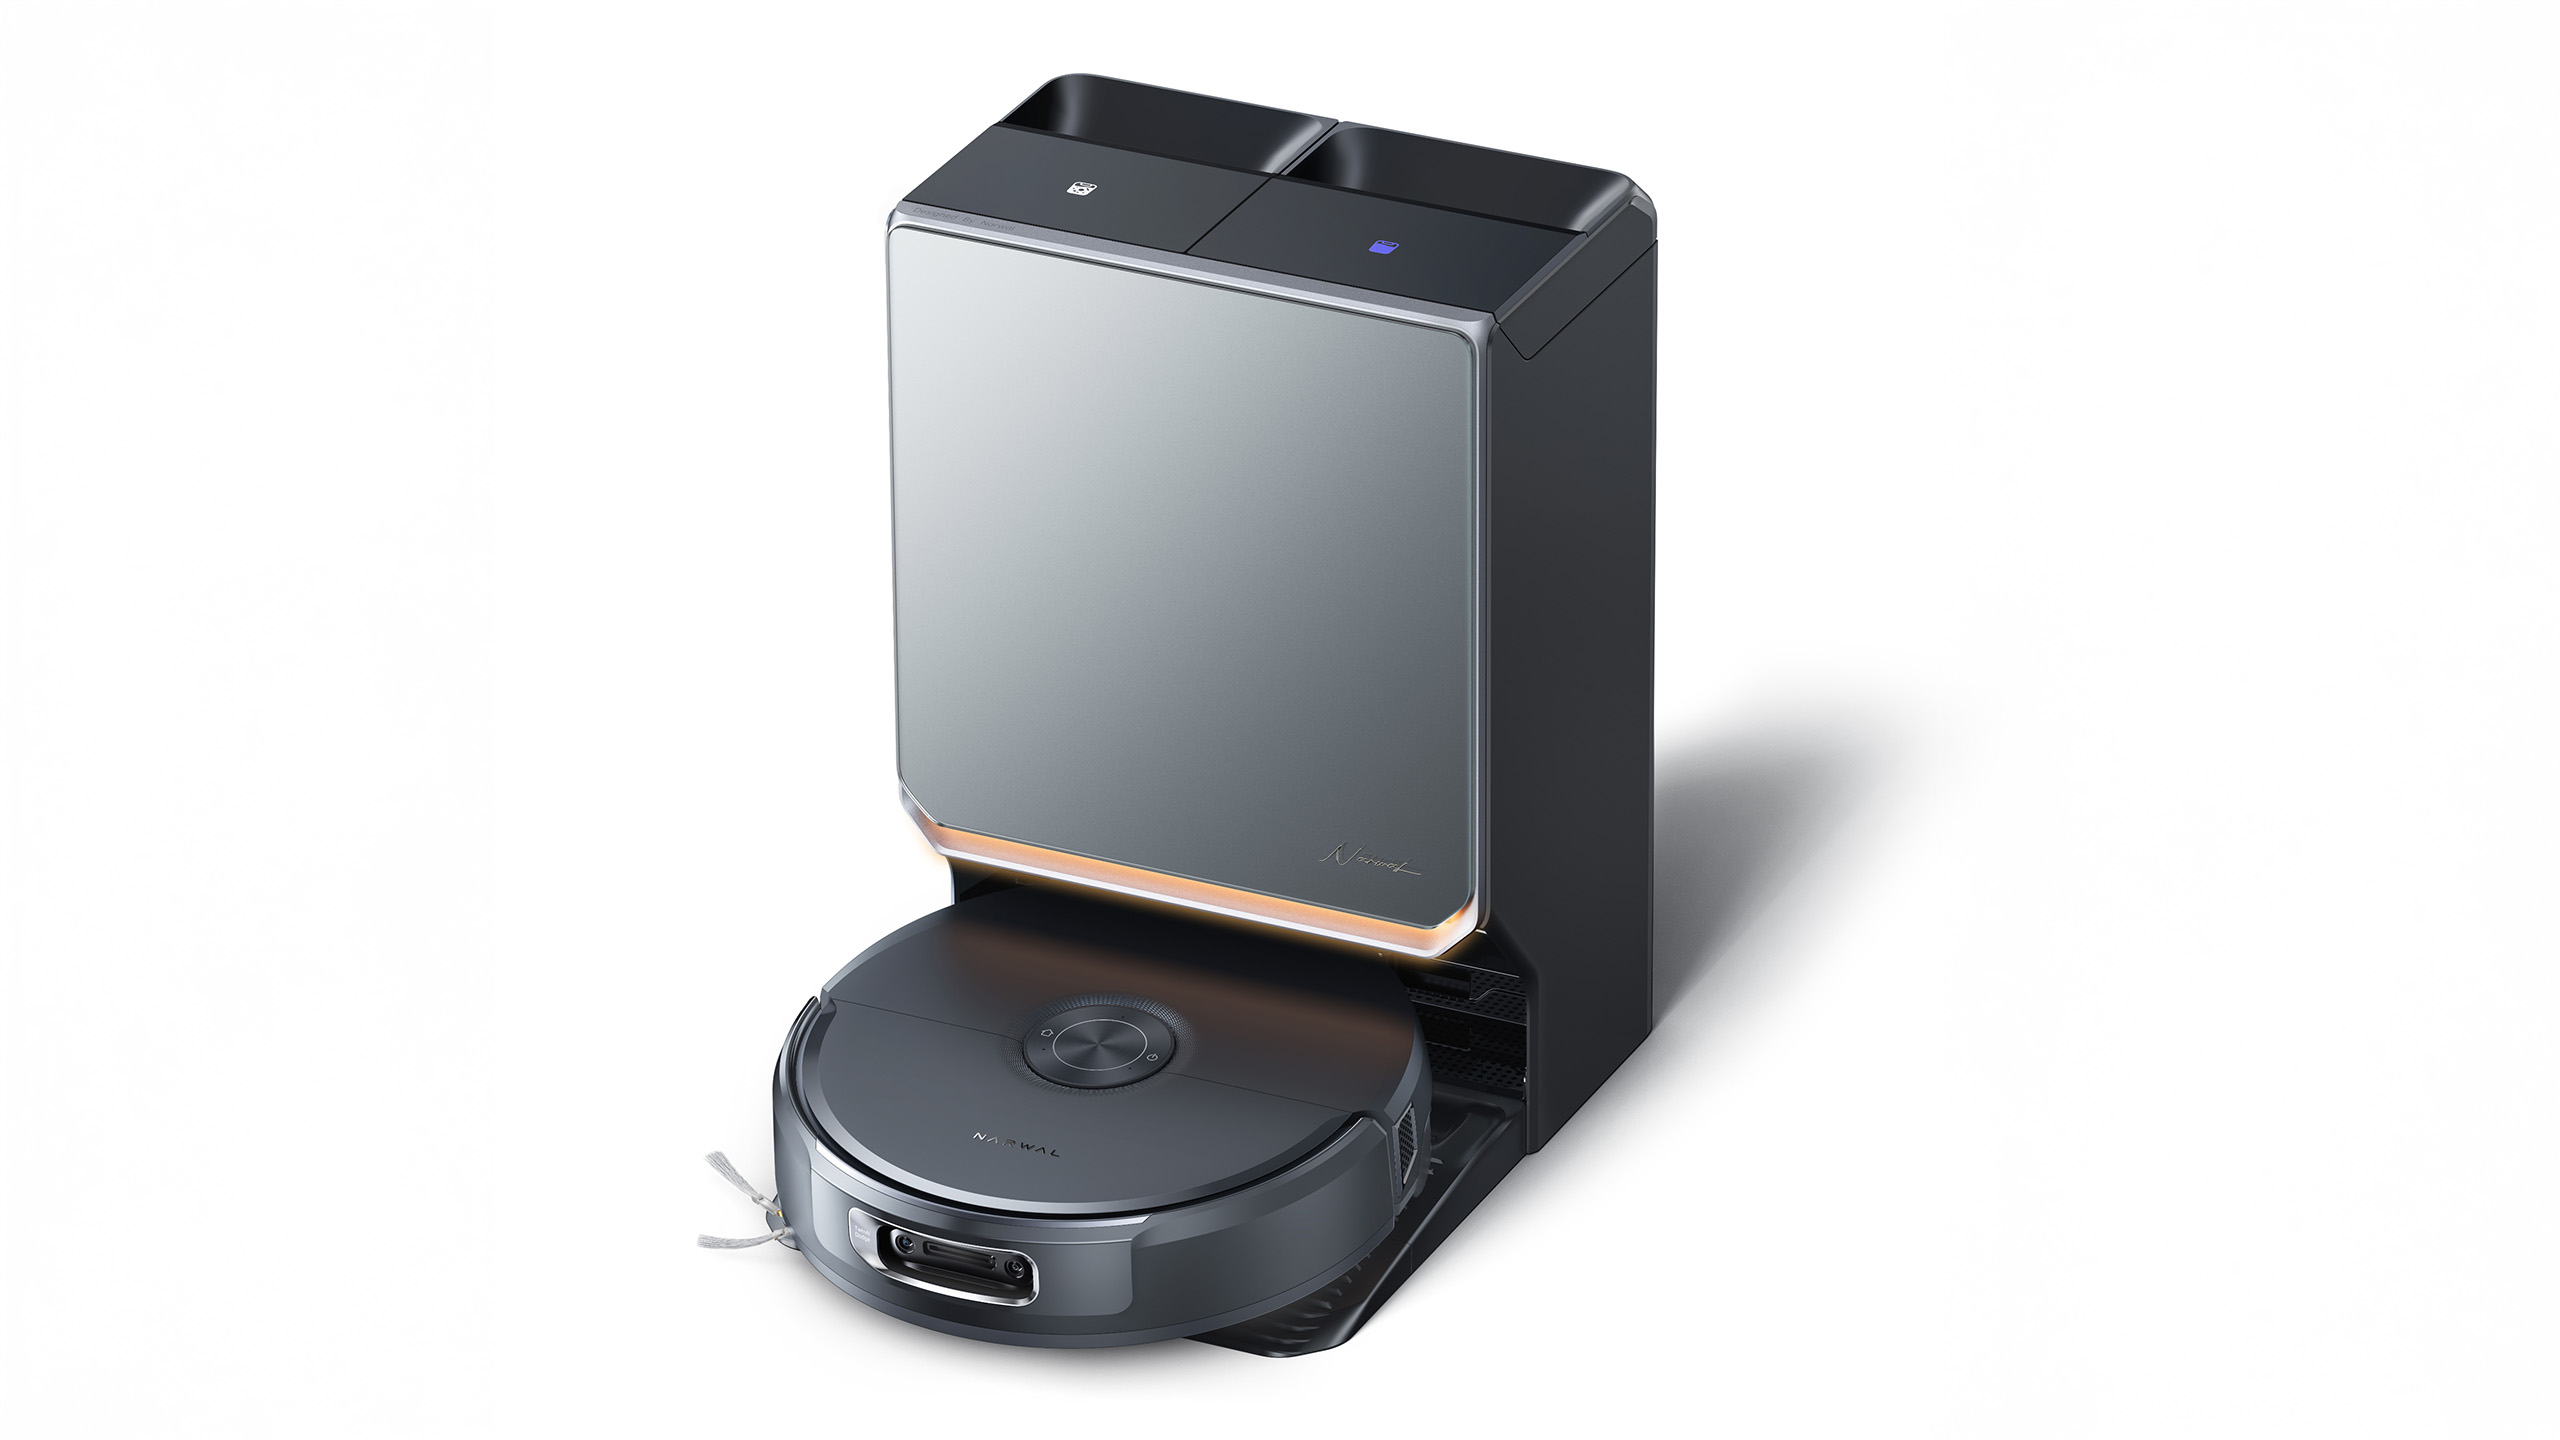
Finally, for peak convenience, consider a robot vacuum that comes with a self-empty station. These are basically garbage bins attached to the machine’s docking station. At the end of each job, the robo-vac automatically empties its small dustbin into the large clean base – that means you won’t have to empty the dustbin yourself and you’ll only have to tend to the base once every few weeks.
Just keep in mind that many self-emptying bins require proprietary garbage bags – another long-term expense you’ll have to factor in (look for mentions of “bagless” to avoid this all together). Also, any vac-and-mop robot with a water tank will not dump its dirty water into the clean base, so you’ll still have to clean up that yourself.
Robot vacuum maintenance tips
First and foremost, always empty your robot vacuum’s dustbin after every cleaning job. If you have a model with a self-emptying base, there’s less work for you to do yourself. If not, simply detach and empty the dustbin as soon as the robot is done cleaning. It’s also a good idea to take a dry cloth to the inside of the dustbin every once in a while to remove any small dust and dirt particles clinging to the insides.
In addition, you’ll want to regularly examine the machine’s brush roll to see if any hair has wrapped around them, or if any large debris is preventing them from working properly. Some brushes are better than others at not succumbing to tangled hair, but it’s a good idea to check your robot’s brushes regardless — both their main brush and any smaller roller brushes or corner brushes they have. These parts are often easy to pop off of the machine (because they do require replacements eventually) so we recommend removing each brush entirely, getting rid of any tangled hair or other debris attached to them and reinstalling them afterwards.
Robot vacuums also have filters that need replacing every couple of months. Check your machine’s user manual or the manufacturer’s website to see how long they recommend going in between filter replacements. Most of the time, these filters cannot be washed, so you will need to buy new ones either directly from the manufacturer or from other retailers like Amazon or Walmart.
How we test robot vacuums
We primarily test robot vacuums by using them as they are intended to be used: in a home, across different types of flooring and in the face of all sorts of messes including pet hair, spilt coffee grounds and other food debris, dust bunnies, stairs (gasp) and more. We set up all robot vacuums according to their provided instructions and run multiple cleaning jobs during a testing period of at least one to two weeks per machine.
If the robot has mopping capabilities, we also test those as well on hardwood and tile flooring. For models with self-emptying bases, we rely on those built-in trash cans for all post-job cleaning, and we make sure to test the robot vacuum's mobile app for usability and convenience. As we're testing, we make note of things like how loud the robot and its components are, how much human attention the robot needs on a regular basis, how the robot handles large messes and big dust bunnies, if the robot gets stuck on rugs, doormats or other furniture and more.
Robot vacuum FAQs
Are robot vacuums worth it?
We tackled this question when we reviewed budget robot vacuums and the answer is yes, especially if vacuuming is one of your least favorite chores. Robots take the hard work out of cleaning your floors – just turn the thing on and watch it go. Any robot vacuum cleaner worth buying is semi-autonomous in that it will suck up dirt around your home until its battery is low and then make its way back to its charging dock. Unlike a regular vacuum, you should only have to interact with it to turn it on, empty its dustbin and untangle it if it were to get stuck somewhere.
That’s not to say robot vacuums are perfect. They’re almost always less powerful and less flexible than traditional vacuums. Since most robo-vacs are much smaller than traditional models, they often don’t have the same level of suction you’ll get in an upright machine. Plus, their dustbins are smaller, so they will need to be emptied more frequently. While Wi-Fi-connected robot vacuums give you the flexibility to start a cleaning job from anywhere using an app, targeting a small area of your home can be more complicated. Some robo-vacs have spot-cleaning features that focus the machine’s attention on a specific area, which almost – but not quite – mimics the spot-cleaning you’d be able to do yourself with a regular or cordless vacuum.
How long do robot vacuums last?
Robot vacuums can last many years, if you take care of them properly. Check out our recommendations for robot vacuum maintenance above, but in a nutshell, you should make sure that you're emptying the machine's bin after every job and periodically cleaning the interior of the bin and the brushes. It's also a good idea to check the user manual to see how often your robot vacuum's filter needs changing.
Do robot vacuums work better than handheld vacuums?
There's no straight answer to this question. Robot vacuums offer more convenience than handheld vacuums, so for those who are looking to automate a chore, that could mean one of these devices works better for them than a standard vacuum. However, handheld vacuum cleaners often have stronger suction power, and they give the user a bit more control. It ultimately depends on how you intend to use your main vacuum cleaner and what you want to prioritize most.
How often do you have to clean a robot vacuum?
Cleaning a robot vacuum isn’t too much of a chore, but you’ll want to give it a little TLC every few weeks or so, depending on how often you’re running it and how much dirt it’s picking up. The dustbin usually needs to be emptied after each cleaning run, especially if you have pets or lots of carpet where dirt can hide. Many newer models have self-emptying docks, which means you won’t have to empty the dustbin yourself after every use, but the main bin will still need a good clean once a month or so. Also, it’s a good idea to check the side brushes and main brush for any hair tangles or debris every couple of weeks to keep things running smoothly.
What are the negatives of robot vacuums?
Robot vacuums won’t work for everyone. One of the biggest drawbacks is that they usually don’t have the same suction power as a full-sized upright vacuum or even a cordless stick vacuum, so they might struggle with deep-cleaning thick carpets. They’re also designed for floors only, so if you’re looking to clean furniture, stairs or other tricky spots, you’ll still need a traditional vacuum to do that. Plus, they can sometimes get stuck or miss spots, especially if you’ve got a lot of furniture or obstacles in the way. While their sensors help, they might still bump into things or need a little help getting out of tight spots. And while most have decent dirt detection features, they’re best for keeping things tidy rather than doing heavy-duty cleaning.
Check out more from our spring cleaning guide.
This article originally appeared on Engadget at https://www.engadget.com/home/smart-home/best-robot-vacuums-130010426.html?src=rss