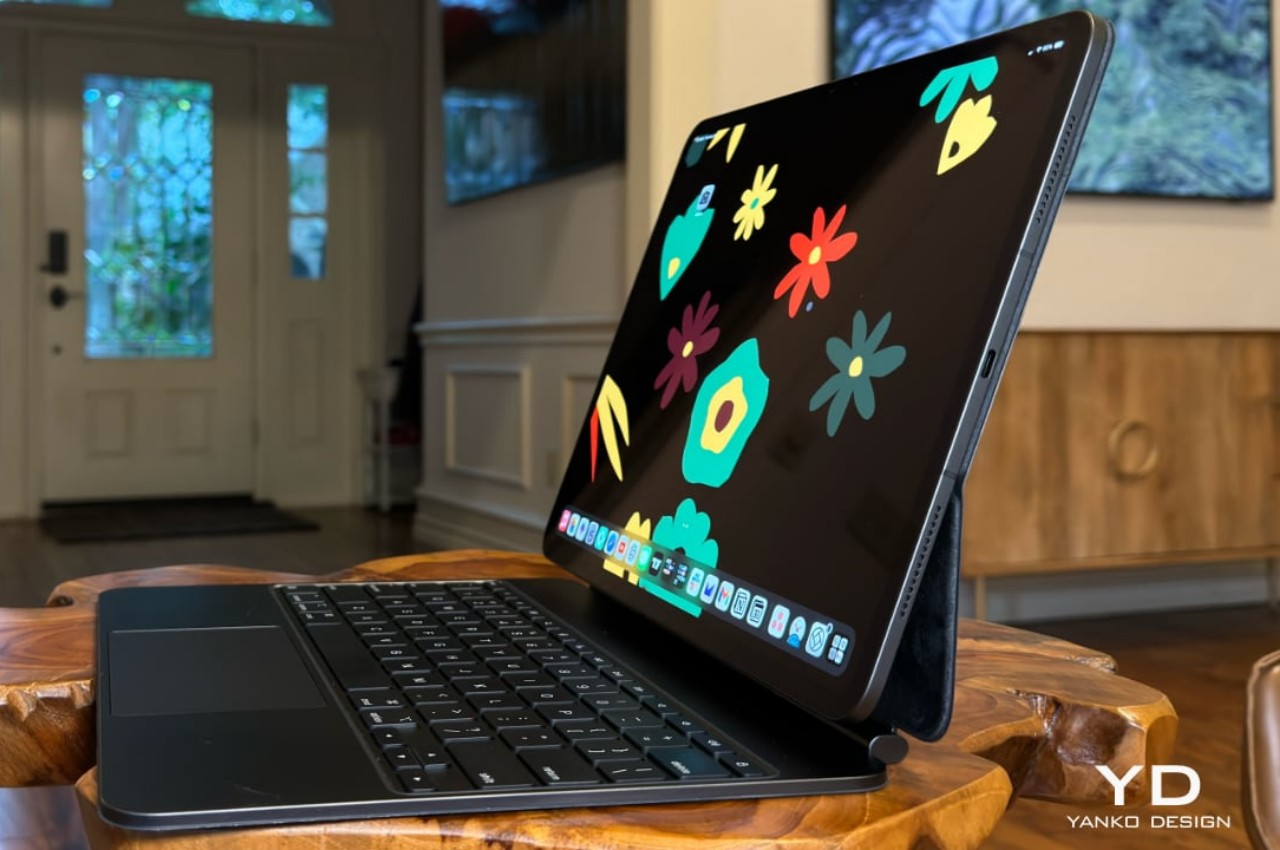
As expected, the Internet is abuzz over the new M4 iPad Pro’s ultra-thin design, but there are also reasonable concerns over the device’s durability and longevity because of that design as well. Fortunately, a bend test proved that the tablet has enough resistance to withstand accidents within reason, but accidents will still happen regardless. Displays will get cracked and batteries degrade and, sooner or later, the new iPad Pro will become old and will need to be repaired. When that time comes, how easy and expensive will it be to open up the thinnest iPad in the world and replace those broken parts? It turns out, that Apple made one very important step toward improving the device’s repairability, at least for one of the most common types of repairs.
Designer: Apple (via iFixit)
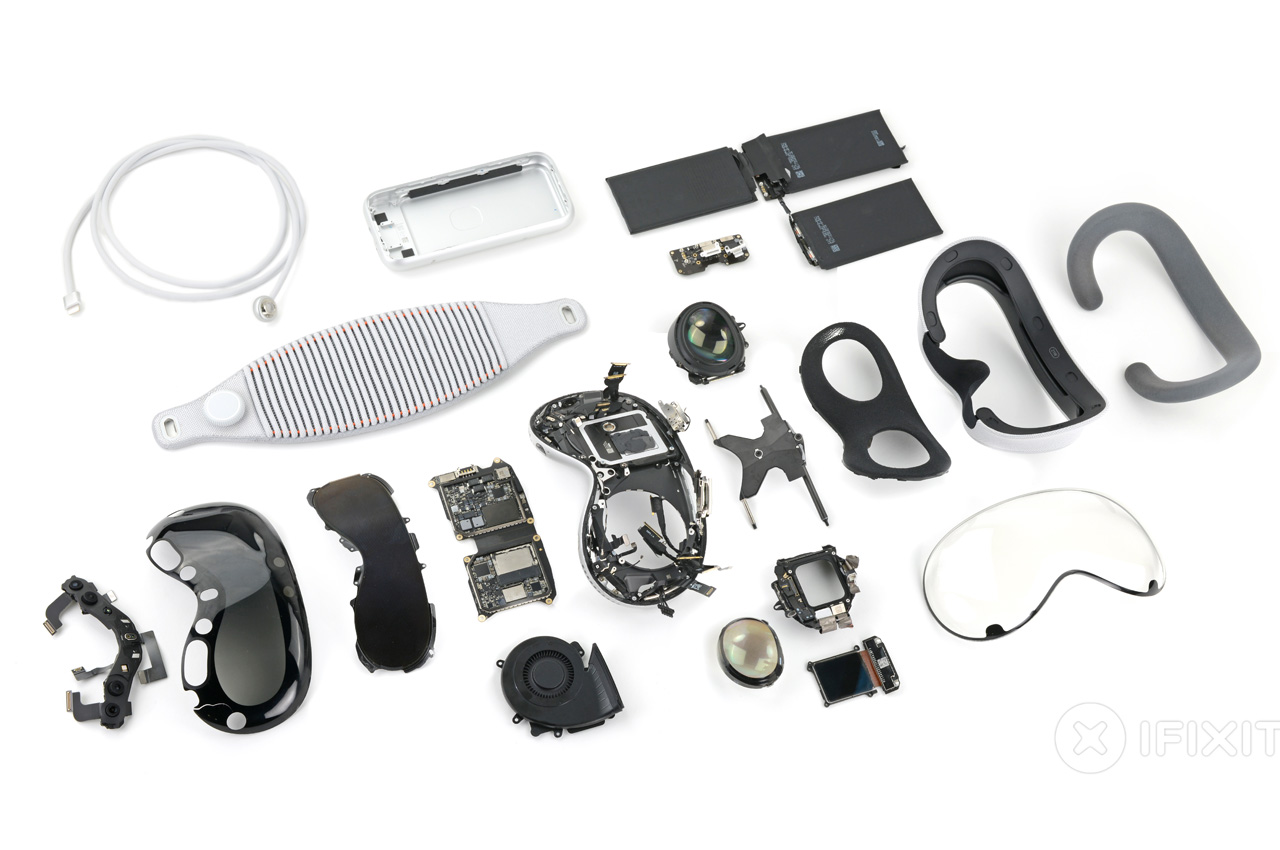
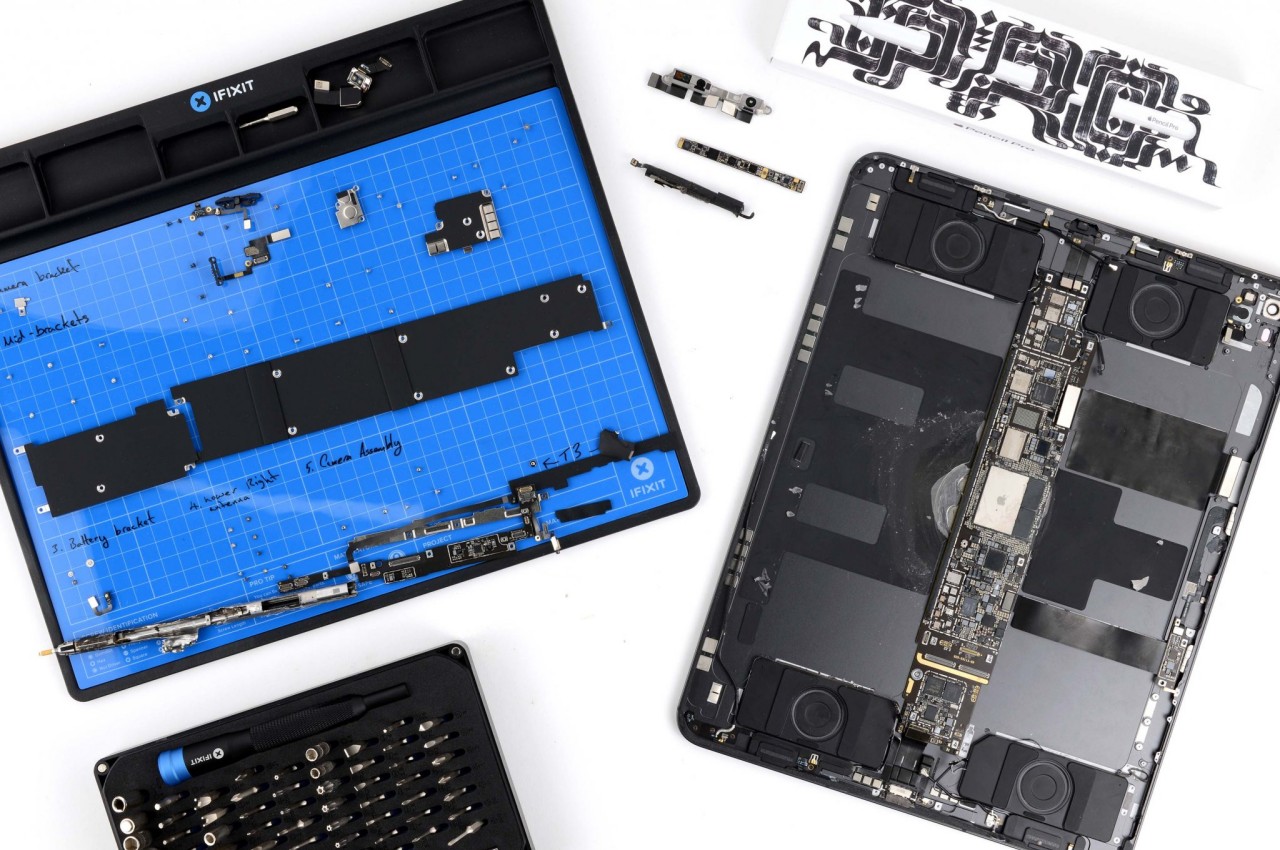
Whether it’s a smartphone or a tablet, mobile devices have two or three parts that easily get damaged or need to be replaced. Screens crack or shatter after accidental falls, charging ports get damaged or blocked, and batteries start to lose their charge faster or, worse, start to bloat. For the iPad Pro, getting to any of these parts has always been a chore and a risk, but the M4 iPad Pro has surprisingly made it easier to remove and replace the battery without removing as many important parts.
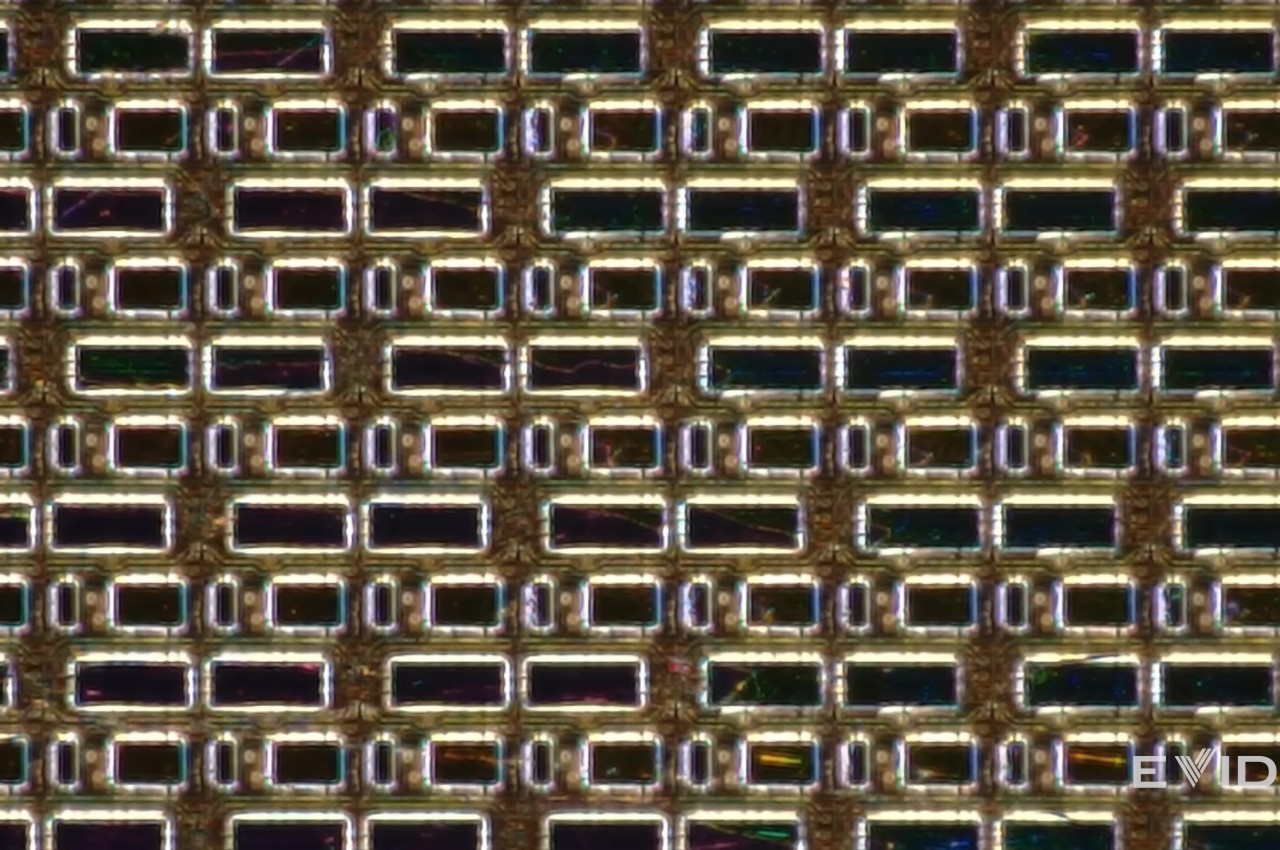

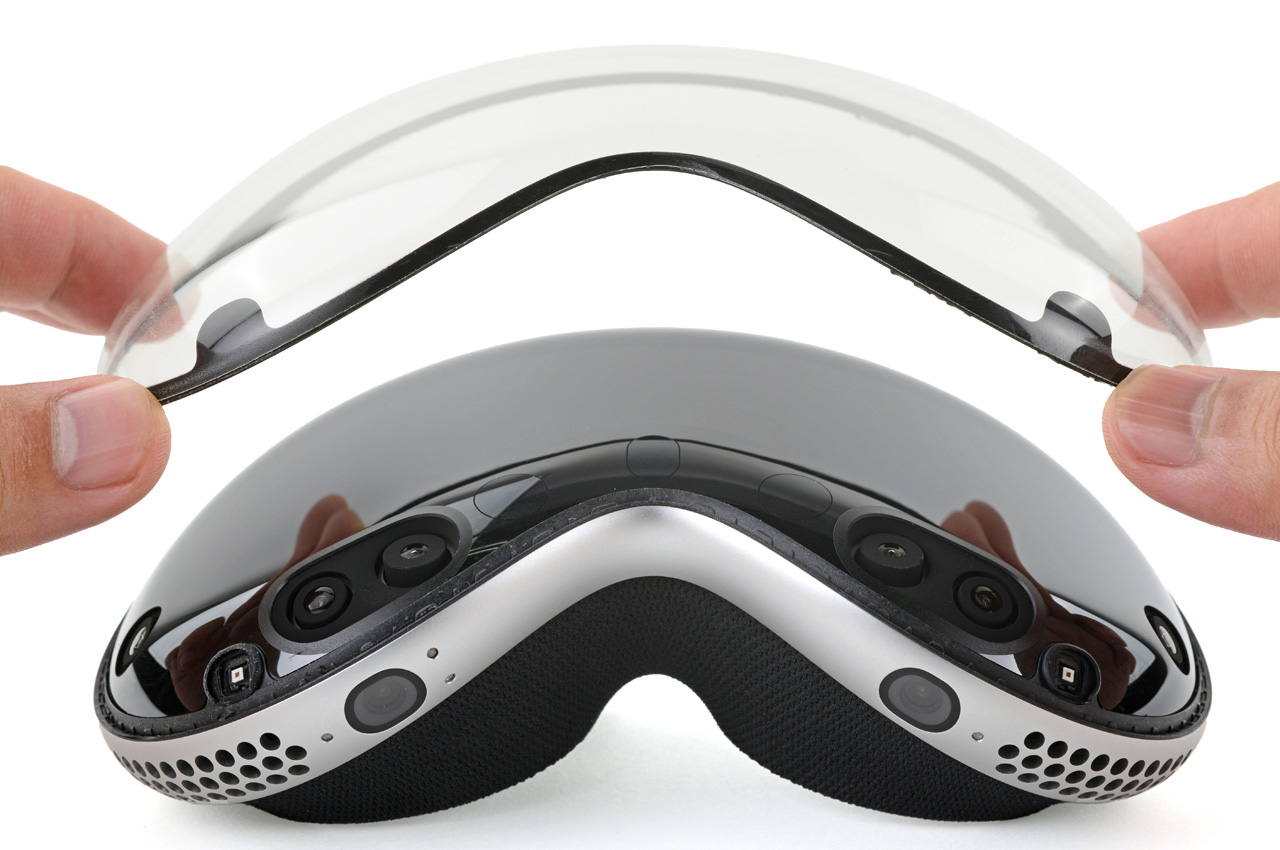
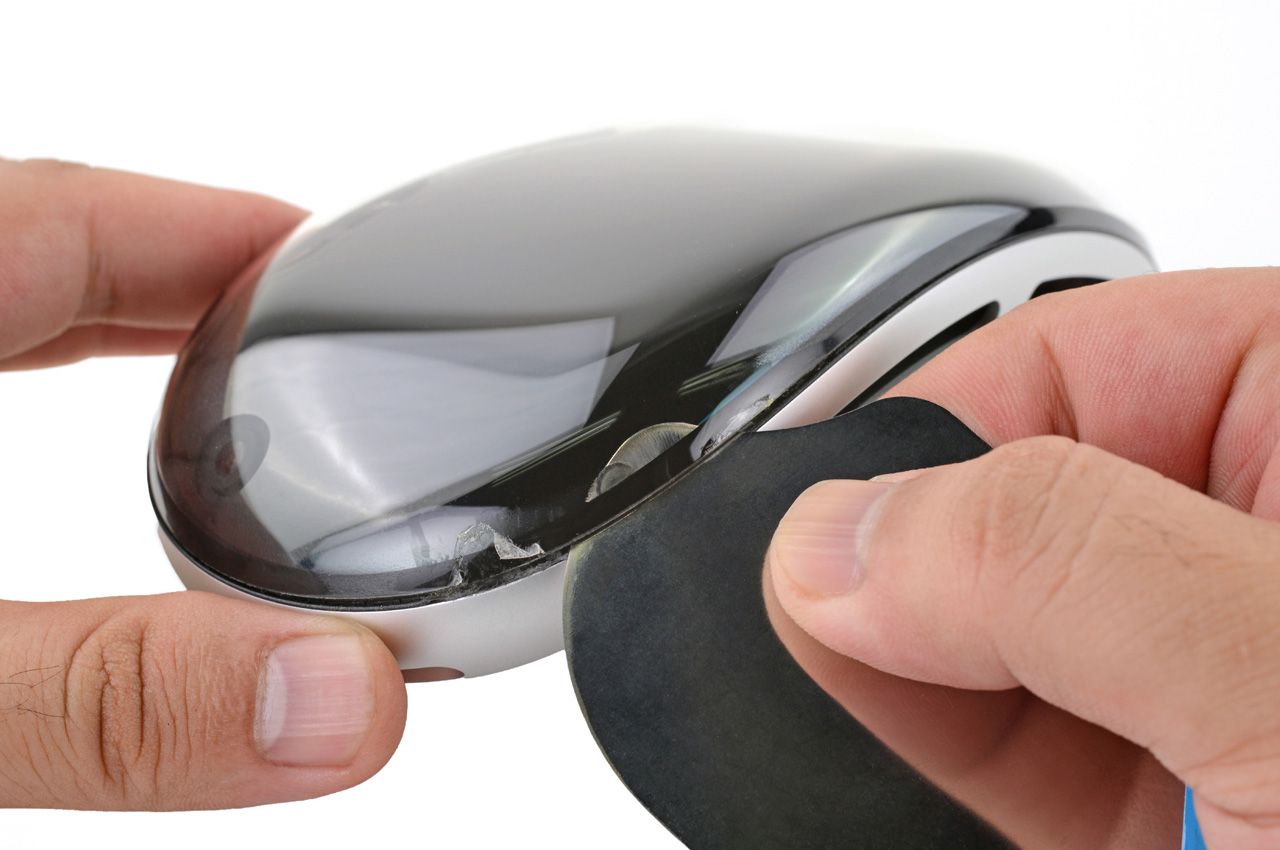
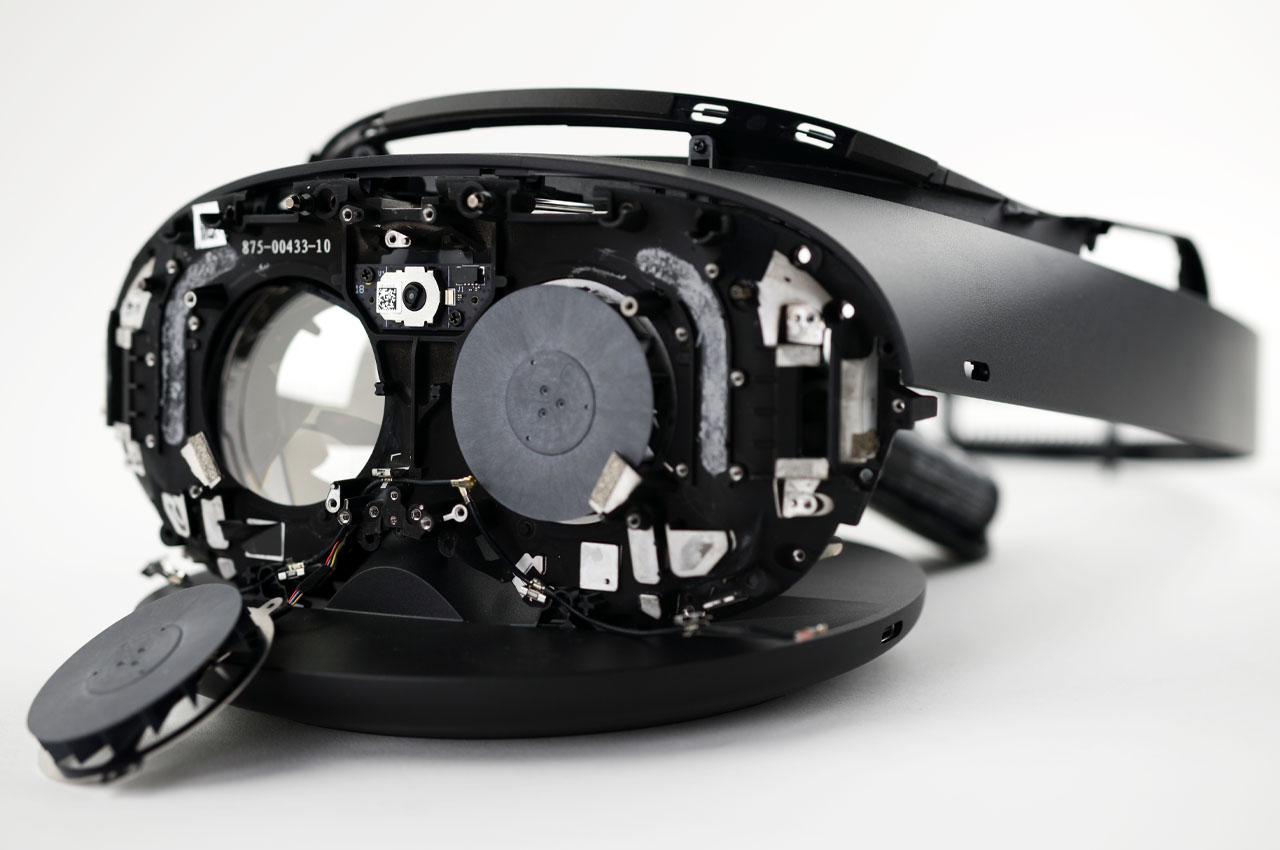
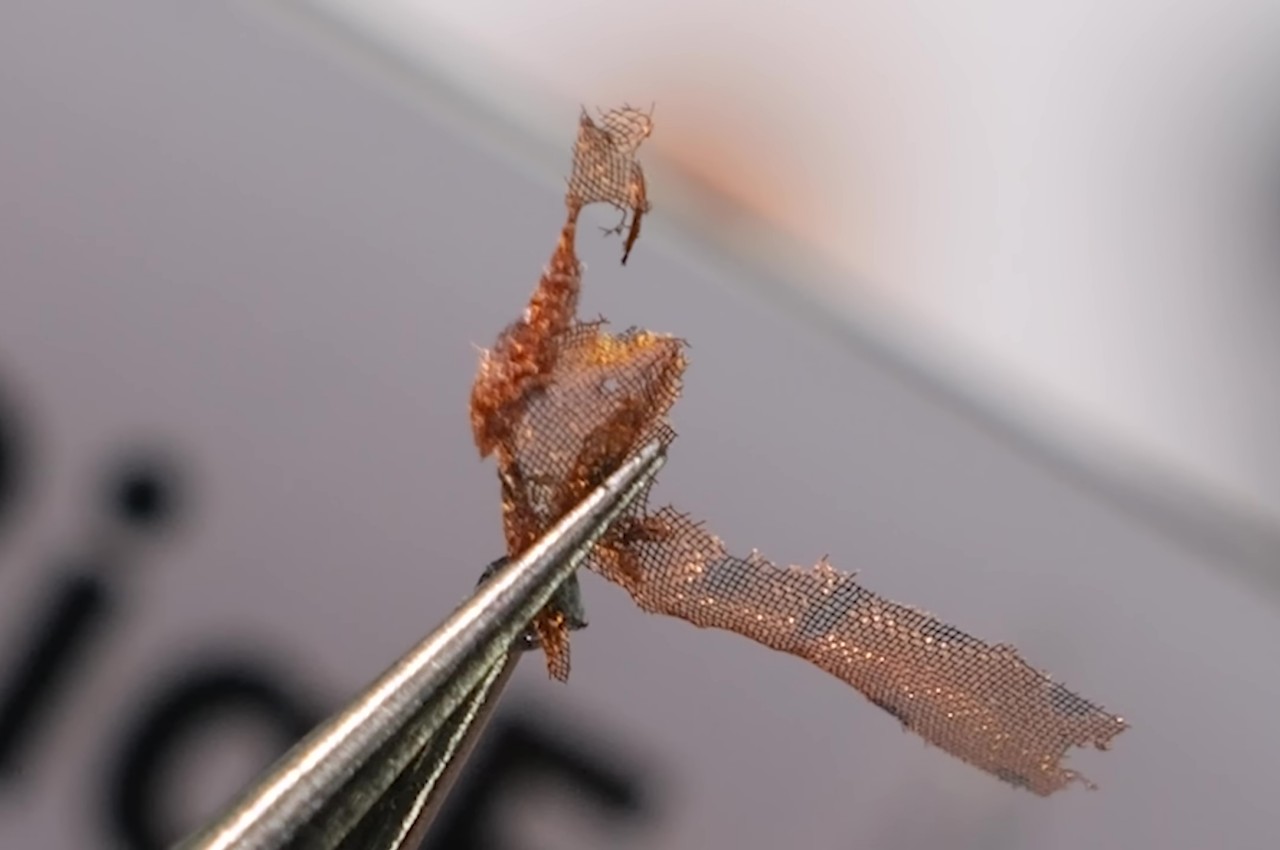
Opening up the iPad Pro is still an exercise in patience and dexterity, perhaps even more so now with a new Tandem OLED display. A closer look at that screen reveals not the dual-layered panels that Apple used to explain the technology, but, for all intents and purposes, it practically functions the same way. Long story short, there’s a high chance that the screen will be damaged beyond repair when you try to open the iPad Pro just to replace the battery.
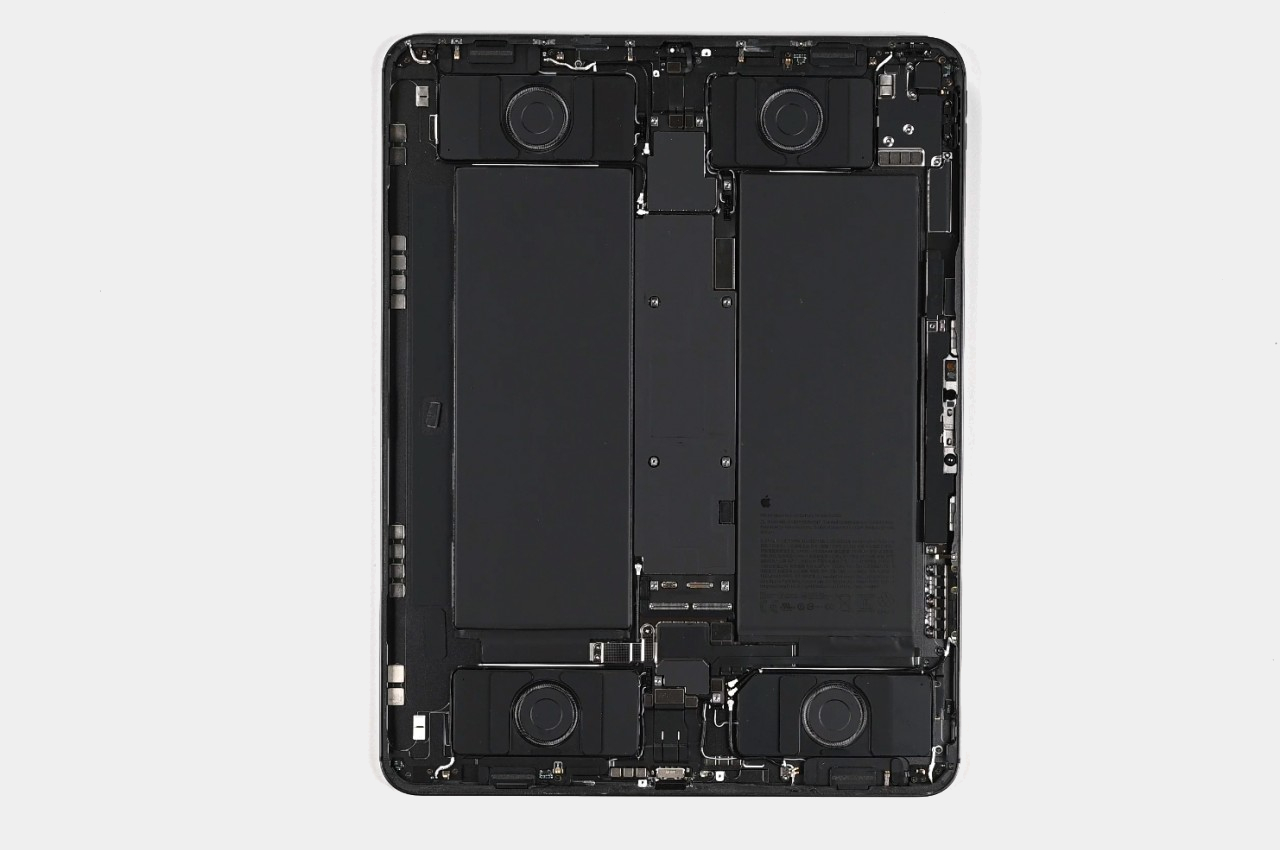
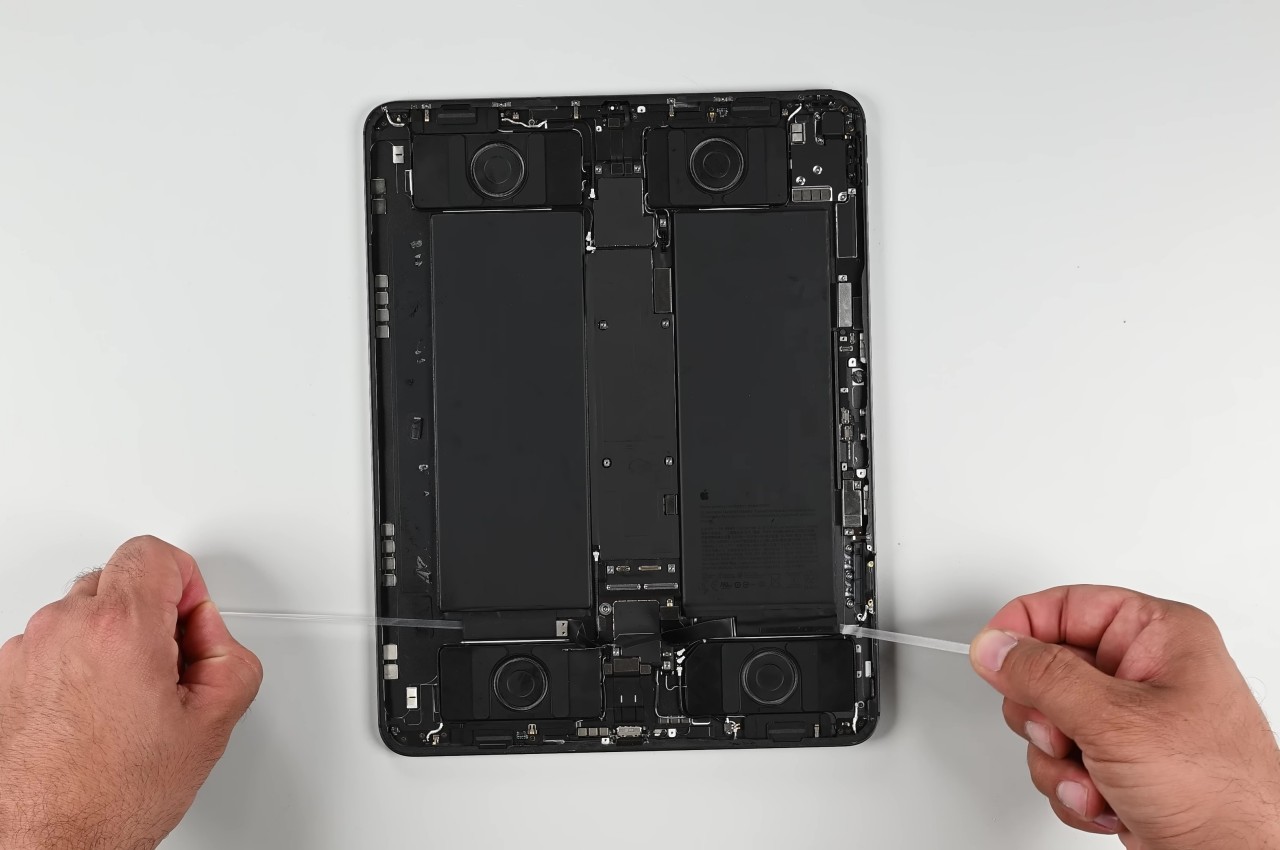
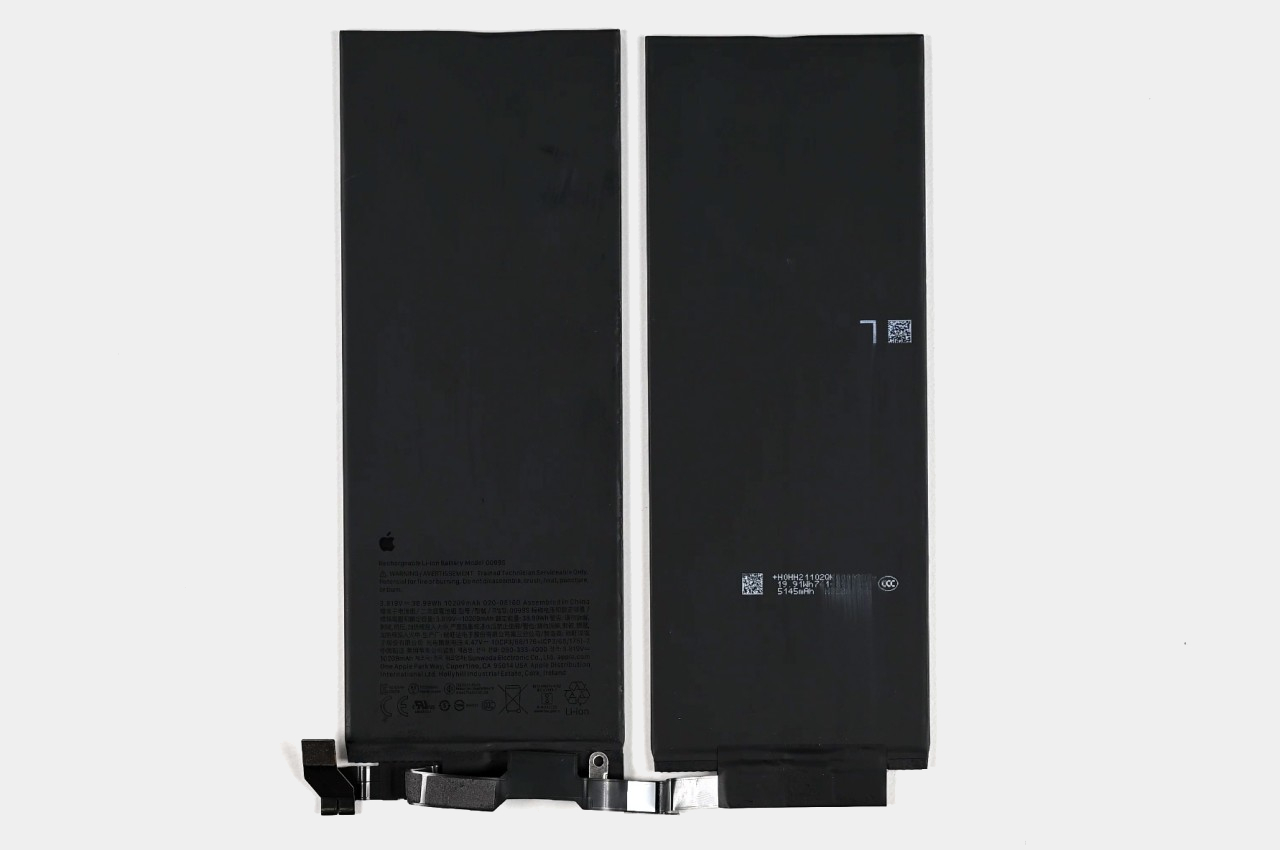
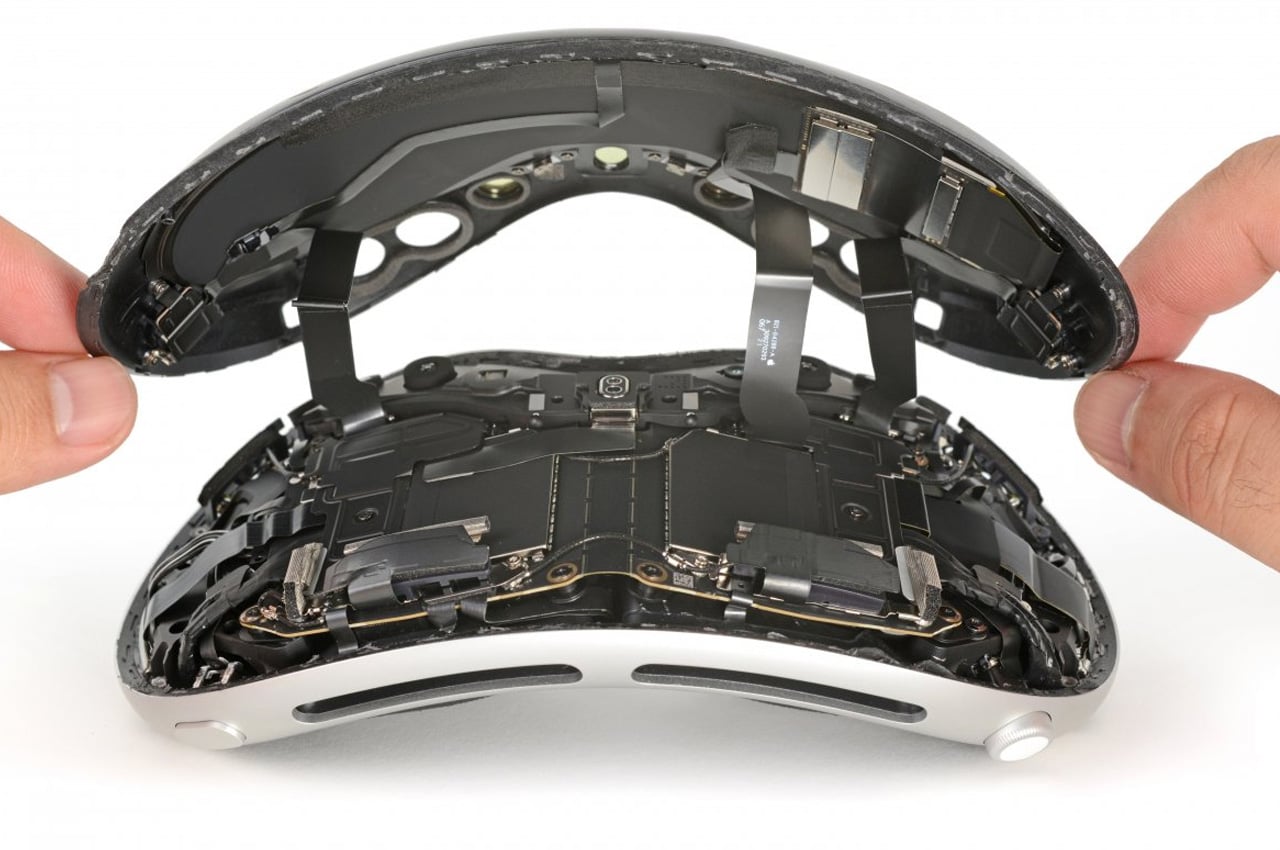
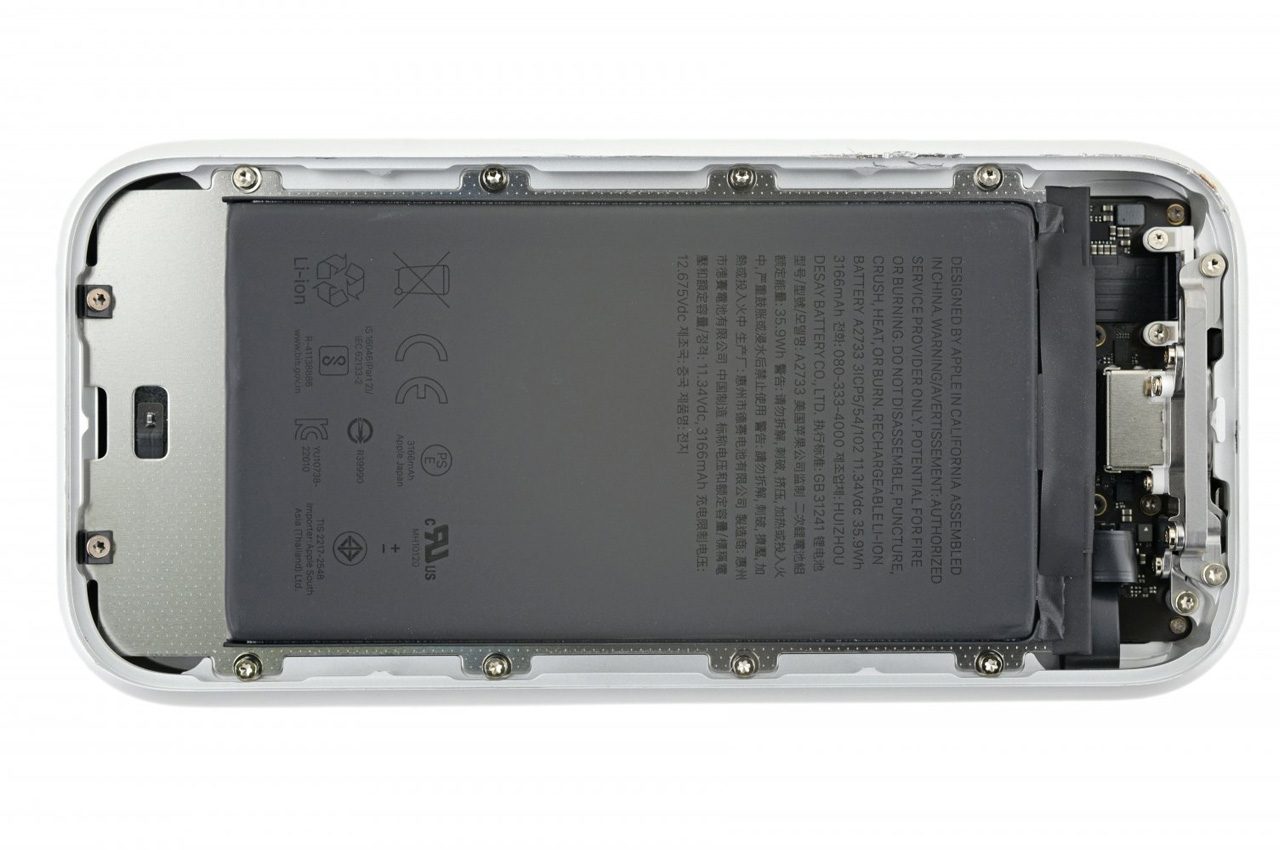
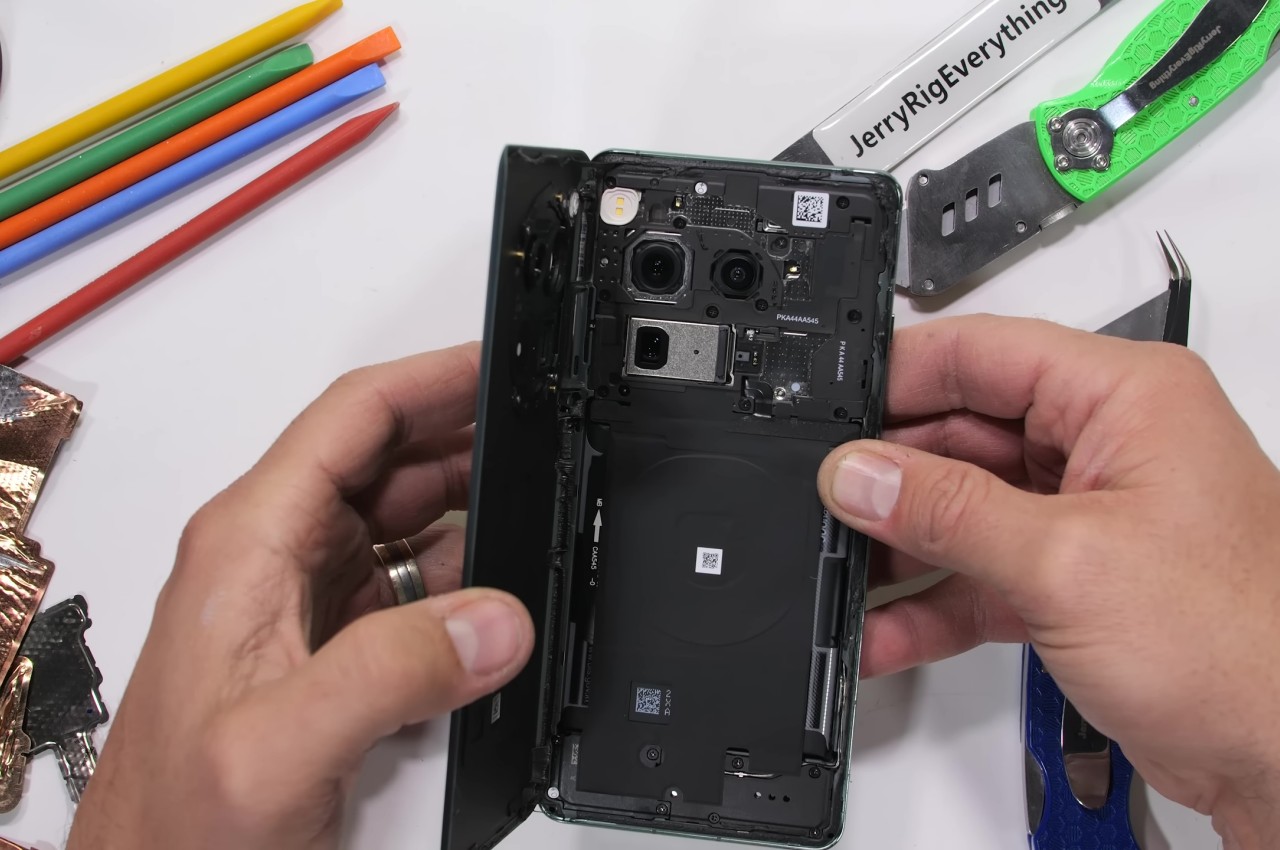
Fortunately, the battery itself is easy to reach, as it is immediately exposed after removing the display. There are a few parts that need to be unscrewed to gain access to the pull tabs, but there’s no need to remove daughterboards, logic boards, or even speakers. Considering this is Apple we’re talking about, that’s a rather ground-breaking change and a step in the right direction.
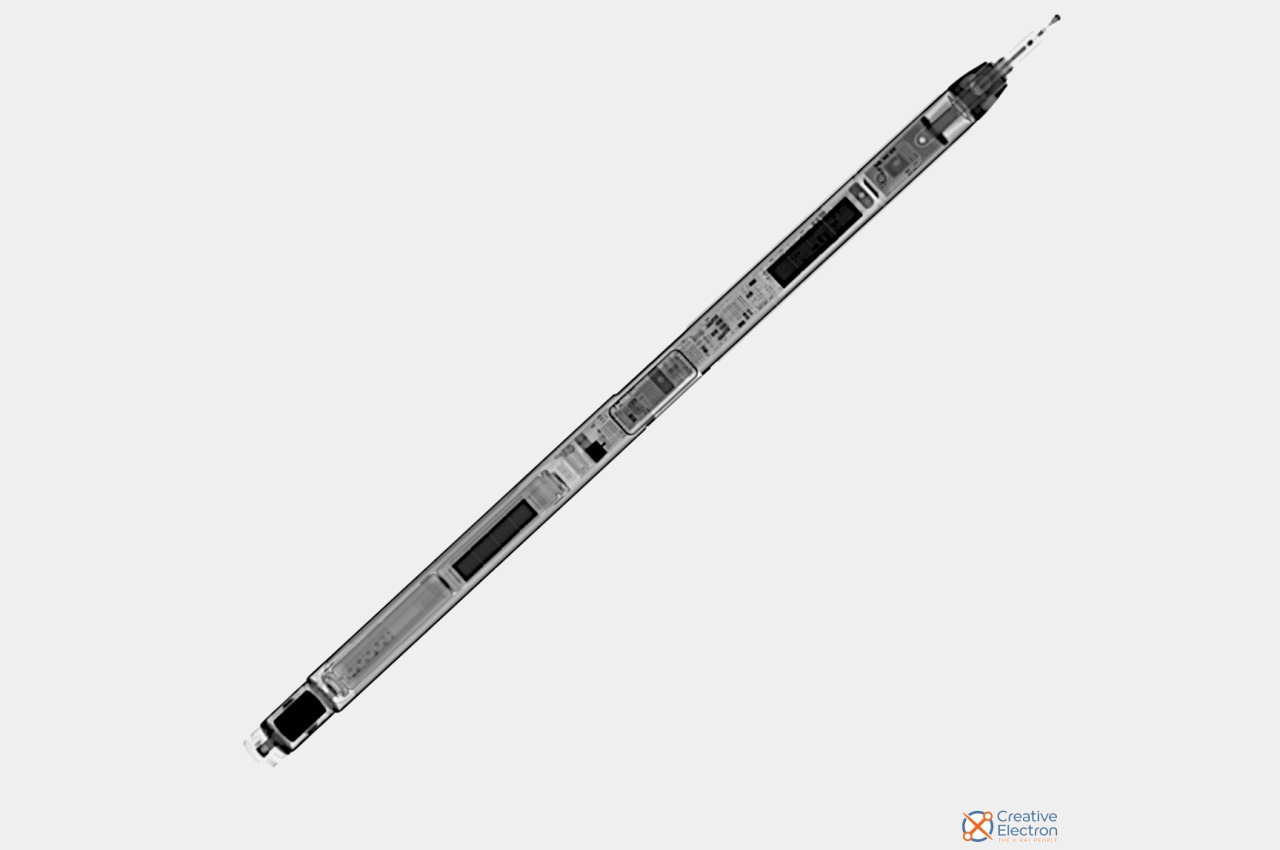
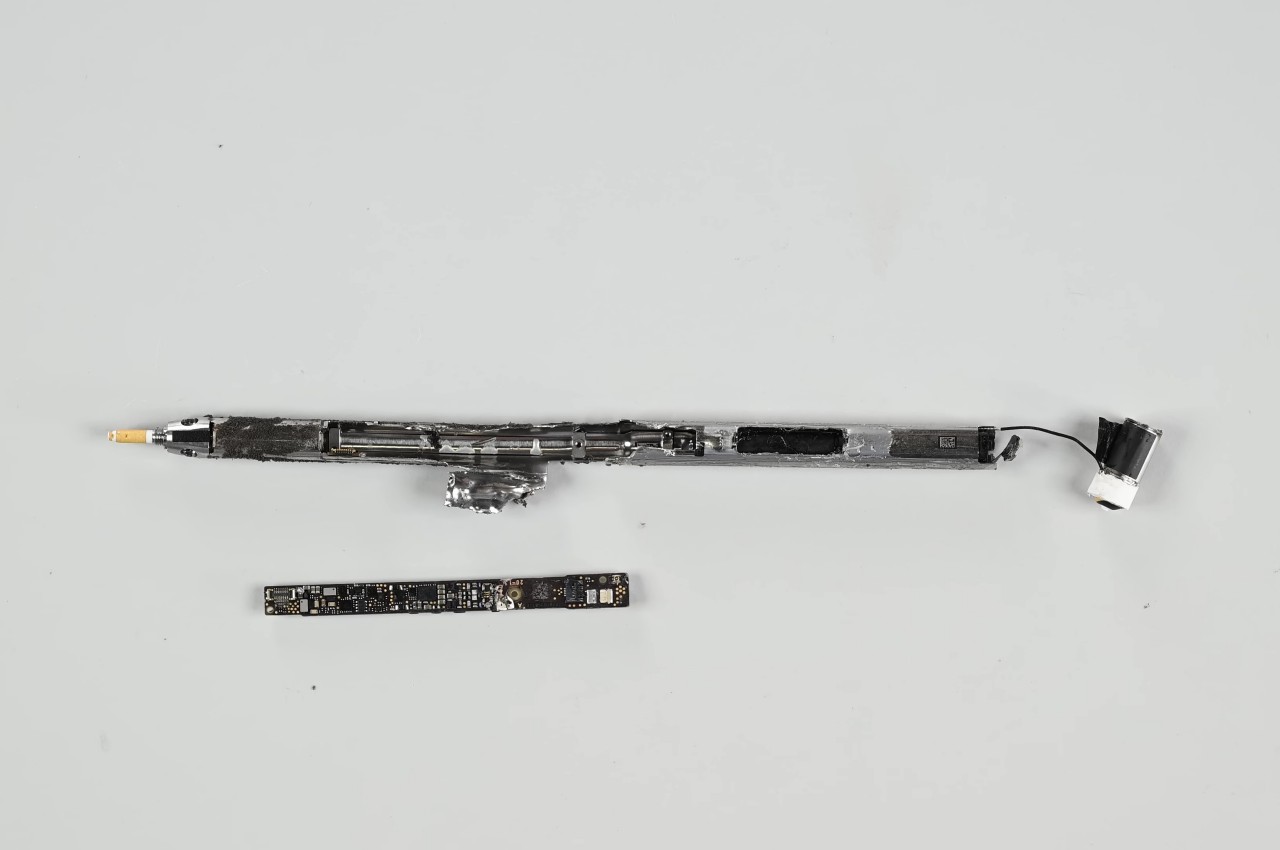
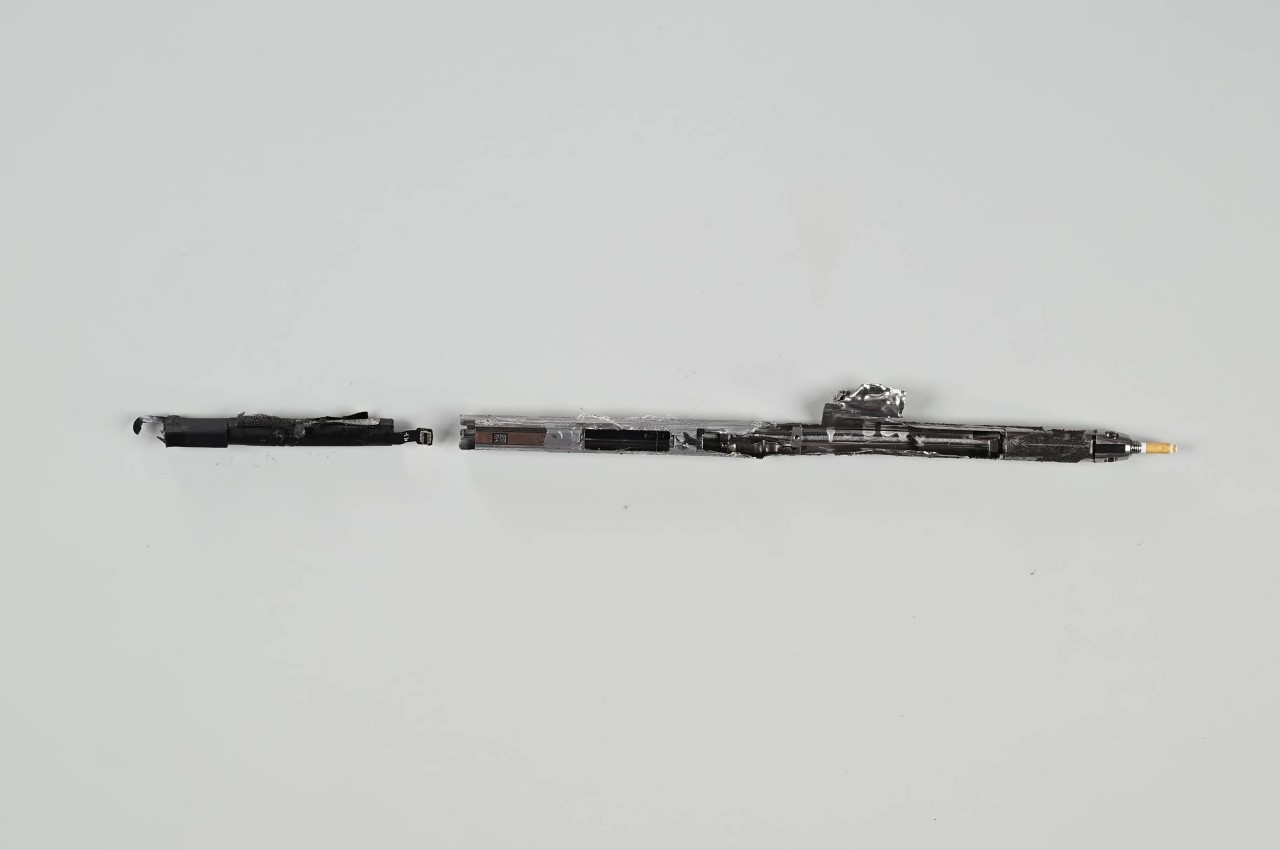
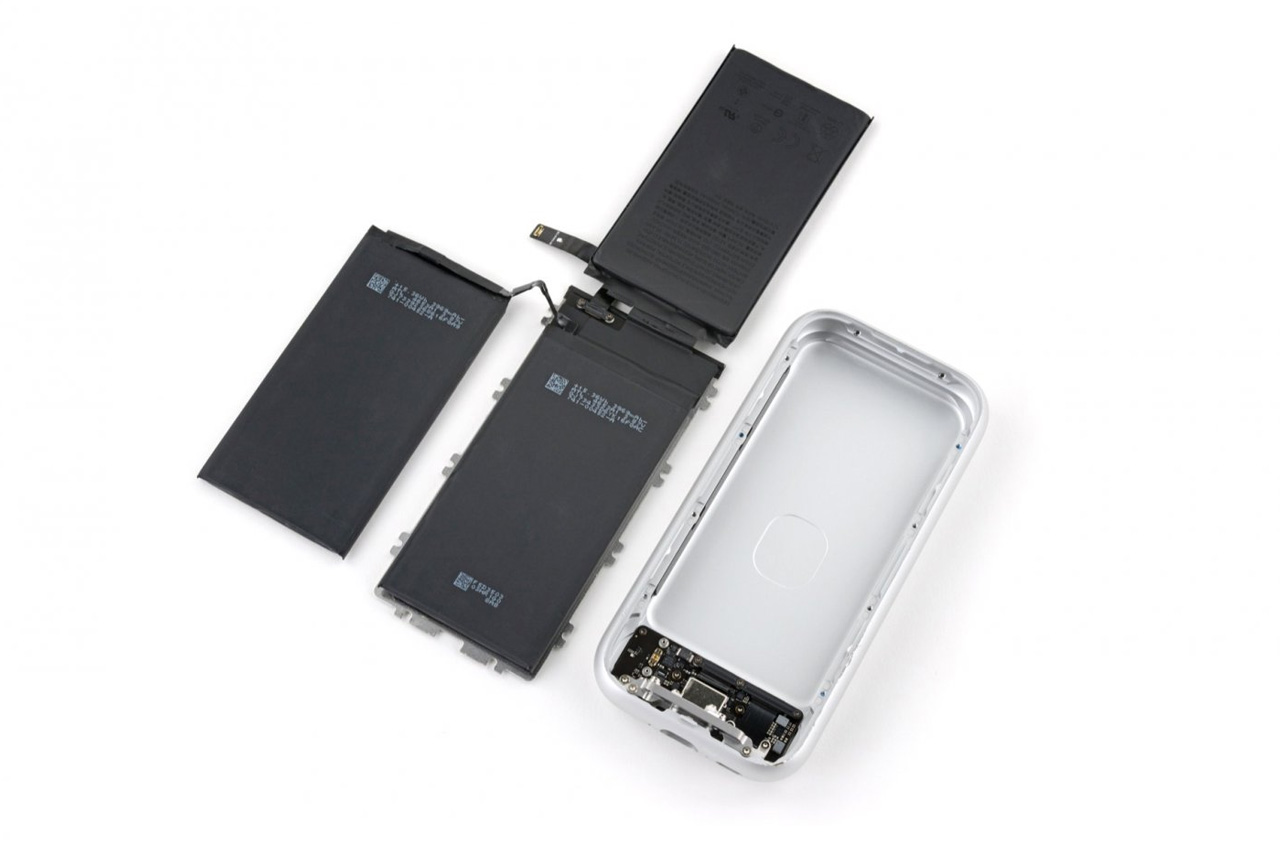
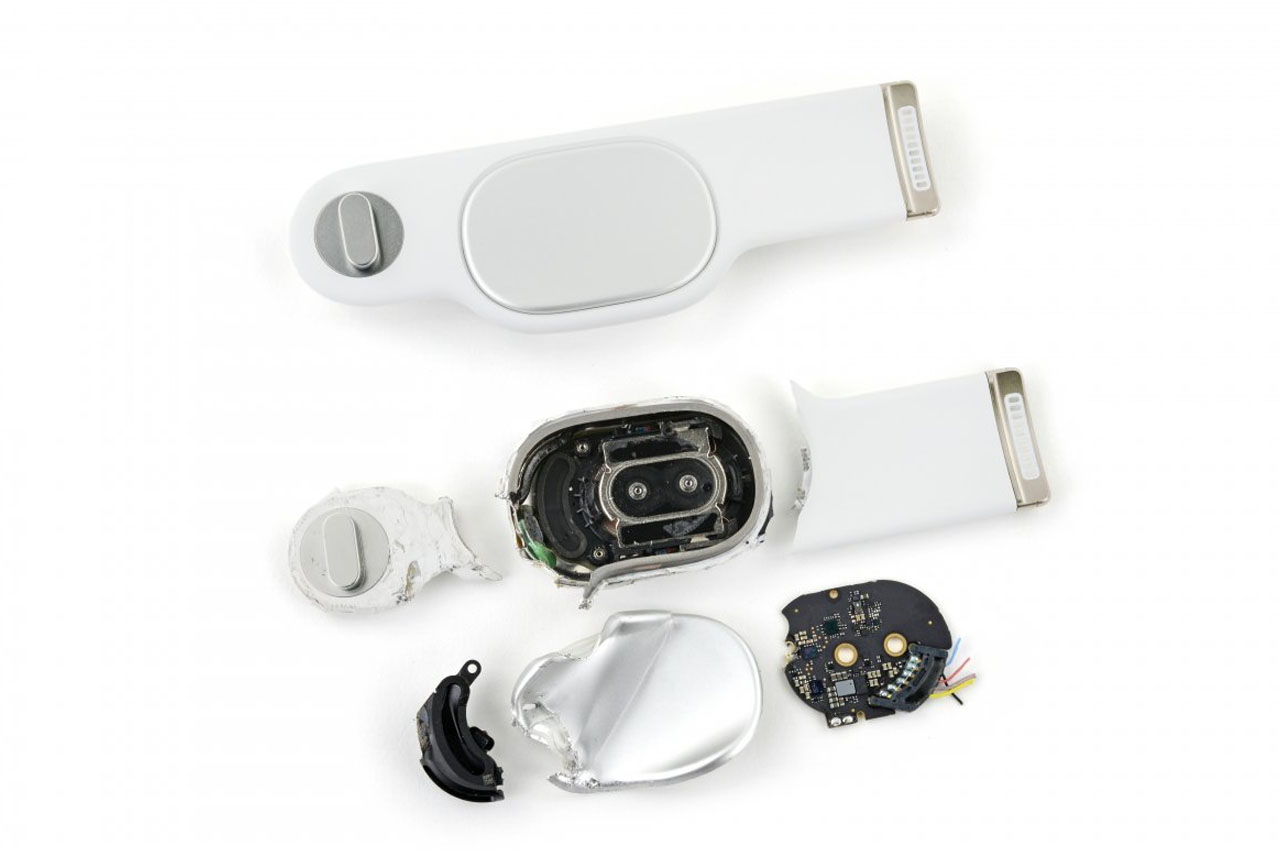
Unfortunately, Apple’s “size zero” design does also come with its drawbacks, like many of the parts now glued down rather than screwed down, just because there’s virtually no space left for screws. And then there’s the new Apple Pencil Pro that’s still an expensive disposable accessory as far as repairability is concerned. All in all, the M4 iPad Pro represents a significant step forward for Apple when it comes to making the tablet a more sustainable option on top of being one of the best of its kind.
The post M4 iPad Pro teardown reveals an important sustainability upgrade first appeared on Yanko Design.