21 Bathroom Cleaning Hacks Using Common Household Items

Maintaining a clean bathroom is not an easy task as it is a frequently used space. However, you don’t have to spend too much time cleaning your bathroom as weekly cleaning should be enough. Here are shortcuts to keep different bathroom surfaces, including the toilet, faucet, tub, and shower, sparkling. These clever cleaning hacks utilize common household items such as baking soda, vinegar, citrus fruits, and so on to keep the bathroom clean.

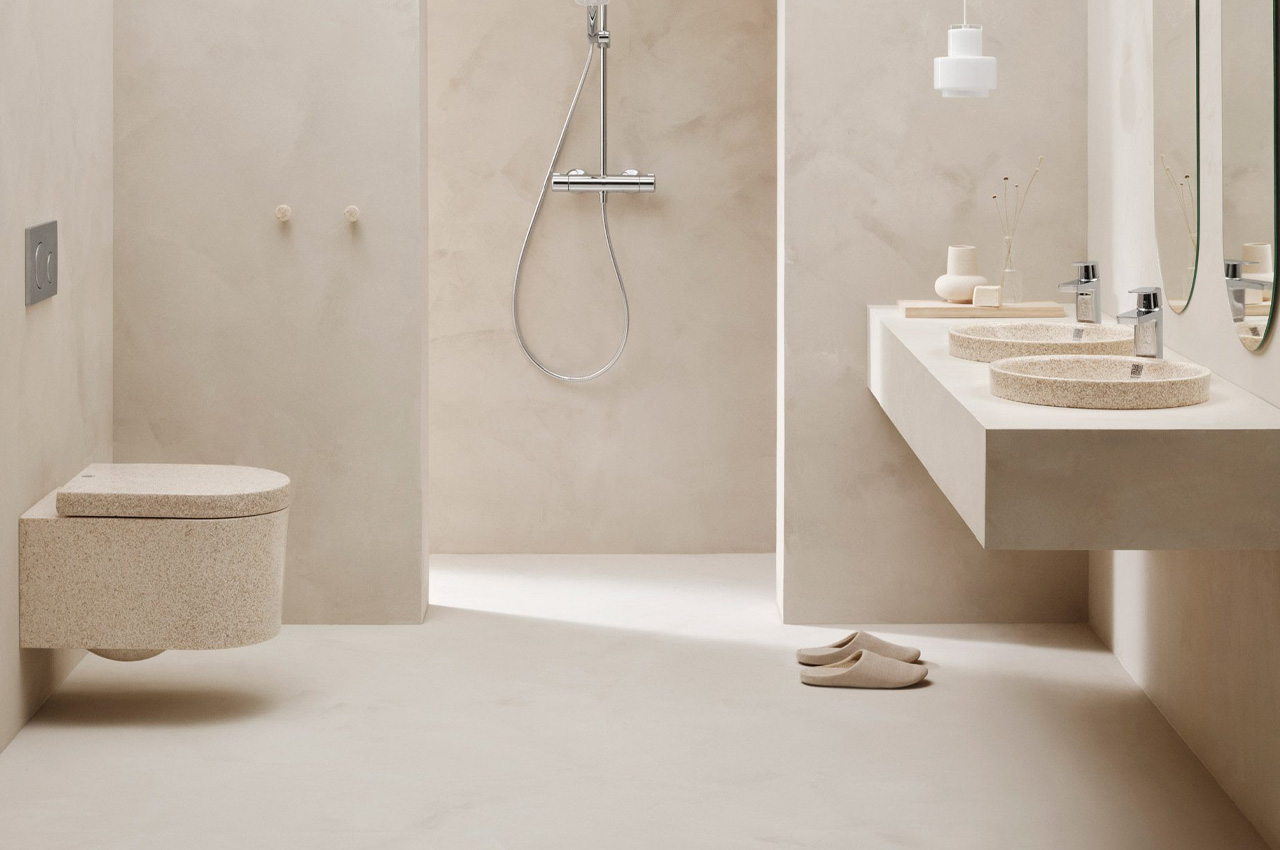
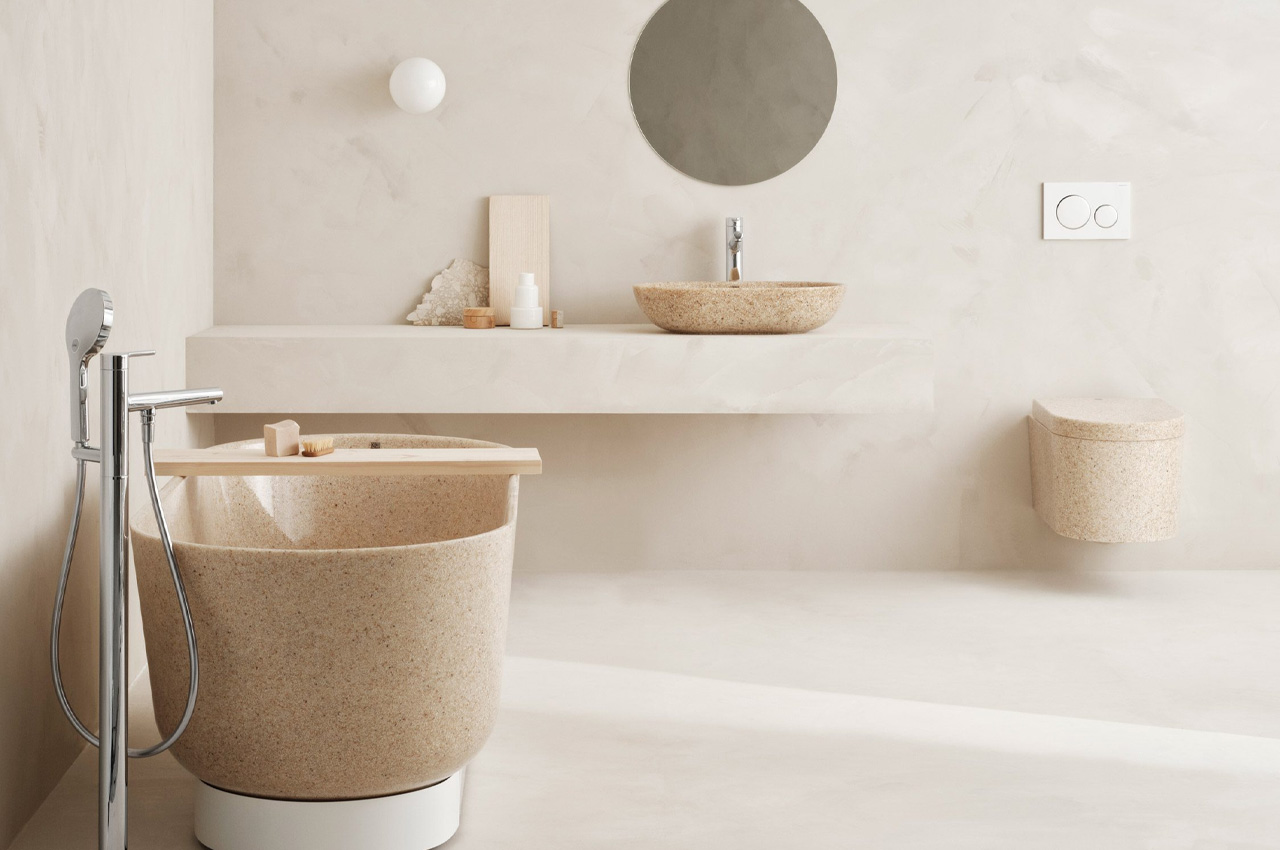
Designer: Woodio
1. Create an All-Purpose Cleaner

Image courtesy of: Yulia_Panova

Mix equal parts of apple cider vinegar and water in a spray bottle. This homemade solution offers a safe, eco-friendly alternative to sanitize various bathroom surfaces like shower tiles, sinks, and countertops, leaving them gleaming without streaks.

2. Clear Shower Drains with Baking Soda
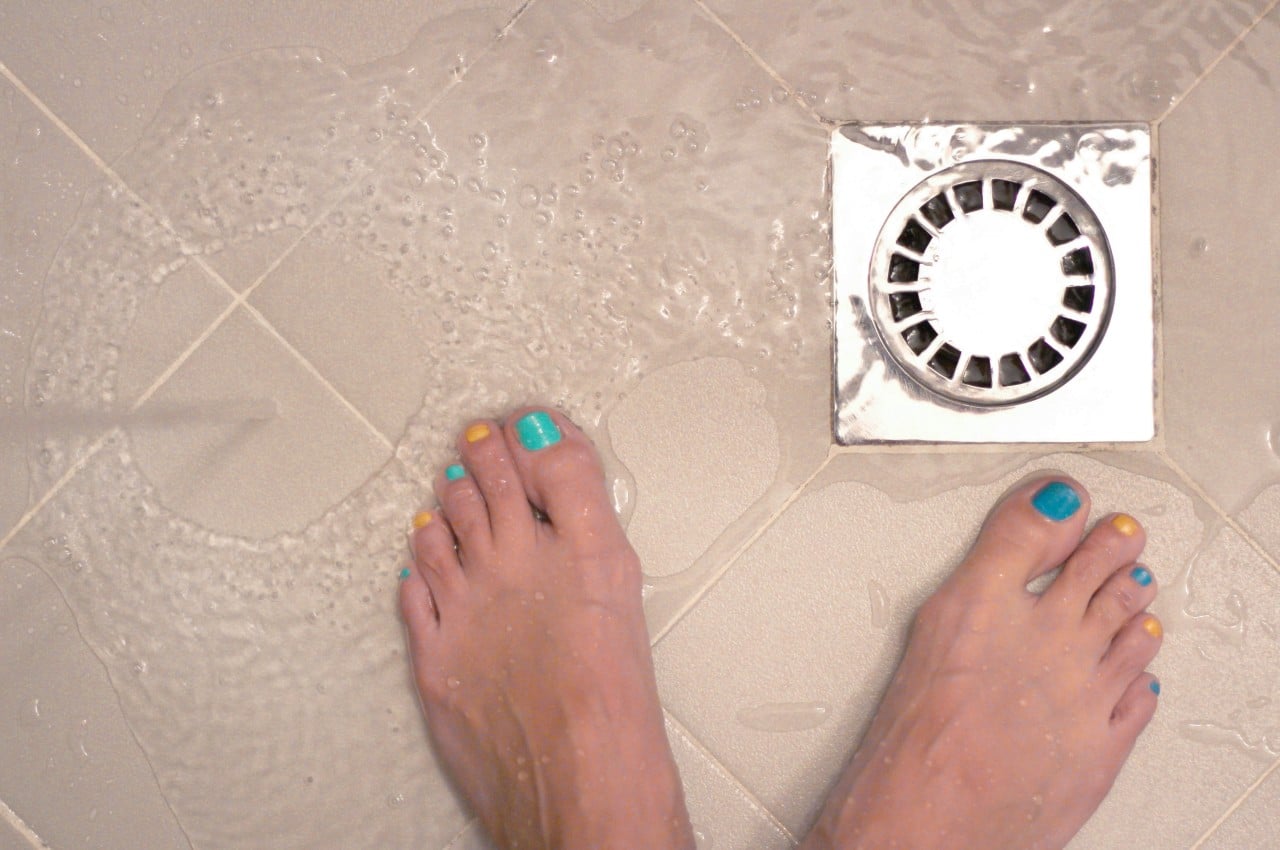
Image courtesy of: mirarahneva

In addition to tackling tub stains and tile grout, baking soda is great for unclogging shower drains. Simply pour some down the drain, then follow with hot water to dissolve grime, hair, and other debris lurking within.

3. Descale Shower Heads with Vinegar
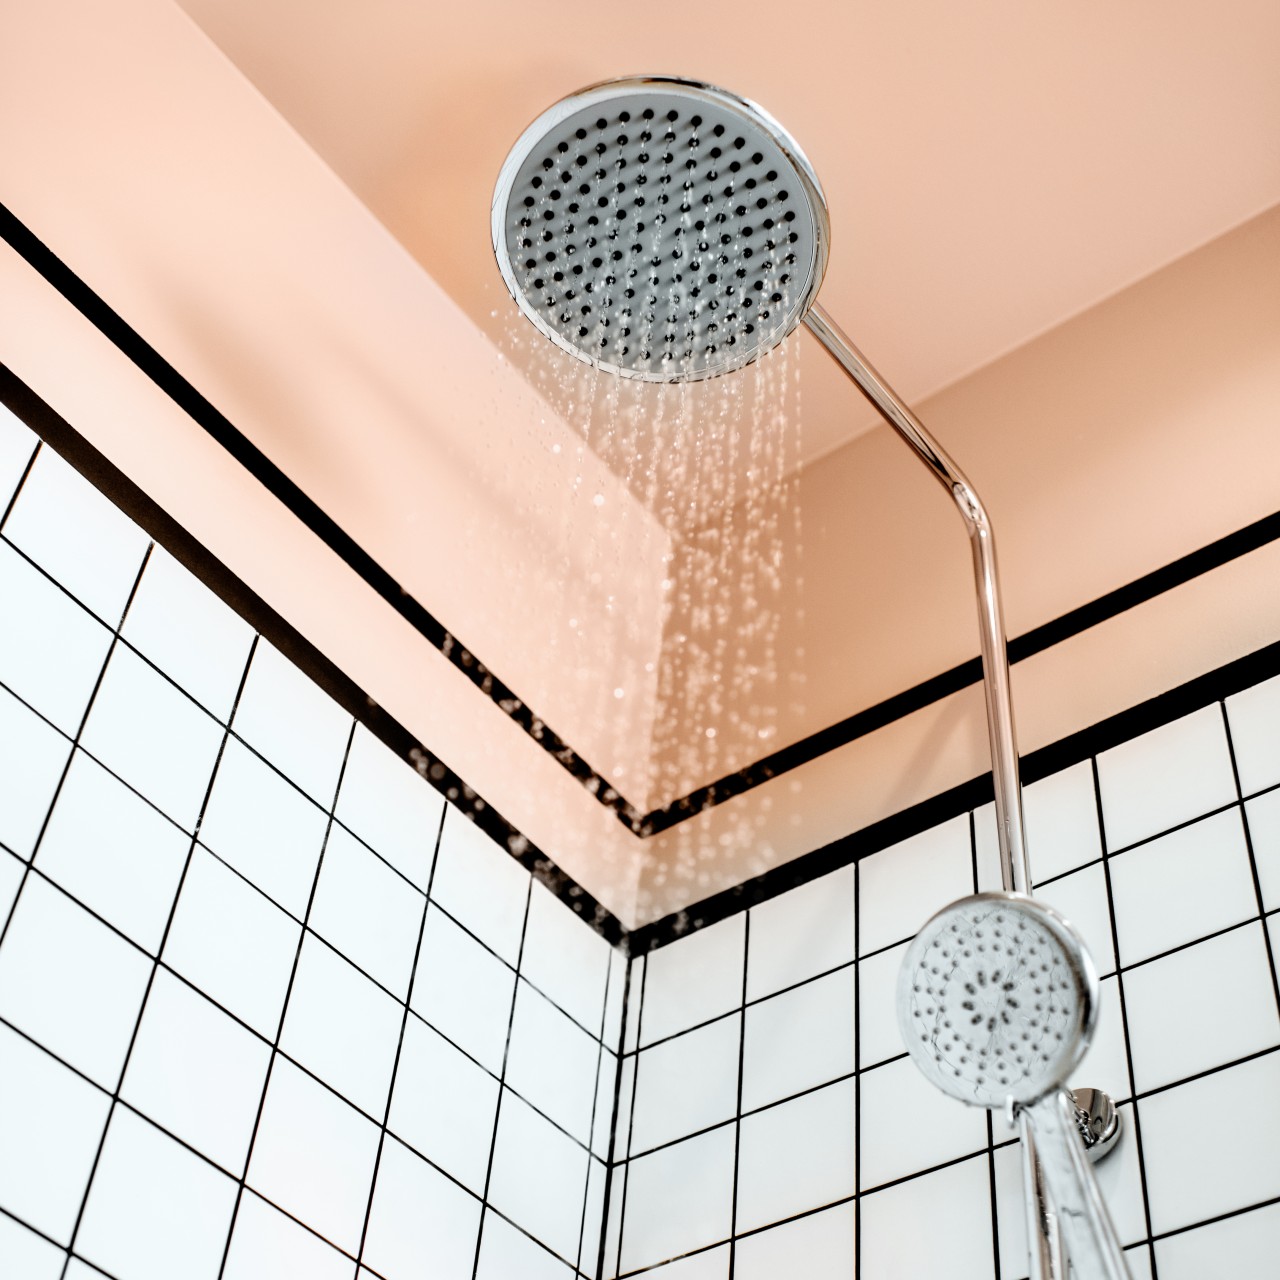
Image courtesy of: RossHelen

If you want to thoroughly clean your shower head and household faucets, just pour diluted white vinegar into a zip-top plastic baggie, secure it around the shower head or faucet with a twist tie, and let it sit overnight. This effortless trick naturally dissolves and eliminates stubborn grime buildup.

4. Clean Crevices around Fixtures with an old toothbrush

Image courtesy of: Wdnld

Scrub tight spaces around fixtures with an old toothbrush. The toothbrush is effective at removing dirt from the hard-to-reach corners of your kitchen and bathroom. Simply use it to clean vents, grout, faucets, and other small fixtures and crevices that are difficult to access.

5. Use a Squeegee

Image courtesy of: AtlasComposer

Squeegee your tile, tub, and doors promptly after each shower to swiftly remove water and condensation from glass surfaces. This simple routine aids in preventing soap scum buildup, ultimately decreasing the need for frequent bathroom cleaning sessions.

6. Go for Machine-Washable Shower Curtain Liners
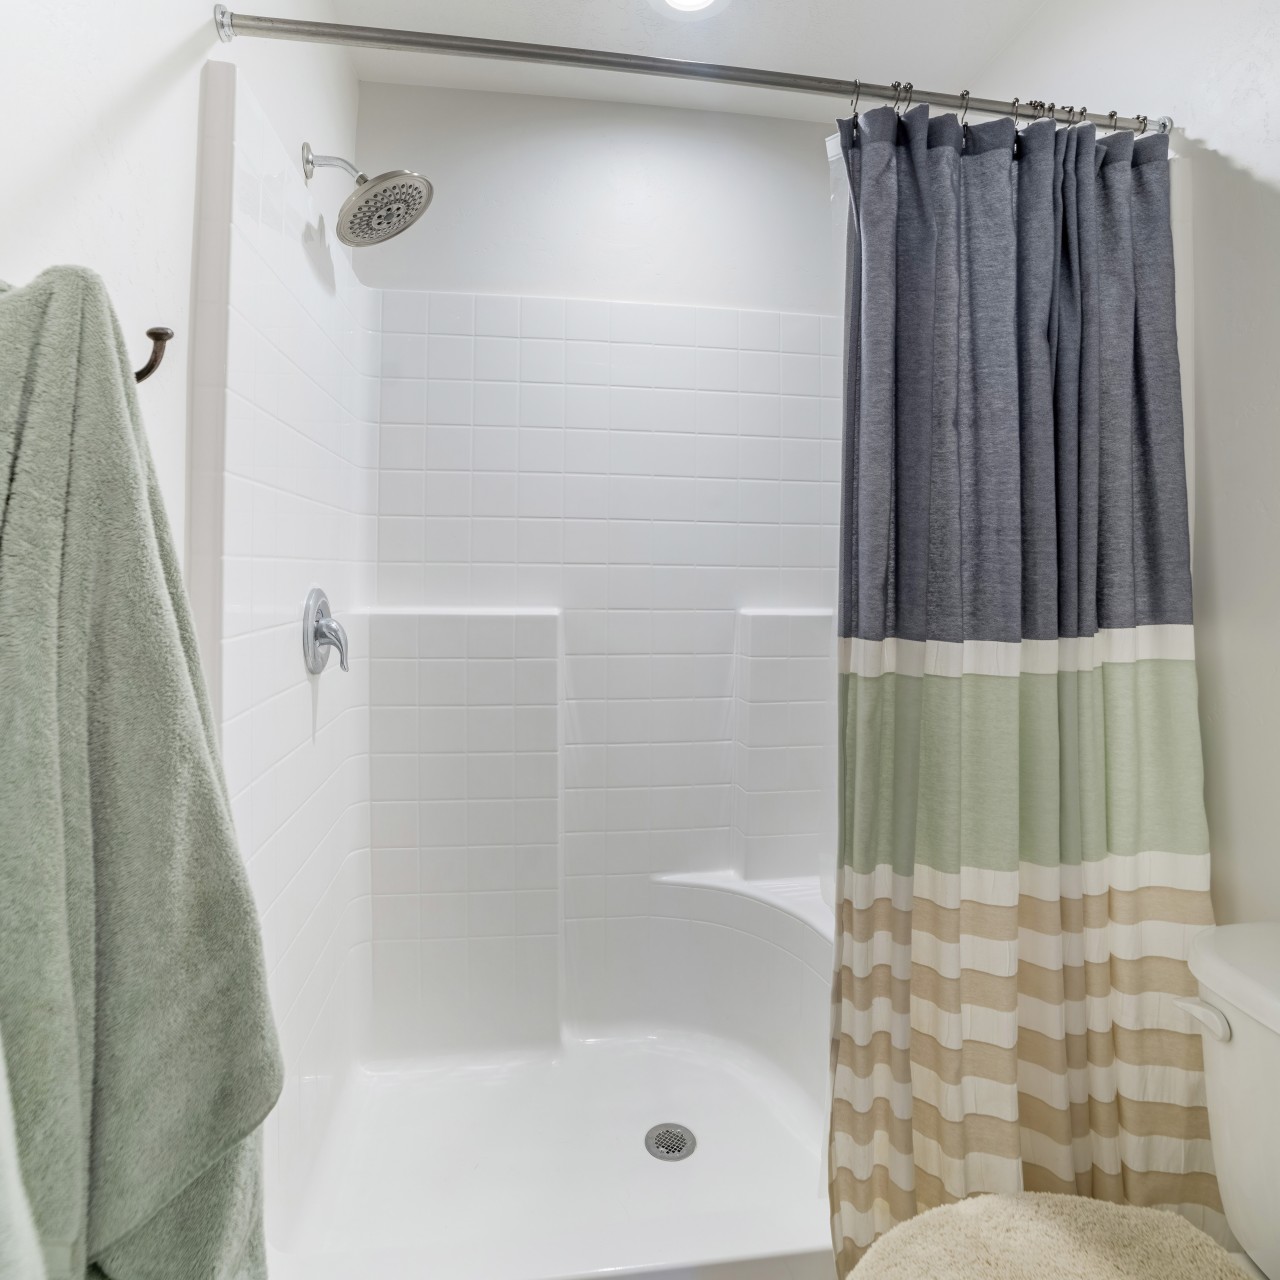
Image courtesy of: wirestock

Shower curtain liners can get dirty quickly. That’s why it’s best to choose liners you can wash in the machine with your regular laundry. Keep a spare liner in your linen closet to switch it out while one is being washed. This way, you’ll always have a clean shower curtain.

7. Use Baking Soda for the Toilet Bowl

Image courtesy of: wirestock

A baking soda container in your bathroom can help extend the time between toilet cleanings. It’s a simple and effective way to keep your toilet bowl clean between thorough cleanings. Baking soda absorbs odors and is slightly abrasive, so sprinkling it generously into the toilet bowl before flushing can lessen the need for frequent use of a toilet brush.

8. Place Silica Gel Packets in the Medicine Cabinet

Image courtesy of: rfaizal707

The small silica gel packets found at home serve a useful purpose. Designed to absorb moisture, placing a few desiccant packs inside your medicine cabinet helps regulate humidity. This ensures the stability of medications and prevents razors from rusting. Remember to store them safely away from children and pets to avoid any choking hazards.

9. Sparkling Clean Windows

Image courtesy of: vvoennyy

Combine one part white vinegar with half a part rubbing alcohol, (look for a 70% concentration) and two parts of water in a spray bottle to create an effective cleaner for bathroom windows, shower screens, and mirrors all in one. For optimal results when cleaning windows with vinegar, choose cooler days without direct sunlight and use a microfiber cloth for streak-free results.

10. Make Your Taps Shine with Lemon

Image courtesy of: ThamKC

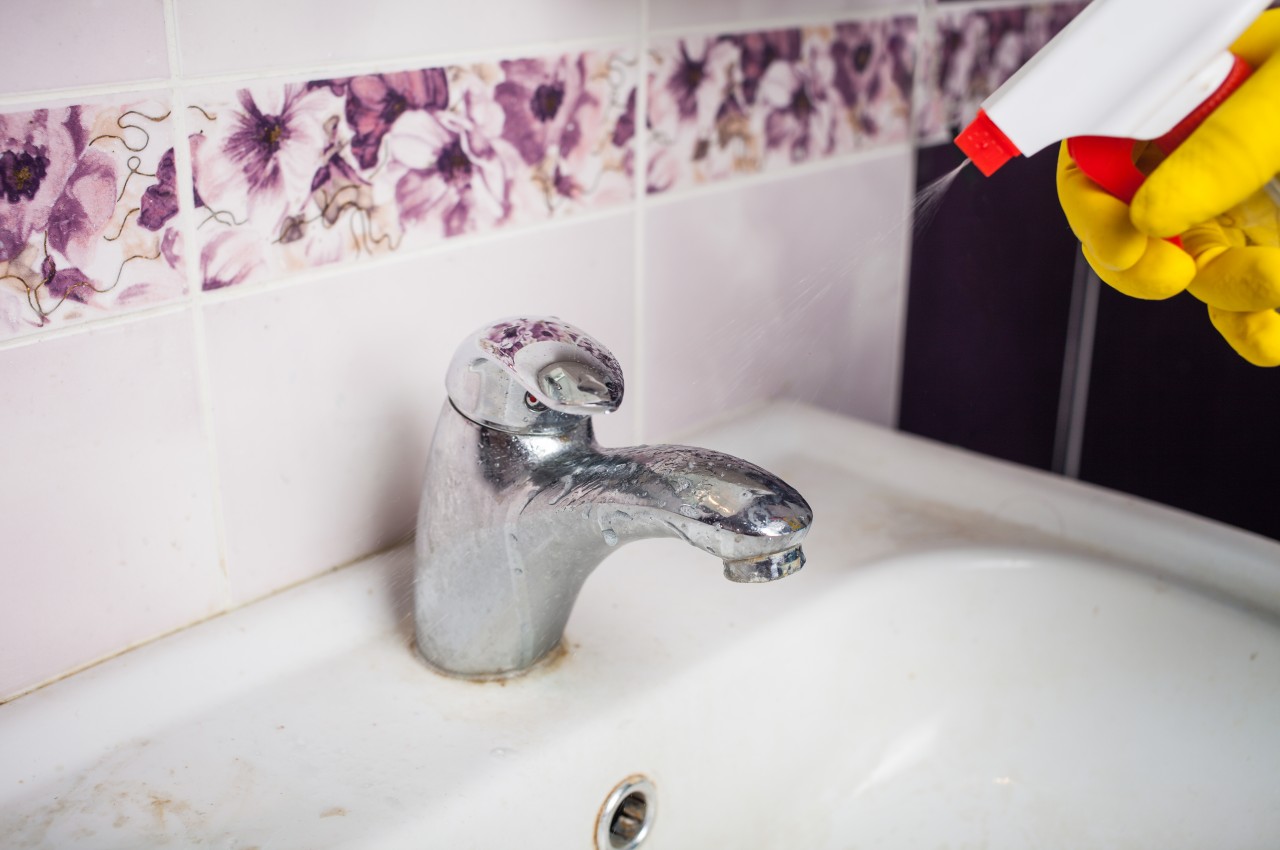
If water spots have dulled your taps, rub them with the cut half of a lemon, then rinse and buff. Alternatively, dampen an old toothbrush with water, sprinkle baking soda directly onto the bristles, and scrub the problem areas. Leave for 10 minutes, then rinse and buff.

11. Maintain White Tile Grout with a Toothbrush
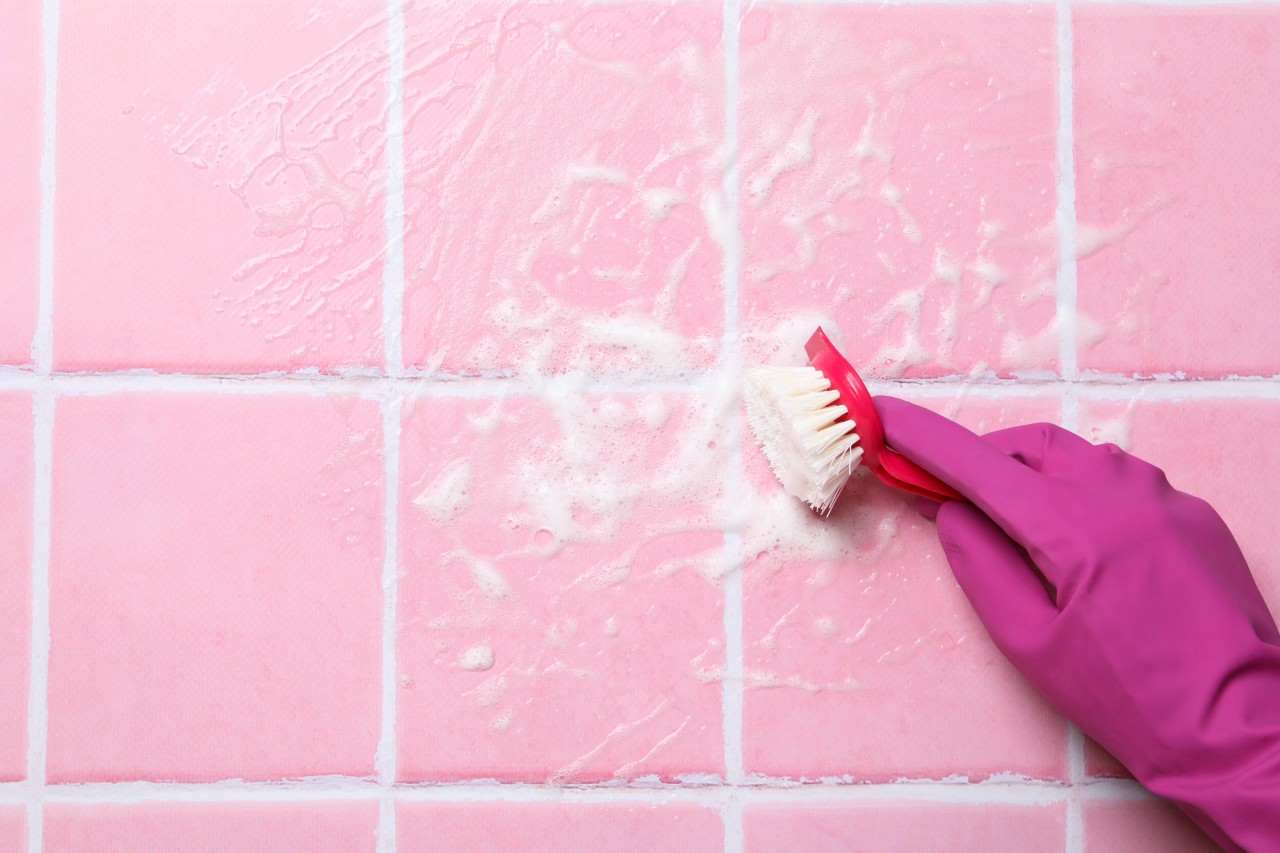
Image courtesy of: AtlasComposer

There are several methods to clean grout. You can spray a mixture of half water and half white vinegar on your shower area as you exit the shower, or simply use a bleach pen. Scrub discolored grout with an old toothbrush dipped in a solution of one part bleach to four parts water. Let it soak for a while before rinsing.

12. Clean the Toilet Brush
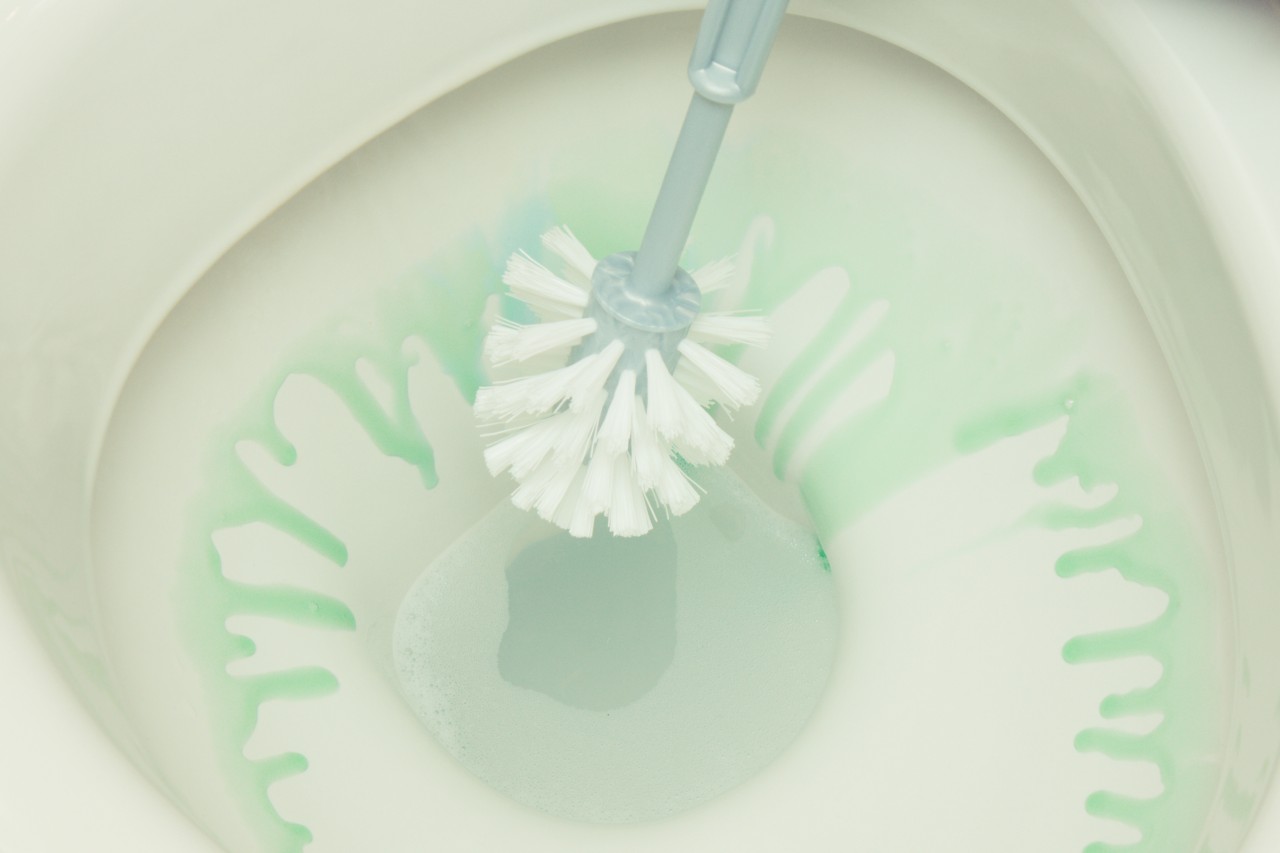
Image courtesy of: ratmaner

After cleaning the toilet as usual, rinse the brush with clean water. Then, close the toilet seat and lid over the brush handle to let it drip dry into the toilet bowl—this prevents dirty toilet water from getting into the brush holder. Lastly, pour some bleach or white vinegar into the brush holder to keep the brush fresh for next time.

13. Keep the Bathroom Bin Smelling Fresh

Image courtesy of: ThamKC

Bathroom bins can harbor germs and bacteria, so they need regular cleaning. If yours starts to smell bad, it’s likely due to bacteria breeding. However, you can keep it fresh between cleanings by sprinkling baking soda into it every time you empty it.

14. Keep your Mirror Streak-free

Image courtesy of: valeriygoncharukphoto

Wipe off splatters with rubbing alcohol on a soft cloth, then use glass cleaner or plain water on a microfiber cloth, avoiding circular motions. For extra sparkle, buff with white vinegar on a paper towel.

15. Ventilate
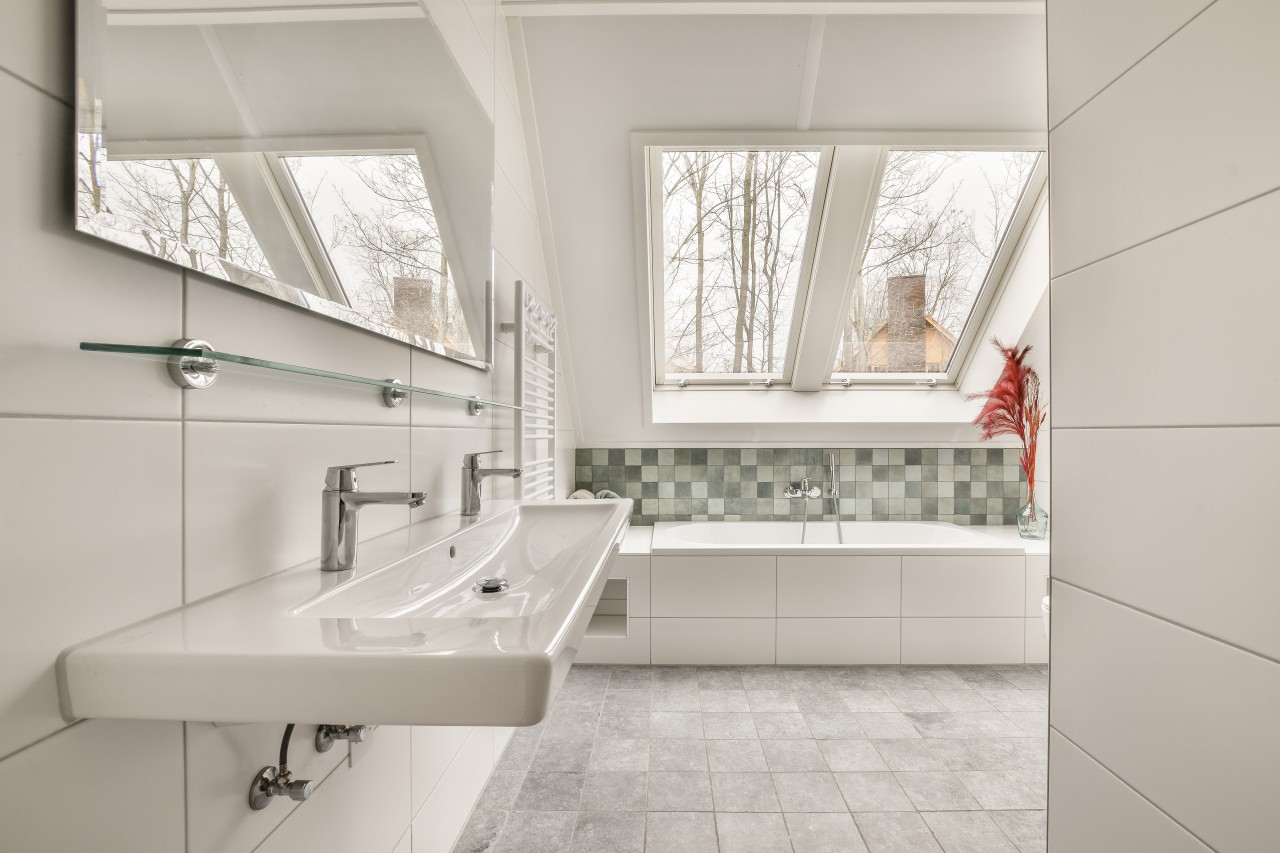
Image courtesy of: pro_creator

Make sure to yurn on the extractor fan or open the bathroom window while showering to prevent the growth of unsightly mold. If there’s already mold present, soak mold-stained shower curtains in a diluted bleach solution if they can’t be machine-washed.

16. Perform Routine Spot Checks

Always have a microfiber cloth within reach in the bathroom to swiftly wipe away toothpaste splatters, watermarks, and other stains before they dry and become more difficult to clean.

17. Get Rid of Makeup Stains

Image courtesy of: LightFieldStudios

Remove makeup stains from bathroom mirrors with toothpaste. Apply a small amount to the stained areas, gently rub with a soft cloth, then wipe clean with a damp cloth. Toothpaste’s mild abrasives effectively lift makeup residue without harming the mirror’s surface, leaving it clean and shiny.

18. Use a Chopstick to Access Difficult-to-reach Areas

For weekly cleaning, employ a cloth wrapped around the end of a chopstick to reach tiny spots in your sink. For heavily soiled areas, sprinkle with water and baking soda before cleaning for a deeper cleanse.

19. Consider Citrus Fruits for Cleaning

Image courtesy of: Sepaolina

Harness the power of citrus for effective cleaning. Use lemon to remove water spots from chrome faucets and shower doors, whether by spraying lemon juice or rubbing a cut lemon directly onto the hardware. Combat toilet odors with a DIY paste of lemon juice and baking soda, leaving it for fifteen minutes before rinsing. For tub cleaning, exfoliate with a halved grapefruit sprinkled with coarse salt, scrub the tub, and drain before rinsing with warm water for a refreshing scent.

20. Use Baby Oil

Image courtesy of: romashkacom

Polish away fingerprints and grime from chrome fixtures with baby oil. Apply it using a damp cloth or cotton ball, then buff until you see your reflection.

21. Apply Shaving Cream on Mirrors

Image courtesy of: Lazy_Bear

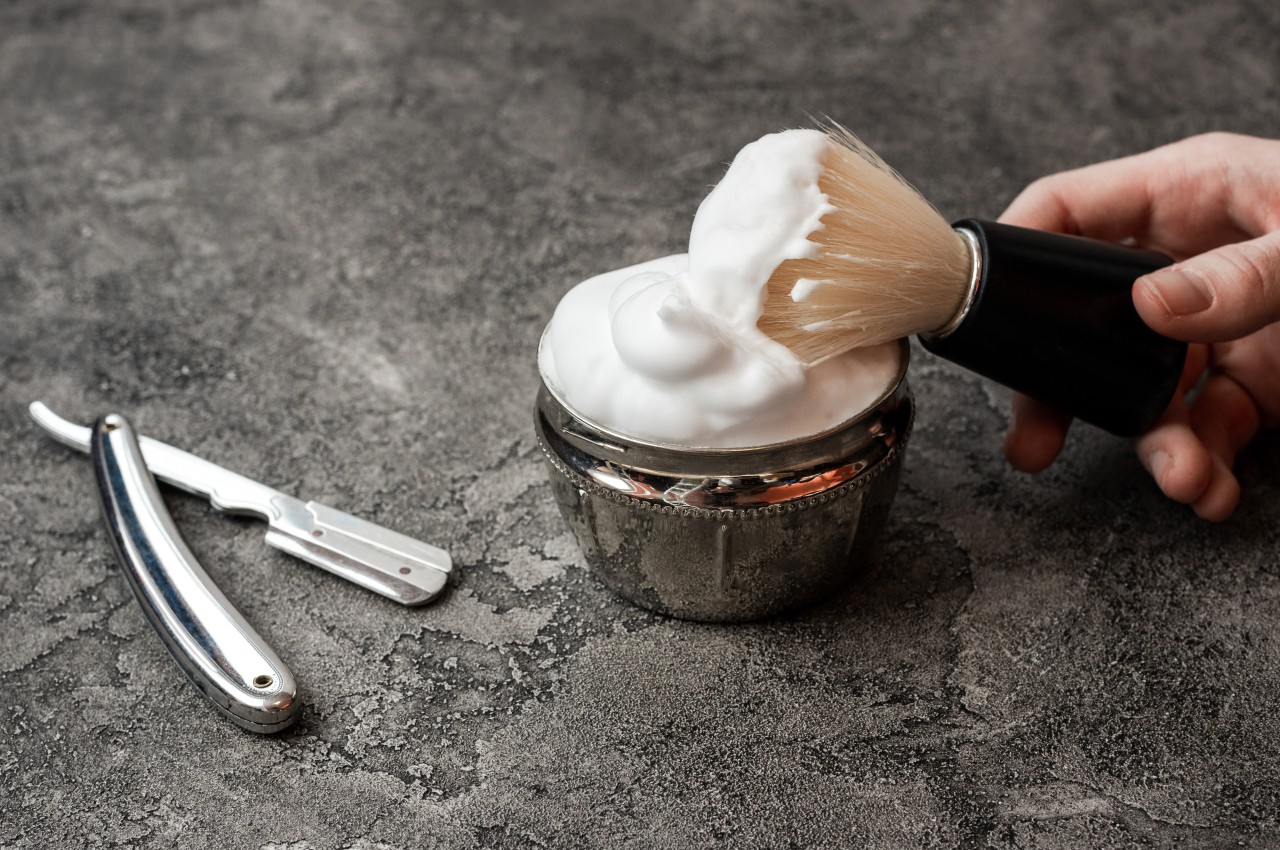
Shaving cream, containing glycerin, forms a protective layer on mirrors, preventing them from steaming up during showers. Simply spray and wipe off with paper towels to keep mirrors clear. It’s also effective for polishing chrome and stainless steel, thanks to its emulsifiers acting as gentle cleaning agents.

The post 21 Bathroom Cleaning Hacks Using Common Household Items first appeared on Yanko Design.

Industrial Product Design Trends For 2024

Industrial design is always at the forefront of innovation with a perfect blend of creativity and functionality. As industrial design continues to evolve, here are some developments that are shaping the future of industrial design. Discover how creativity and functionality blend to shape the future of products and experiences.

Designer: ErgonBand

Human-Oriented Design

Human-centric design is driving industrial innovation, with designers prioritizing user needs, emotions, and behaviors. By integrating user perspectives into the design process, industrial designers are brilliantly creating solutions that deeply resonate with consumers. The best part about human-centric design is that it integrates user research, empathy mapping, and testing to create intuitive products. This trend is evident in smart devices, wearables, and adaptable interfaces, enhancing user experiences.

1

Wearing watches on wrists is standard, but discomfort can arise, especially with smartwatches. An Apple Watch accessory relocates the device to the back of the hand, reducing wrist strain. Its ergonomic design benefits athletes and those needing frequent wrist movement. However, practical challenges exist, such as the need for alternative screen activation methods. Despite this, the accessory offers a unique solution for individuals seeking a more comfortable way to wear their smartwatch.

Biomimicry

Nature inspires bio-design and biomimicry in industrial design. Bio-design incorporates living organisms into the process, creating innovative materials and structures. Biomimicry emulates nature’s patterns and processes to solve design challenges, resulting in breakthroughs like self-healing materials and sustainable manufacturing.

Designer: Rishikesh Sonawane

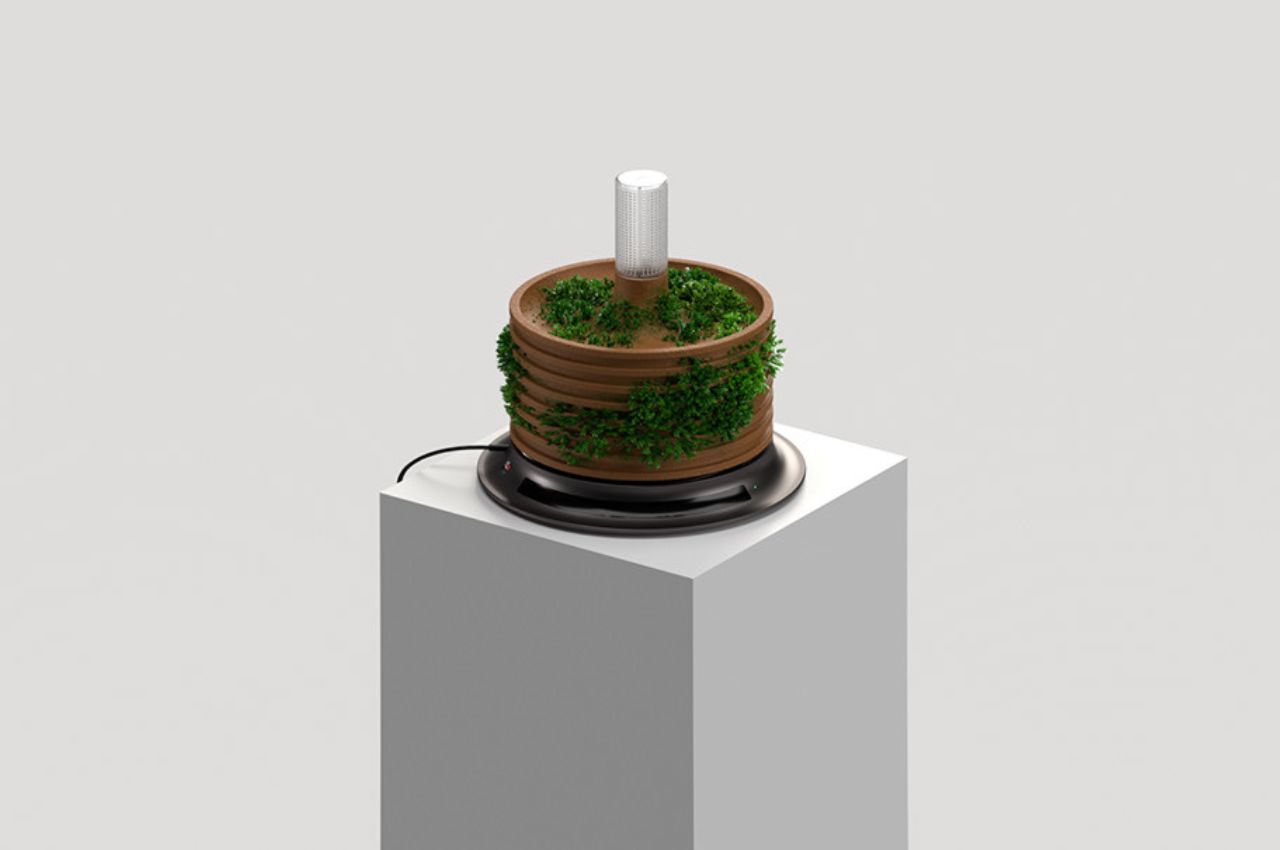
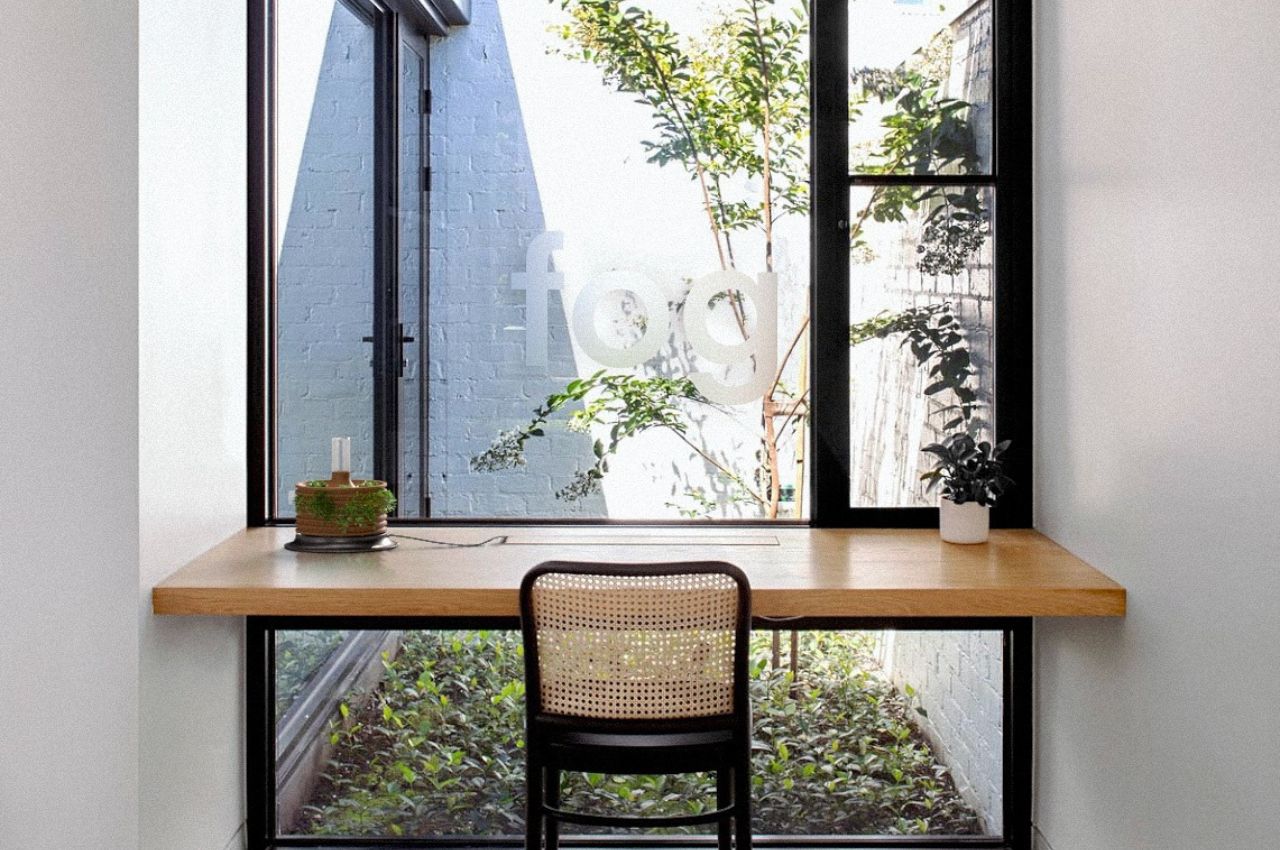
Drawing inspiration from the fog-basking beetle, the Fog Smart Hydroponic Planter embodies biomimicry, advanced materials, and smart technology for a sustainable future. It transcends functionality, merging aesthetics with innovation through its modular design. Crafted meticulously from Plexiglas and Lightweight Expanded Clay Aggregate (LECA), it ensures durability and water retention. The aluminum 6063 base provides stability and corrosion resistance.

Sustainable Design

With a focus on environmental concerns, sustainability has become paramount in the design industry as sustainable practices are being adopted to cut waste, reduce carbon footprints, and foster a circular economy. This involves maximizing material and product lifespan through recycling, upcycling, and waste reduction. Designers are exploring eco-friendly materials, energy-efficient manufacturing, and product life cycle analysis. Integrating renewable energy, smart energy systems, and recycled materials showcases industrial design’s role in creating a greener future.

1

Designer: Fuhua Wang, Weichih Chen

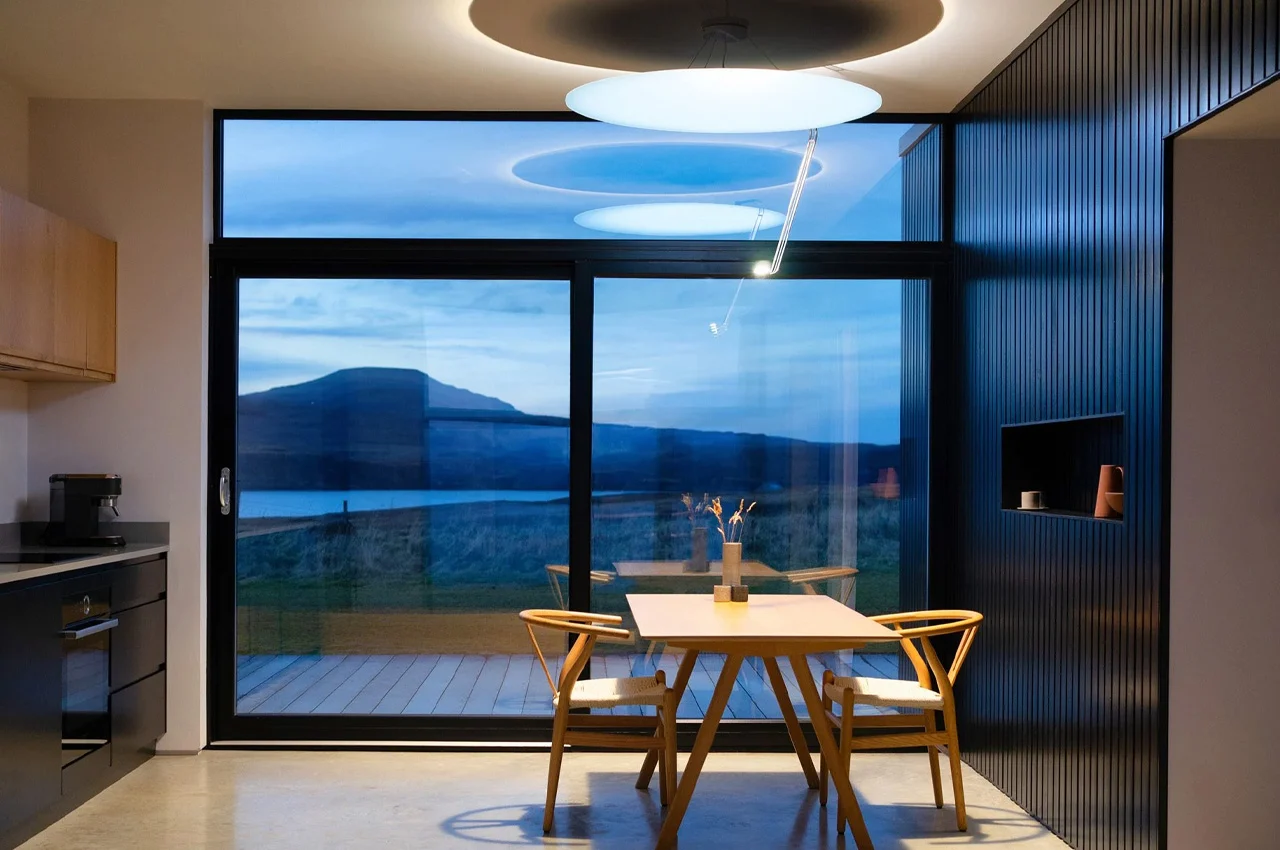
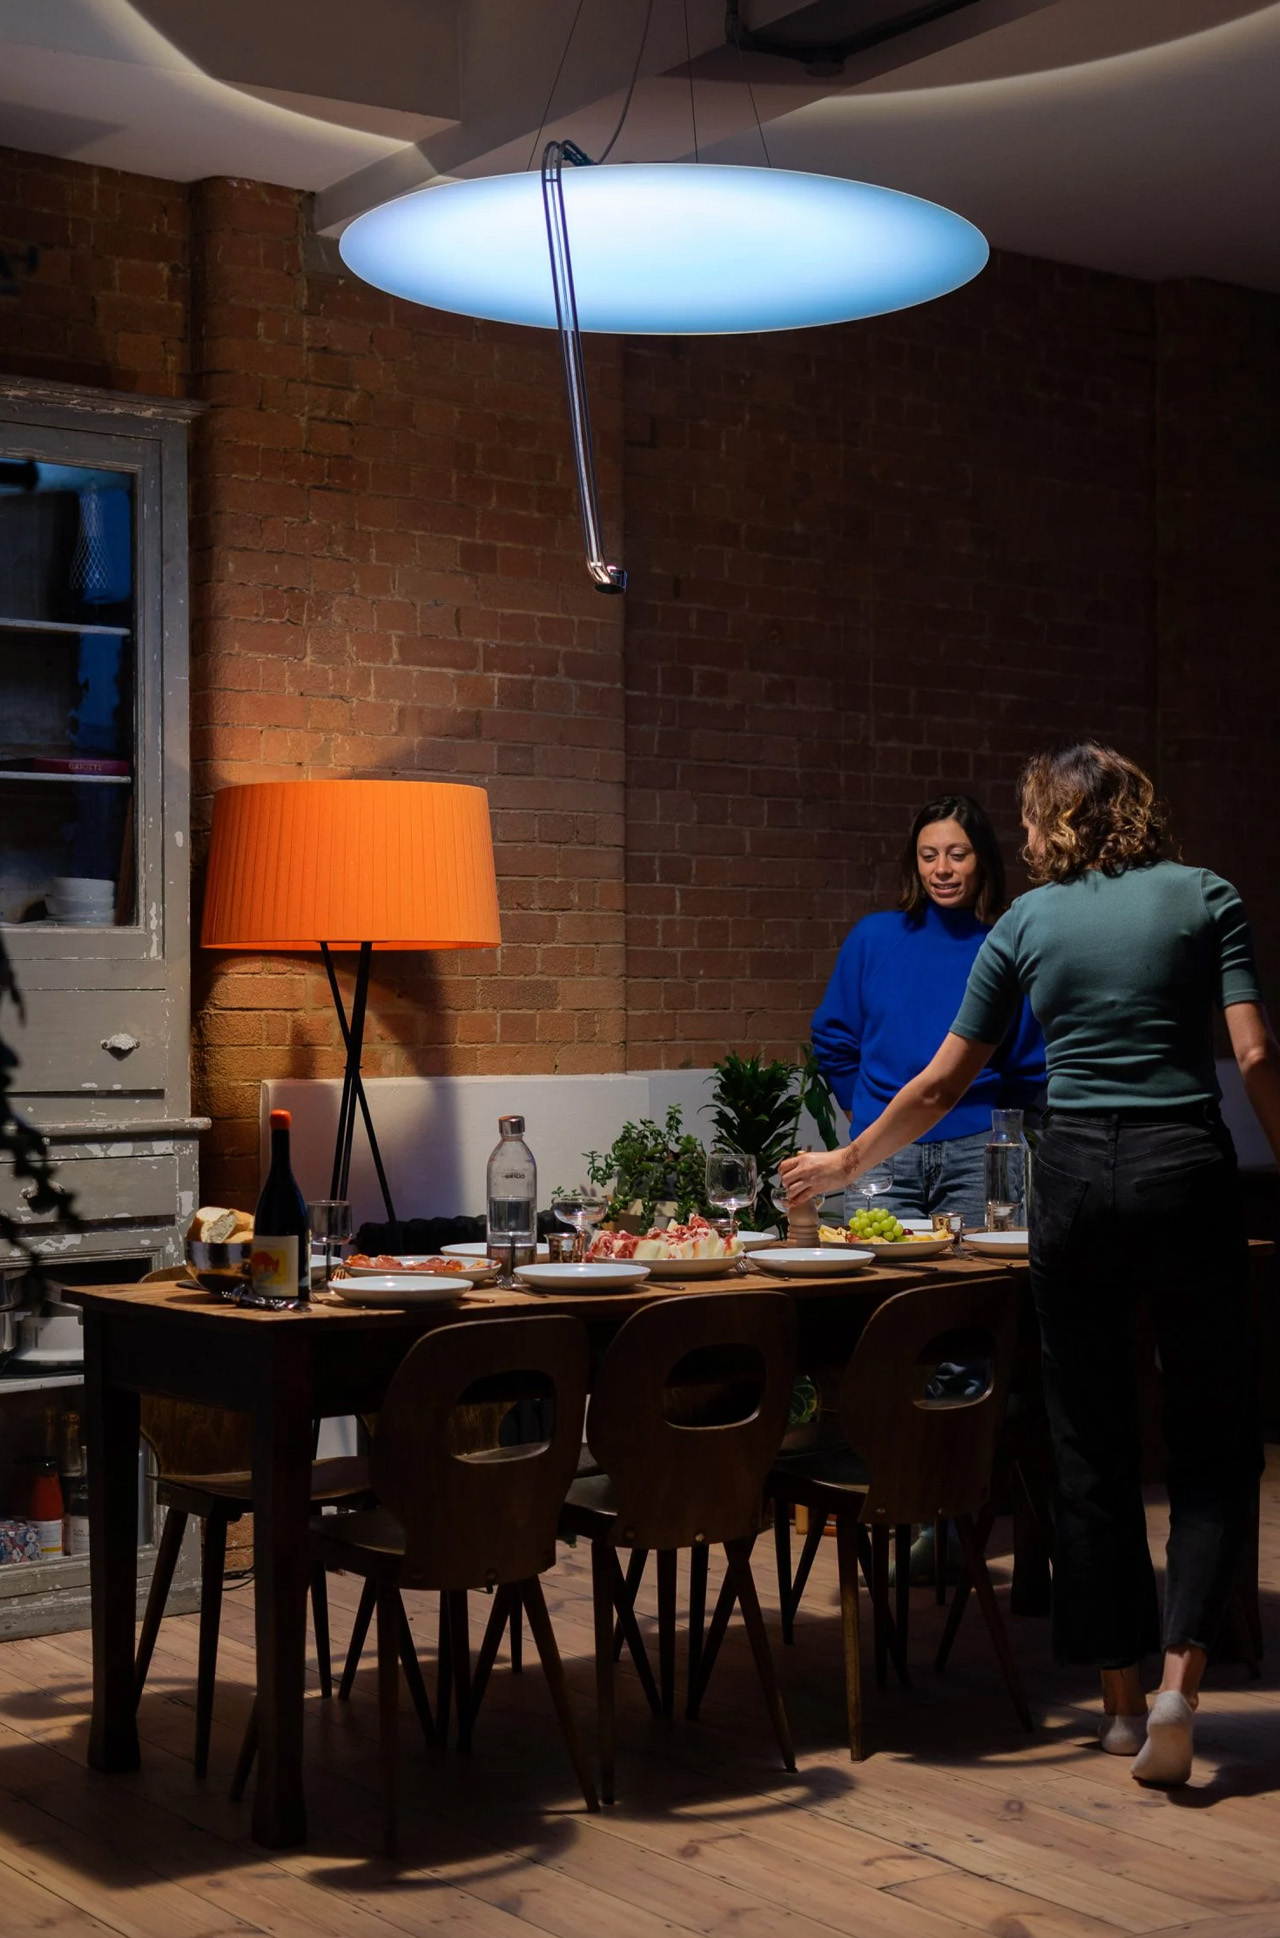
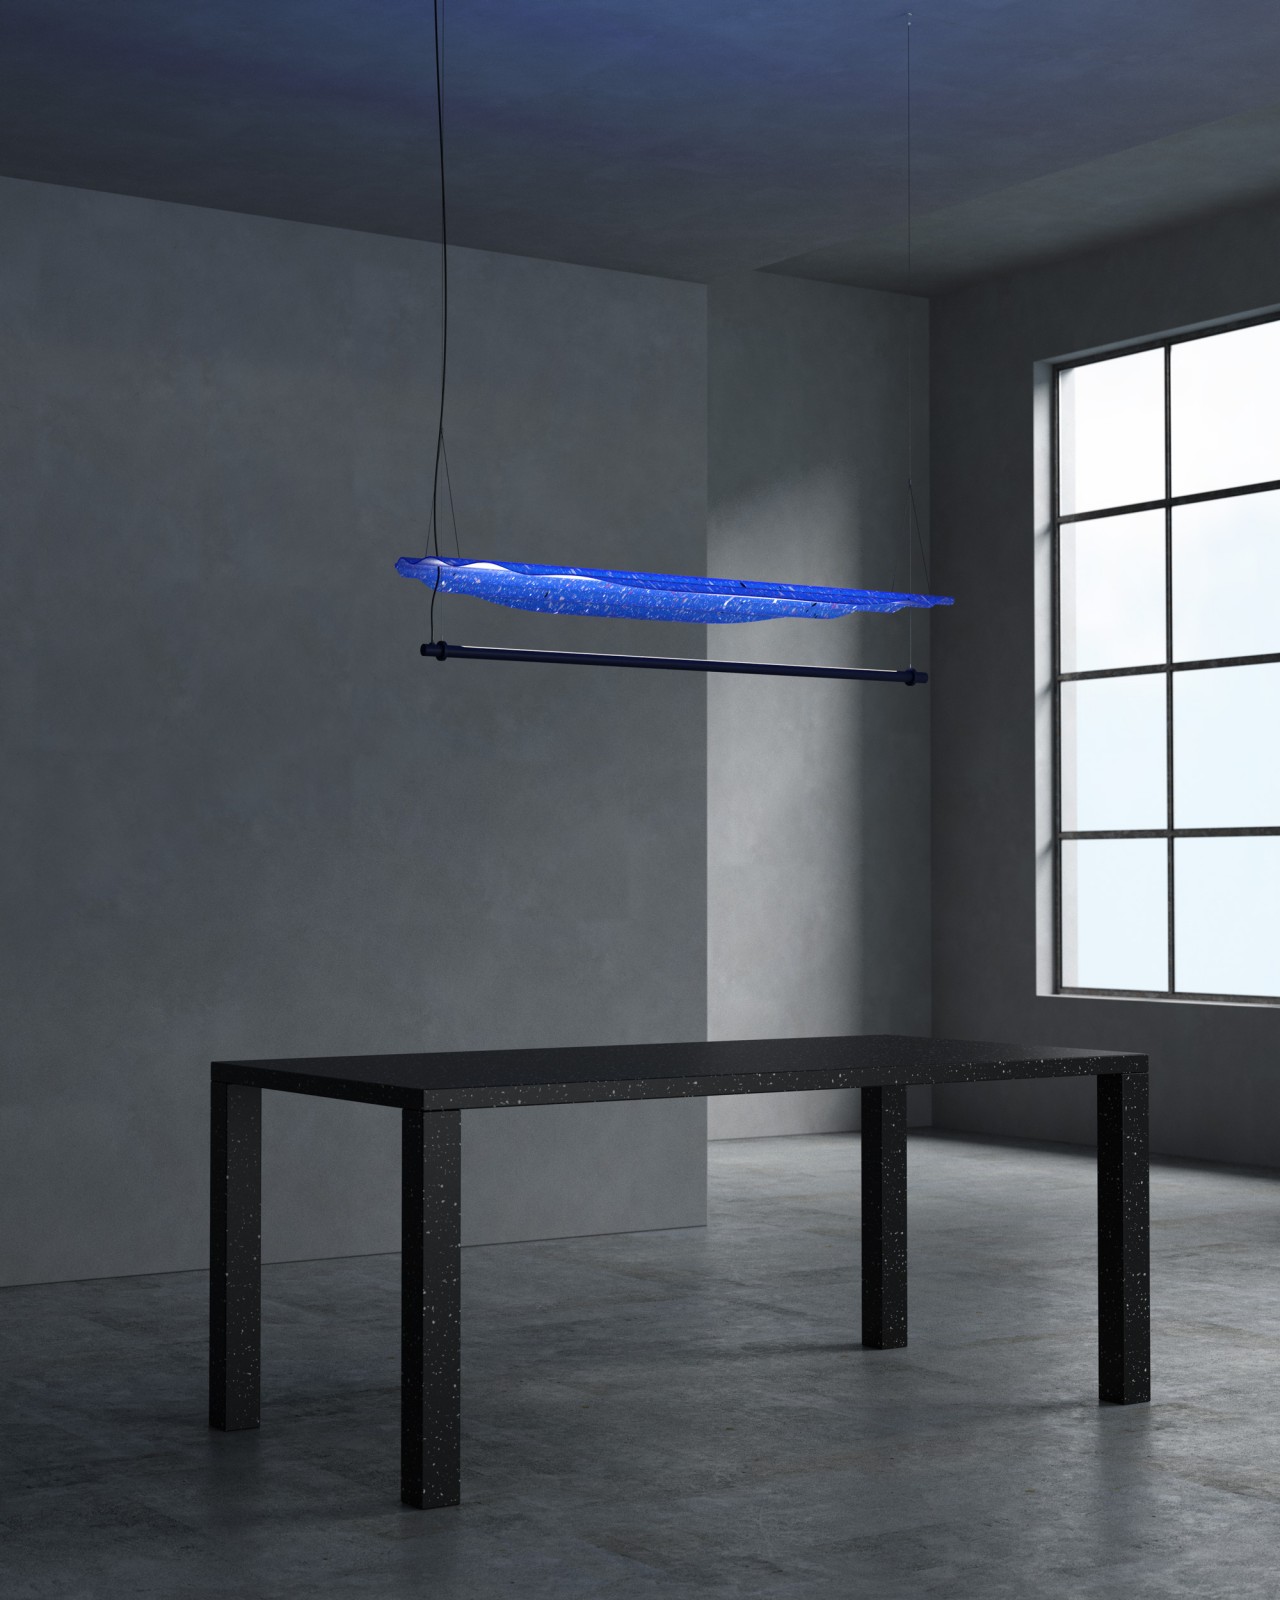
Lamps and lighting fixtures not only illuminate but also shape ambiance, often through their shades or materials. While conventional lampshades are commonly made of glass, metal, or plastic, innovative alternatives exist. The Ondina sustainable pendant lighting utilizes recycled ocean-bound plastics, resembling terrazzo with vibrant specks. Its translucent blue layer, evoking ocean pollution, complements its wavy shape reminiscent of water waves, creating a visually captivating design.

AI Integration

The integration of AI and machine learning in product design opens up new avenues for customization and user interaction. These technologies analyze vast data sets, informing designers’ decisions and facilitating personalized products and experiences. The incorporation of cutting-edge technologies like artificial intelligence (AI), virtual reality (VR), and the Internet of Things (IoT) has profoundly influenced industrial design. These tools are employed to develop highly personalized and interactive products while also enhancing production processes for greater efficiency.

Designer: Joss Fong and Áron Filkey/courtesy Space10

Despite varying opinions on Artificial Intelligence, exploring creativity in this era is captivating. While AI won’t replace creatives, it offers tools for innovation. Space10, funded by Ikea, explores AI, augmented reality, and Web3. Using generative AI, they experimented with futuristic designs based on old Ikea catalogs, potentially inspiring future products. However, human intervention remains crucial for practicality and functionality. Collaborating with generative AI, like Ikea’s partnership with Space10, can inspire new product development while emphasizing human creativity alongside technology.

Designer: Ostloong

Skiing gear has evolved, but there’s still room for augmented reality (AR) and artificial intelligence (AI) to enhance the experience. Zurich-based Ostloong’s Sirius smart goggles integrate AR and AI seamlessly, providing skiers with vital information directly in their field of view. With a full-color AR display designed for outdoor use, the Sirius goggles revolutionize safety and communication on the slopes, showcasing the transformative power of AI in augmented reality.

Celebrates Minimalism

This trend emphasizes minimalist design principles, incorporating clean lines, basic shapes, and subtle aesthetics to produce products that are both timeless and highly functional.

Designer: Julian Topor

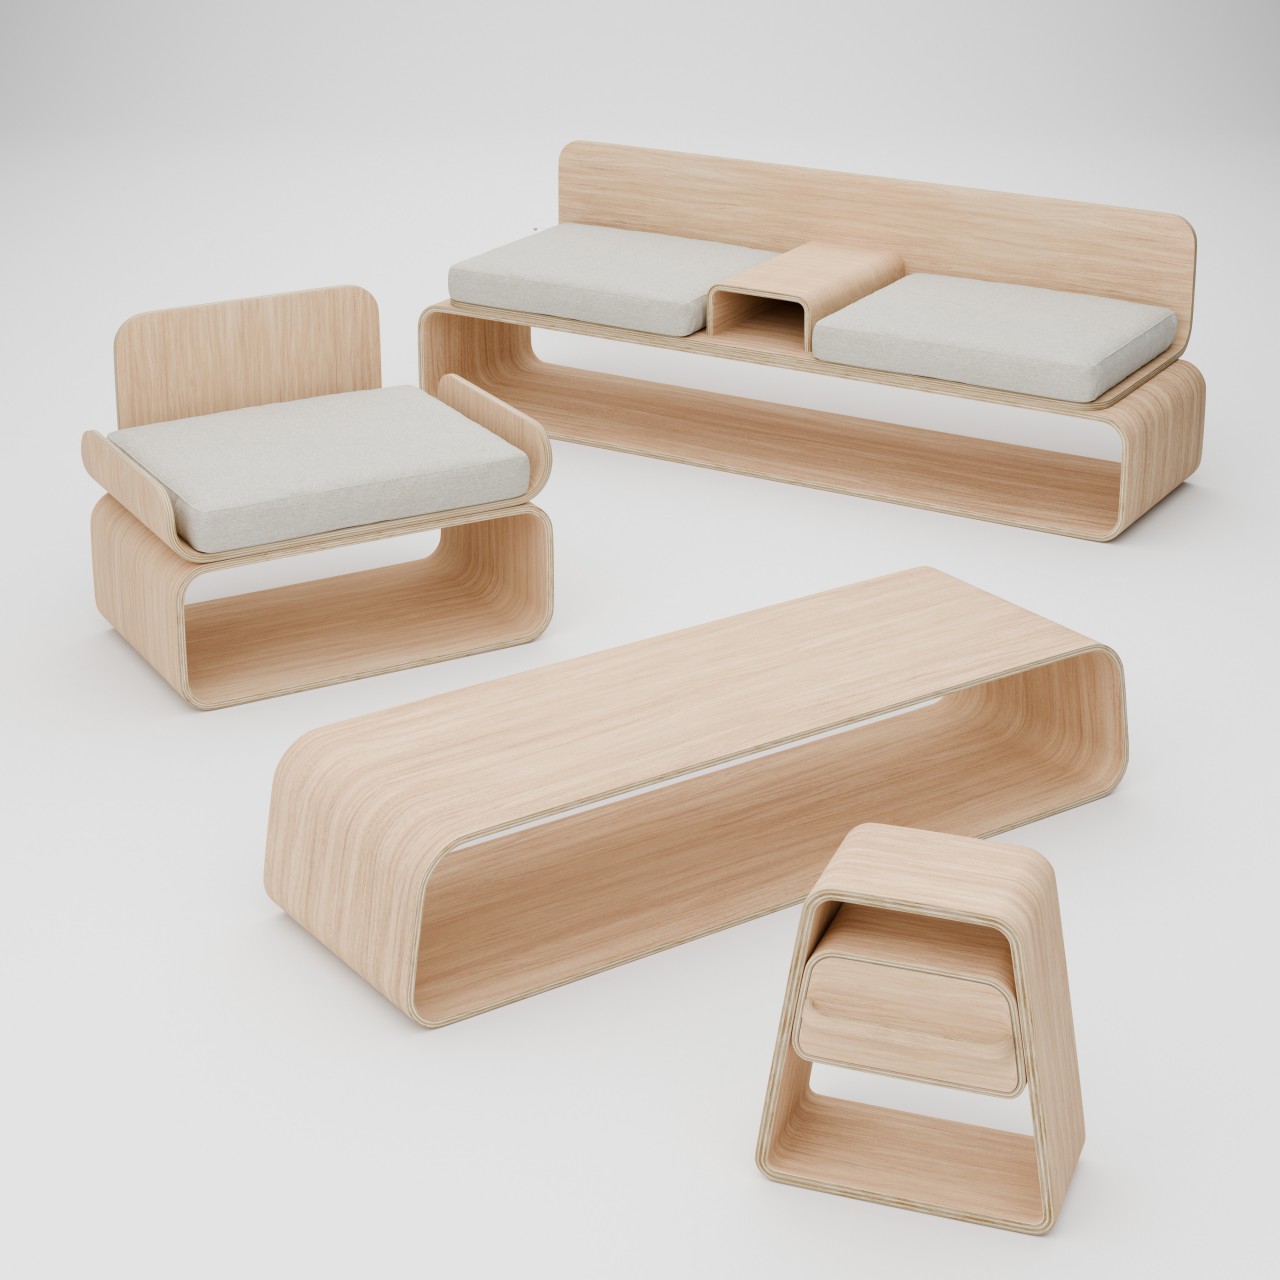
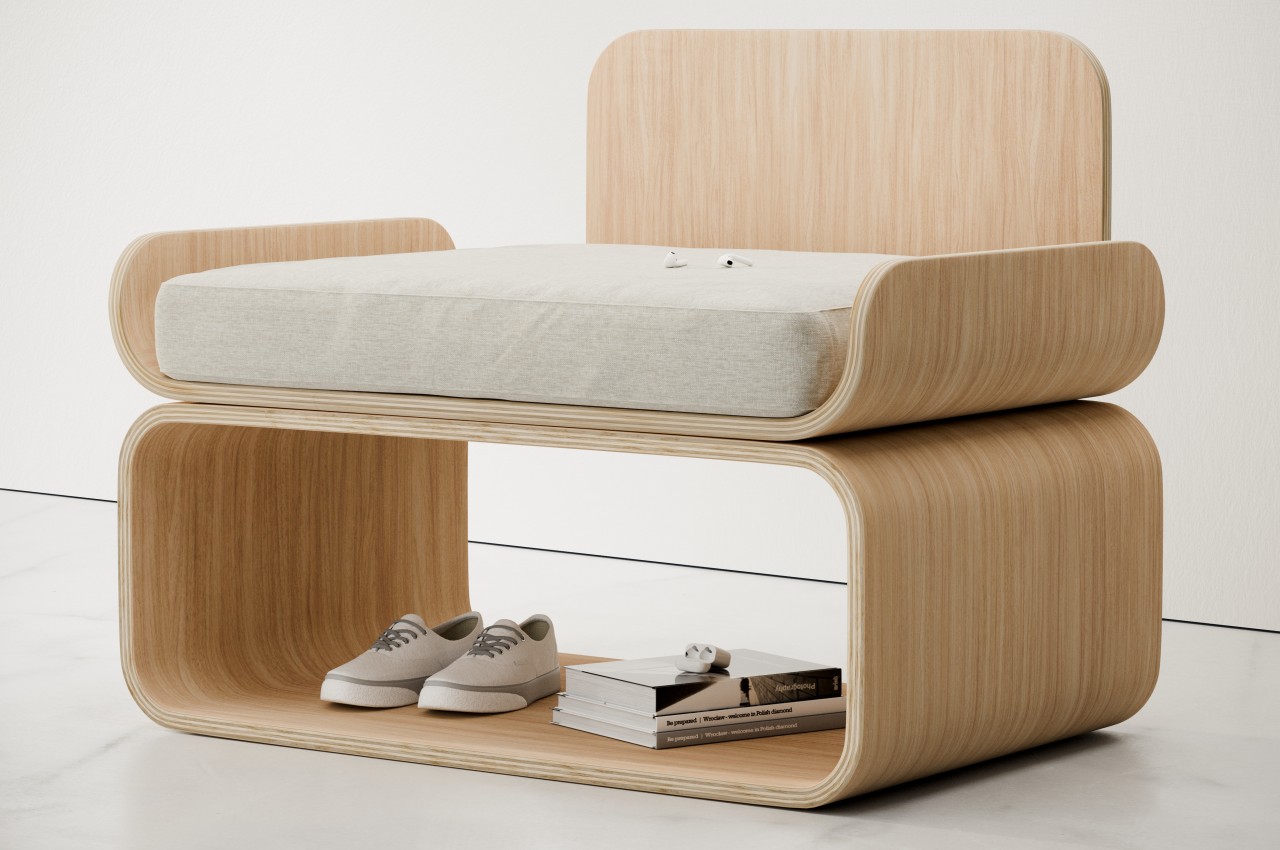
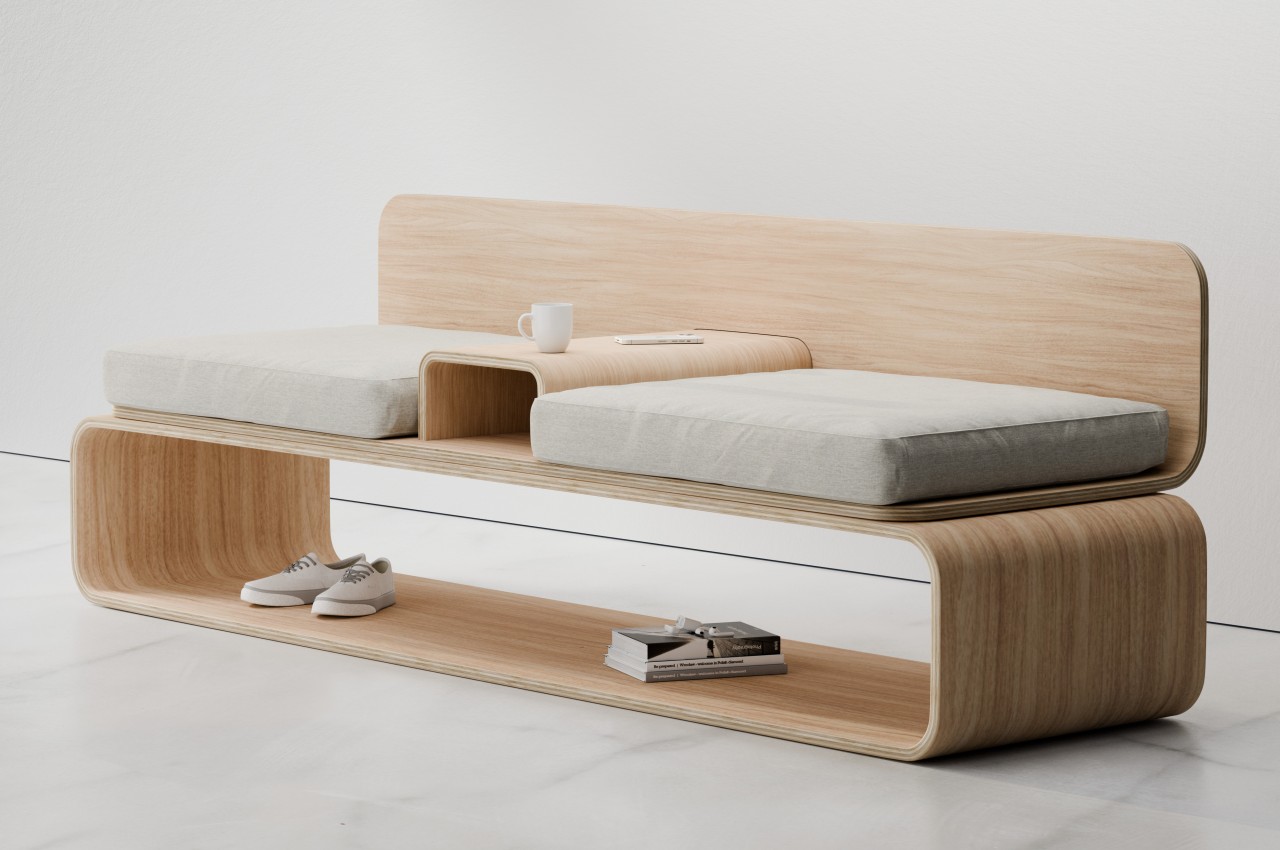
Furniture occupies space, often unused. However, designs like the KURVE collection combine aesthetics with functionality by incorporating storage spaces. Utilizing minimalist curved plywood layers, these designs create hollow areas for storing items without complex construction. The KURVE chair features a backless box for its bottom half, all crafted from a single sheet of layered plywood bent to form support structures.

Designer: Addi

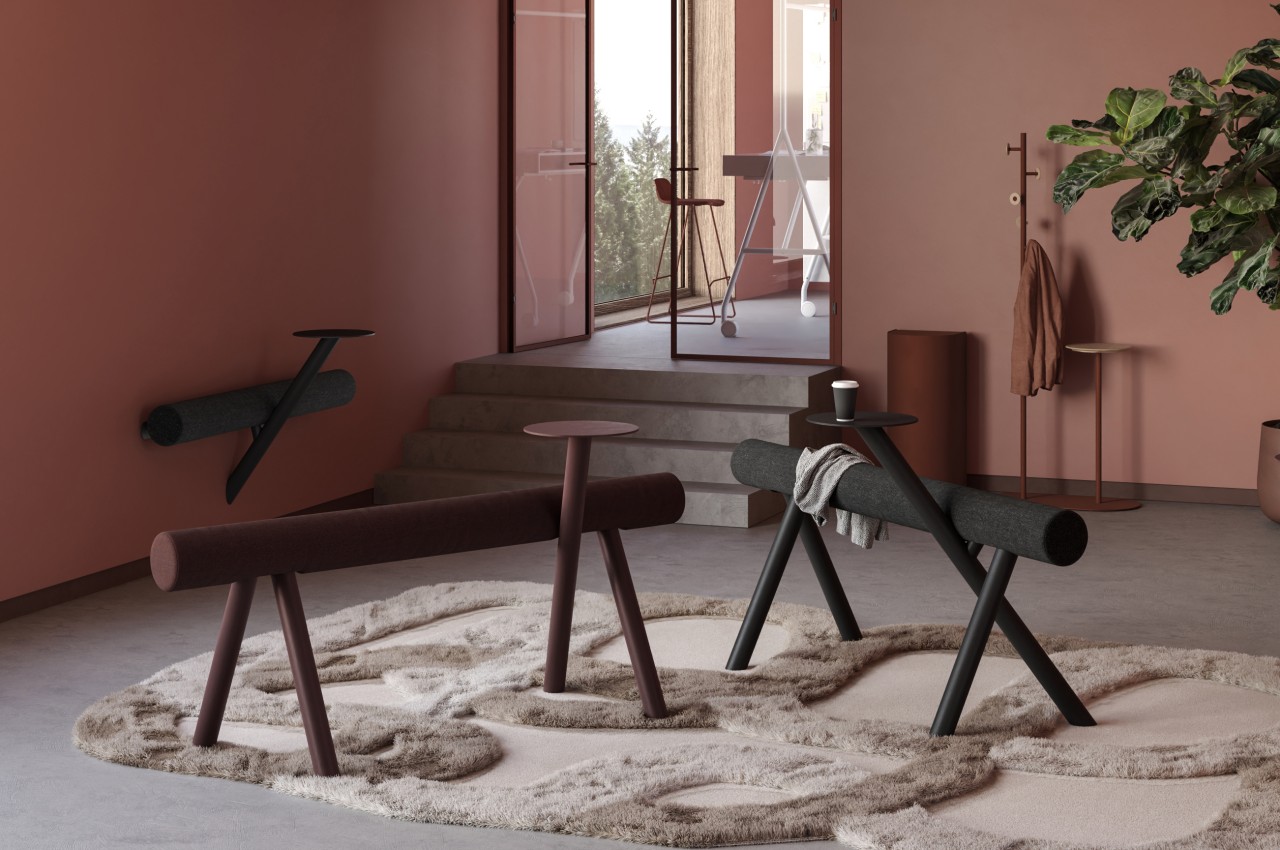
Sometimes, finding a place to sit can be a challenge, especially when space is limited. Perching seats offer a solution by providing a brief respite without the commitment of sinking into a full chair. Lumber takes this concept further with its minimalist design, offering style and comfort without monopolizing space. Its flame-proof wool upholstery ensures easy maintenance, while color-matched metal legs add a touch of elegance. With a built-in side table, Lumber enhances both relaxation and functionality in any setting.

Inclusive Design

By prioritizing the full participation of people with disabilities and other marginalized groups in society, inclusive design takes into account the varied needs of users, aiming to create products accessible to all.

Designer: Nick Fitzpatrick

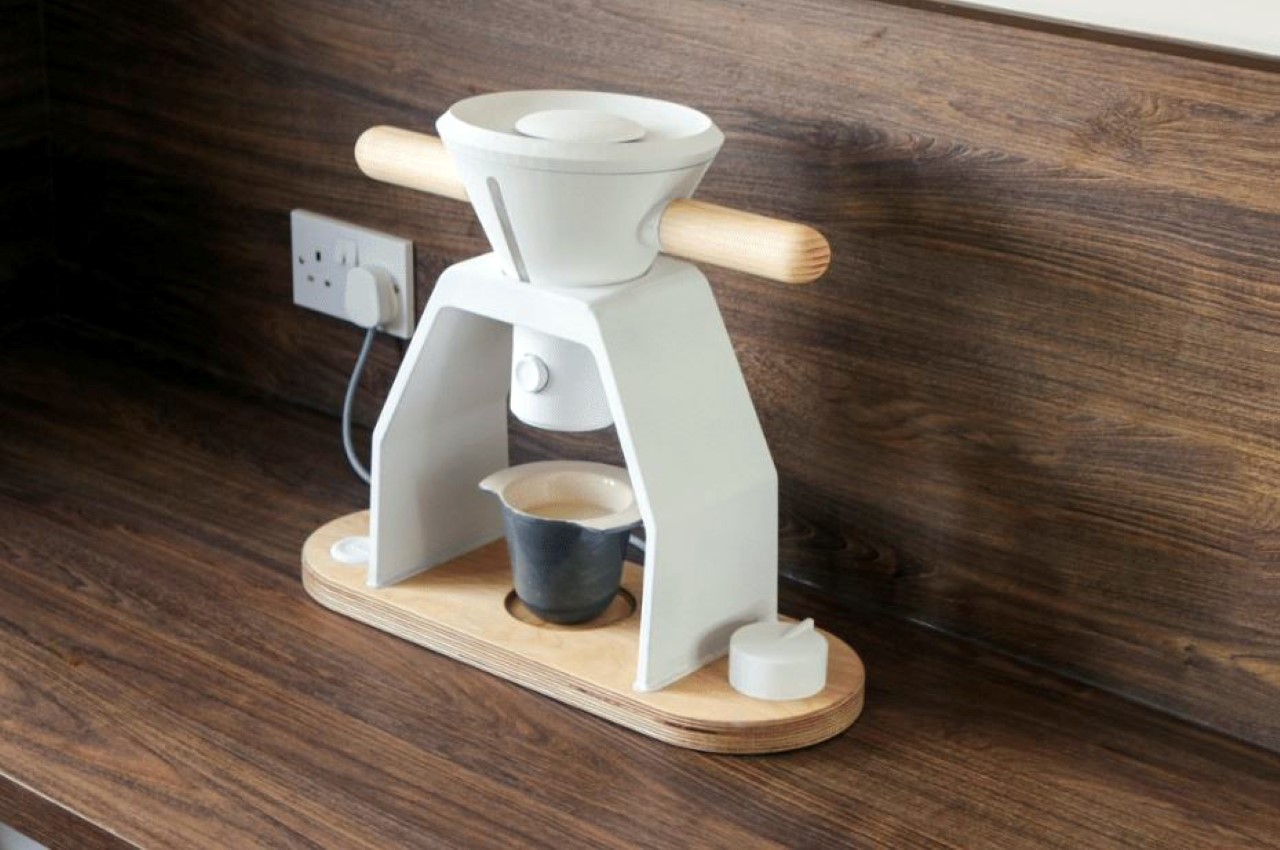
The handle-on-one-end design of kettles poses challenges for disabled individuals or those with reduced strength or dexterity. Nick Fitzpatrick’s ‘Inclusivitea’ kettle addresses these issues by redesigning the traditional shape. Featuring two handlebar-shaped arms, it simplifies both filling and pouring. The kettle comes with a stand for brewing and dispensing tea directly into cups, preventing spills. Each set includes containers for various ingredients and a cup with an extended rim for comfortable gripping.

Personalization

With the increasing demand for personalized and bespoke products, designers are providing more customization choices to cater to individual user preferences.

Designer: Min Soo Kim

This toaster redefines the act of “raising a toast” with its customizable features. Designed by Min Soo Kim, the Home Party Hoaster lets users personalize their toast with pre-engraved messages, images, or emojis. Resembling a Vifa speaker, it features slots for bread and stencil plates, with a touchscreen panel for adjusting toast crispiness. Once toasted, the unique message is reverse-etched onto the bread, offering a novel and personalized start to the day.

Digital Fabrication

Digital fabrication and prototyping technologies, including 3D printers, laser cutters, CNC routers, and robotic arms, allow industrial designers to swiftly create physical models or products from digital data. These tools streamline the experimentation, iteration, and refinement processes, offering faster, more cost-effective, and more accurate results than traditional methods. They also empower designers to develop complex, customized, and innovative solutions tailored to diverse user needs.

Designer: Martin Zampach

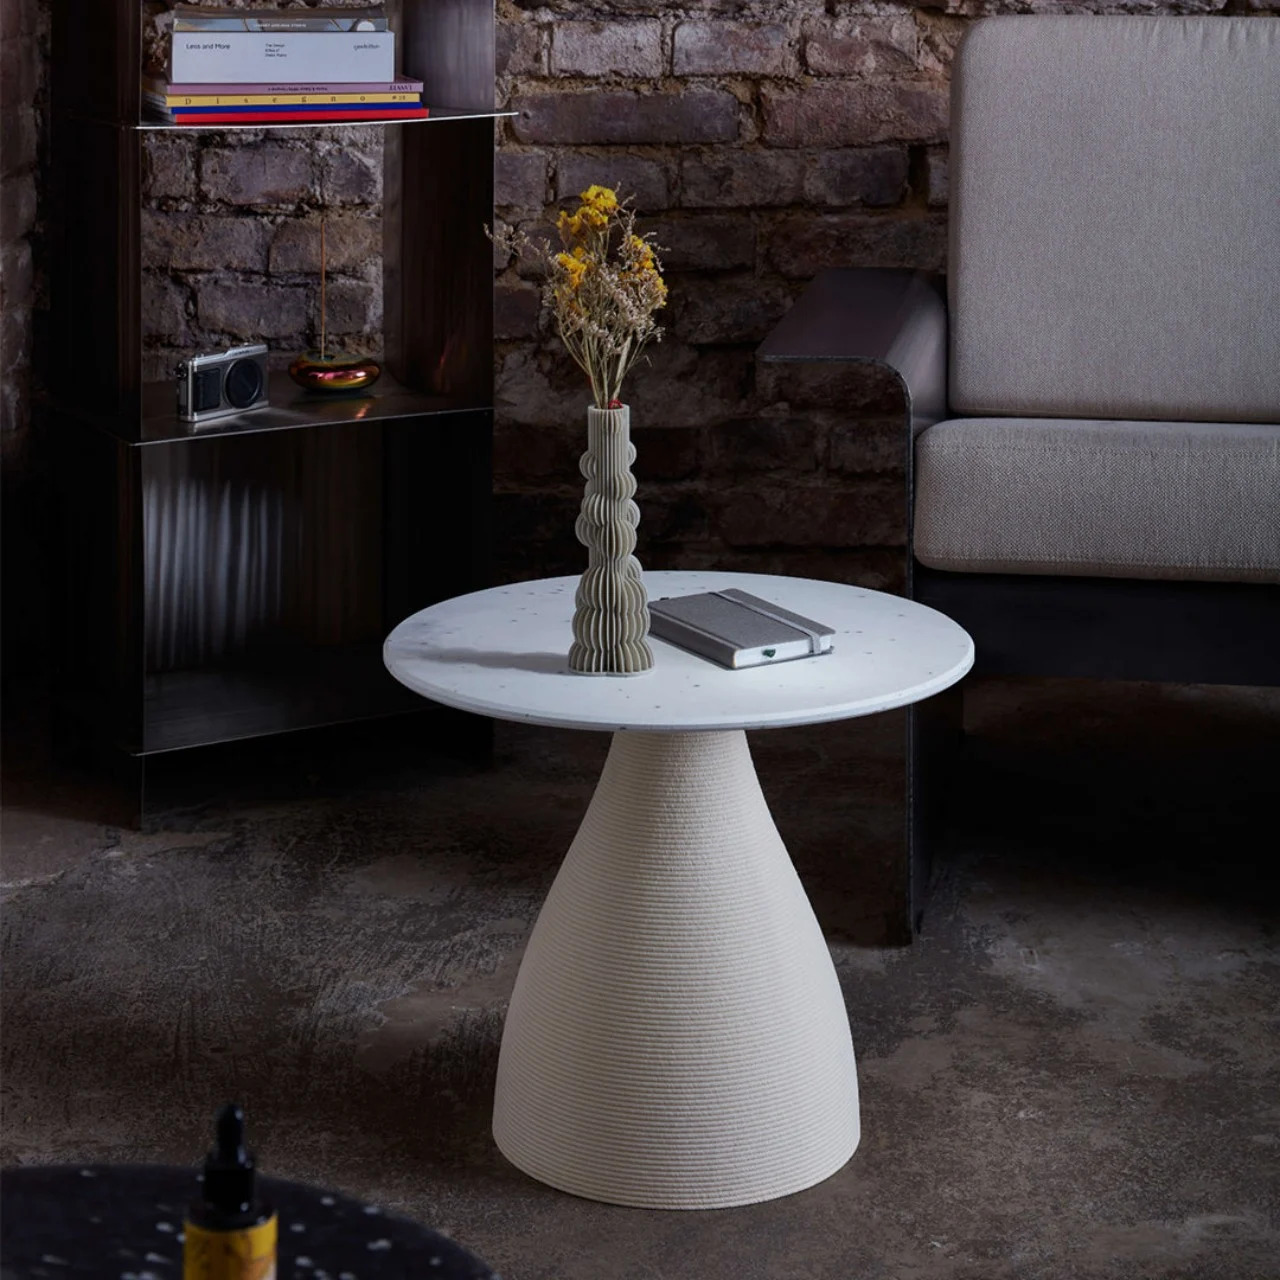
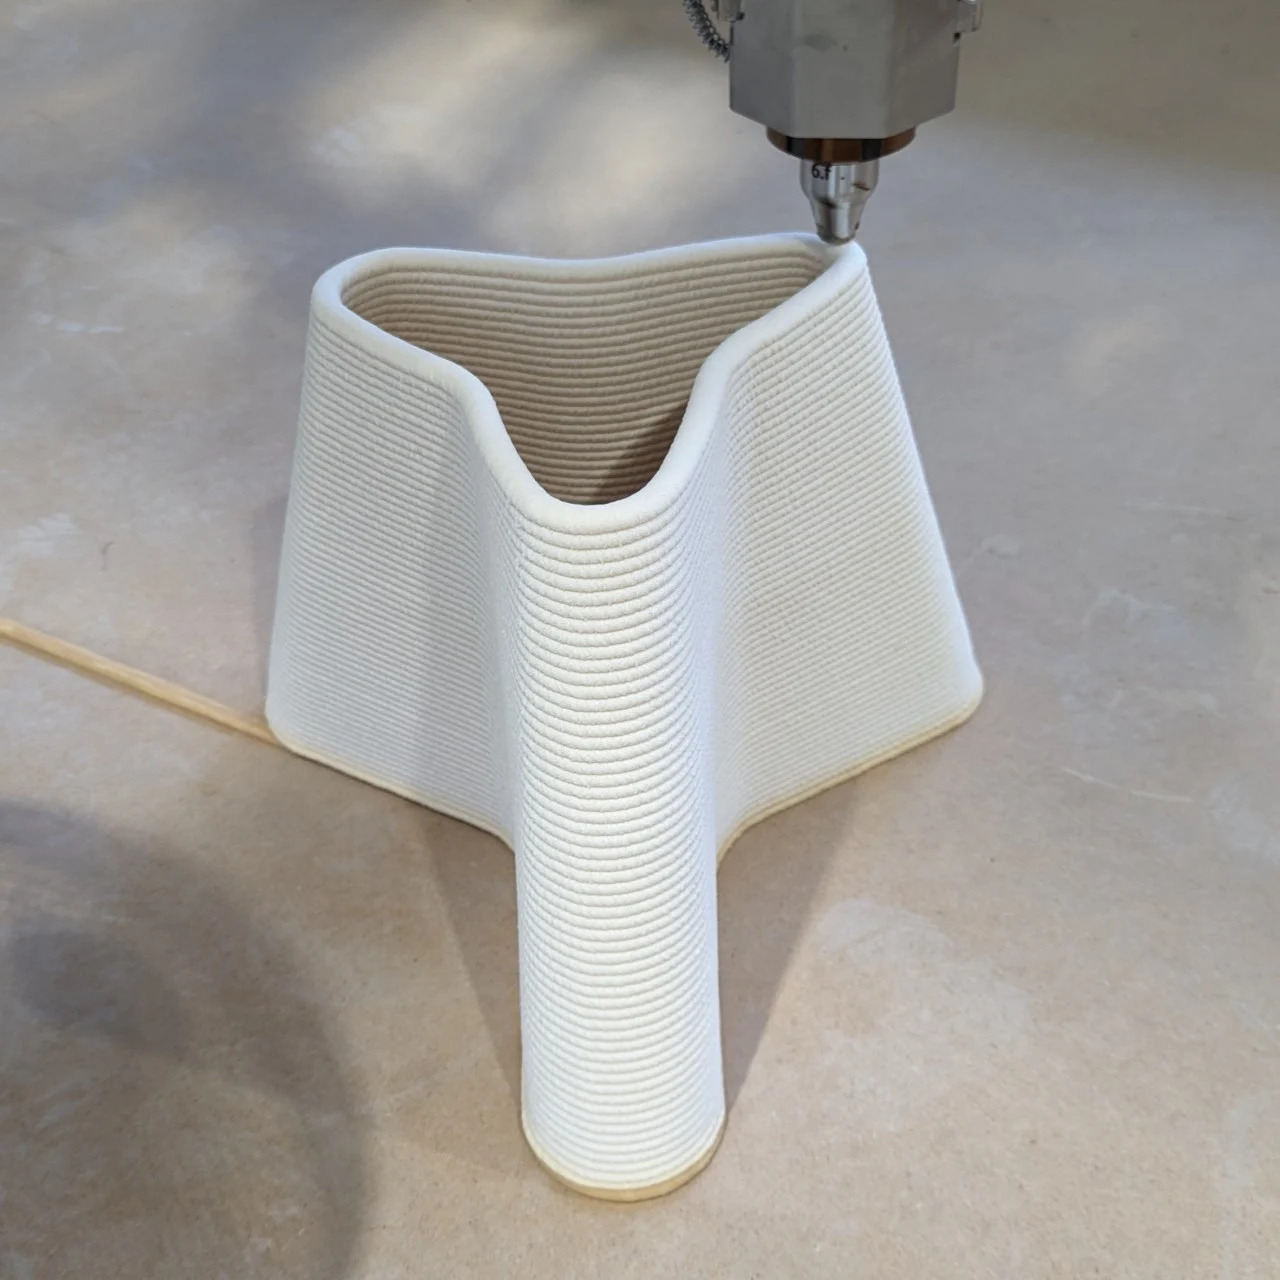
Traditional 3D printers have size limitations, hindering the creation of larger designs. However, the LOOPS collection of coffee tables utilizes 3D printing robots to overcome this obstacle. By employing a looping motion, the robot arm constructs intricate layers of composite material, enabling the formation of organic geometric shapes. This innovative approach expands the possibilities of 3D printing beyond conventional boundaries, allowing for the creation of larger and more complex objects.

In conclusion, industrial design is rapidly evolving due to technological advances, changing consumer behavior, and a growing focus on sustainability. Designers must prioritize blending aesthetics with functionality and integrate sustainable practices with the digital revolution.

The post Industrial Product Design Trends For 2024 first appeared on Yanko Design.

What Is Acoustic Insulation?

Good acoustics is important in any design, and it is important to plan for this right from the start of a project, from designing to building it. Note that if a building is designed well with good acoustic design, it can make people feel better mentally and physically. This is because, loud noises can make people stressed, and anxious, and raise their blood pressure, leading to health problems.

Designer: Interesting Times Gang and OBOS

What is the importance of sound insulation?

According to studies, noise pollution presents a significant risk to people’s health, especially for those living and working in urban settings. While controlling noise at its origin isn’t always feasible, effective soundproofing of buildings can provide a valuable solution. Installing soundproofing materials in the roof or building exterior can greatly reduce external noise from sources like traffic or airplanes. Within buildings, insulation can improve privacy and mitigate disturbance from neighboring properties, such as music or footsteps from upstairs apartments. This is particularly advantageous when applied to partitions between different spaces in residential or office buildings. Utilizing sound insulation boards can help minimize noise intrusion in both living and working environments.

What are the various forms of sound propagation?

Image courtesy of: photovs

Building acoustics studies how sound travels through walls, ceilings, and roofs, with insulation needs determined by factors such as area size and the types of sound transmission, whether direct or through walls.

• Direct sound transmission involves sound passing directly through a wall, ceiling, or floor.
• Flanking noise is the noise that reaches a room through an indirect path. For example, it could be noise from a neighboring apartment reaching your bedroom through a route other than through the shared wall, or noise from a hallway reaching your office through a route other than through the door.
• Other forms of sound transmission include leakage through inadequately sealed doors and windows, brickwork, and uninsulated pipelines.

Image courtesy of: bilanol

What are the best materials for acoustic insulation?

Discover the top materials that are suitable for acoustic insulation.

Acoustic Panels and Treatments

Soundproofing involves the use of acoustic panels and treatments to absorb and minimize sound waves, reducing resonance and unwanted noise. It’s crucial in places like recording studios, theaters, and restaurants. Different styles, like foam panels and diffusers, cater to various acoustic needs.

Designers: Alberto Sánchez & Mut Design Studio

Image courtesy of: duallogic

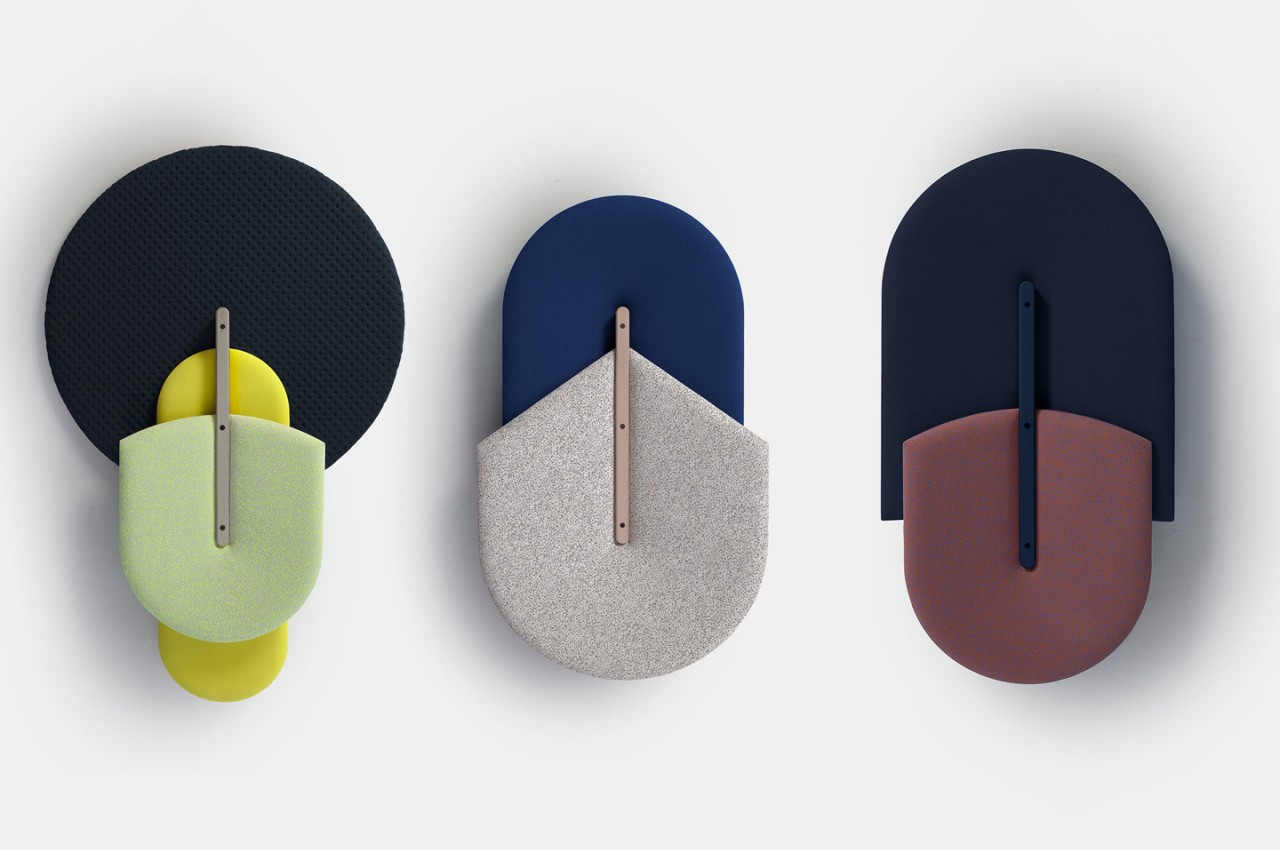
Alberto Sánchez and Mut Design Studio innovate with Beetle Acoustic Panels, drawing from the insect world for design inspiration. These panels, shaped like beetle exoskeletons, offer a range of colors and sizes, transforming utilitarian sound absorption into artistic accents. Despite lacking spines like beetles, a central spine connects the panels, emphasizing symmetry. This experiment showcases creativity’s boundless nature and encourages finding inspiration in unexpected places, sparking joy with quirky shapes and vibrant colors.

Designer: KEM Studio for Loftwall

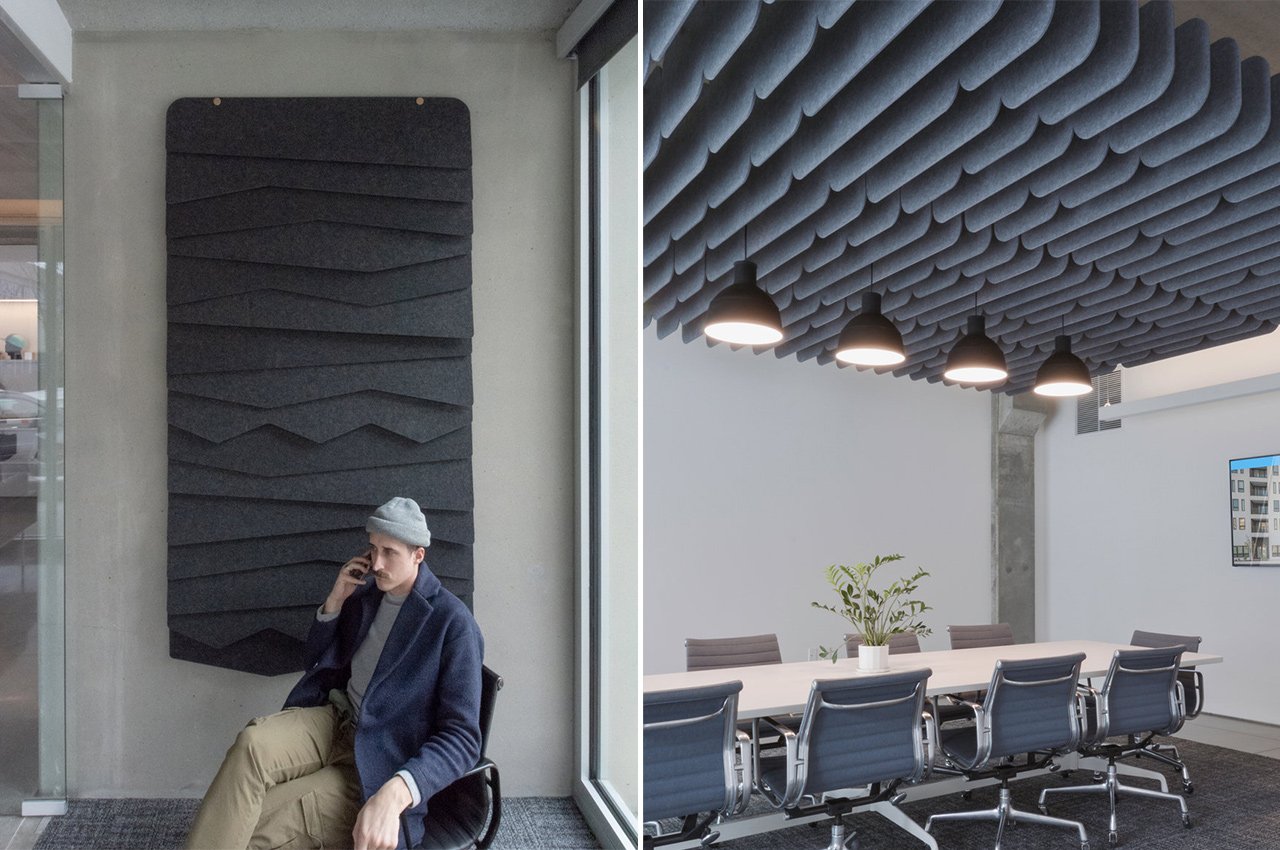
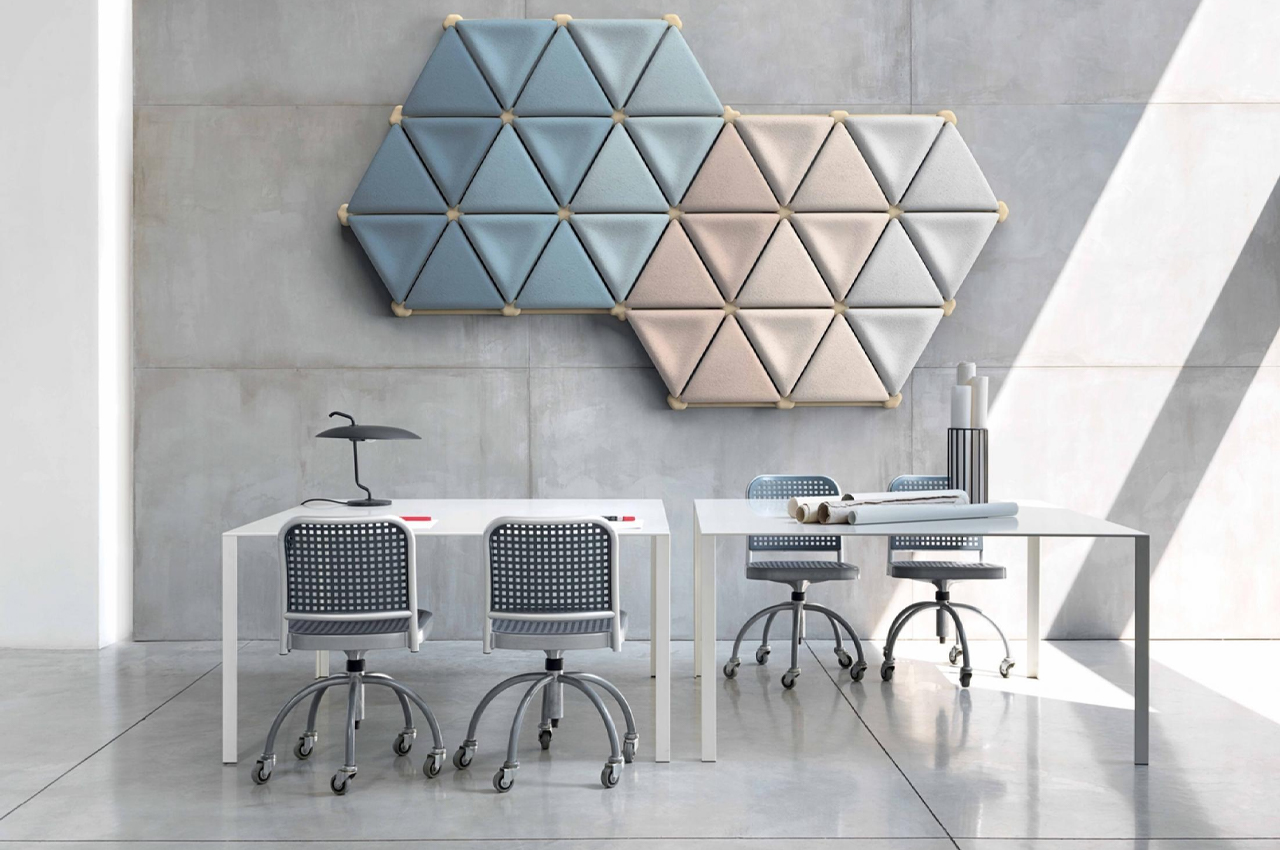
Working from home has introduced a whole new routine, but one annoyance is listening to my husband’s constant office meetings. The noise is distracting, even with closed doors. Tempo offers a solution—a modular wall and ceiling baffle system that doubles as art. With 12 customizable modules, it absorbs sound and adds visual flair to any room. Easy to install with a CNC dowel system and cork plugs, Tempo’s various colors and patterns allow for endless combinations. It’s like acoustic eye candy, perfect for home offices, conference rooms, or bedrooms, transforming spaces both visually and acoustically with the ease of IKEA’s modularity and the trendy Japandi aesthetic.

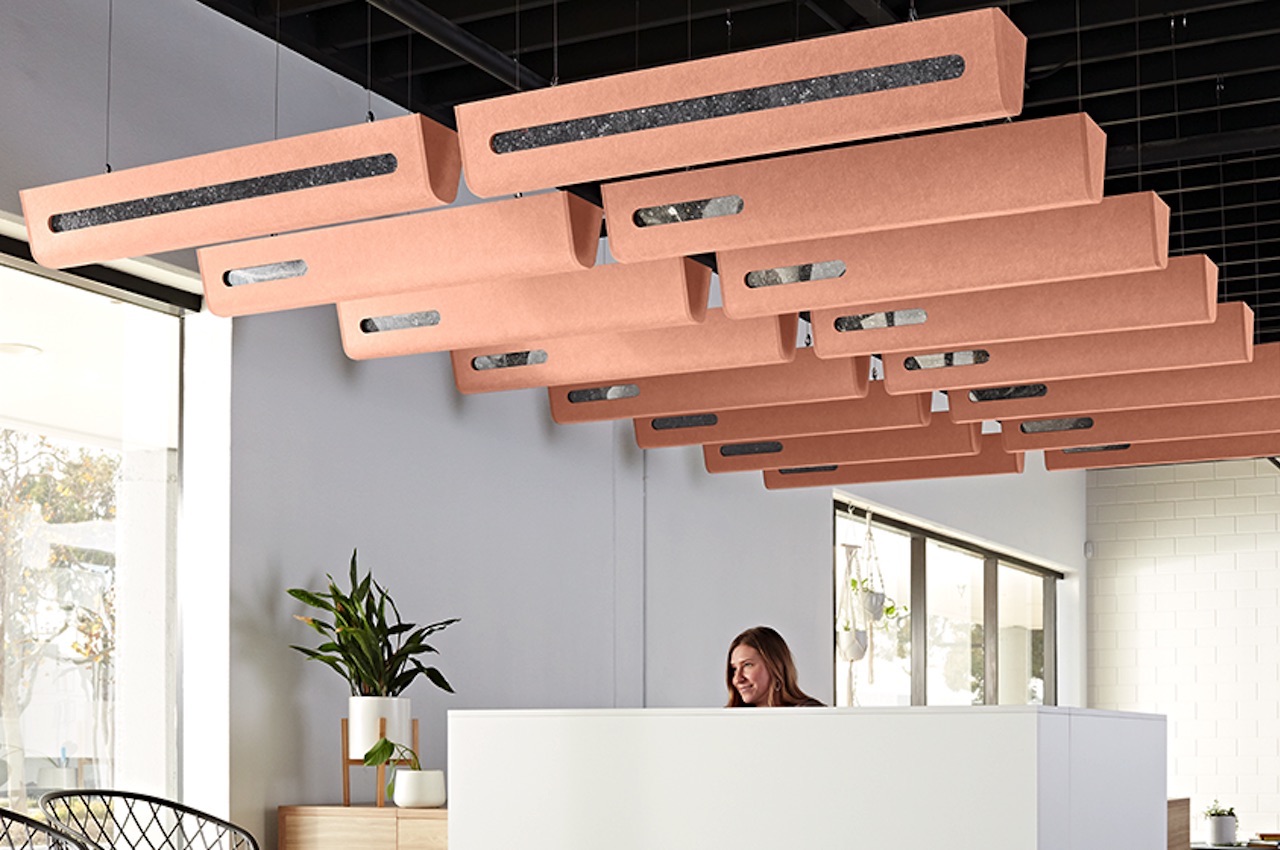
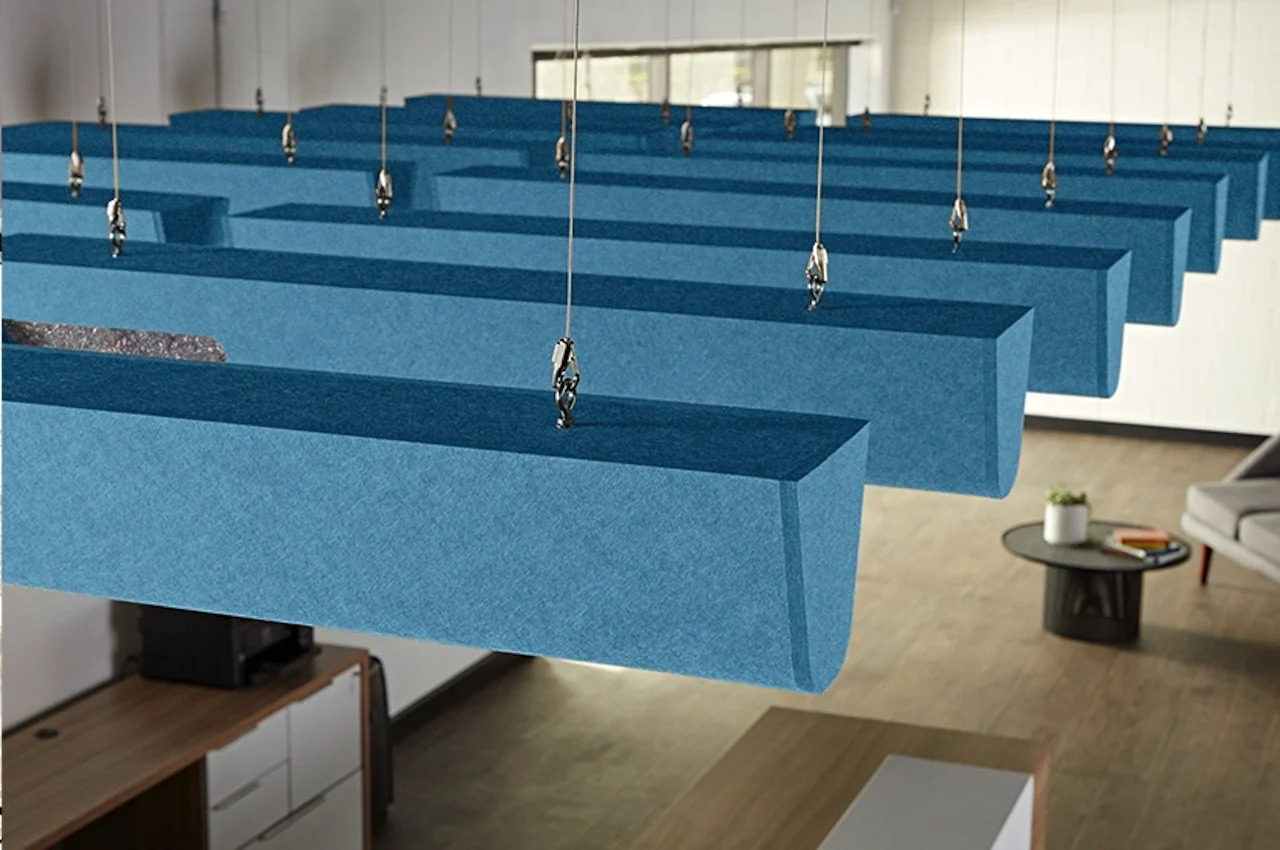
Echo panels are gaining significance in room acoustics, now integral to interior design. Kirei introduces its sustainable Kirei Air Baffle, drawing inspiration from Nike Air Max, to enhance sound in high-ceiling spaces. Utilizing recycled PET EchoPanel material filled with Nike Grind fluff, these baffles come in various models and sizes, improving acoustic performance and adding aesthetic value. With customization options in 33 colors and easy installation, they contribute to a softer room ambiance and sound, elevating the functionality and aesthetics of any space with Kirei’s architectural design elements.

Designer: Michael DiTullo

The Kirei Air Baffle, an overhead acoustic panel, enhances sound quality in high-ceilinged spaces. What sets it apart, beyond its superior sound performance, is its sustainability. Even in the realm of acoustics, sustainability is achievable with the use of environmentally conscious materials.

Acoustic Foam

Acoustic foam panels, renowned for their porous and lightweight design, excel at absorbing sound waves. They’re particularly favored for reducing reverberation and controlling noise levels in settings like media rooms, music studios, and home offices.

Double Glass

Double-glazed windows with acoustic laminated glass are highly effective in reducing external noise, including car and street noise, making them perfect for urban environments. They offer a great alternative for soundproofing both homes and offices. Note that Double-glazed windows are made out of two glass panes separated by Argon gas. This specific gas is a poor thermal conductor. As a result, the sound or heat does not pass through the second glass pane and into the other side of the window.

Mineral Wool

Image courtesy of: bilanol

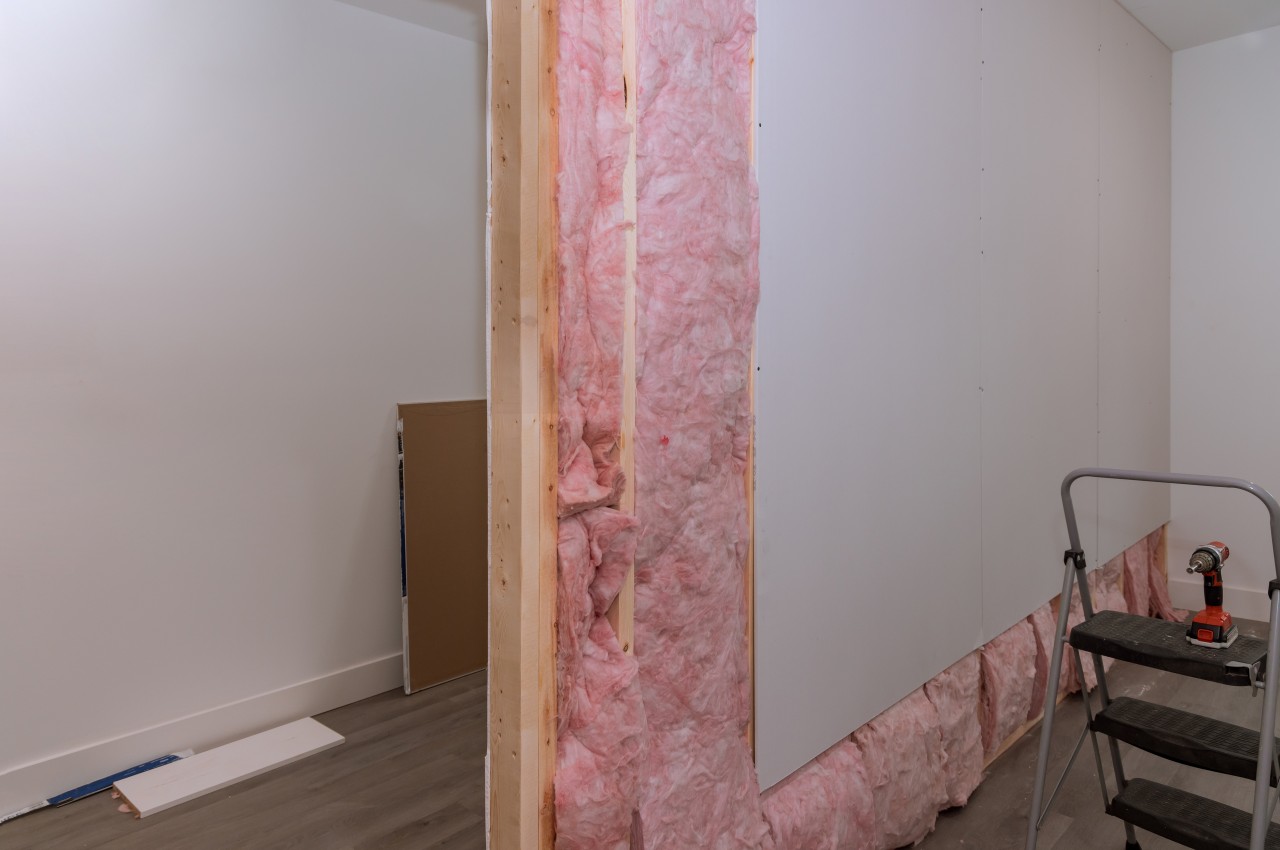
Made from mineral wool extracted from minerals, this material provides powerful sound insulation. It’s not only a thermal insulator but also commonly utilized in wall cavities, ceilings, and other spaces to minimize noise transfer between rooms.

Glass Wool

Glass wool, also called fiberglass insulation, serves as a popular choice for thermal insulation. Its effective sound absorption properties also make it cost-effective for soundproofing purposes. It’s commonly applied to walls and ceilings to provide dual insulation services.

Textile

Textile-based sound-absorbing materials like heavy curtains, carpets, and fabric-wrapped panels are commonly found in quiet-seeking homes and offices. Beyond their noise-reducing function, they also contribute to the visual appeal of their surroundings.

Designer: Claudio Bellini

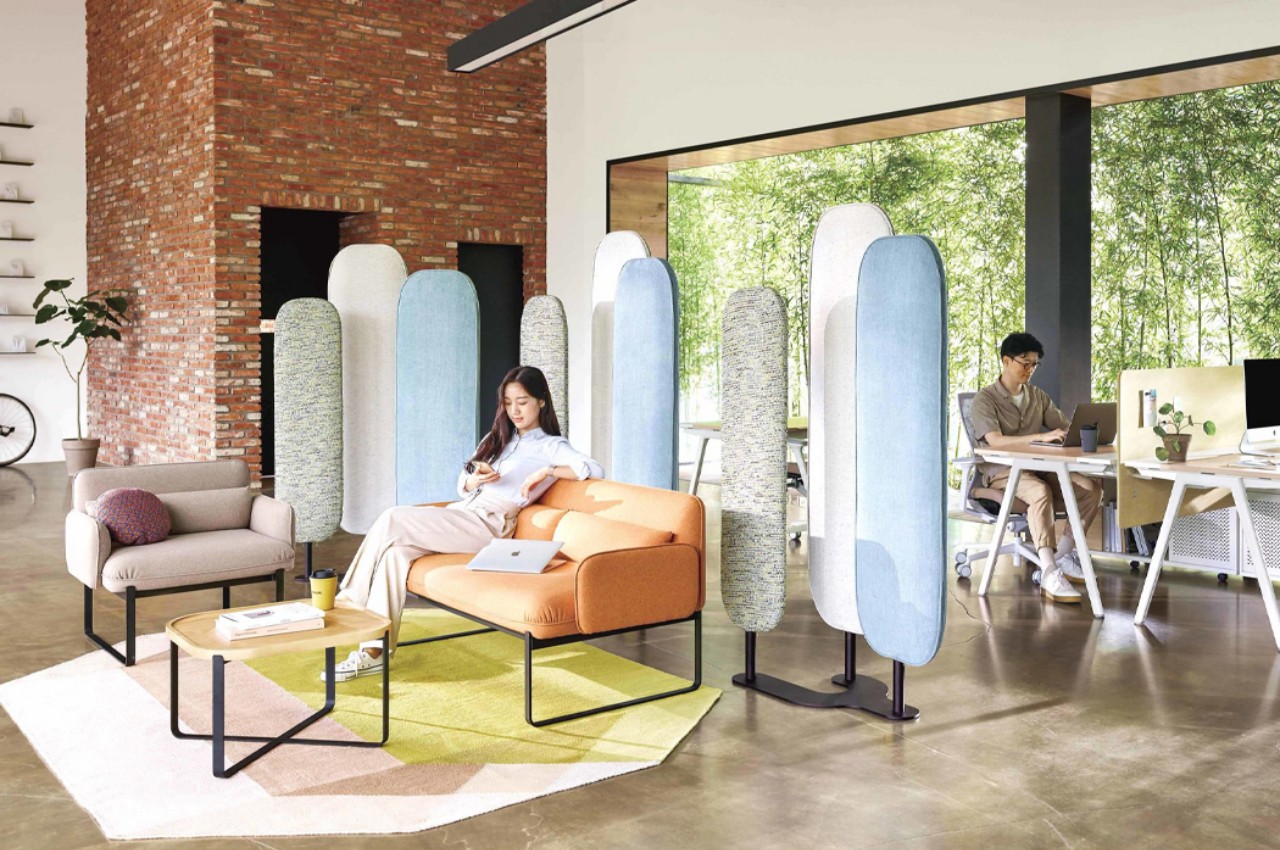
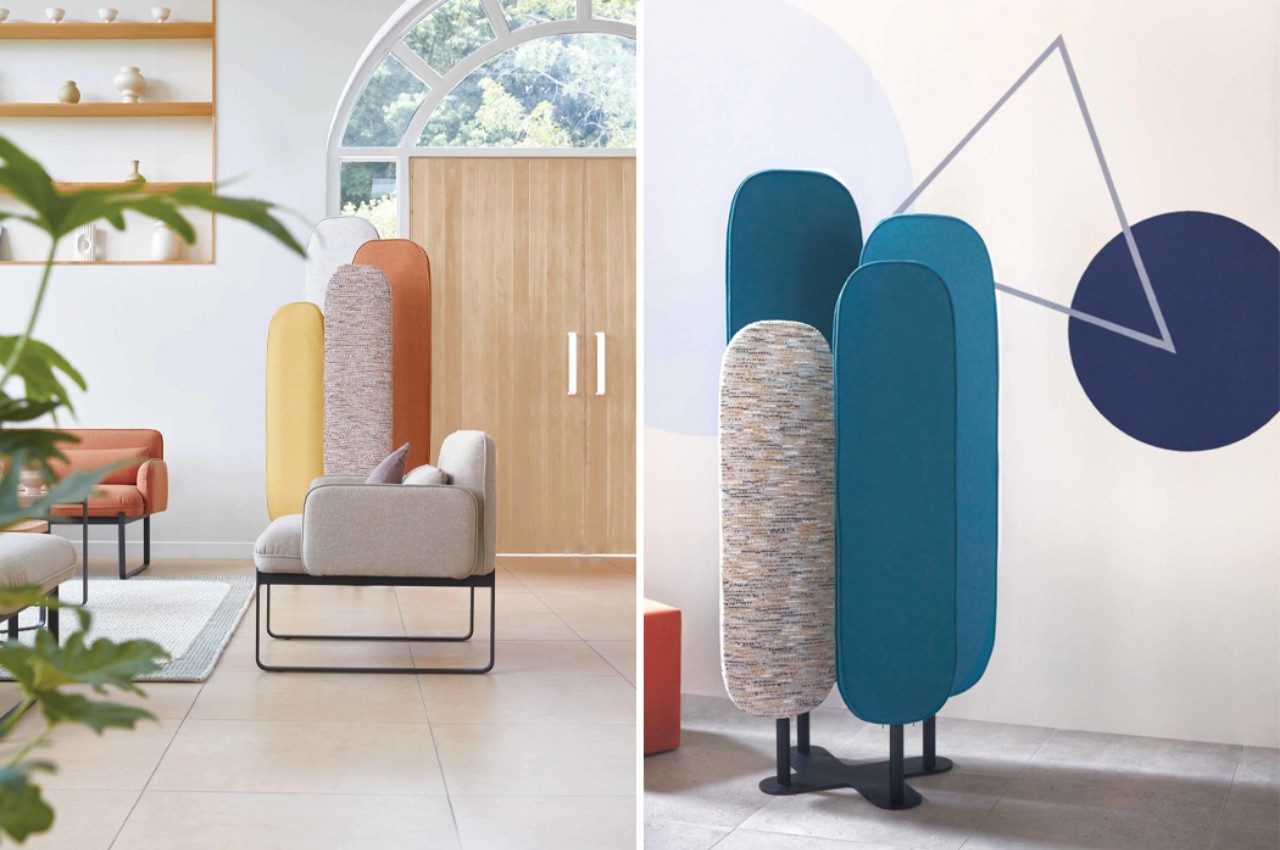
In modern office settings, privacy remains vital despite open layouts. Milan-based Claudio Bellini design studio addresses this with FP7, acoustic panels serving as both dividers and noise absorbers. Specifically for open offices, FP7 visually delineates private areas while absorbing sound. Available in various colors, these panels create a cohesive look. Made from embedded cushioning and soft fabric, they offer flexibility in arrangement to suit different privacy needs. A finalist at the 2021 iF Design Awards, FP7 seamlessly integrates with contemporary office culture, providing private spaces for discussions and collaboration.

Sustainable Design

Designer: Jonas Edvard

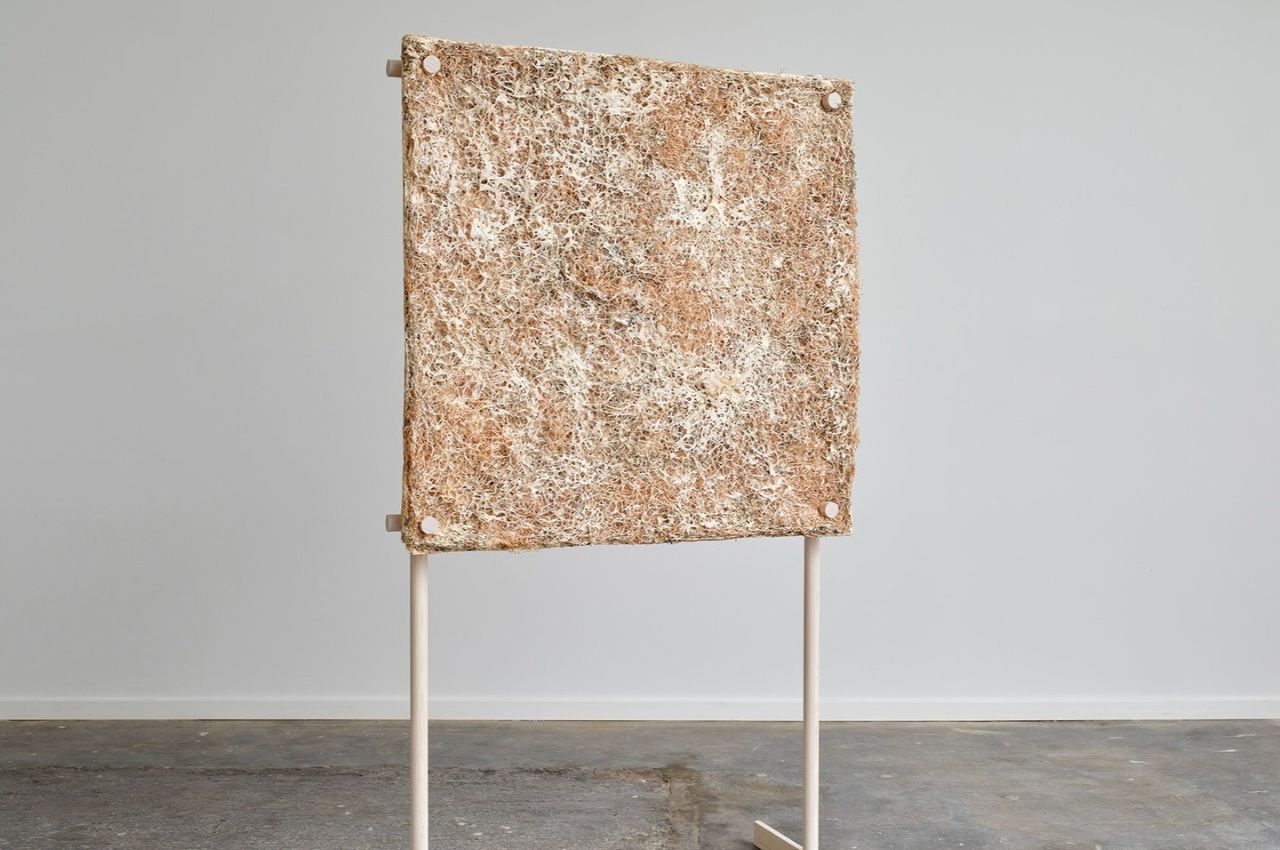
In sustainable design, Jonas Edvard is known for his innovative use of organic materials to create functional and attractive objects. His latest creation, the Myx Sail / Floor panel, showcased at the 2023 Mindcraft Project, is made from mushroom mycelium, hemp, and willow. This 1m x 1m panel not only shows the strength of composite biomaterials but also reflects Edvard’s commitment to responsible design.

Designer:Baux

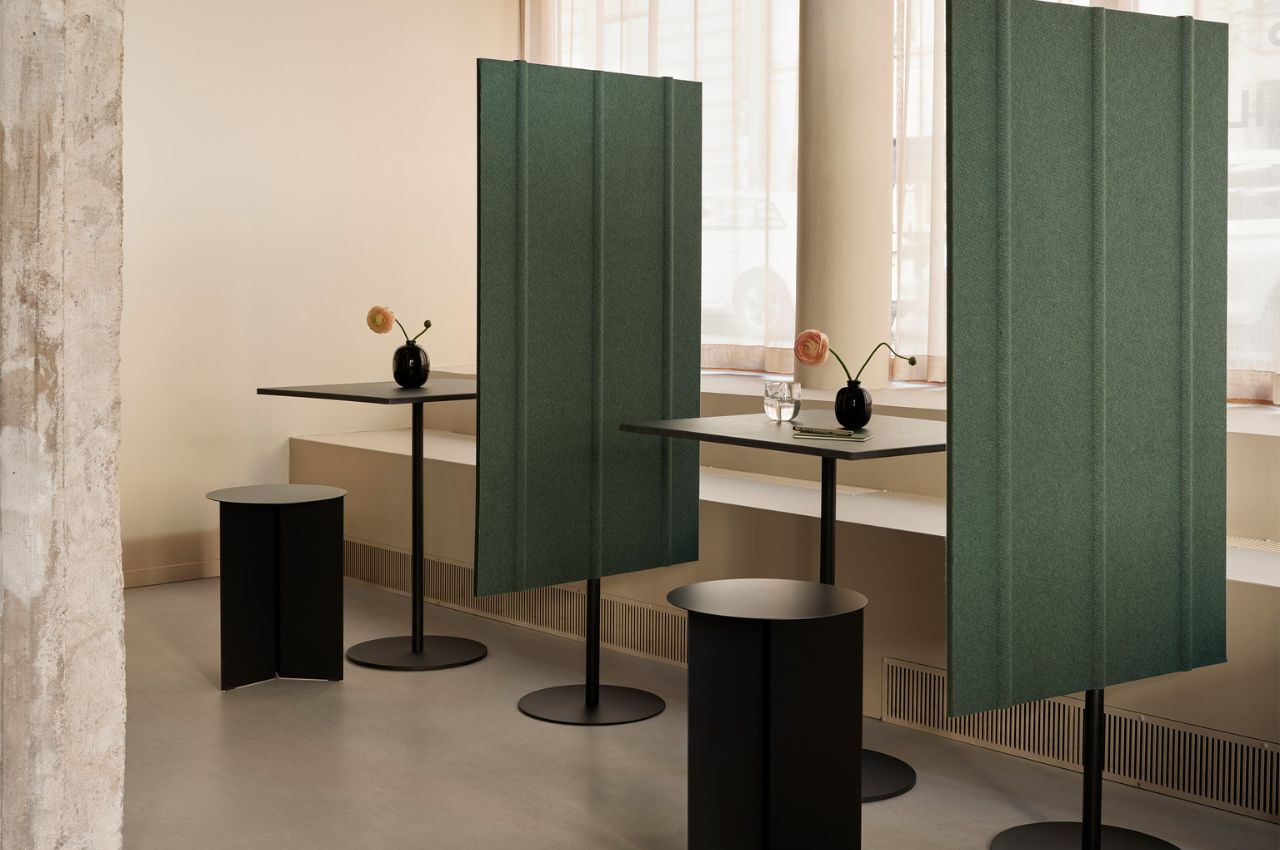
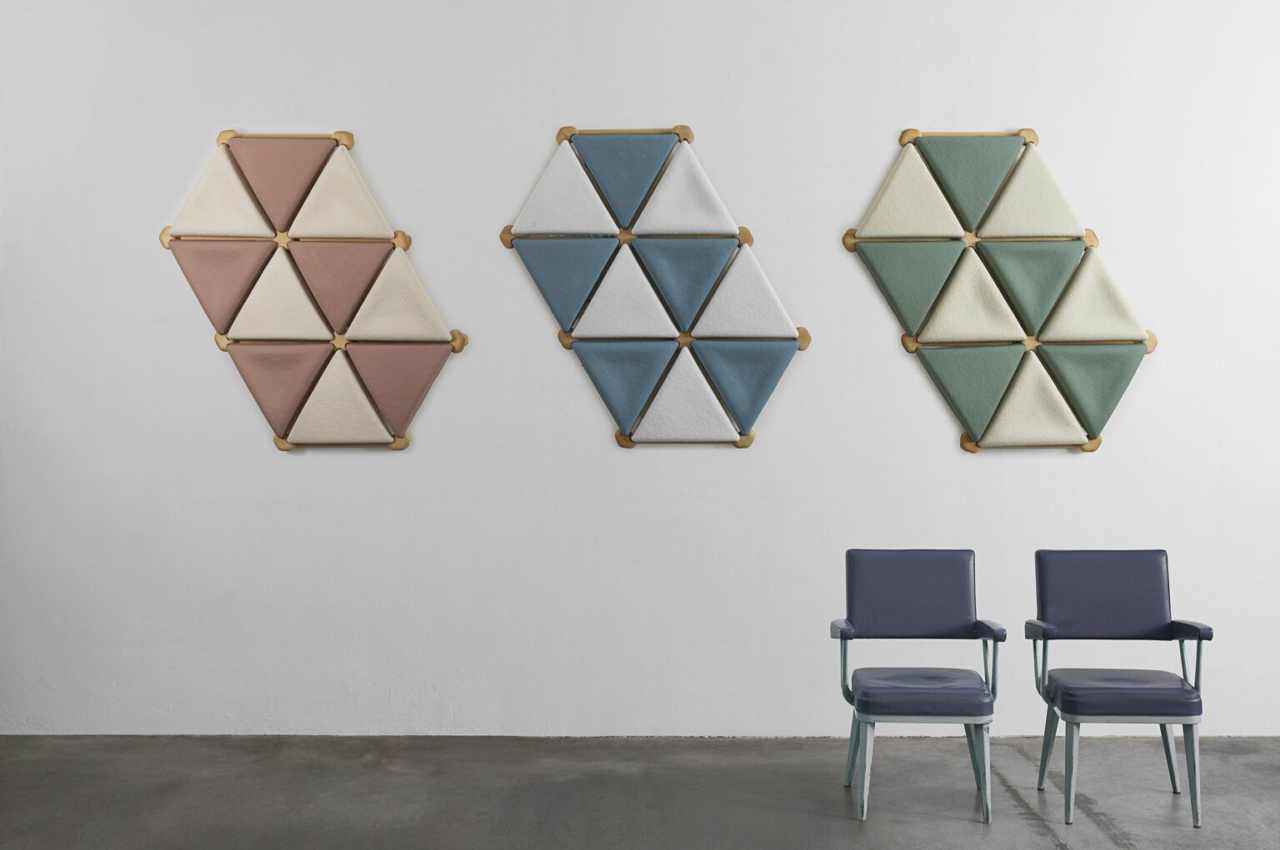
Consider acoustic panels for your office or co-working space when soundproofing isn’t an option. They reduce noise and can serve as room dividers. Baux, a Swedish brand, prioritizes sustainability by using recycled PET plastic and virgin plastic for binding. The panels, with a felt-like texture, undergo a process of chipping, melting, and binding for effective sound absorption. Available in various sizes and colors, they offer both functionality and minimalistic design.

Designer: Mogu

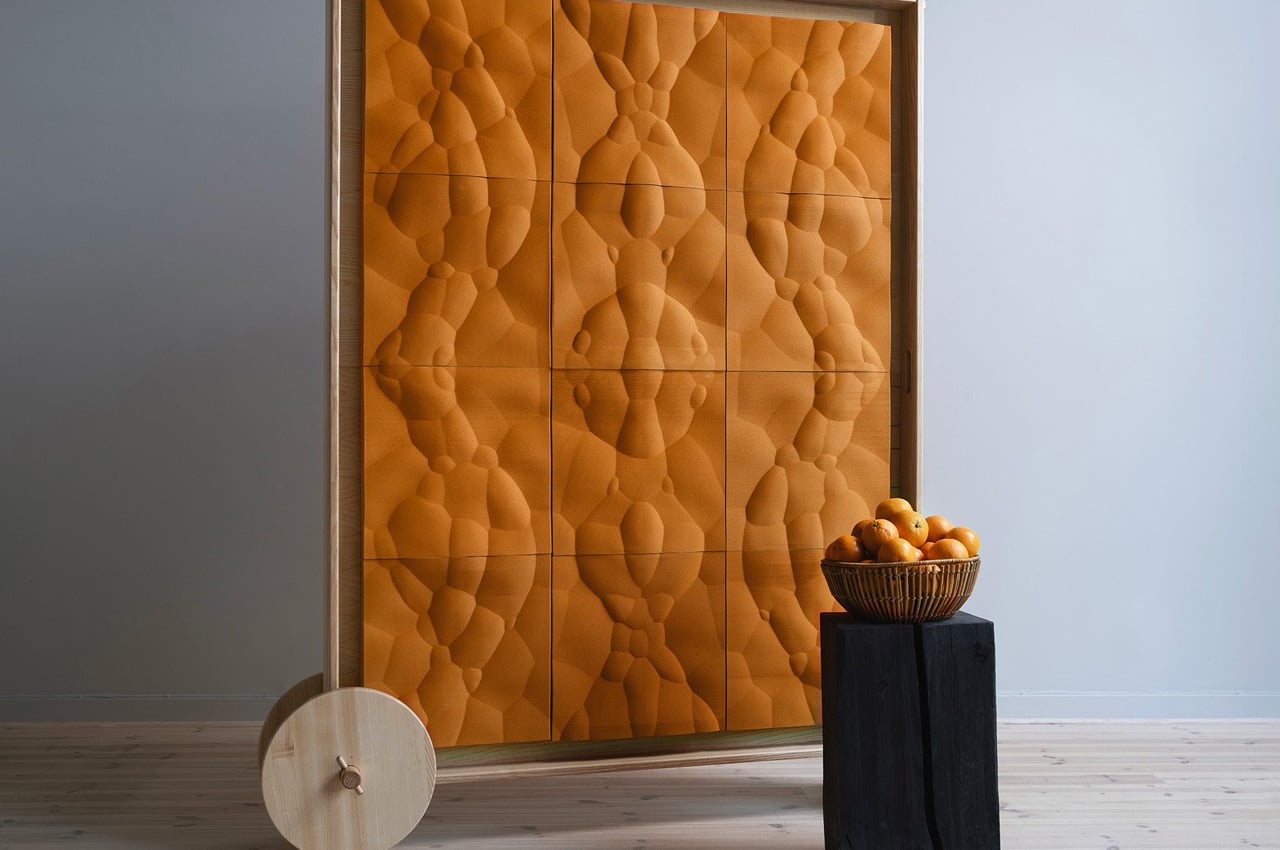
Mycelium, nature’s hidden strength, finds diverse applications from cooking to construction. Italy-based Mogu’s Foresta System ingeniously combines mycelium with upcycled textiles to create modular acoustic panels, perfect for home building and furnishing. These panels easily attach to a timber frame, featuring integrated magnets for effortless assembly and disassembly. Foresta’s innovative use of mycelium earned it the 2022 German Design Award for its eco-conscious and circular design, highlighting Mogu’s dedication to sustainability.

The post What Is Acoustic Insulation? first appeared on Yanko Design.
Top Ten Color Trends For 2024

In 2024, we can expect a bolder approach to life, as color experts anticipate that colors will be more personal than ever, allowing individuals to express themselves. Whether opting for bold or softer hues, there are no rules but it is all about personal feelings and resonating with the moment. With the primary theme of 2024 centering around home well-being, homeowners are keen on creating spaces that radiate a calm and serene environment. Hence, the featured color trends play a crucial role in establishing environments that offer respite from the fast pace of day-to-day life.

What factors should you consider when picking a color?

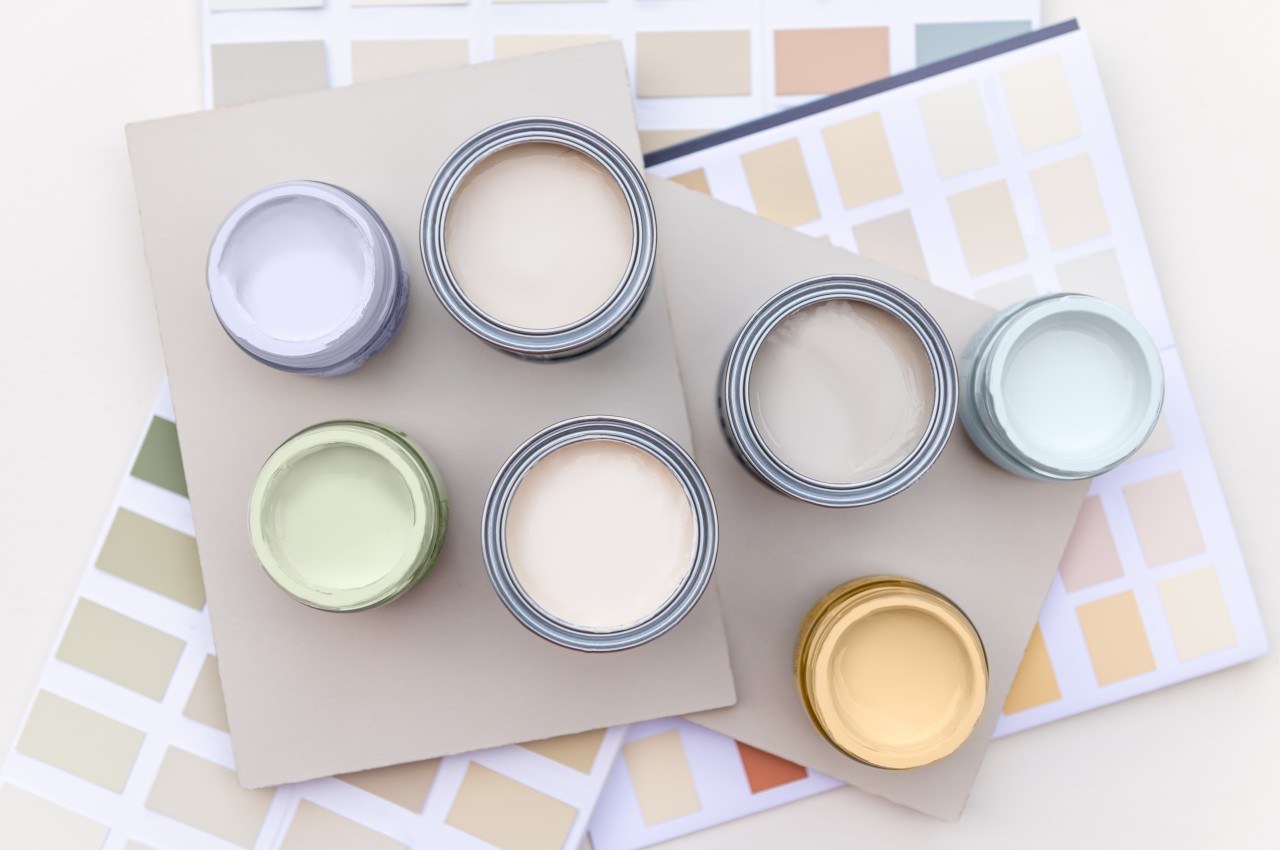
Consider the lighting, existing furniture colors, and the desired mood that you aim to achieve when choosing a paint color. Lighter tones, like creamy white and neutral hues of grey, create a brighter and more spacious feel, while darker shades such as deep purple and warm orange or red make a bold statement, fostering a cozy atmosphere. Also, when choosing the suitable colors for your home, consider its psychology, as it explores how colors influence human behavior and emotions and can impact mood and decision-making, subject to individual preferences and cultural influences.

Check out the trending colors of 2024 and make sure to choose the colors that are best suited for your home.

1. Cool Blue

Image courtesy of: archideaphoto

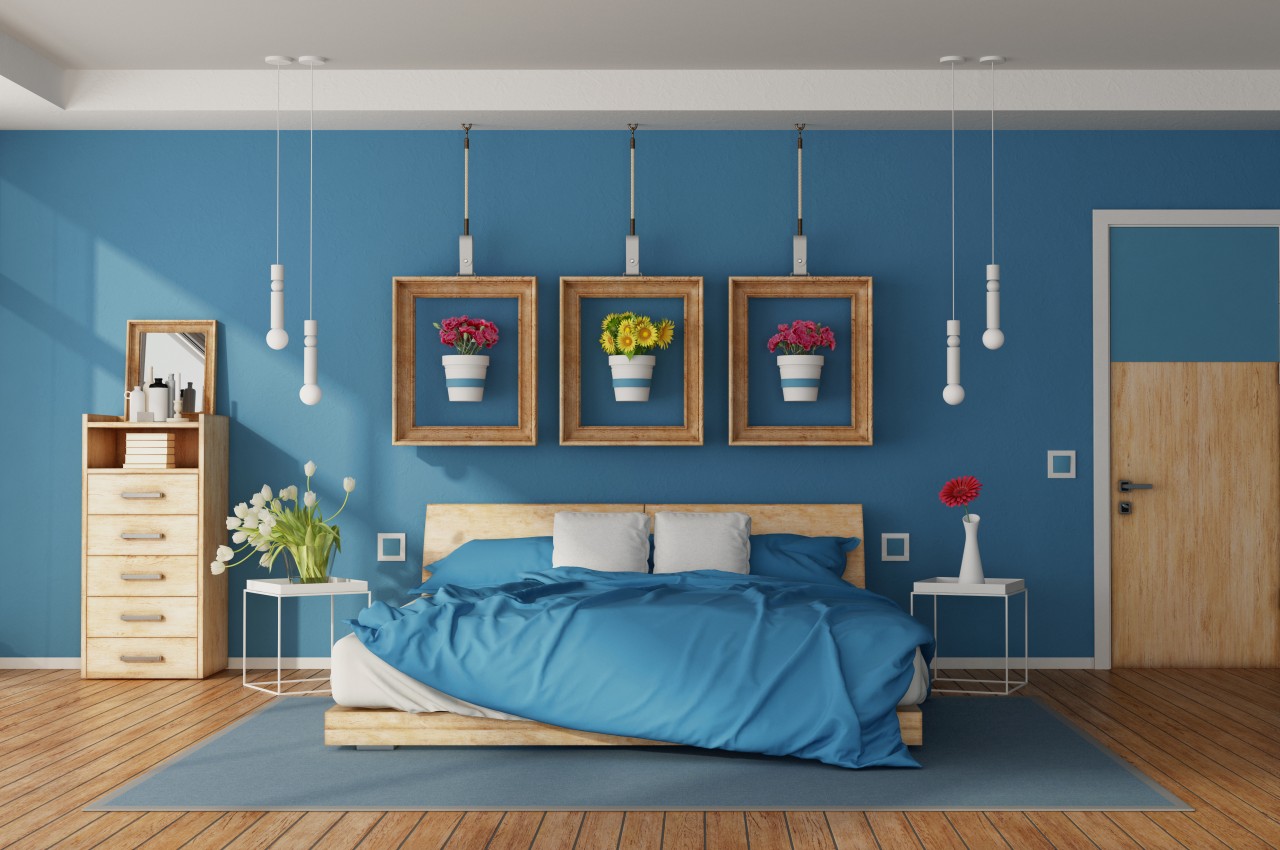
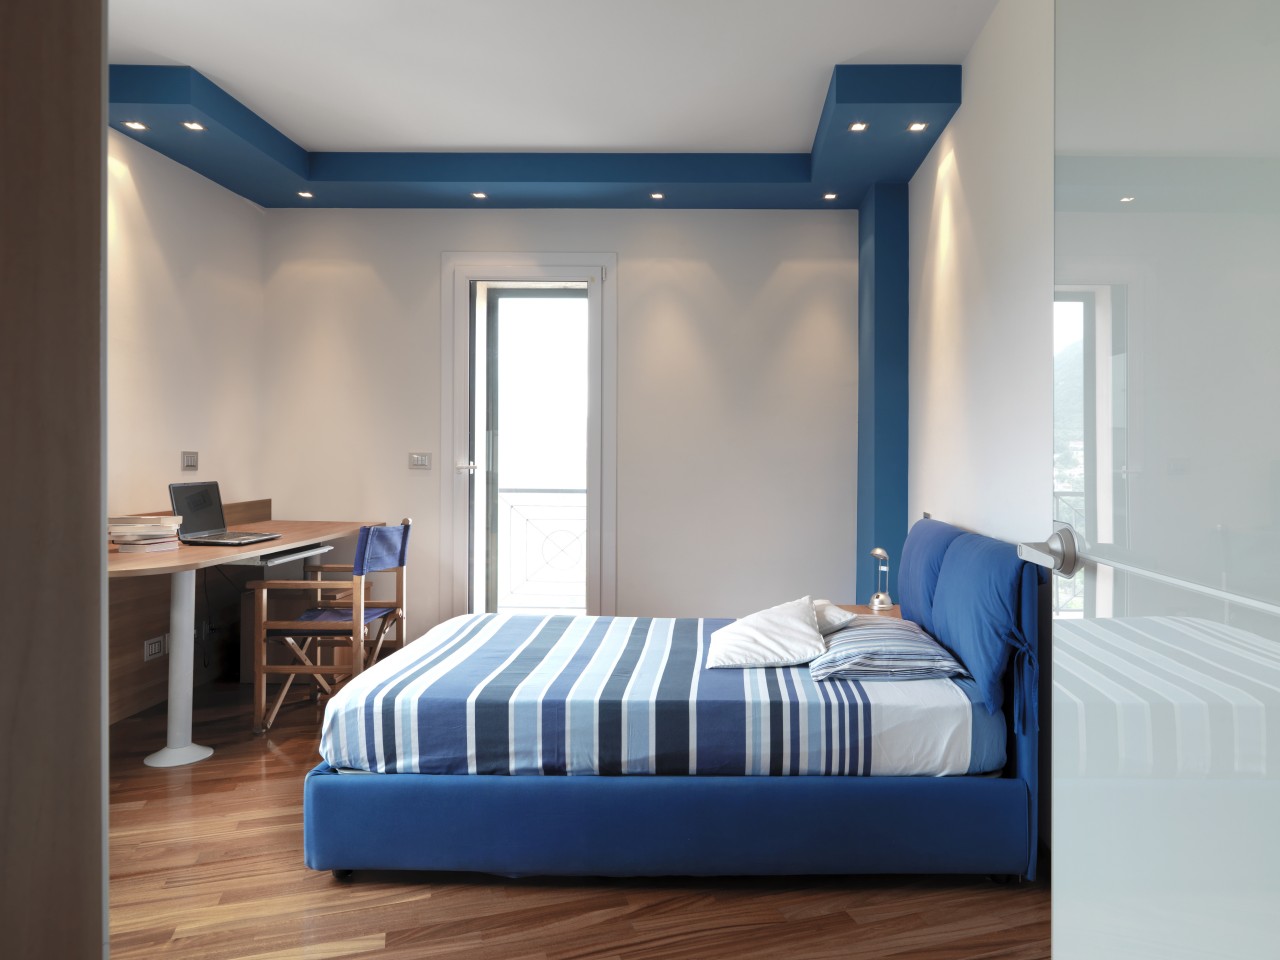
Blue is a timeless color that maintains popularity because of its natural connection with the blue skies and calm water. Some of the airy and watery tones include refreshing aqua blues, teal, turquoise, and serene shades that aim to create tranquil spaces. Additionally, blue has evolved into a contemporary neutral for modern homes, offering versatility to mix and match across various design styles and applications. The best part about using blue color is that lighter shades of this color have an inherent lightness that uplifts the décor of any room with ease.

2. Versatile Purple

Image courtesy of: archideaphoto

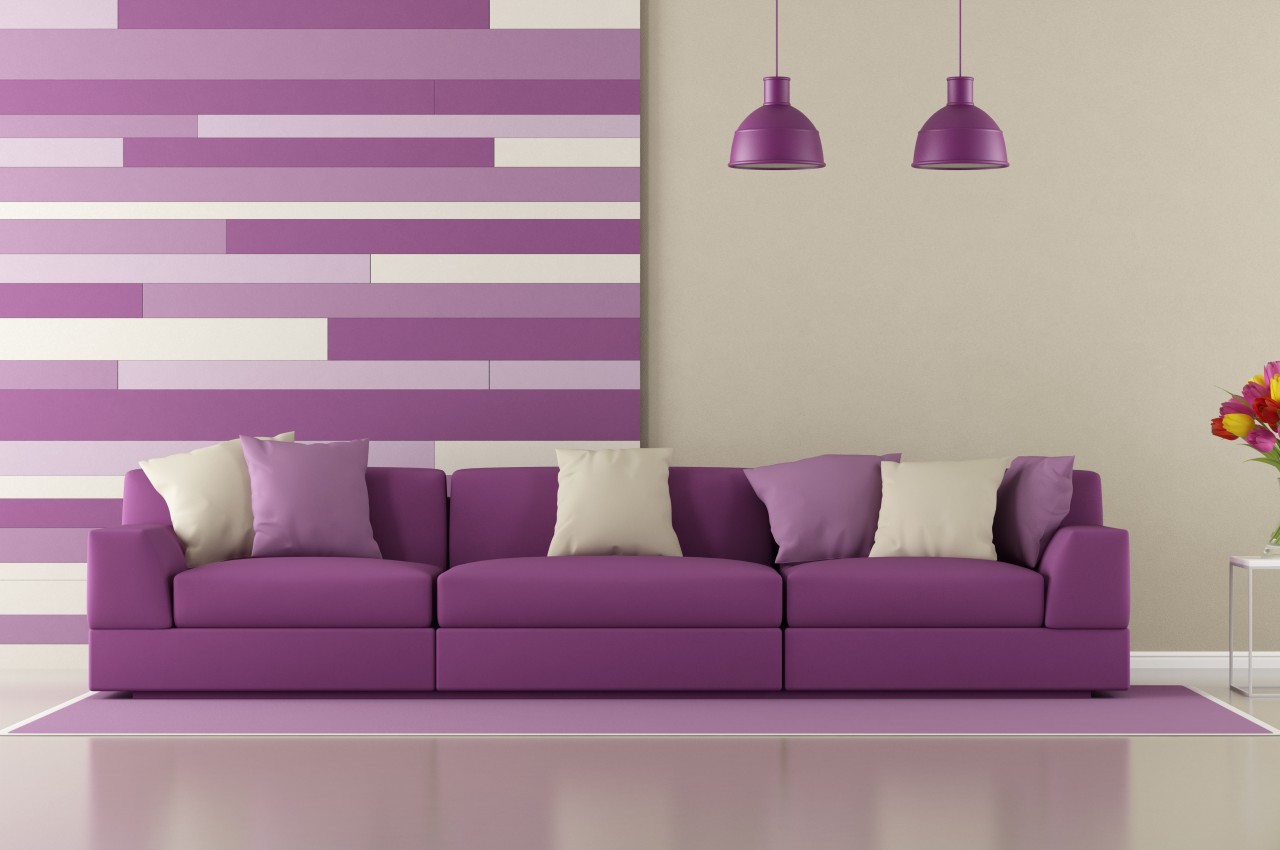
Across fashion and interiors, purple shades, once linked with wealth and royalty, are now infused into contemporary aesthetics, bringing a fresh dynamic to color schemes. The color purple exudes calmness and luxury, with deeper shades of purple adding playful depth for a sense of opulence in the interior decor. Soft and muted shades of purple are gaining popularity and complement hues of pinks, greens, and blues as they bring an element of dynamic energy into the interiors. Dark mauves are emerging as a significant color trend in 2024, possessing a versatile quality that reads as neutral yet remains lively and bold. Its compatibility with many colors makes it an easy and versatile hue to work with. With its profound and rich undertones, the color purple radiates sophistication and charm

3. Peach Fuzz

Image courtesy of: Pressmaster

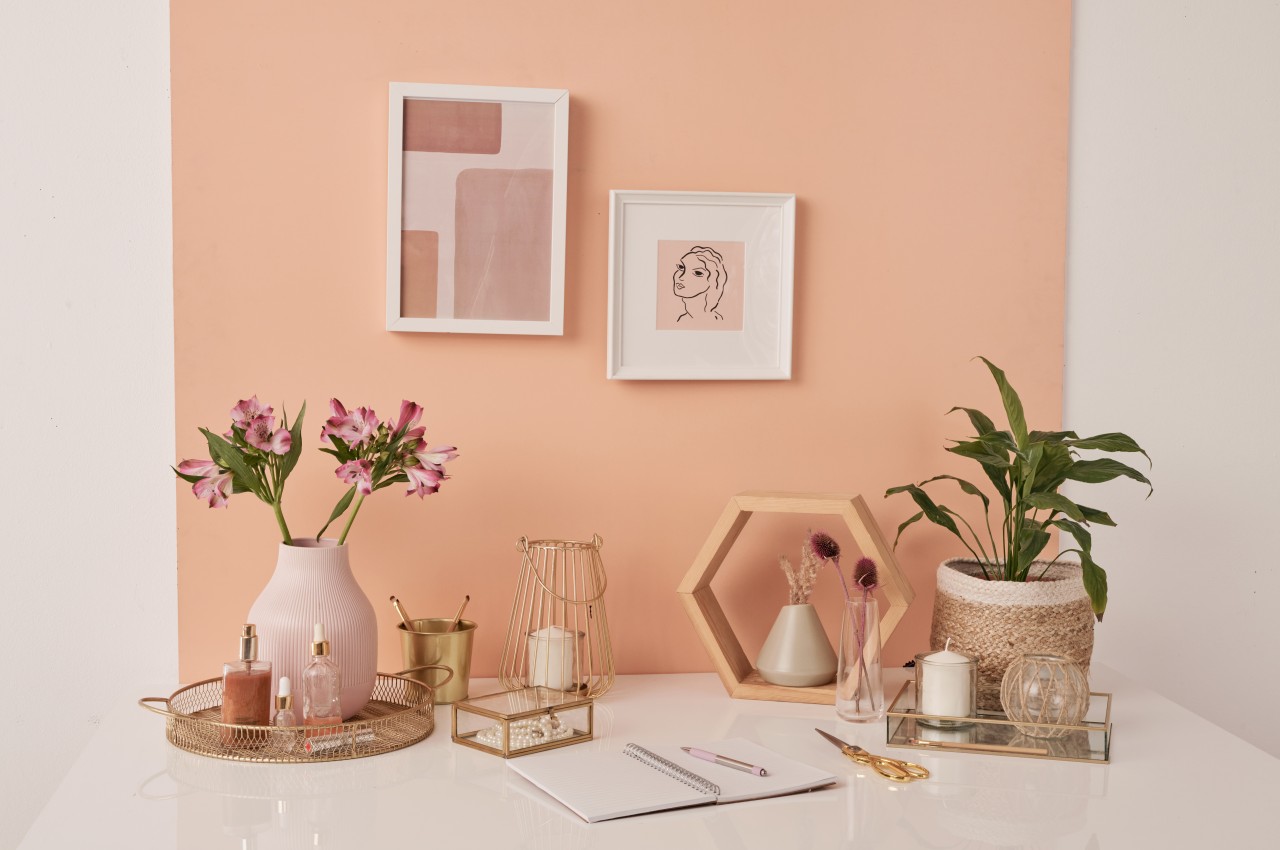
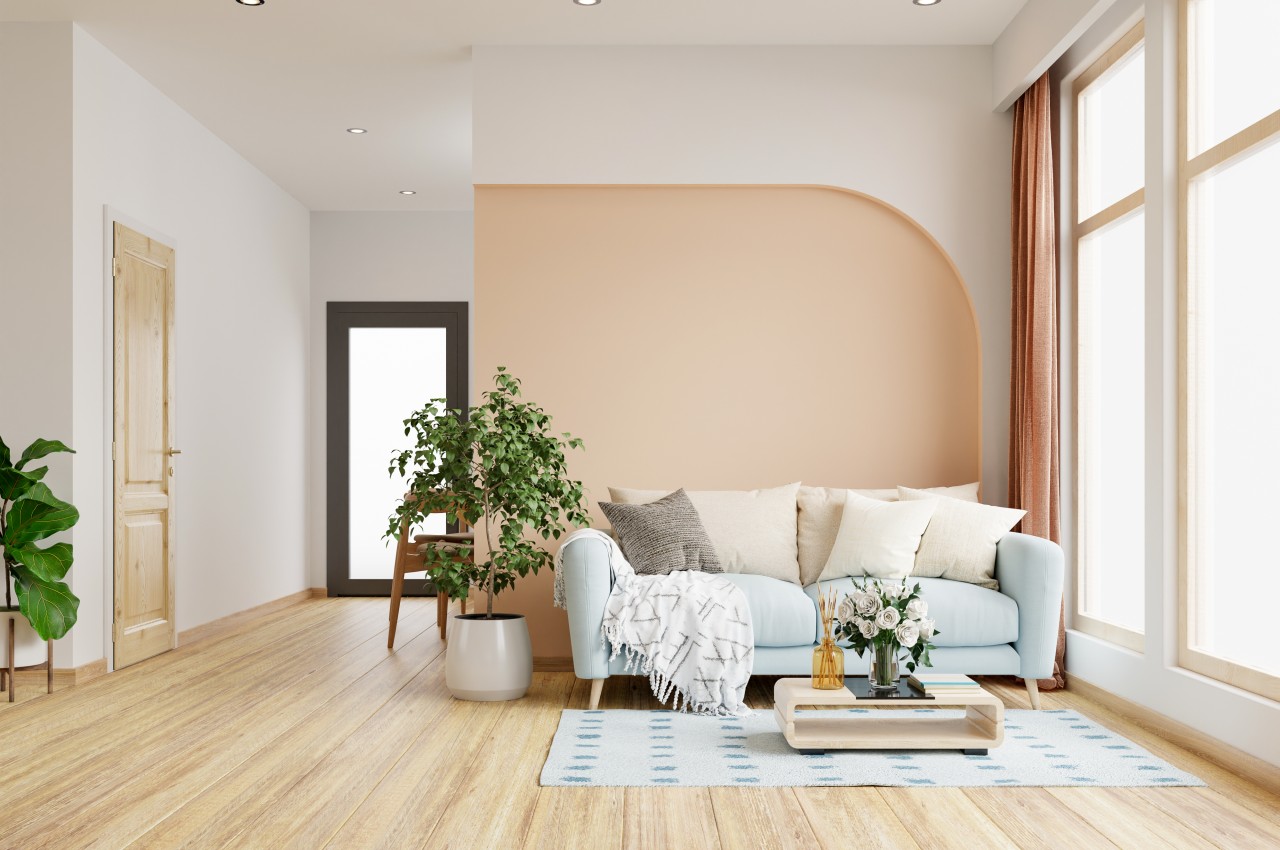
In 2024, the trend is all about pinky peaches, with Pantone naming 13-1023 Peach Fuzz as the Color of the Year. Pantone’s Peach Fuzz stands out as a warming color that offers comfort and connectivity. In a world that can feel harsh, the preference for soothing, soft, and warm colors that offer comfort is evident. Whether used as a textured rug or an accent wall in a dining room, it brings a convivial atmosphere to spaces, capable of complementing traditional neutrals and standing out in vibrant color schemes. This pinkish-orange hue can instantly cozy up your bathroom, bedroom, or living room during your next home makeover.

4. Earthy Greens

Image courtesy of: FollowTheFlowStudio

Shades of green are expected to maintain their immense popularity in interior design as individuals continue to embrace biophilic design, seeking a heightened sense of wellness inspired by nature. Green imparts a grounding and warm ambiance to spaces, crafting contemporary and atmospheric room designs. The color green contributes depth to a space and blurs the boundaries between the exterior and interior. In addition to earthy tones, rich greens are anticipated to gain prominence along with darker shades that exude elegance. Emerald green, a jewel tone that is both saturated and not overly bright, is making a major statement, bringing a rich mood and depth of color to various spaces. Note that dark green, when paired with complementary colors, can introduce balance, drama, or a sense of tranquility to a room.

5. Warm Neutrals

Image courtesy of: vanitjan

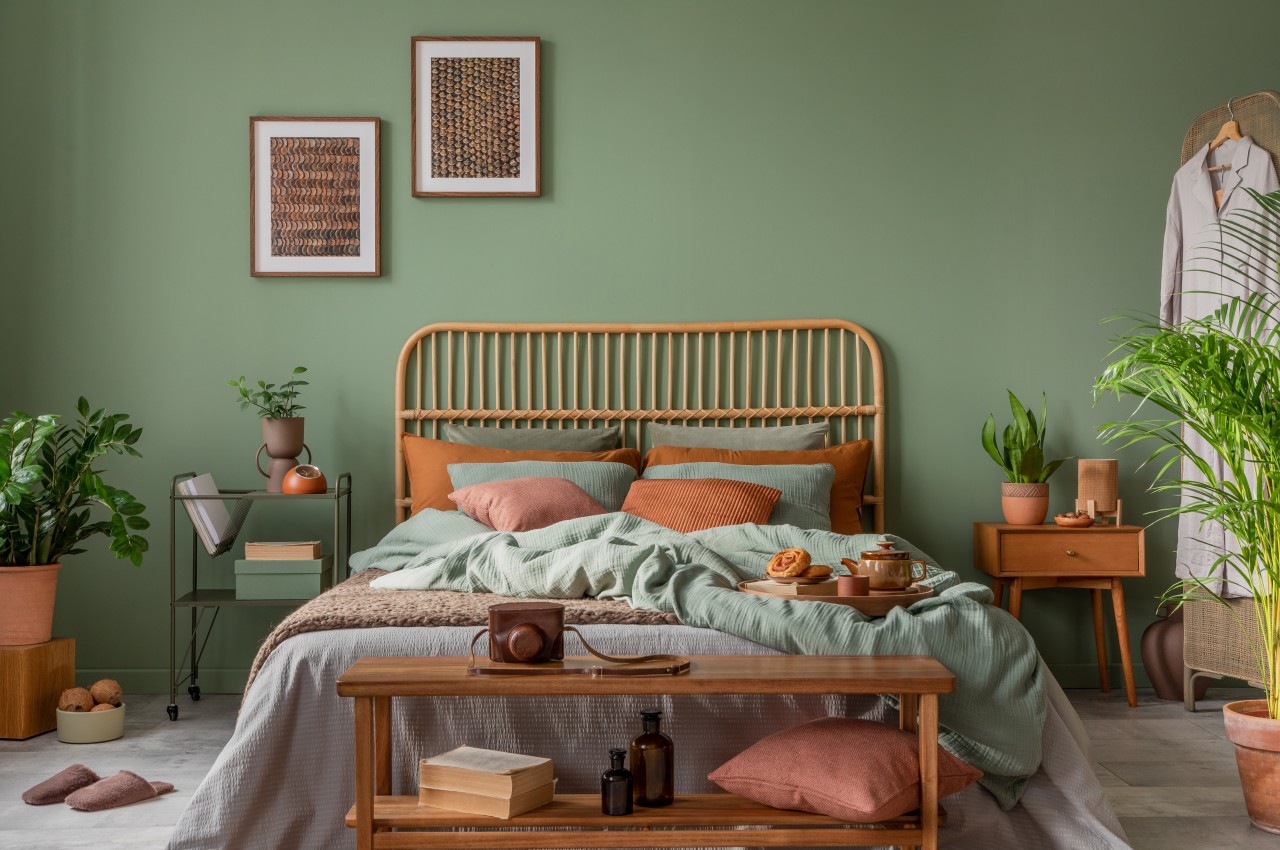
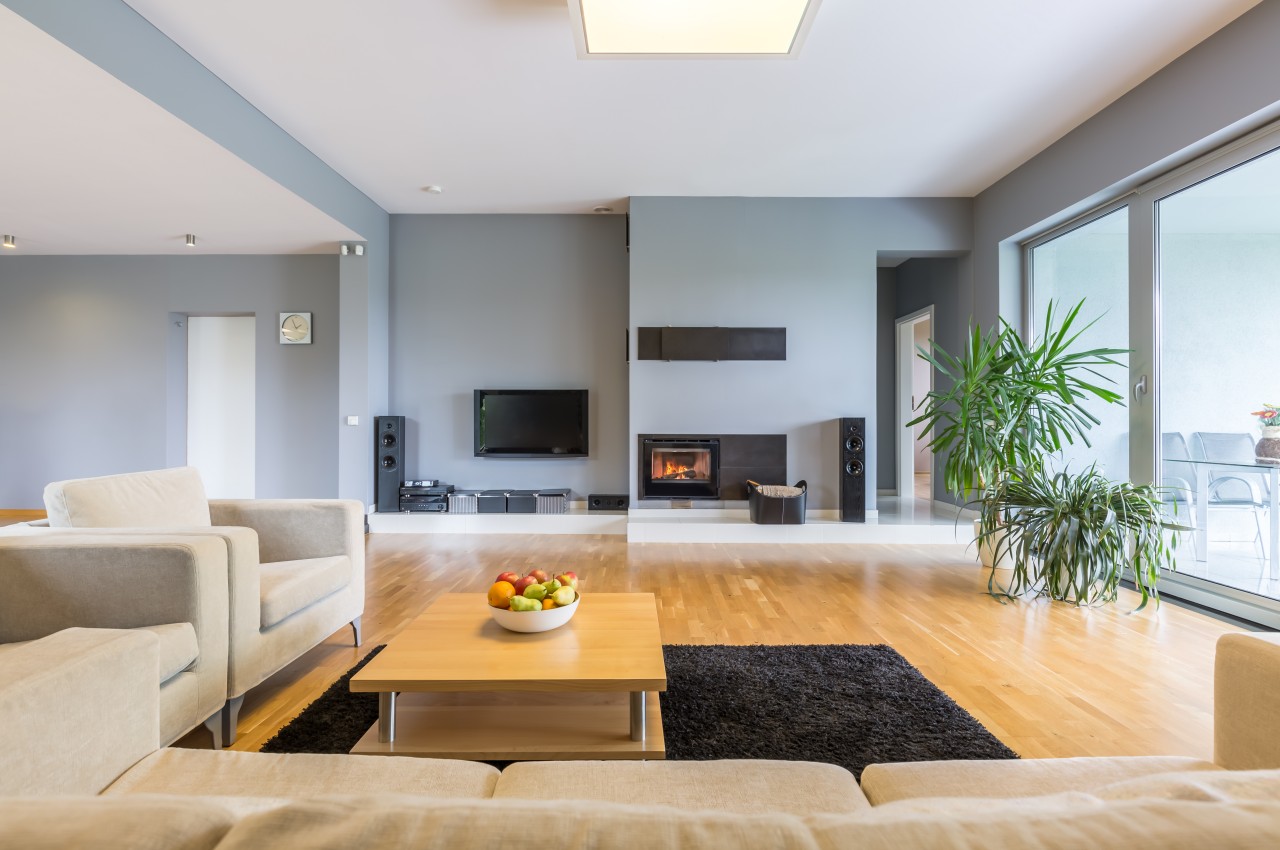
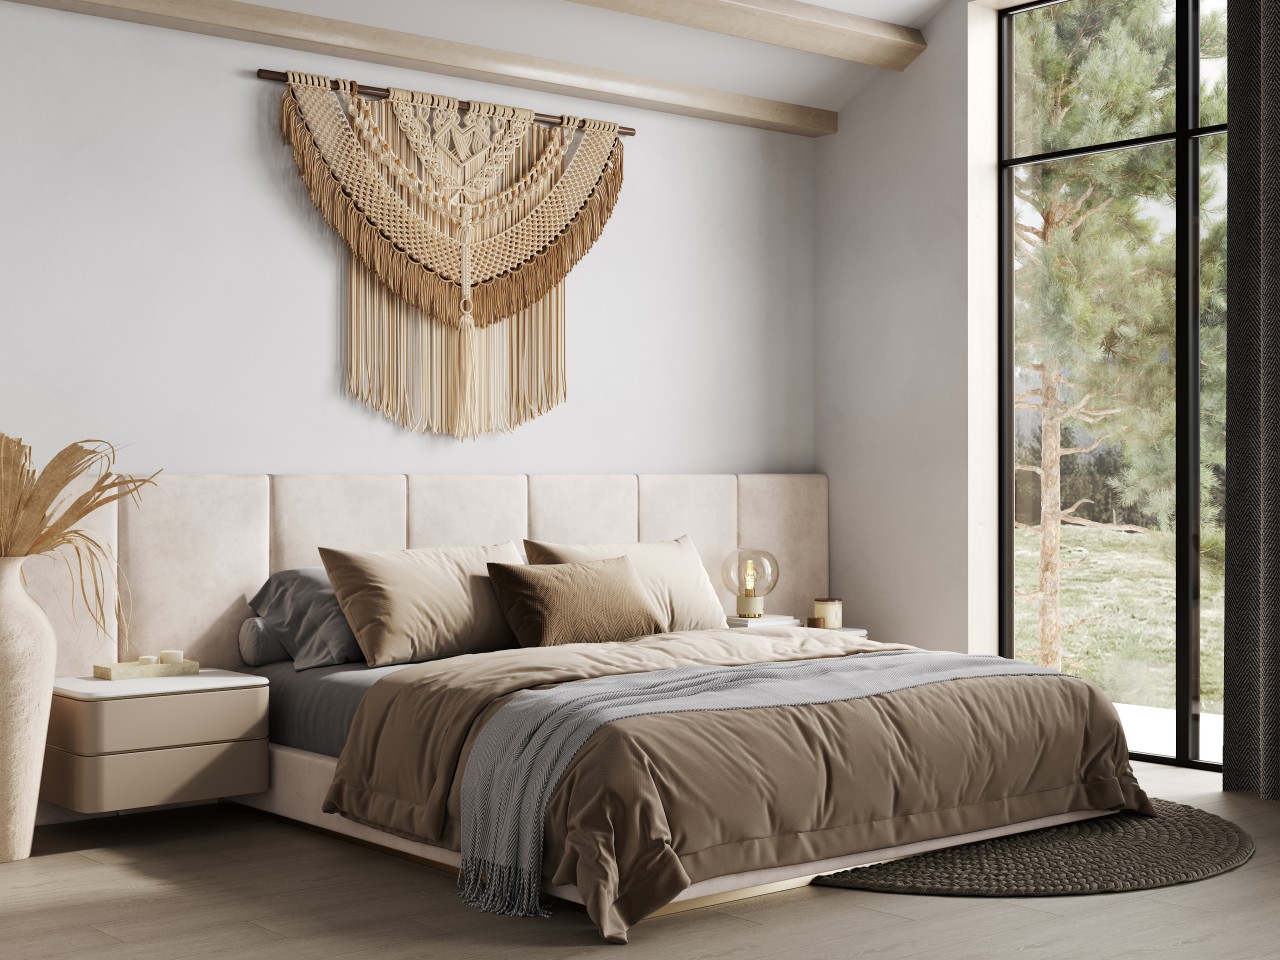
There is a renewed love for neutrals, especially in bedroom trends, which fosters a restful ambiance and a comforting sanctuary. Pairing warm creams with soft terracotta or deep red tones adds depth, while incorporating layers of texture within neutral schemes brings tactility. Note that warm off-whites and cream tones are becoming the go-to neutrals for 2024 and designers as well as homeowners currently favor these warm neutrals to counterbalance the coldness induced by LED lighting. Whether applied to walls, ceilings, woodwork, or furniture, these comforting and warm neutrals are suitable for diverse design styles, imparting timeless charm and a sense of relaxation to all spaces.

6. Tone-on-tone Color

Image courtesy of: bialasiewicz

Tone-on-tone palettes revolve around a single core hue, incorporating various shaded tones within that spectrum for a harmonious color scheme. You can use diverse paints on your walls and seamlessly complement them with furniture, textiles, and accessories. Anticipate the prominence of monochromatic color schemes in both indoor and outdoor spaces, where the blending of colors from the same family exudes sophistication and an effortless sense of chic.

7. Black

Image courtesy of: hemul75

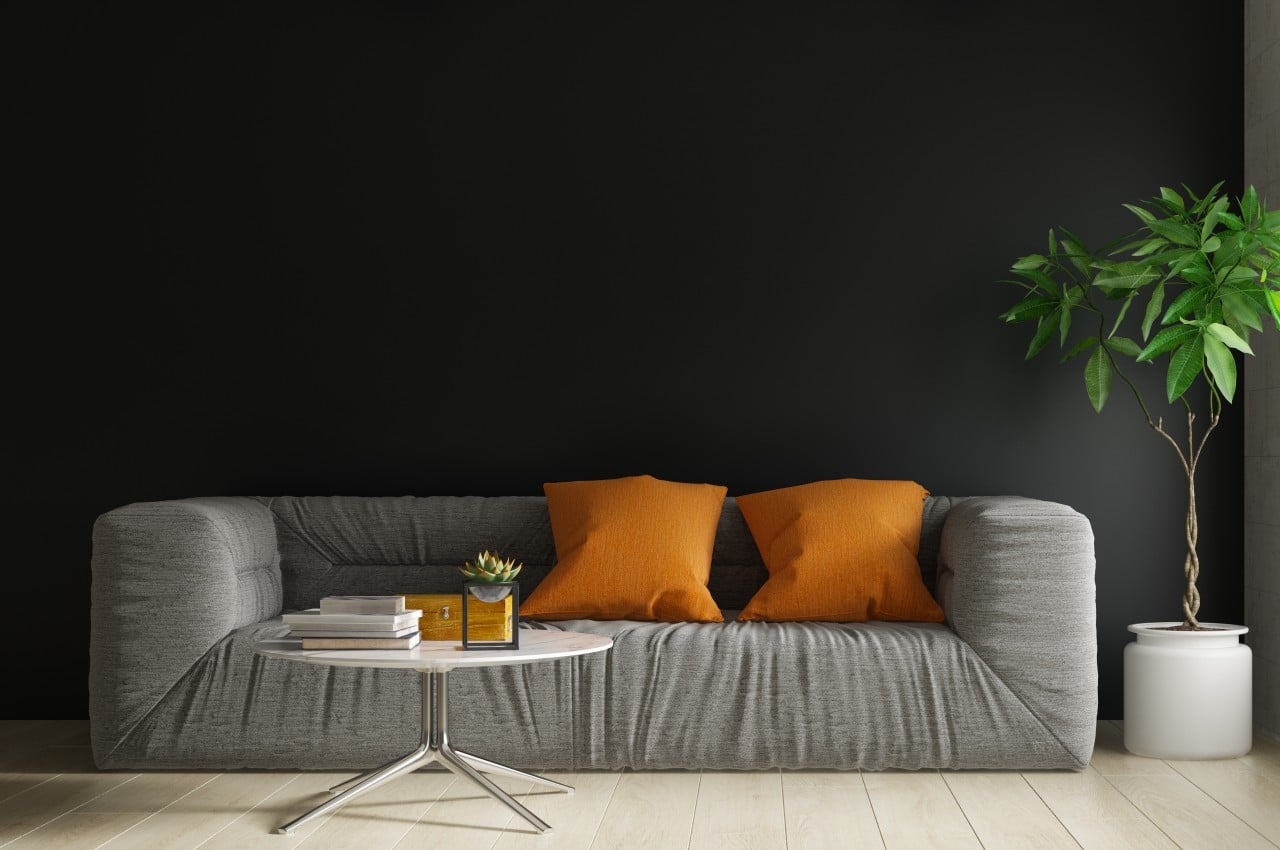
Darker black tones are gaining prominence as the primary color choice, serving as a bold accent and becoming the focal hue for smaller spaces, while the appeal of a softer black shade lies in its inviting, versatile, and timeless qualities. This bold and strong color is highly versatile, making it easy to incorporate into any style of decor.

8. Soft Pinks

Image courtesy of: dit26978

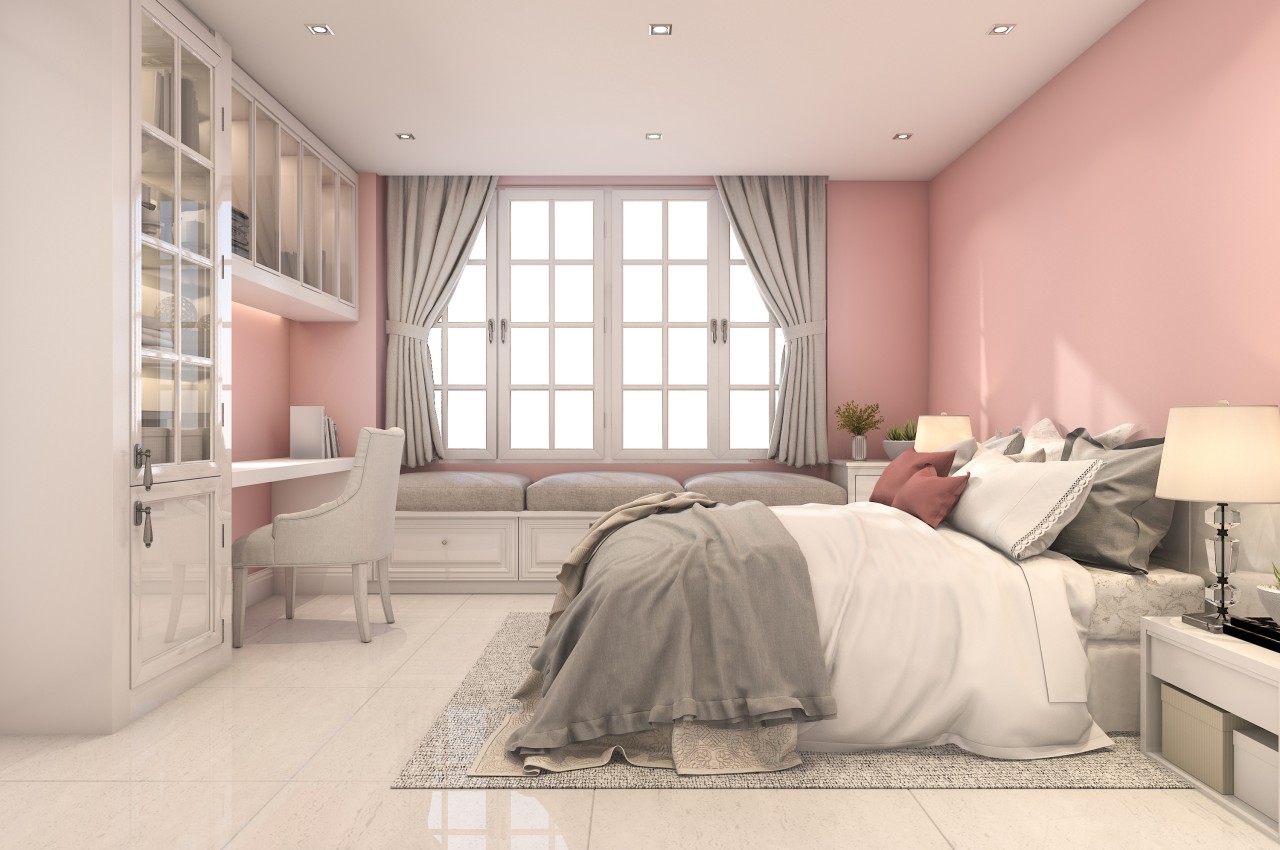
Pink is being used in modern ways, making it more interesting, especially when different shades are combined to create a sophisticated atmosphere. The gentle blush of soft pink makes it a perfect neutral choice for smaller rooms or spaces with limited natural light, as its warm undertones contribute to elevating the color and adding depth. Soft pink is ideal for establishing a tranquil atmosphere in the home, introducing subtle hues that effortlessly harmonize with a wide range of other colors.

9. Rich Brown

Image courtesy of: hemul75

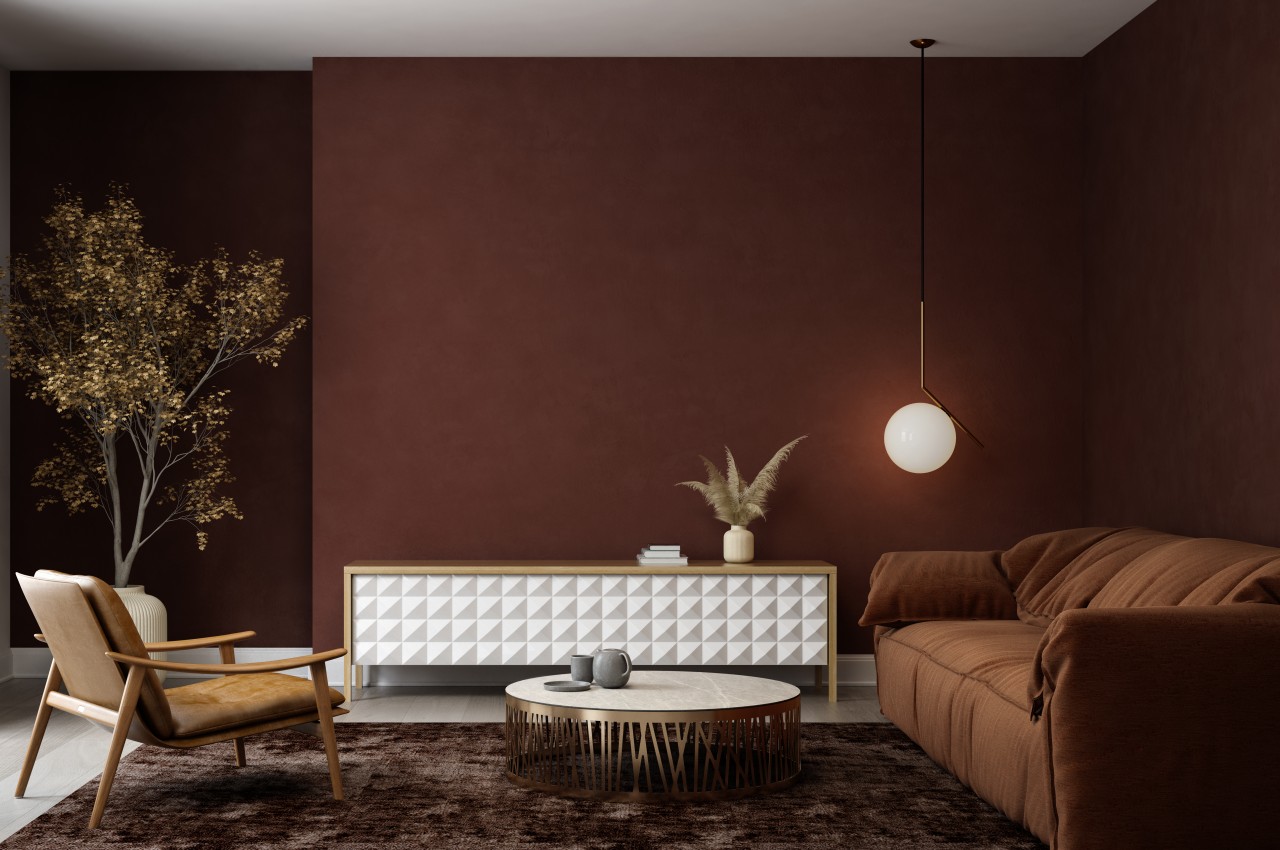
Embrace a luxurious blend of warm earthy tones, crafting a design environment that exudes both a grounded and welcoming atmosphere. One such color is rich brown which infuses depth and sophistication into the design narrative. The inviting richness of brown is perfect for traditional and contemporary themed interiors, making it an ideal backdrop for a cozy space. Throughout 2024, earthy browns are expected to continue dominating our homes as there is a growing inclination to connect with nature for enhanced well-being

10. Soft Terracotta

Image courtesy of: lytvynliliia

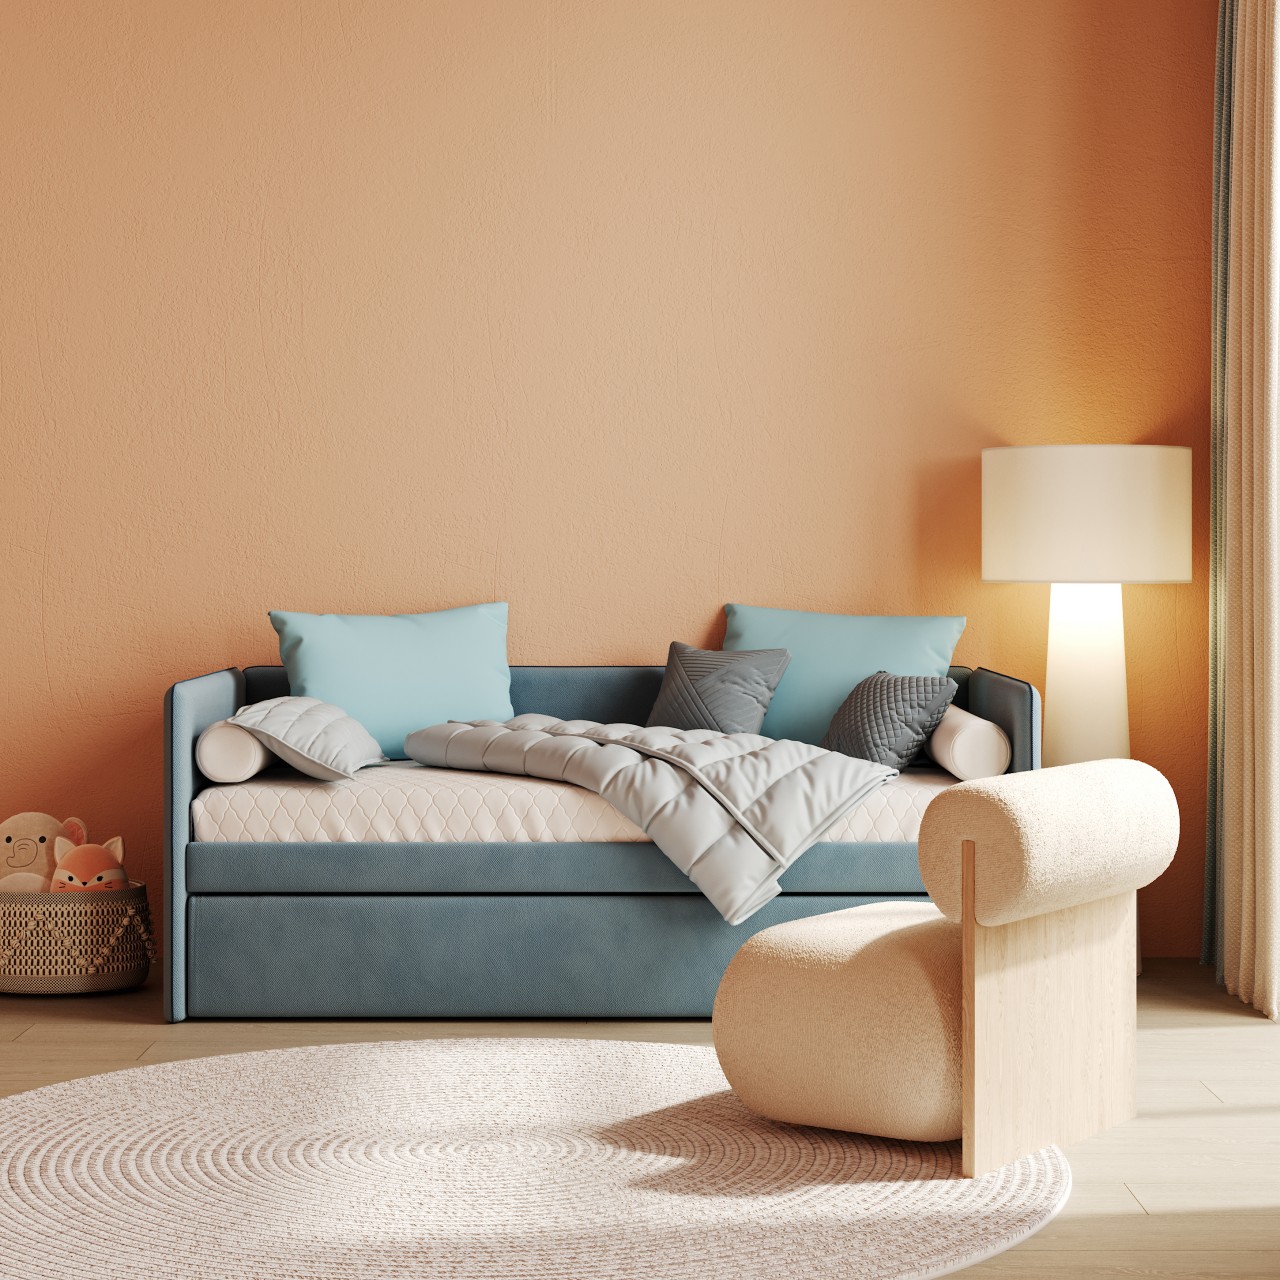
Terracotta infuses warmth into spaces, capturing attention and creating an inviting, cozy indoor ambiance while subtly evoking the essence of the outdoors. Soft terra-cotta tones are becoming increasingly popular, especially in spaces like living rooms and kitchens, where they enhance positive interactions and conversations. This inviting shade not only refreshes a space but also functions as a sophisticated neutral for those exploring alternatives to whites, beiges, and creams. The best part of introducing earthy terracotta hues is that it fosters a sense of comfort in the home and introduces a burst of vibrant energy while retaining a gentle aesthetic.

The post Top Ten Color Trends For 2024 first appeared on Yanko Design.

How To Organize A Successful Home Renovation

Beginning a home renovation is thrilling yet daunting, demanding careful planning at every turn. Note that a successful renovation primarily depends on meticulous planning and organization. Here is a step-by-step comprehensive guide that will explore all the essential aspects of planning and organizing a home renovation or remodel.

Image courtesy of: bialasiewicz

1. Create a Realistic Budget

The first step of any home renovation is establishing a realistic budget and organizing your finances. Gain an accurate picture by talking to contractors to know how much money will go into it. Make sure to avoid financial strain that may pose stress in the long run. Know the cost of labor, materials, contingencies, and unexpected plumbing and electrical expenses.

2. Get Inspired

Image courtesy of: pro_creator

After establishing your renovation budget, make sure to go through design magazines and social media platforms such as Instagram and Pinterest for inspiring home projects. Take into account your house’s architectural style, be it traditional Victorian, modern, or contemporary, and draw inspiration accordingly.

3. Develop a Renovation Plan

Image courtesy of: Andy_Dean_Photog

For significant renovations, it is important to create a comprehensive roadmap. Start by listing areas to update, and prioritizing projects based on urgency and season. The steps include drafting a preliminary design, setting a realistic timeline, discussing plans with a contractor, and remaining flexible to address unexpected obstacles. Make a note that your project plan should also comprise a list of tasks you can do yourself and those you intend to hire a professional for.

4. Collaborate with an Architect

Image courtesy of: YuriArcursPeopleimages

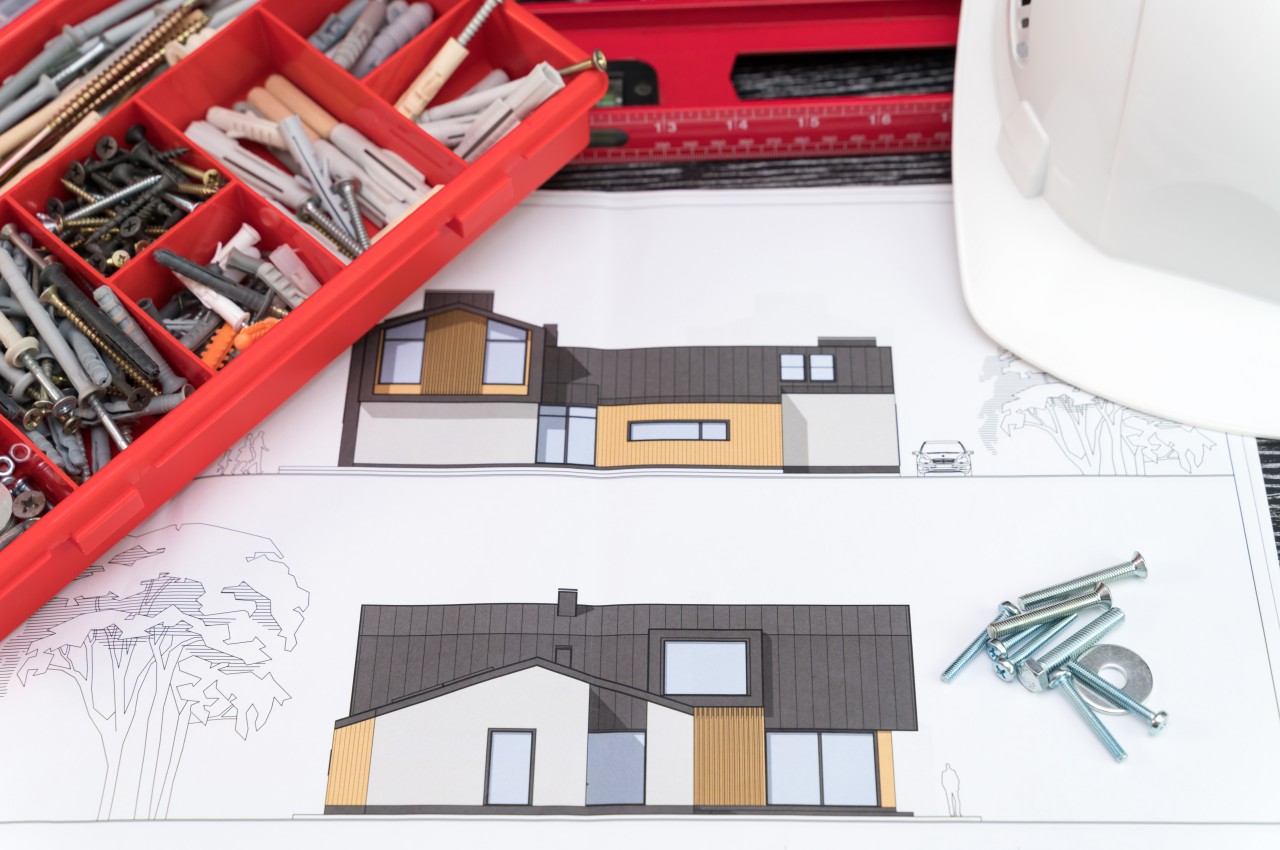
Careful planning and design are essential to prevent unexpected changes that may raise costs and extend the project duration. Collaborate with an architect or designer to develop comprehensive plans and drawings. This process enables you to envision the outcome, make well-informed choices, and receive precise cost estimates from contractors.

5. Appoint a Reliable Contractor

When choosing a contractor, never say yes to the first bid or the lowest bid. Obtain at least three bids, review contracts thoroughly, and ensure the contractor has liability and worker’s compensation insurance. This will surely help you to compare costs, and assess the skills and professionalism of the contractors.

6. Secure Permits

Before beginning major renovations, ensure you secure the necessary approvals and permits from local authorities. Failing to obtain these permits can lead to fines or project delays. Additionally, research your area’s building codes and zoning regulations to understand what is permissible. This step is crucial to ensure that your renovation complies with legal standards. Collaborate with your architect, designer, or contractor to grasp the specific permits and approvals needed for your project. With their expertise in local regulations, they can assist you in navigating the process and preparing the necessary documentation for permit applications.

7. Create a Timeline for Your Project

Once your budget and team are in place, establish a timeline. Choose a start date and work backward if you have a completion deadline. Collaborate with contractors to determine task durations and sequencing. Ensure your timeline includes clearing the project area, material delivery, contractor breaks, and buffers for unexpected issues.

8. Phase-wise Renovation

Image courtesy of: YuriArcursPeopleimages

Dividing your renovation into stages enhances cost and time management. Start with critical phases like structural work or major installations to prevent delays from unexpected issues during these crucial stages.

9. Explore DIY Opportunities

Image courtesy of: Manuta

Assess your skills and the project’s complexity to determine if you can handle certain tasks yourself. DIY endeavors, particularly for simpler tasks such as painting, landscaping, or minor repairs, can help in reducing costs.

10. Communicate

For successful home renovations, maintain regular communication with contractors. Set a plan for project updates and request immediate notification of any issues. Schedule walkthroughs to ensure specifications are met but avoid micromanaging.

11. Unforeseen Challenges

Prepare for challenges that may arise during your remodeling project by allocating a budget cushion and adding extra days to your timeline. Even the most detailed plans can encounter unexpected issues, but taking a proactive approach can help minimize stress and expenses. Keep in mind common renovation challenges such as foundation cracks, water damage, and outdated electrical work, and address them promptly with professional assistance to ensure the smooth progress of your project.

12. Step-by-Step Checklist for Renovation

Dividing your renovation into phases can improve cost and time management. Begin by prioritizing essential phases, like structural work or major installations, to address first. This approach helps avoid delays resulting from unforeseen issues that may arise during these critical stages.

• Planning and Design

Image courtesy of: nutthasethw

The first step is planning and design, where it is important to collaborate with your designer and builder to convey your requirements, obtain permits, and finalize drawings, layout, and any changes in walls, if necessary.

• Demolition and Reconstruction

Image courtesy of: Iakobchuk

Demolition may involve tearing down walls and removing everything except key structural elements and exterior walls. The extent of this phase depends on your plan, ranging from extensive rebuilding to merely framing a few new walls.

• HVAC, Electrical, and Plumbing

Image courtesy of: photovs

This step includes elements and typically runs concurrently with rebuilding and framing. Anything that needs to go inside floors, walls, or ceilings will be completed in this step. It could include some minor plumbing and electrical adjustments or be a full rewiring or replumbing of your home.

• Walls

Image courtesy of: Tatiana_Mara

After reframing and rebuilding, with all mechanicals and insulation in place, drywall is installed. It’s taped, mudded, dried, and sanded for smoothness. Then, the walls are ready for primer, paint, or other finishes. Many contractors prefer painting now to avoid drips or overspray on final touches.

• Window Installation

Installing windows is a crucial aspect of home renovation. While some may attempt DIY installation, it’s important to note that this could void the manufacturer’s warranty. Review warranty requirements carefully and consider professional installation to safeguard the warranty and prevent future issues.

• Flooring

Image courtesy of: Manuta

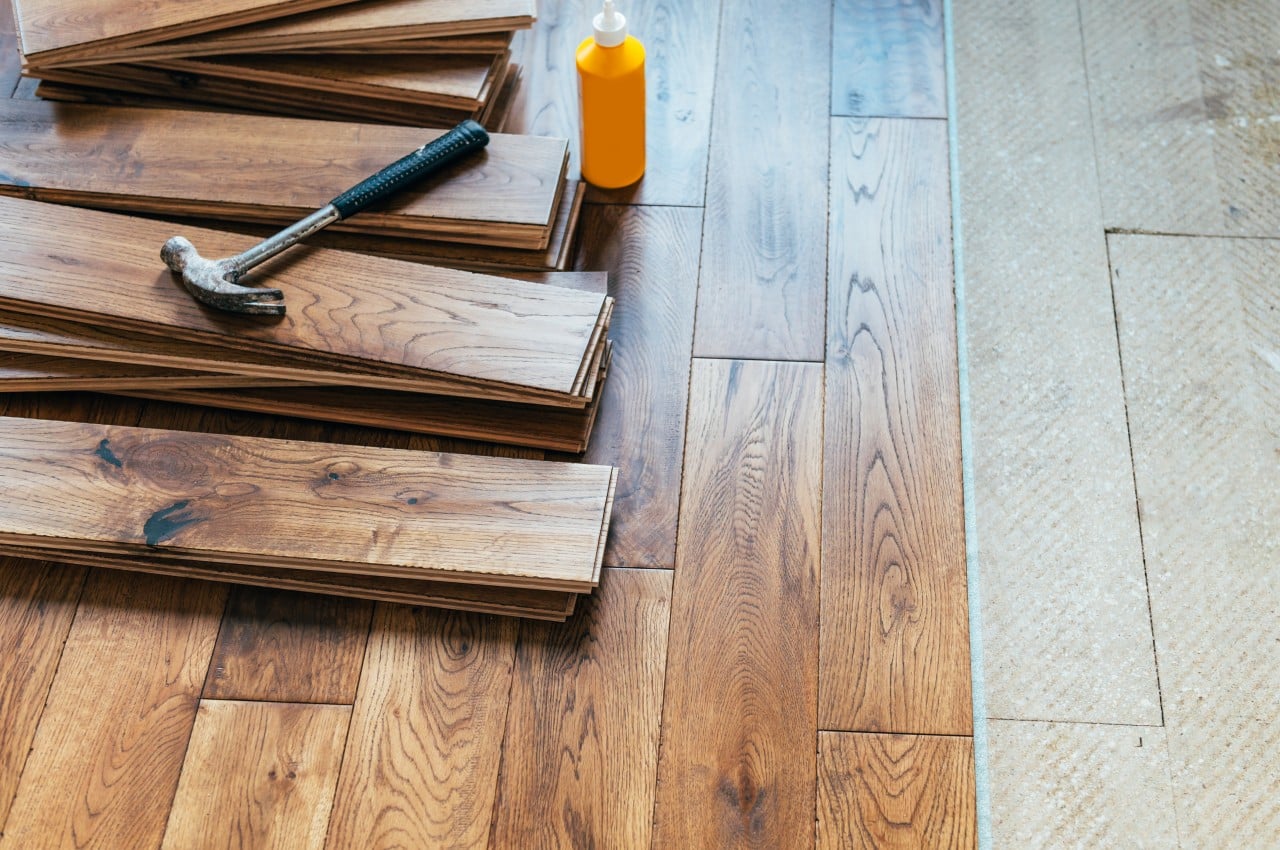
If you choose wooden flooring, it’s best to wait until the painting is done and dust settles before installing it. For tiles, you can install them before the painting starts. Keep in mind that laminate, solid hardwood, engineered wood, or carpet are suitable for living and bedroom spaces, while vinyl, tile, or marble are better options for bathrooms and kitchens.

• Install the Cabinets

The last step is putting in the kitchen cabinets, finishing up the kitchen, and making a big improvement to the entire space, so you can see how it’s all coming together. Install the kitchen appliances and make sure that there are adequate plug points for each appliance.

• Finishing Works

DIY tasks like painting walls, hanging wallpaper, and staining trim are common for homeowners. It’s best to schedule these tasks towards the end of the renovation to avoid damage. Deciding whether to paint before or after flooring installation requires careful planning to prevent mishaps.

• Exterior Paint

Image courtesy of: ShintarTatsiana

As the interior of the house nears completion it is time to pay attention to the exteriors. With most of the house finished, it’s now safe to install gutters and siding alongside the external paint.

In conclusion, efficiently managing time and costs during a home renovation demands thorough planning, effective communication, and precise execution. By setting clear goals, establishing a realistic budget, and adhering to these guidelines, you can ensure a successful renovation.

The post How To Organize A Successful Home Renovation first appeared on Yanko Design.

Top Ten Common Interior Lighting Problems Solved In Your Home

In interior design, lighting is a crucial element that binds the space together. It serves both a functional purpose and adds the final touch to the design. However, lighting can present various challenges in interior settings and poor lighting design can adversely affect the well-being and productivity of occupants, Here are solutions to some common lighting issues that can be present in your home.

Designer: Nat Martin and Sean Hammett

Problem 1: No Natural Light

One of the biggest lighting problems is insufficient lighting due to a lack of natural light or inadequate artificial illumination, which may result in eye strain, headaches, and fatigue. If your home lacks natural light, it is important to create a bright and airy feel with clever lighting choices. In spaces that lack natural light, opt for light-colored walls as these surfaces reflect light and create a bright and spacious atmosphere. This is achieved by bouncing light around the room. Make a note that dark walls and surfaces tend to absorb light and reduce the overall brightness of the space. It is important to use a mix of light sources to maximize brightness choose reflective materials like glass and metallics, and strategically position the mirrors to enhance the luminosity.

Image courtesy of: Mint_Images

Problem 2: Incorrect Size of Lighting Fixtures

Image courtesy of: leungchopan

When designing any space, make sure that the ceiling-mounted lights and pendant lights match the proportions of the room. Note that small fixtures might not offer enough light, while oversized ones can overpower the space. Additionally, proper spacing of recessed lighting is essential to prevent having an overly bright space. Therefore a thoughtful lighting plan is important to have a balanced lighting scheme. Consider adding a dimmer switch for flexibility in brightness adjustment to suit your needs or mood. For instance, dimming the lights during movie nights is important, and adding a dimmer switch, along with other lighting tips, will ensure that the house is illuminated perfectly.

Problem 3: A Cold Ambiance

White light or a single source of white light can create a cold and uninviting atmosphere within the home. The various types of lighting can be categorized as either “warm” or “cold.” Blueish-white light tends to feel colder and more energizing, while yellow-white light is warmer and induces relaxation. Note that lightbulbs emit light with a color temperature measured in Kelvin (K) where lower Kelvin values indicate warmer light. Choose lighting within the range of 2,500-3,000K for relaxing areas like the living room, dining room, or bedroom. Incorporate a layered lighting scheme to create a warm and cozy atmosphere. This can be achieved by integrating ambient, task, and accent lighting at different levels throughout the interiors.

Image courtesy of: LesiaScotch

• Ambient lighting combines natural light and fixtures like ceiling-mounted lights, tube lights, pendant lights, and recessed cove lighting that take care of the overall illumination of the home. Install dimmer switches to adjust the brightness and mood of different areas of the home.
• Task lighting illuminates work areas such as kitchen countertops, study tables, desks, or bathroom mirrors. Adequate task lighting and focused illumination can be achieved with table lamps, floor lamps, sconce lights, and under-cabinet lights.

Image courtesy of: LightFieldStudios

• Accent lighting is primarily used to highlight and add visual interest to decorative elements, architectural design features, wall art, and display cabinets within the home.

Image courtesy of: Studio_OMG

Problem 4: Low Ceilings

Image courtesy of: dit26978

Low ceilings can create a dark, cramped atmosphere in a room. When lighting such spaces, it is important to aim for an even and balanced distribution of light. Avoid using large or low-hanging pendant lights that draw attention to the ceiling and tend to make the room feel smaller. Note that living rooms illuminated solely by recessed downlights often feel clinical and chilly. An easy solution is to angle the recessed lights so they bounce off the walls instead of shining straight down. This softens their effect and instantly adds warmth to the room.

Problem 5: Dark Countertop

Image courtesy of: staRRush

Task lighting is very important in highly functional areas like the kitchen. However, it has been observed that the overhead cabinets cast shadows on the countertop and lead to poorly lit areas for food preparation and cooking. Therefore, it is highly recommended to install under-cabinet lighting to enhance the brightness and achieve focused lighting on the cooktop, especially for cooking tasks. Upgrading pendant lights can enhance islands, with options ranging from chic to minimalist. A combination of under-cabinet and above-cabinet lighting can enhance the overall look and ambiance of the interiors.

Problem 6: Lighting an Open-Plan Home

Open-plan spaces are fantastic but can be tricky to make feel cozy. To achieve a comfortable atmosphere, lighting can be used to demarcate the kitchen, dining area, and living area into distinct zones. The best part is that each zone has its lighting requirements. For instance, the kitchen should have adequate task lighting, while there should be mood lighting in the living and dining areas. By demarcating spaces with lighting, each area can have its purpose and personality.

Problem 7: Eliminate Shadows

Image courtesy of: Mint_Images

As shadows tend to create dark areas within the home, it is important to strategically position the lights to avoid unwanted shadows. In the kitchen, there should be adequate task lighting not only for the countertop but for work areas like the counters and sinks. In the bathroom, avoid bright overhead lights to prevent shadows and go for wall lights on either side of the mirror to provide practical light without shadows.

Problem 8: Glare

Image courtesy of: pro_creator

Glare is a common lighting issue that occurs when bright light or reflections interfere with the visibility of the object. It can cause discomfort especially if there is glare on the TV or computer screen. Note that reflected glare comes from shiny surfaces, while direct glare arises from overly bright fixtures or sunlight. To address glare, it is important to adjust the lighting fixtures, use diffusers or shades, opt for matte surfaces, position screens strategically, adjust monitor settings, control natural light with curtains or blinds, and add task lighting. These measures will effectively reduce glare and enhance comfort alongside productivity.

Problem 9: Flickering Lights

Image courtesy of: vanitjan

Flickering lights can be both irritating and potentially hazardous as it is usually caused due to loose connections, faulty switches, incompatible dimmers, or overloaded circuits. To address this issue, it is important to switch off the power and inspect the wiring for any loose or damaged connections. Make it a point to tighten or replace faulty wires, test switches, or dimmers with a multimeter, and replace any defective lights and switches if any. Additionally, make sure that the circuit load does not exceed the breaker’s capacity by reducing the number of lights or appliances on the circuit. It is important to replace or repair faulty bulbs, that cause flickering and consistent maintenance is essential for averting problems and prolonging the lifespan of the lighting fixtures.

Problem 10: Absence of Decorative Lighting

Image courtesy of: Ulyasage

Make sure that your interior spaces have character and decorate your space with decorative fixtures, such as pendant lights or chandeliers, to add visual interest and enhance the overall aesthetics of the home. Switching from energy-consuming incandescents and fluorescents to efficient LEDs can help conserve both energy and money while achieving the desired aesthetic.

The post Top Ten Common Interior Lighting Problems Solved In Your Home first appeared on Yanko Design.
How To Design Your Backyard Garden From Scratch

Starting a garden can be a fun as well as a meditative experience where you care for, nurture, and enjoy watching your plants grow and produce fruits or vegetables. Since starting a garden from scratch can feel overwhelming, let’s simplify it into manageable steps to maximize your space and enjoyment. While gardening fundamentals vary based on location, season, microclimate, soil, and plant preferences, here are some general steps to begin your first garden from scratch.

Image courtesy of: kryzhov

1. Consider Your Planting Options

Image courtesy of: pokypkimoi

Before starting your journey of creating and nurturing your private garden, it’s important to understand whether you want a vegetable garden, a herb garden, or a flower garden. Whatever you decide, it’s good to grow vegetables your family enjoys, and for flowers, choose between annuals for long blooms or perennials for longevity. It’s always wise to start small and grow gradually until you feel comfortable.

2. Choose a Sunny Spot

Image courtesy of: uladzimirz

Observe sunlight patterns in your garden to determine plant needs for full sun, part shade, or full shade, and consult online resources for suitable species for your unique conditions. Most vegetables and flowering plants require 6-8 hours of full sun daily, so assess your yard’s sun exposure to identify suitable spots. Even if your yard is mostly shady, certain plants like impatiens and begonias can thrive. Select a flat area for your garden to avoid dealing with slopes, which can be more challenging and costly. Ensure convenient access to a water source for your garden’s requirements and consider the accessibility of your garden space for watering, harvesting, and tending to your plants.

3. Gardening Tools

Image courtesy of: duallogic

Essential gardening tools are important to ensure the successful cultivation of plants. Pruning scissors are important for maintaining plant health, enabling precise trimming and removing dead parts. For soil preparation and planting, a spade, trowel, and garden fork are essential, allowing for efficient digging and root clearance. Watering equipment includes a garden hose for larger areas and a watering can for delicate plants, ensuring optimal hydration without damaging young growth. Combatting weeds necessitates tools like a forked trowel and gardening knife, enabling efficient removal to maintain the vitality of the garden.

Image courtesy of: BlackBoxGuild

Start by clearing the area of weeds and sod, which refers to a layer of grass and the soil beneath it that is held together by roots. For quick results, cut out the sod using a spade.

4. Test the Soil

Image courtesy of: jchizhe

Consider a soil test for insights into your soil’s composition, including nutrient deficiencies and recommended remedies, or opt for DIY kits offering basic insights. Based on your soil test results, amend your soil by adding necessary nutrients or adjusting pH levels to create the optimal growing conditions for your plants. Add 2-3 inches of compost to new beds during preparation or apply it to existing beds, allowing earthworms to incorporate it over time, improving soil structure and nutrient availability for plants.

5. Prepare the Planting Bed

Image courtesy of: Simol1407

Loosening the soil in new beds before planting aids root growth and nutrient absorption. Opt for manual digging, especially for smaller beds. Work the soil when moist but not overly wet or dry, about 6-8 inches deep, mixing in organic matter. Note that healthy soil contains numerous bacteria, fungi, and microbes, allowing plant roots to penetrate easily due to their suitable texture and structure, which is determined by the proportions of clay, sand, and silt in the soil.

Another way to garden is called no-till gardening. First, clear away any debris and grass. Then, spread a thick layer of compost over the area, at least four inches deep. If you’re dealing with tough weeds, you can try sheet mulching. This involves using cardboard to compost the weeds while keeping the soil intact. It’s also a good idea to keep your garden beds no wider than 4 feet so you can easily reach the center.

6. Choose Your Plants

Image courtesy of: RossHelen

Opt for plants suited to your climate, soil, and sunlight conditions. You can also browse the internet for plant options. Here are a few beginner-friendly choices:

• Annuals: Marigolds, Petunias, Snapdragons, Impatiens, Zinnias, Geraniums
• Perennials: Black-eyed Susans, Daylilies, Hostas, 0Coneflowers (Echinacea), Sedum
• Vegetables: tomatoes, Peppers, Lettuce, Carrots, Cucumbers, Squash (zucchini, yellow squash)

7. Plant with Care

Image courtesy of: RossHelen

Most seed packets and transplant containers come with basic planting instructions. Once you’ve done the groundwork, begin planting. For seeds, follow guidelines such as planting them three times as deep as their diameter or as specified. Be cautious with seeds needing light for germination, ensuring they’re not buried too deeply. Transplants are usually planted at the same depth as in the pot, with exceptions like tomatoes. Wait until the danger of frost has passed to heat-loving plants. Young plants may require protection or hardening off before being planted outdoors.

When planting seeds, sow them at the specified depth on the packet, firming the soil gently, and water when the soil surface dries out. Some plants prefer cooler temperatures and can be planted in autumn or late winter, while others thrive in warmth and should wait until after the risk of frost has passed. Mid-spring and mid-autumn are optimal for planting perennials. Annuals can be directly sown in the garden or started indoors a few weeks before the last frost date. Alternatively, purchase young plants for transplanting into prepared beds and ensure proper watering after planting.

8. Start Watering

Image courtesy of: wirestock

Water seedlings daily to prevent them from drying out, adjusting frequency as they grow. Newly transplanted seedlings need watering every other day until their roots are established. Afterward, water once a week, considering soil type, humidity, and weather conditions. Clay soil retains moisture longer than sandy soil. Test soil moisture by feeling 3-4 inches below the surface; if dry, water slowly and deeply. Water in the early morning to minimize evaporation.

9. Add Mulch

Image courtesy of: larisikstefania

Apply a couple of inches of mulch to the soil for moisture retention and weed suppression, choosing from materials like shredded bark, straw, or river rock. Organic mulches, such as bark or compost, enrich the soil as they break down. Avoid covering seeds you want to grow; opt for quickly decomposing mulches for vegetable gardens, and longer-lasting options like bark chips for perennials. Mulch acts as a protective cover, aiding in moisture retention, soil cooling, and weed suppression, while enhancing the garden bed’s appearance. As organic mulches decompose, they enrich soil fertility. Covering the soil with rocks and organic matter inhibits weed germination and maintains soil moisture and warmth while providing nourishment for beneficial soil organisms. Match the right mulch with each crop: wood chips for fruit trees and shrubs, and lighter options like straw or leaves for delicate vegetables.

10. Maintain the Garden

Image courtesy of: FiledIMAGE

Regular maintenance involves watering plants before they wilt, removing weeds before they seed, and clearing away dead or diseased vegetation. Support tall plants with trellises or stakes, and harvest vegetables promptly when ripe. Garden maintenance follows a seasonal rhythm; for instance, in spring, prevent weeds, while summer requires vigilant watering, and fall is meant for pruning and cleanup. Throughout the growing season, attend to your plants’ needs: remove yellow or deformed leaves, stake plants for support, and prune dense growth to improve sunlight and air circulation.

Happy Gardening!

The post How To Design Your Backyard Garden From Scratch first appeared on Yanko Design.
What Are The 7 Principles Of Interior Design?

Interior design is a creative field that incorporates a variety of principles that combine to create visually appealing as well as functional spaces. These principles form the basis upon which designers create their themed compositions that ensure harmony, balance, and coherence within the interiors and also enhance the quality of life of its occupants. Whether planning a renovation with professionals or embarking on a do-it-yourself project, it is important to understand these principles of interior design. The seven fundamental principles of interior design include Balance, Harmony, Rhythm, Proportion and Scale, Emphasis, Contrast, and Detail.

Designer: Hygge by Kate

1. Balance

Image courtesy of: hemul75

In interior design, balance creates a sense of harmony as it pertains to the visual arrangement of furniture and décor that distributes objects evenly to achieve a sense of equilibrium within the room décor. Achieving balance involves careful consideration of the placement of elements within the space so that it visually stabilizes a space, ensuring no single element dominates in terms of visual weight. A well-balanced room feels calm and comfortable, while imbalance creates discomfort and visual discord. Achieving balance, from managing color and texture to furniture arrangement, can be challenging, therefore well-designed spaces achieve visual balance by harmonizing elements like colors, lines, forms, furniture, lighting, and décor. Balance can be broadly classified into three categories.

Symmetrical Balance

Symmetrical or formal balance is the primary method of achieving balance in interior design as it evenly divides space into mirroring sides. For instance, in a living room, symmetrical balance is achieved with two identical armchairs flanking a coffee table. Similarly, in a bedroom, symmetry is attained with matching bedside tables and lamps. Note that too much symmetry in modern design can create a lack of visual interest.

Asymmetrical Balance

Asymmetrical balance is a contemporary interior design approach that prioritizes flexibility over the replication of identical objects. Instead, it seeks balance through variations in visual weight, shape, dimensions, and size. Unlike symmetry, which imposes uniform order, asymmetry introduces a dynamic, informal atmosphere. Balancing visual elements such as weight, texture, and color becomes pivotal. Despite its challenges, an asymmetrical design can significantly elevate a space.

Radial Balance

Radial balance employs a central focal point from which design elements extend outward or inward. It uses a more intricate approach and revolves around a central focal point, such as a round rug or pendant light fixture, with all other elements arranged symmetrically around it.

2. Harmony

Image courtesy of: bialasiewicz

Harmony in design involves arranging objects and colors in a space to create a unified and cohesive aesthetic. It’s achieved when everything in a room works together to reinforce a common theme or style throughout the space. This might involve using a dominant color or pattern or selecting furniture pieces with similar shapes and textures. Harmony in interior design principles involves seamlessly blending style, theme, or mood to create a sense of unity and belonging in the room’s design. While not every element needs to match, they should complement each other, such as through the use of a consistent color scheme or pattern.

3. Rhythm

Image courtesy of: arina-habich

Rhythm is an important principle in interior design that revolves around the repetition or contrast of design elements to create movement and visual interest. Much like music and poems use repetition to establish rhythm, in interior design, repeating specific elements at regular intervals defines rhythm. This element is crucial for a well-executed design, as it significantly influences both the functionality and aesthetic appeal of a space. Colors, patterns, and textures are employed in rhythm to generate visual interest and guide the eye throughout the space. For example, repeating a geometric pattern across various elements like rugs, throw pillows, and artwork establishes rhythm and cohesion within the overall design. By utilizing these visual techniques, the eye can be directed throughout the space and enhance the room’s overall appeal.

4. Scale and Proportion

Image courtesy of: dit26978

Proportion refers to the relationship between two items, while scale concerns how one object’s size relates to another. For instance, a tiny rug in a spacious living room can appear disproportionate. Conversely, an oversized lamp on a small side table might seem overwhelming in scale. In the industry, both scale and proportion relate to object size. Scale refers to the size of objects to others or the space itself. For example, a bed may be measured in proportion to the average human body. Note that the ancient Greeks unveiled the mystery of proportions through the Golden Ratio, a formula that enhances aesthetic appeal by simplifying proportions into a harmonious equation. This ratio embodies perfect symmetry between two proportions and is not only evident but also widely employed by artists and architects for its profound impact on design.

5. Emphasis

Image courtesy of: hemul75

While balance and harmony are important in interior design, focusing solely on them can result in a lack of dynamism in a space. This is where emphasis becomes crucial as it involves incorporating a focal point, such as a striking piece of art or unique sculpture, to anchor the room. Radial balance complements this concept by directing focus towards the chosen focal point, enhancing its prominence within the space. There are numerous ways to apply this principle, including statement lighting fixtures, bold rugs, or eye-catching architectural features like fireplaces or exposed beams. A focal point catches the viewer’s attention upon entering a room, standing out prominently due to the space’s arrangement. Design elements can highlight a focal point, allowing it to dominate the space and unify the design. Regardless of its nature, a focal point should draw the eye more than other areas of the room. Various techniques, such as the use of color, statement furniture, artwork, or architectural features, can establish emphasis. However, color is a powerful tool for emphasis where using a bold color immediately draws attention, making it effective for highlighting specific areas. Bold patterns can also create emphasis and make a strong statement, while subtle ones add interest without overwhelming the space.

6. Contrast

Image courtesy of: adpephoto

Contrast is a cornerstone of interior design, injecting spaces with visual intrigue and vitality. While harmony is crucial, an excess of uniformity can render a space dull and uninspiring, lacking in distinction. Contrast serves to strike the necessary balance, allowing specific room features or design elements to command attention effectively. Contrast infuses playfulness, drama, and visual interest into space through various means like juxtaposing colors, blending geometric patterns with organic ones, unifying modern minimalism with vintage charm, contrasting textures such as rough and smooth surfaces, and integrating circular forms with angular furniture.

7. Details

Image courtesy of: dit26978

Details, the last fundamental principle of interior design, are of immense importance as they form the essence of design. A room, no matter how well-designed, feels incomplete without attention to these elements. This principle provides an opportunity for personal expression, allowing one to truly customize the space. From selecting unique hardware like drawer pulls and faucets to choosing artwork, plants, and textiles, these small elements imbue the room with character.

Image courtesy of: lytvynliliia

In conclusion, the principles of interior design provide a framework for creating highly functional and aesthetically pleasing spaces. By applying these principles, designers can achieve harmony, balance, rhythm, emphasis, proportion, and unity within interiors. Every aspect of the design contributes to a cohesive and inviting interior environment. Mastering these principles empowers designers to transform spaces into inspiring reflections of both style and purpose.

The post What Are The 7 Principles Of Interior Design? first appeared on Yanko Design.
25 Household Hacks That Make Cleaning A Breeze

Cleaning frequency depends on lifestyle and can feel like a looming task. There’s always a lot of cleaning to be done but with limited time and little desire to spend hours scrubbing after work, an efficient solution is needed. Thankfully, results can be achieved without dedicating hours and using ingredients already on hand, avoiding the need to buy more eco-friendly cleaning products. Here are some tried and tested tips to get you going.

Designer: Roborock

1. Refresh Microwave with Steam

Image courtesy of: leungchopan

Steam-clean your microwave by placing a bowl of lemon juice inside and microwaving it for 2 minutes, or until the lemon juice boils. This trick generates steam that helps loosen any residue clinging to the microwave walls. Afterward, wipe down the interior with a cloth, leaving behind a refreshing citrus aroma.

2. Eliminate Wine Stains on Carpets

Image courtesy of: gcpics

Although wine stains can pose a challenge, there’s a solution with club soda. Start by spraying the stain with club soda, then gently blot it with a microfiber cloth. Repeat this procedure until the stain disappears. Note that rubbing alcohol, clear vodka, and even white wine can be utilized for this cleaning technique.

3. Clean your Ceiling Fan Using a Pillowcase

To clean fans, cover each blade with a pillowcase and wipe. This ensures dust is collected inside the pillowcase instead of settling on your furniture and floors.

4. Clean Blinds with Socks

Image courtesy of: marshmallowbela

Start by placing an old sock on one hand and lightly moistening it with water. Next, grasp each blind panel and glide your hand covered with the sock along the length of the slats, effectively removing dust from both sides.

5. Remove Water Marks with Shaving Cream

Image courtesy of: SkloStudio

Remove water stains from shower glass effectively using shaving cream. Simply apply the shaving cream, let it sit for 15 minutes, then wipe it off.

6. Shine with Lemon Oil and Vinegar

Image courtesy of: LightFieldStudios

Woodwork and wooden furnishings accumulate dust and dirt with time, requiring regular cleaning to maintain their shine. For an eco-friendly and shiny cleaning hack, combine equal parts lemon oil and white vinegar.

7. Eliminate Hard Water Stains

Image courtesy of: Vailery

Remove hard water stains by soaking paper towels in undiluted vinegar, placing them on the buildup overnight, then scrubbing and rinsing.

8. Use Microfiber Dusters

Image courtesy of: towfiqu98

Clean efficiently with microfiber products, which use an electrostatic charge to attract and hold dust. They outperform traditional methods like dry rags and feather dusters. Machine-washable and reusable, they save money over disposable options. Air dry them for continued softness, and avoid bleach or fabric softener to maintain effectiveness.

9. Polish Surfaces Using Olive Oil

Image courtesy of: hannievanbaarle

Buff surfaces, such as stainless-steel pots, pans, and appliances, with olive oil applied on a soft cloth in circular motions to effectively clean and polish them.

10. Freshen your Garbage Disposal with Lemons

Image courtesy of: ThamKC

Freshen and cleanse your garbage disposal by using lemons or limes. Given the regular dirty work it handles, maintaining cleanliness and preventing clogs is crucial. Simply cut the citrus fruit into quarters, and with the water running, insert the pieces one by one into the disposal.

11. Use Rubber Gloves to Eliminate Pet Hair

Image courtesy of: karmanovalive

To tackle pet hair that your regular vacuum may miss, opt for rubber gloves, which effectively gather remaining hair when rubbed against fabric due to their elasticity. Simply slide them on, rub down areas needing extra cleaning, and then rinse the gloves under running water to remove the collected hair.

12. Freshen Upholstery

Image courtesy of: towfiqu98

Banish unpleasant odors from upholstery by blending vinegar, water, and a preferred essential oil like lavender. Pre-test the solution on a hidden spot for colorfastness before applying it to the rest of the upholstery, as it often retains odors. If safe, spray the mixture on the remaining upholstery, then vacuum once dry.

13. Clean the Mattress

Image courtesy of: friends_stock

Refresh your mattress by combining baking soda and vinegar. Spray vinegar on the mattress, sprinkle with baking soda, cover with a towel, and let sit for one to two hours before vacuuming. Another method that can be used for mattress cleaning is to employ a garment steamer to thoroughly treat the top, sides, and box springs, eliminating dust mites. Follow up with your vacuum’s upholstery tool to remove deceased mites. Address stains with a carpet and upholstery cleaner, ensuring not to over-wet the mattress.

14. Clean the Gadgets

Image courtesy of: towfiqu98

Utilize damp microfiber cloths to clean shared tech like TV remotes, keyboards, and game controllers, followed by disinfectant-treated cloths for germs. Make sure to keep surfaces wet for 5 minutes, then wipe dry with a microfiber cloth. Repeat twice weekly. For keyboard crevices, tap gently and use a folded sticky note to remove stubborn dirt

15. Clean the Grout

Image courtesy of: AtlasComposer

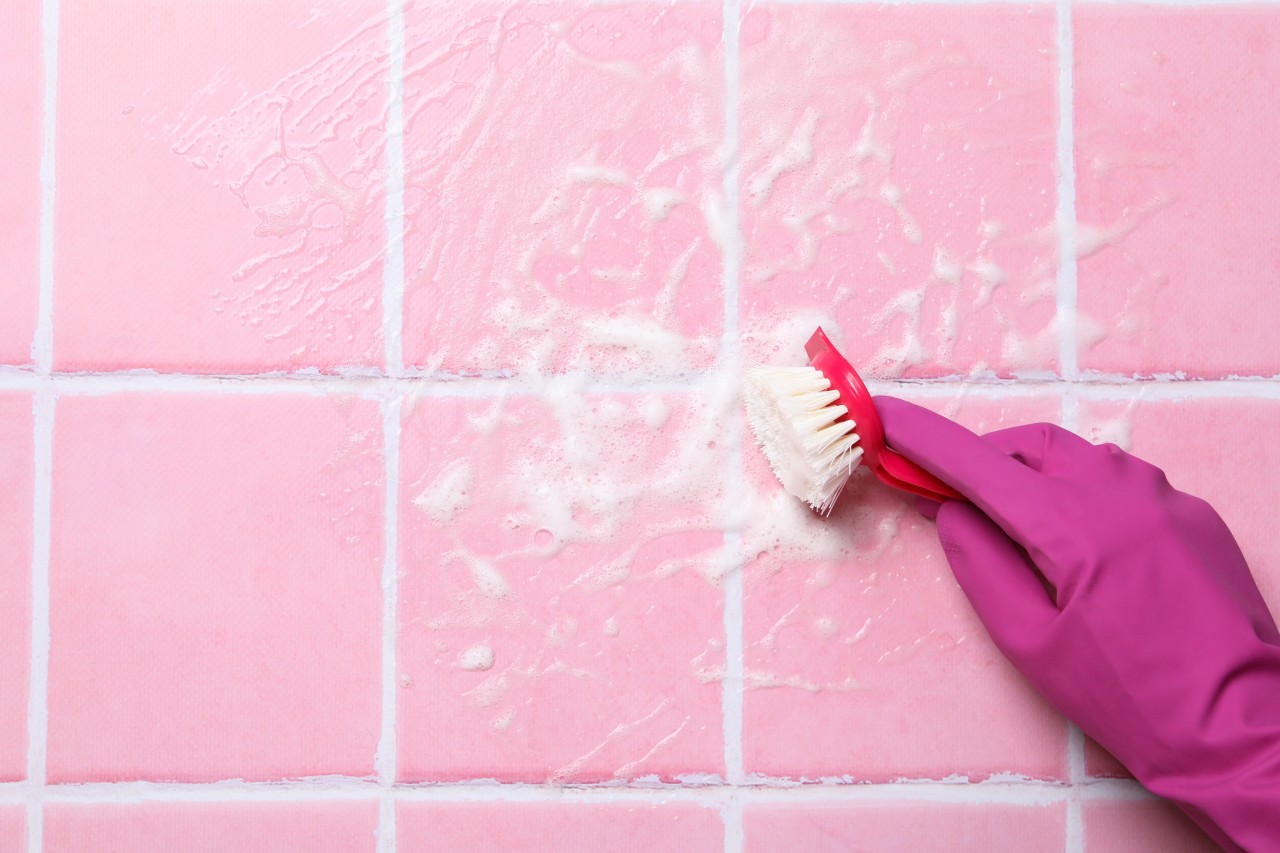
Clean grimy grout by making a paste of baking soda and water, applying it with an old toothbrush, spraying vinegar over it to create a bubbling mixture, scrubbing with a brush or old electric toothbrush head, and rinsing tiles well with water afterward.

16. Cut the Dirt

Image courtesy of: Andy_Dean_Photog

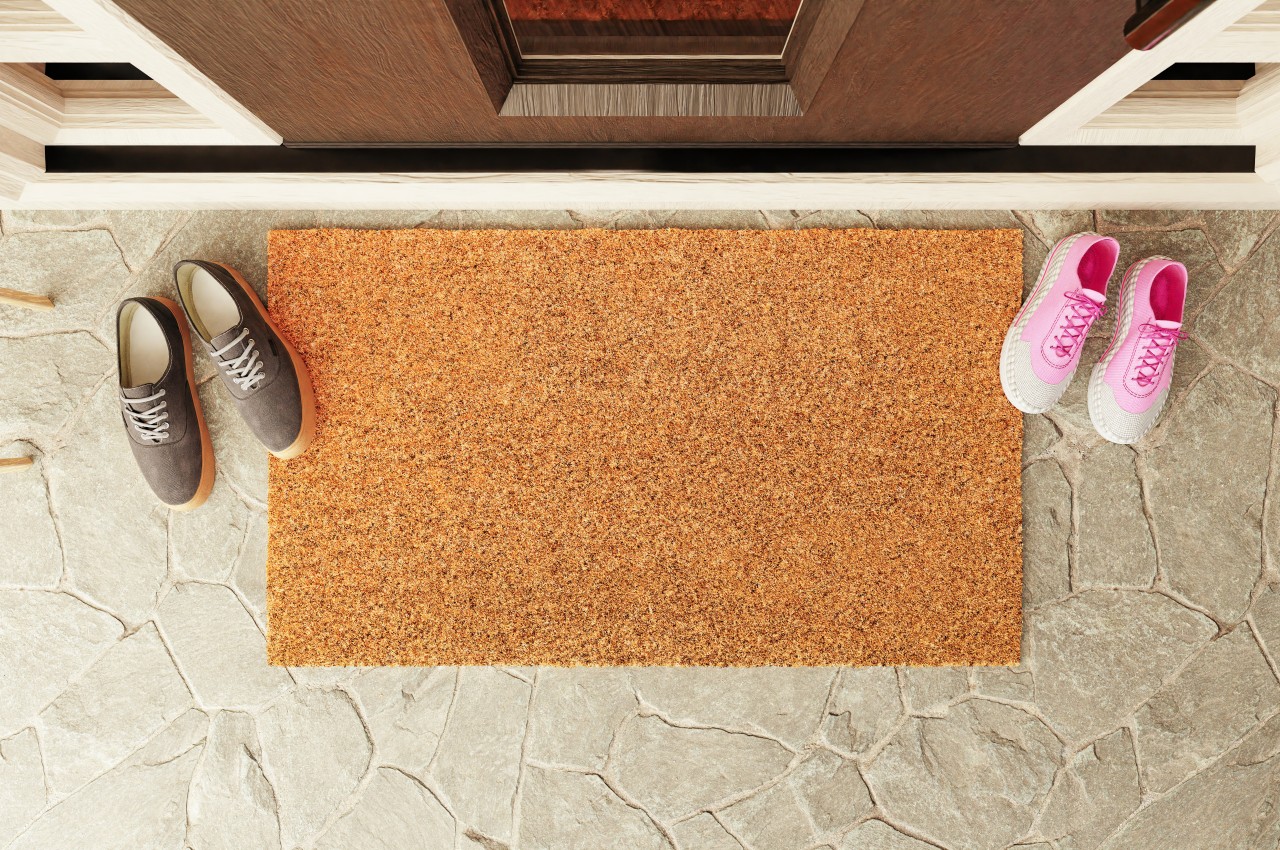
To keep dirt out of the house, use a high-quality dirt-trapping doormat. Regularly shake it outside and vacuum it weekly. Check if it’s machine washable, but be cautious as some mats may be heavy when wet.

17. Sparkling Clean Windows

Image courtesy of: Tatiana_Mara

Achieve sparkling windows by spraying a solution of one part distilled white vinegar to nine parts water onto the glass and wiping it with a lint-free cloth. Then, use a chamois leather or glass polishing microfiber cloth to buff them to a brilliant shine.

18. Use Soda Crystals

Soda crystals are versatile cleaners, useful for deodorizing washing machines, removing burnt-on residue from pans, keeping sinks and drains fresh, and clearing moss and algae from patios. To unclog plugholes and drains, pour in half a cup of soda crystals followed by boiling water, but remember to wear gloves as they can irritate the skin.

19. Use Lemon to Clean the Cutting Board

Image courtesy of: BLACKDAY

To freshen up your wooden cutting board, sprinkle salt on it and scrub it with half a lemon. Rinse and repeat if necessary for a clean board.

20. Refresh your Refrigerator

Image courtesy of: davidpereiras

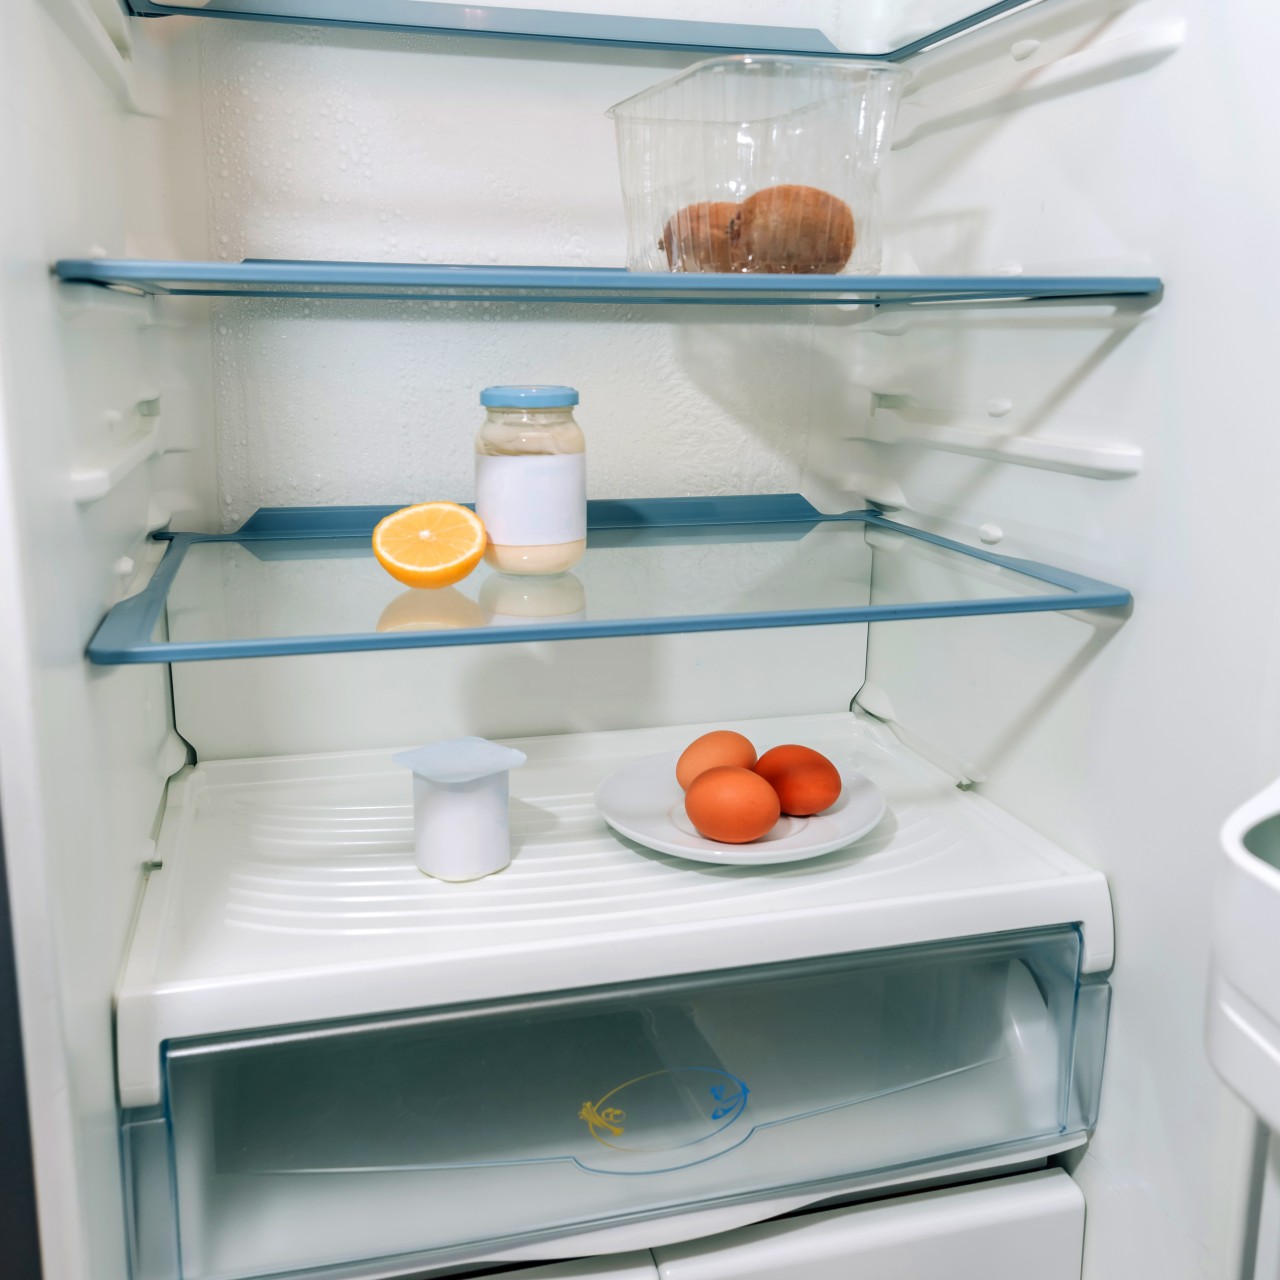
Freshen up your refrigerator with the aroma of coffee. Just place dry ground coffee in a bowl inside the fridge. The coffee grounds will absorb any unpleasant odors, keeping your fridge smelling clean and fresh.

21. Scrub your Cast Iron with a Potato

Image courtesy of: AtlasComposer

Clean your cast-iron skillet with a potato. Sprinkle salt inside, then use a halved potato to scrub in circles. Rinse and dry.

22. Clean the Coffee Maker

Image courtesy of: evgrafovasa

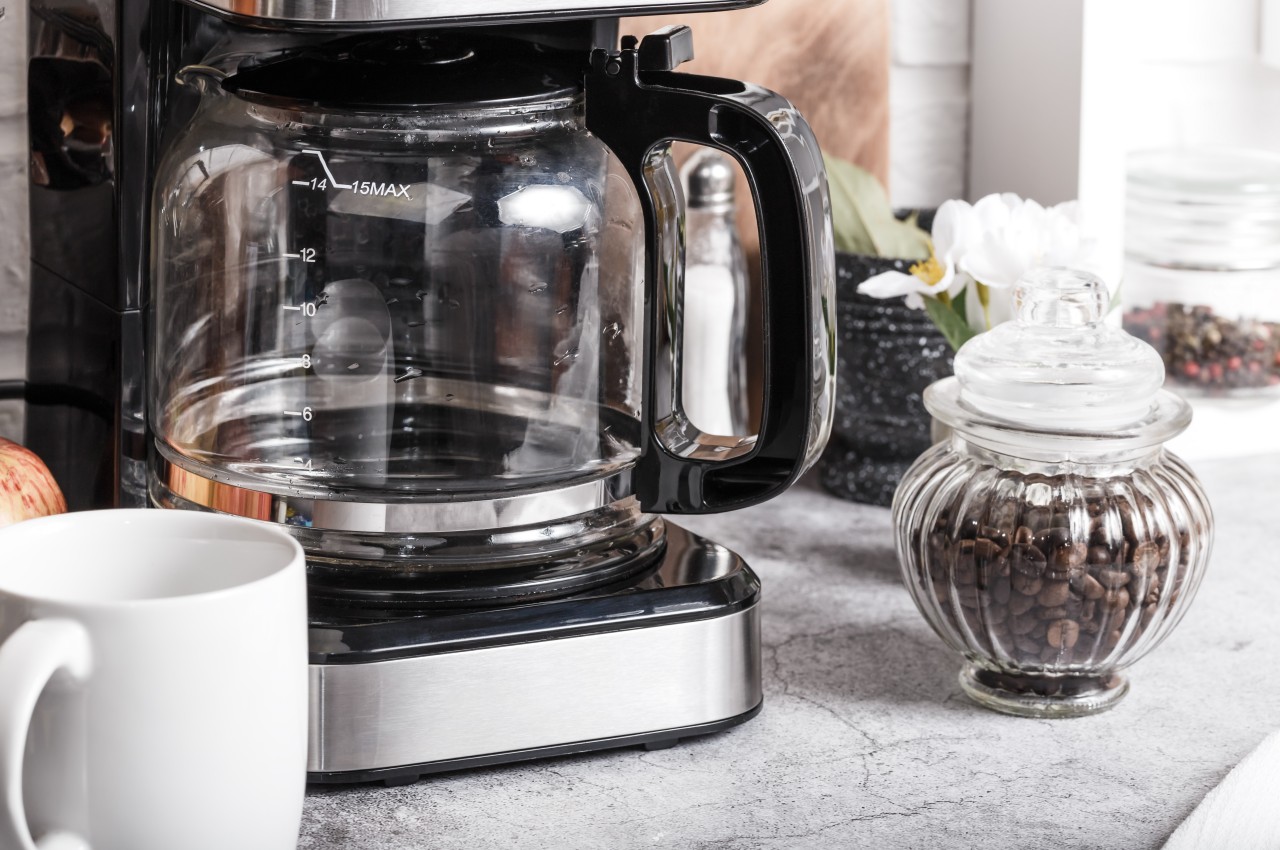
Clean your coffee maker with vinegar. Fill the chamber with equal parts vinegar and water, then run the machine. Flush with water afterward. Repeat until clean.

23. Renew Cloudy Glasses

Image courtesy of: magone

Restore clarity to cloudy glasses by soaking them in white vinegar for five minutes to dissolve hard-water mineral buildup. Hand rinse and dry with a microfiber cloth for sparkling results

24. Make an All-Purpose Cleaner

Image courtesy of: tenkende

Create a versatile kitchen cleaner with this homemade recipe. Mix four tablespoons of baking soda with one quart of warm water in a spray bottle. Apply to surfaces and wipe away messes with a sponge. Rinse with a damp cloth if necessary.

25. Clean your Sponge

Image courtesy of: larisikstefania

Keep your sponge bacteria-free by microwaving it for 30 seconds or running it through the dishwasher. Remember to let it cool before use.

The post 25 Household Hacks That Make Cleaning A Breeze first appeared on Yanko Design.

How To Design For Wellness In Interior Design

Wellness design’ is on the rise, focusing on prioritizing people’s health in the design process by considering factors like lighting, air quality, and connections to nature. As interior design significantly affects mental health, it should also support our health and well-being. Note that incorporating wellness into interior spaces is fundamental to fostering successful and healthy lifestyles where physical, emotional, and aesthetic aspects should be considered, leveraging sensory effects. Wellness entails utilizing sustainable natural materials, optimizing natural light and airflow, judiciously employing artificial lighting, designing layouts for social interaction and private contemplation, enhancing existing pieces through upcycling, and manipulating color to influence mood.

Image courtesy of: wirestock

This holistic approach extends beyond interiors, encompassing the broader environment through mindful material sourcing. Key strategies include optimizing natural light and airflow, fostering tranquil private areas with a connection to nature, employing natural materials, and organizing space effectively for seamless functionality. These considerations contribute to creating environments conducive to overall wellness. Here are key factors to take into account when incorporating wellness into interior design.
Natural Light and Ventilation

Image courtesy of: bialasiewicz

As natural light significantly influences circadian rhythms and boosts serotonin levels, it is important to prioritize maximizing natural light in the interior spaces to support a healthy sleep cycle. Wellness architecture prioritizes healthy airflow and toxin elimination, achieved by allowing rooms to breathe and incorporating features like large windows, high ceilings, and vents. Plants are also essential for cleaning the atmosphere, making greenery a must-have for any space.

Artificial Lighting

Image courtesy of: hemul75

Light plays an important role in wellness design, significantly impacting our daily lives by regulating our wakefulness and sleep cycles. This influence stems from our circadian rhythm, a self-regulatory system. Harsh light disrupts our sleep-wake cycle, while low light levels can induce fatigue.

Thermal Comfort

Image courtesy of: bialasiewicz

As thermal comfort is affected by air movement, temperature, humidity, and human behavior, the building should be oriented according to the position of the sun. Strategic placement of windows, treatments, overhangs, and landscaping can enhance the thermal comfort of your home.

A Clutter-free Space

Image courtesy of: dit26978

A cluttered environment tends to drain our energy and impact our mood negatively. When thinking about interior design and mental health, the best thing is to have a functional layout that is easy to organize and tidy up. Optimize your space with fluid, flexible organization to minimize stress. Conceal necessary but unattractive items while displaying meaningful décor. Close off messy areas behind doors for visual clarity and peace of mind. Invest in furniture pieces that suit your needs or are multifunctional so that they take up less space.

Biophilic Design

Image courtesy of: IrynaKhabliuk

The rise of biophilic interior design taps into nature’s mood-boosting power, integrating these principles for functional and aesthetically pleasing spaces that promote mental health. Scientifically supported benefits of nature, such as stress reduction and improved health, emphasize the importance of incorporating plants and natural elements into interiors. These additions not only enhance air quality but also elevate mood and reduce anxiety. Simple touches like hanging baskets or kitchen herb gardens can effortlessly infuse color and charm into living spaces.

Color and Mood

Image courtesy of: FollowTheFlowStudio

Color significantly influences a room’s mood and emotions where lighter colors create an airy, spacious feel, while darker tones offer intimacy. Neutrals like black, gray, white, and brown balance passive and active colors. Active hues like yellow and pink stimulate creativity, while passive ones like blue and green promote calmness. Personal preferences should guide color choices, as emotional responses vary. Color plays a significant role in shaping mood, impacting the emotional well-being of the end user. Tailoring the color palette to suit the primary function of each room enhances the space’s intended purpose.

Natural Materials

Image courtesy of: FollowTheFlowStudio

To reduce the risk of off-gassing from synthetic fibers in fabrics and paints, avoid manmade materials in your home. Opt for essential oils instead of artificial fresheners to improve air quality. Furnish with natural materials like wood, organic cotton, organic linen, and wool for healthier living spaces. Sustainable organic materials are essential, extending beyond transparency in sourcing to encompass waste reduction, renewability, energy efficiency, and non-toxicity. Note that treated materials, such as chemically stained wood, chemically sealed tiles, flooring with formaldehyde, and fire-retardant fabrics, can release harmful compounds into the air, often unnoticed.

Sleep Well

Image courtesy of: anontae2522

Good sleep forms an important component of wellness and rejuvenation. Additionally, comfort is essential in wellness-focused interior design, with ergonomics ensuring user-friendliness. It encompasses psychological, physiological, and anatomical comfort, alongside efficiency and aesthetic appeal. Neglecting any of these elements renders the space ergonomically incomplete.

Designer: Hastens Beds

Find time to relax and get a good night’s sleep on an ergonomic mattress. Hästens beds epitomize the use of premium natural materials, sustainably and ethically sourced, ensuring their potential for future reuse. Renowned for its exceptional properties, horsehair provides unparalleled support and pliability, augmented by its innate ventilation system. Independently tested for allergens, horsehair remains hypoallergenic, boasting natural antibacterial qualities for a hygienic sleep environment. Processed meticulously since the 1800s, horsehair undergoes rigorous cleaning and disinfection, resulting in a pristine, resilient filling material.

Complementing horsehair, soft cotton facilitates airflow, promoting quicker sleep onset and deeper rest. In contrast, non-porous materials lack ventilation, fostering moisture retention and bed mite proliferation. Selectively sourced and meticulously sorted, horsehair variants ensure consistent quality across all products. Additionally, wool and flax are utilized for temperature regulation, static dissipation, and sound absorption, culminating in a harmonious blend of comfort and performance. Crafted with precision, spring systems, including pocket and Bonnell spiral designs, offer tailored support and longevity, backed by a 25-year warranty.

Sustainability

Image courtesy of: pro_creator

Having sustainability as a wellness focus in the home involves incorporating eco-friendly materials such as linoleum, floral leather, and cork into furniture, as well as utilizing vintage pieces. Additionally, integrating cutting-edge technology helps optimize energy consumption within the spaces. By employing computer simulations to track the sun’s trajectory, one can accurately determine the necessary cooling and heating requirements for each area. Choose green products free of VOCs and harmful chemicals to optimize a healthy environment. Consider materials like wool, stone, bamboo, cork, hempcrete, clay, and other bio-based options. Recycled steel and plastic are great for architecture and furniture design. Buying secondhand items is an effective way to reduce your footprint.
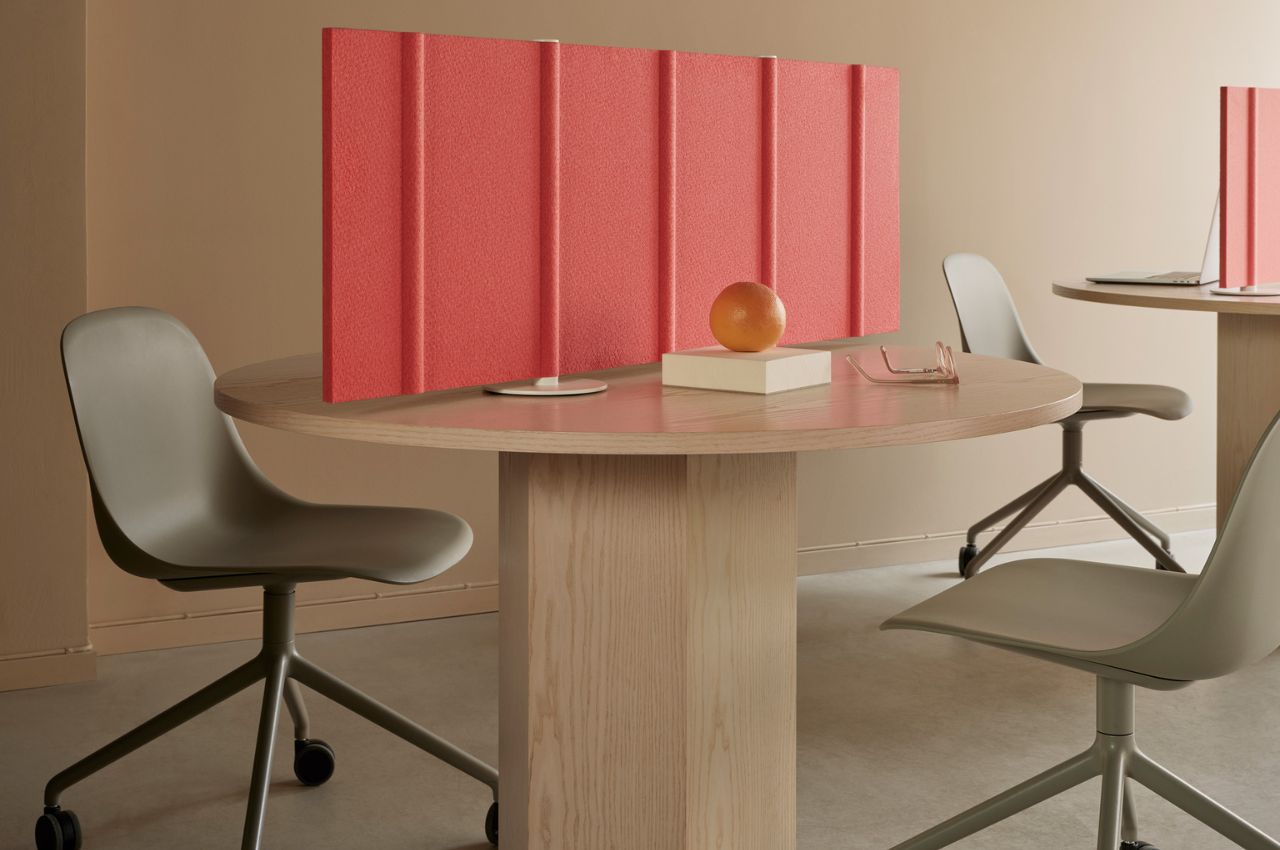

Lighting

Image courtesy of: LightFieldStudios

Light is increasingly pivotal in home design, with spaces crafted around natural light sources and smart lighting systems mimicking daylight. Natural light is central to the discussion, offering significant health and wellness benefits by enhancing productivity, alertness, and mood. It not only influences our day-night rhythm but also impacts our vitamin D balance crucial for bone health. By strategically employing lighting and leveraging cutting-edge technology, we create adaptable lighting schemes that render spaces both versatile and aesthetically pleasing. Customizing lighting to suit each room’s purpose helps regulate mood and enhance productivity. Additionally, minimizing exposure to blue light by reducing screen time before bedtime promotes improved sleep quality and reduces anxiety levels.

Image courtesy of: hemul75

Wellness in design is increasingly prominent across architecture, furniture, and interiors, driven by a growing public awareness. The pandemic has accelerated this trend as people reassess their lifestyles and prioritize mental and physical health. With more time spent at home, there’s a heightened focus on adapting living spaces to accommodate remote work and other needs.

The post How To Design For Wellness In Interior Design first appeared on Yanko Design.