Product design and prototyping encompass the entire journey of turning an idea into a tangible product that users will love. This process starts with in-depth market research—understanding user needs, analyzing data, and identifying key challenges that need addressing. Once the groundwork is set, designers create solutions aimed at solving these challenges in a meaningful way. Prototyping comes in next, acting as a vital bridge between concept and execution. It allows for quick, cost-effective testing and iteration, giving designers the ability to refine ideas based on feedback and insights. This early-stage validation helps prevent costly late-stage revisions, ensuring that the final product is both effective and efficient, saving valuable time and resources.
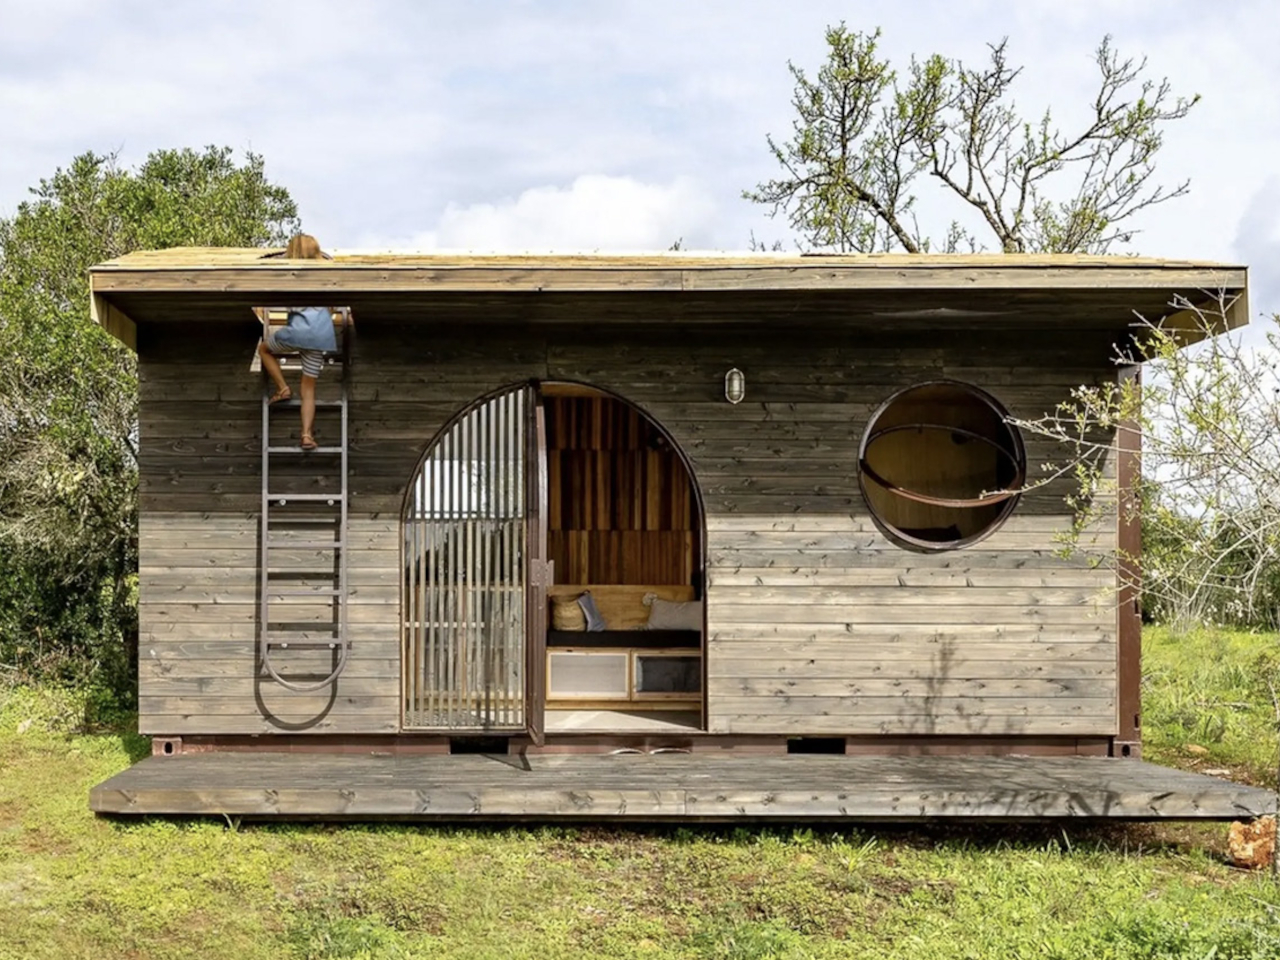
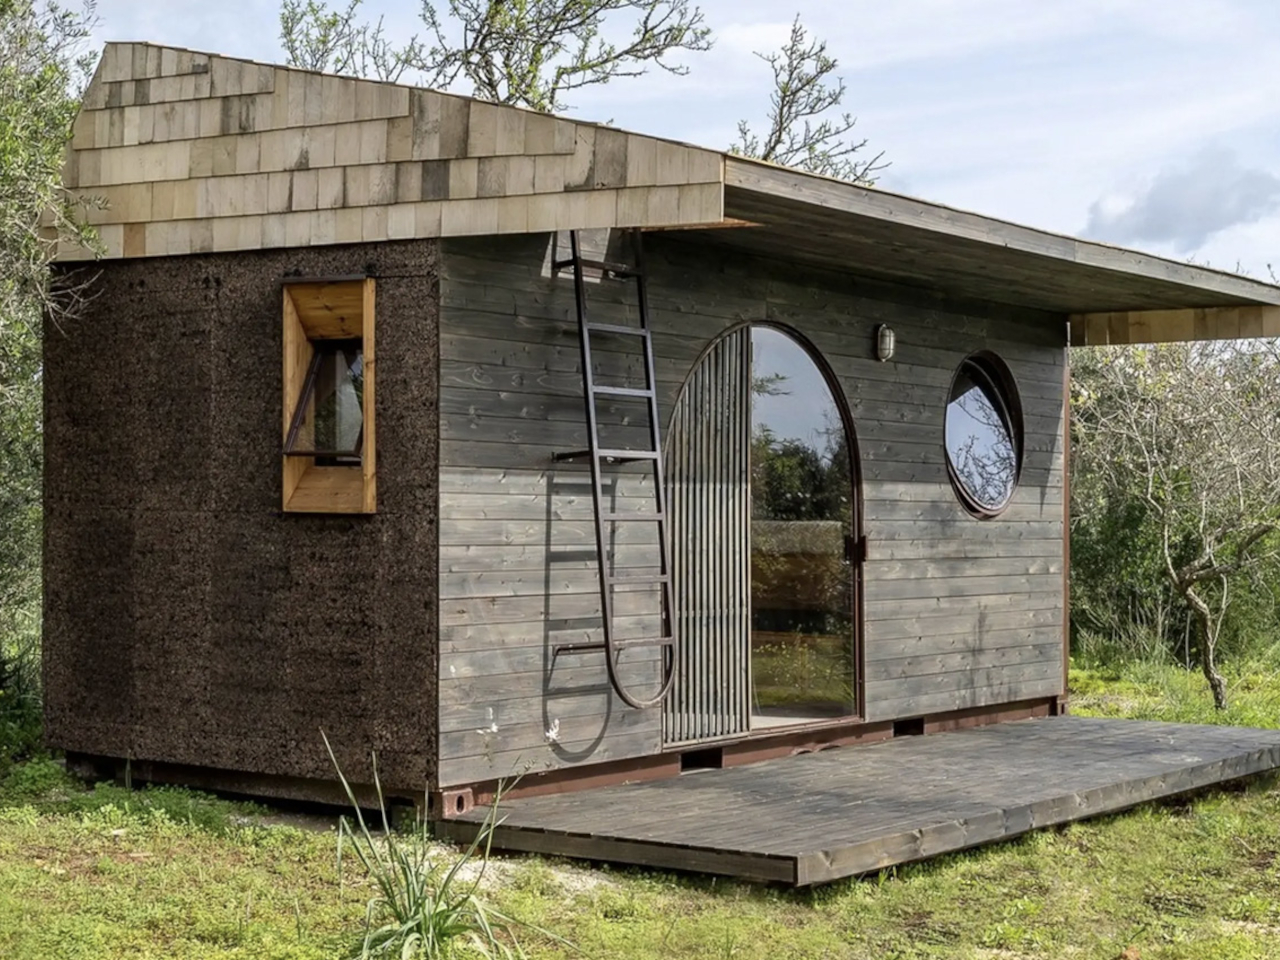
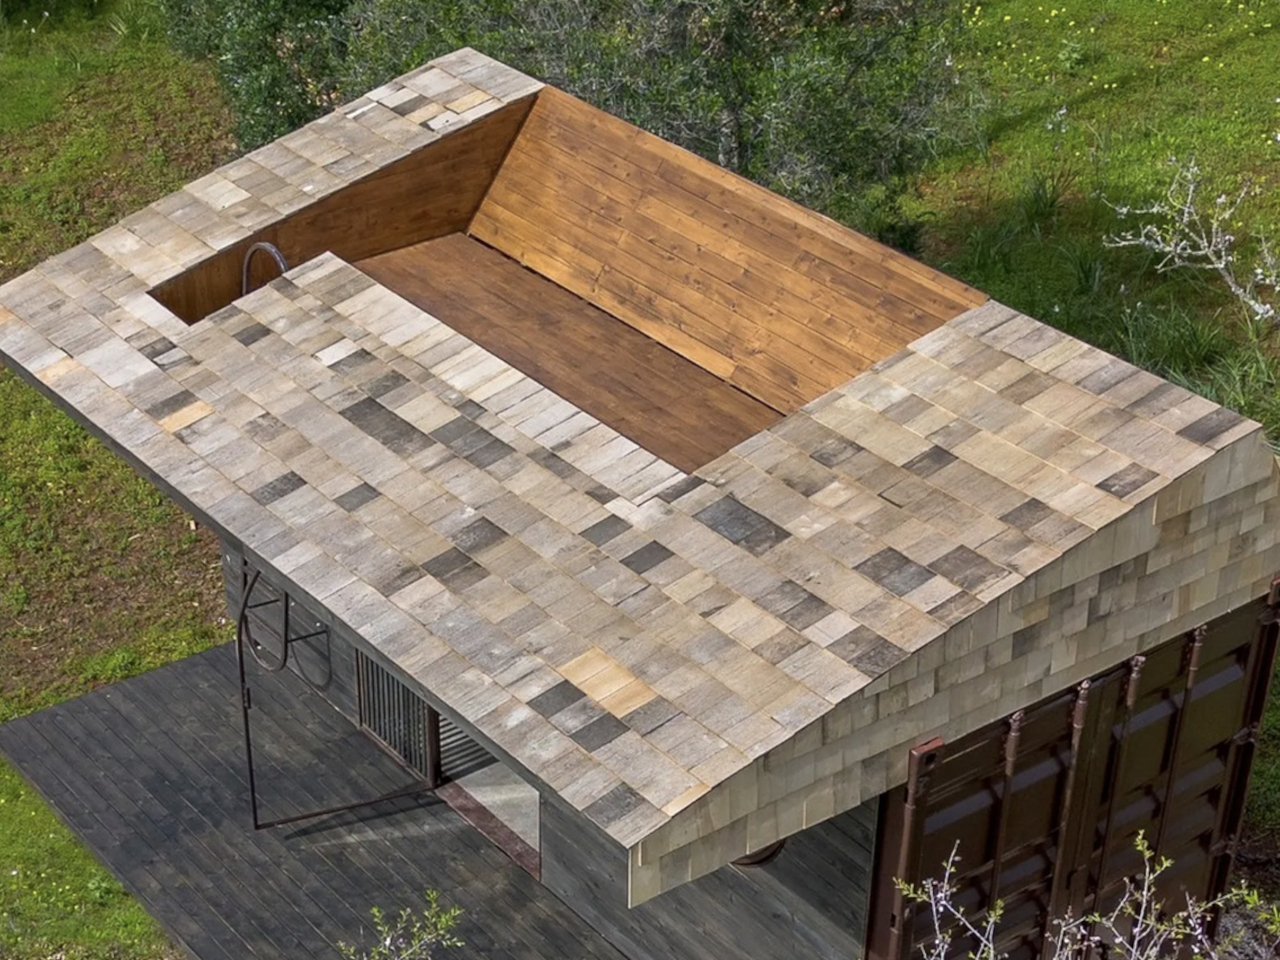
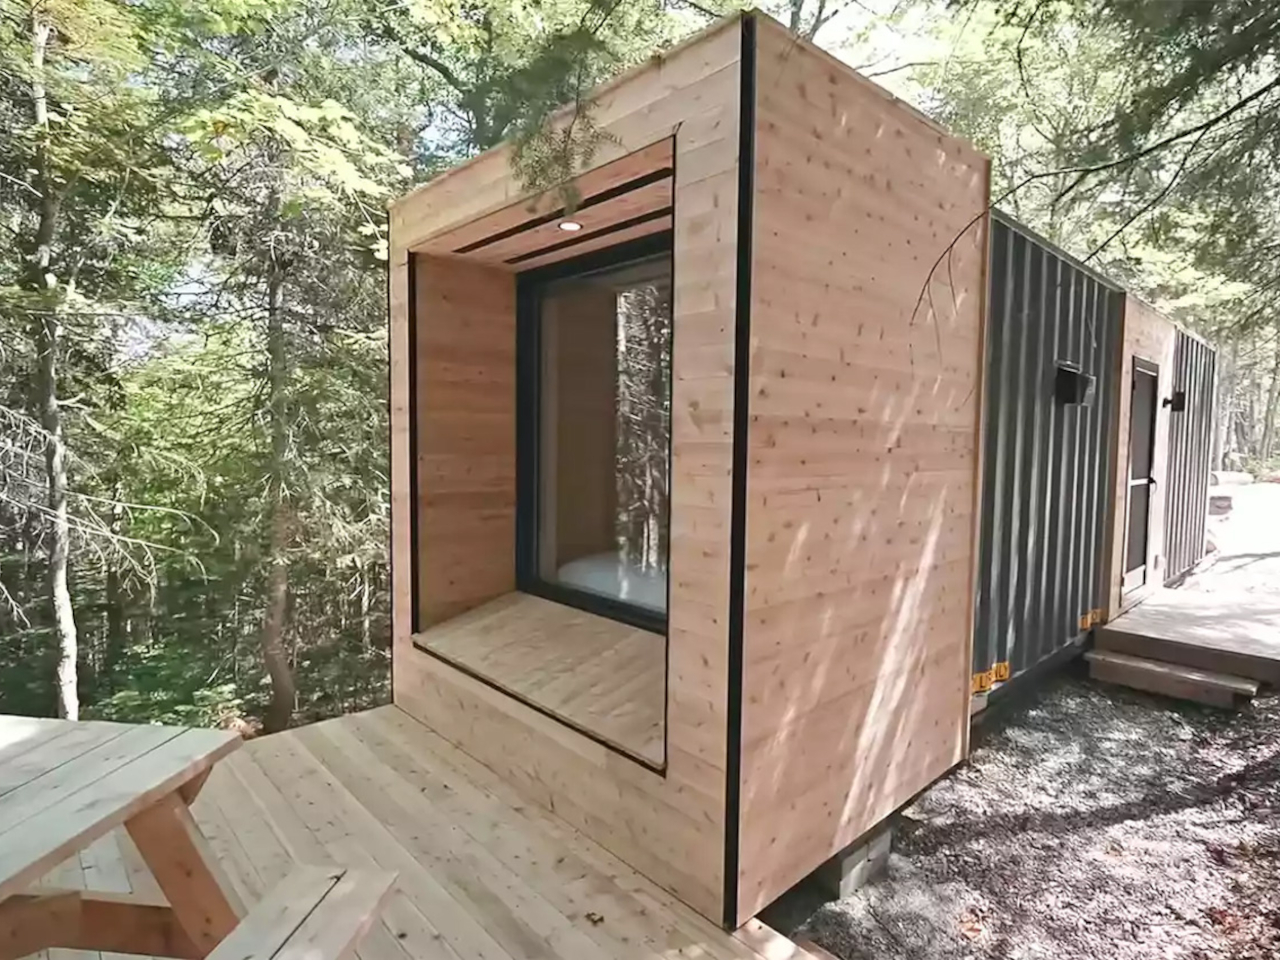
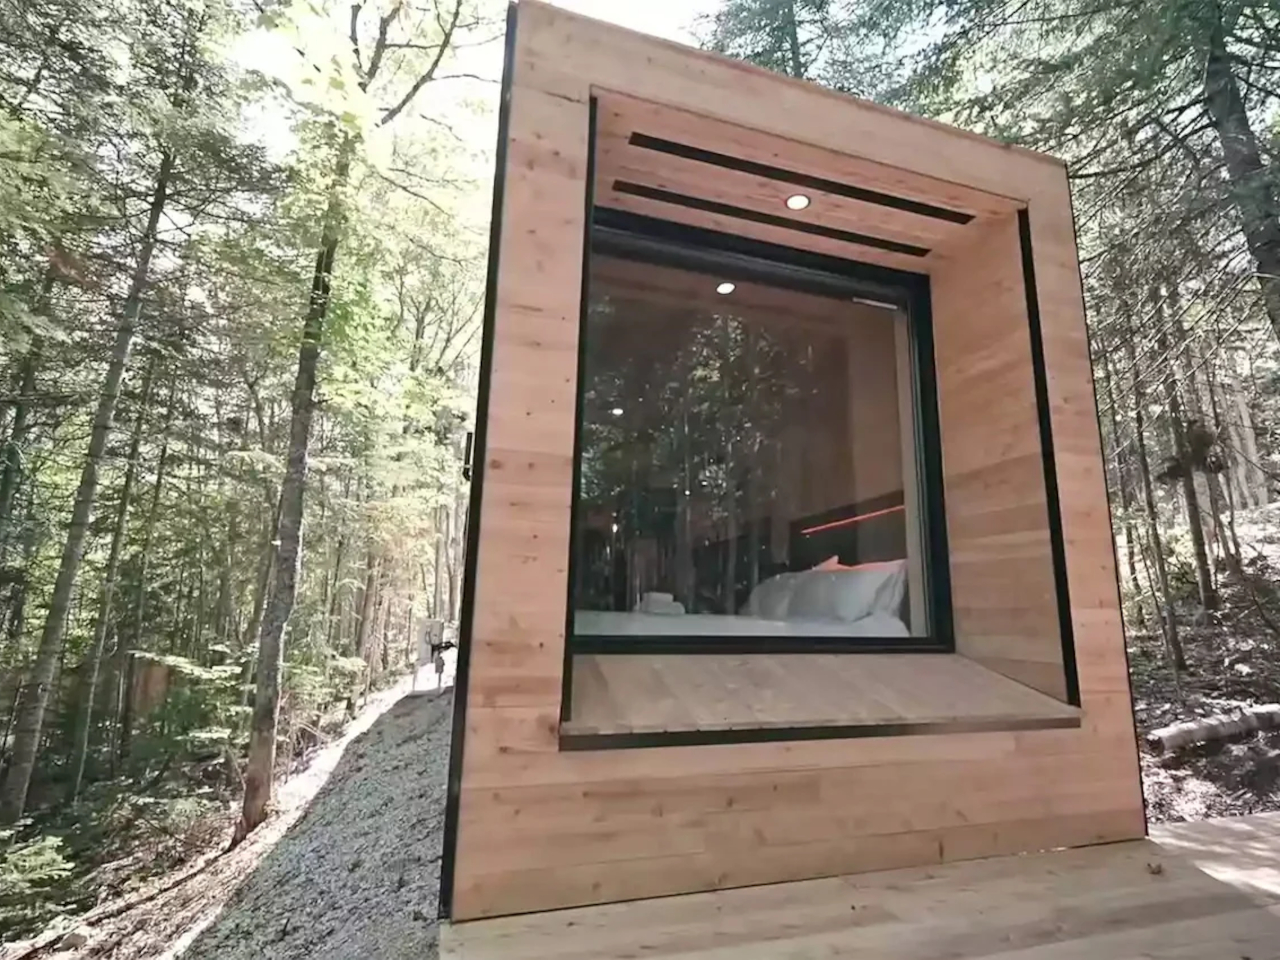
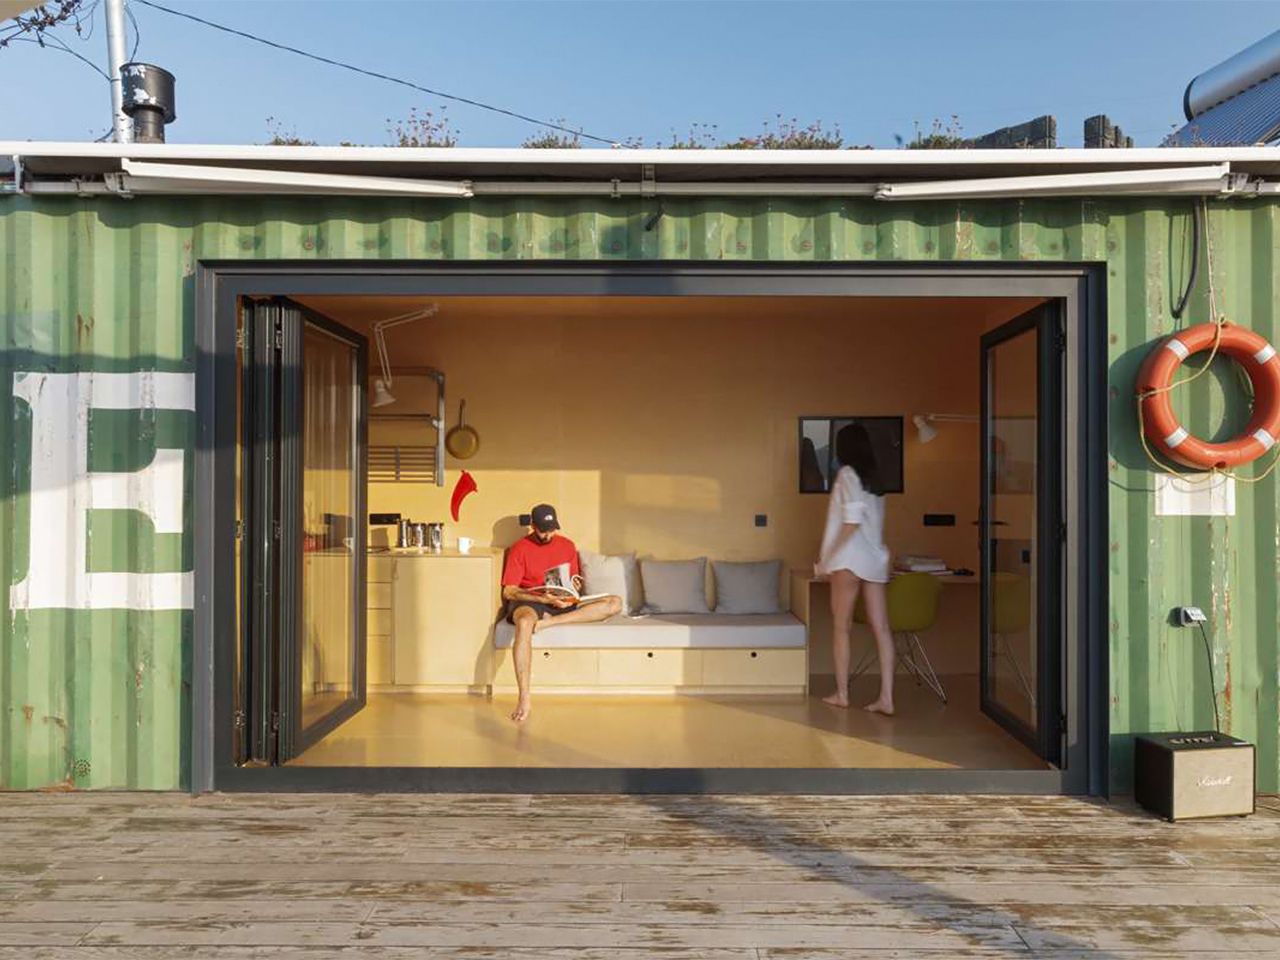
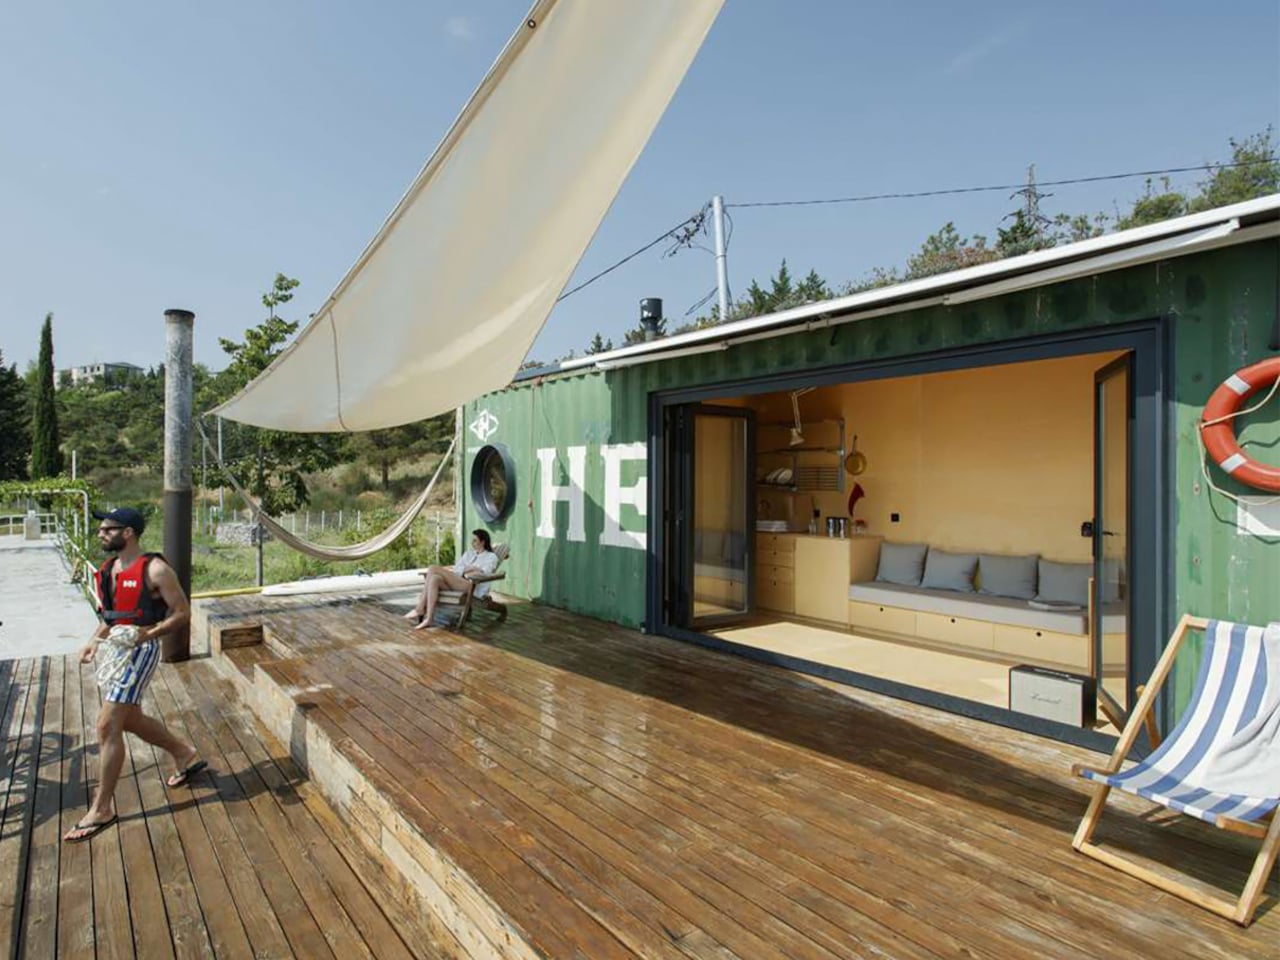
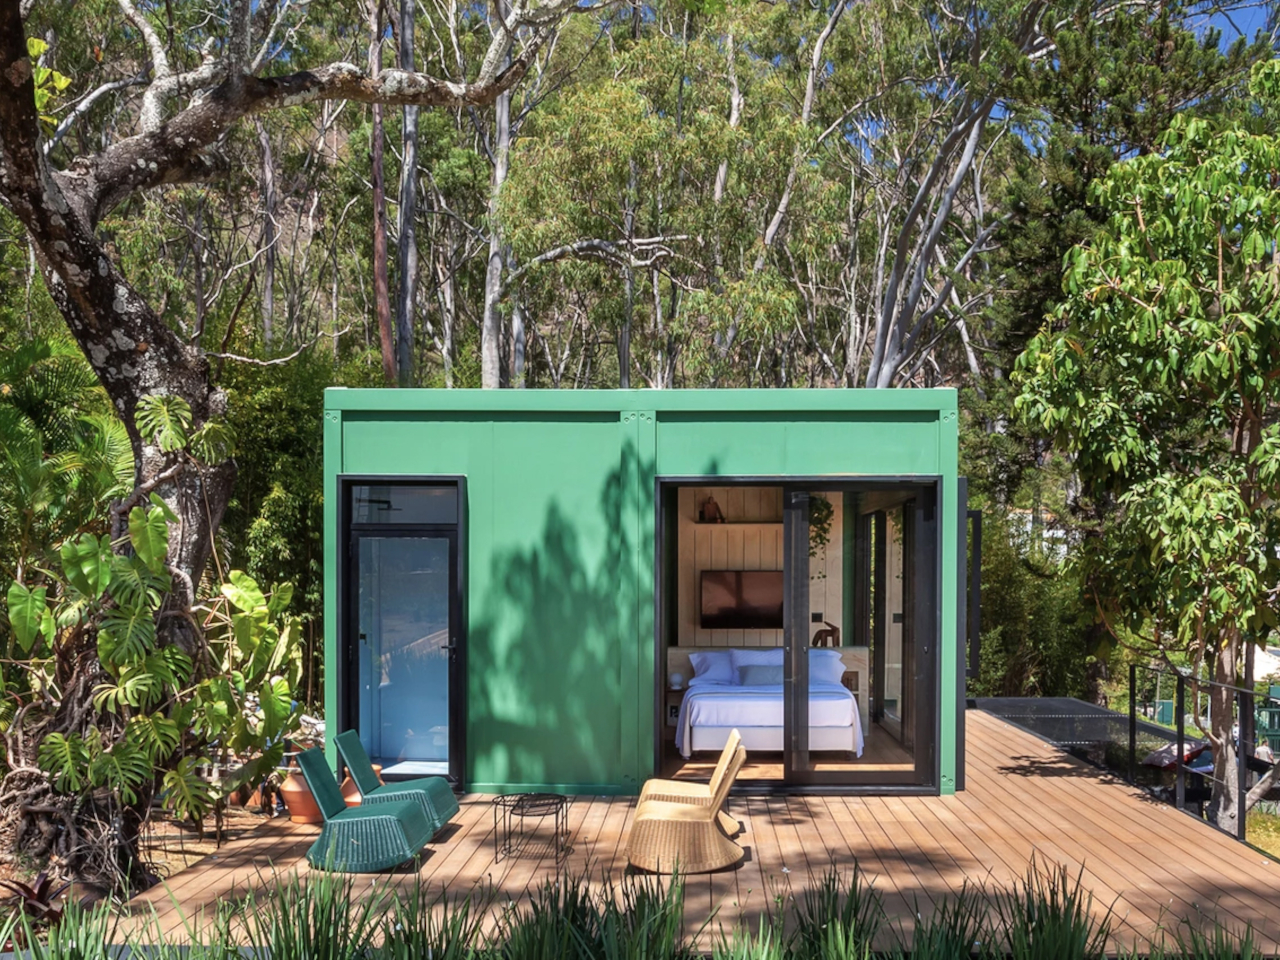
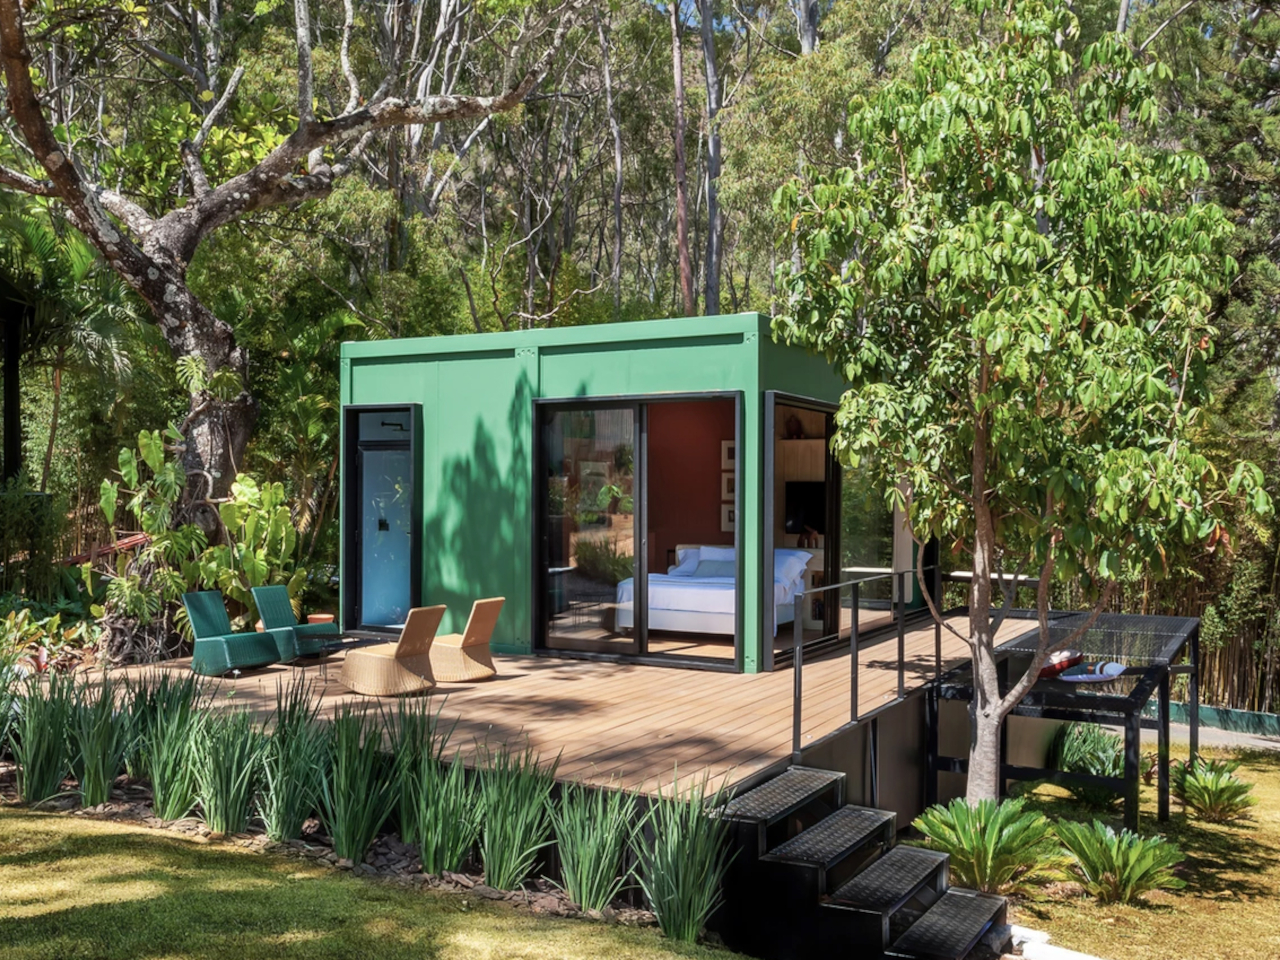
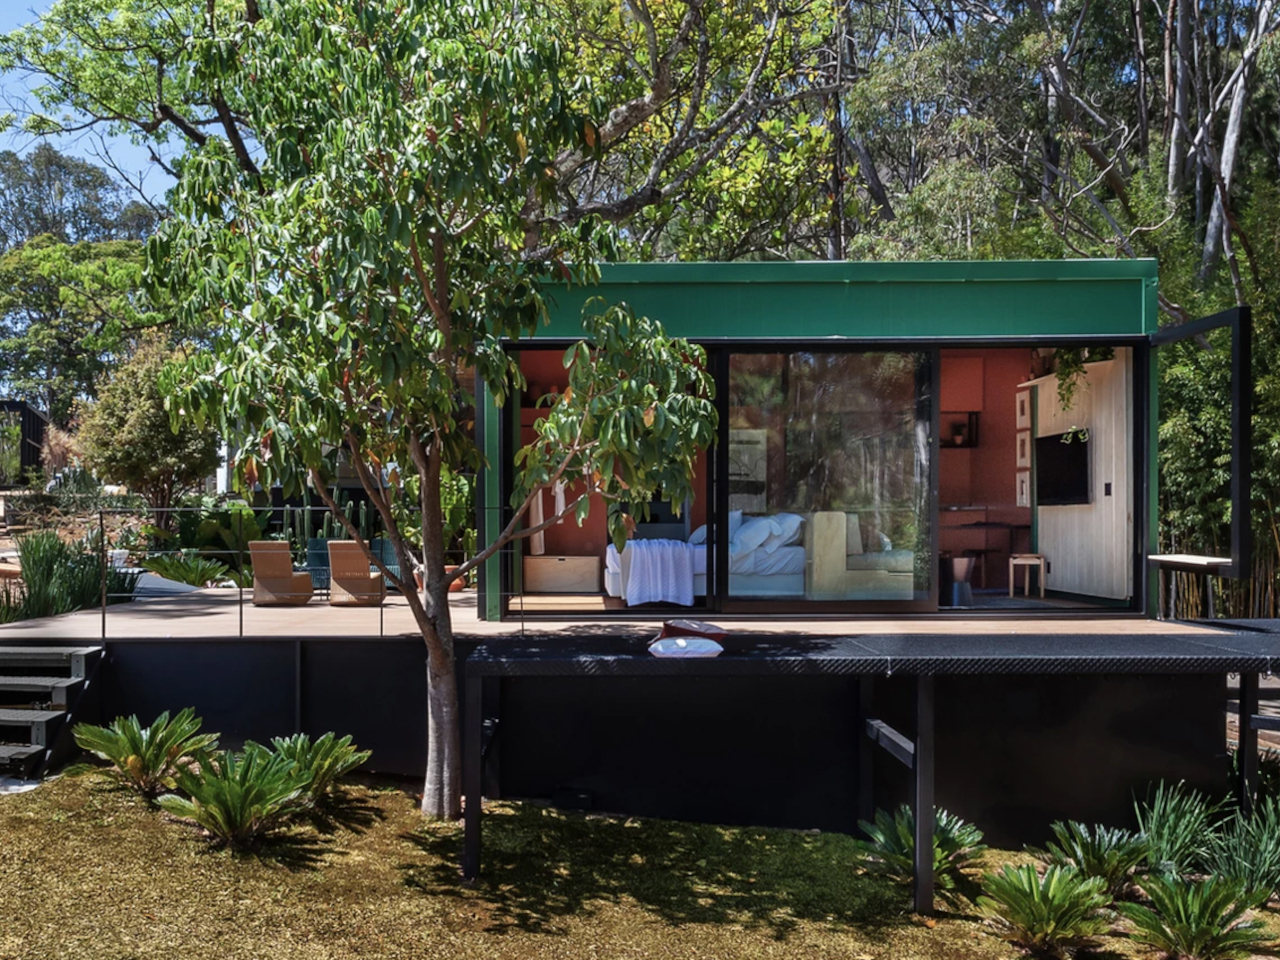
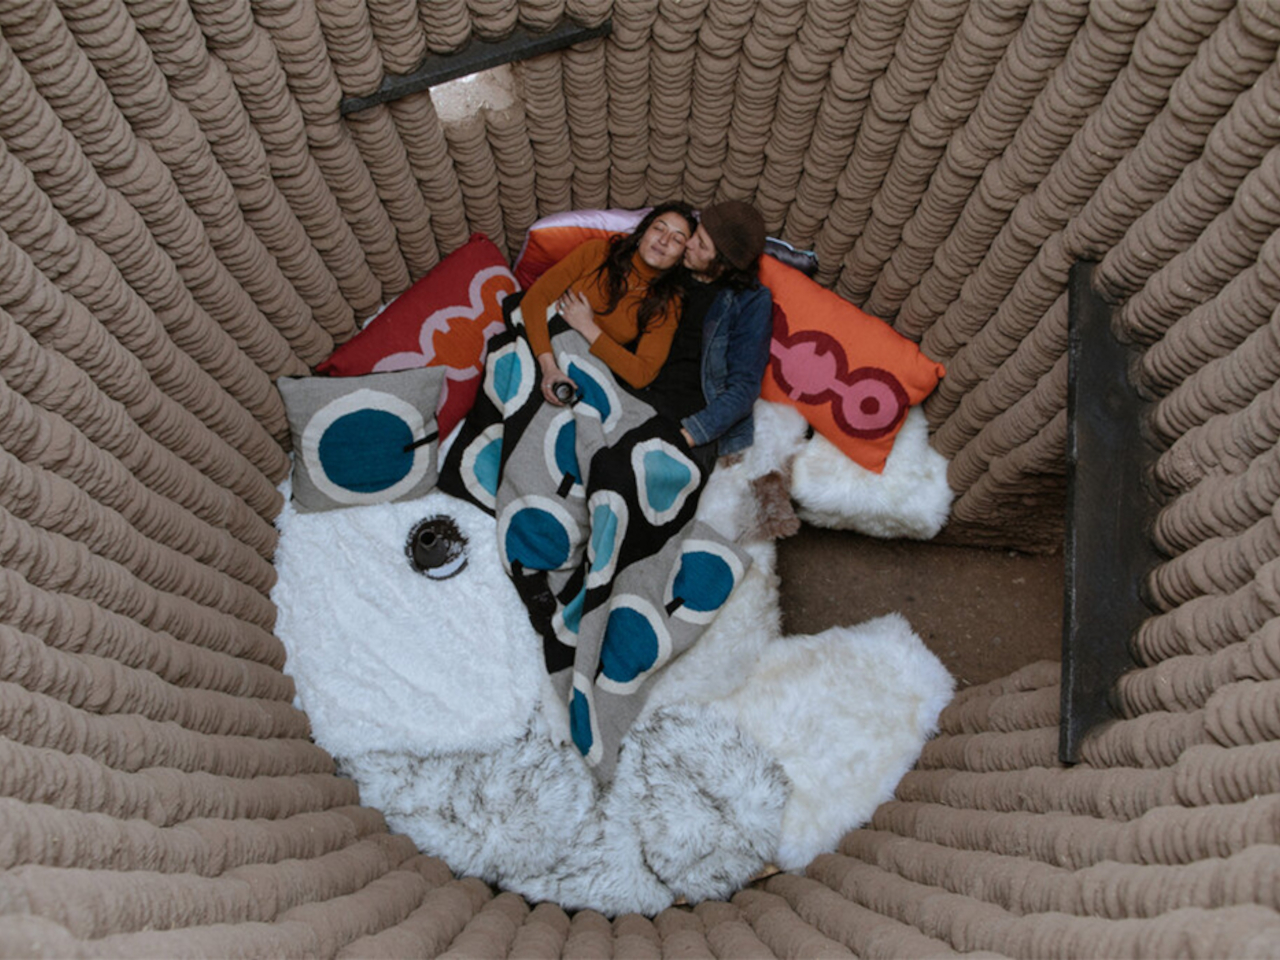
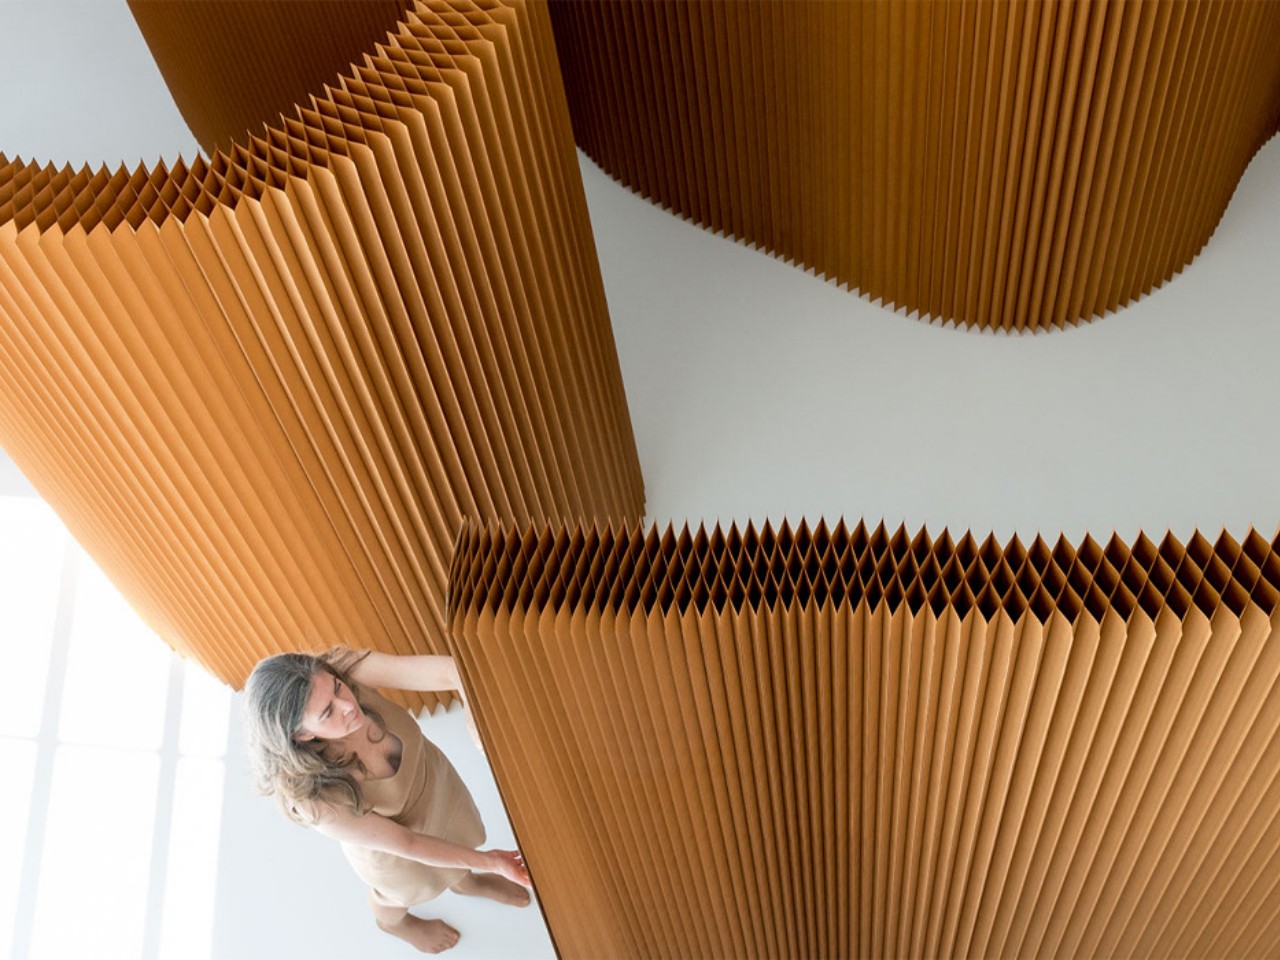
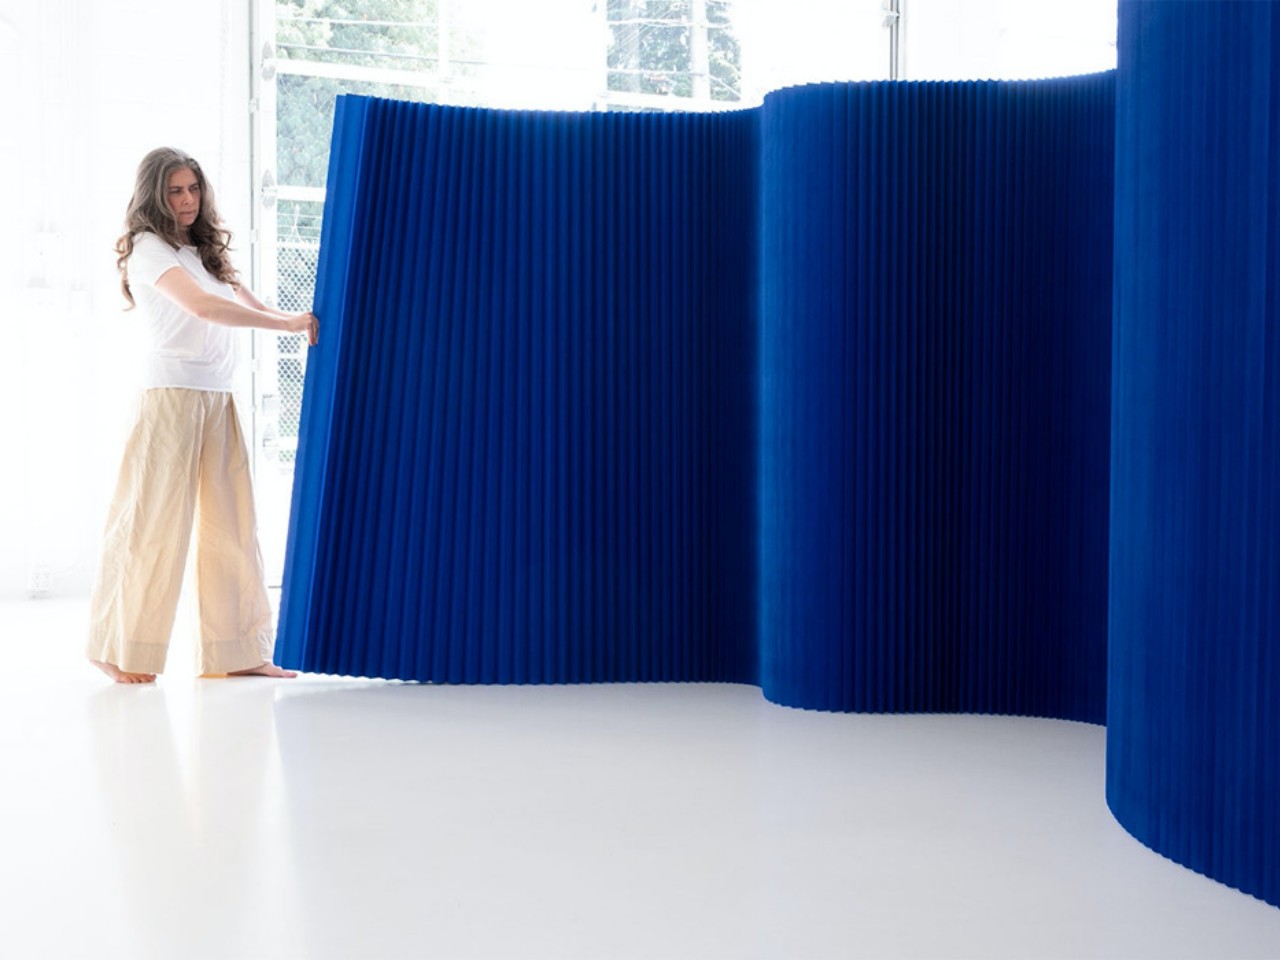
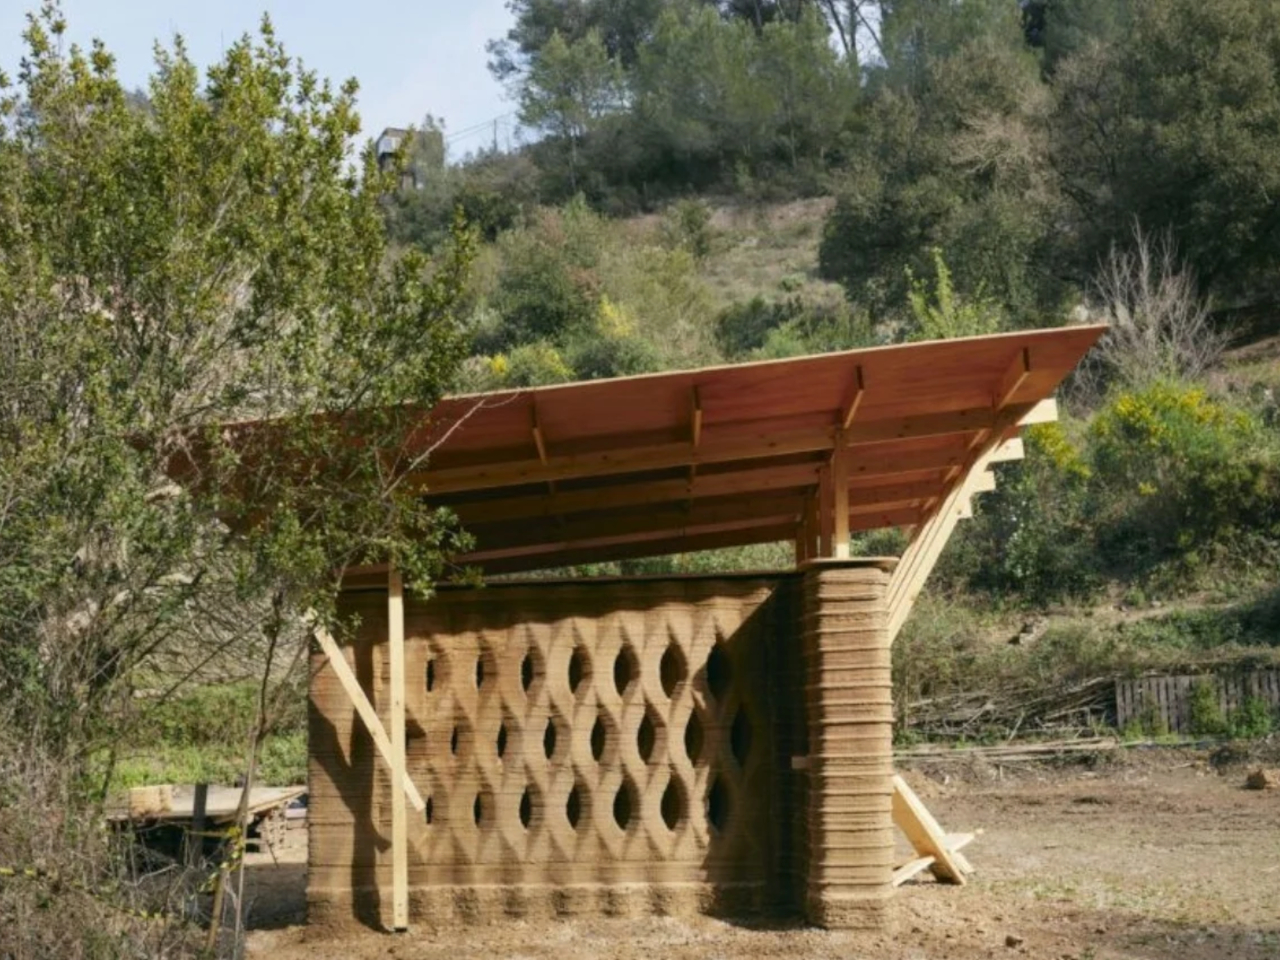
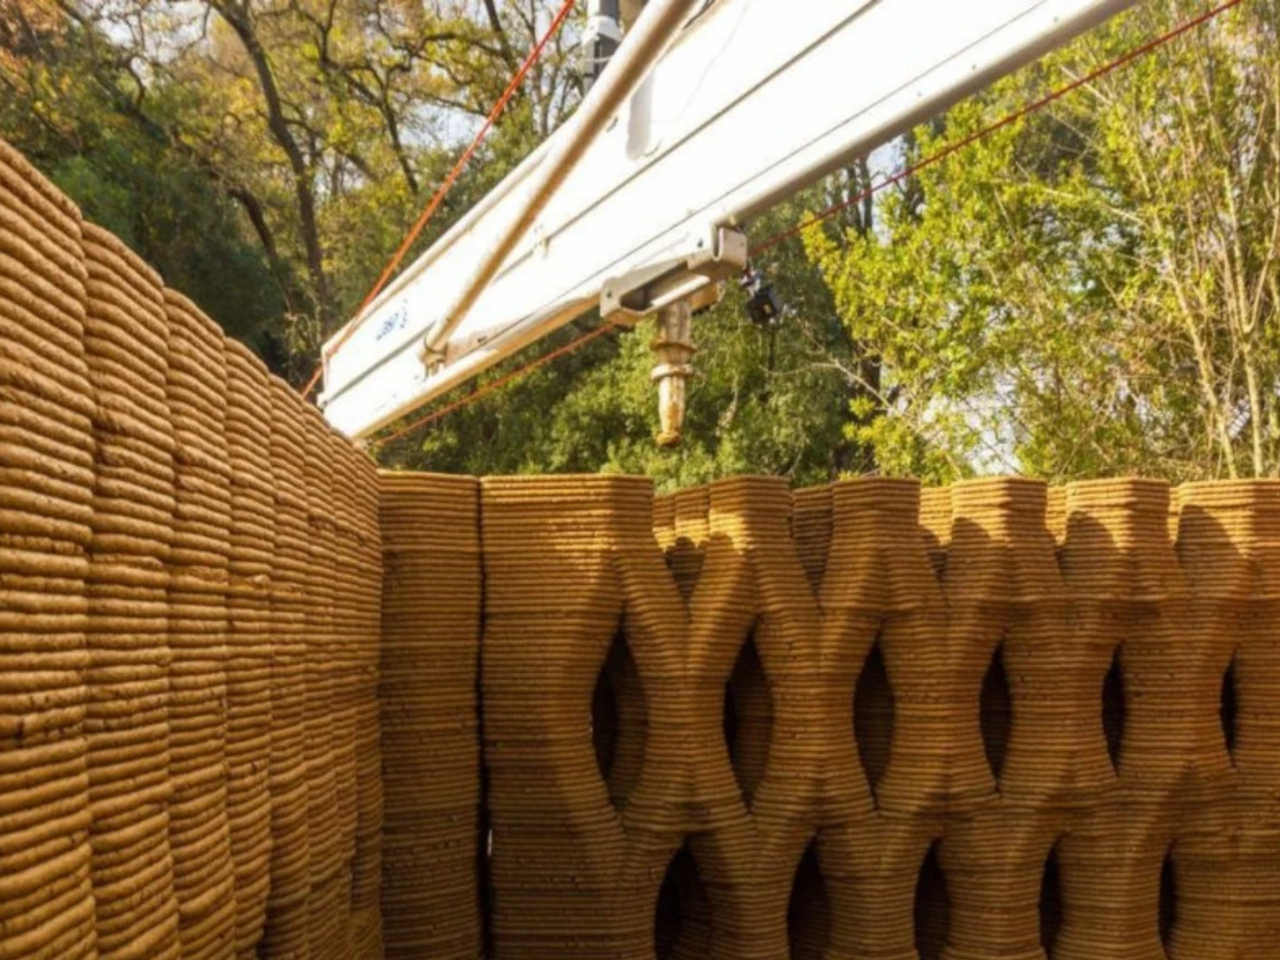
Designer: Advanced Architecture of Catalonia
What are the advantages of prototyping in product design?
Prototyping is essential in the design process, turning abstract ideas into something tangible that everyone can visualize and understand. It helps align designers, stakeholders, and users on the product’s vision early on, fostering effective communication and collaboration. By identifying potential design flaws before full-scale development, prototyping saves time and resources while reducing risks.
This process also prioritizes user needs by allowing for feedback and adjustments throughout development. Prototypes ensure the product is functional and resonates with users, leading to better usability and overall satisfaction. Ultimately, prototyping accelerates time-to-market and streamlines the design process, resulting in a well-refined, user-focused product.
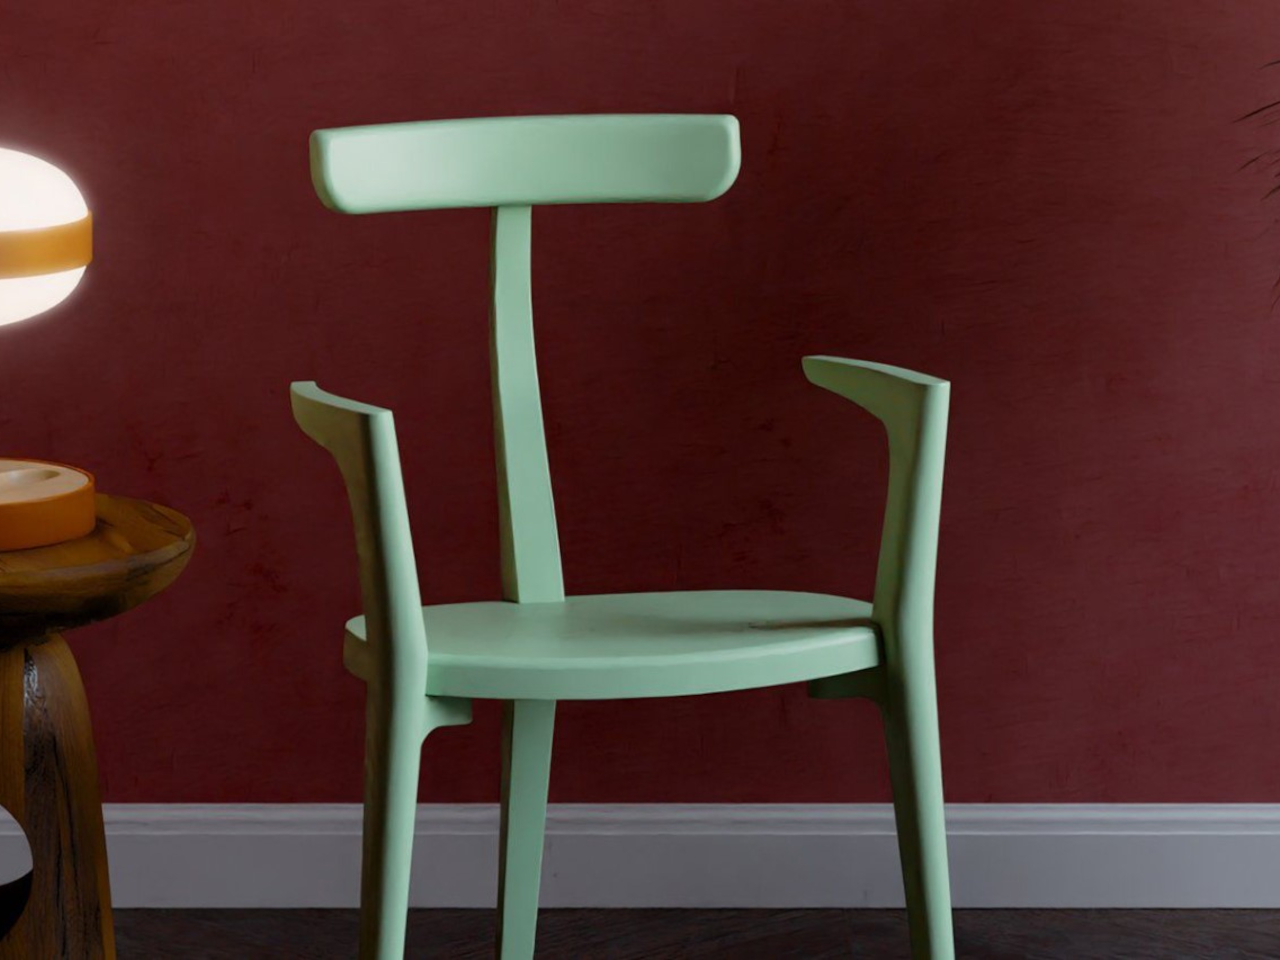
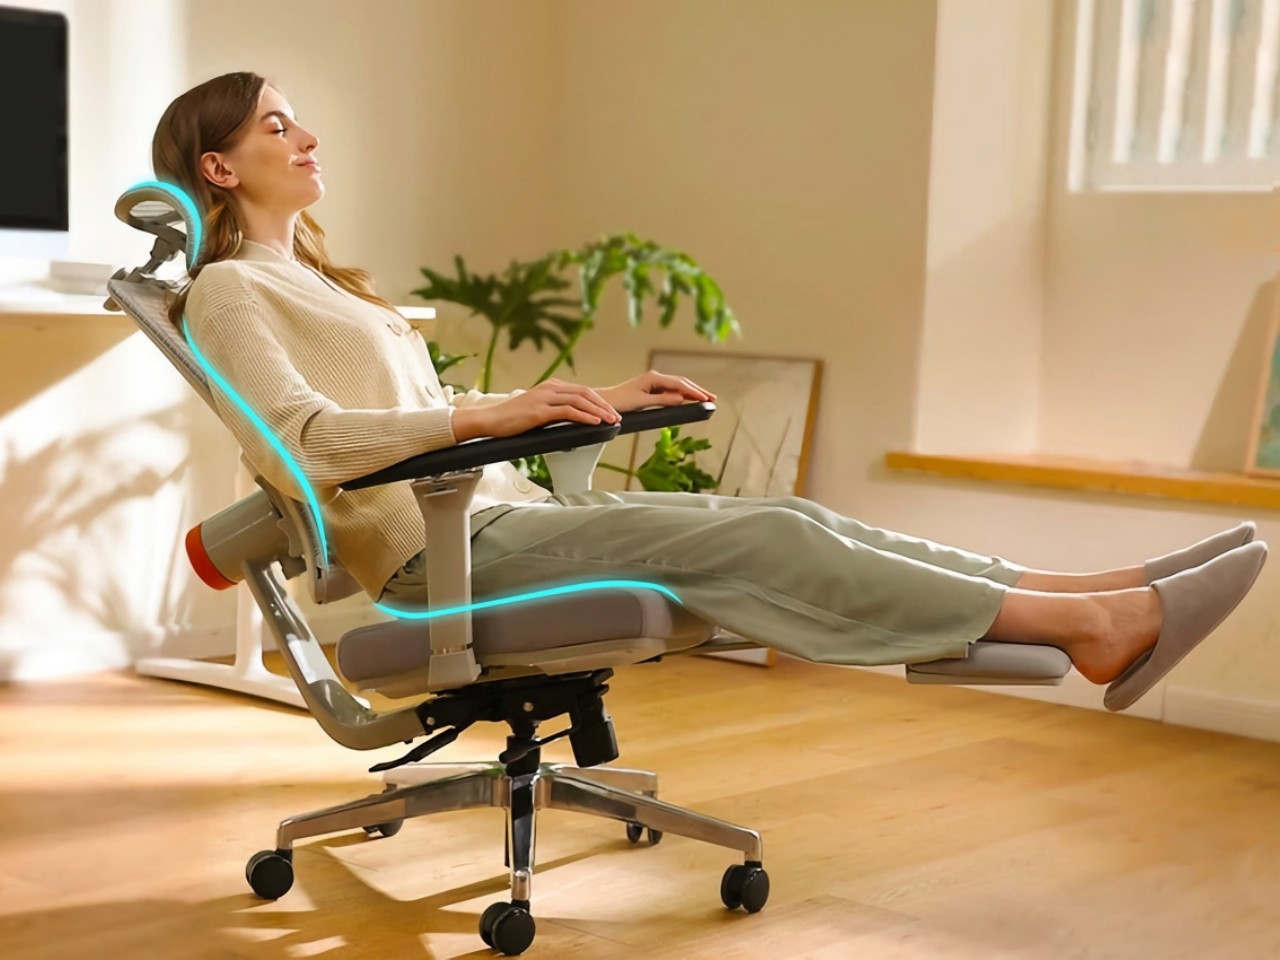
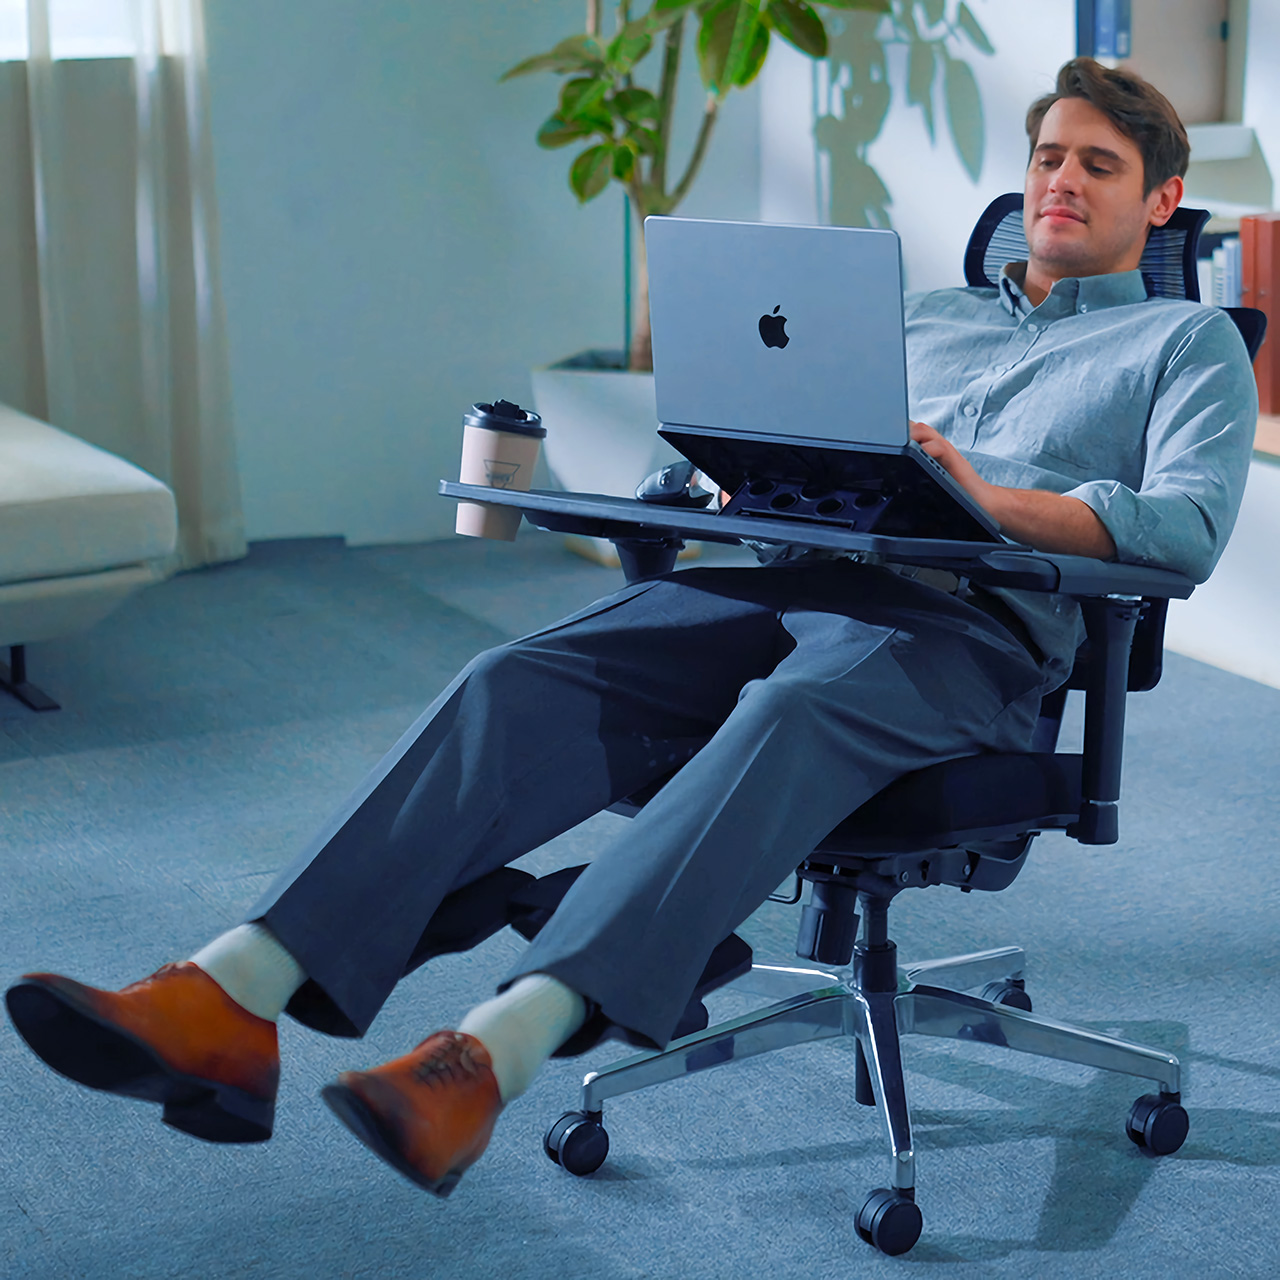
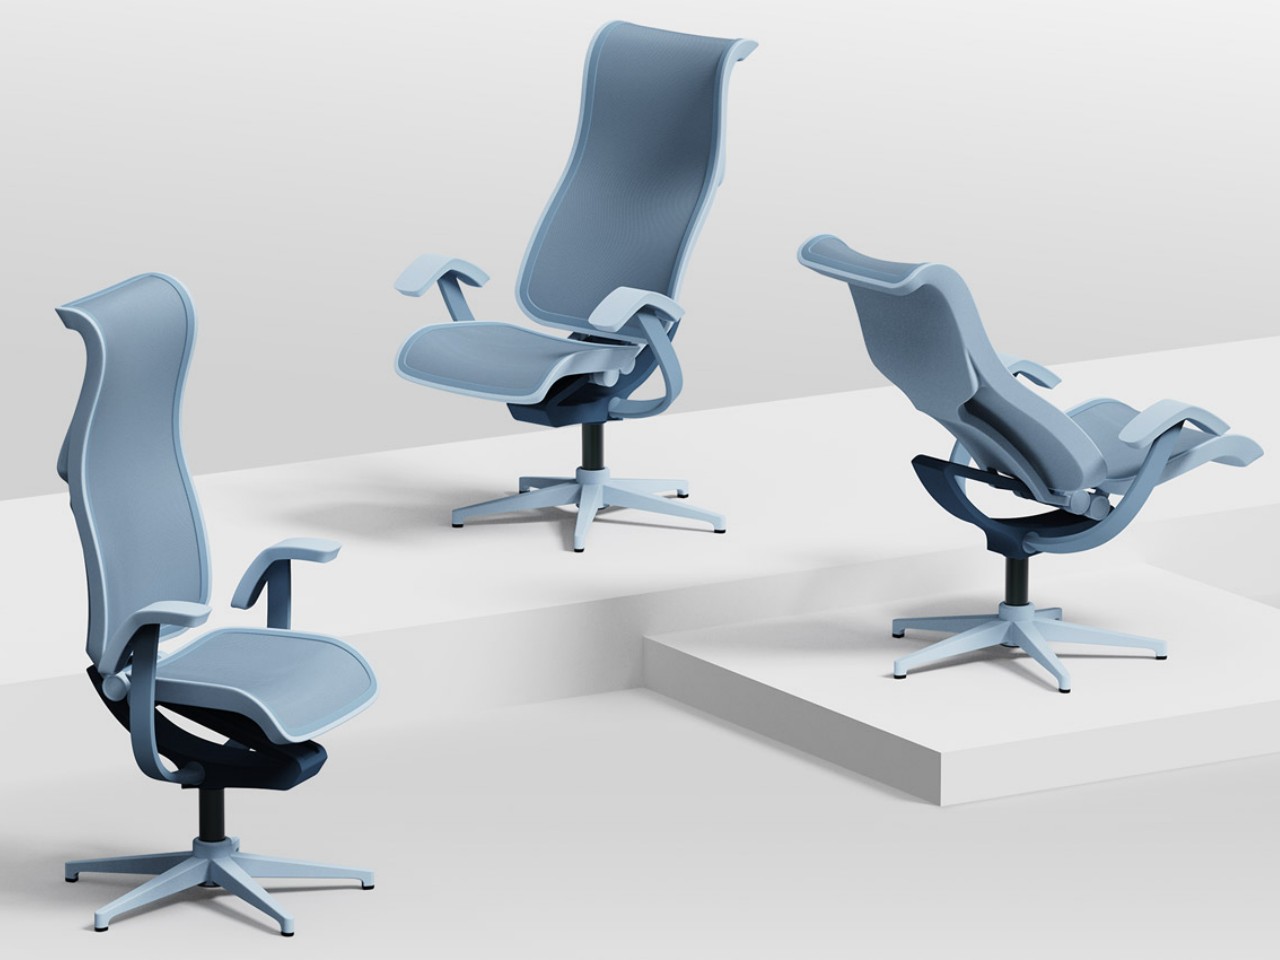
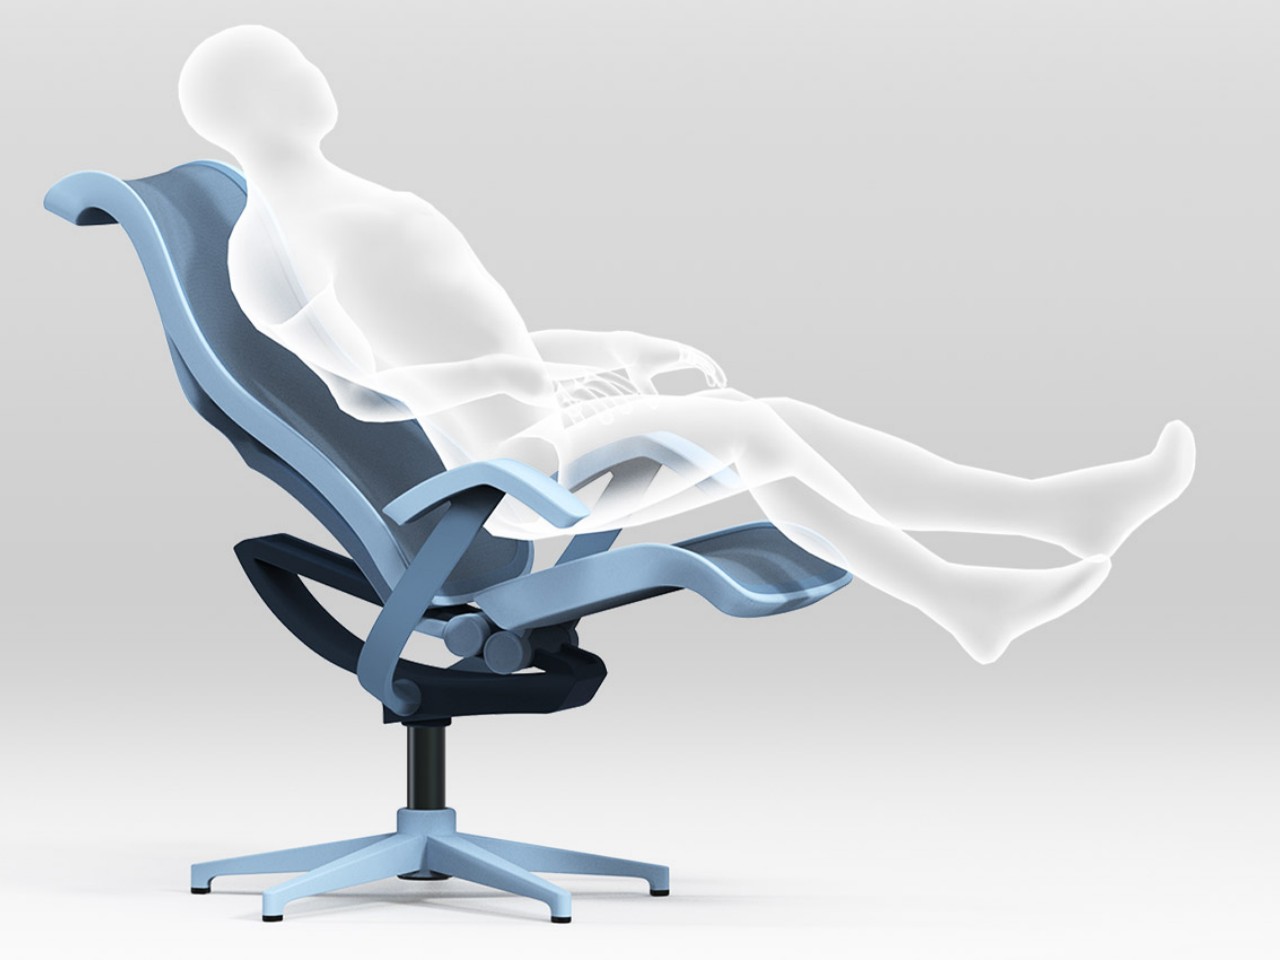
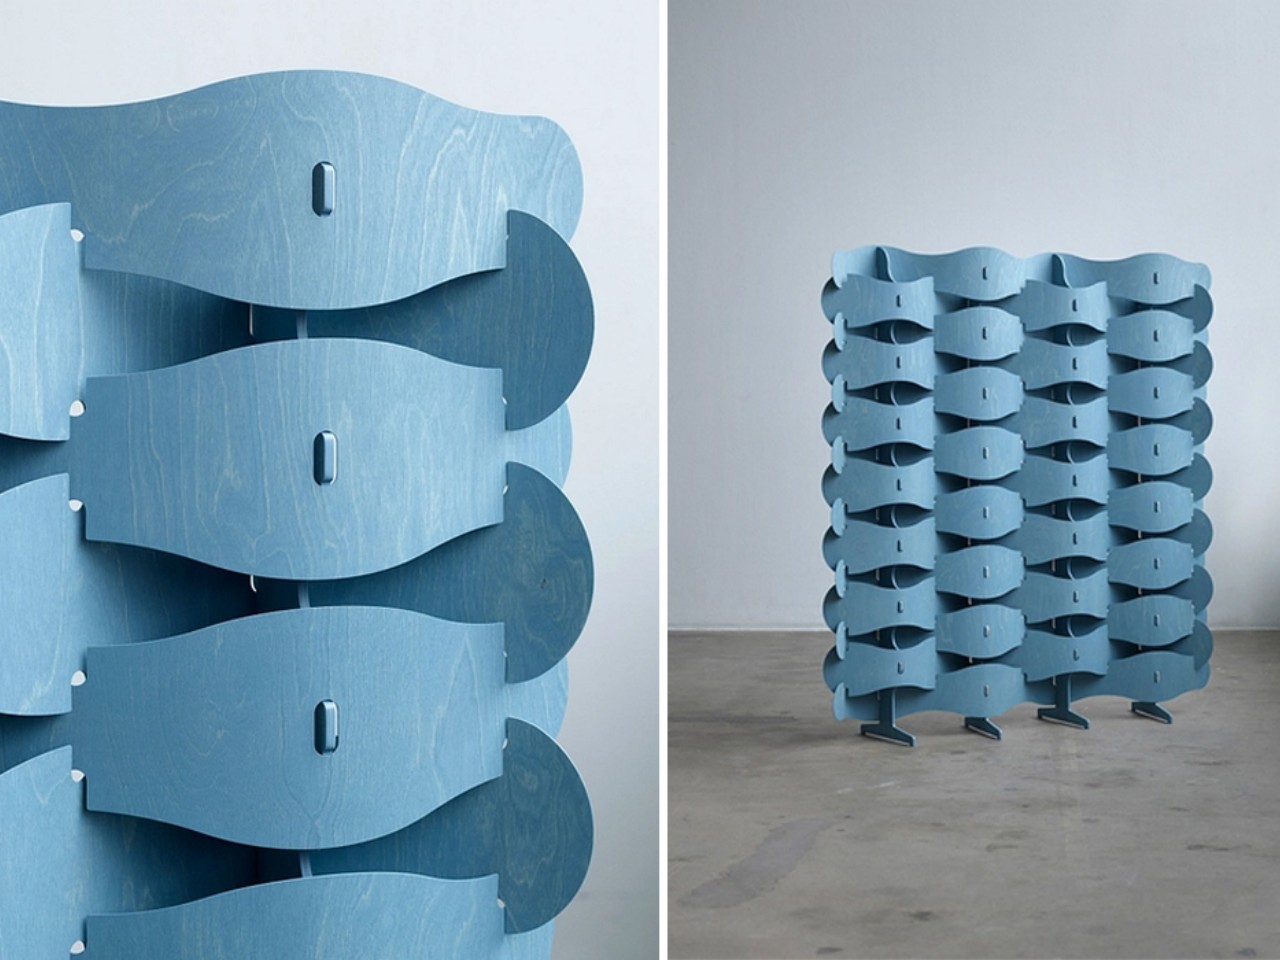
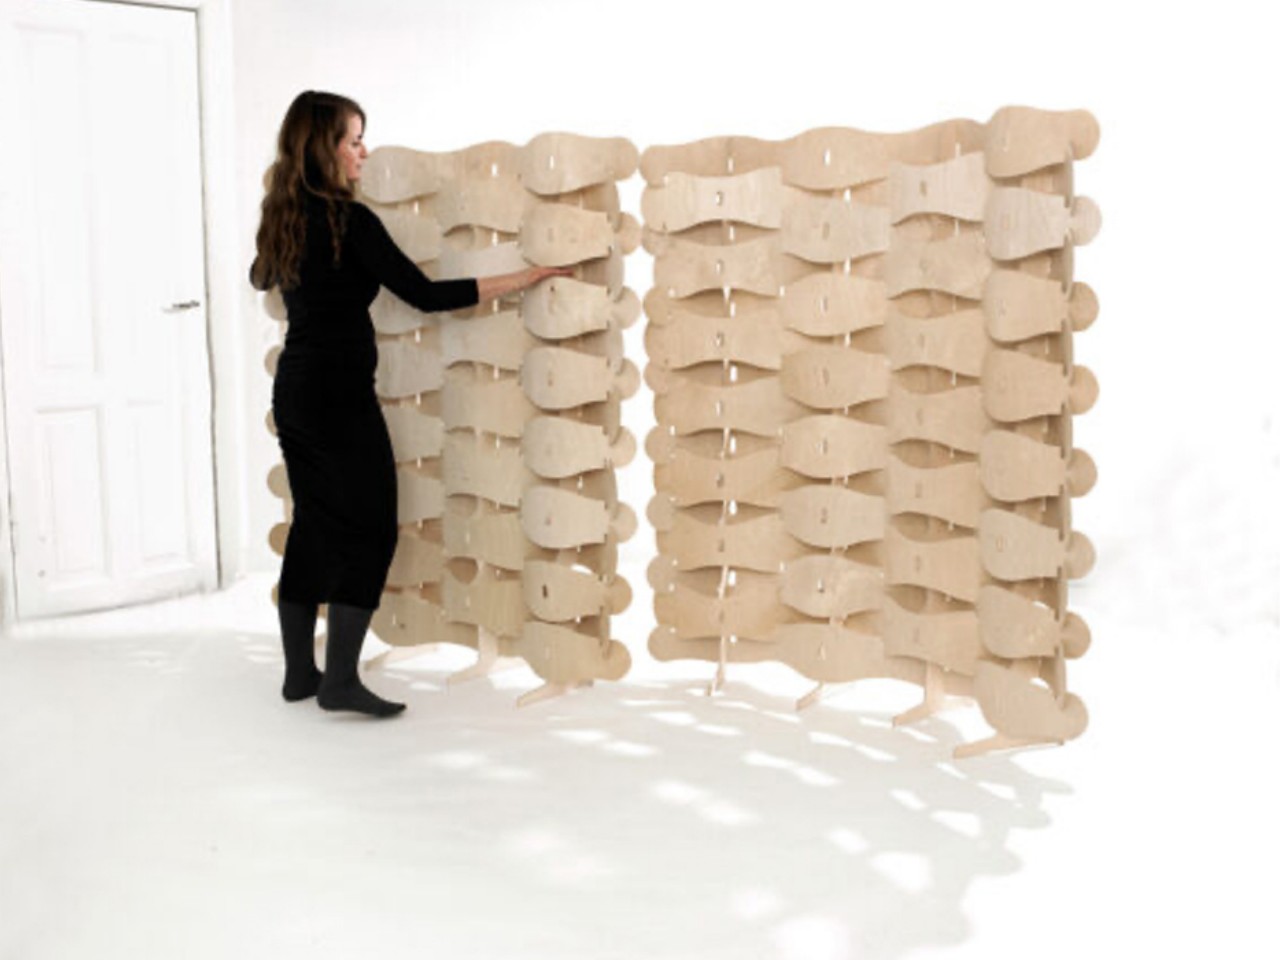
Enhances Visualization
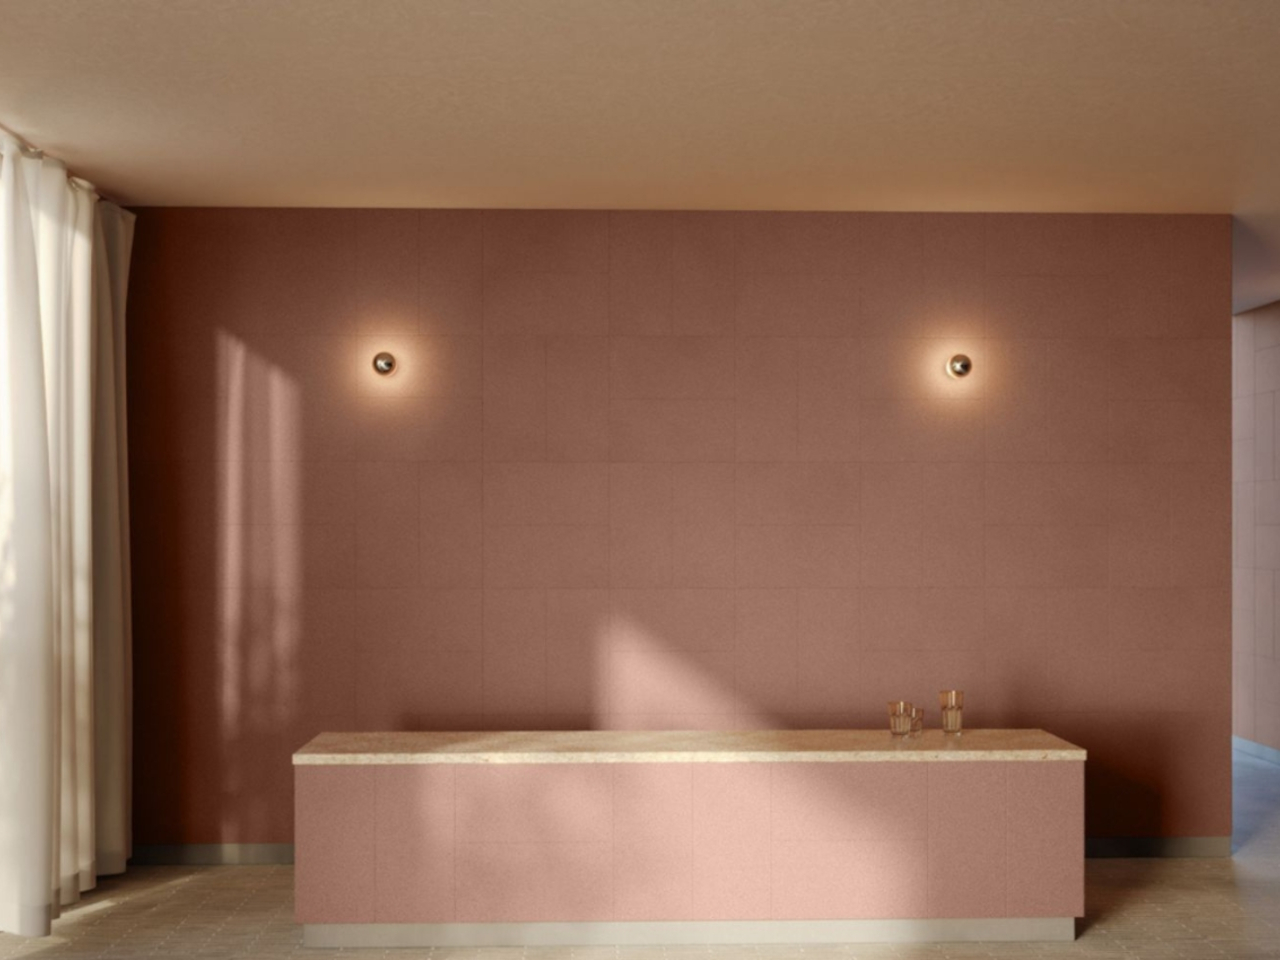
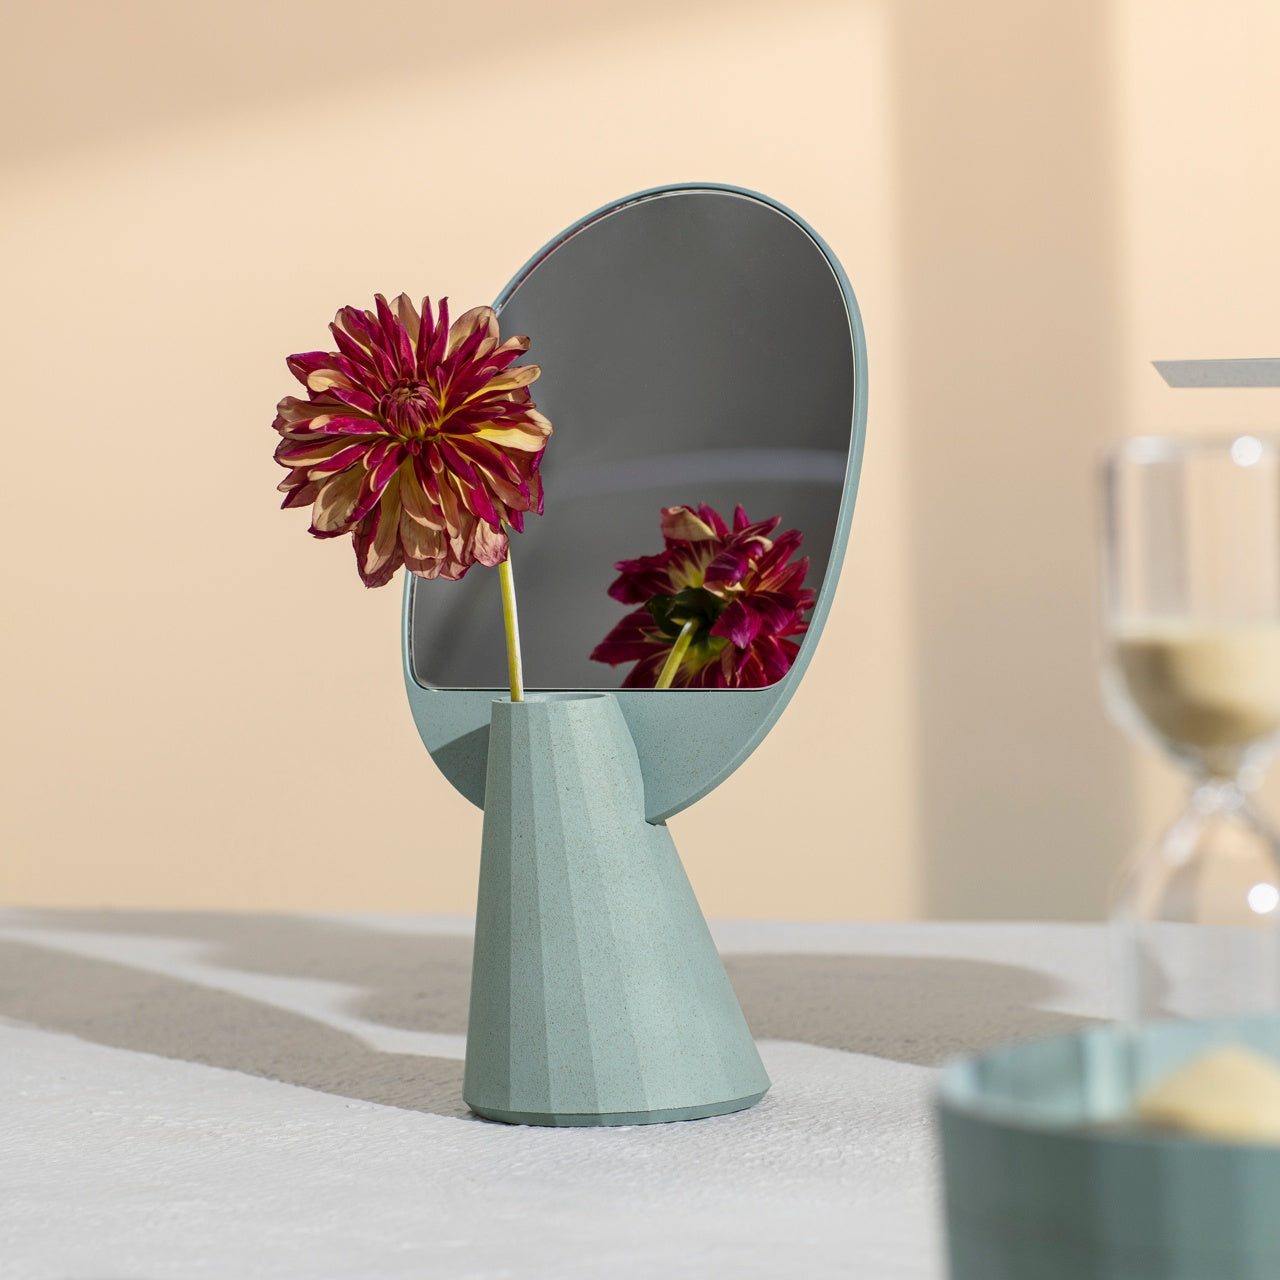
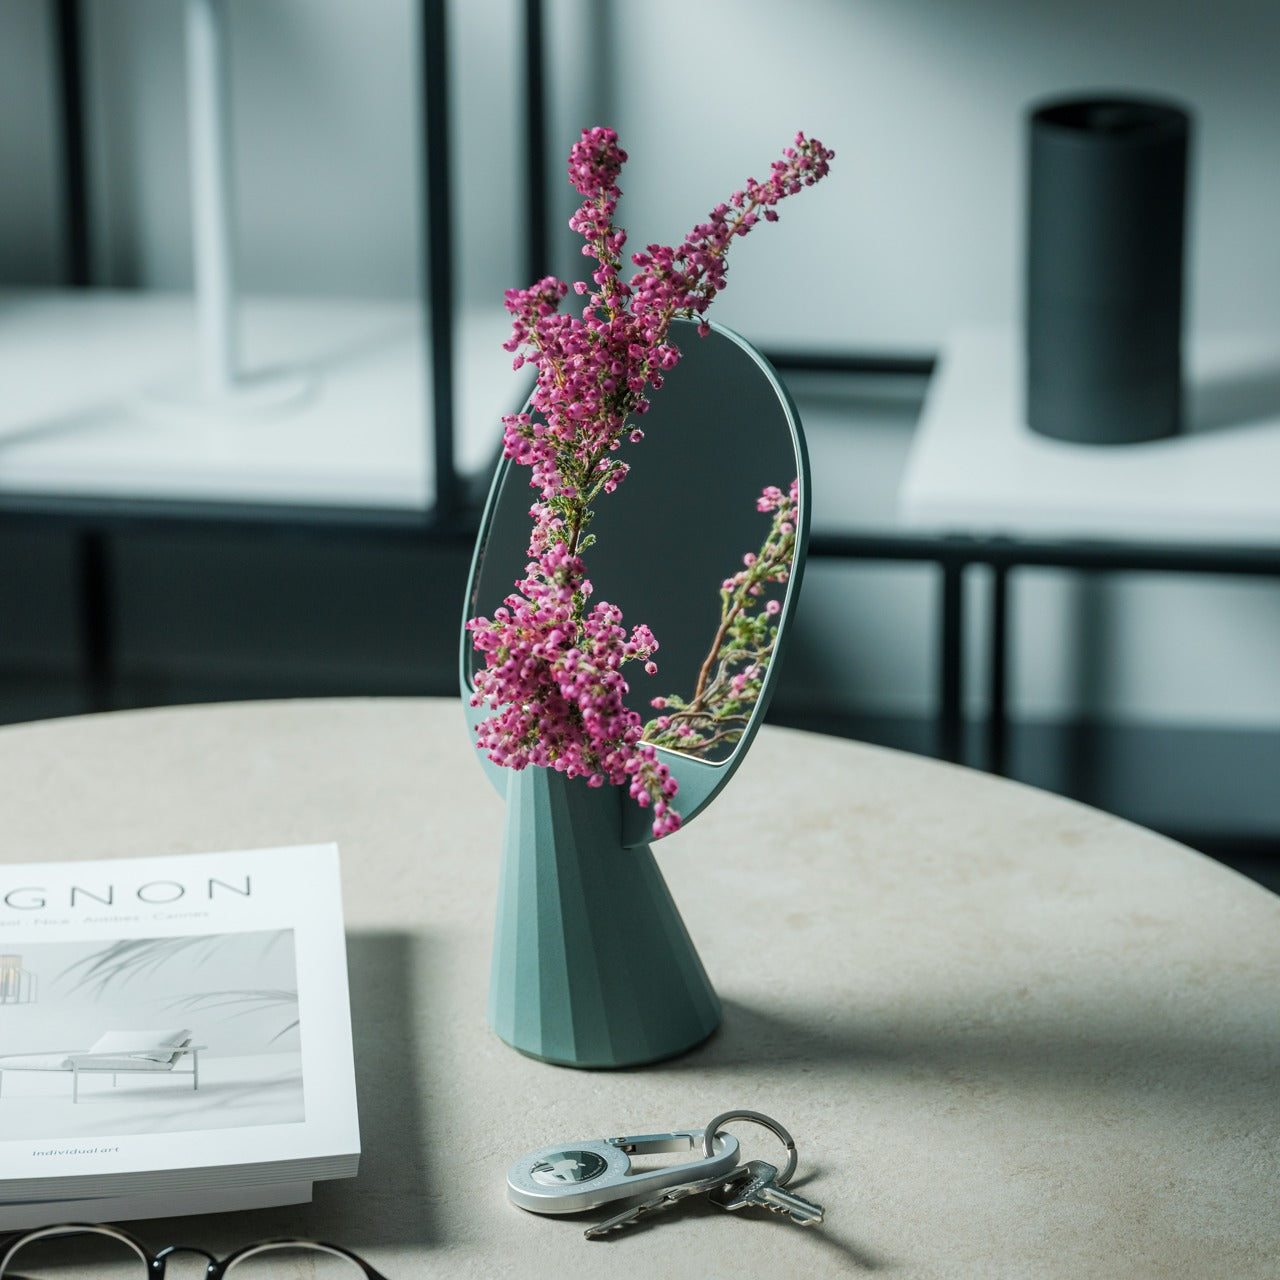
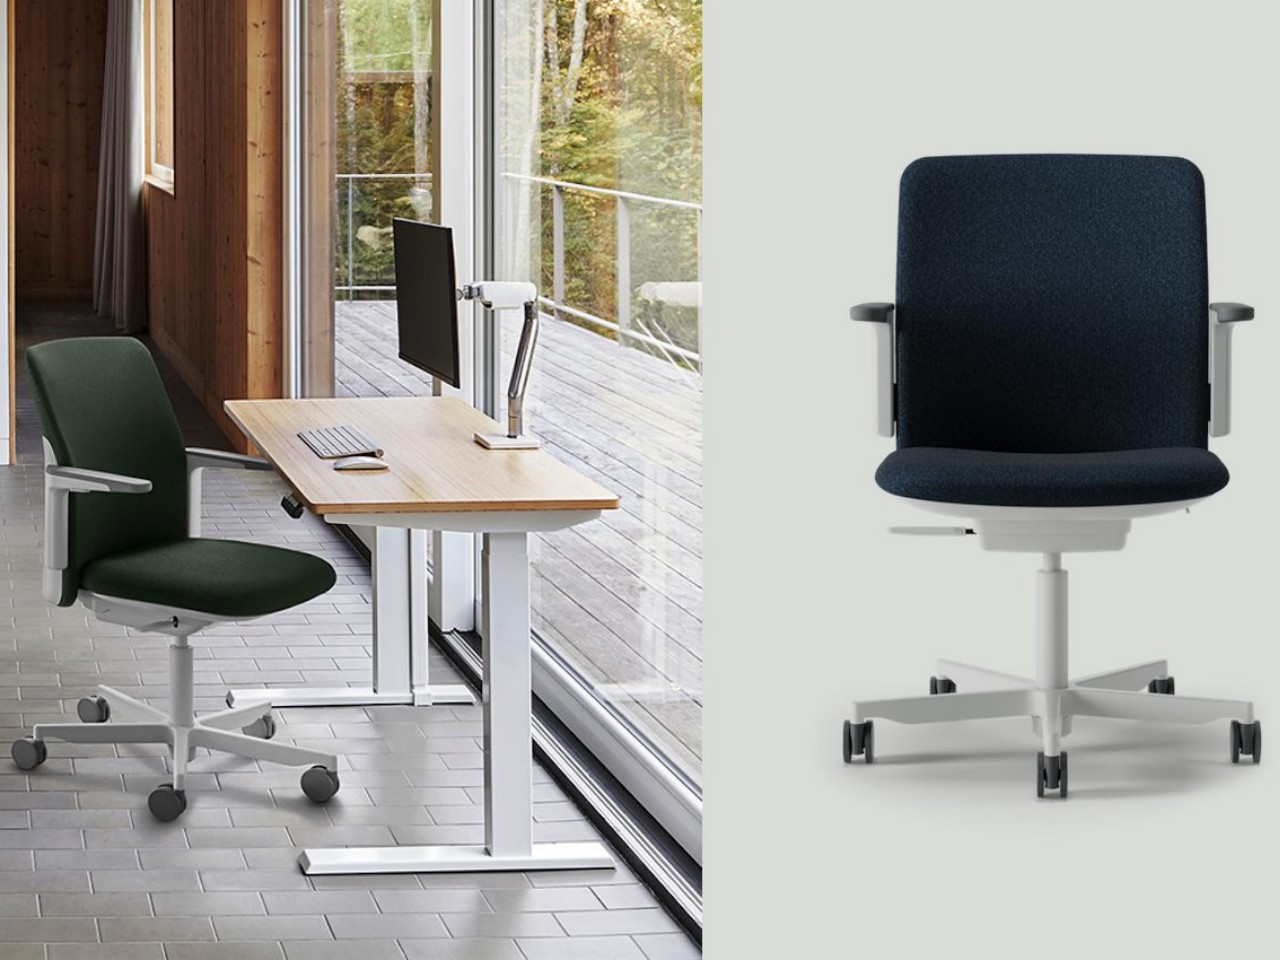
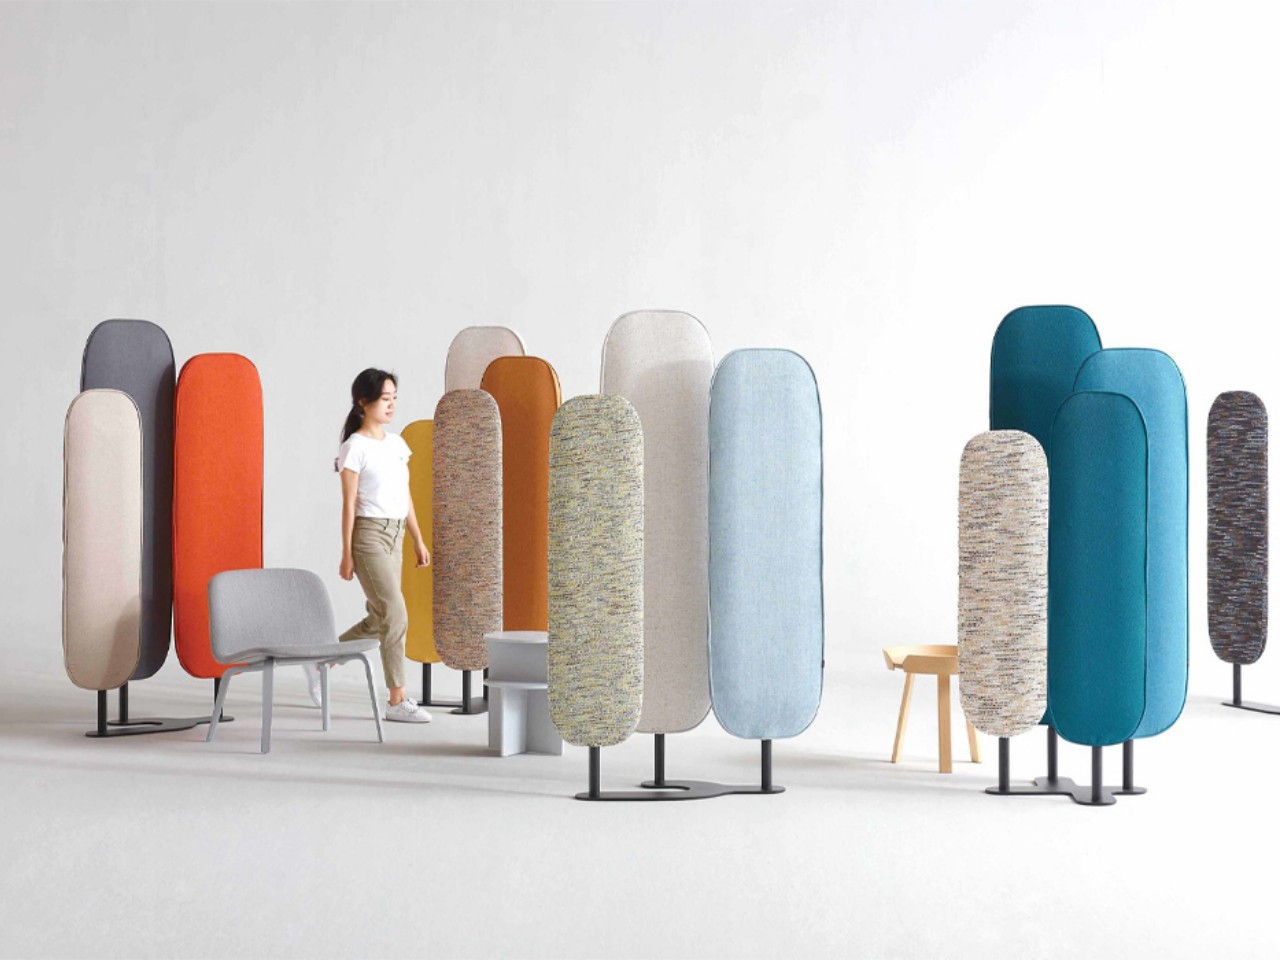
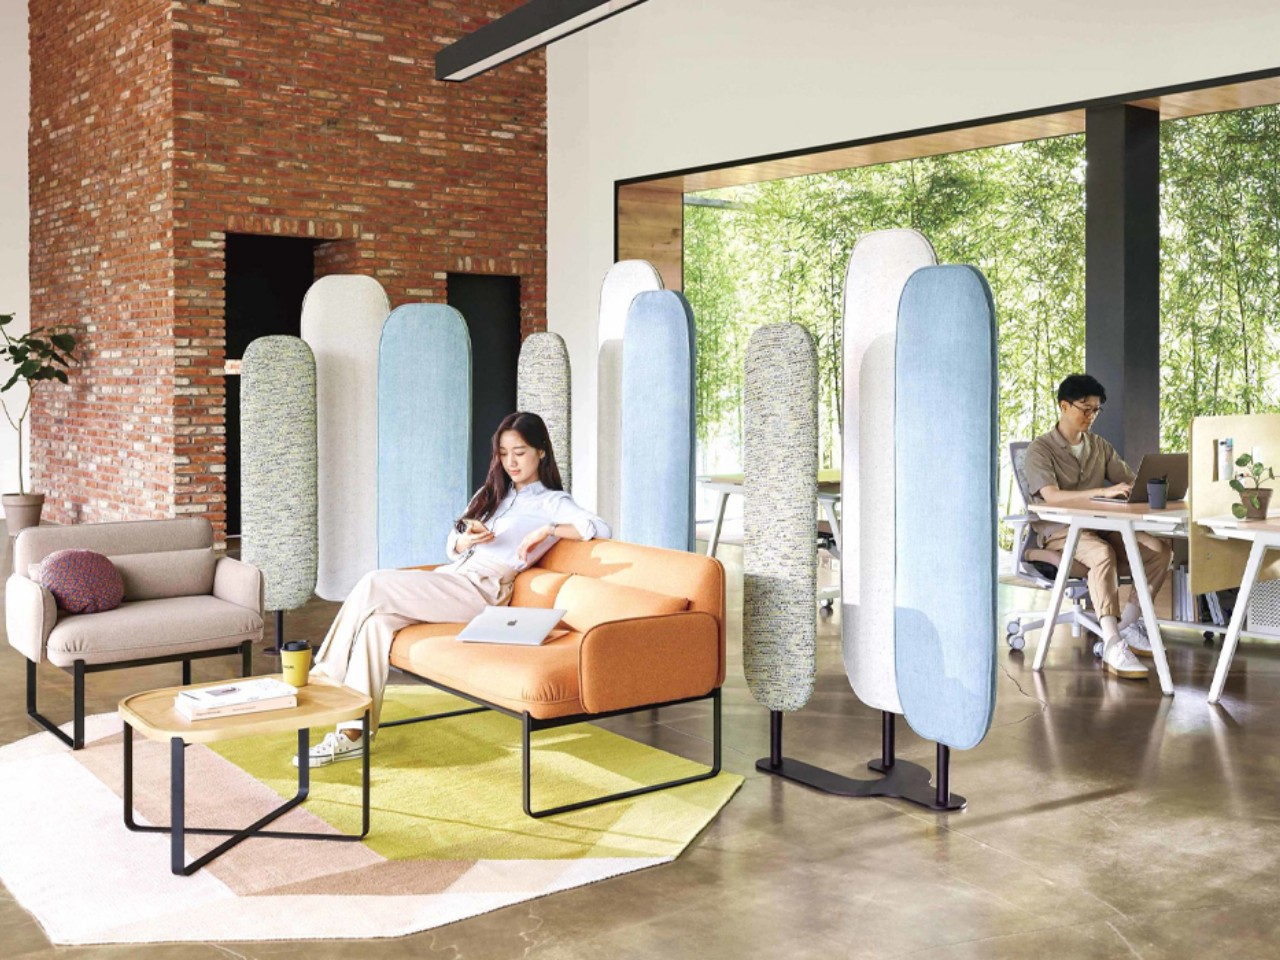
Prototypes in product design bring concepts to life, allowing designers and stakeholders to interact with the product in a tangible way. This hands-on interaction transforms abstract ideas into something concrete, making it easier to assess how the product will look, feel, and function. By visualizing the product in its early form, teams can better understand the design intent, identify any misalignments with the original vision, and make informed decisions about its direction. This visual clarity also helps ensure that everyone involved—designers, developers, and even potential investors—shares a common understanding of the product, reducing misunderstandings and fostering more efficient collaboration throughout the development process.
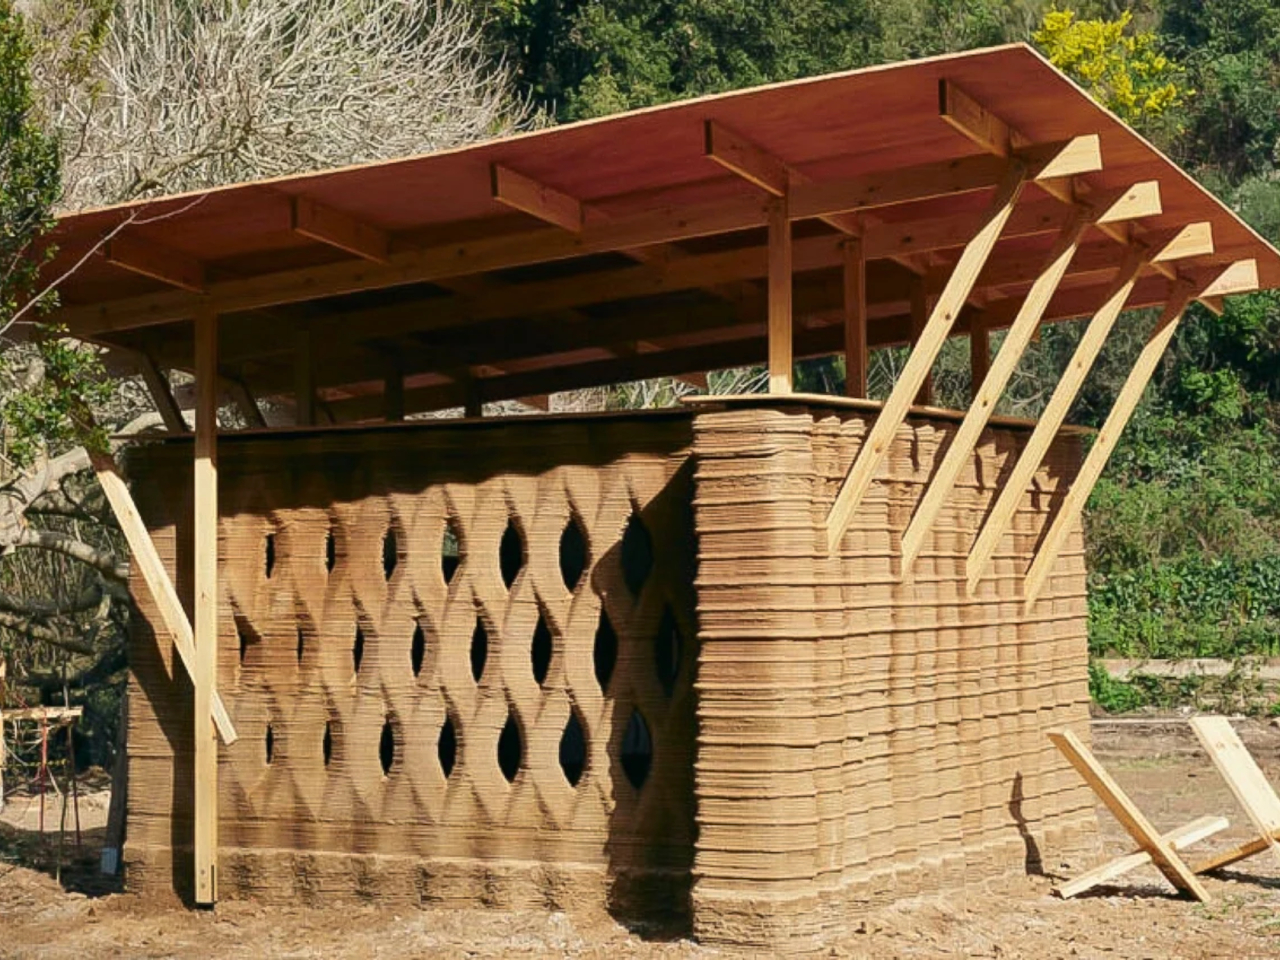
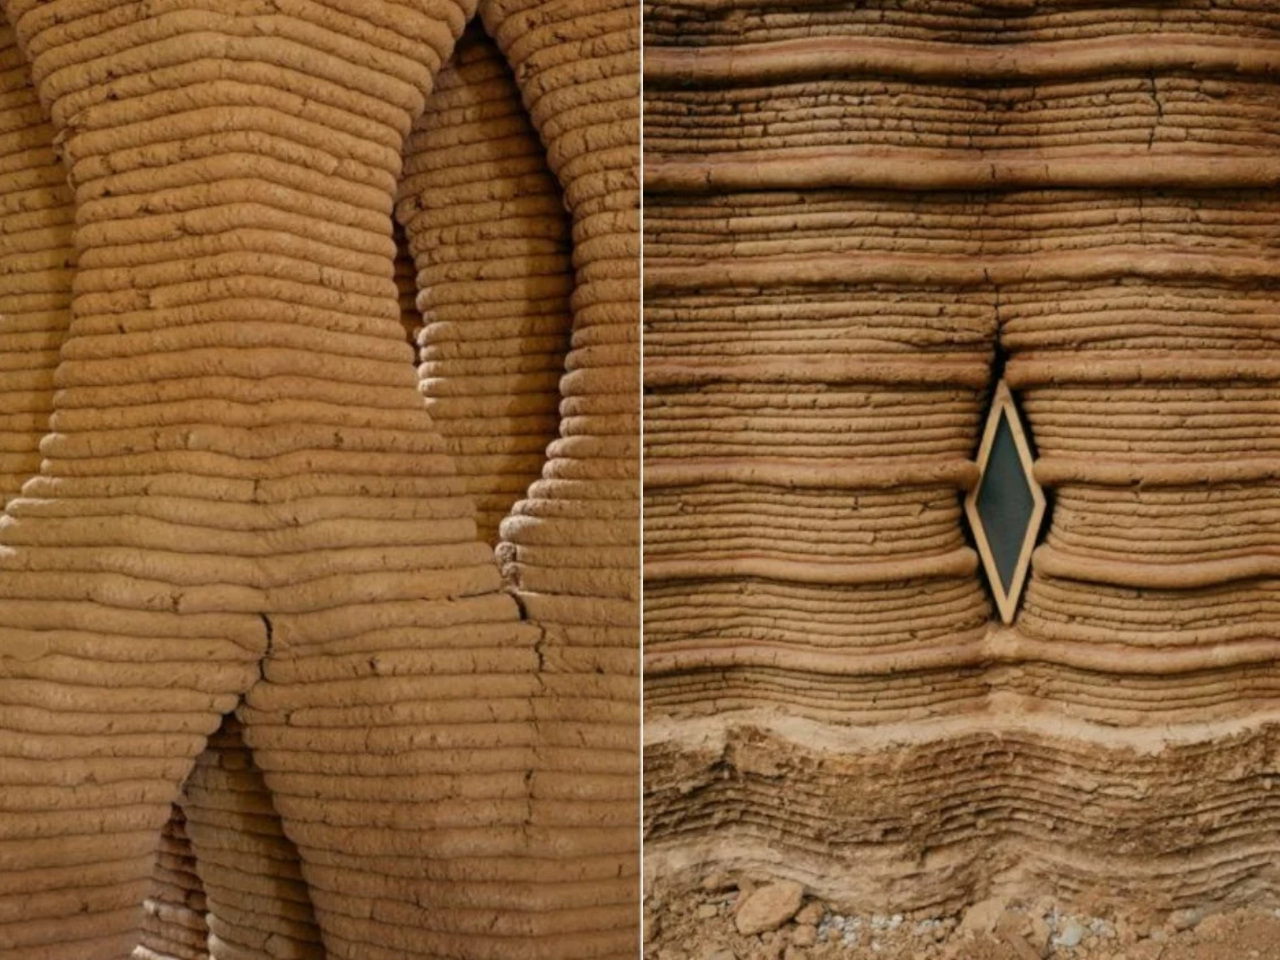
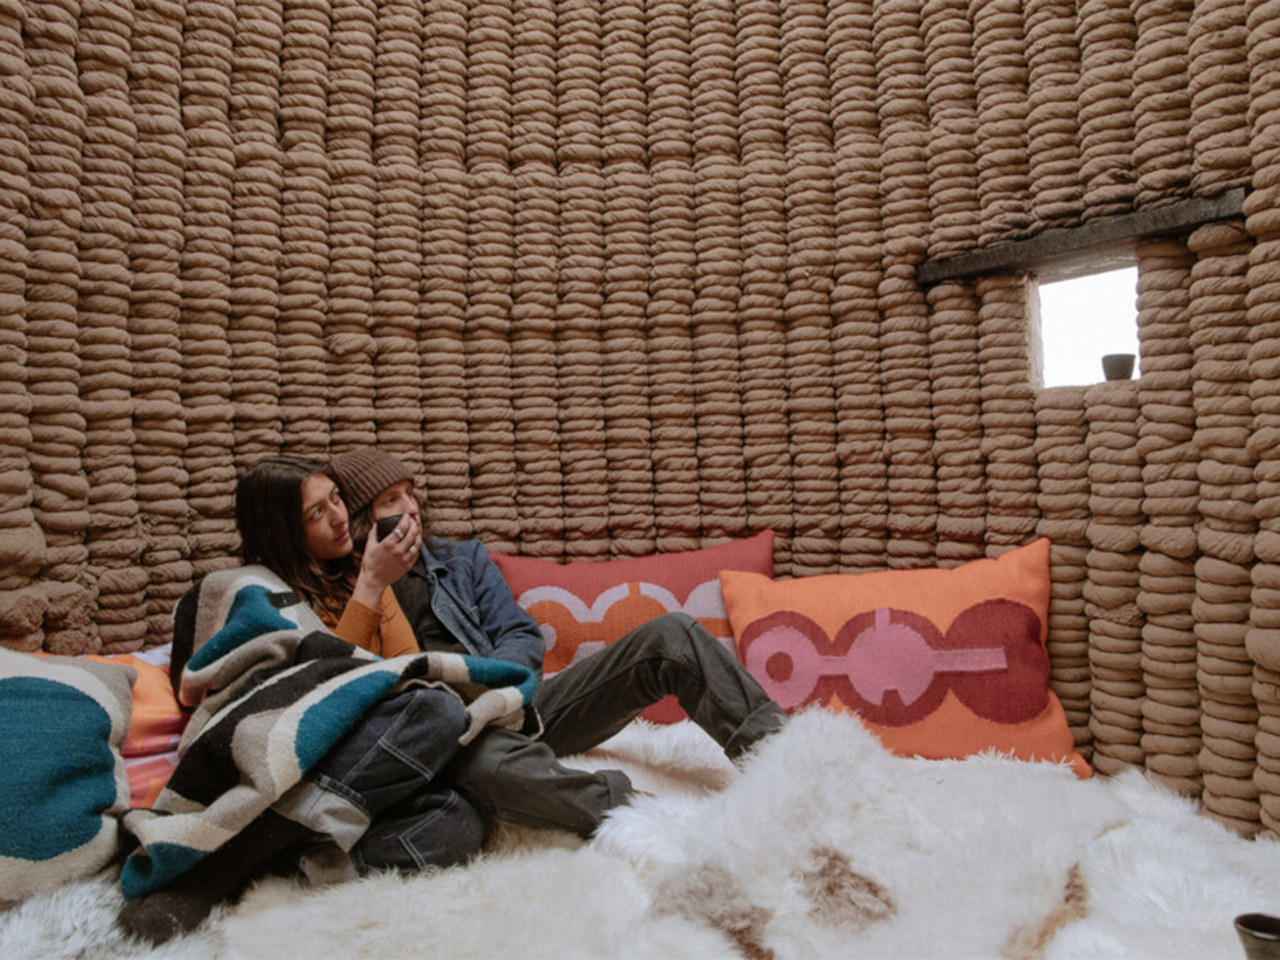
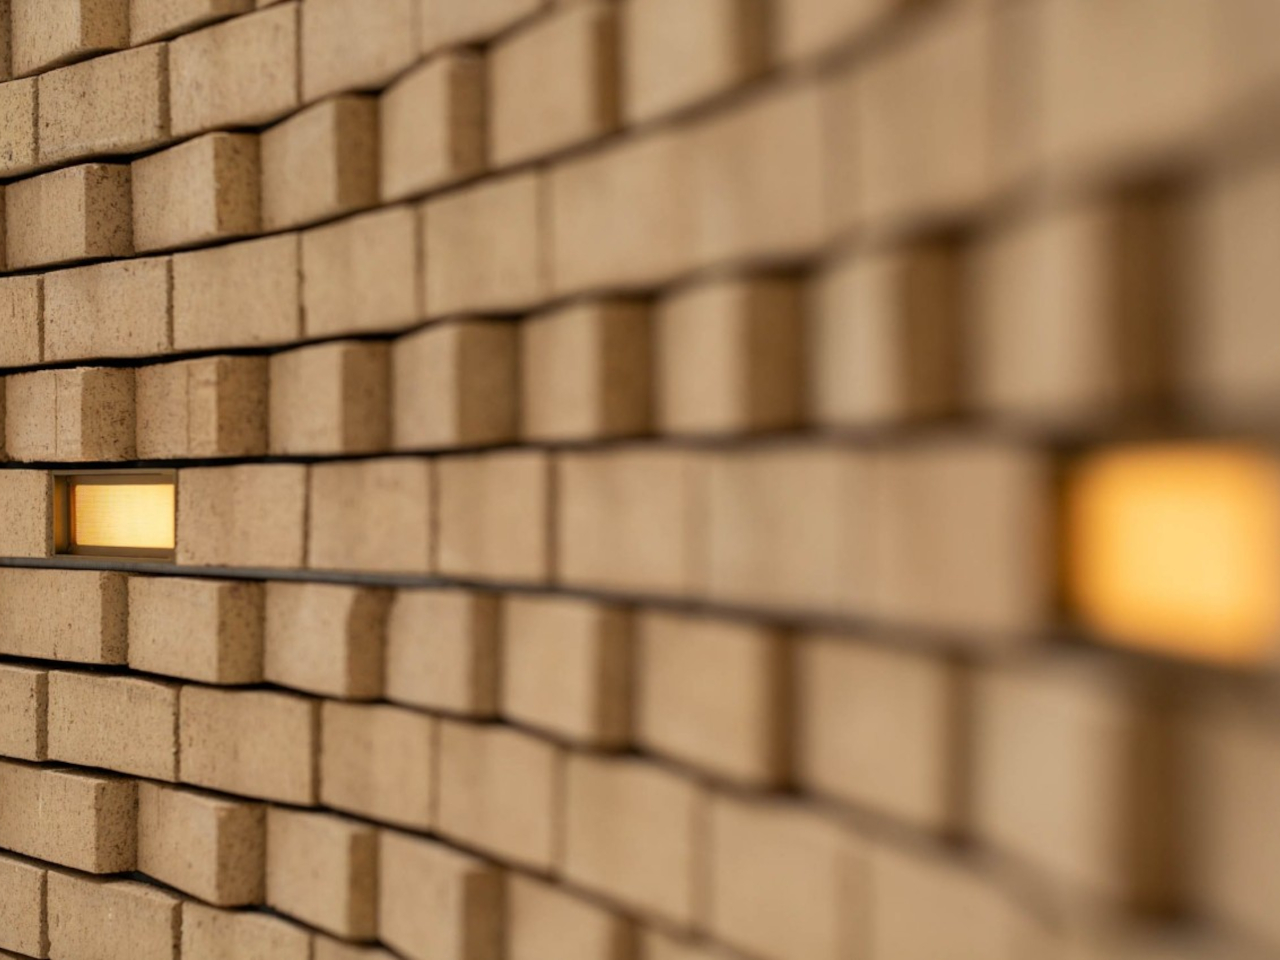
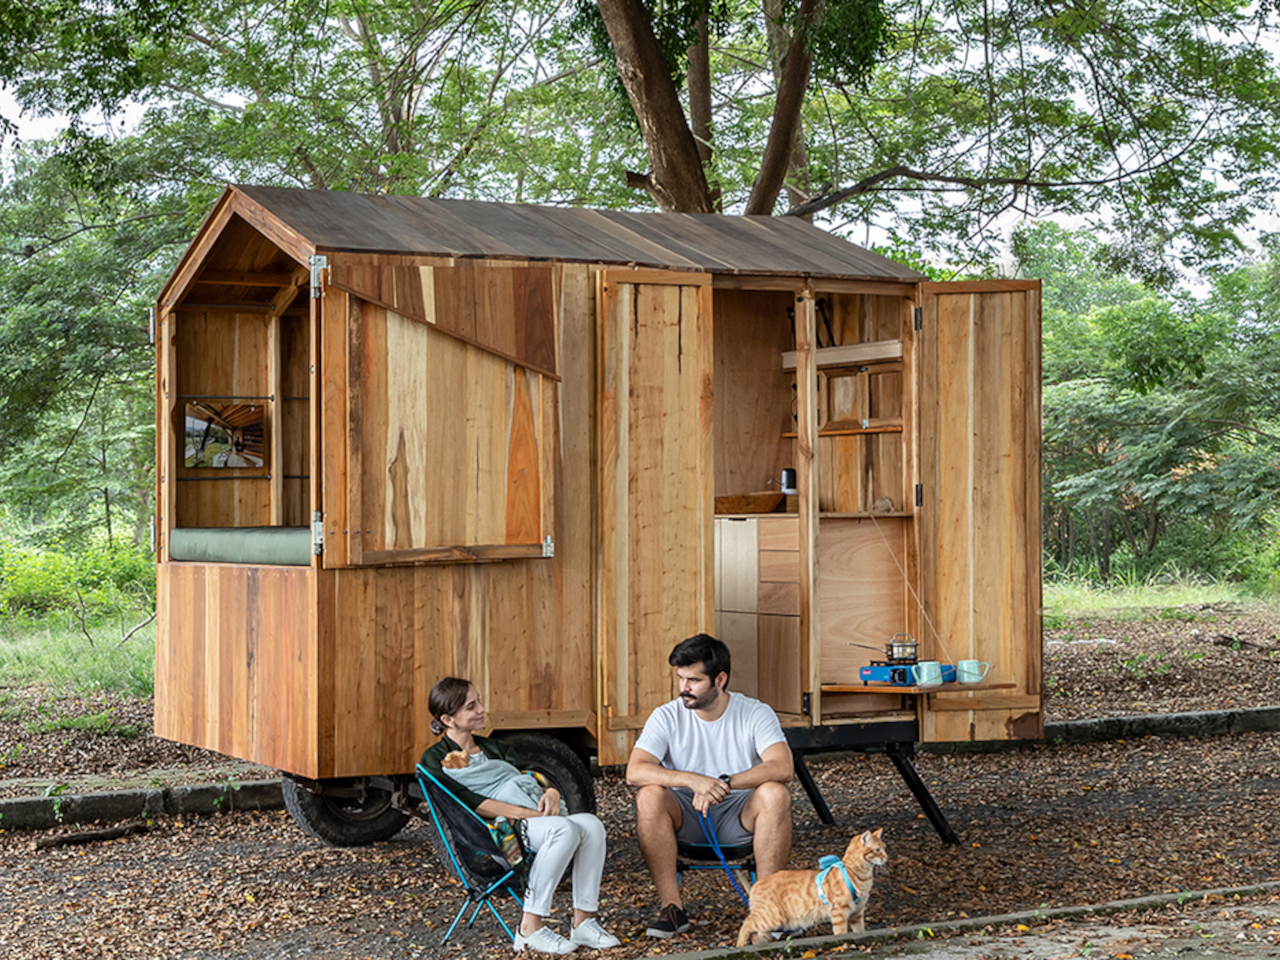
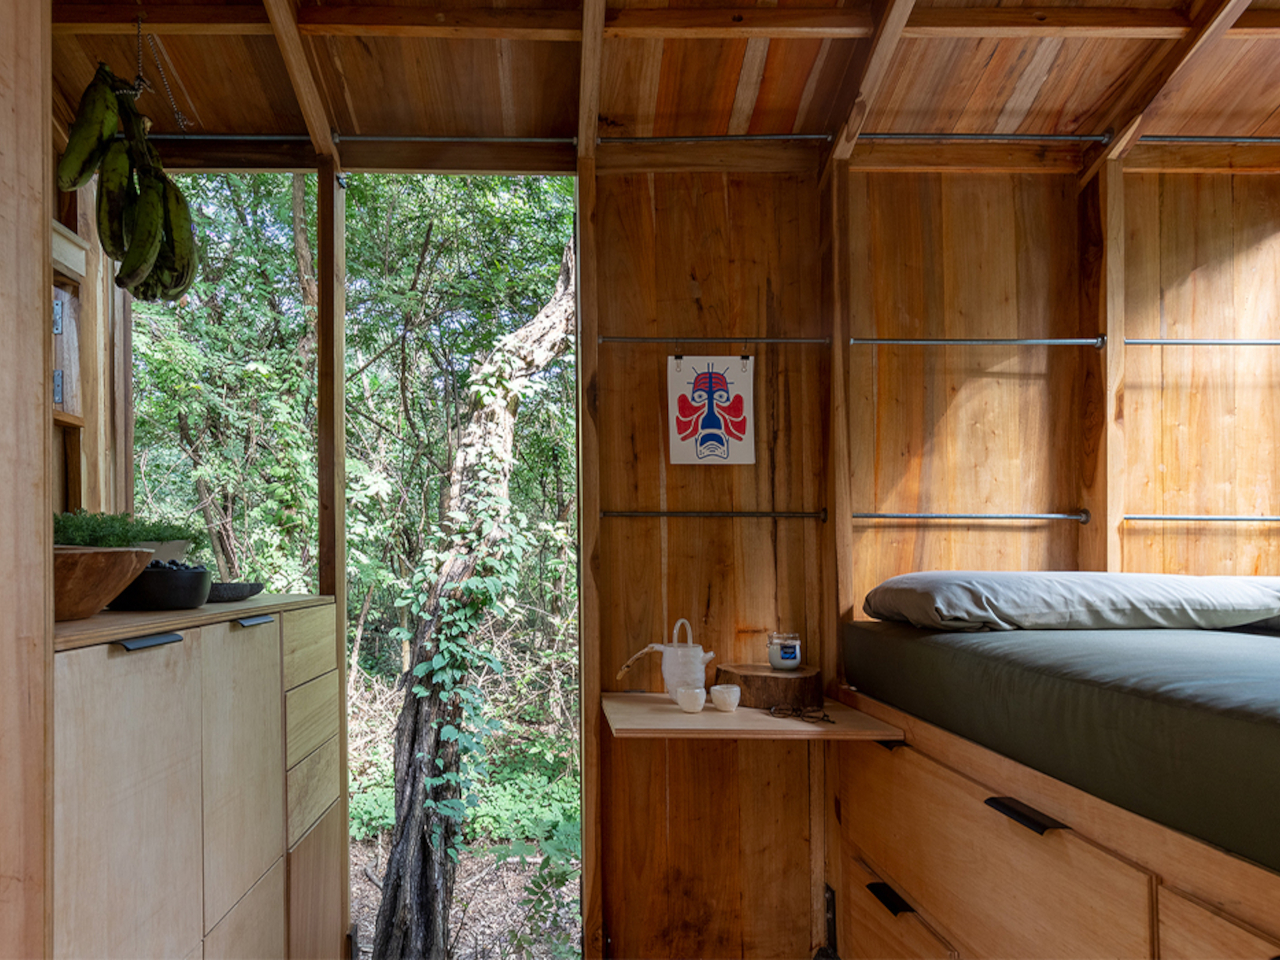
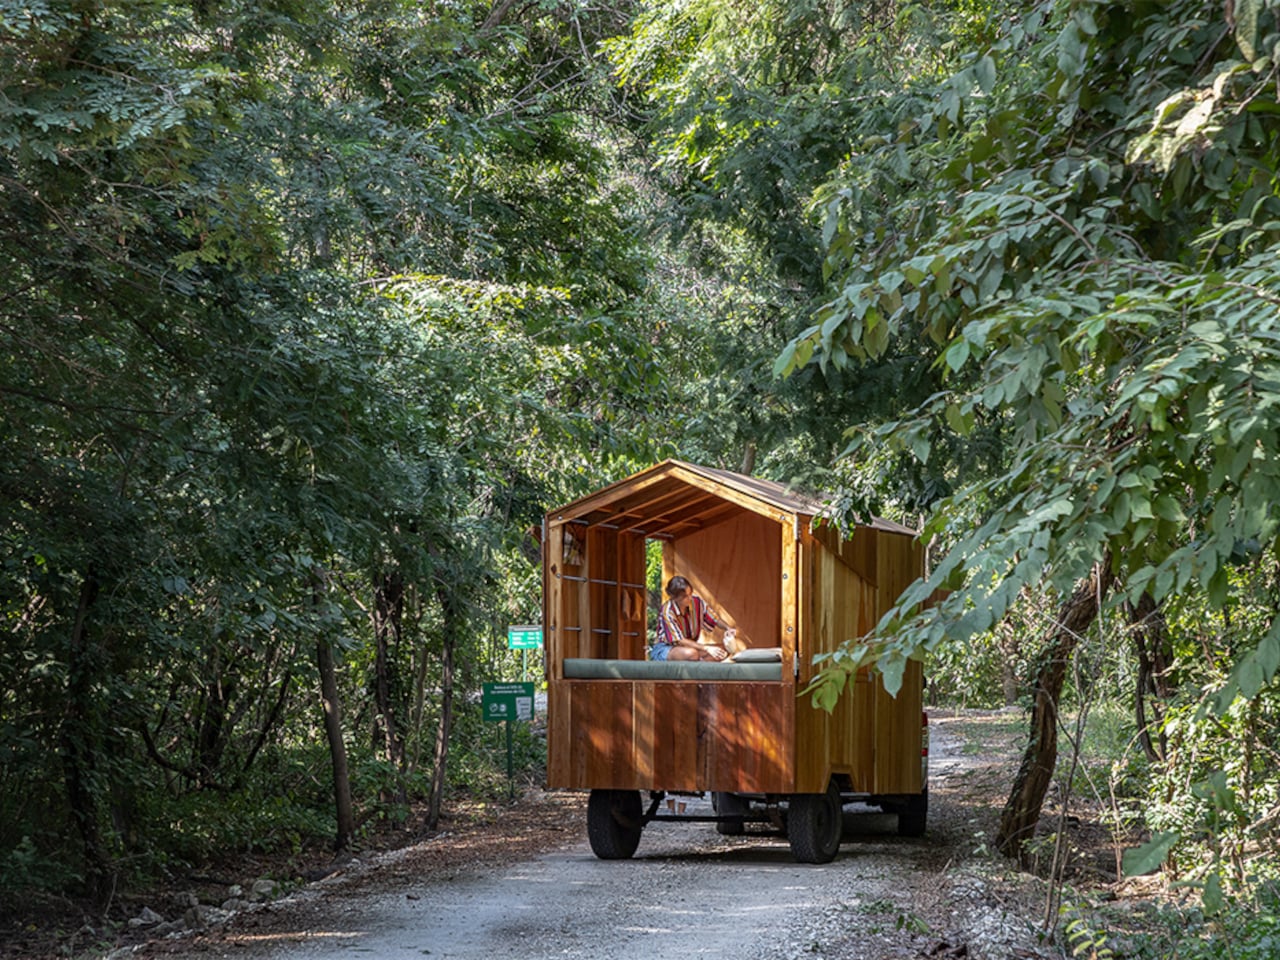
The latest trend in architecture and product development incorporates 3D printing, which, when combined with traditional clay, has been utilized by Spanish postgraduates to create TOVA, Spain’s first prototype habitat. This sustainable prototype features a simple, elegant design with a sloping roof for rainwater drainage, framed ceilings for temperature control, and natural light through windows, all surrounded by natural elements to blend seamlessly with its environment.
Risk and Cost Reduction, Customer Satisfaction
Prototyping finds design errors and usability issues early, cutting the risk of expensive mistakes later in production. It helps reduce error costs and increases manufacturing efficiency by allowing changes before full-scale production, optimizing resources, and streamlining the development process.
Also, product prototypes improve communication among team members, clients, and stakeholders, leading to constructive feedback and a refined final design. In the long run, this contributes to customer satisfaction by undergoing testing at various stages and incorporating feedback and improvements before market launch.
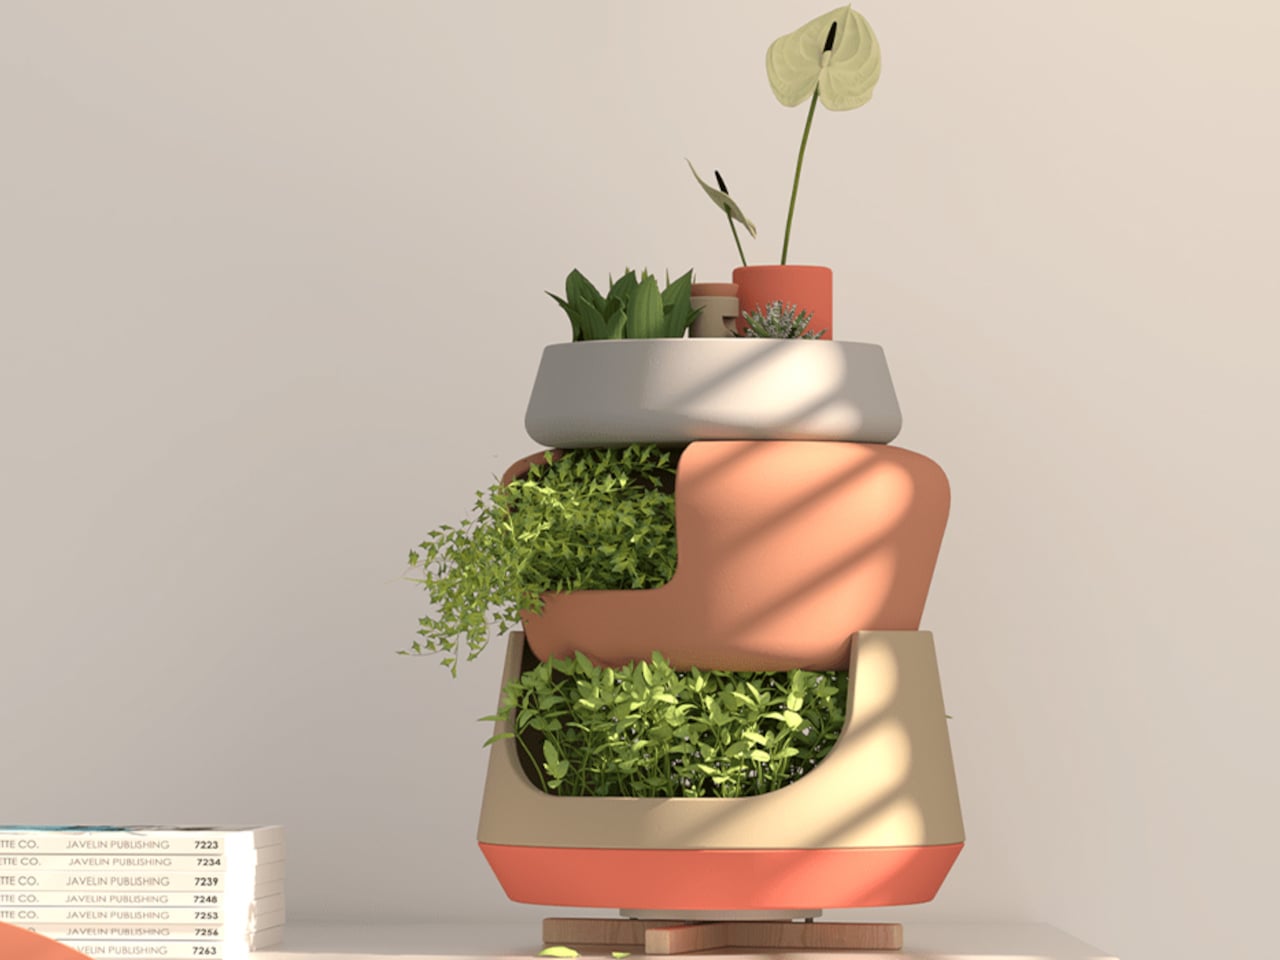
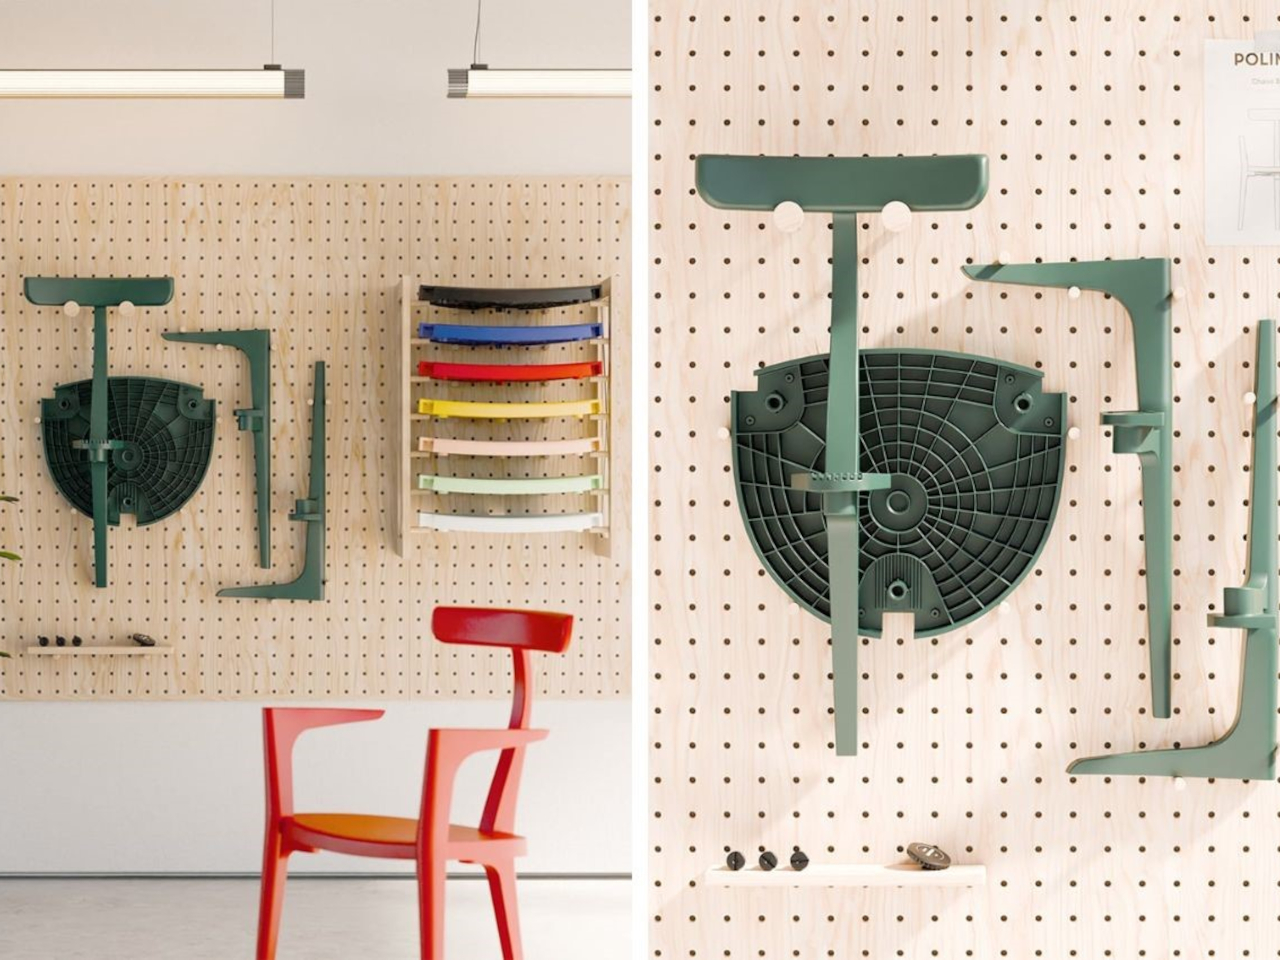
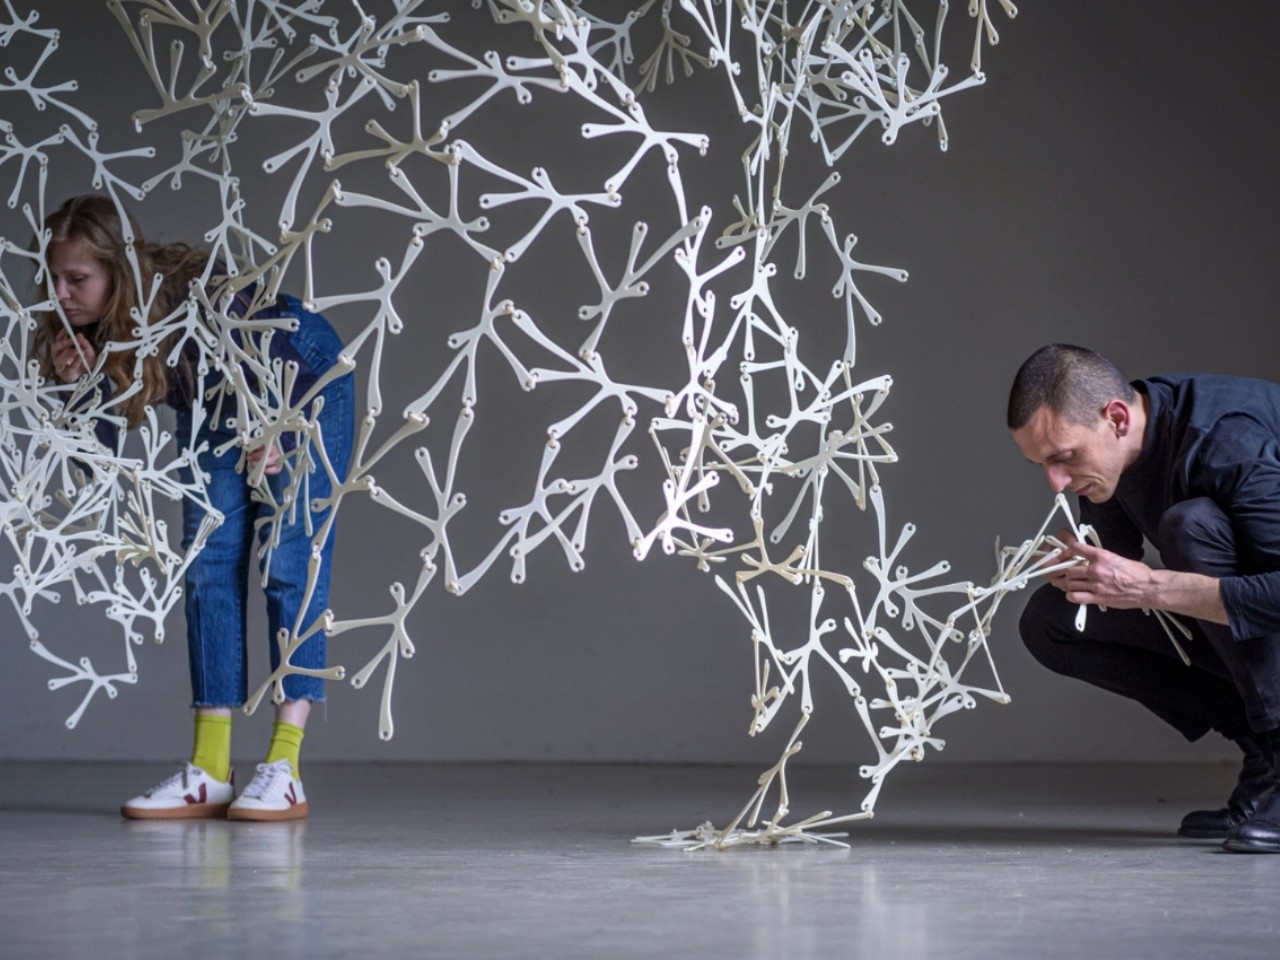
User Testing
Prototyping allows for user testing to gather insights and validate design assumptions, ensuring the product meets user needs and expectations.


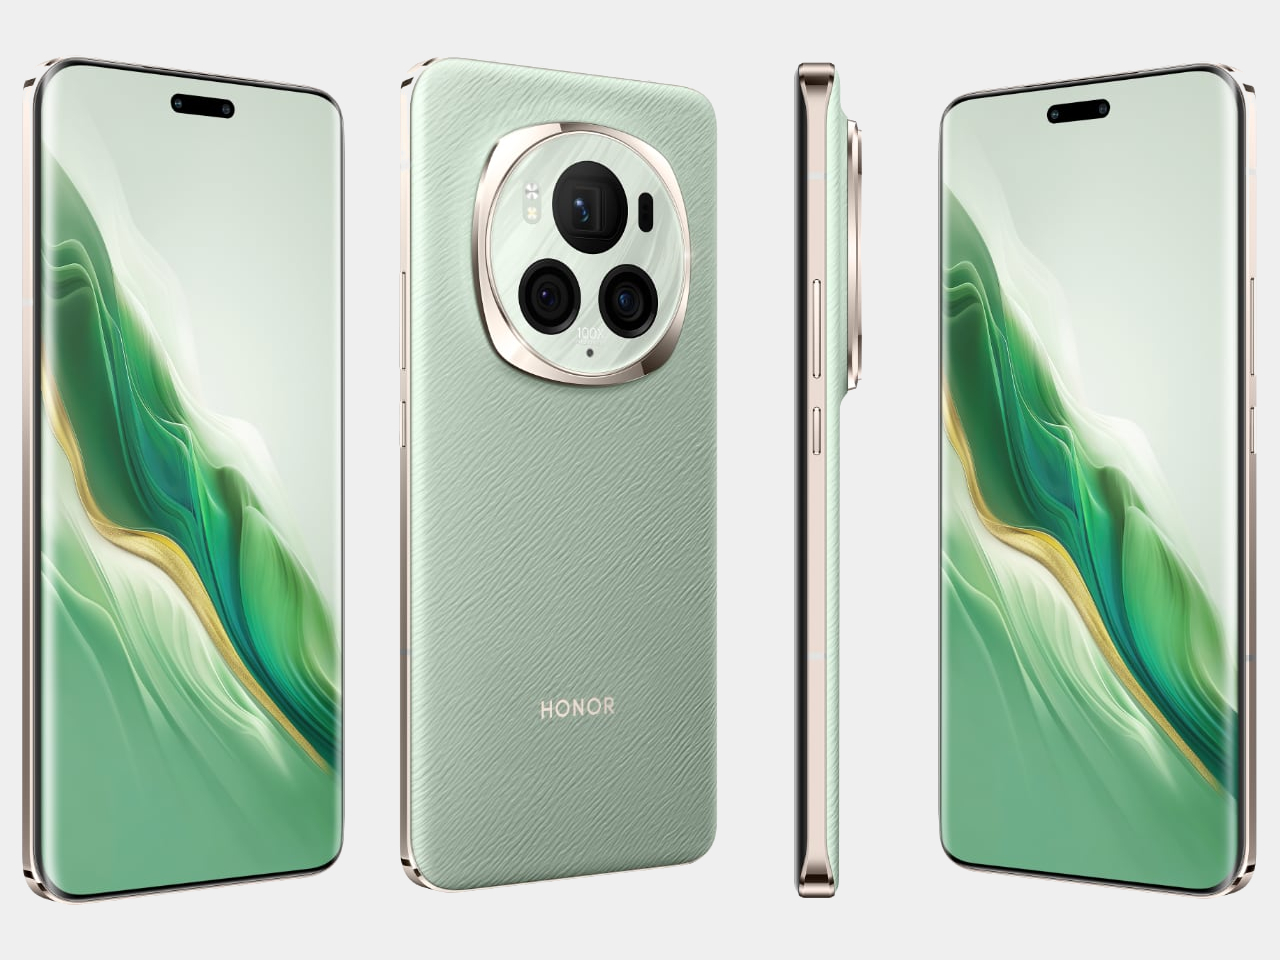
Designer: Google (via Mishaal Rahman)
While rumors and expectations surrounded Google’s leap into the foldable phone market, the launch of the Pixel Fold marked a significant milestone despite Google’s historical indifference towards tablets, making its entry unexpected but popular due to its distinctive design. The prototype known as “jumbojack,” resembling Samsung’s Galaxy Z Fold 2, surfaced years ago, suggesting Google’s exploration of different foldable designs before finalizing a unique Pixel user experience tailored for foldable devices, diverging from Samsung’s established approach with a wider, more ergonomic design akin to the OPPO Find N.
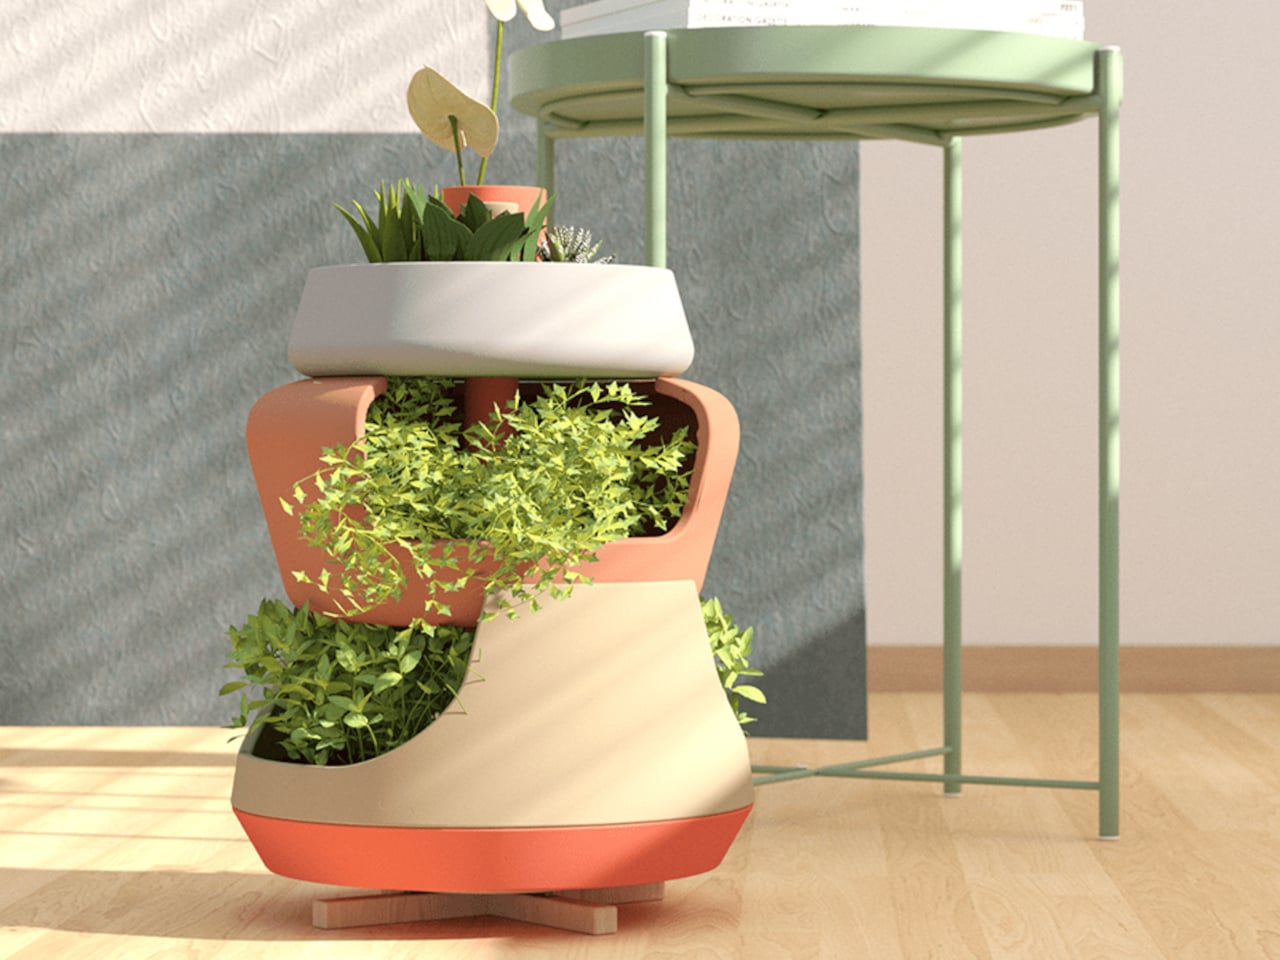
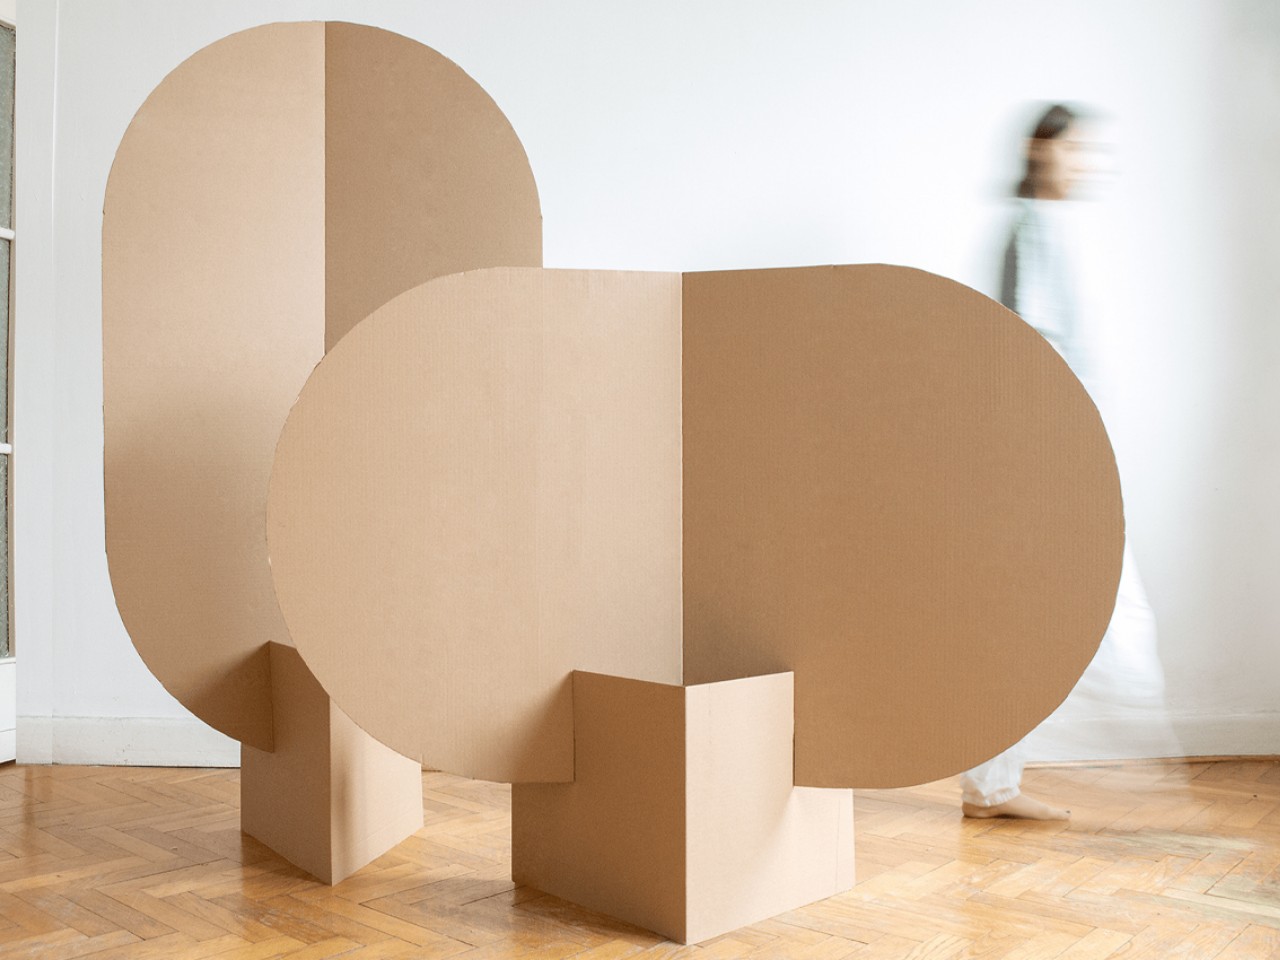
Scope of Improvement
Prototyping supports iterative development, allowing design improvements based on feedback and testing. This enables the product to be launched and quickly gain traction in the market due to thorough testing.
Designer: Norman Foster
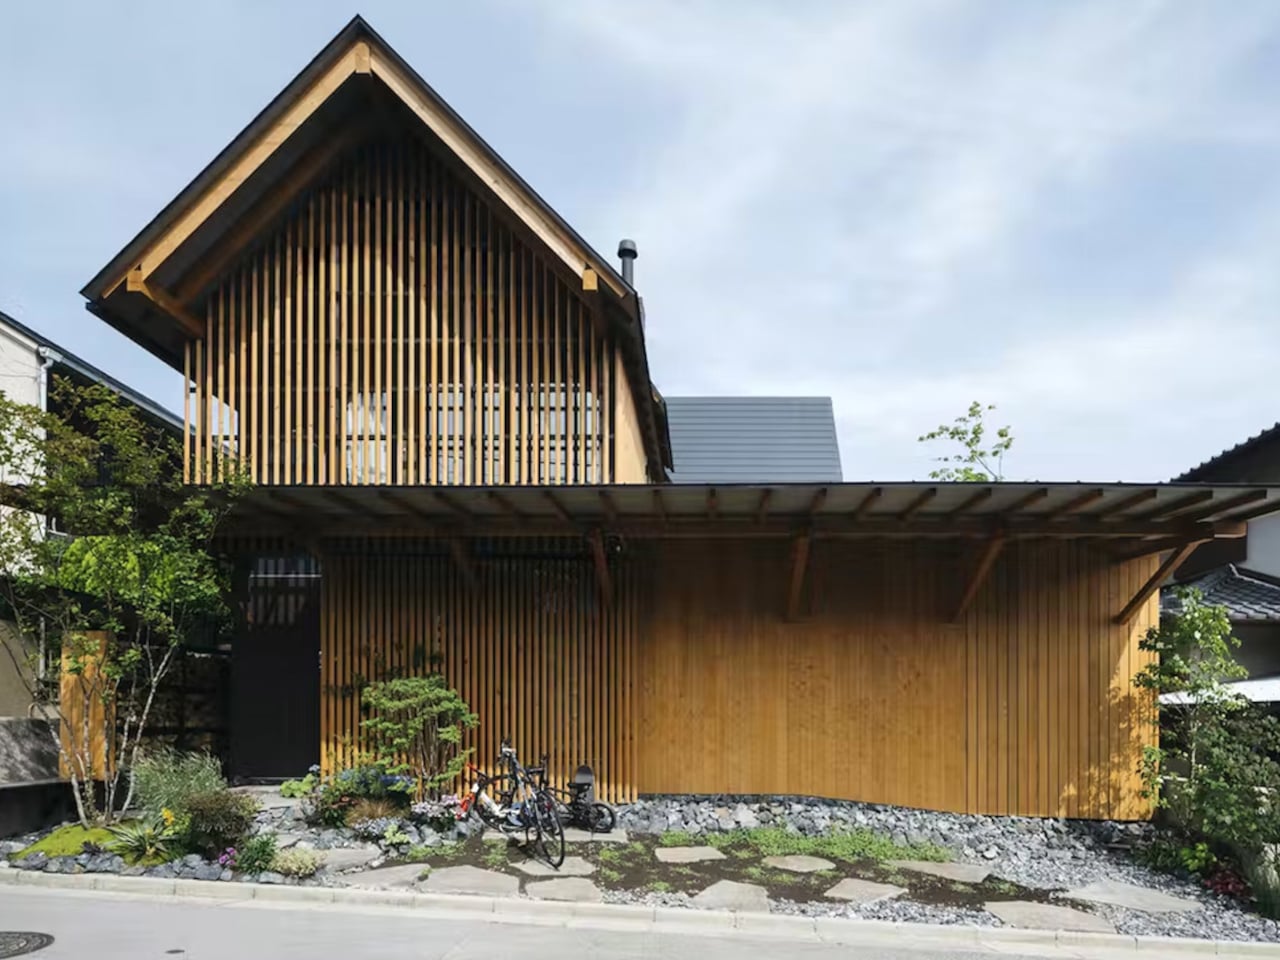
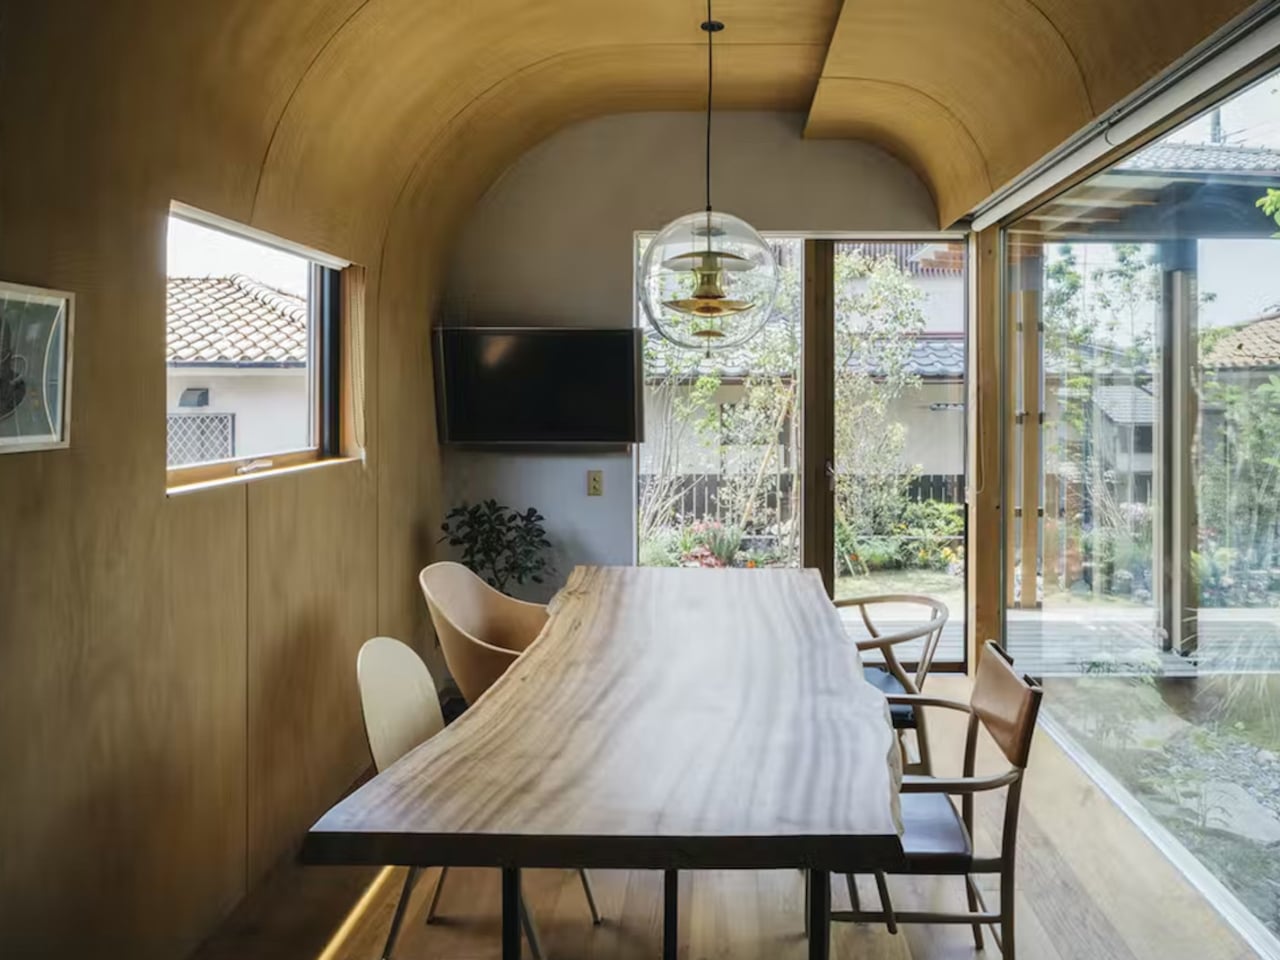
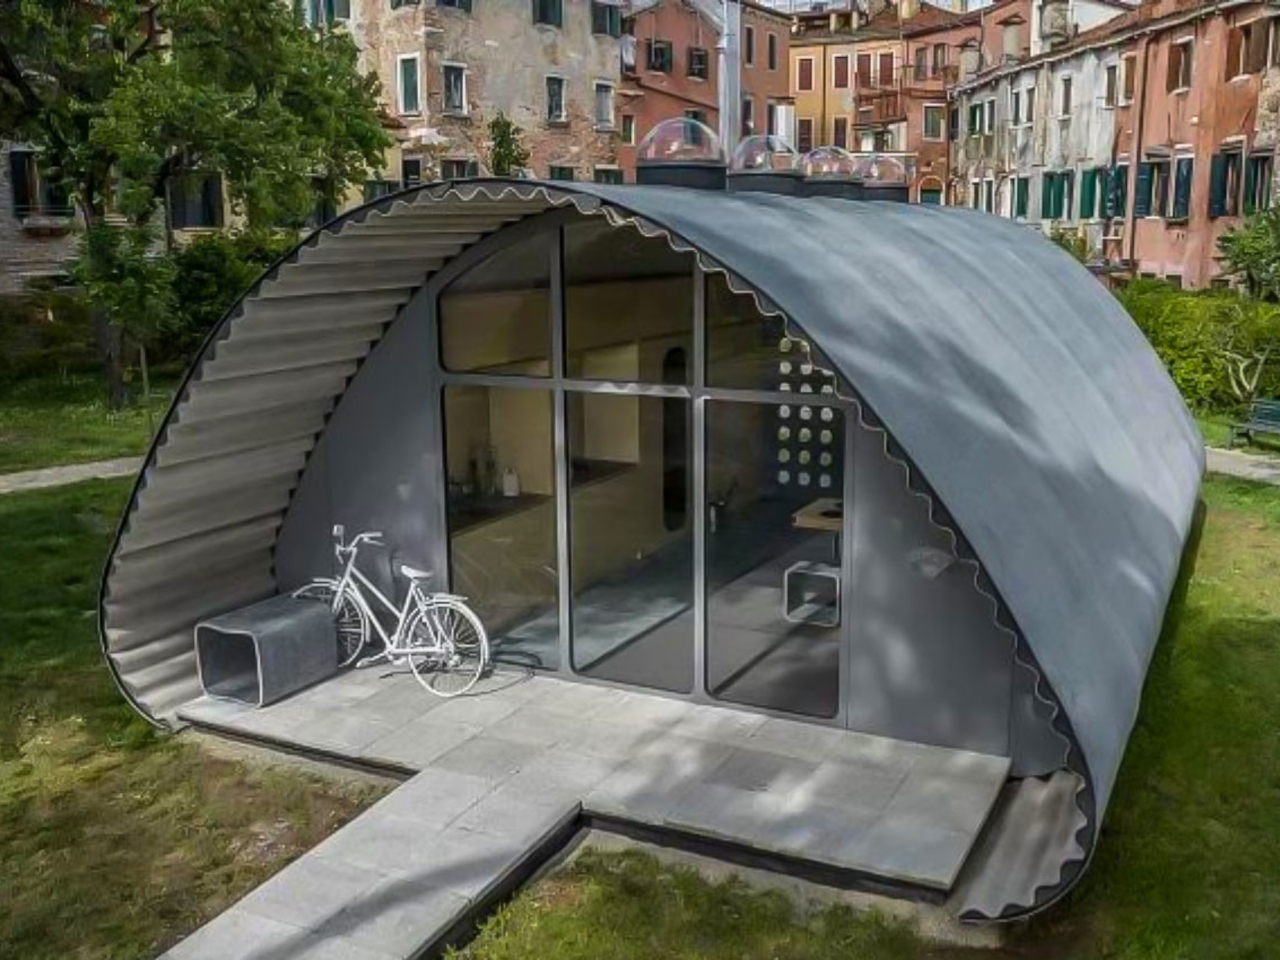
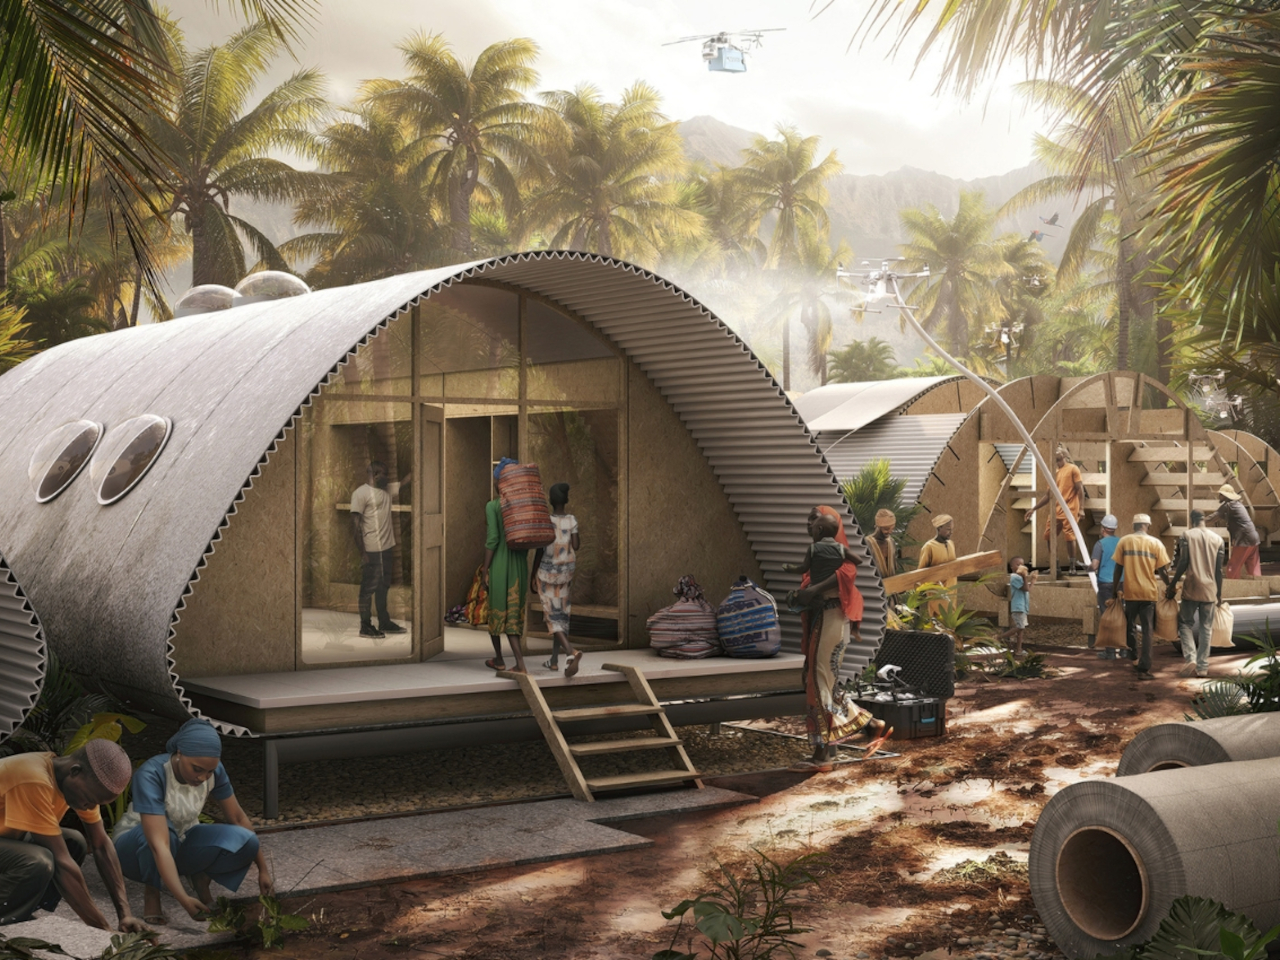
The prototype showcased at the Venice Architecture Biennale under the Essential Homes Research Project, developed by the Norman Foster Foundation and Holcim, introduces an innovative emergency shelter design. It is built with a rapid assembly system on-site using an arch-shaped framework and a rollable outer shell predominantly made from low-carbon concrete, the prototype ensures durability and quick deployment. The project is designed to withstand extreme weather conditions, featuring waterproofing and insulation for comfort, along with practical interior amenities such as bunk beds and shelves for a functional living environment.
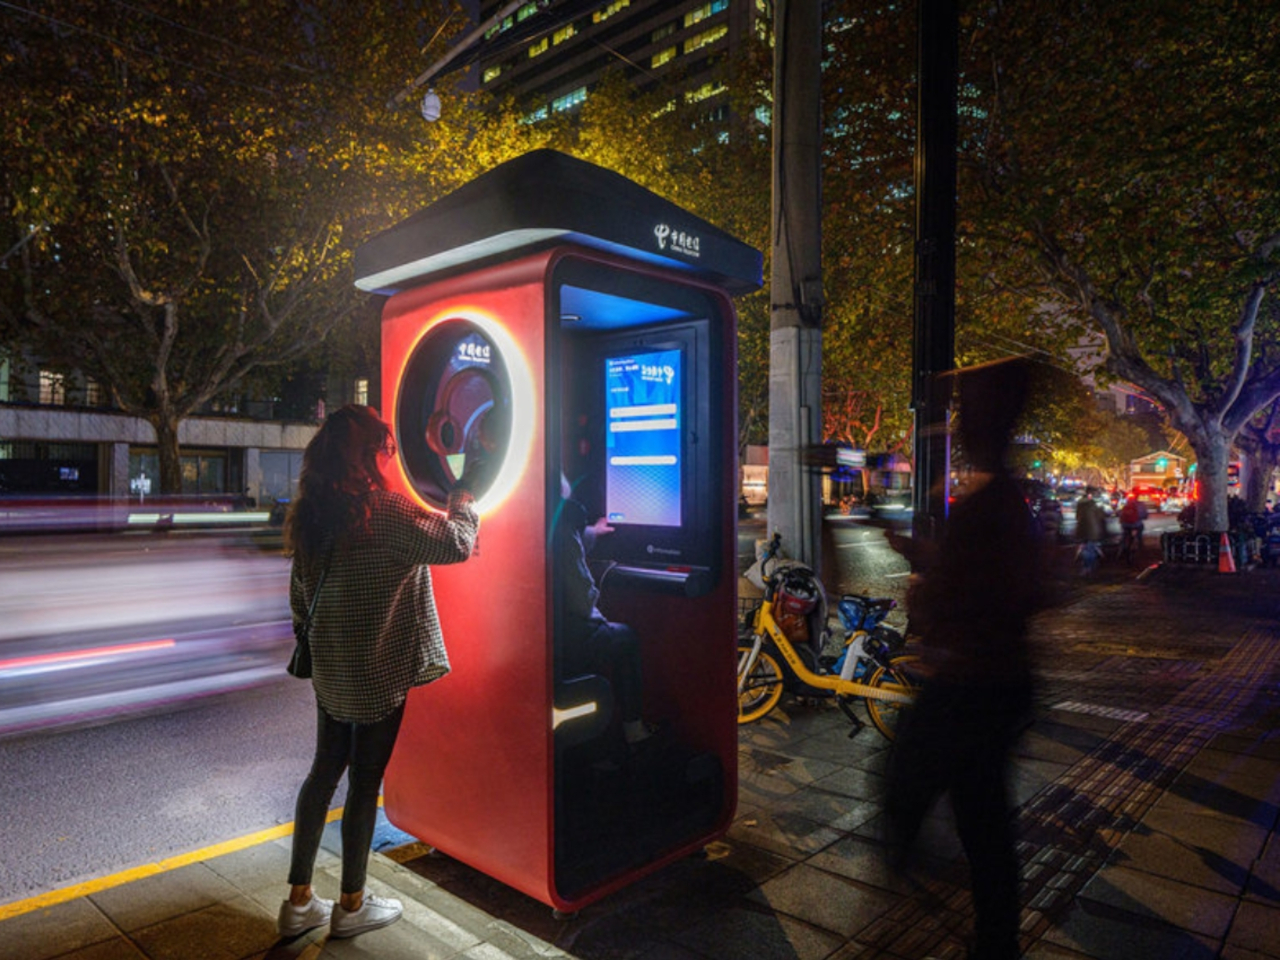
Fosters Innovation
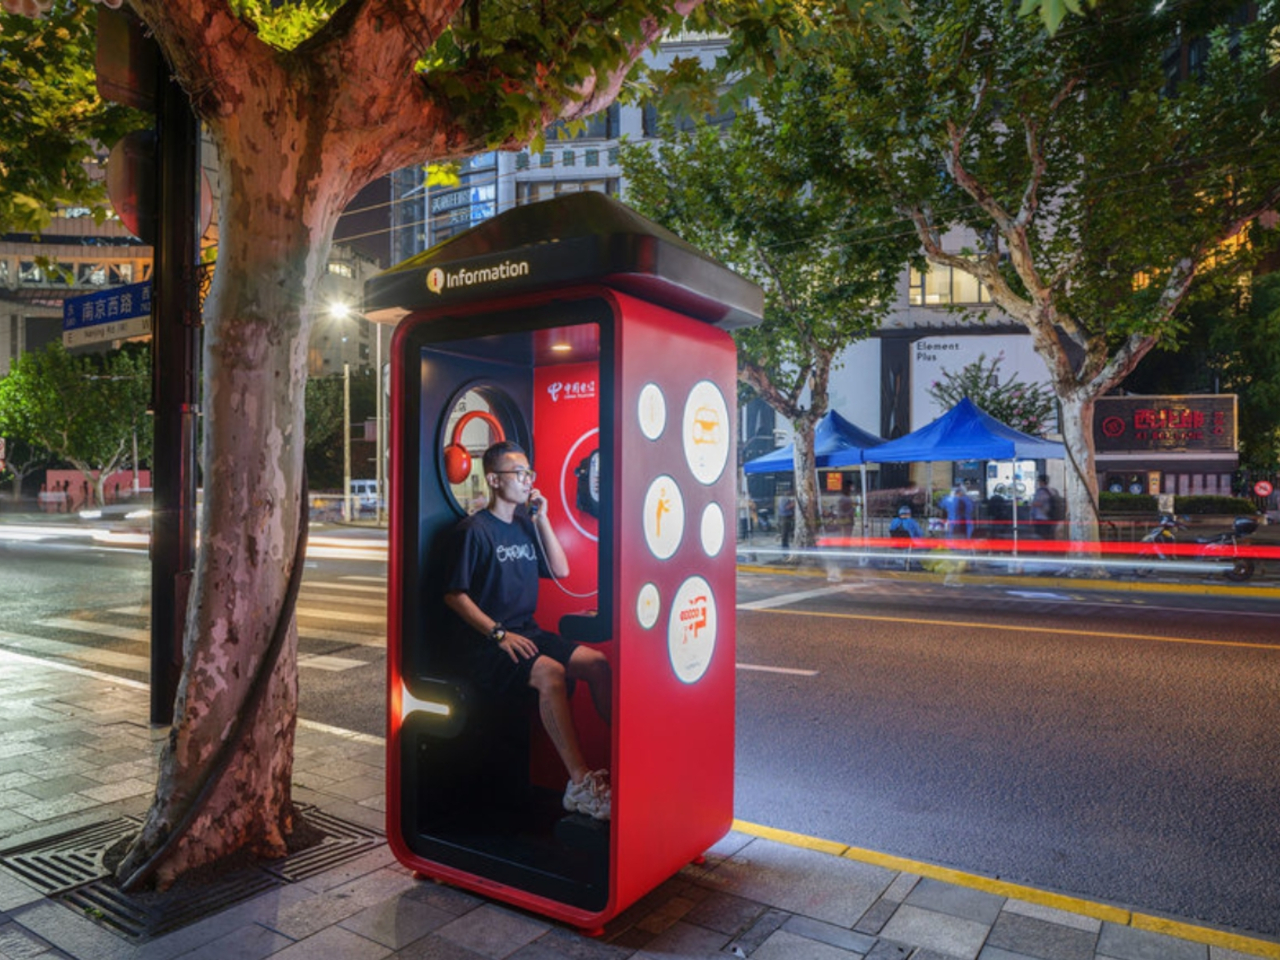
Another advantage is that prototyping enables experimentation and innovation without the need for extensive production of multiple items. Shanghai is creating a new prototype of telephone booths to replace the old ones. This prototype keeps the classic red color and boxy shape but adds modern features like solar panels, Wi-Fi, wireless charging, 5G internet, and touch screens with maps and emergency help. This update combines nostalgia with new technology, aiming to inspire similar changes around the world to meet modern needs while preserving the old style.
Designer: 100architects
In areas prone to wildfires, residents not only face immediate dangers but also enduring challenges like pollution exacerbated by global warming, as seen with rising temperatures in unexpected places. Innovators are developing solutions such as the Living with Wildfire system, a prototype mycelium pod designed to withstand fire. Inside each pod are water and dormant oyster mushroom spores. During a wildfire, water evaporation increases pressure inside the sealed steel vessel until a cork is launched, dispersing spores that take root post-fire to reduce soil and air toxicity through mycoremediation.


Designer: Suzie McMurtry
Resembling a lamp on a stand, these pods must be strategically placed and feature a minimalist design inspired by fireproof seedpods in trees like the lodgepole pine and Australian banksia, with tags displaying the Latin names of mushroom spores. Constructed from quick-melting pewter, the pods release spores upon exposure to fire, even when branches and brush are piled underneath to hasten the process, serving also as a reminder of ongoing wildfire risks in the area.
What are the disadvantages of prototyping in product design?
MISSING PARAGRAPH
Cost Intensive
Creating prototypes can be costly due to the investment in materials, labor, and research involved. This often makes stakeholders consider reallocating resources more effectively within the project and reducing the waste from multiple prototypes.
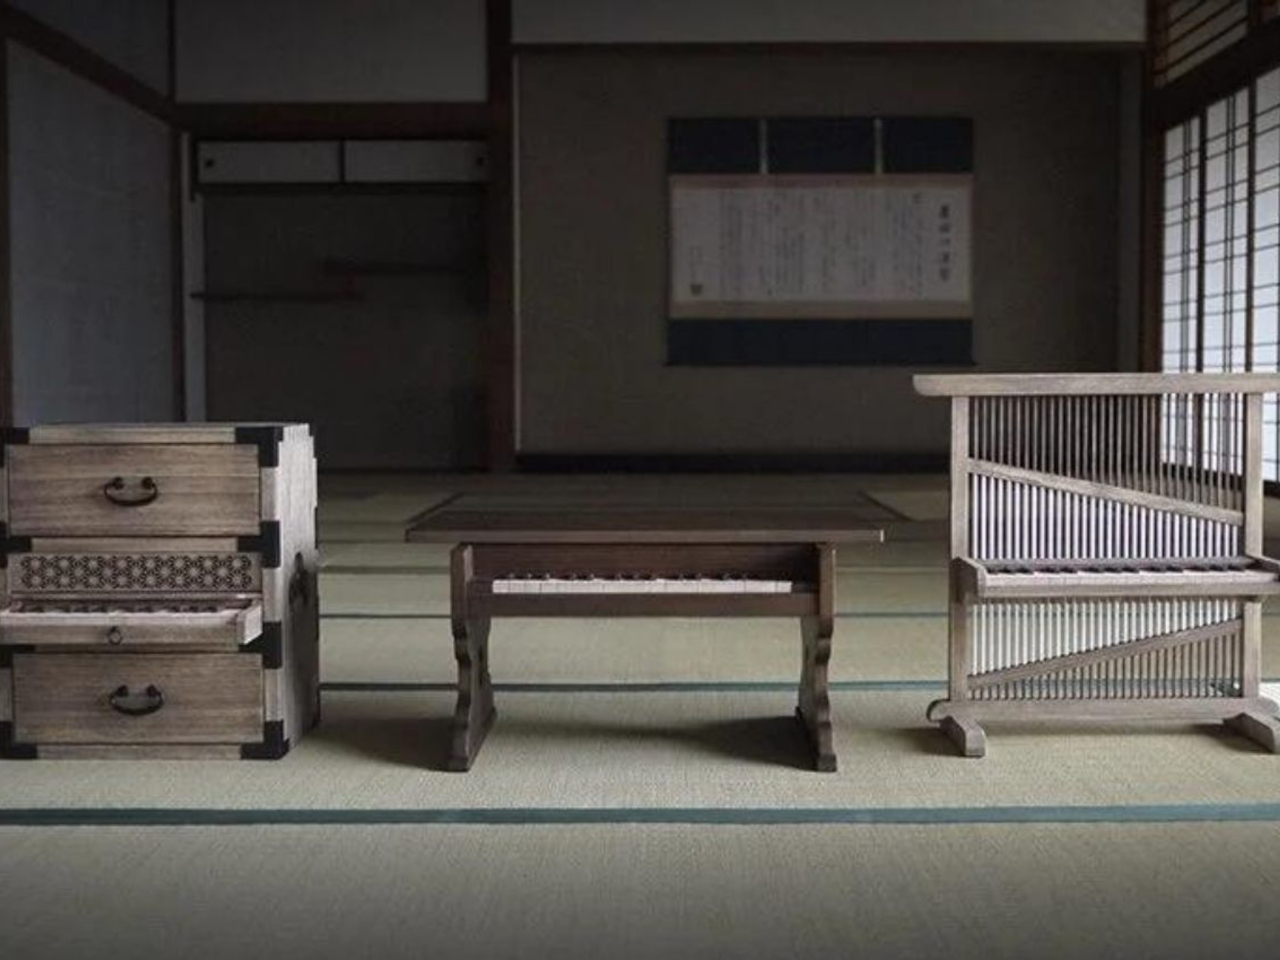
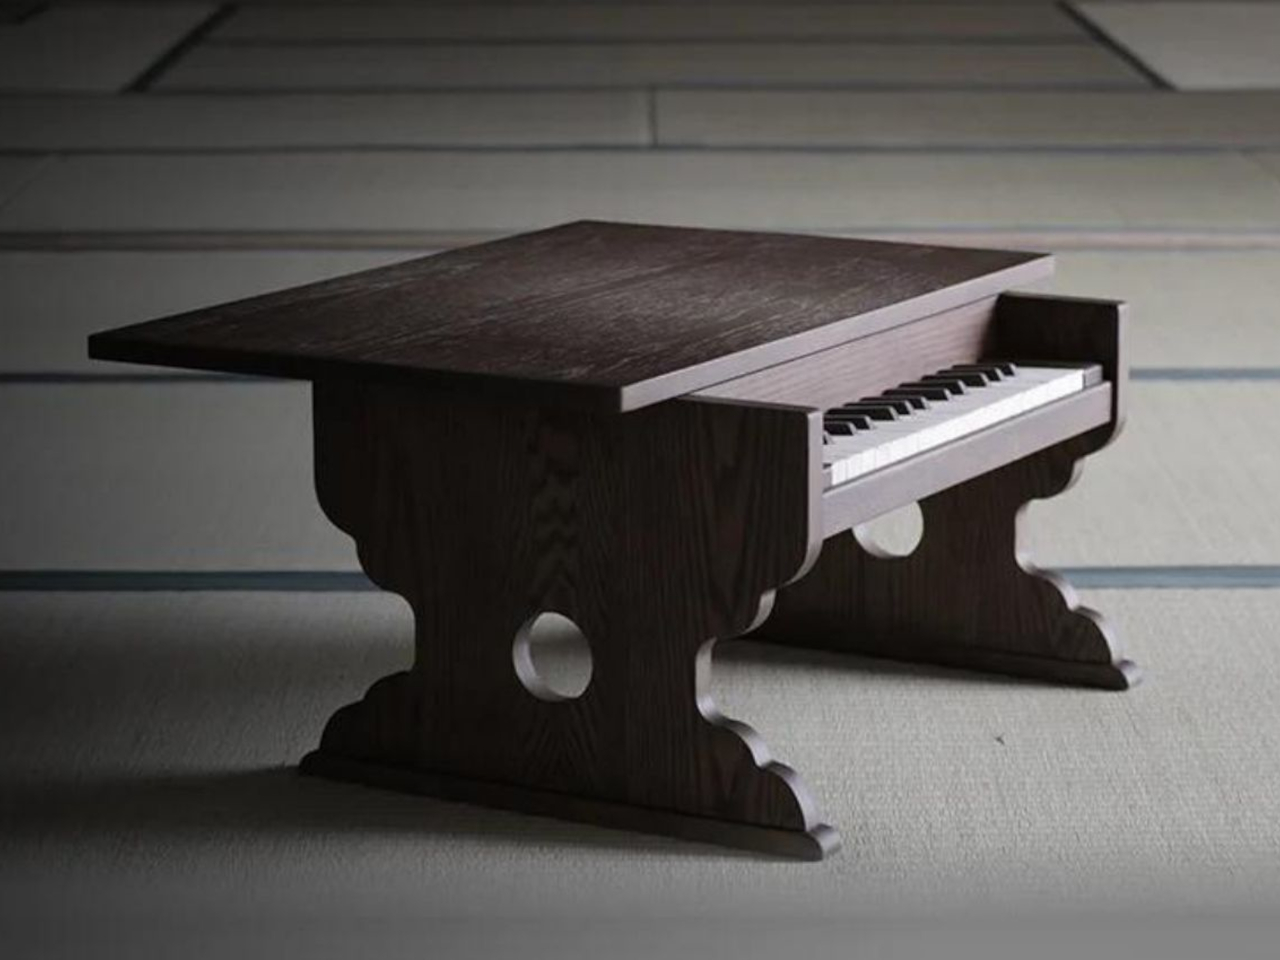
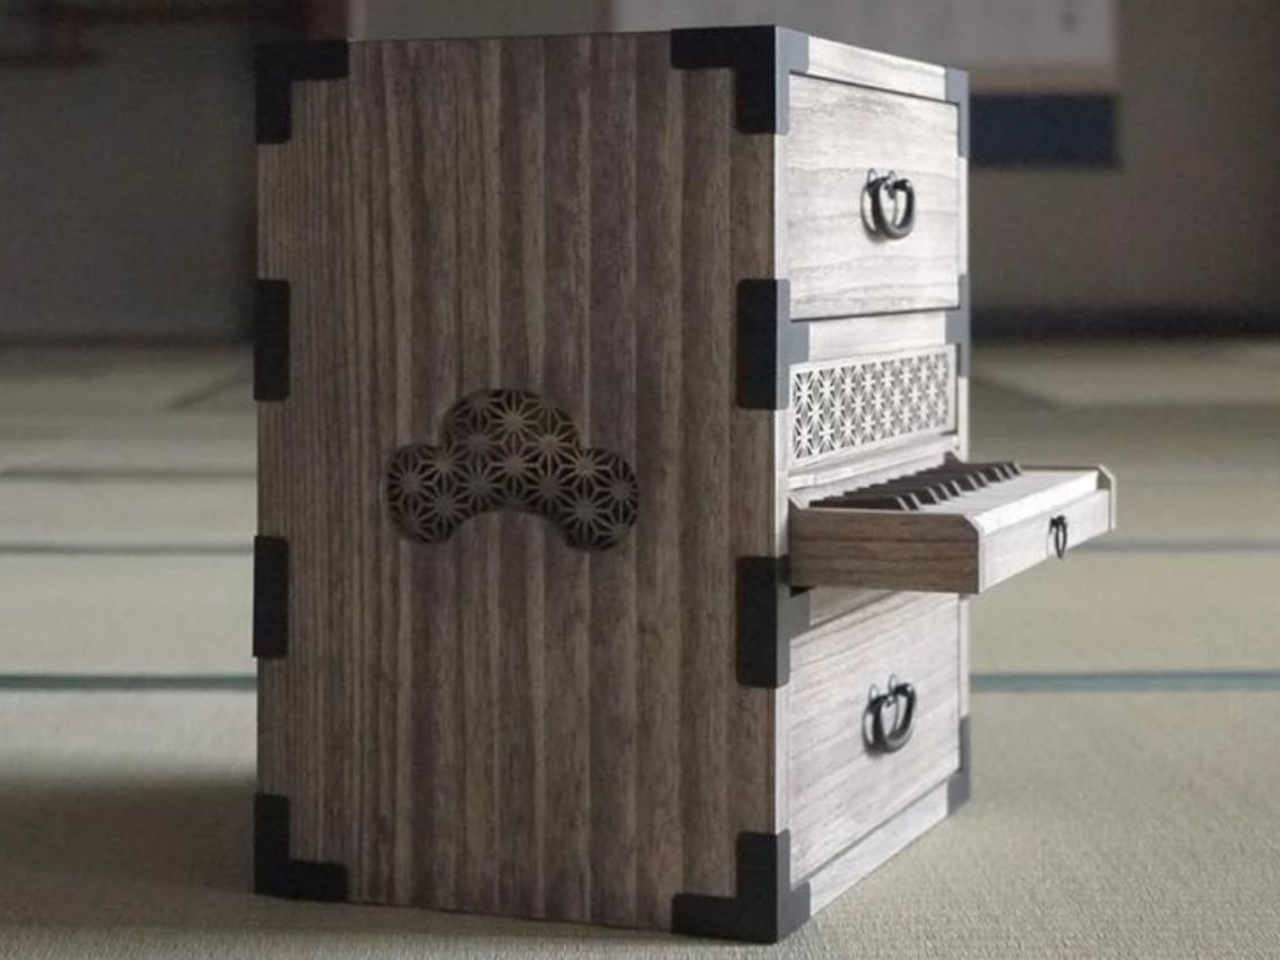
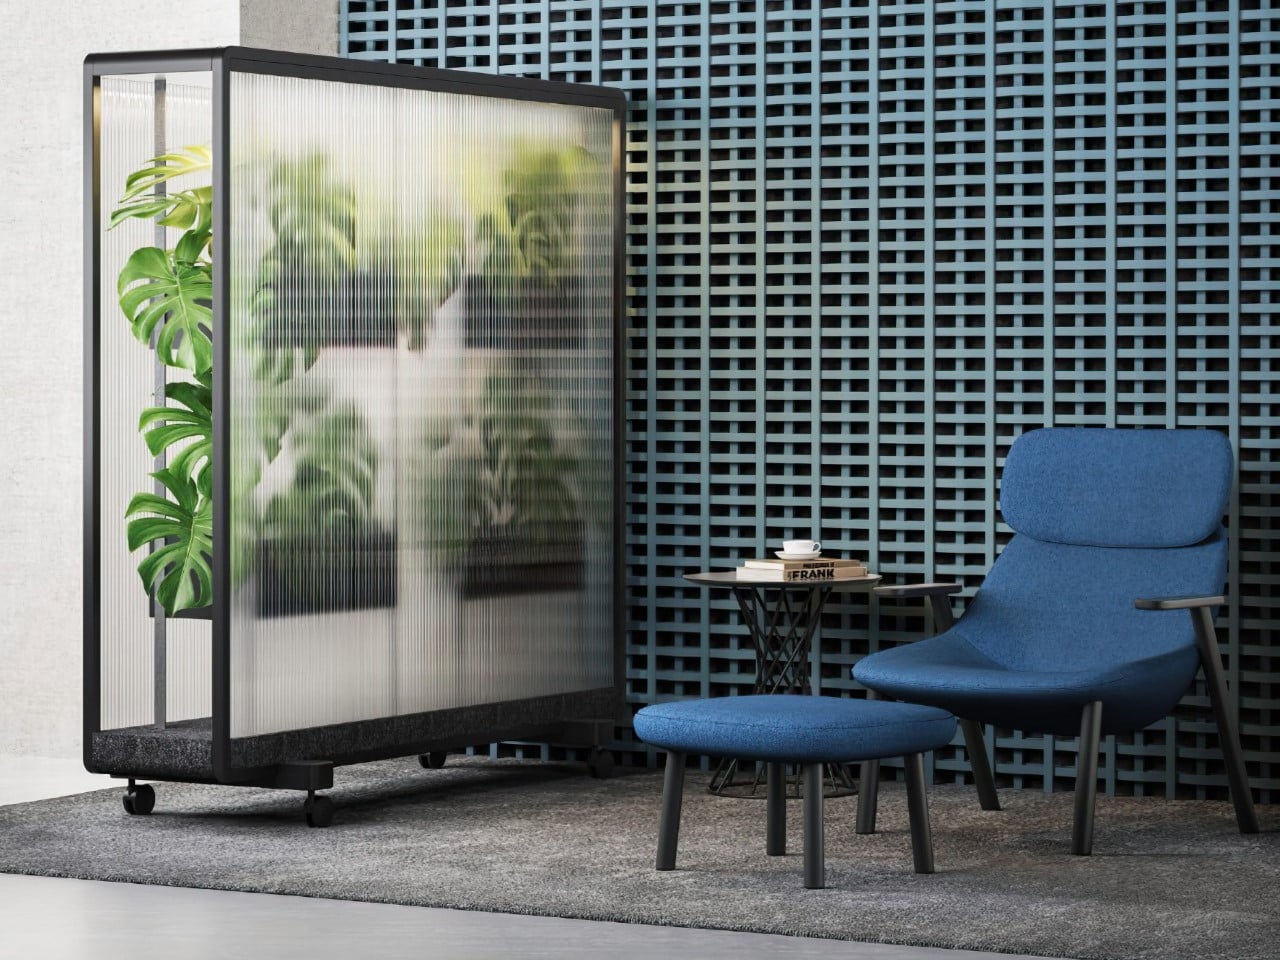
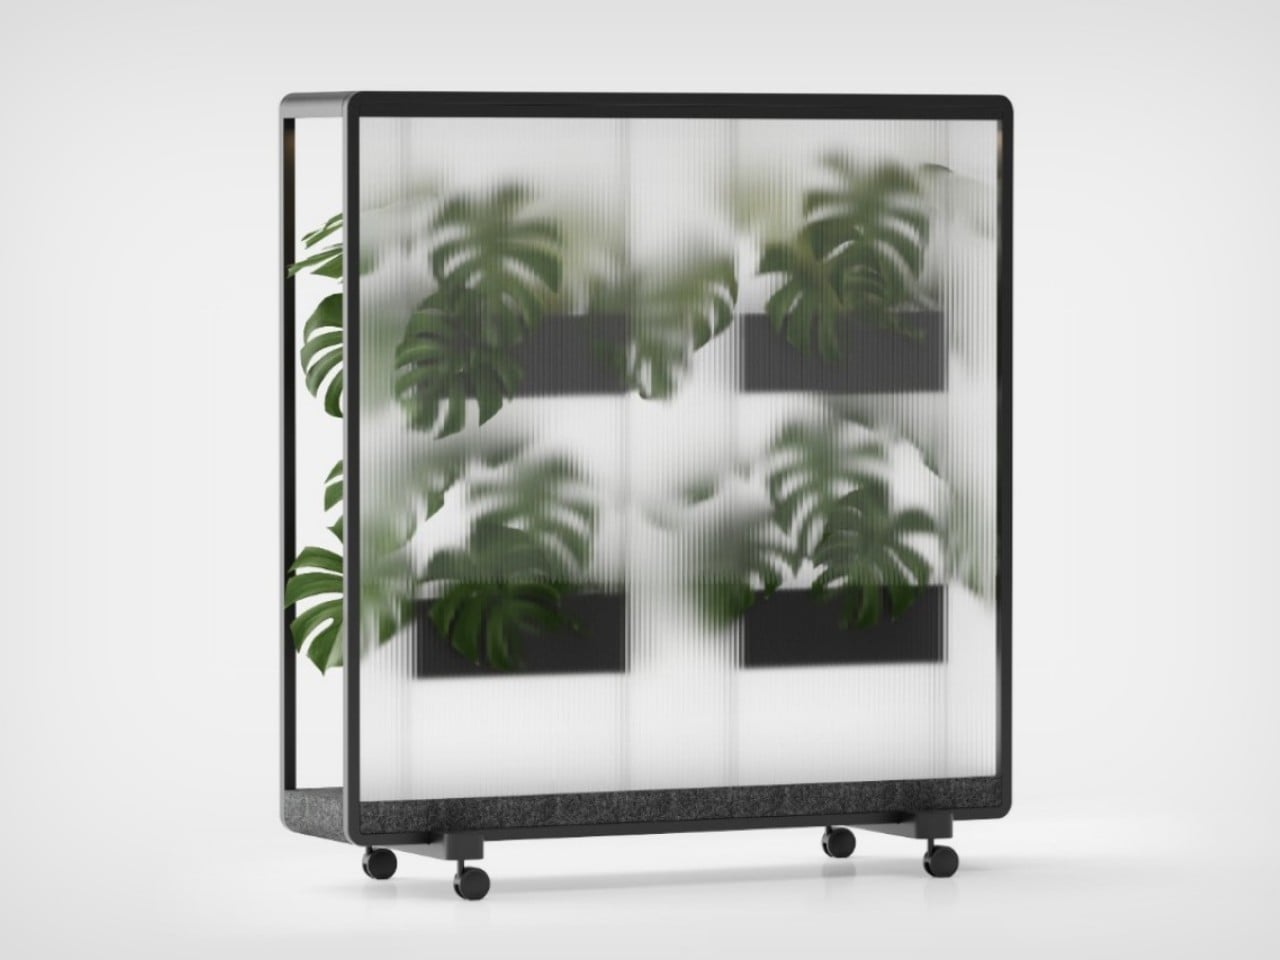
Designer: Yamaha Design Laboratory
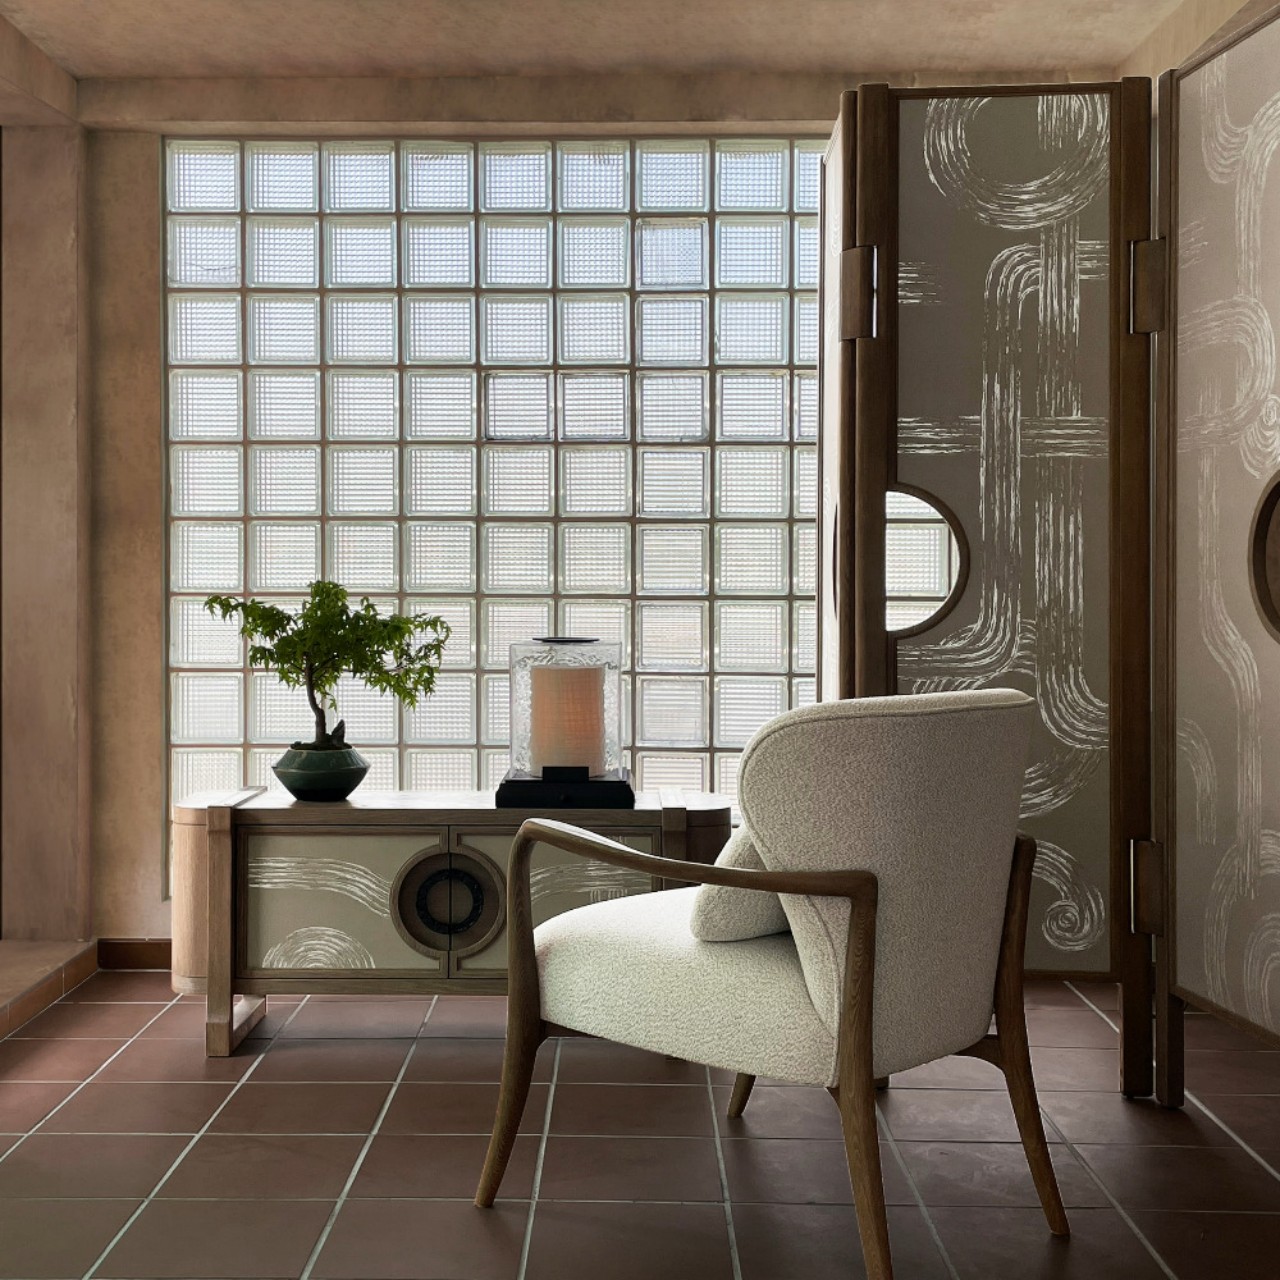
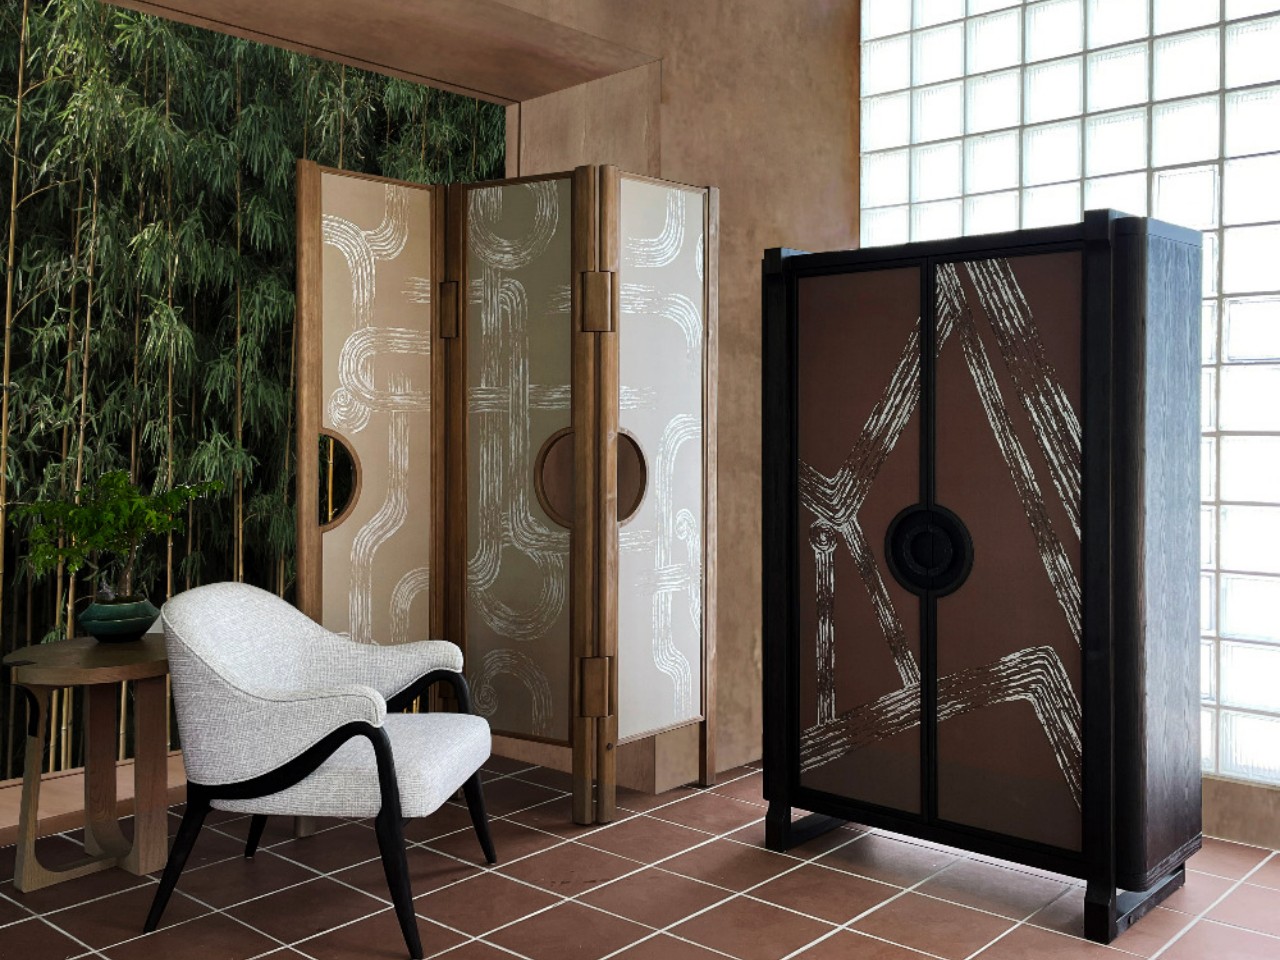
For those interested in pianos as instruments or decor, the Yamaha Design Laboratory and Chiba University’s Department of Design collaborated on Edo-era inspired piano designs styled as furniture. Displayed in an Edo-era piano store simulation, these prototypes include the SUKIMA, blending with Nagaya house wooden partitions for a harmonious blend of transparency and privacy; the OTO-TSUKUE, resembling traditional writing desks with a piano beneath the desktop; and the HIKI-TANSU, integrating piano features into gift chests symbolizing auspicious occasions, each adorned with distinctive etchings from the era.
Time Constraints
Developing and refining prototypes can be time-consuming, potentially delaying the project based on feedback. Moreover, tight schedules and deadlines for prototype creation can compromise the product design. Missed windows of opportunity, in turn, could lead to low sales, overstocking, and a general loss of revenue.
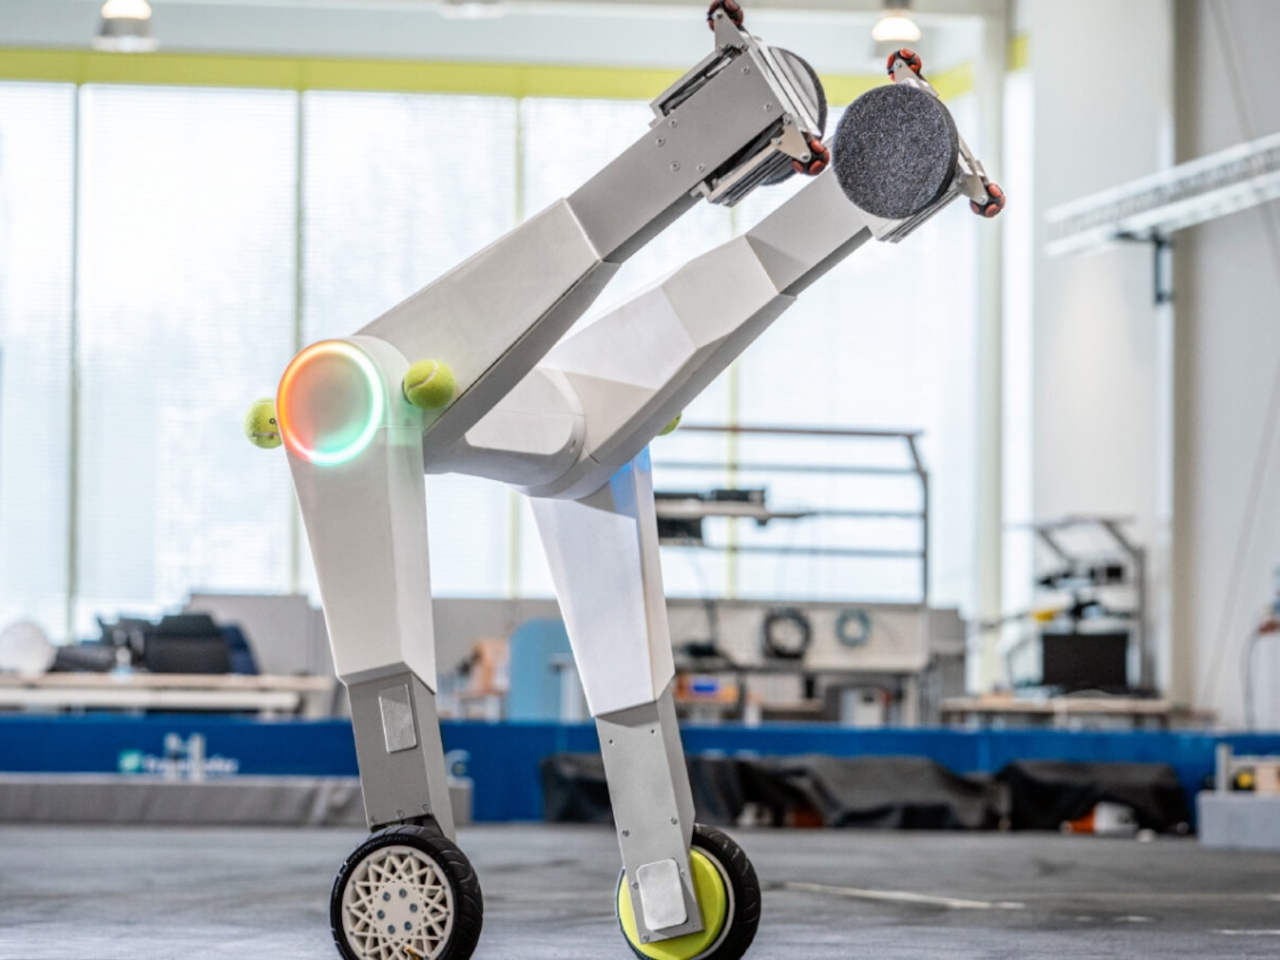
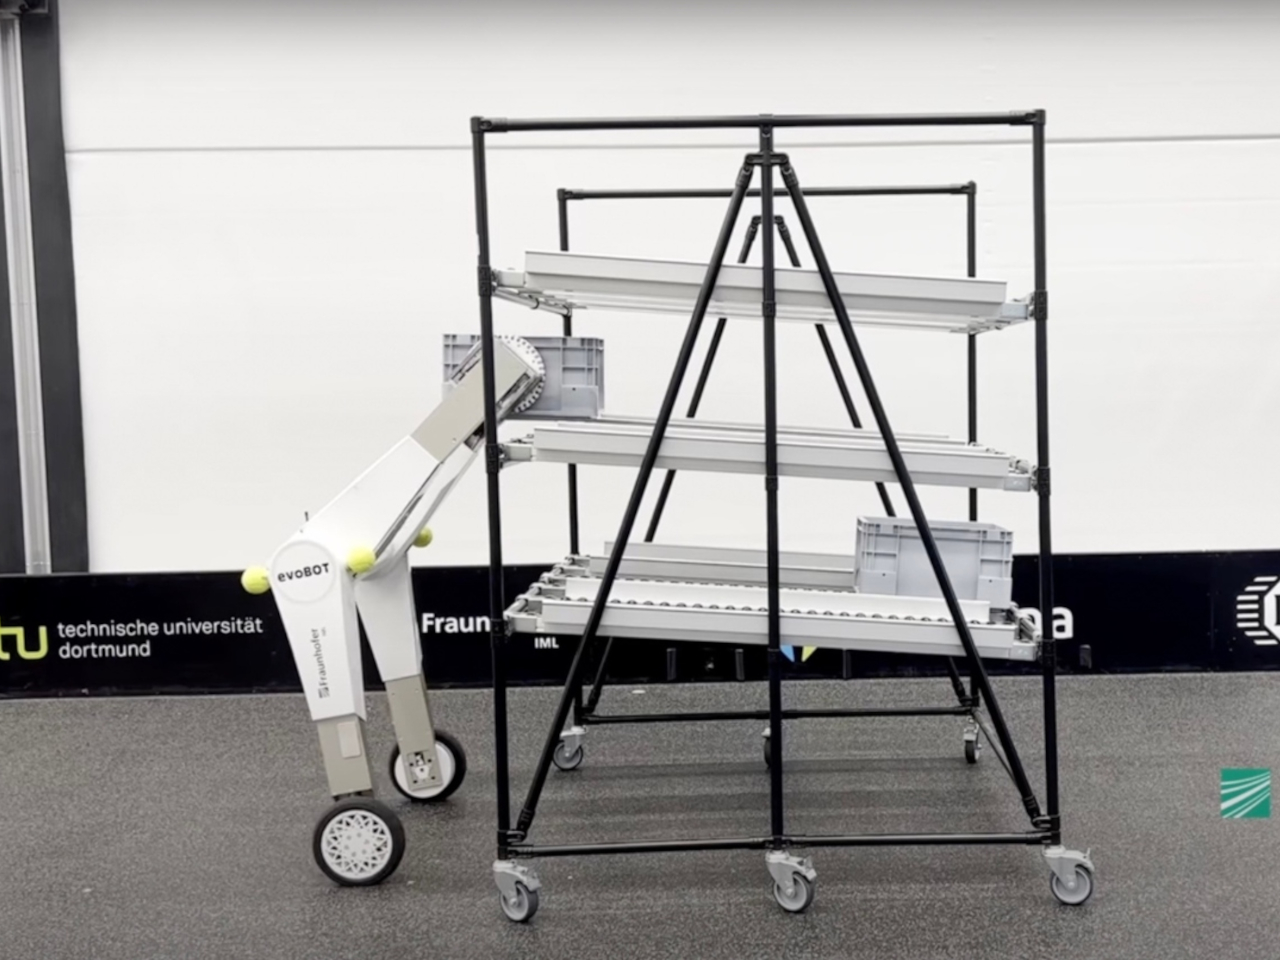
Designer: Fraunhofer Institute for Material Flow and Logistics
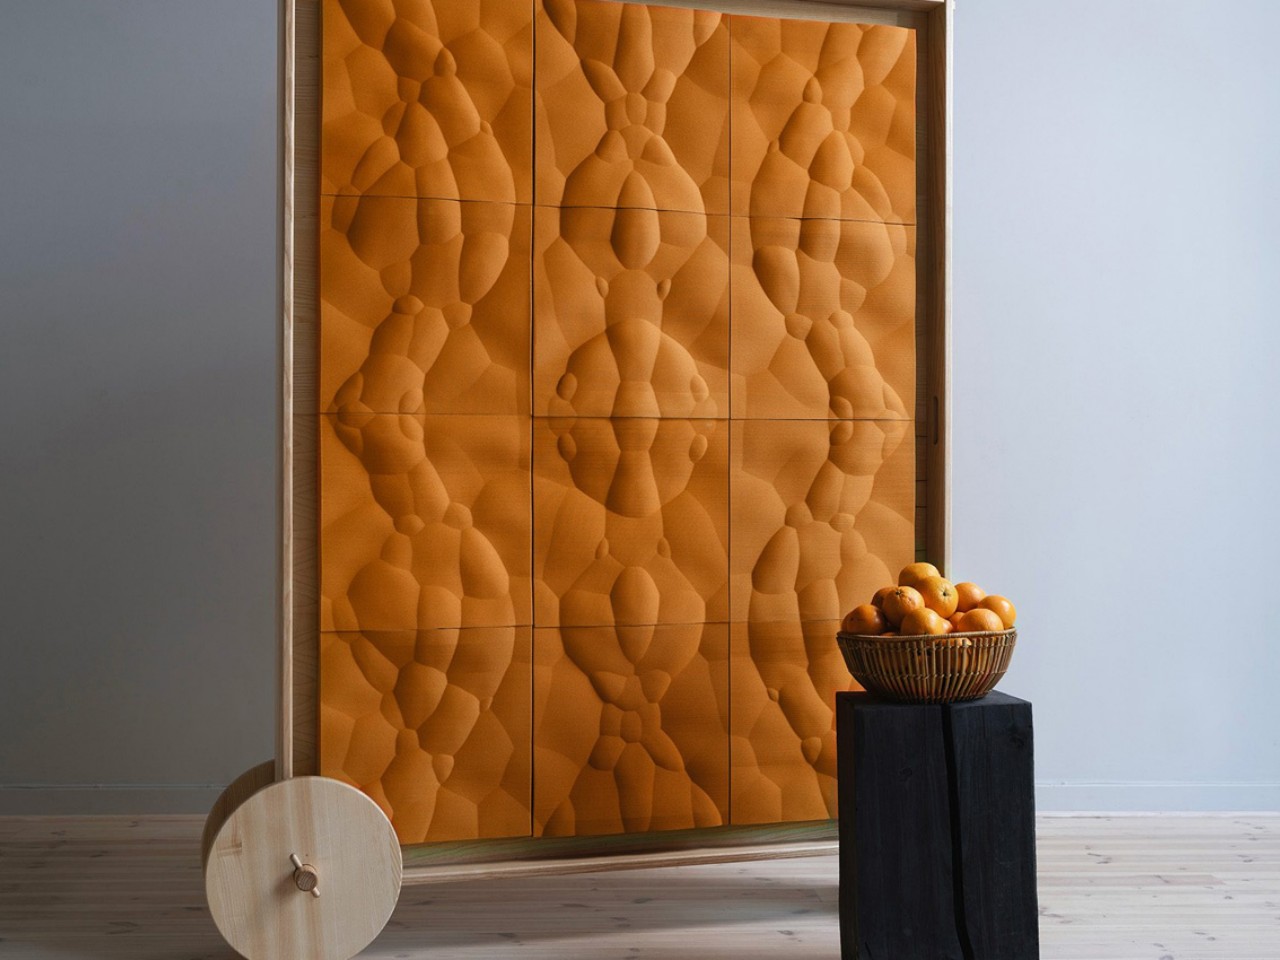
The evoBOT, currently in prototype stage, is an autonomous robot designed to assist in logistics and shipping by self-balancing and transporting goods alongside workers. Resembling a futuristic trolley, it’s still in development with details on maximum load capacity pending. The robot extends its arms to secure items, adjusts its stance for maneuvering, and can adopt a V-shaped posture for efficient transport. Equipped with sensors for object detection and capable of navigating varied terrains, including sloped surfaces common in warehouses, it’s lightweight and space-saving, using an innovative self-balancing design principle.
Confusion and Miscommunication
Another disadvantage of creating prototypes is that too many features can be added to the product based on feedback, potentially diluting its purpose and deviating from the original goals.
Users might confuse the prototype with the actual product, which can lead to disappointment and unrealistic expectations about its capabilities and quality. Additionally, implementing excessive changes based on feedback may not always result in substantial improvements.
Security Risks
The product being exposed to external testers and stakeholders can result in copying or theft, posing security concerns that need to be handled delicately during the prototyping process. It’s definitely a touchy subject, especially in the tech industry where leaks are rampant and sometimes even celebrated.
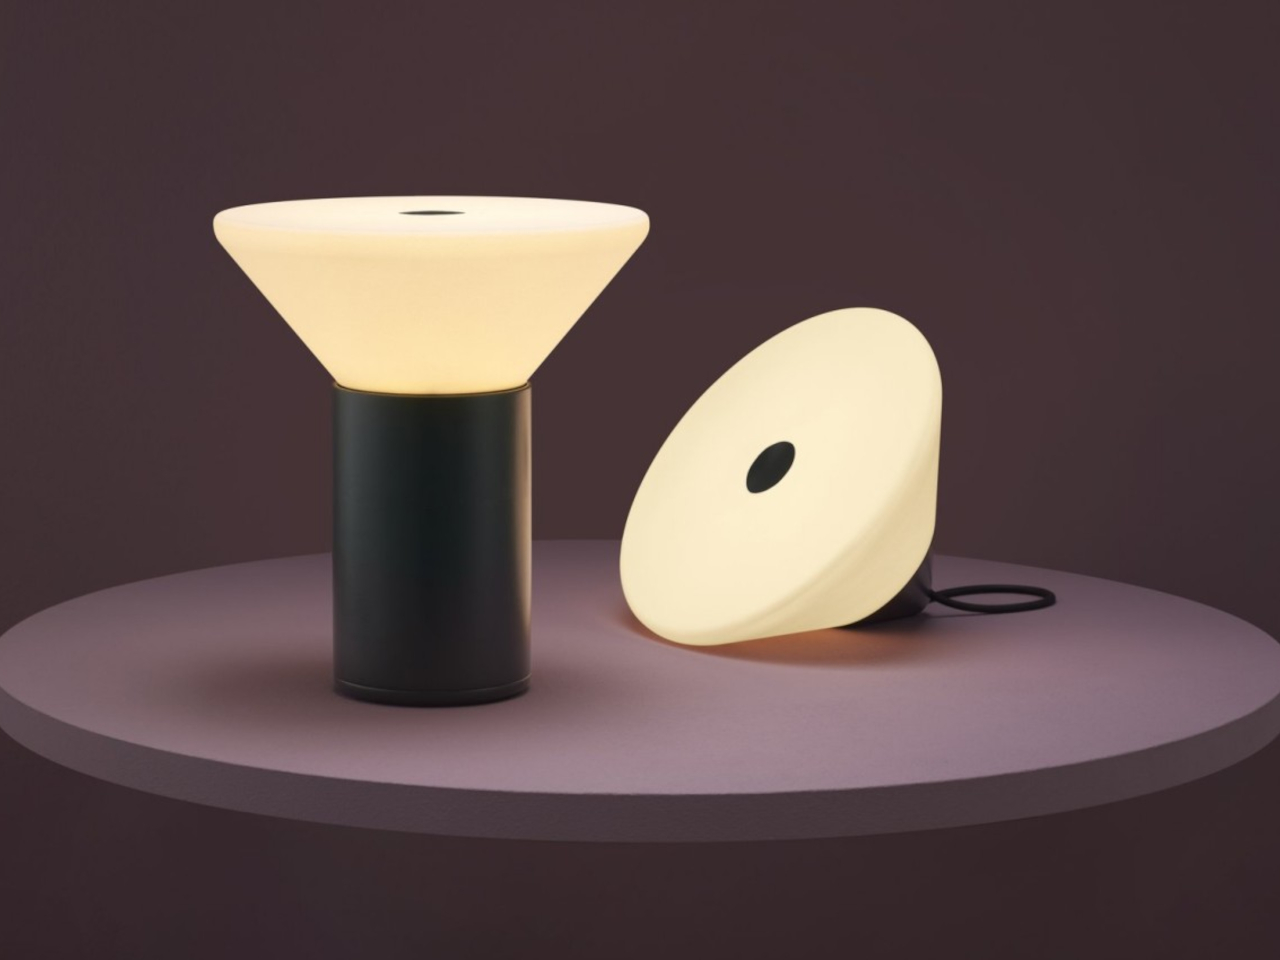

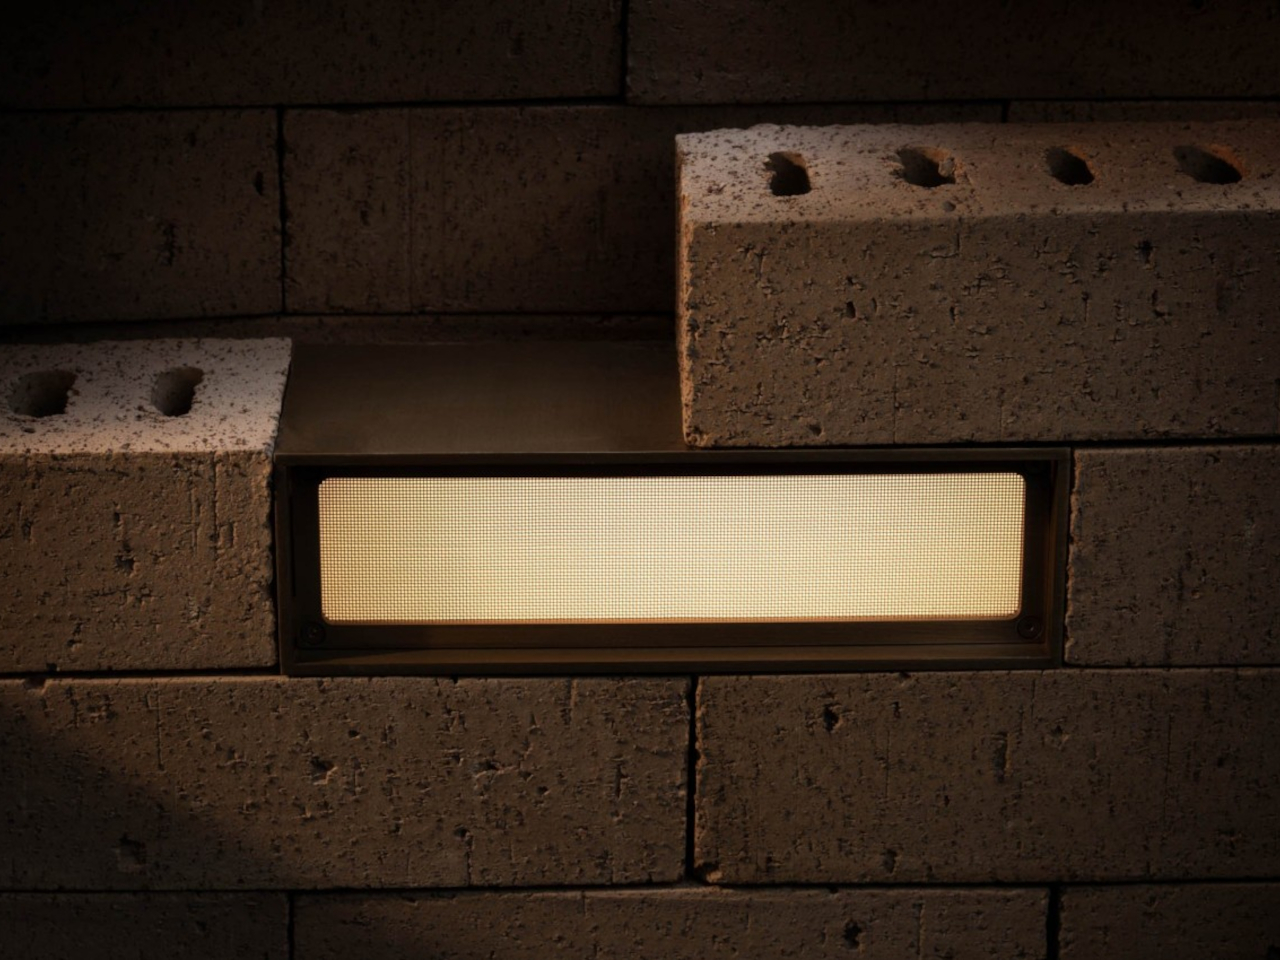
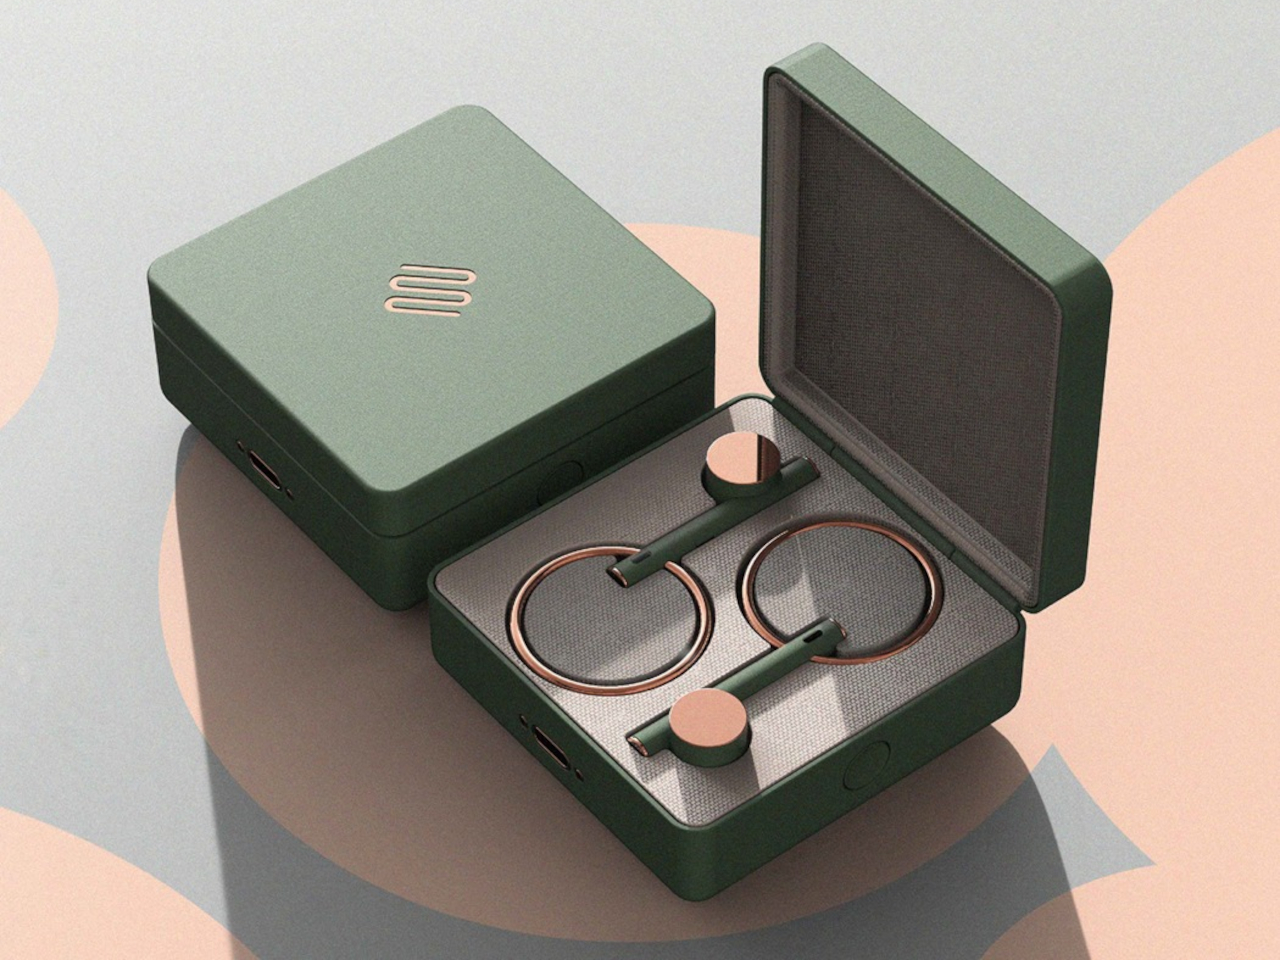
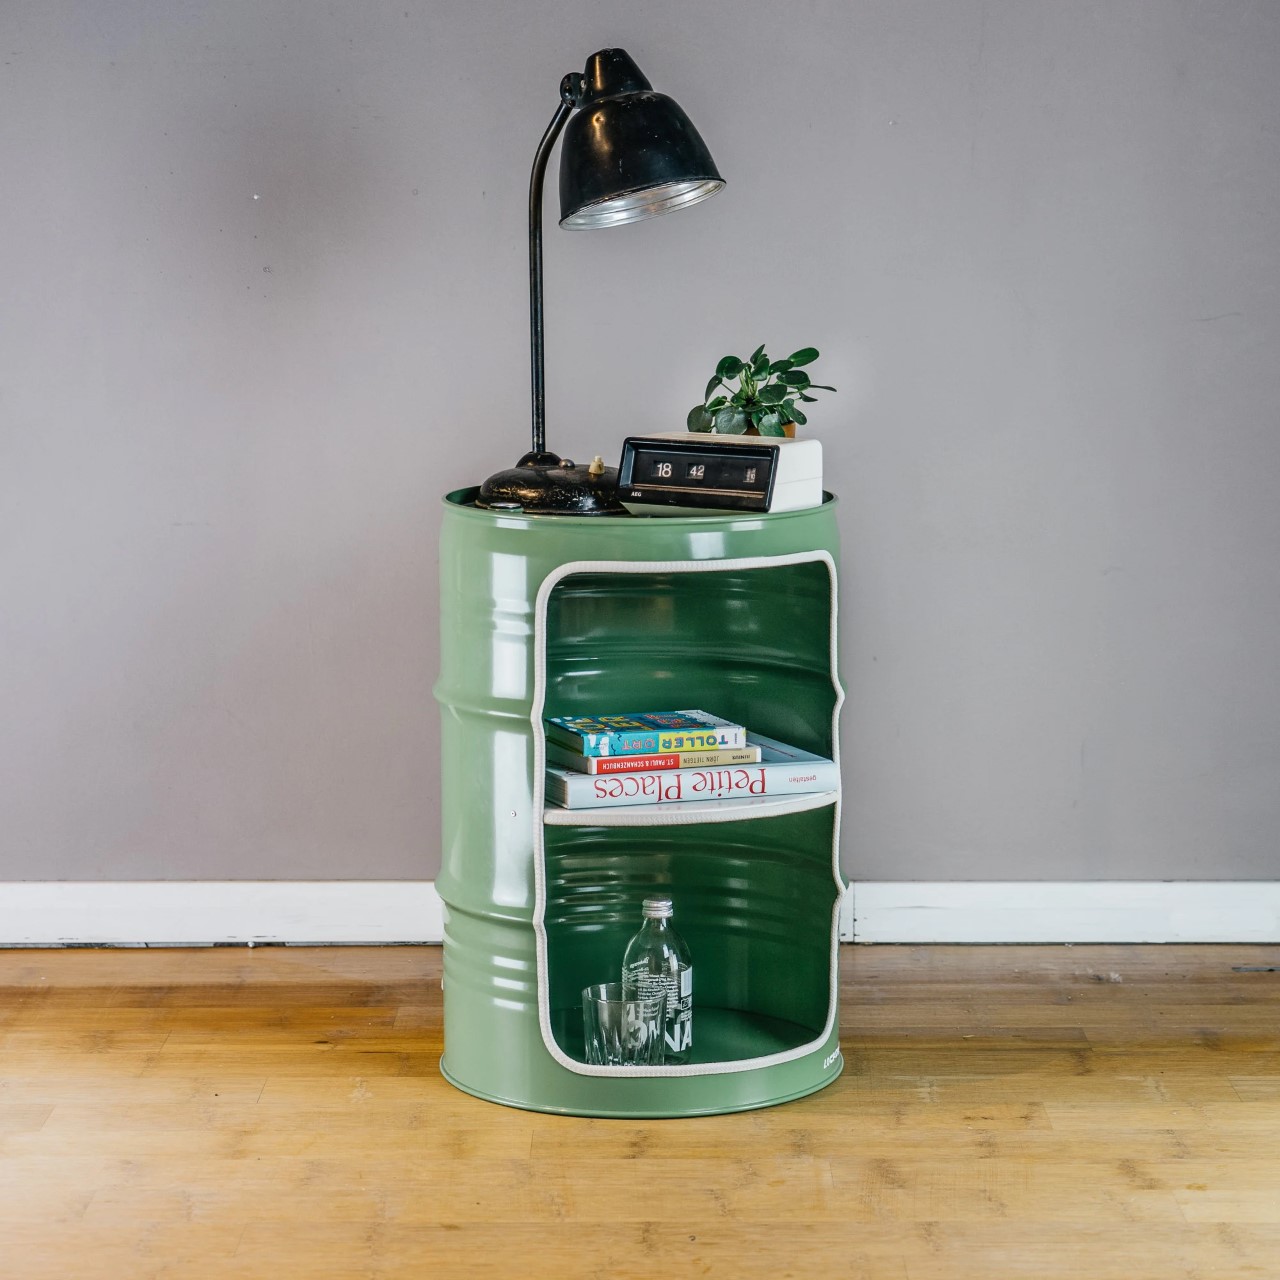
Designer: Moritz Putzier
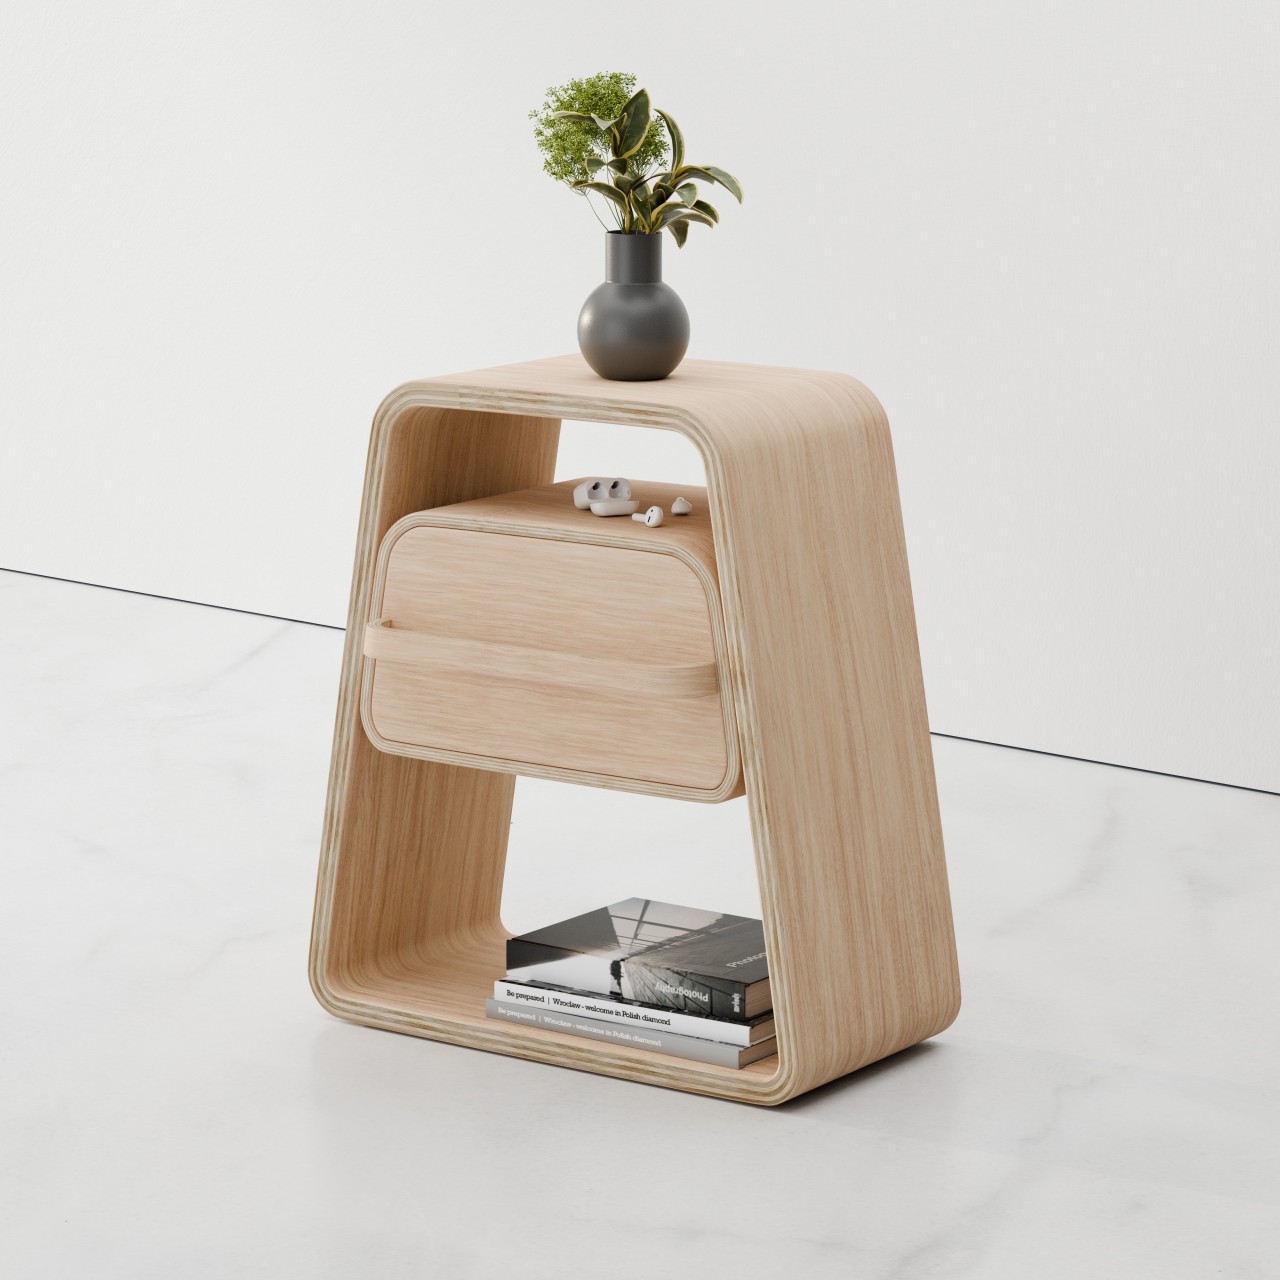
Mikono is a rechargeable, modular table lamp that doubles as a handheld light. Mikono’s unique prototype design features a conical shape that emits light from all sides and can split into two parts for portability. The lamp charges wirelessly on its base, which includes a battery for cordless operation. Designed for simplicity, Mikono incorporates a translucent cone for diffused light, a metallic tip for housing electronics, and a loop strap for easy carrying. It serves as a versatile indoor and outdoor lighting solution, equipped with an adjustable intensity dimmer and a replaceable battery for long-term use.
The fast-paced world of design and production requires being able to pivot quickly to reduce costly errors down the road. There are some disadvantages to prototyping, of course, but the benefits far outweigh those. Therefore, prototyping is integral to product design, necessitating awareness of potential pitfalls for an efficient process that results in successful, user-centered products.
The post Mastering Innovation: The Essential Guide to Prototyping in Design Thinking first appeared on Yanko Design.