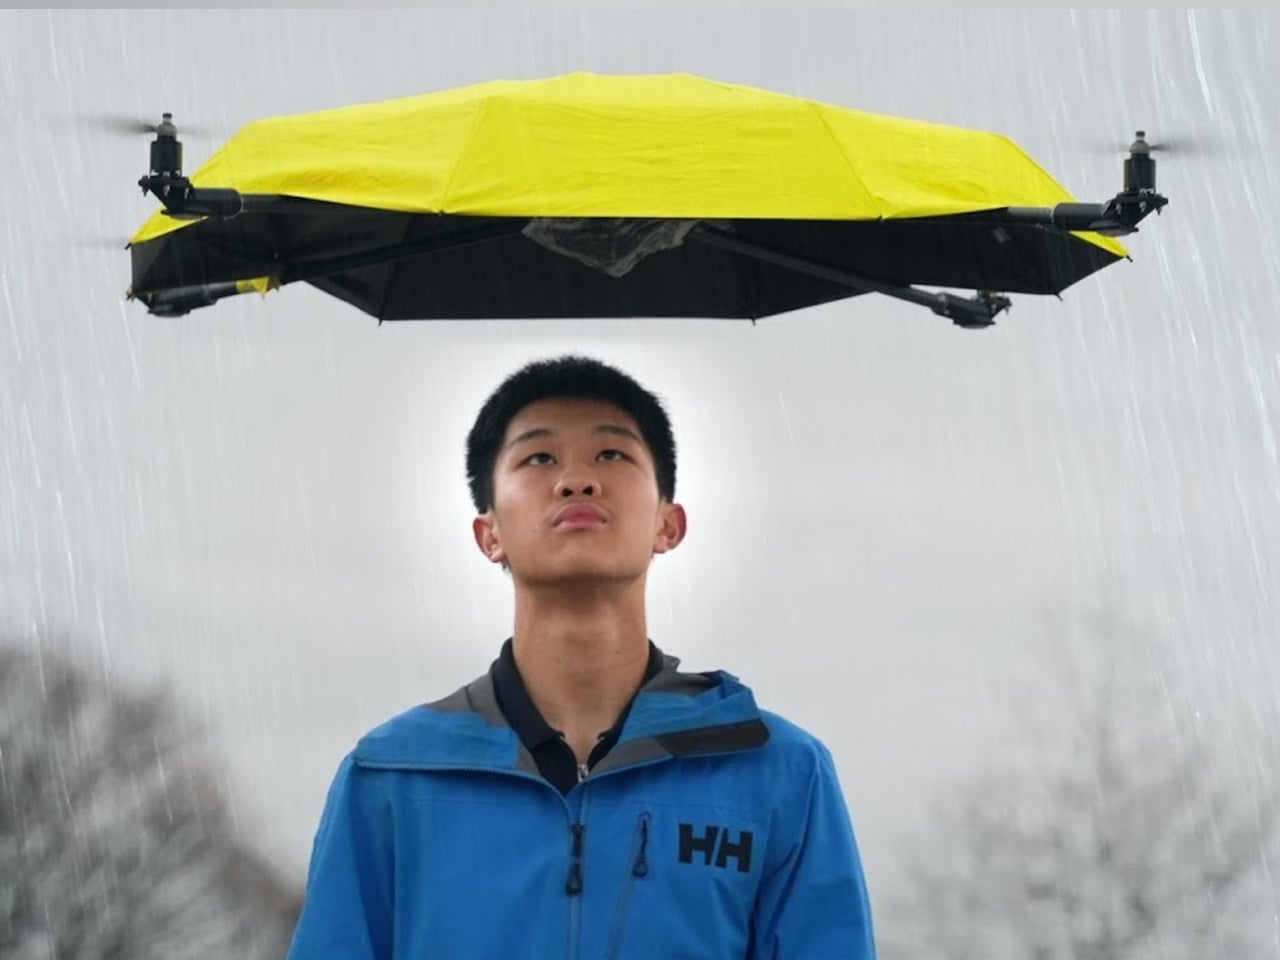
Back in early 2024, John Tse designed a flying umbrella controlled by a remote, which seemed a completely out-of-the-box idea. However, some users pointed out that the umbrella should follow the person using it, to make it more practical, come rain or shine. The hands-free option of using a flying umbrella is far more exciting than maneuvering it while walking.
Months later, John set out to design an upgraded version of the project. The thing is essentially an autonomous drone shading you from wet or dry weather on demand. The vital addition to the rig is a tracking system loaded with a camera that comes from drone parts. That said, the build was not a cakewalk, and it took him a couple of years to achieve the intended version.
Designer: John Tse
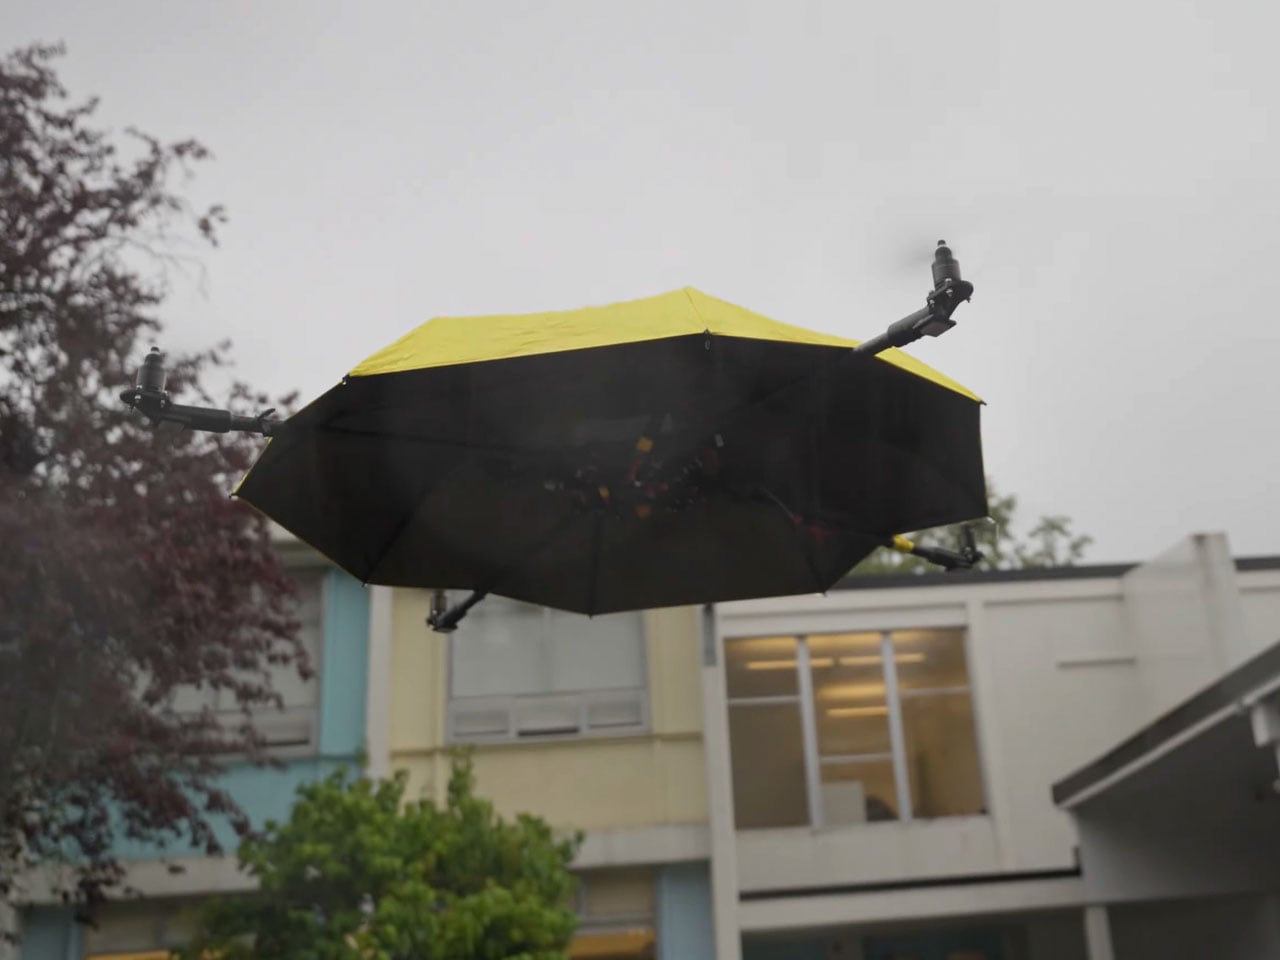
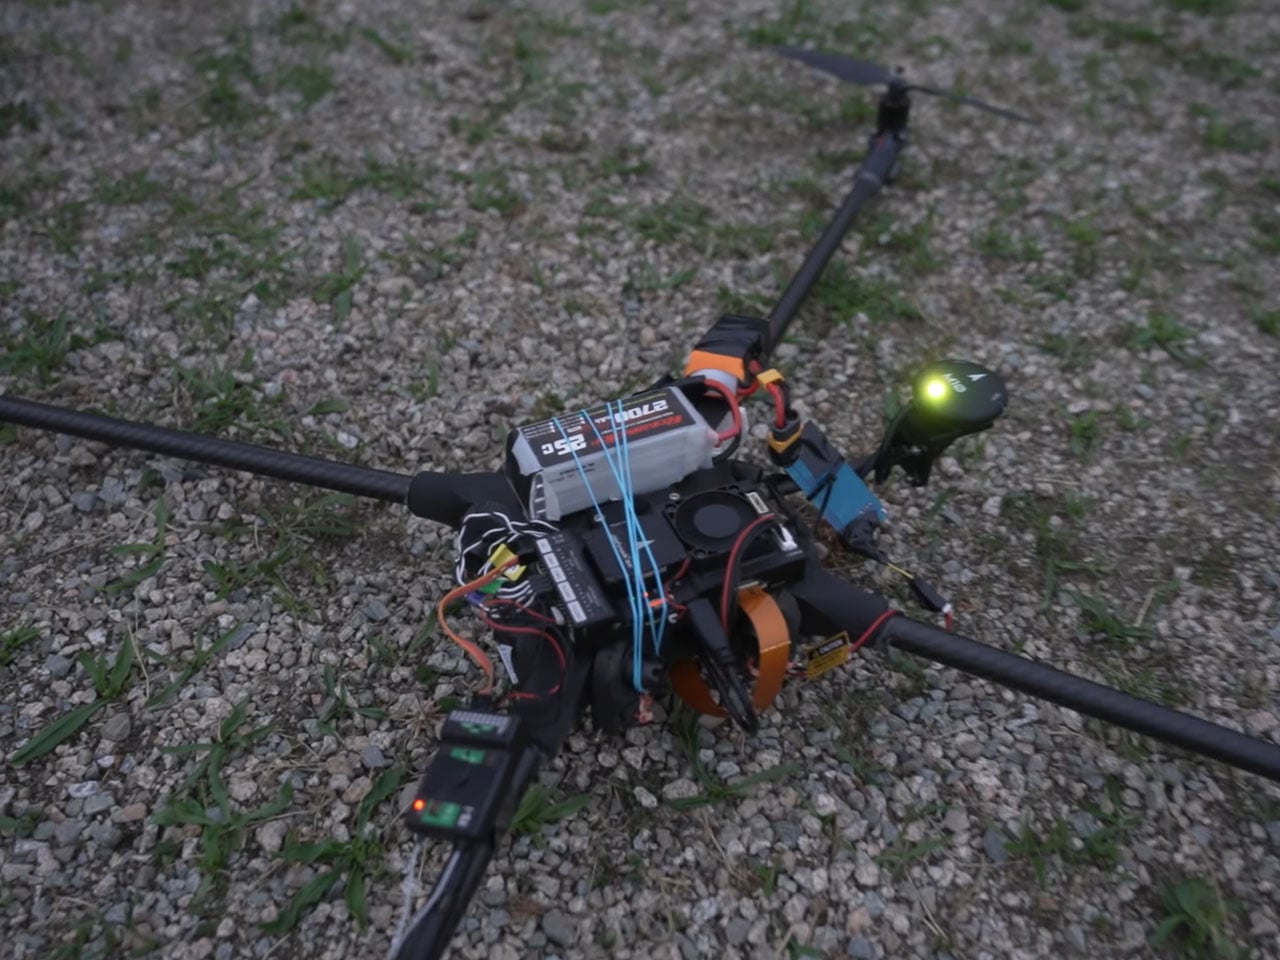
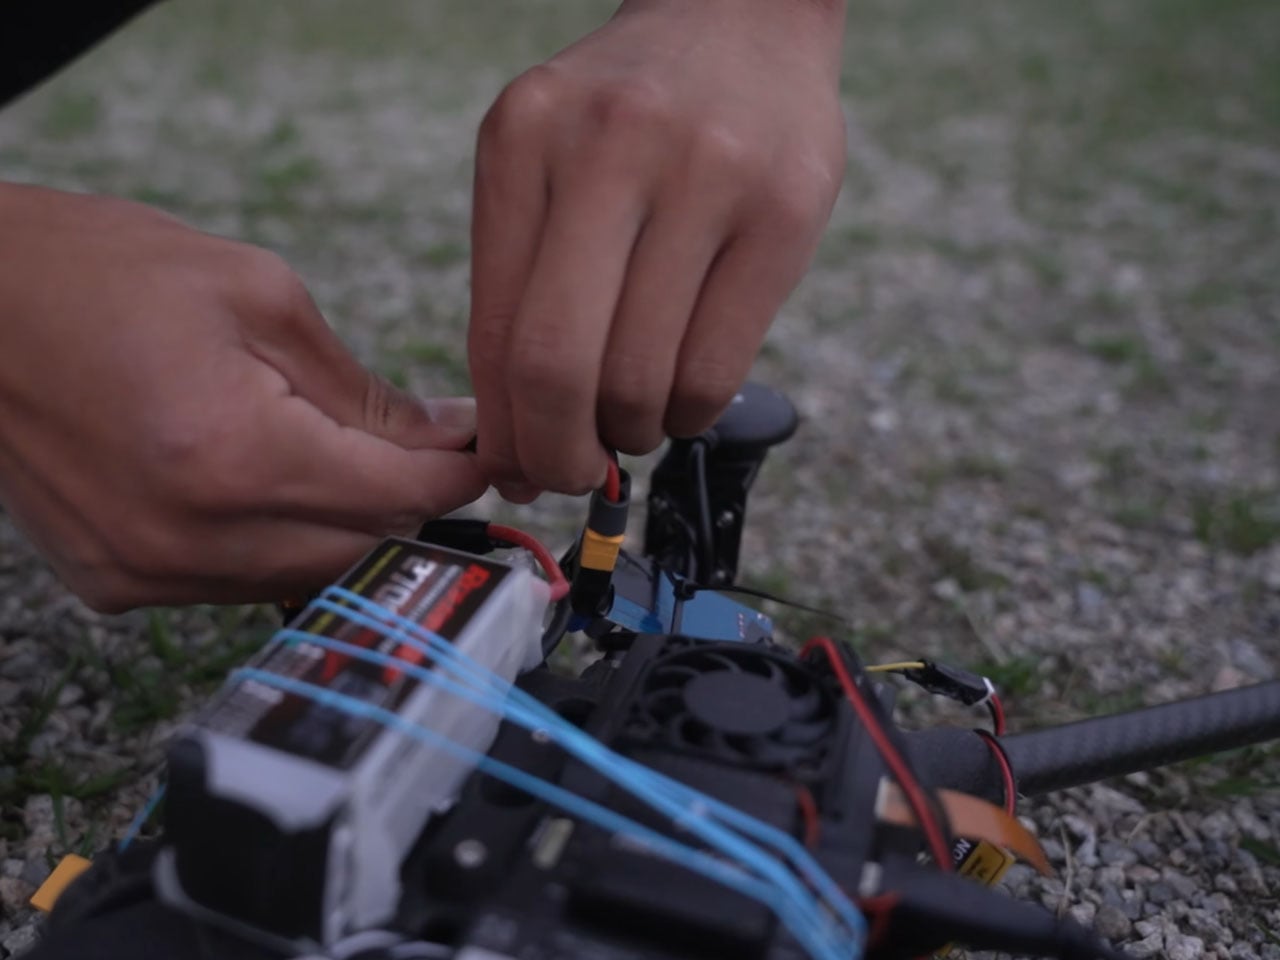
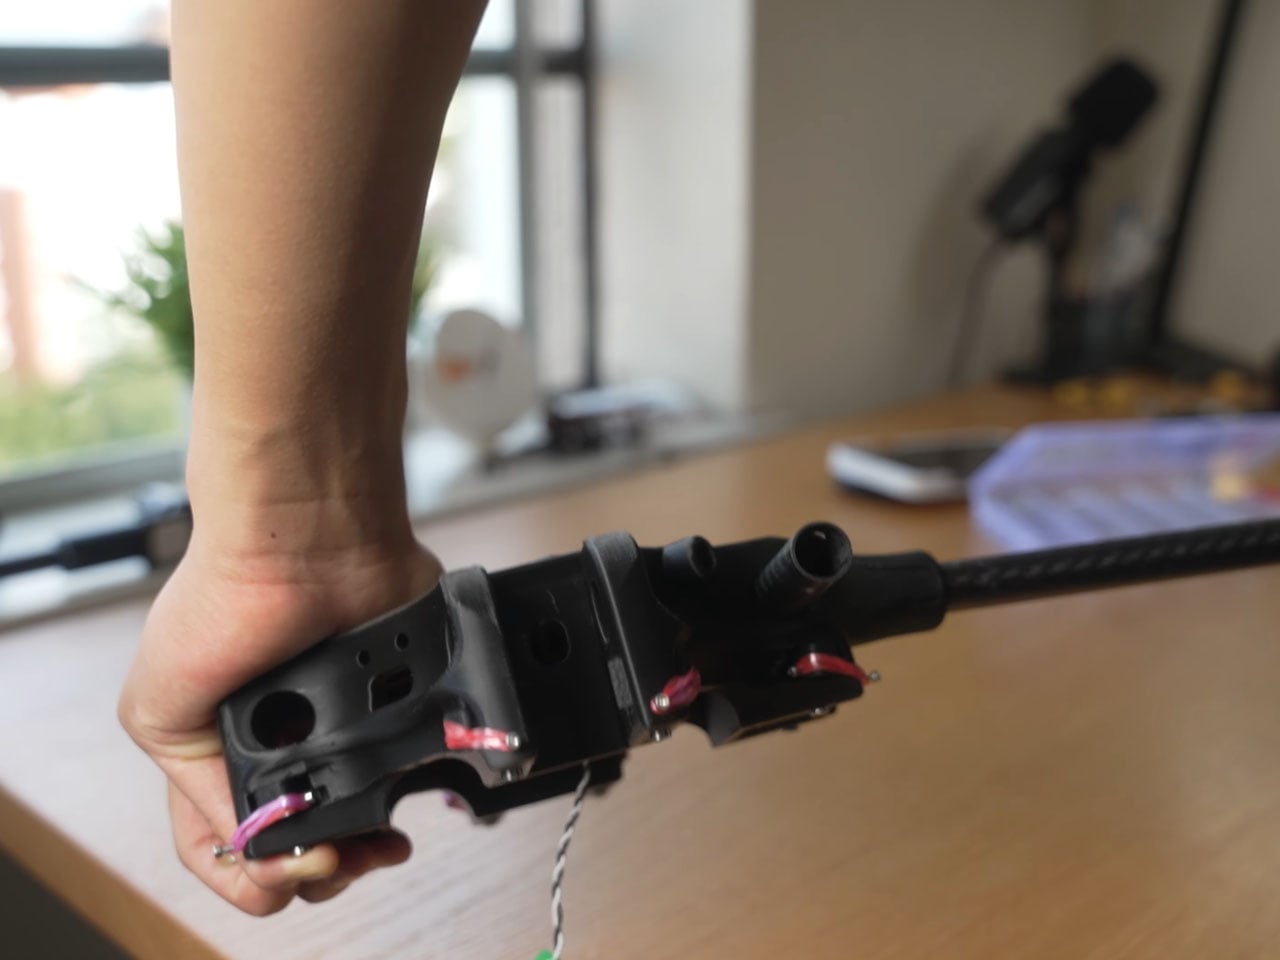
Things started off by creating a custom frame with a central hub for the umbrella, the locking mechanism, and the hinges to have a solid structure for the camera and sensors to mount on. Most of the components are 3D printed, either made out of carbon fiber or nylon. Once the design materialized, an ordinary umbrella was mounted onto the frame, and the arms attached to the mechanism, just like a tripod. After figuring out the GPS, flight controller, Raspberry Pi function, and other electronics, it was time for the first test flight. After a few glitches with the rotational direction and the flight anomalies, the troubleshooting mode kicked on. The rig finally held stable in flight, and John attached the umbrella housing to the thing.

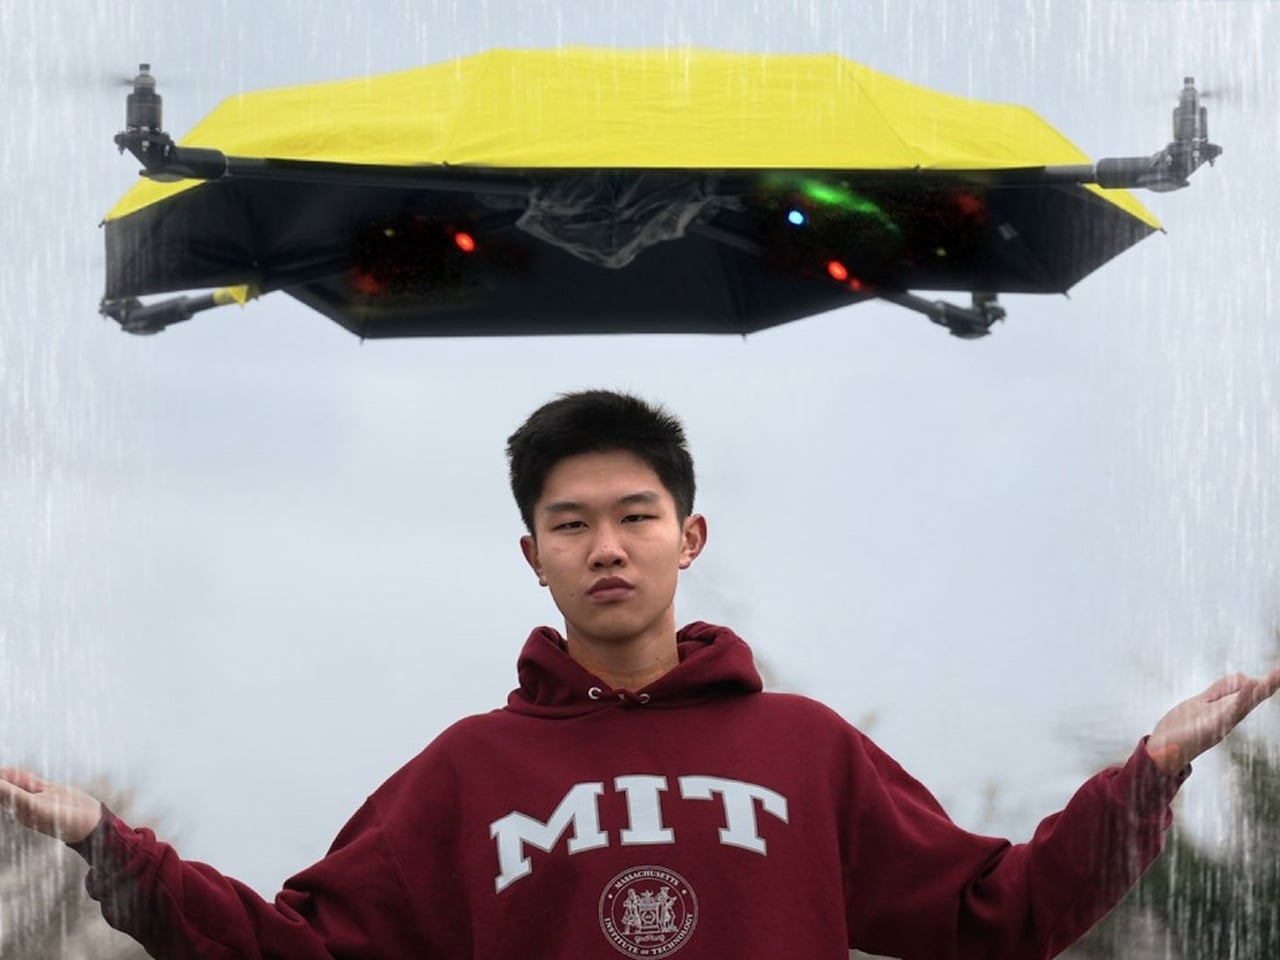
The next step was to align the camera, sensors, and GPS function to make the autonomous flight possible, so that the umbrella doesn’t bump into the person it’s hovering over, or other people on the street. With help from his buddy Hinsen, the idea of creating a 3D map of the people nearby, even in low light, using complex light reflection tech, came to life. Somehow, the thing didn’t work after replacing all the old components with the new ones. Eventually, after a lot of tinkering and tuning, the flying umbrella finally moved from the initial stage to the concrete prototype stage. A project that was meant to be just a few weeks finally took more than a couple of years.
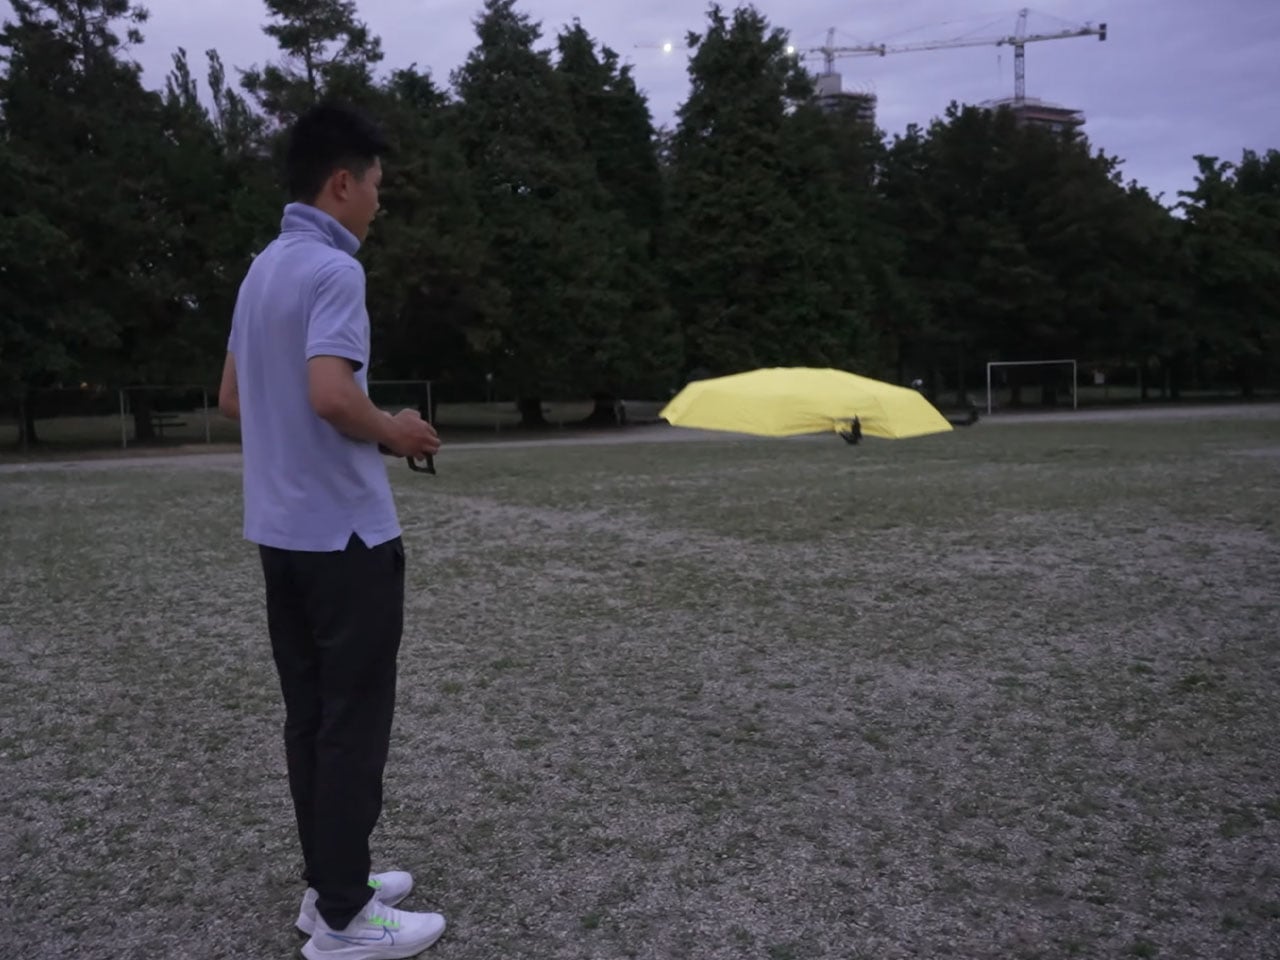
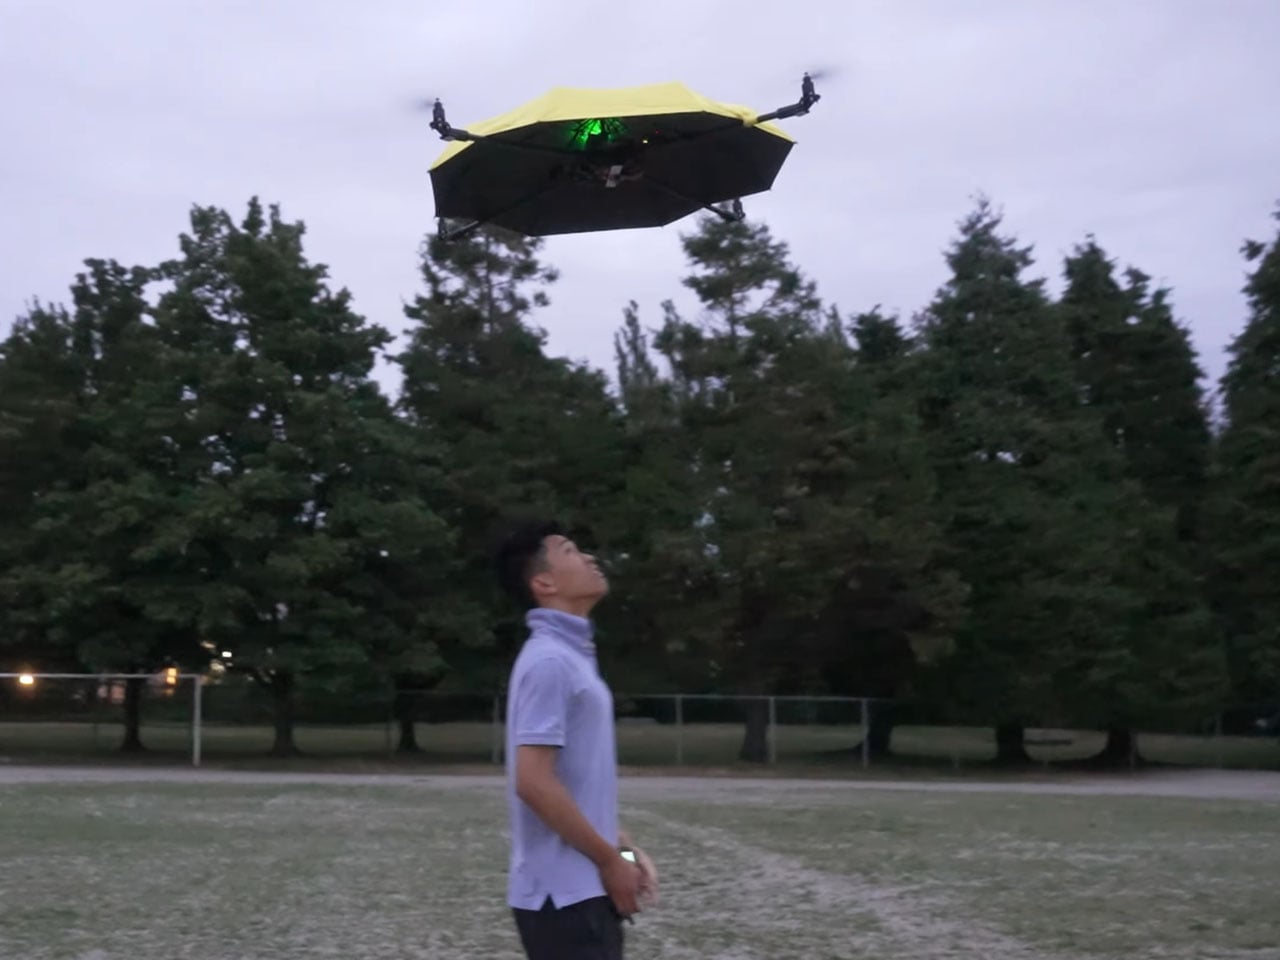
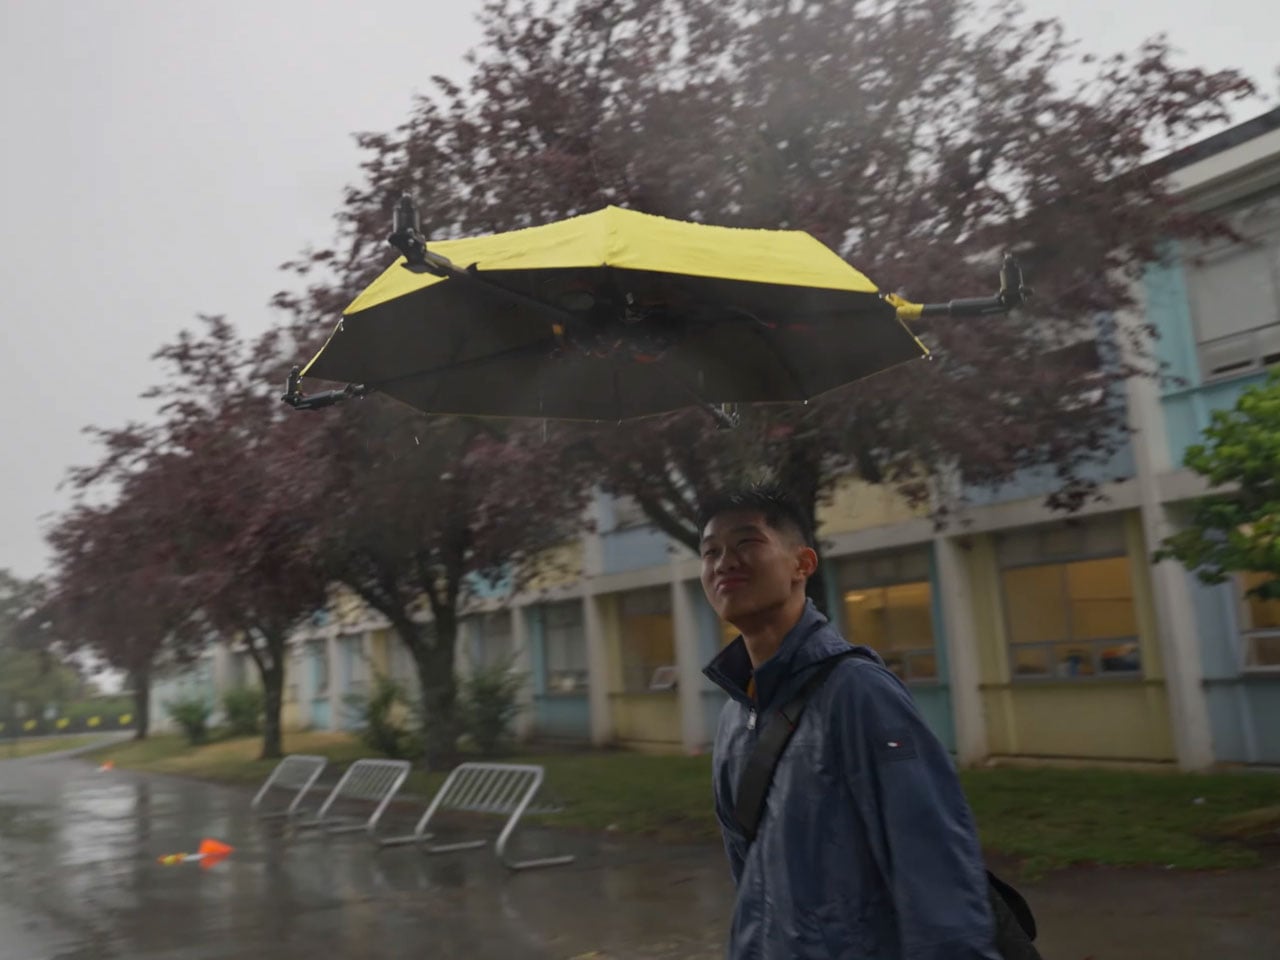
Finally, the day arrived when the project materialized, and the floating umbrella hovered over John. Even when the sun went down, the thing managed to hover over him. Thereafter, it was time for the rain to come down and test the flying umbrella in wet weather. In heavy rain, the umbrella had zero glitches, and the painstaking ritual of going through numerous roadblocks felt sweet for him. The design of the umbrella doesn’t feel like there’s something off; it just feels like an everyday object. Sure, the high-tech accessory is heavy due to all the components, still it manages to do what it was intended for. In the end, a shout out to John for his patience and persistence that ultimately materialized this project.
The post Persistent DIYer creates autonomous flying umbrella despite years of struggle first appeared on Yanko Design.