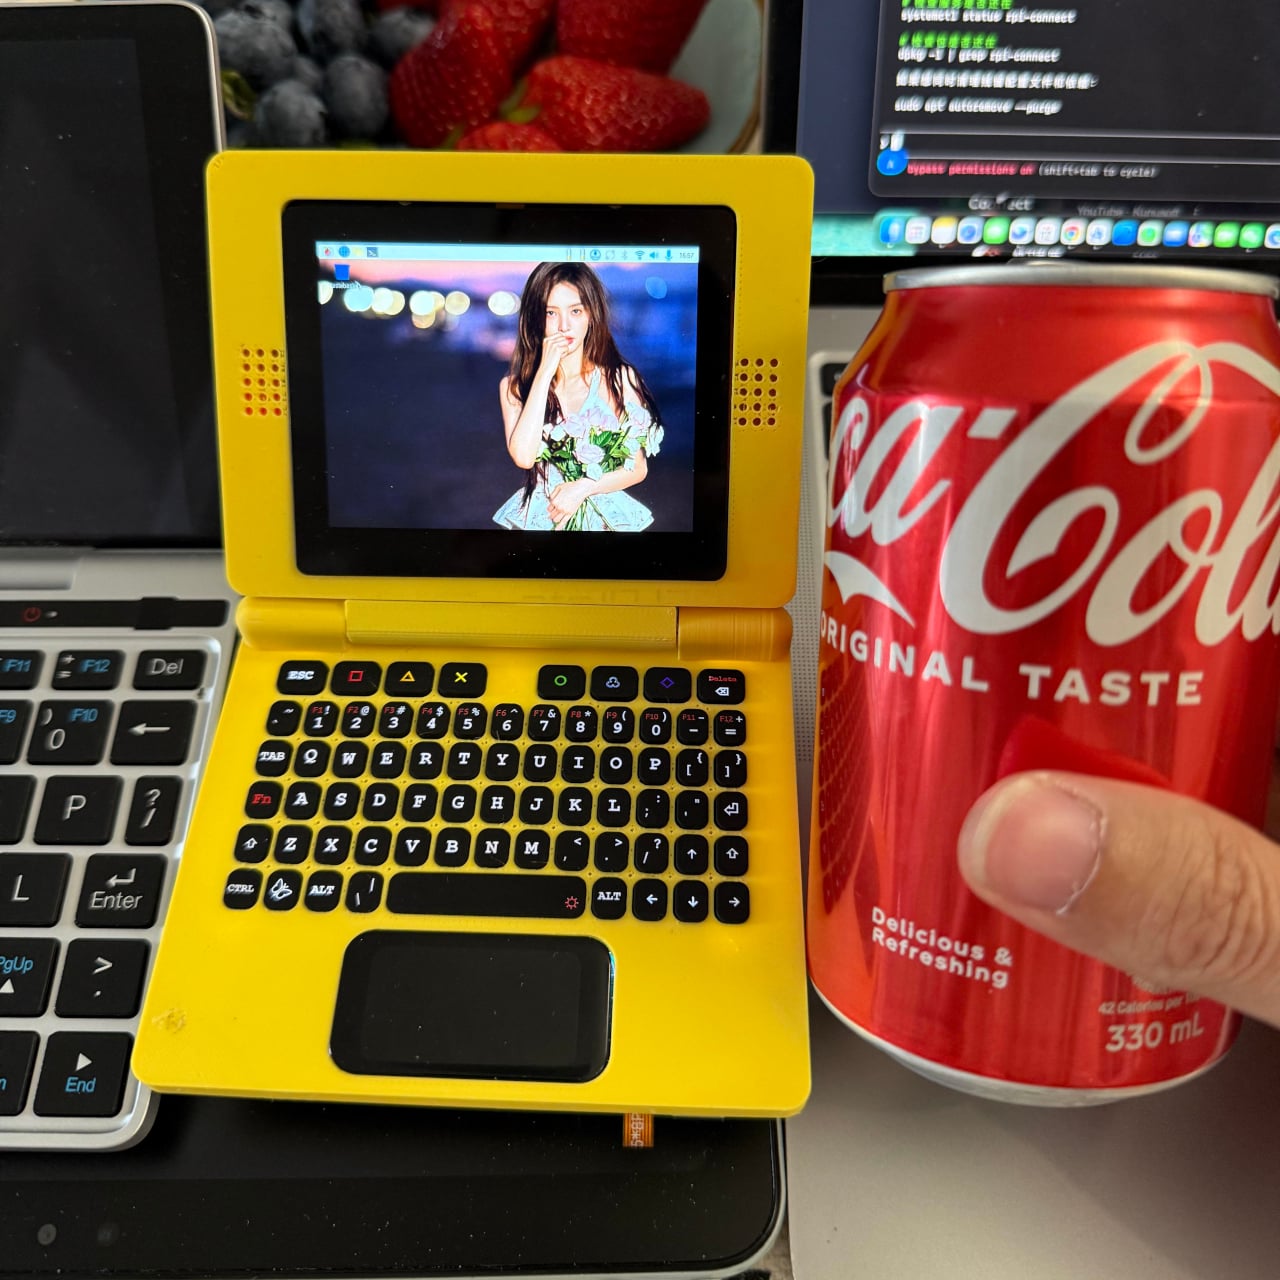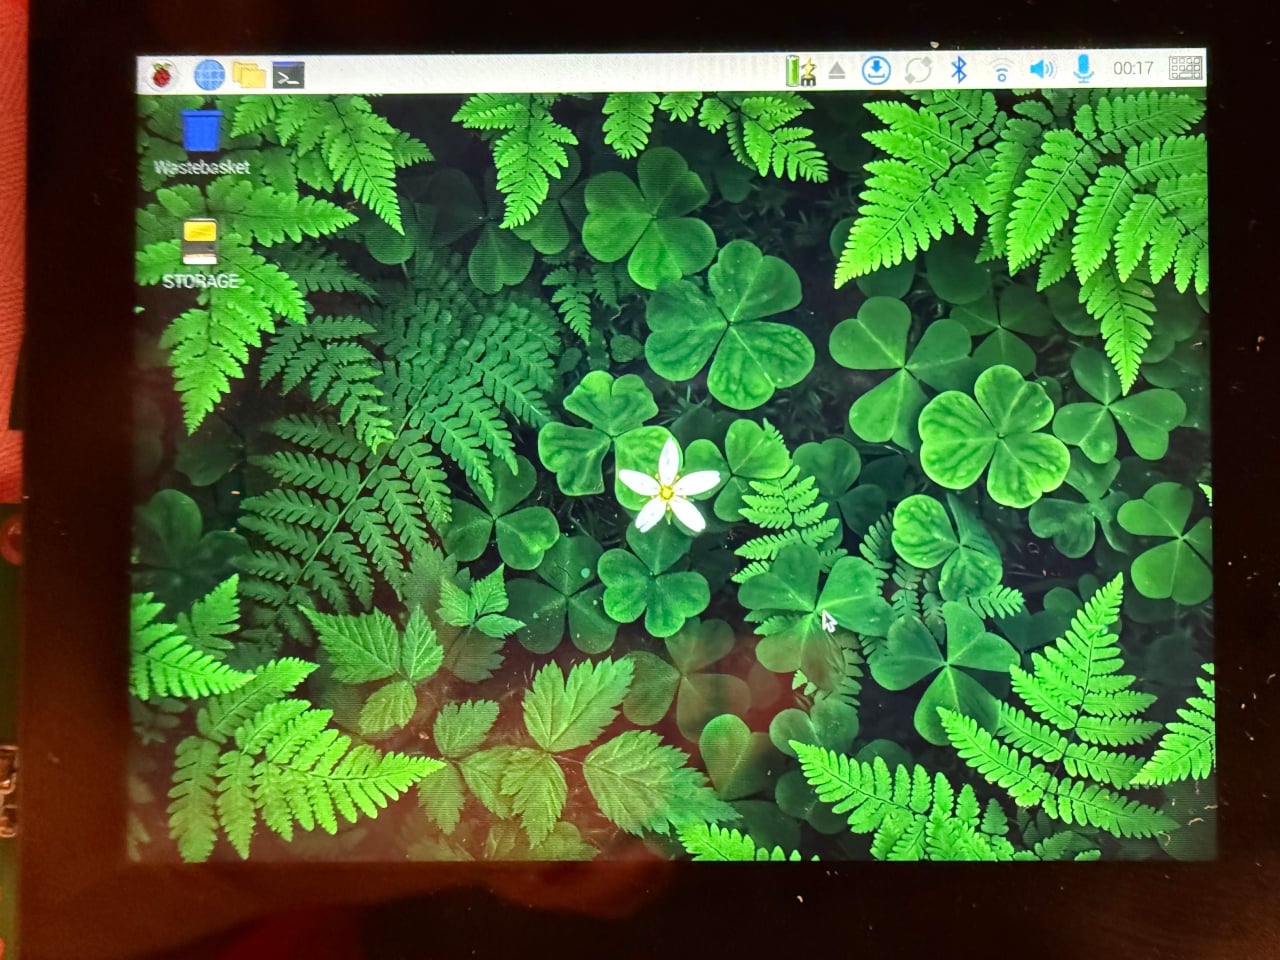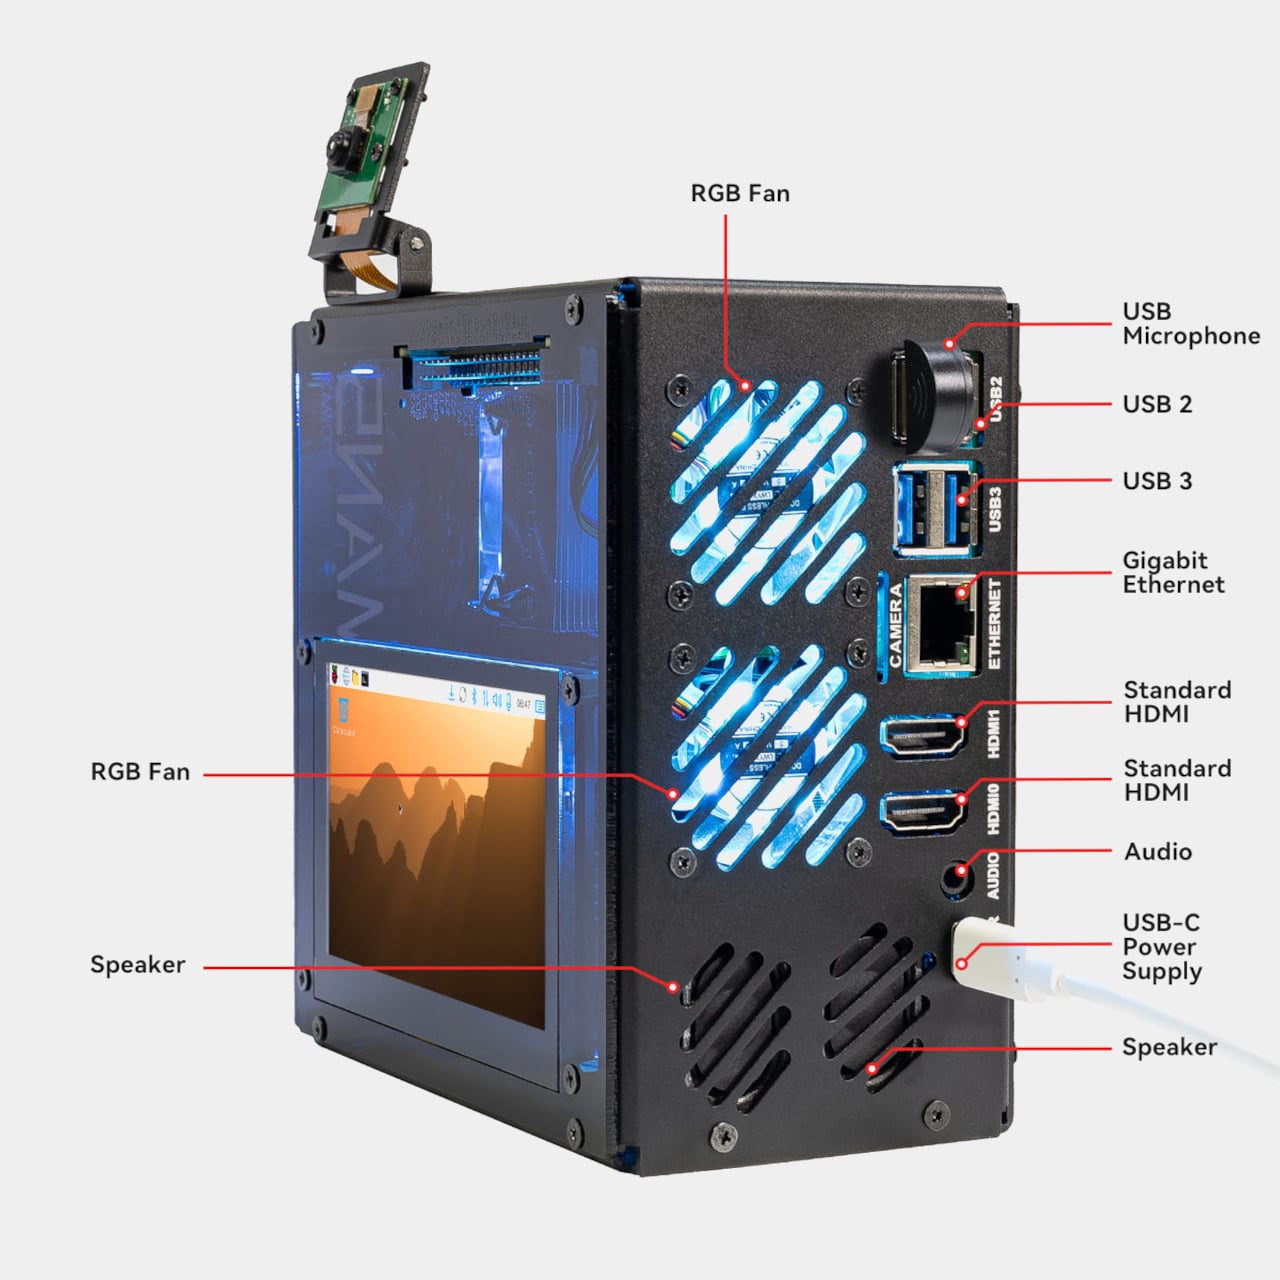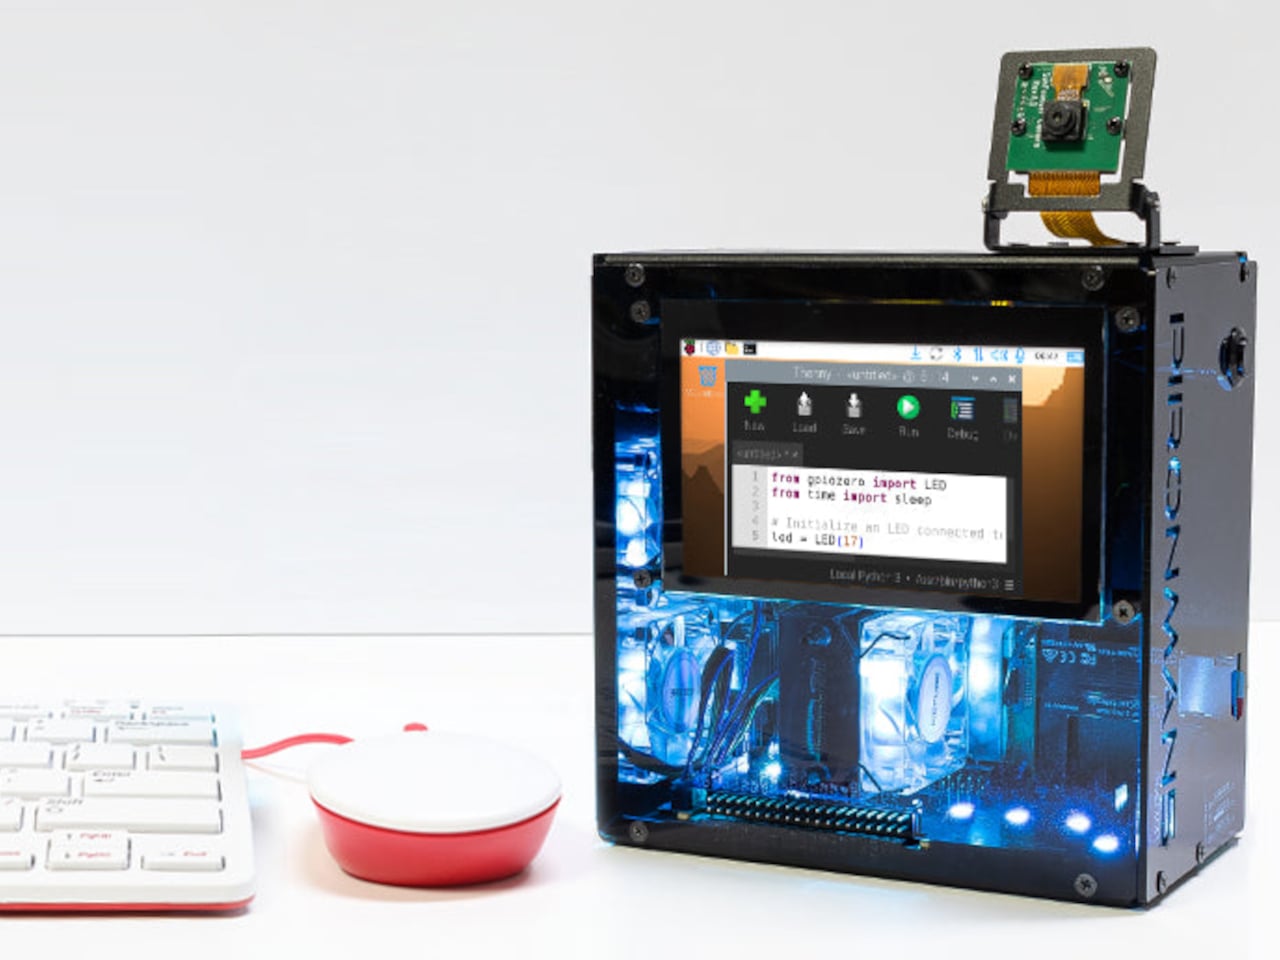
The Raspberry Pi has spent over a decade proving that small, affordable computers can do serious things. What has sometimes held those builds back isn’t the processor or the memory; it’s the display. The original 7-inch touch screen, launched alongside the Pi back in 2015, became a reliable staple of maker projects everywhere, but its modest resolution and size kept more ambitious builds looking a little rough around the edges. That gap just got a lot smaller.
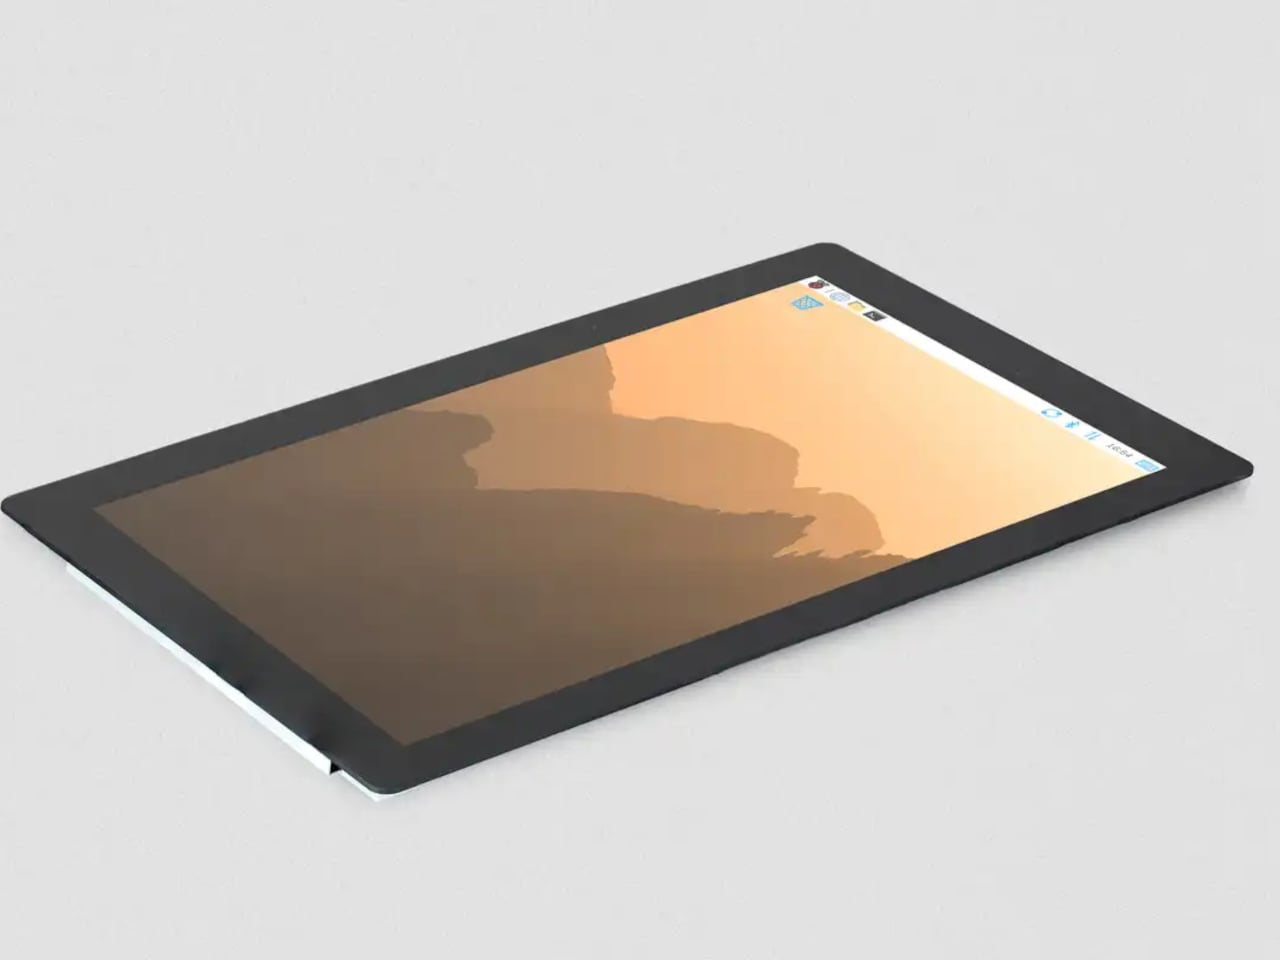
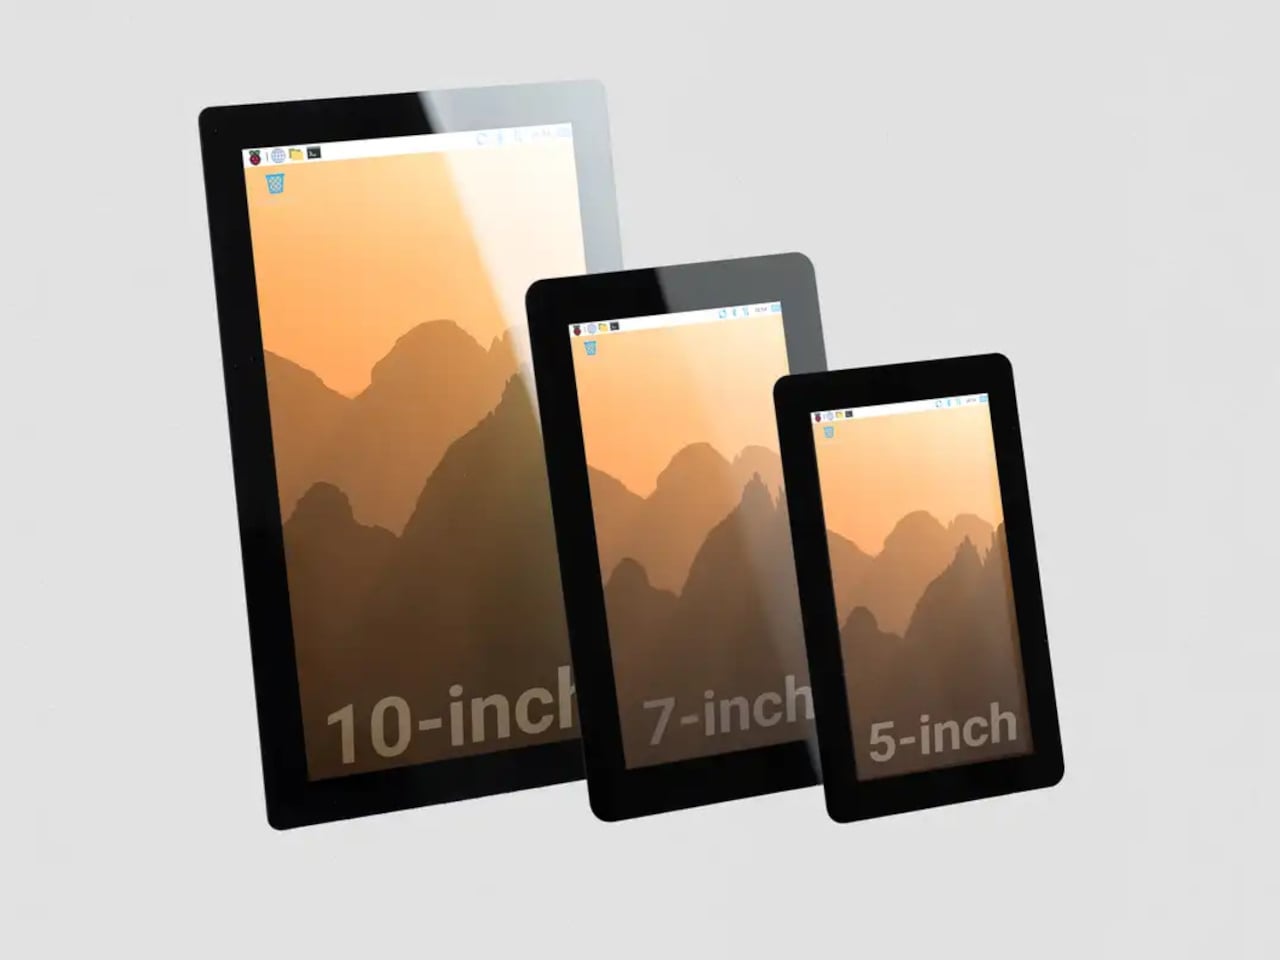
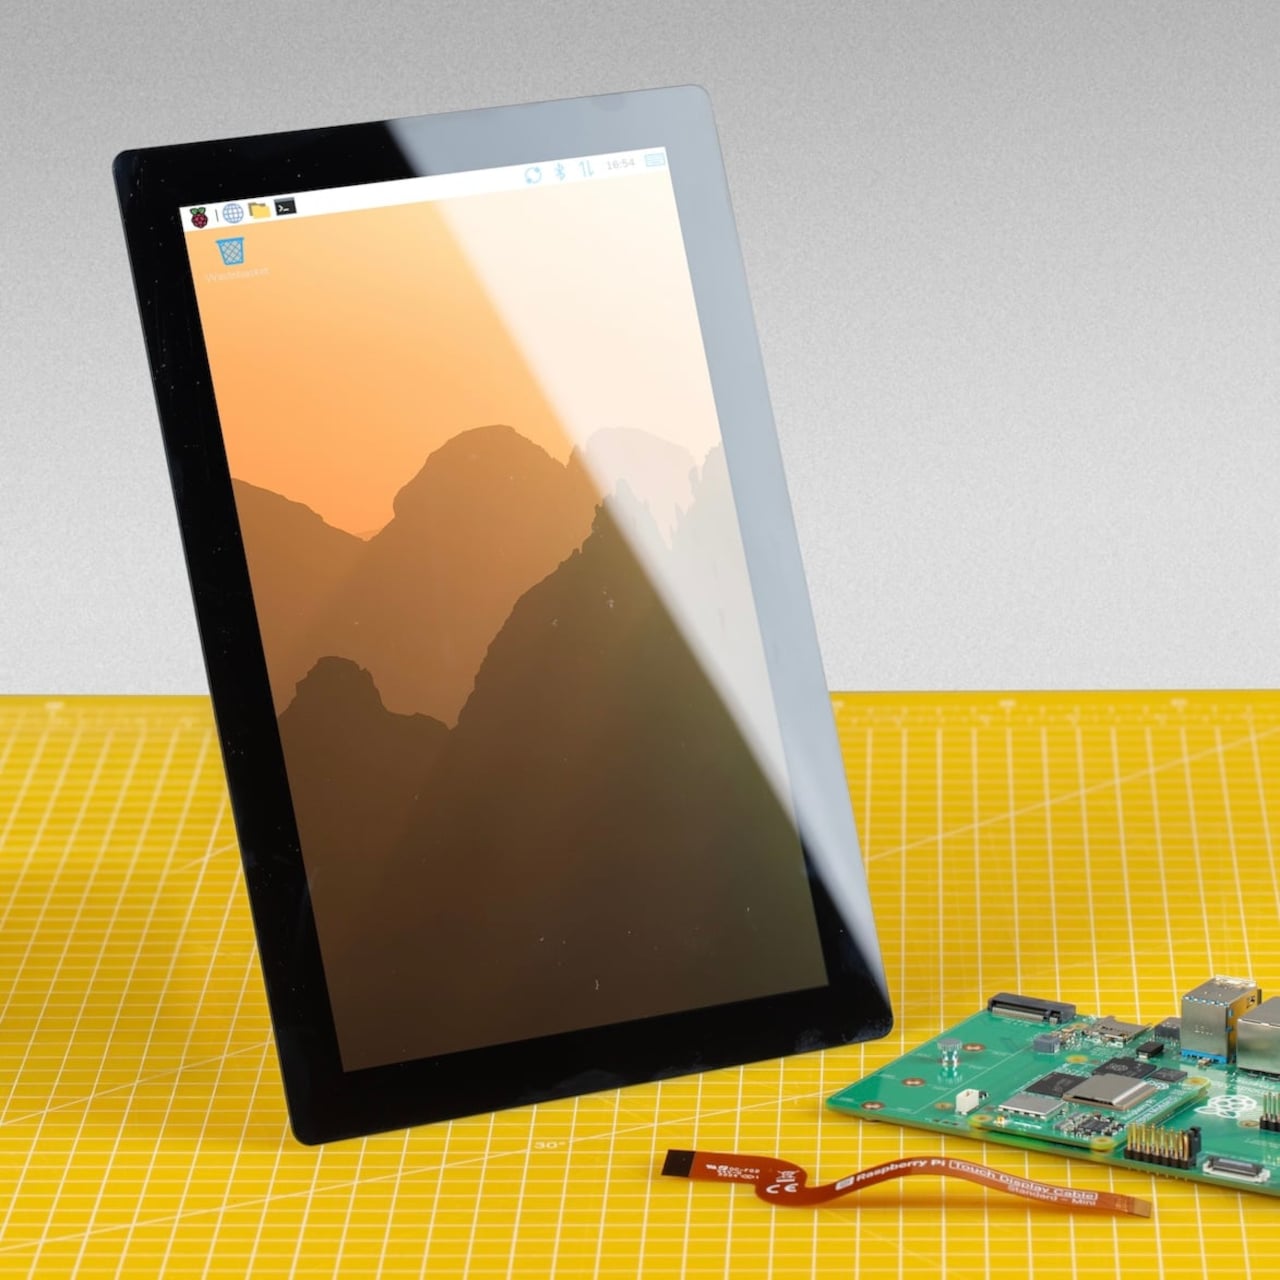
Raspberry Pi has released a 10-inch variant of its Touch Display 2, completing a family that now spans 5-inch, 7-inch, and 10-inch options. At $80, it’s the largest and most capable screen the company has offered as an official first-party accessory, and it arrives with a meaningful set of upgrades beyond simply being bigger. The resolution jumps to 1200×1920 pixels from the 720×1280 available on the smaller models, and touch support doubles to ten-point capacitive from the five-point that the 5-inch and 7-inch variants offer.
Designer: Raspberry Pi
That resolution increase matters more than the raw numbers suggest. On a 10-inch IPS panel with an anti-glare surface and 400 cd/m² brightness, the extra pixel density makes text and UI elements genuinely crisp rather than just adequate. Anyone who’s tried building a home automation dashboard or a workshop control panel with a 7-inch screen knows how quickly the interface can feel cramped. Ten inches gives those layouts room to breathe.
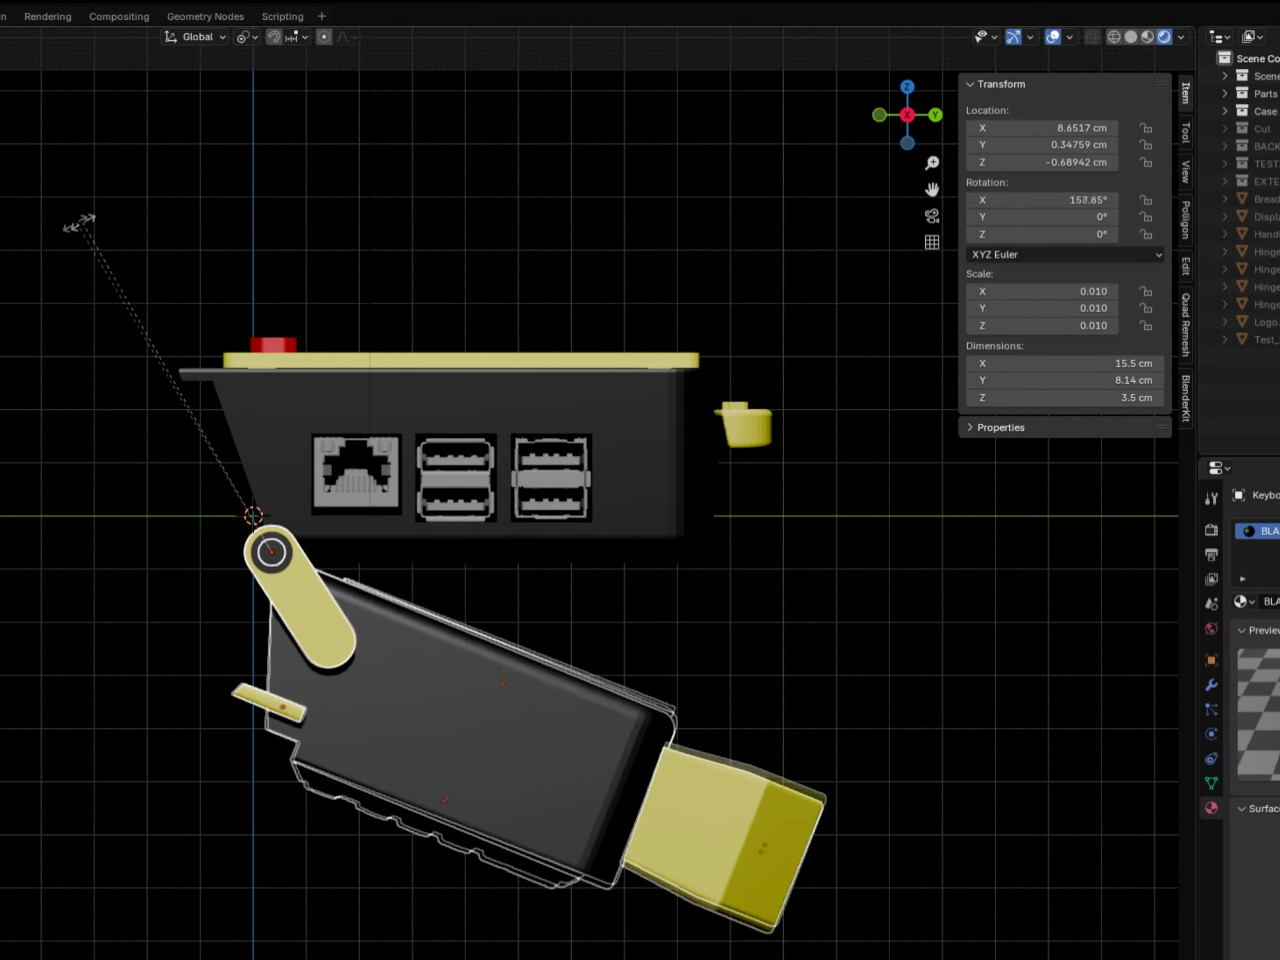
The physical setup follows the same principle the Touch Display 2 family has always used. The display mounts to the rear of a Raspberry Pi 5 using four M2.5 screws, and it draws power directly from the board’s GPIO, so there’s no need for a separate power supply. Raspberry Pi OS detects the screen automatically with full driver support, including the on-screen keyboard. No manual configuration, no hunting for drivers.
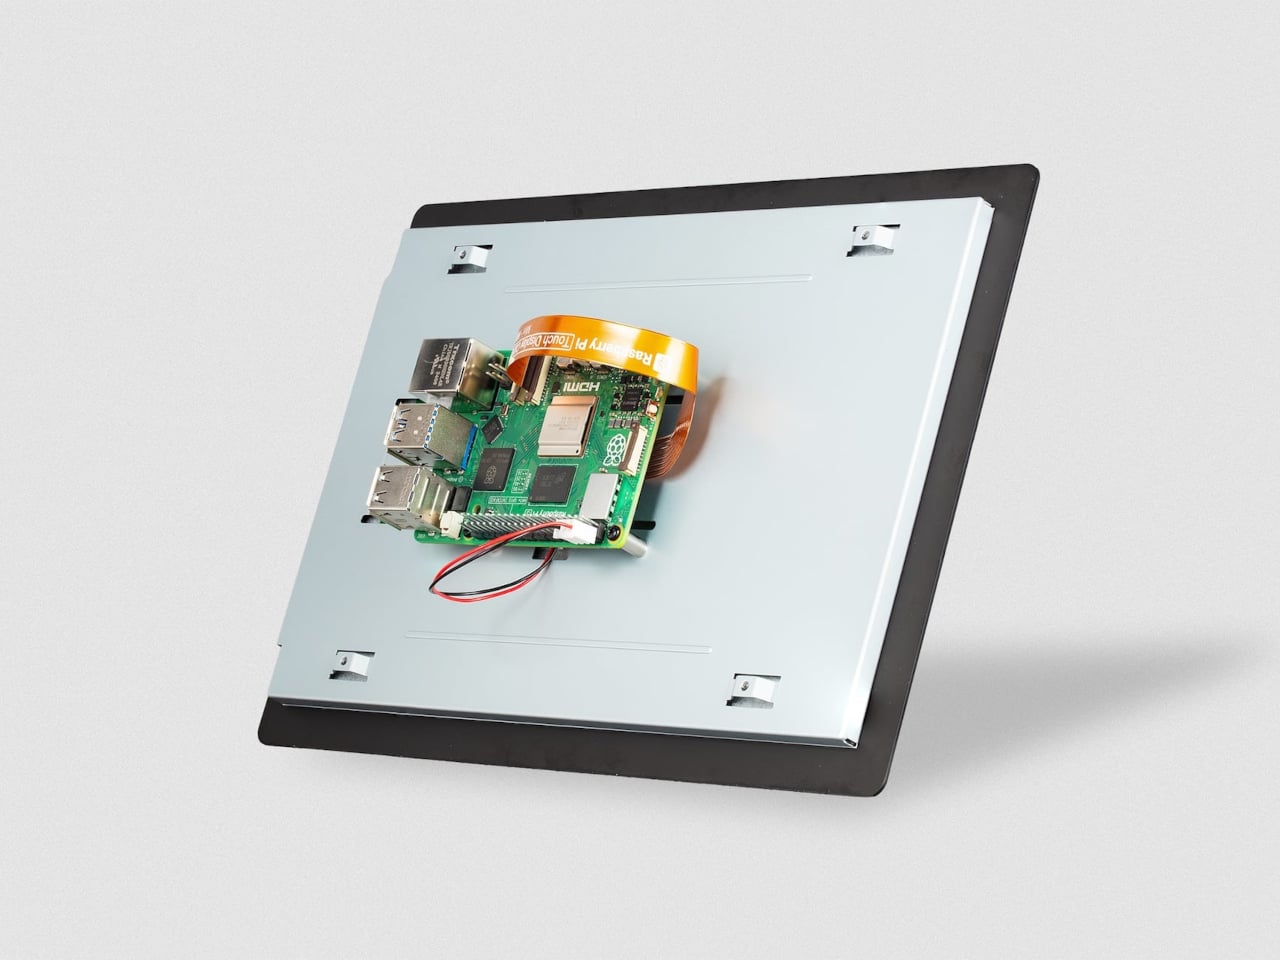
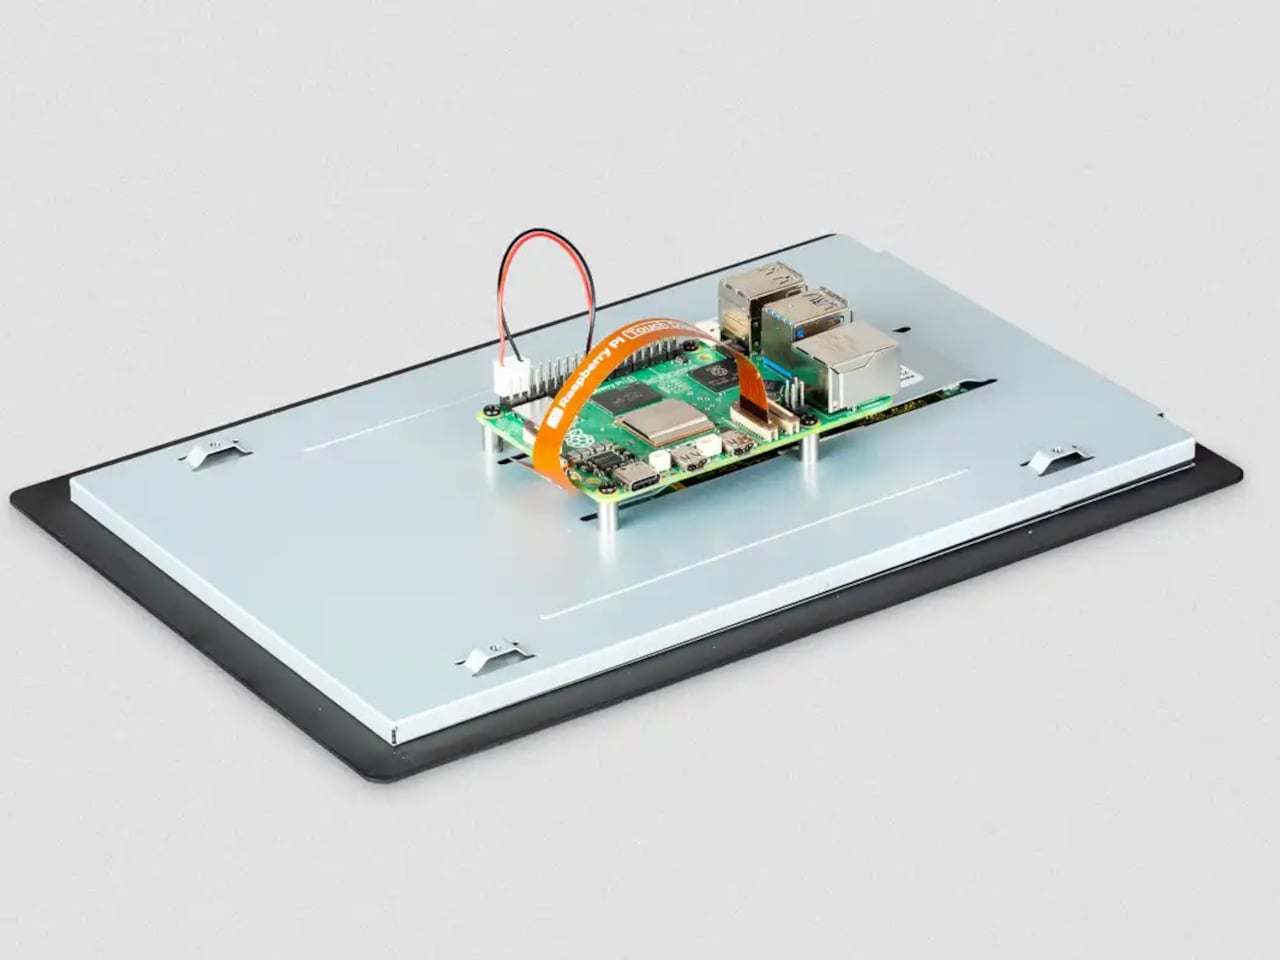
The 10-inch model does require a Raspberry Pi 5 or a Compute Module paired with a compatible carrier board. The panel uses four DSI lanes to maintain a stable 60Hz refresh rate, and earlier standard Pi models only support two, so they can’t run this display. For the builders already working with a Pi 5, that’s a natural fit. For those still on older hardware, the 7-inch and 5-inch options remain in production.
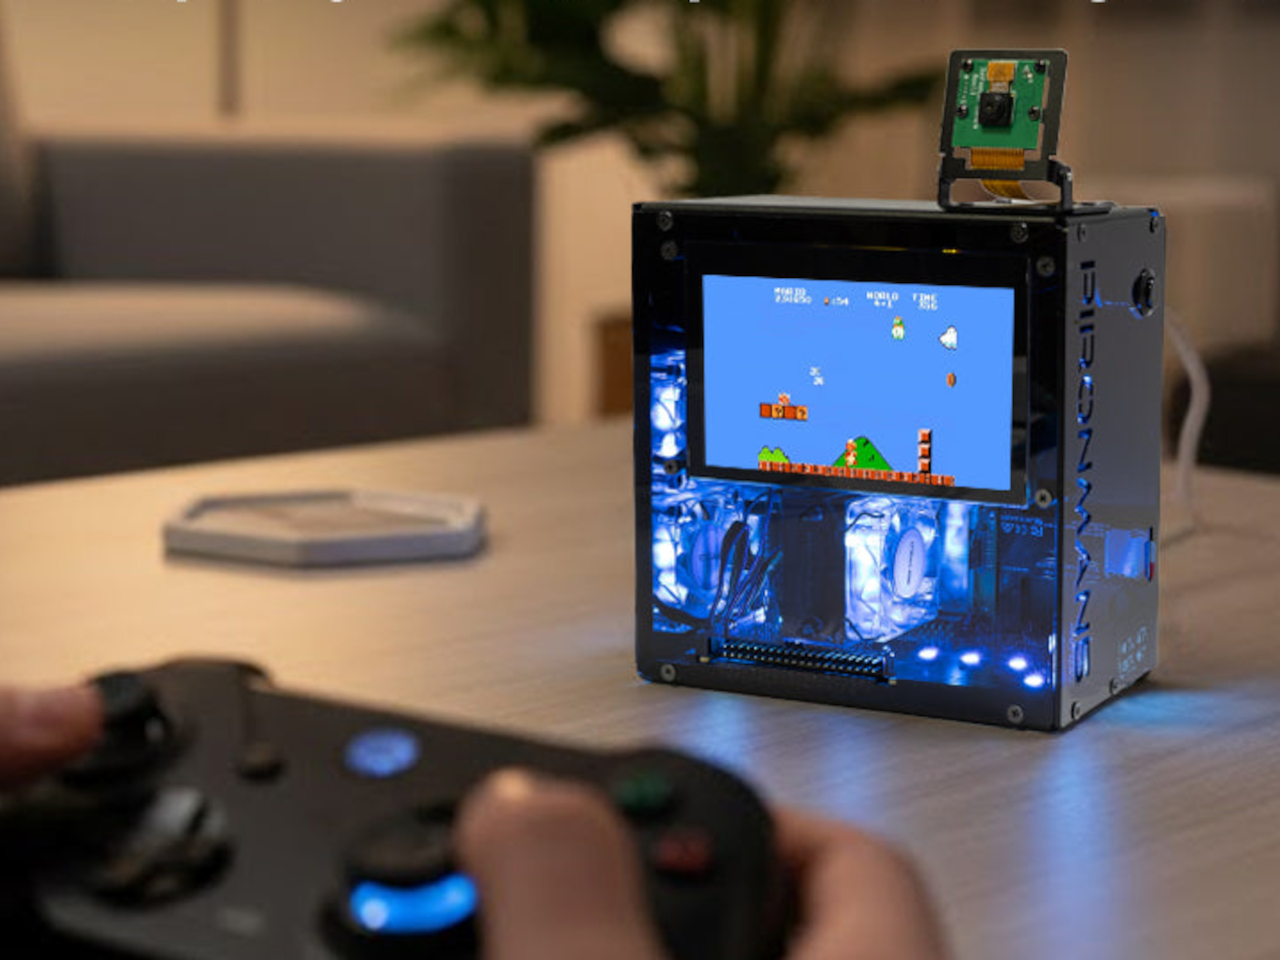
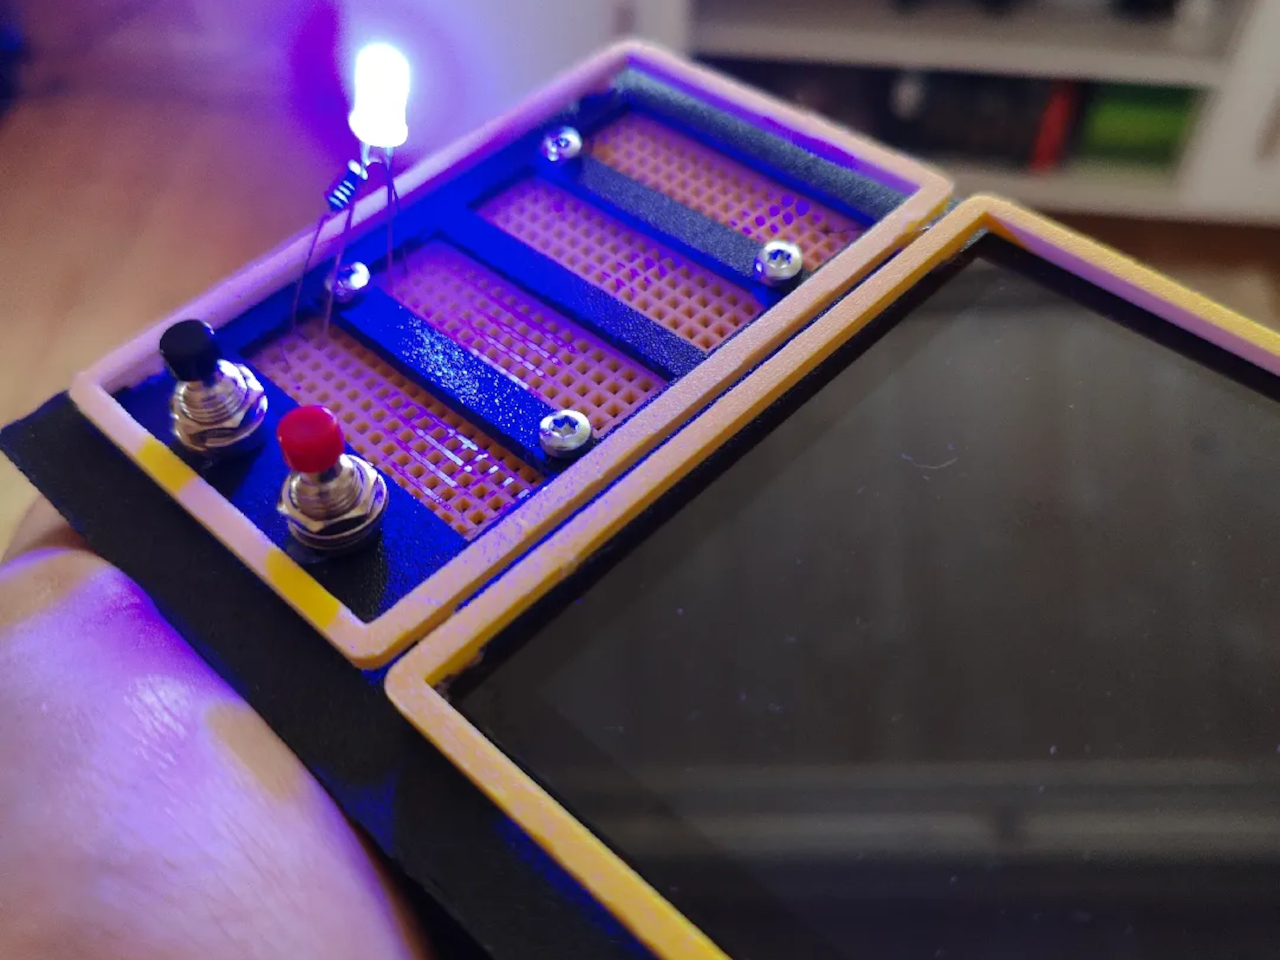
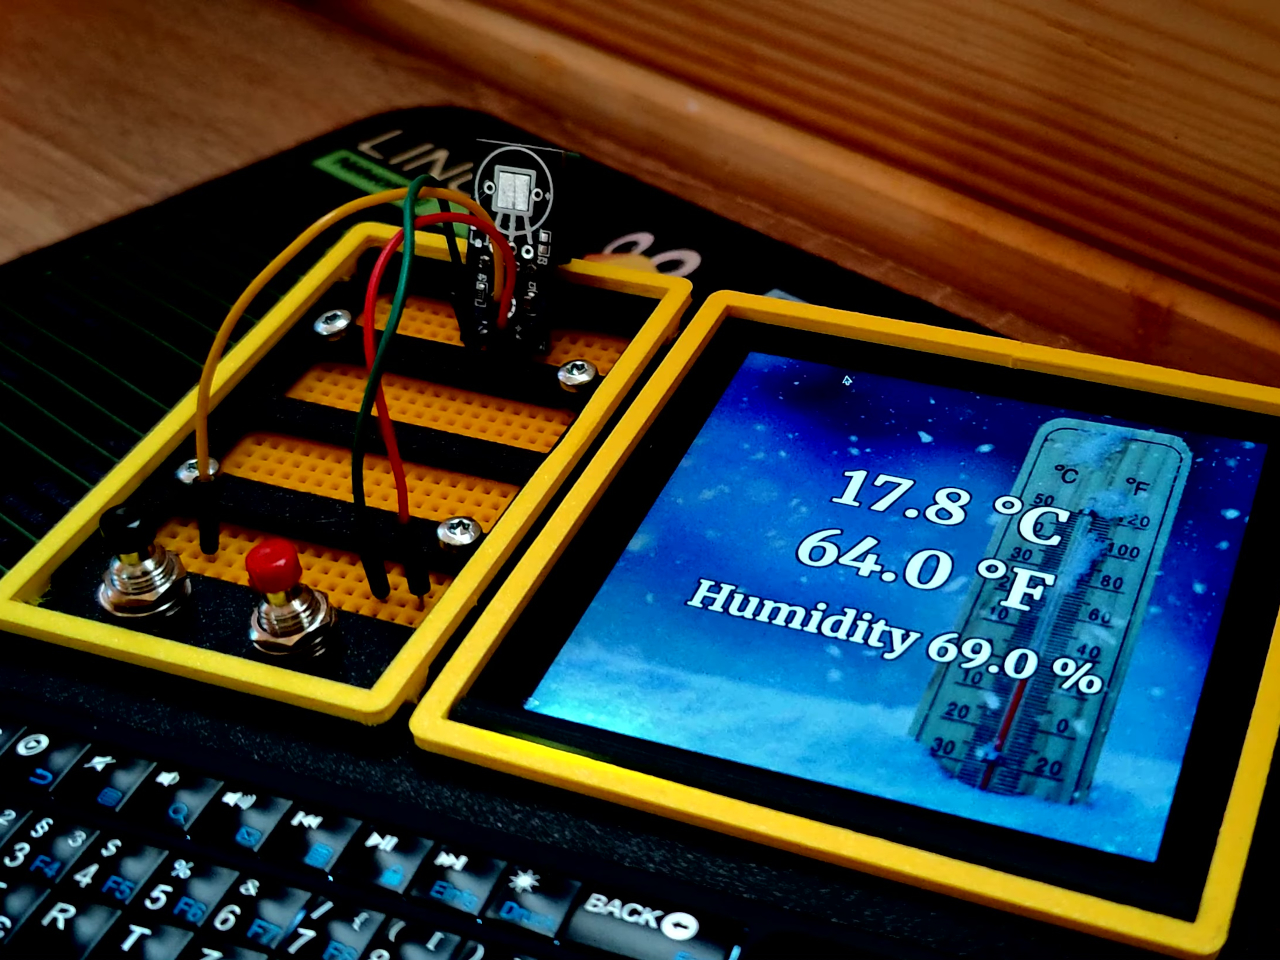
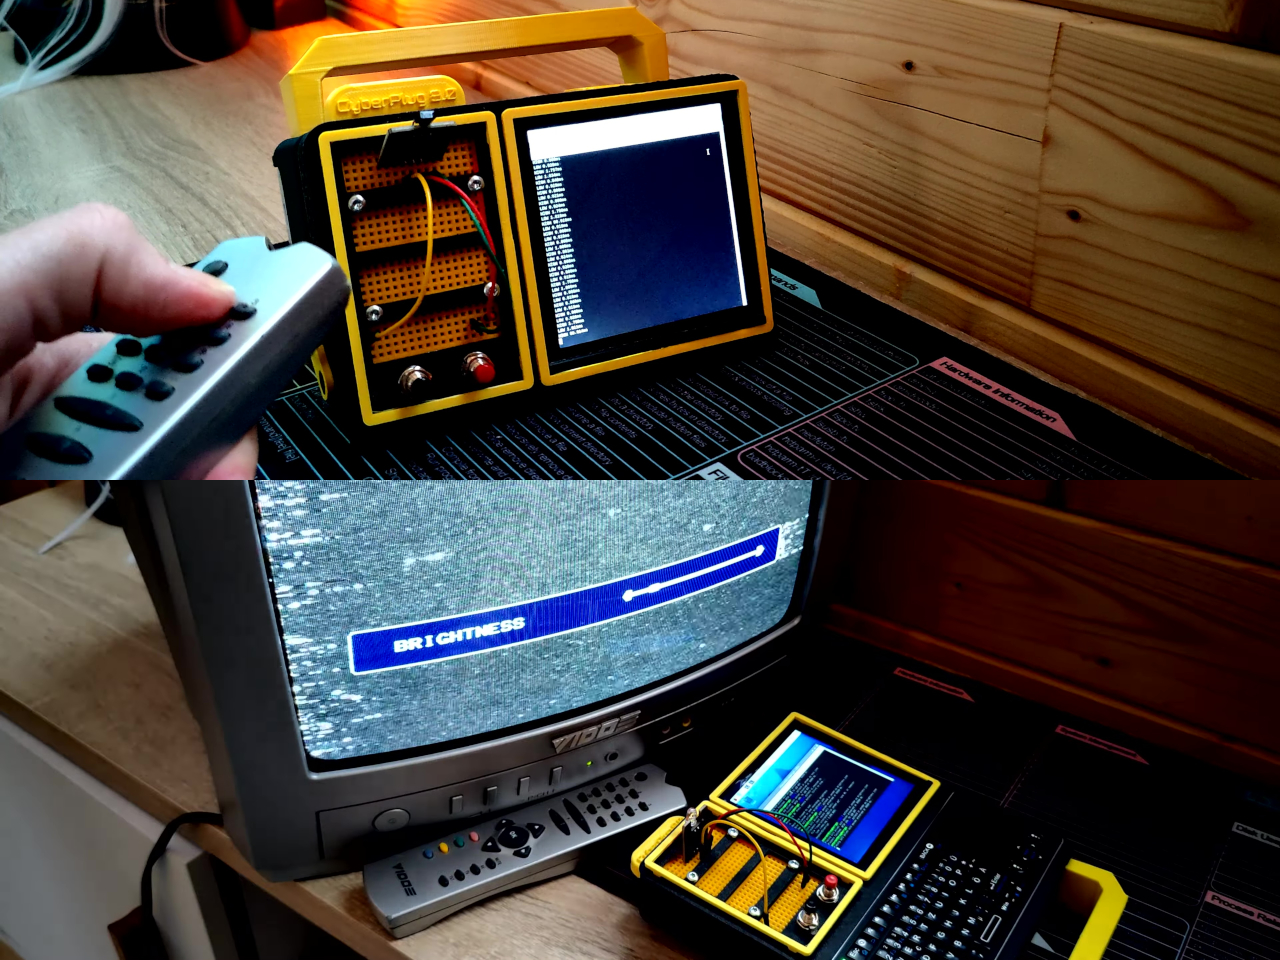
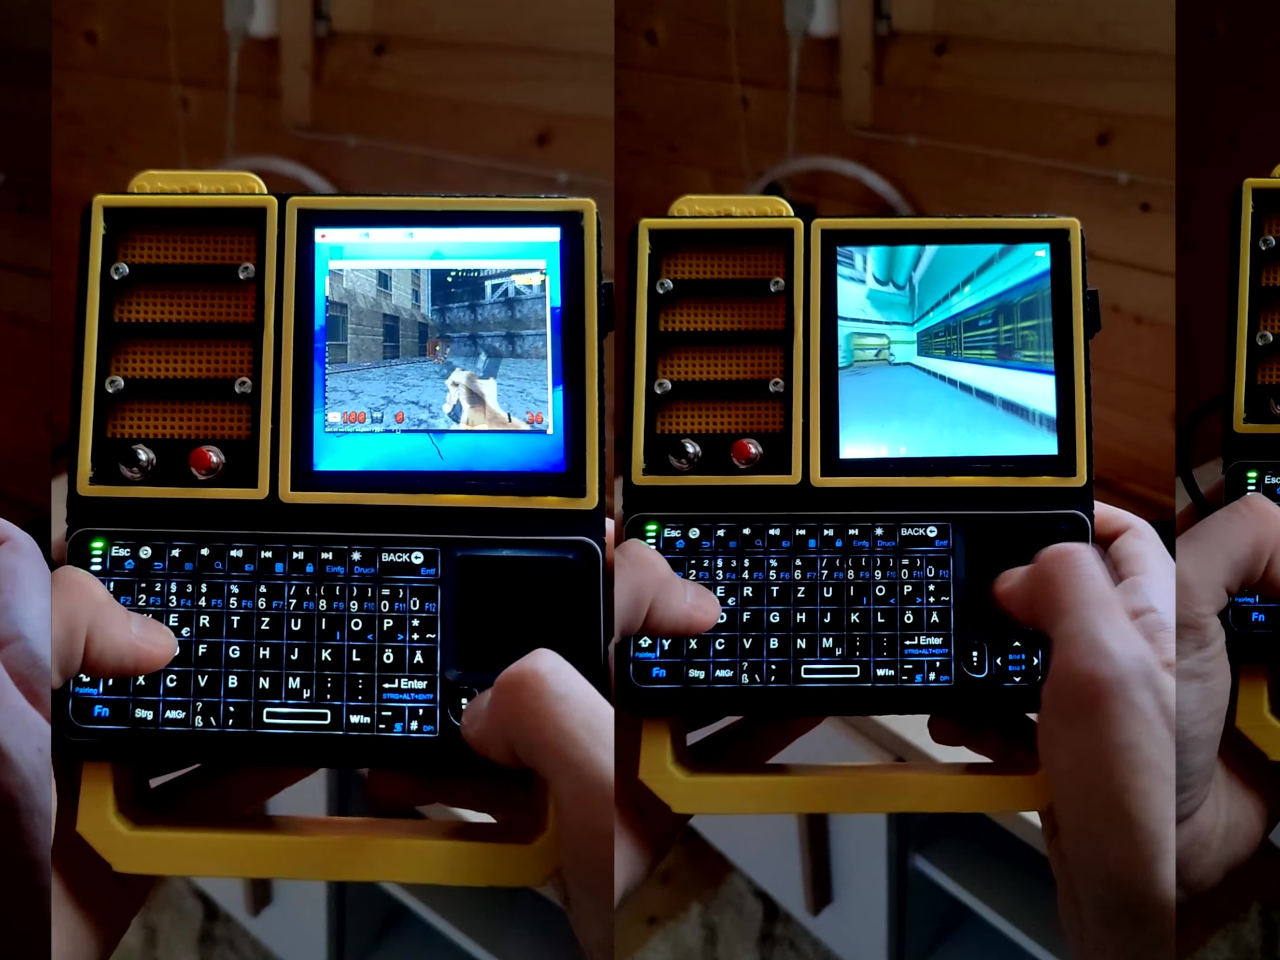
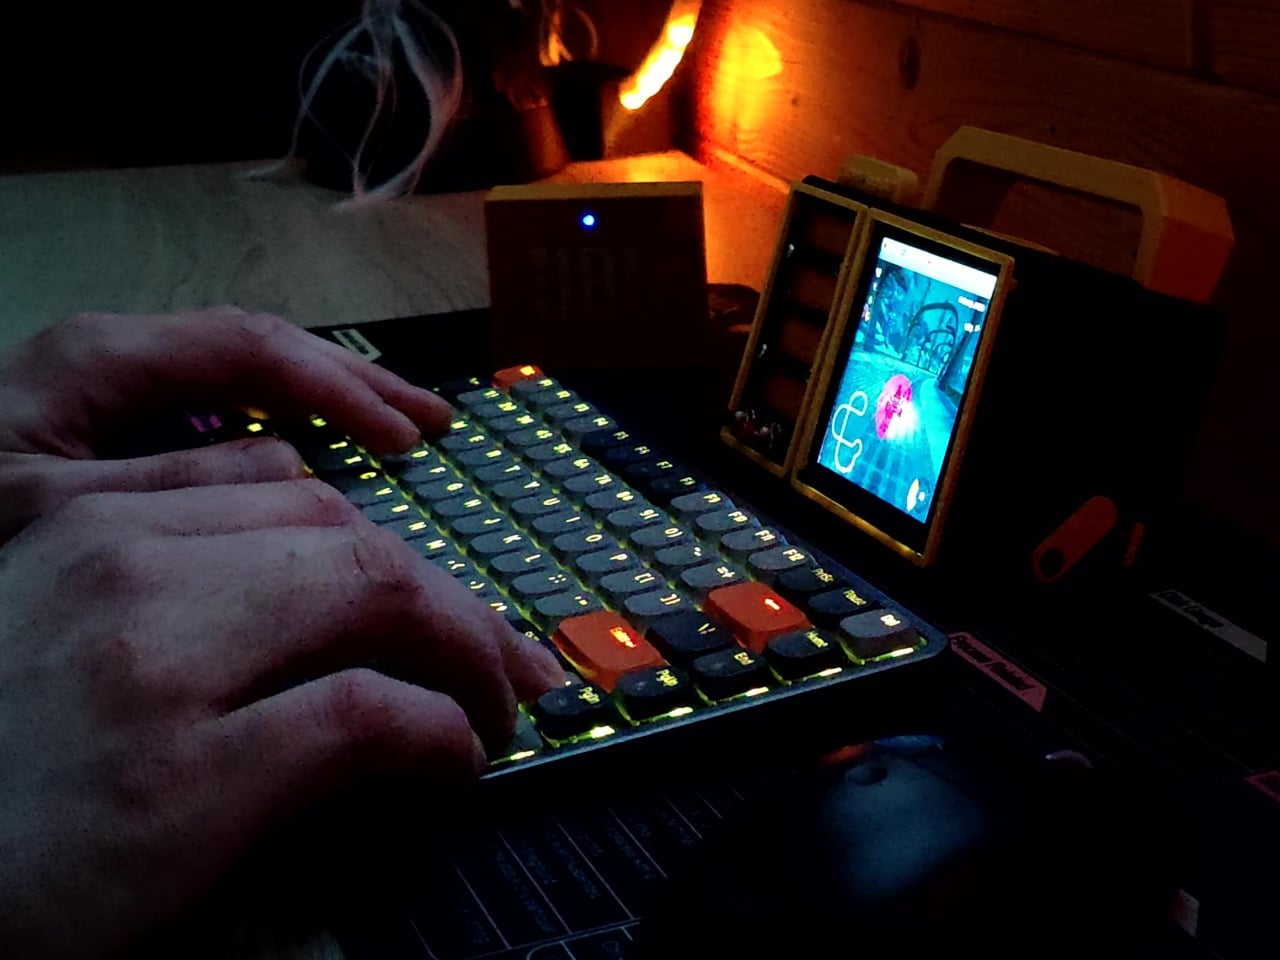
A display this size changes what a Pi-based project can realistically look like in a finished state. A kiosk that actually feels like a kiosk. A digital signage panel that doesn’t look like a proof-of-concept. A robotics control interface with enough screen real estate to show sensor data without squinting. Even a portable gaming system that approaches the comfort of a commercial handheld.
The IPS panel supports an 85-degree viewing angle and operates across a temperature range of −20°C to +70°C, which makes it a reasonable fit for environments that aren’t strictly climate-controlled. Both portrait and landscape orientations are supported in software, giving builders flexibility in how they mount the display relative to the rest of the build.
The post Raspberry Pi Finally Has the 10-Inch Screen Its Projects Always Needed first appeared on Yanko Design.