I don’t know who decided that wisdom should come wrapped in a brittle shell and a strip of paper, but I’ve always found the fortune cookie oddly charming. Not because of the fortunes themselves, which range from “a smile is your best accessory” to something you’d find stitched on a decorative pillow, but because of what they represent: a tiny, physical moment of pause. A ritual. A reason to crack something open and pay attention to what falls out. In a culture addicted to scrolling, that single sentence on a slip of paper still manages to land.
So when I came across gokux’s eFortune Cookie on Hackaday, I felt a very specific kind of joy. The kind you feel when someone takes a beloved, low-tech ritual and gives it exactly the upgrade it deserves, without ruining what made it special in the first place.
Designer: gokux

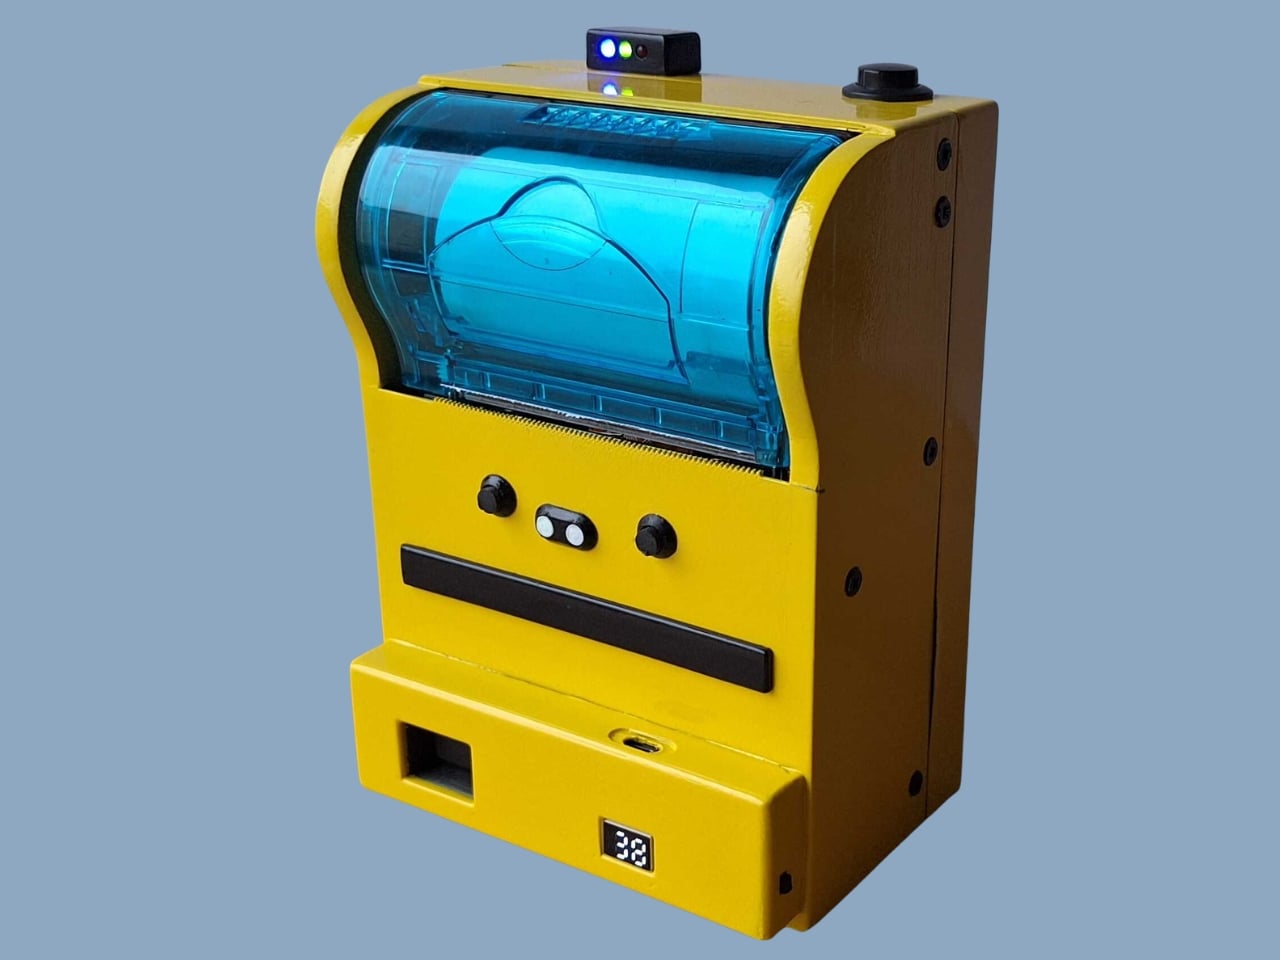
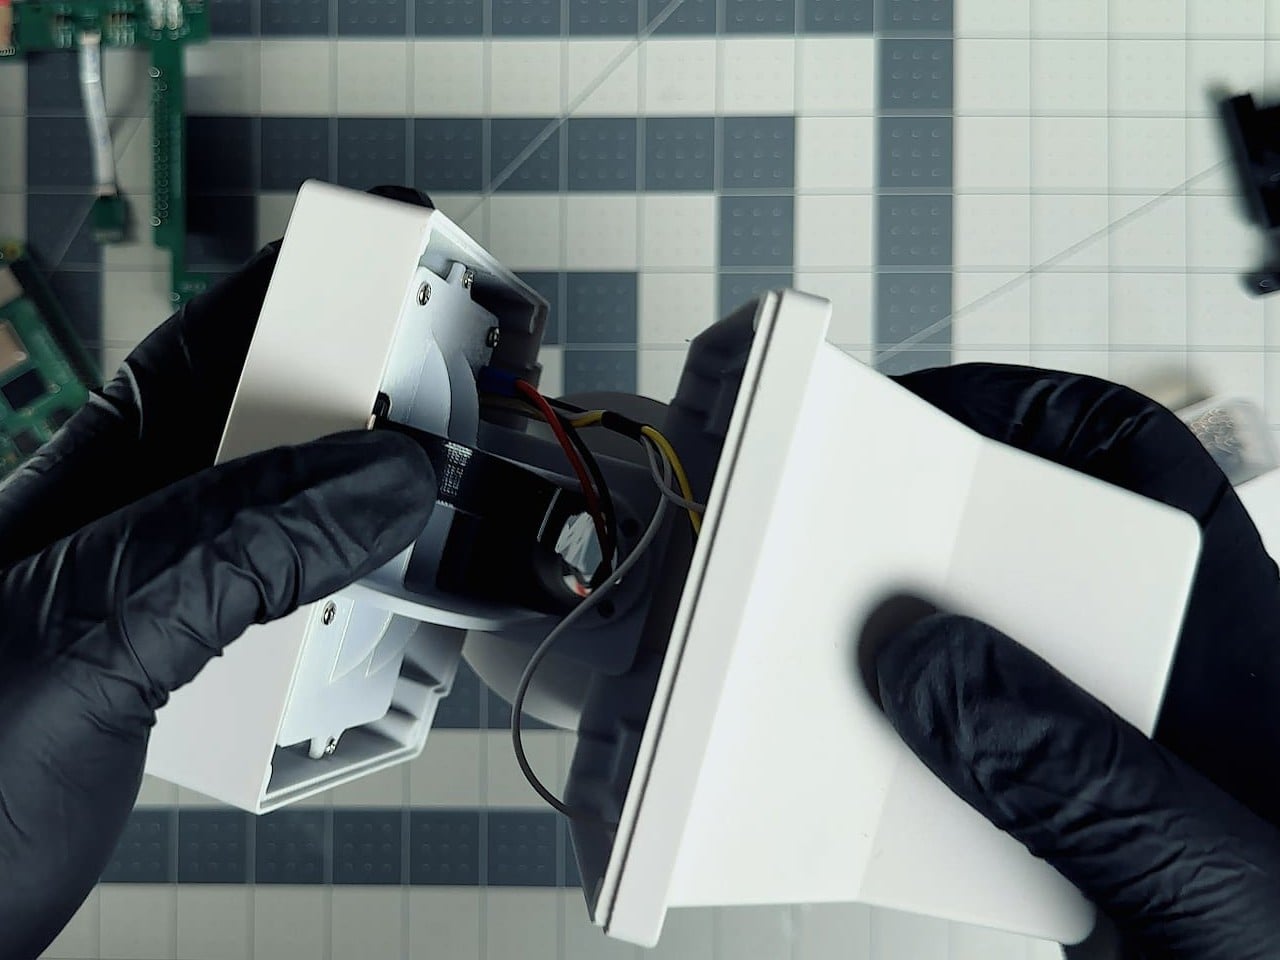
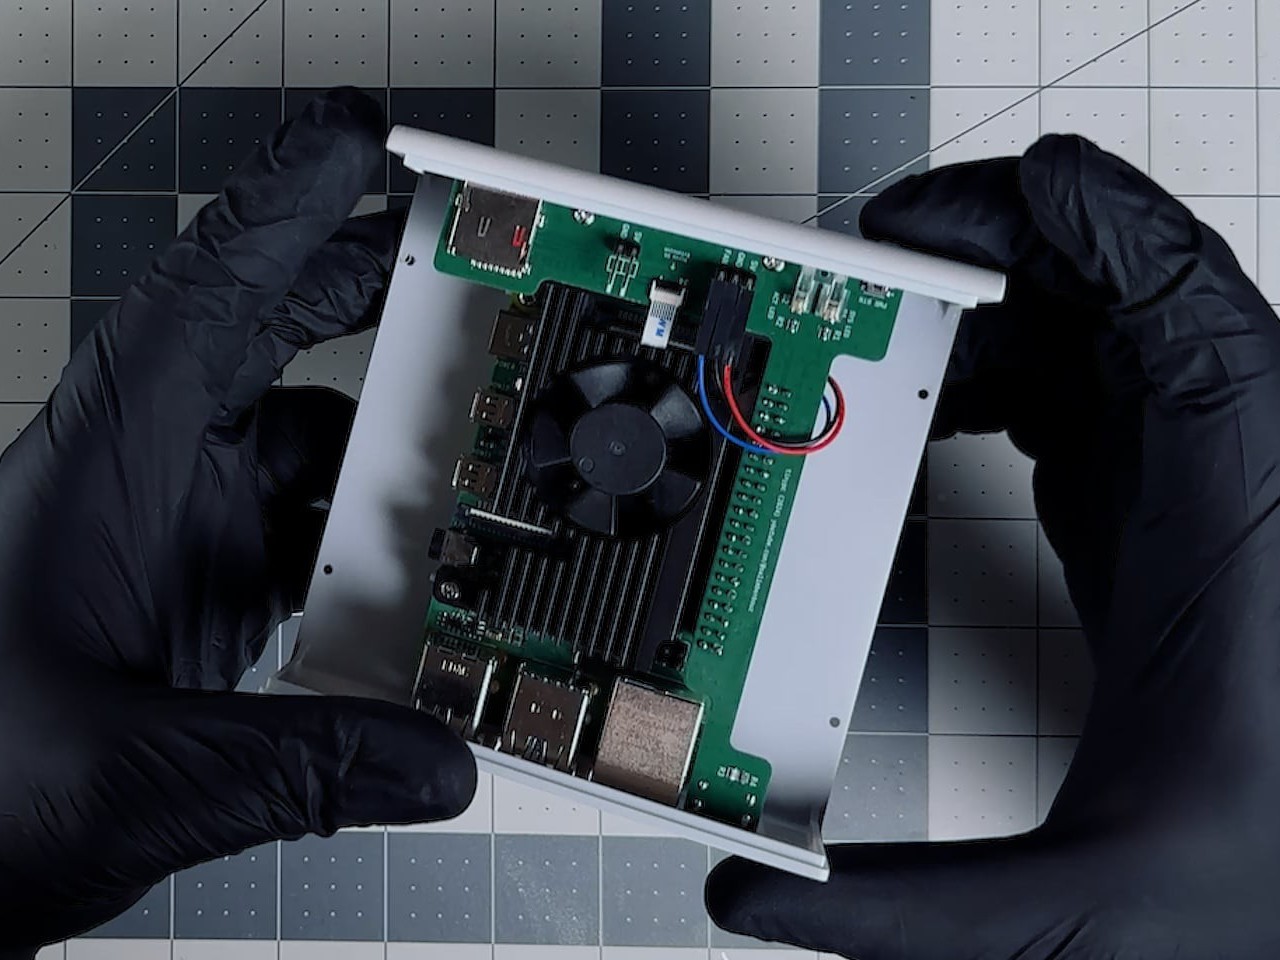
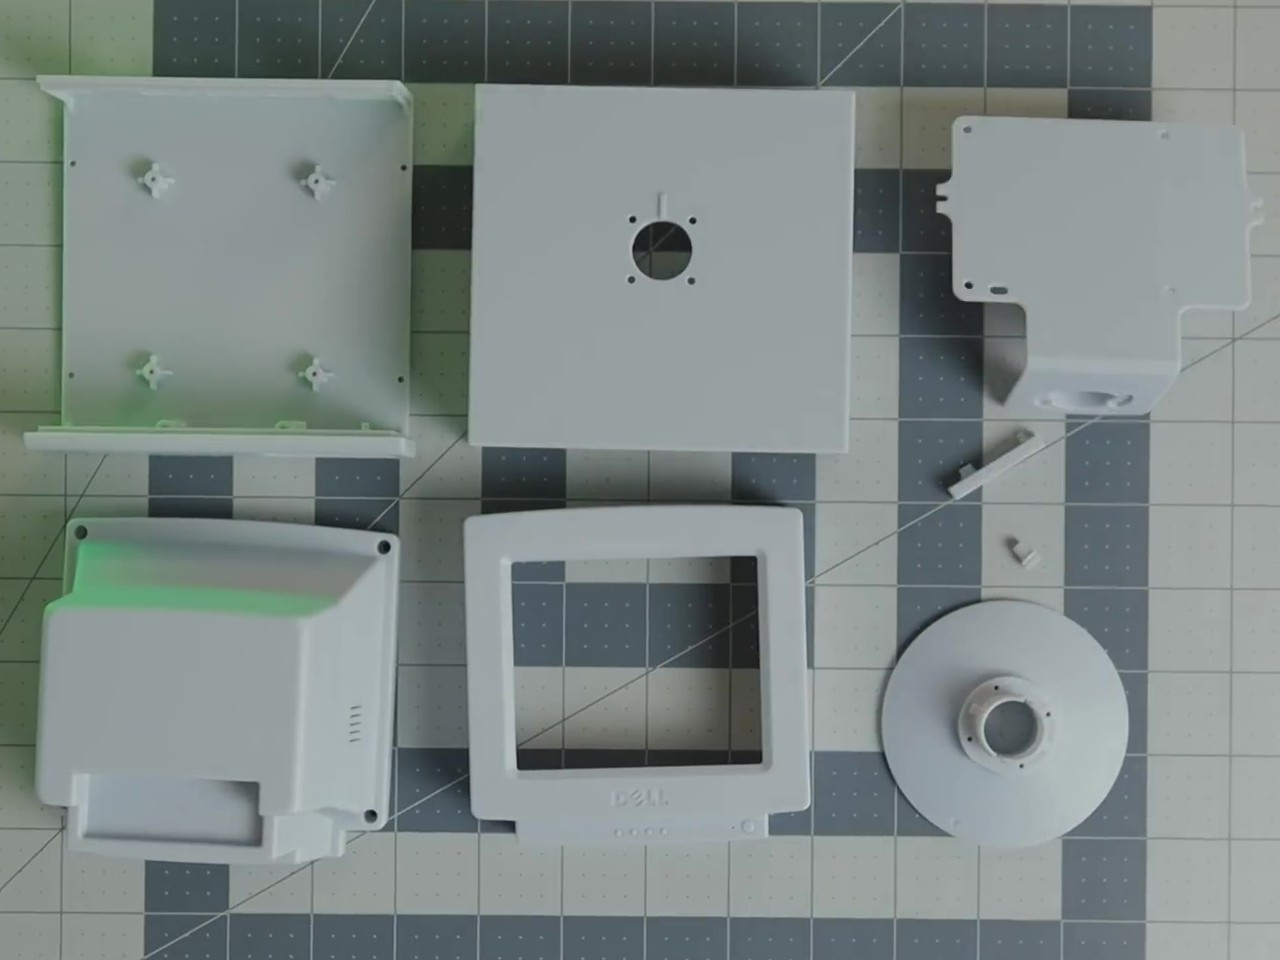
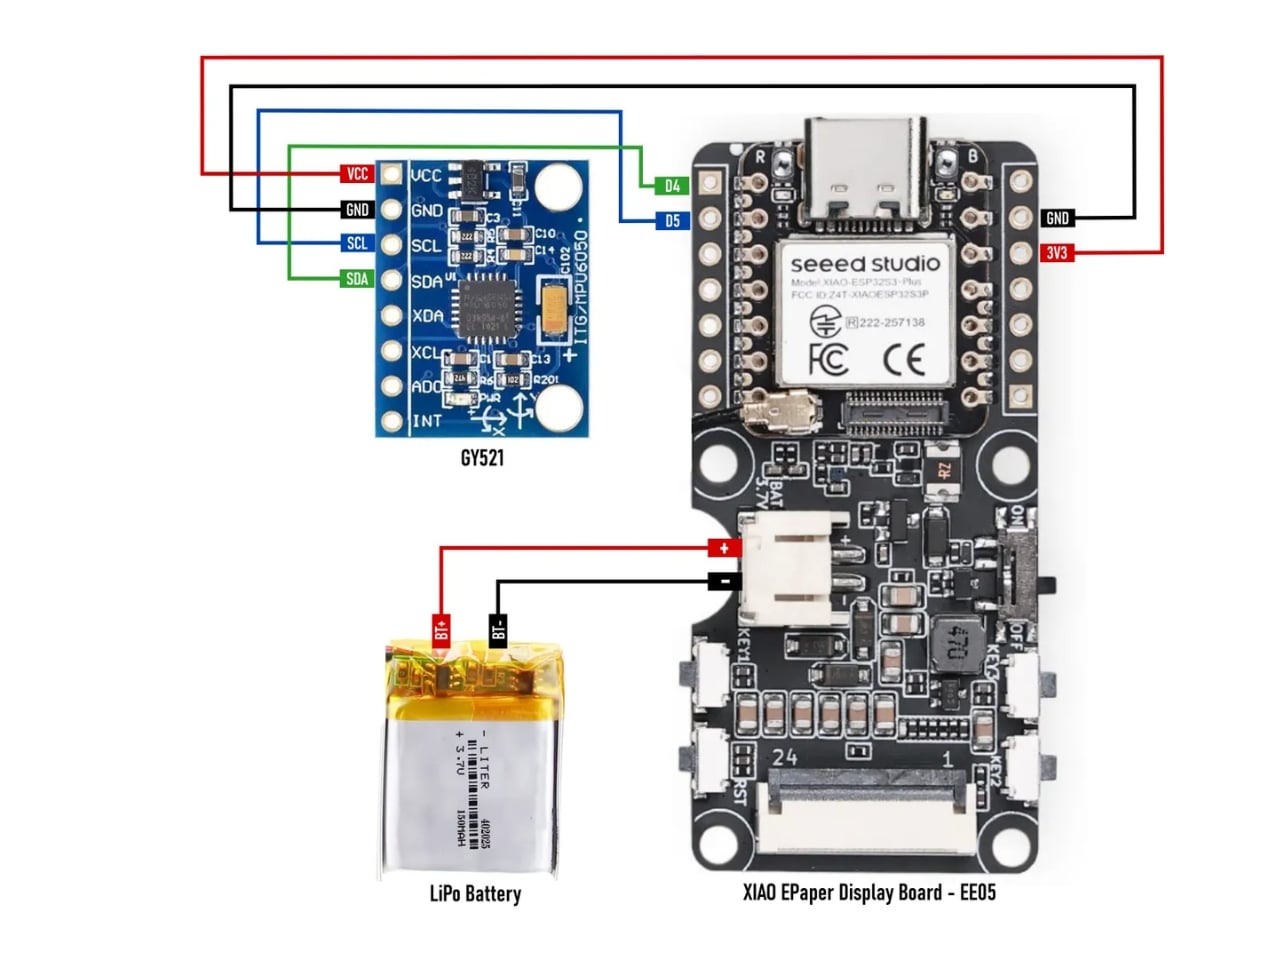
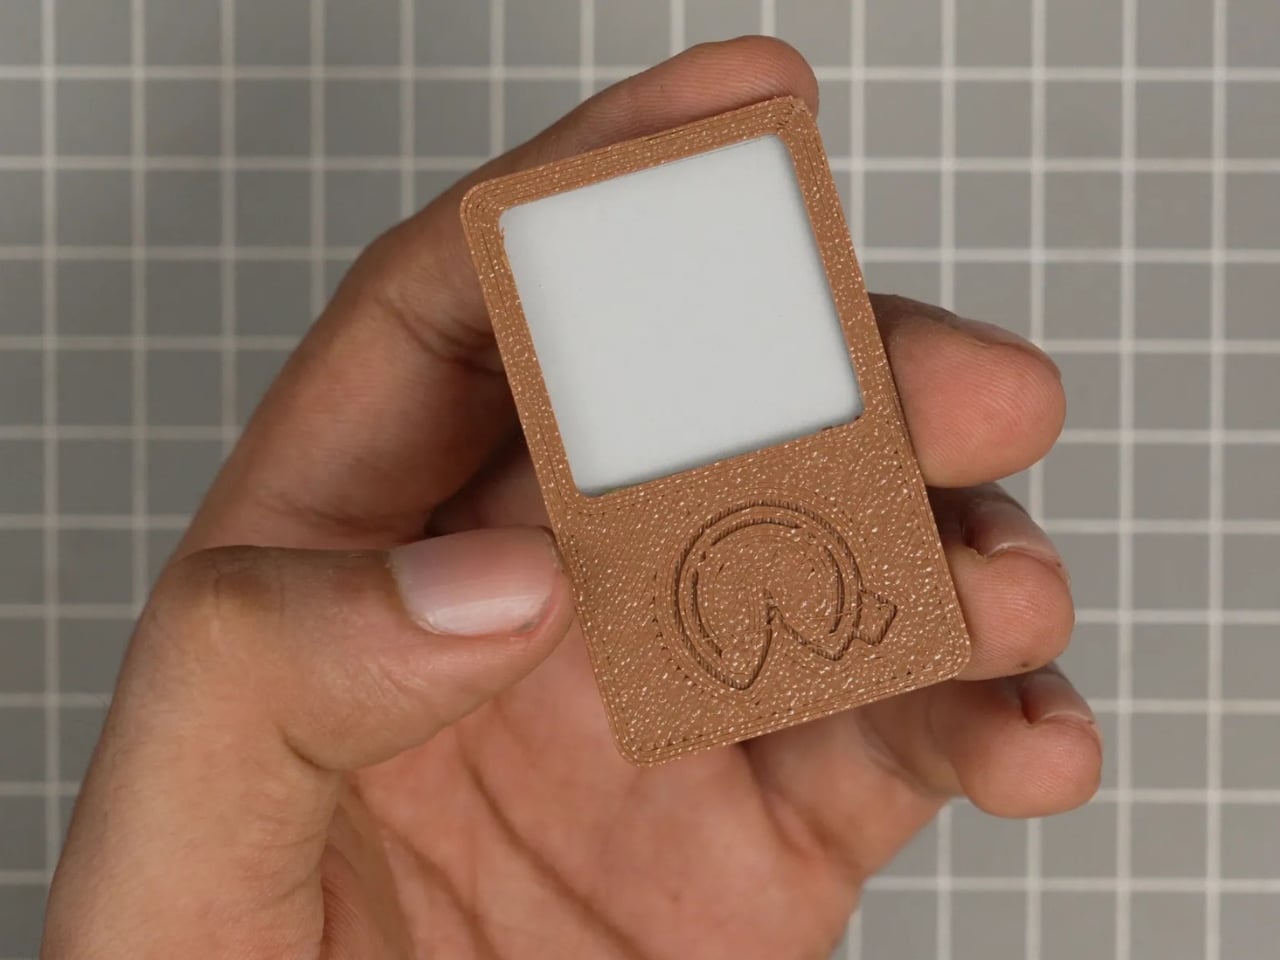
The concept is beautifully simple. gokux built a tiny, 3D-printed gadget in the shape and spirit of a fortune cookie, fitted with a Seeed Xiao ESP32-S3 Plus and a 1.54-inch e-paper display. To get your fortune, you shake it. That’s it. Shake it, and a random fortune appears on the little screen. No apps to download. No Wi-Fi required. No subscription tier. The device stores over 3,000 fortunes entirely offline, which makes it more dependable than half the smart gadgets currently collecting dust on people’s kitchen counters.
The commitment to the gesture is actually the most underrated part of this build. gokux chose to activate the fortune with a shake, not a tap or a button press, and that single decision changes everything about how the object feels to use. A shake carries energy, intention, a little theatrical flair. It mirrors what you’d do with a Magic 8-Ball or a set of dice. It makes the act of asking feel deliberate, even playful. That kind of interaction design is easy to overlook, but it’s often the difference between something you use once and something you keep picking up off the desk.
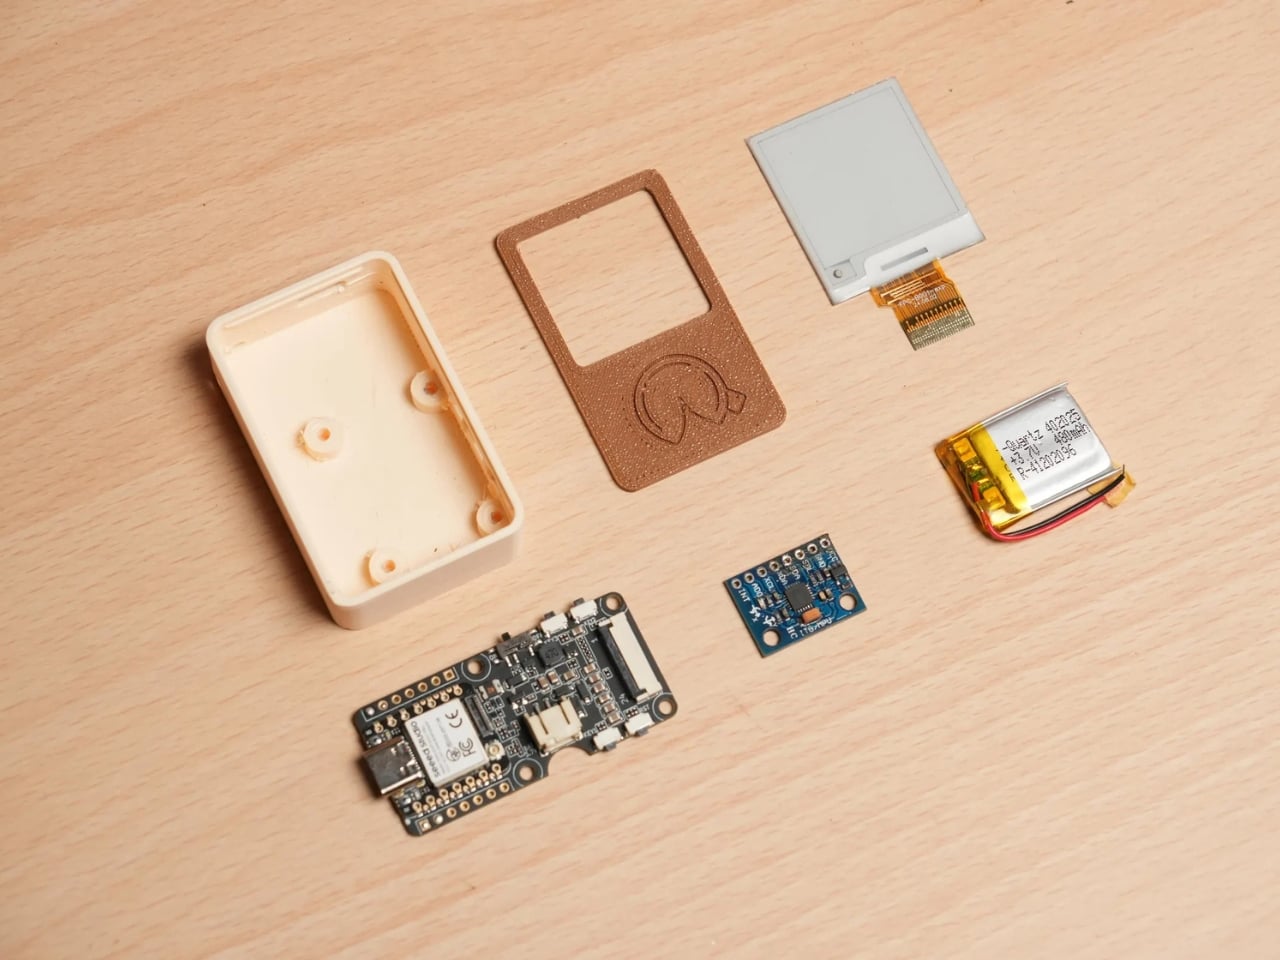
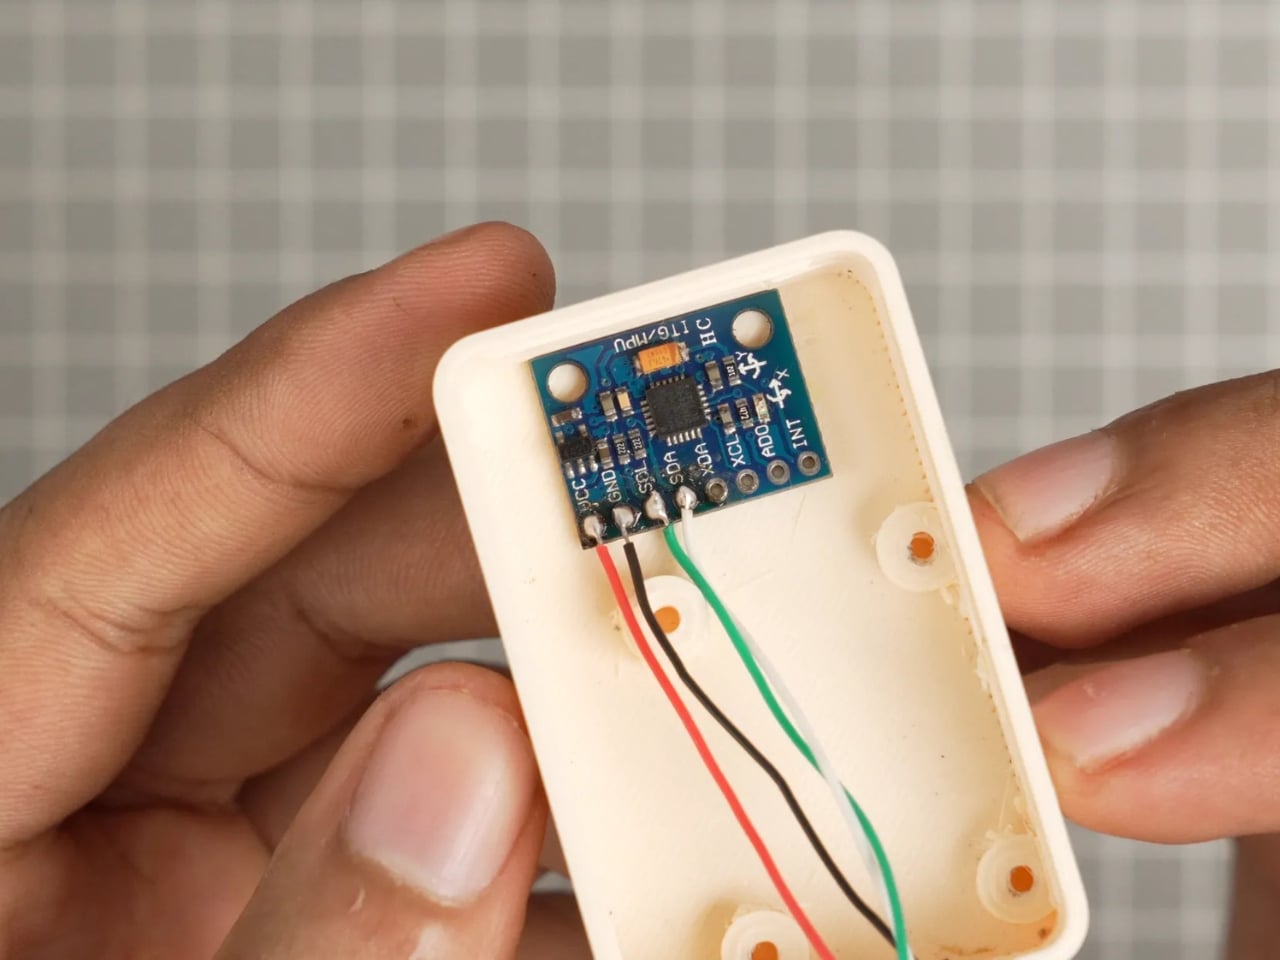
The eFortune Cookie is not a one-trick gadget, either. Side buttons let you toggle between three modes: fortune telling, dice rolling, and coin flipping, each one activated the same way. Just shake. The MPU-6050 accelerometer inside detects the motion and responds accordingly. For a small indie maker project, the level of thoughtfulness packed into something this compact is genuinely impressive. The e-paper display is a smart material choice, too. It’s low power, easy to read in any lighting, and gives the whole thing a slightly analog, slightly mysterious quality that feels exactly right for a device meant to dispense tiny slices of fate.
I’ll be transparent about what the eFortune Cookie is not. It is not artificially intelligent. It is not learning your patterns or curating insights based on your mood. The fortunes are pre-loaded, the shake is random, and the outcome is whatever it is. Some people might see that as a limitation. I see it as the point. We live in an era where every gadget wants to personalize, predict, and optimize us. A device that just shakes out a fortune and doesn’t know a single thing about you feels almost radical by comparison.
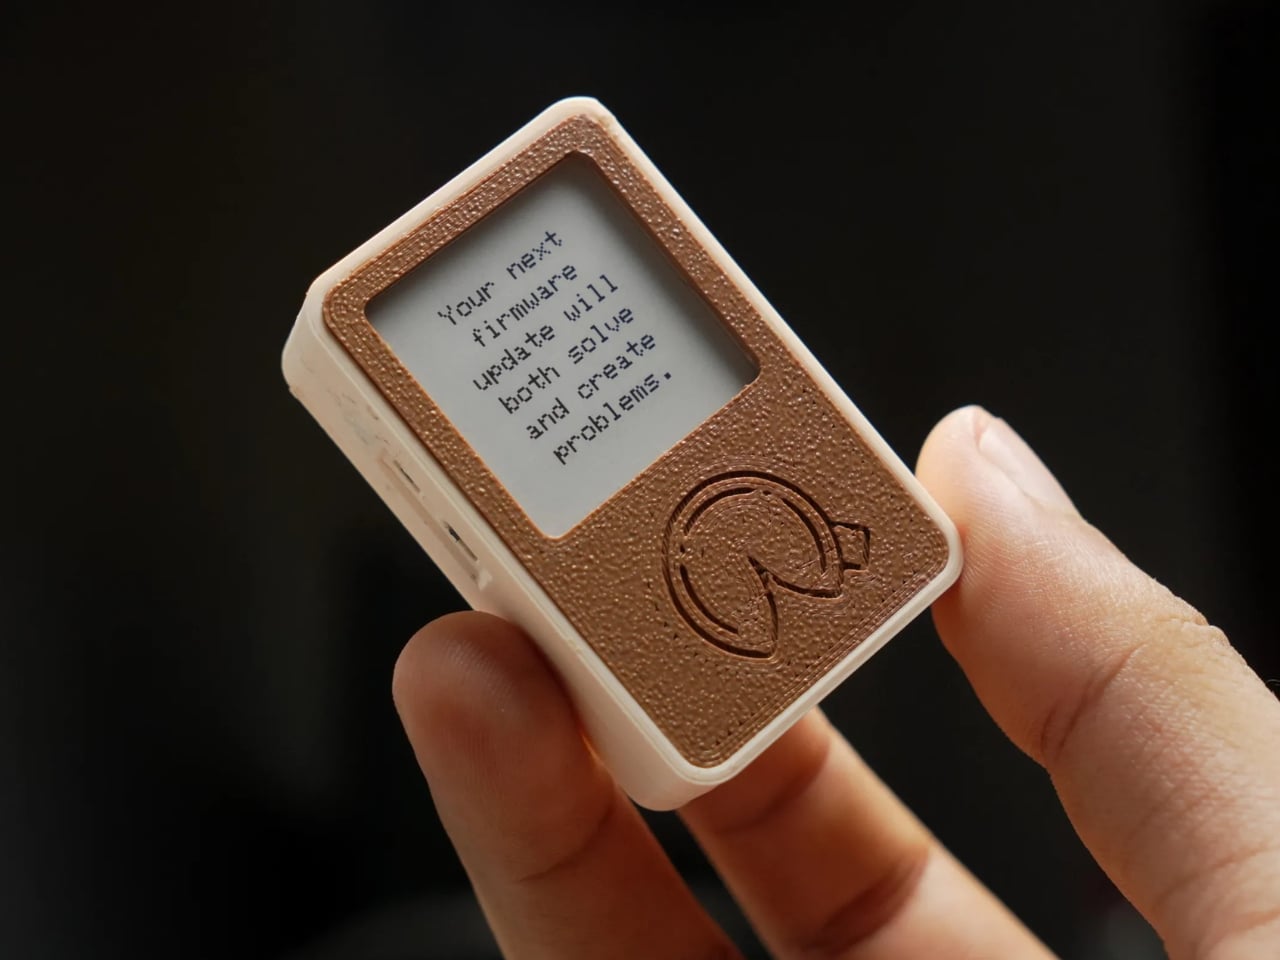
The sample fortune visible in gokux’s build photos reads: “Your next firmware update will both solve and create problems.” It’s clearly written for makers, but it captures something universally true. Most things in life both solve and create problems. That’s not pessimism. That’s just the loop we’re all in, firmware or otherwise.
What gokux made here is a small, physical object that does something the internet cannot reliably do: it makes you stop for two seconds and read a single sentence. No notification badge to clear. No thread to fall into. Just a little e-paper screen, a fortune, and whatever you decide to do with it. That’s not nothing. For a weekend project built around a $10 microcontroller and a handful of components, it’s actually quite a lot. Sometimes the simplest ideas make the most enduring objects.
The post A Maker Just Gave the Fortune Cookie a $10 Hardware Glow-Up first appeared on Yanko Design.