Sony’s PlayStation has always been a home console first and only. The PlayStation Portal, which came closest to answering the demand for a portable PlayStation, streams games from a PS5 rather than running them on the device itself. That gap, an actual PlayStation that plays its own library locally, has stayed open long enough that at least one person decided to fill it themselves, twice.
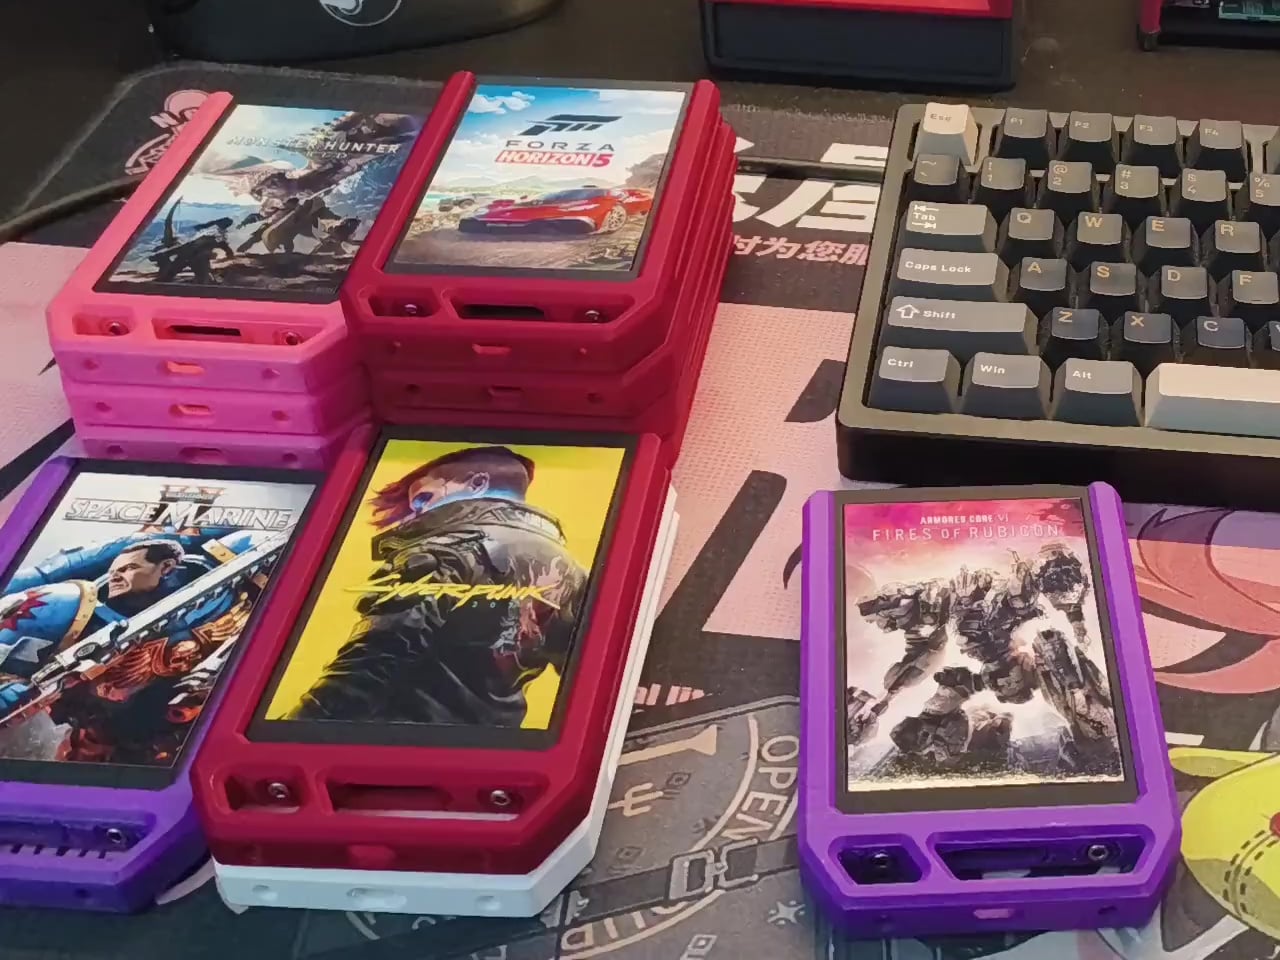
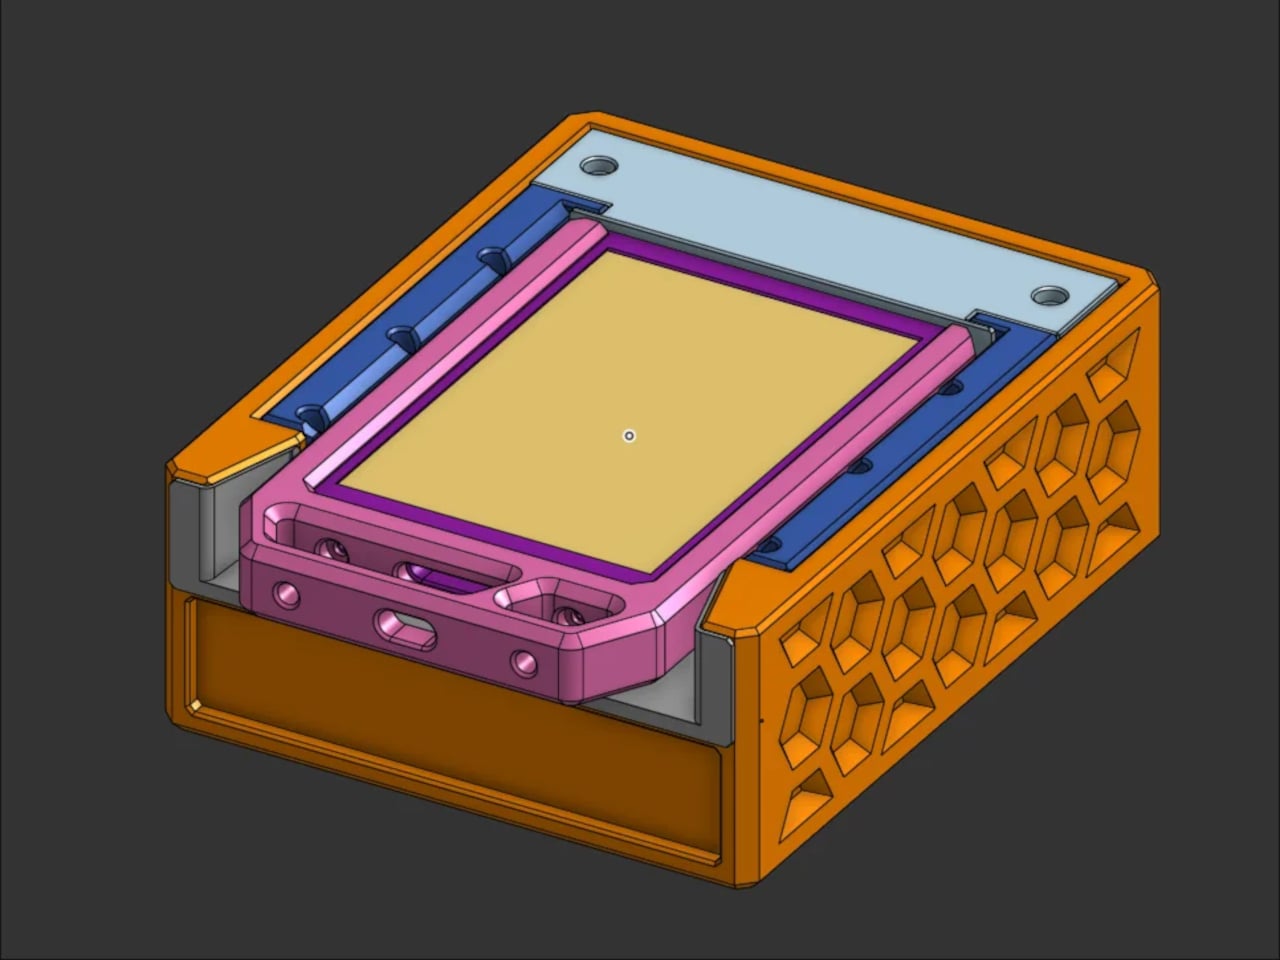
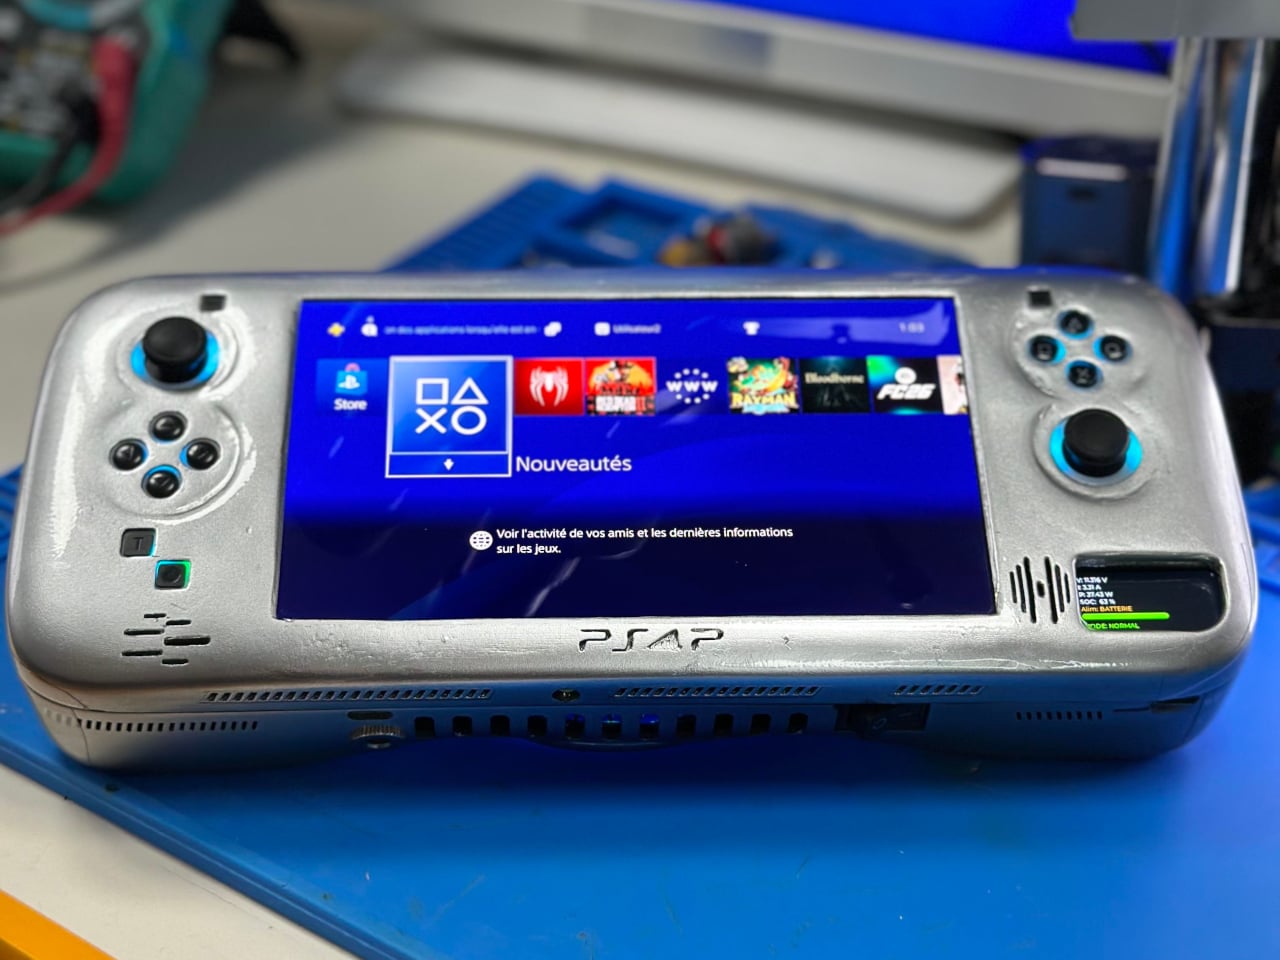
The PS4P v2 is the second version of a DIY handheld built around a real PS4 Slim motherboard, trimmed and modified to fit inside a 3D-printed shell. The first version, completed earlier this year, was a functional proof of concept that came in at around 1.5 kg and looked more like a prototype than a finished product. This second build is a step up in almost every meaningful way, and the jump in refinement between the two is obvious from the build photos alone.
Designer: wewillmakeitnow
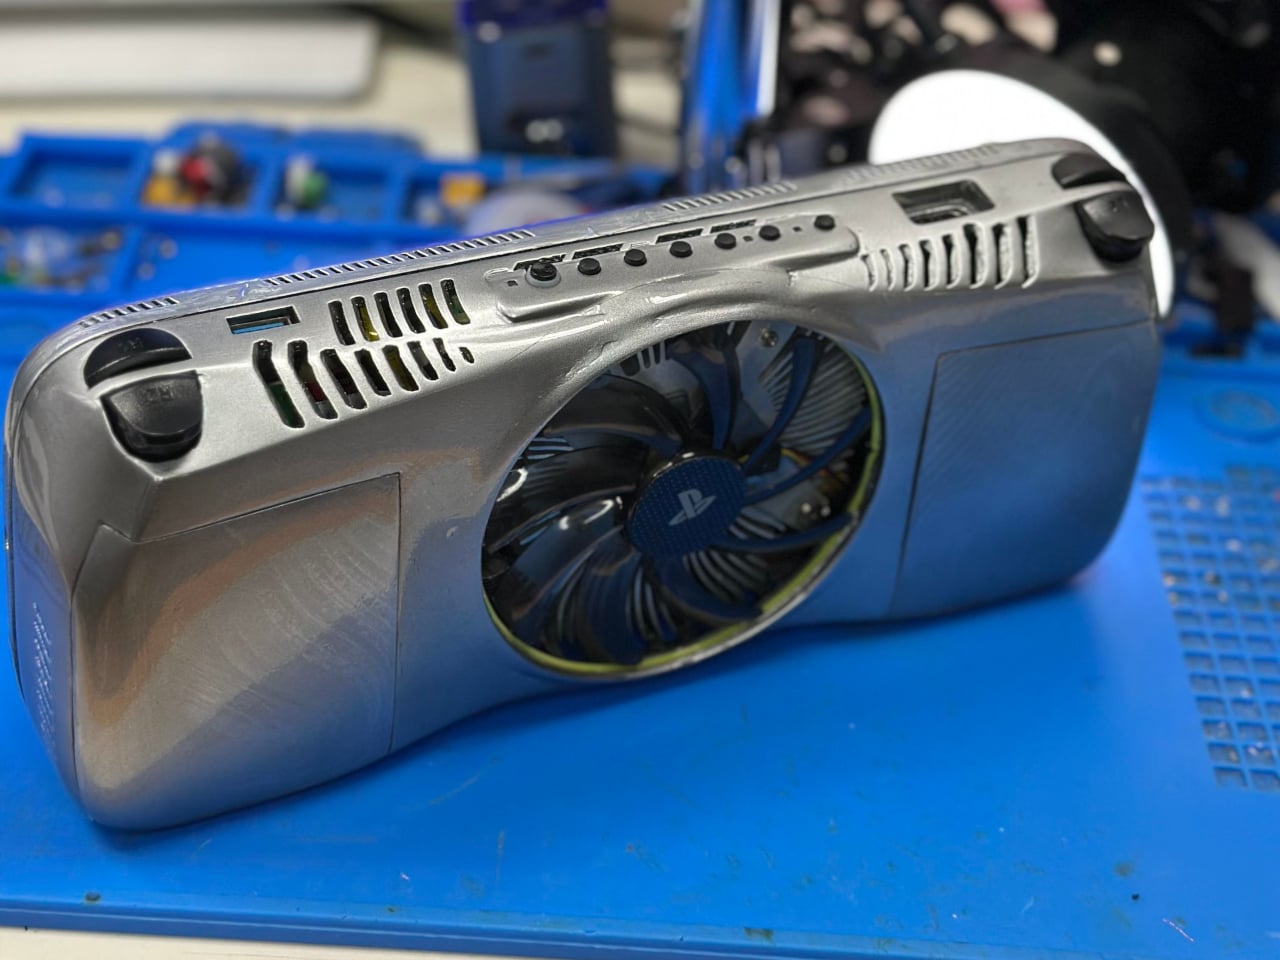
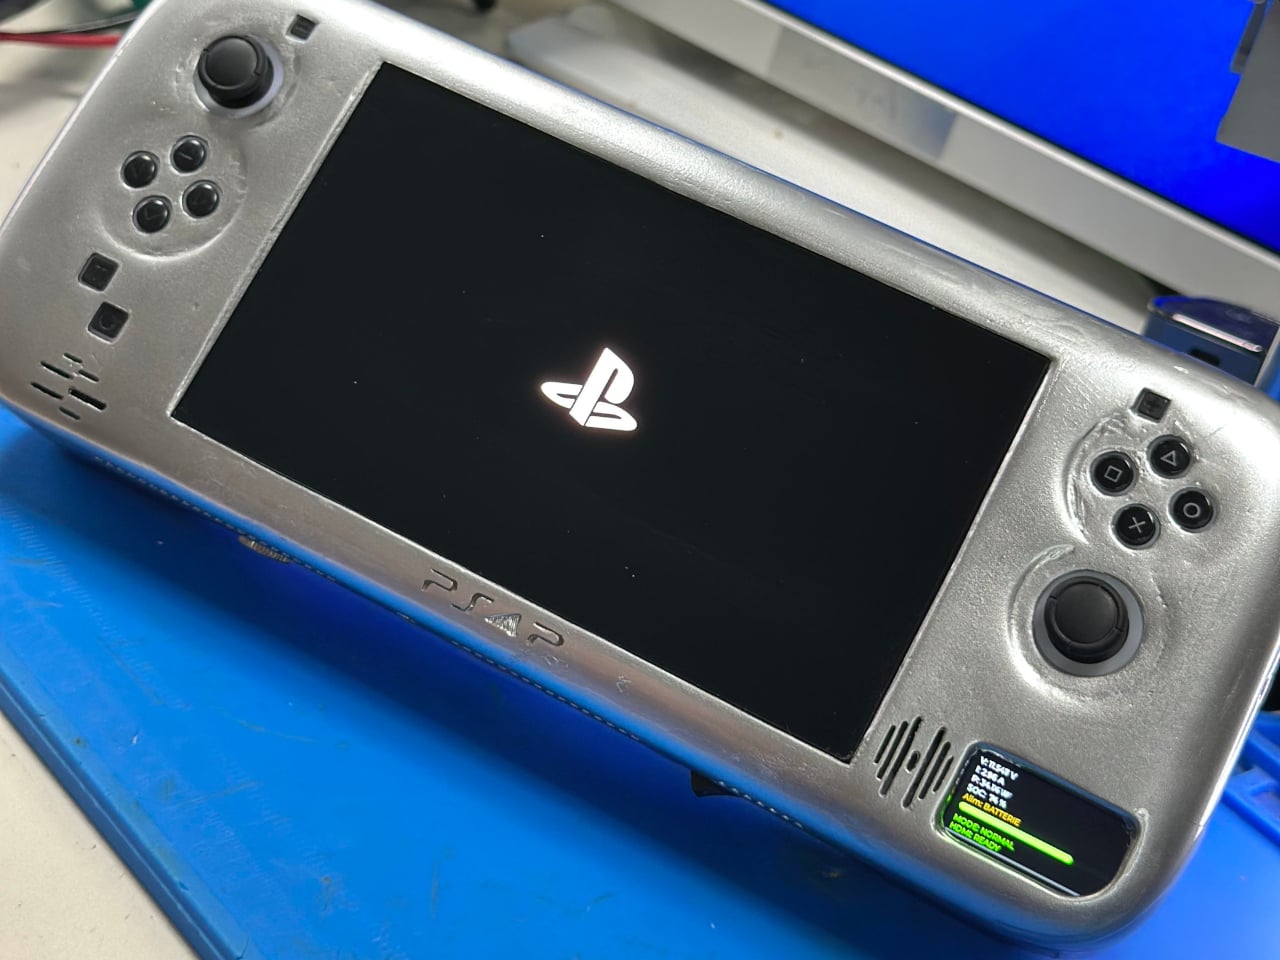
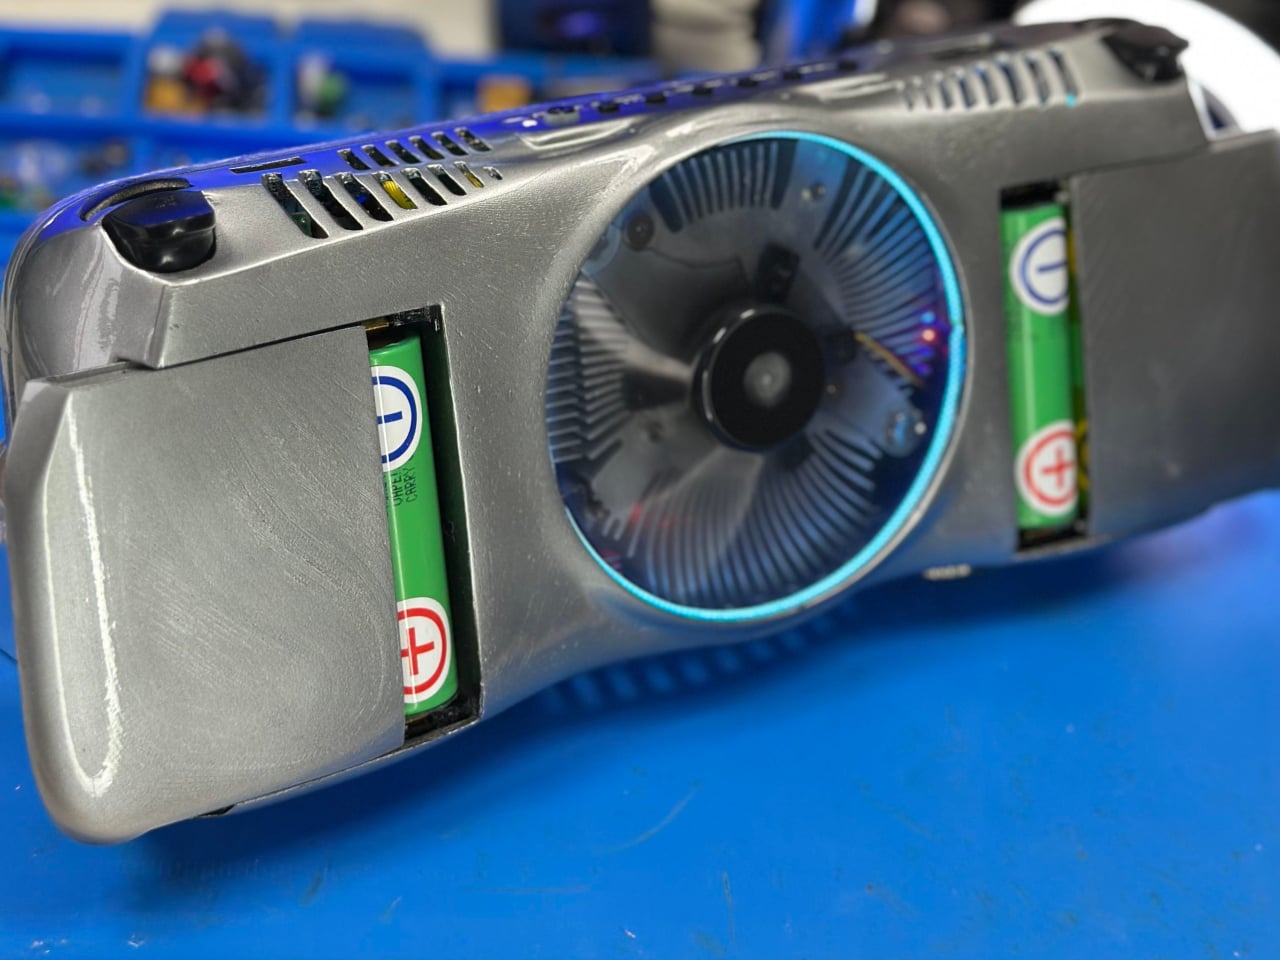
The core remains a cut-down PS4 Slim board, but the second version draws less power than the first, which helps push the battery life a bit further. Six 21700 cells, each rated at 5,000 mAh, power the whole thing for anywhere from 1.5 to 3 hours depending on what’s being played. It can also run off external power for longer sessions, and HDMI output means the whole unit can connect to a television with a real DualShock controller attached.
PS4P V1
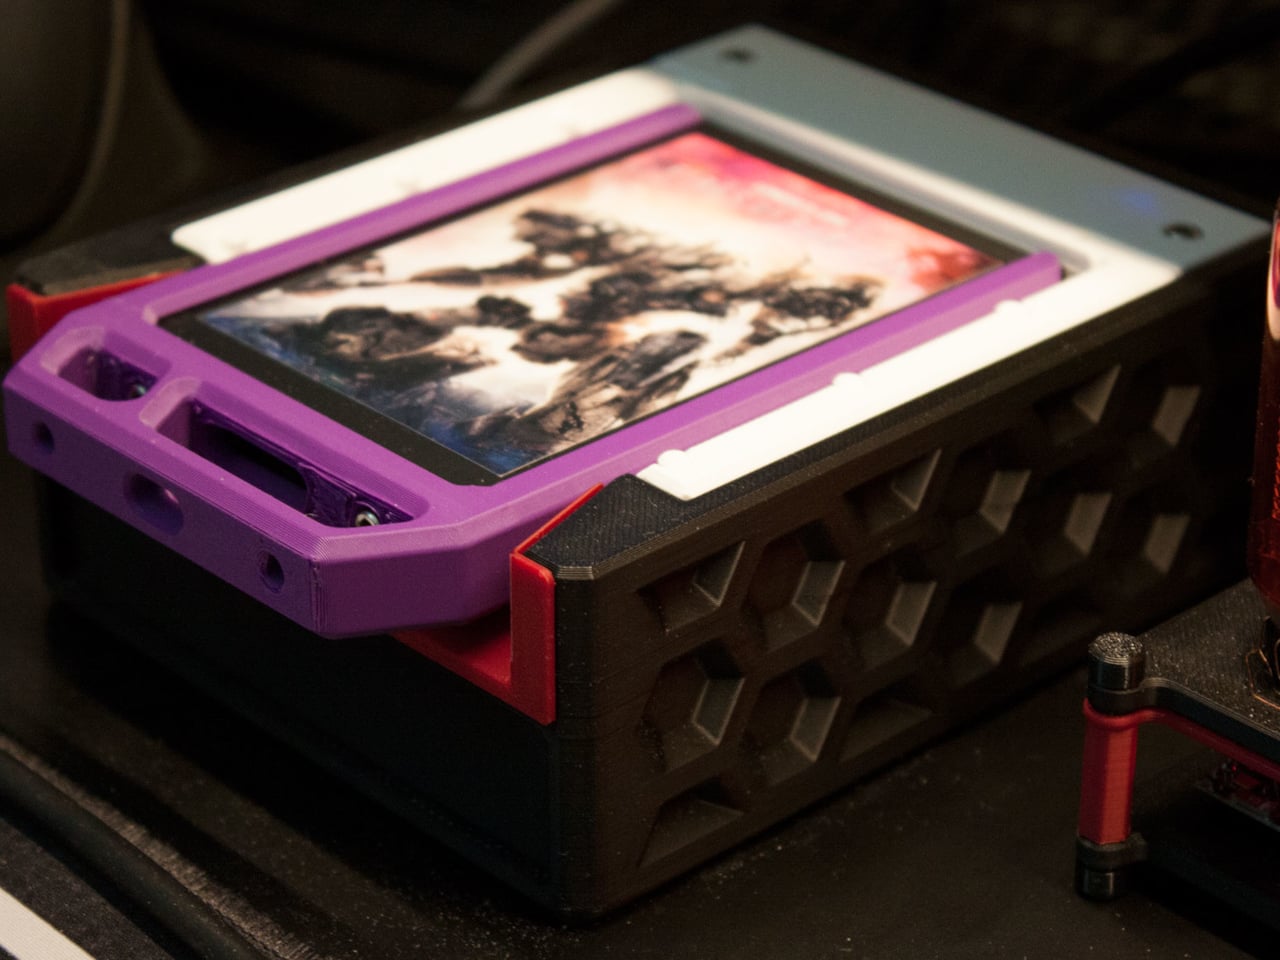
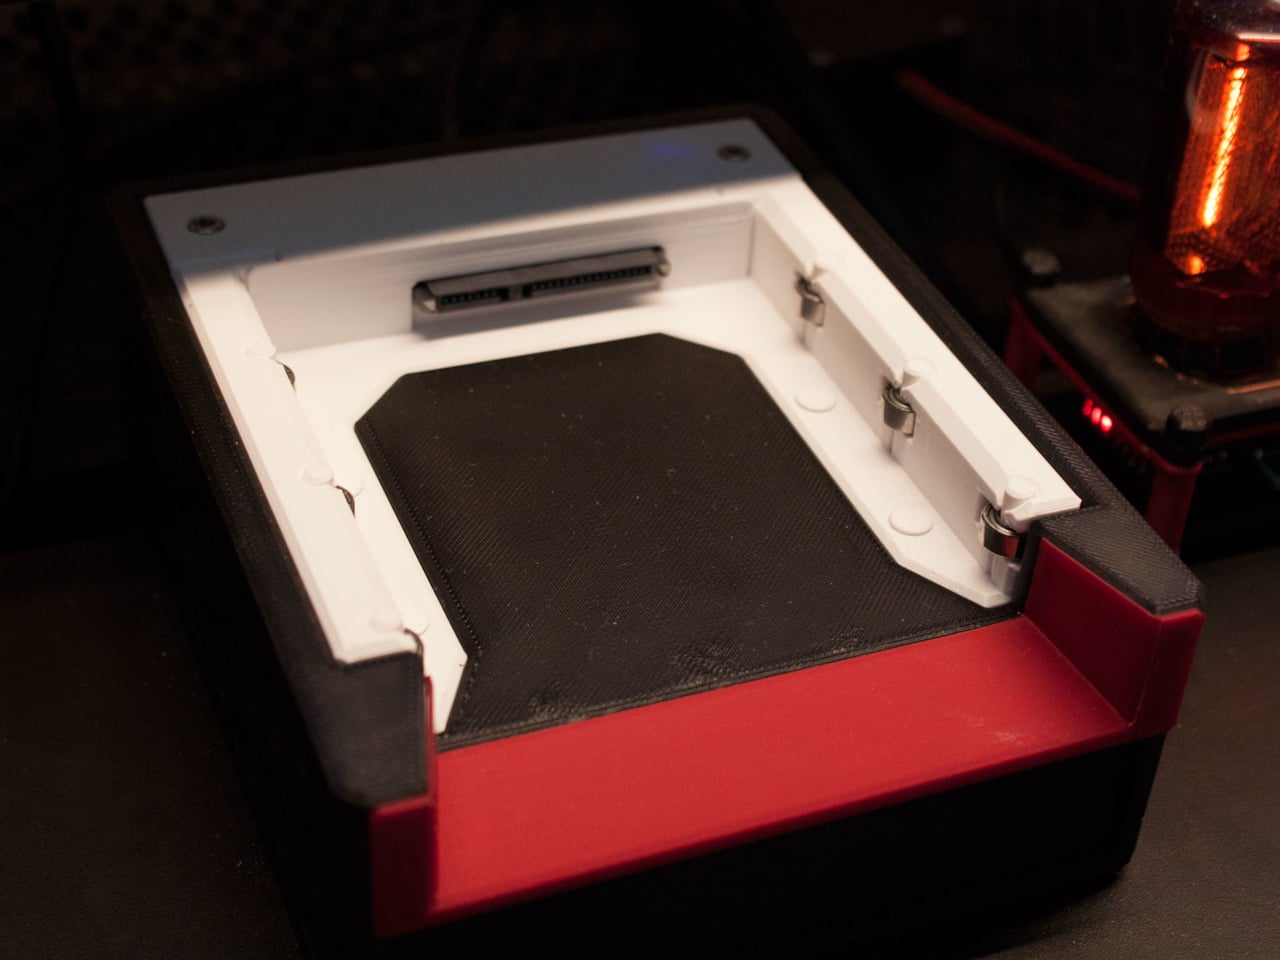
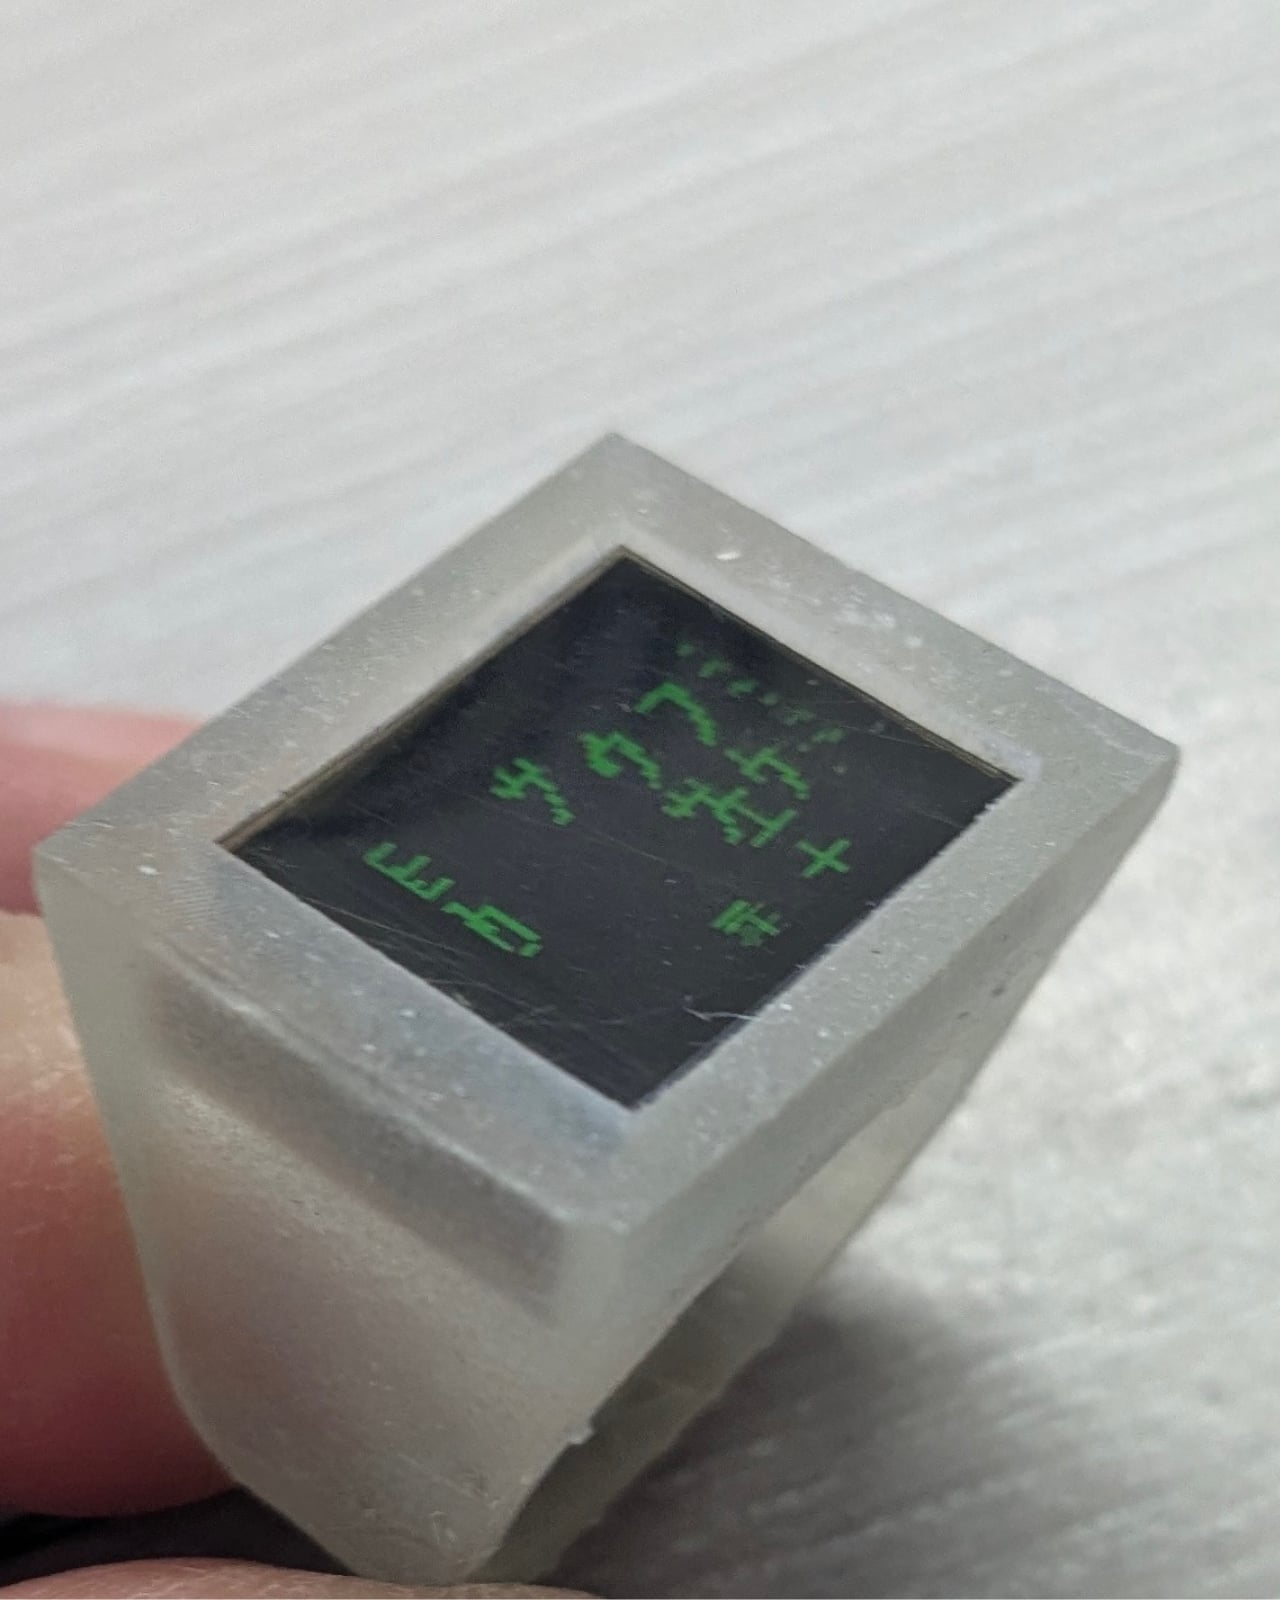
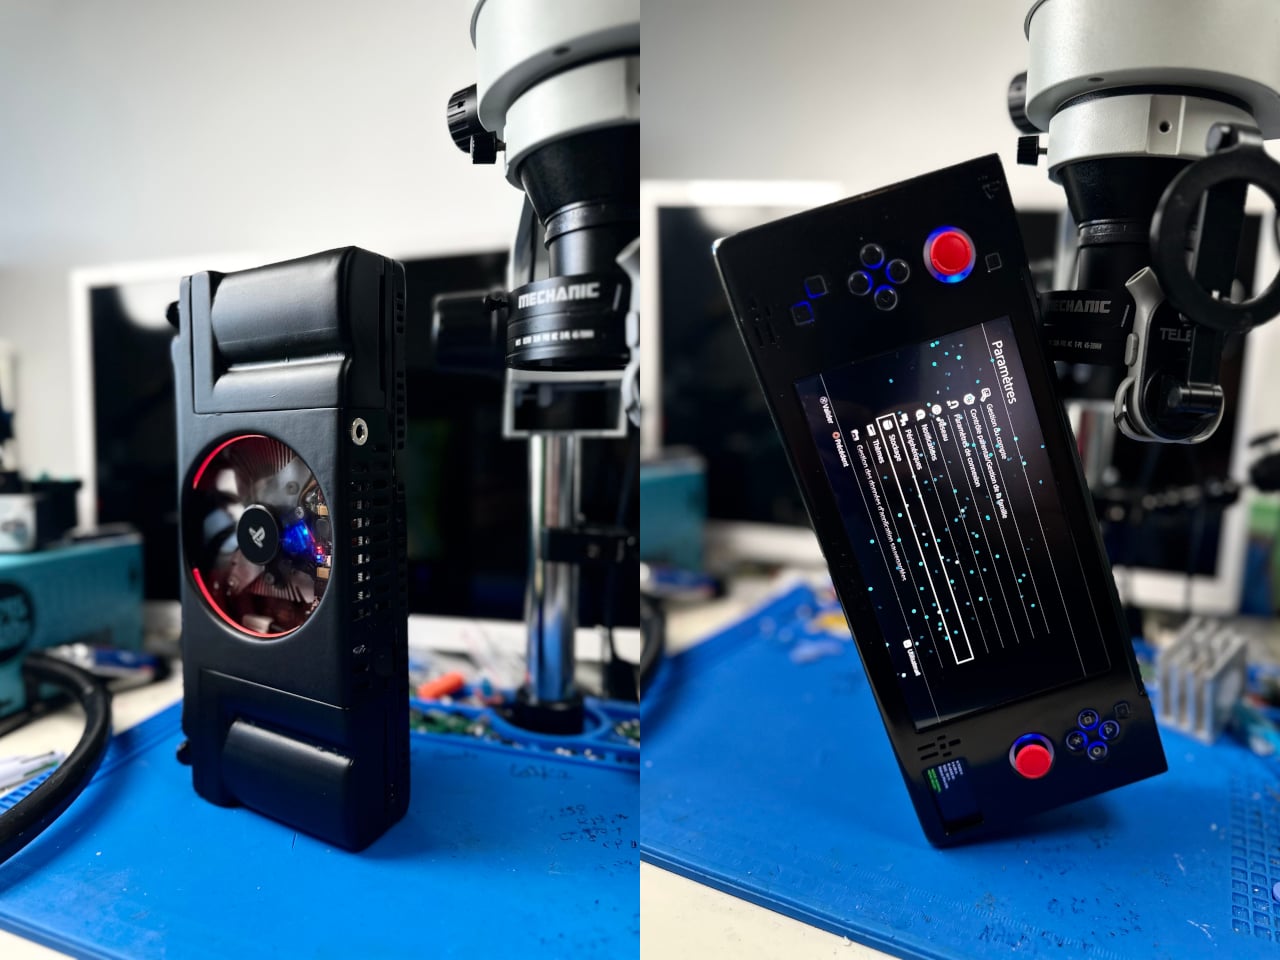
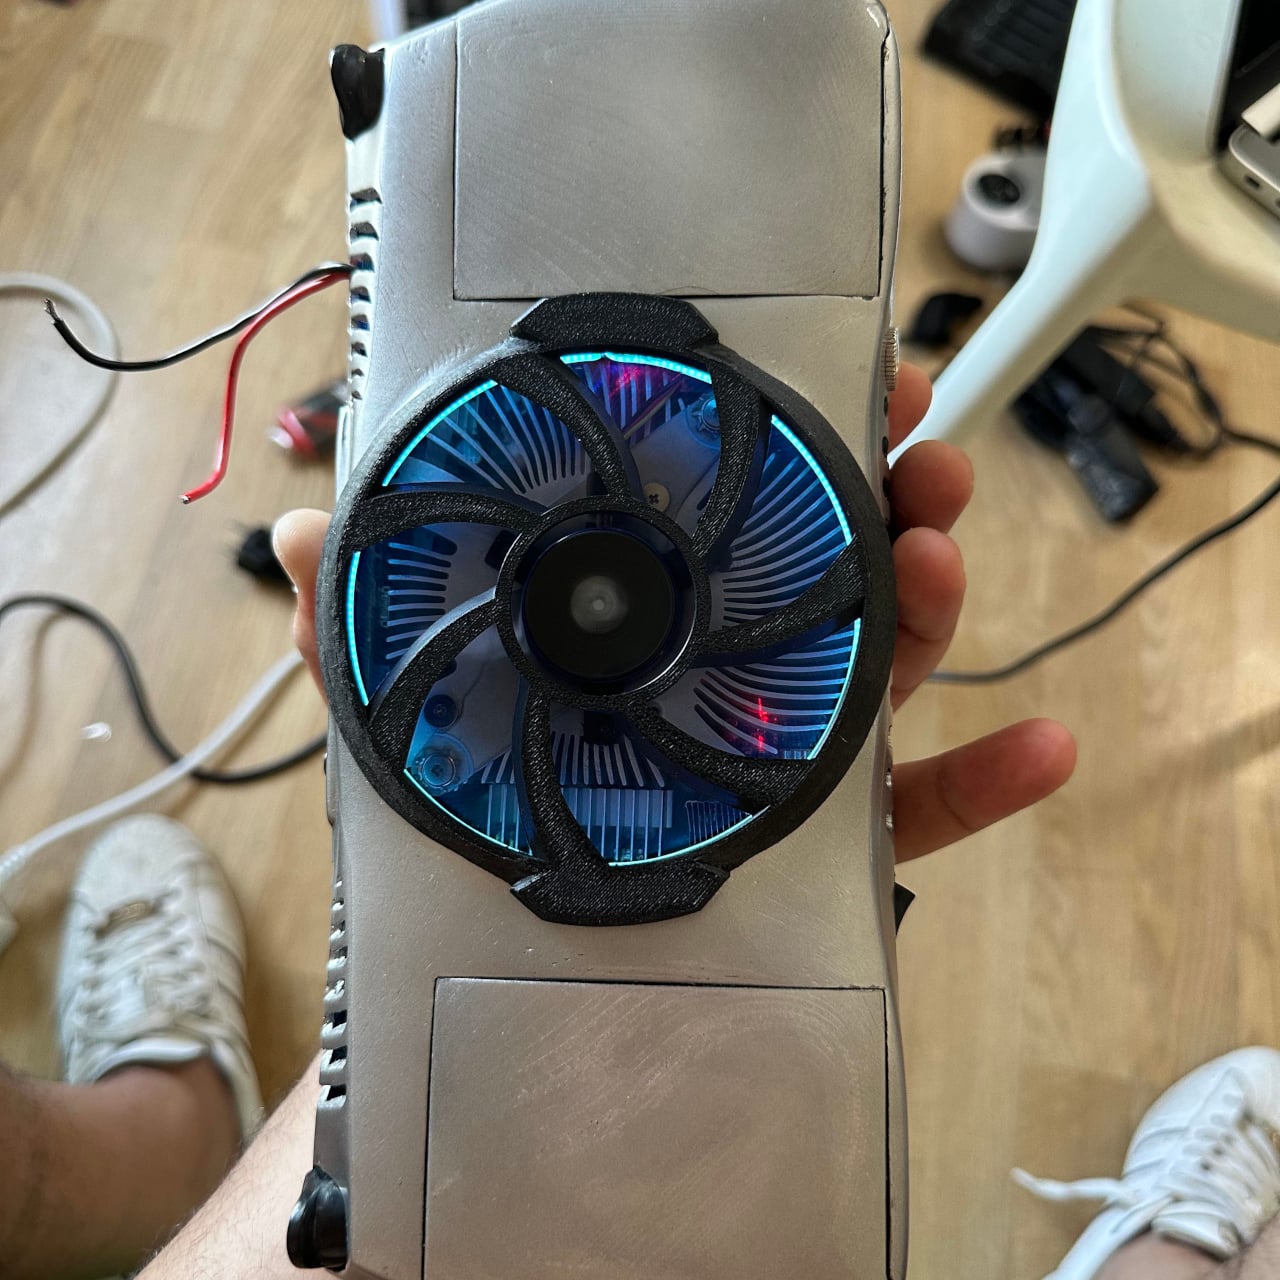
The display is a 7-inch 1080p OLED panel, which puts it in a different category from most handheld screens at this scale. Cooling is handled by a fan pulled from a retired GTX 750 graphics card, mounted on the rear of the unit. A removable guard sits over the fan, and pulling it off improves airflow when the game demands it; leaving it on protects the fan from dust and impacts during storage or travel.
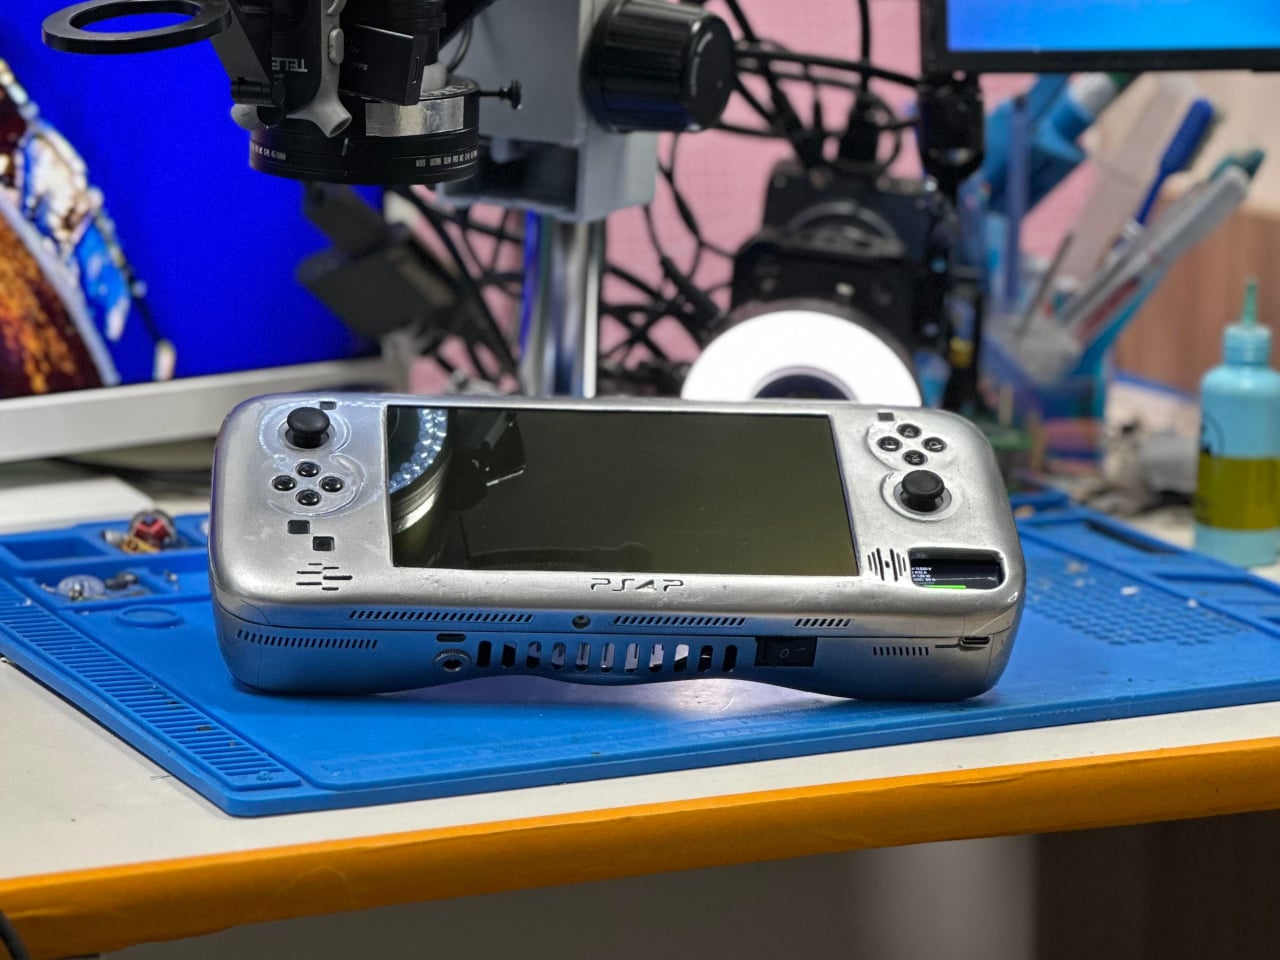
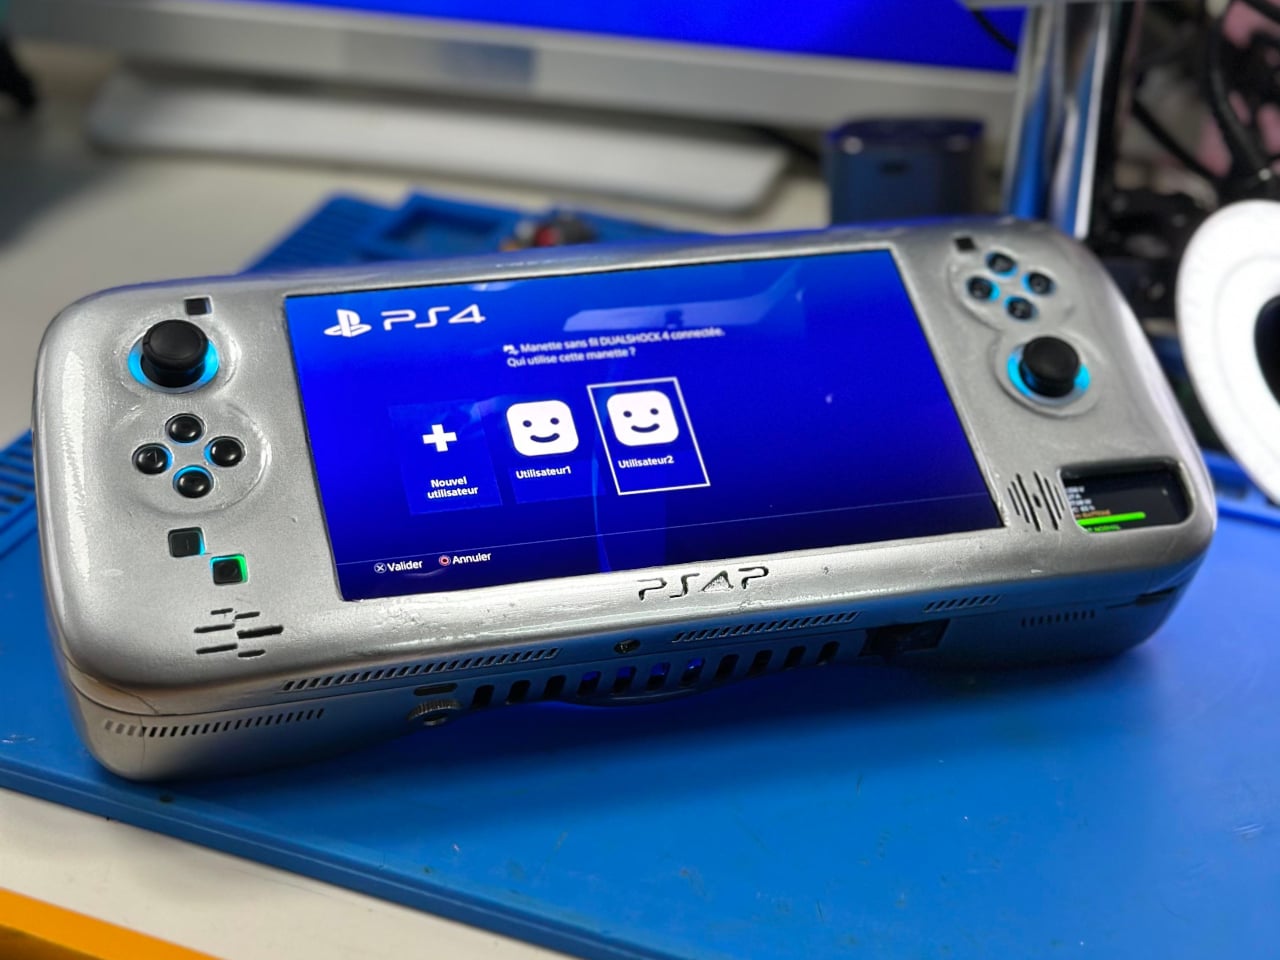
The finished unit weighs 1.3 kg, which is heavy by any commercial standard. A Steam Deck is considerably lighter. But the honest comparison isn’t really with a Steam Deck, which runs PC games through an x86 processor. This runs the PS4’s actual hardware, which means native execution of the PS4’s library without emulation, streaming, or compatibility layers getting between the player and the game.
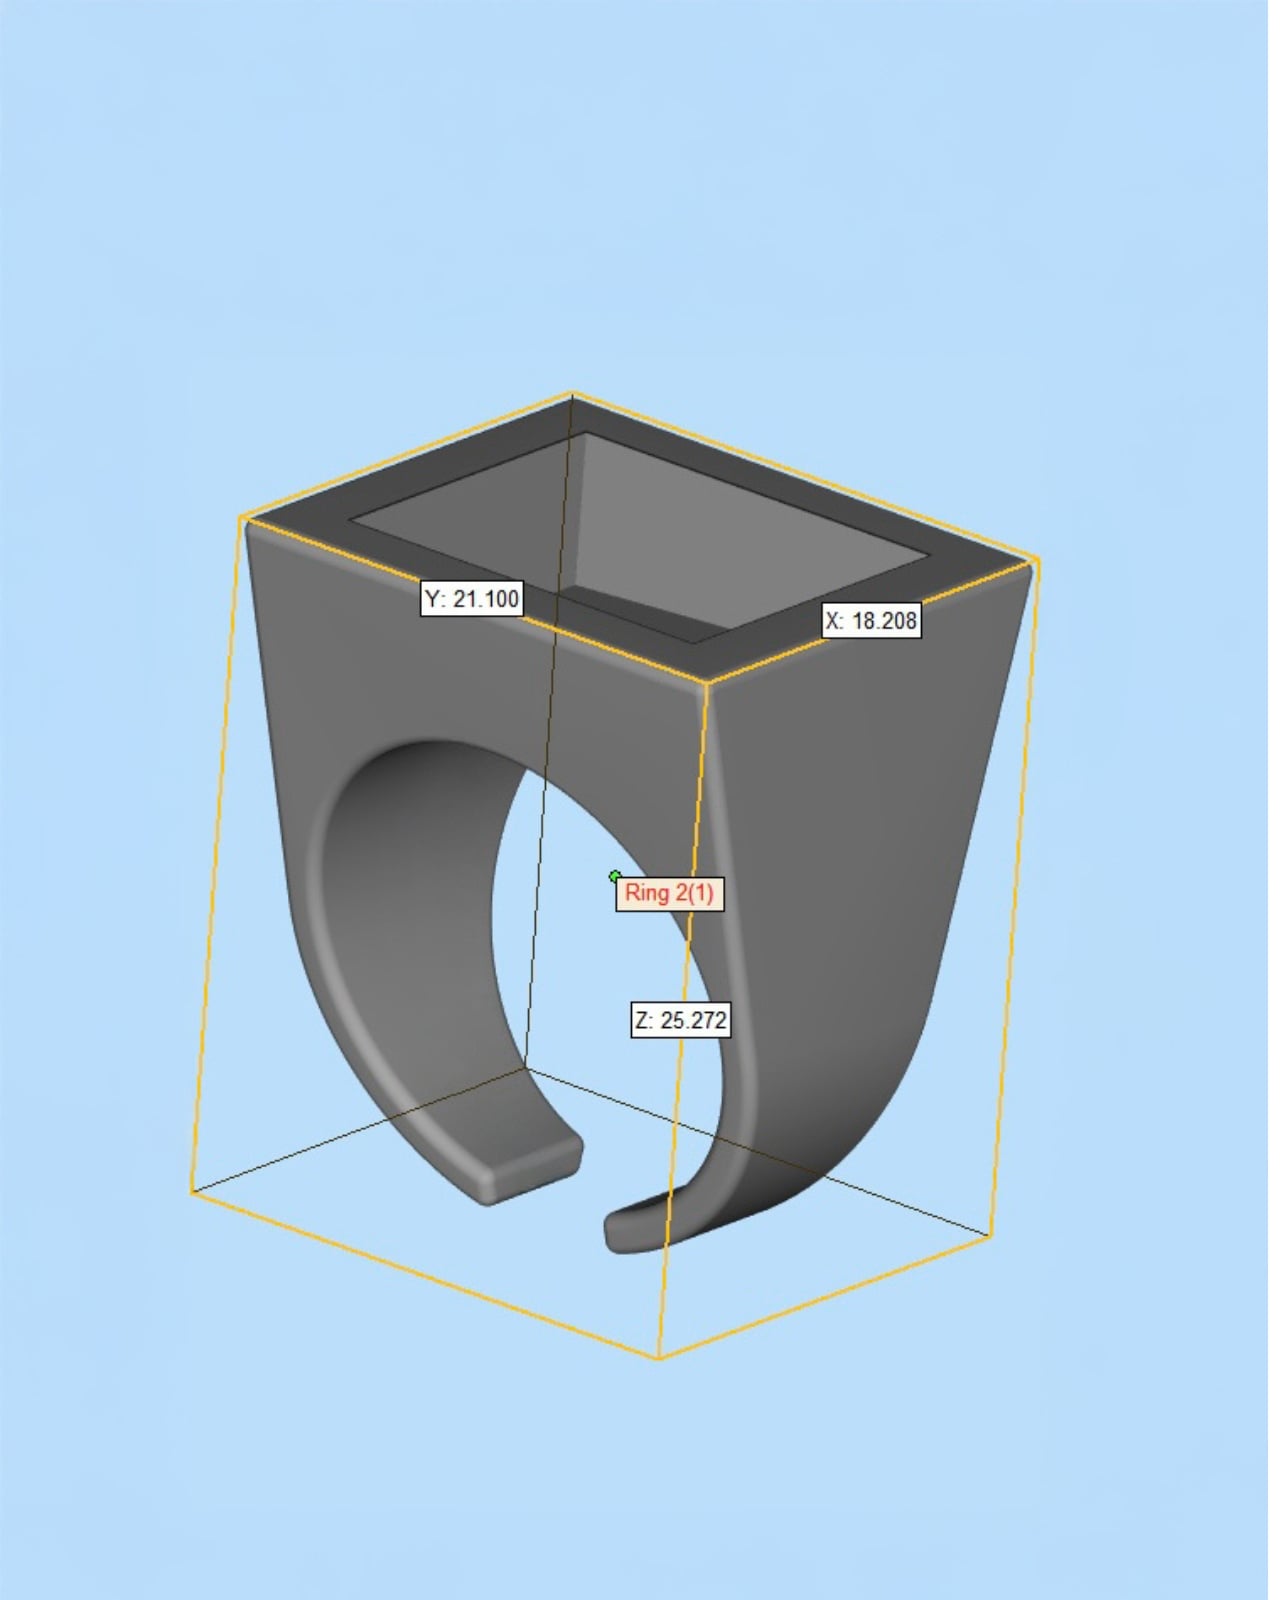
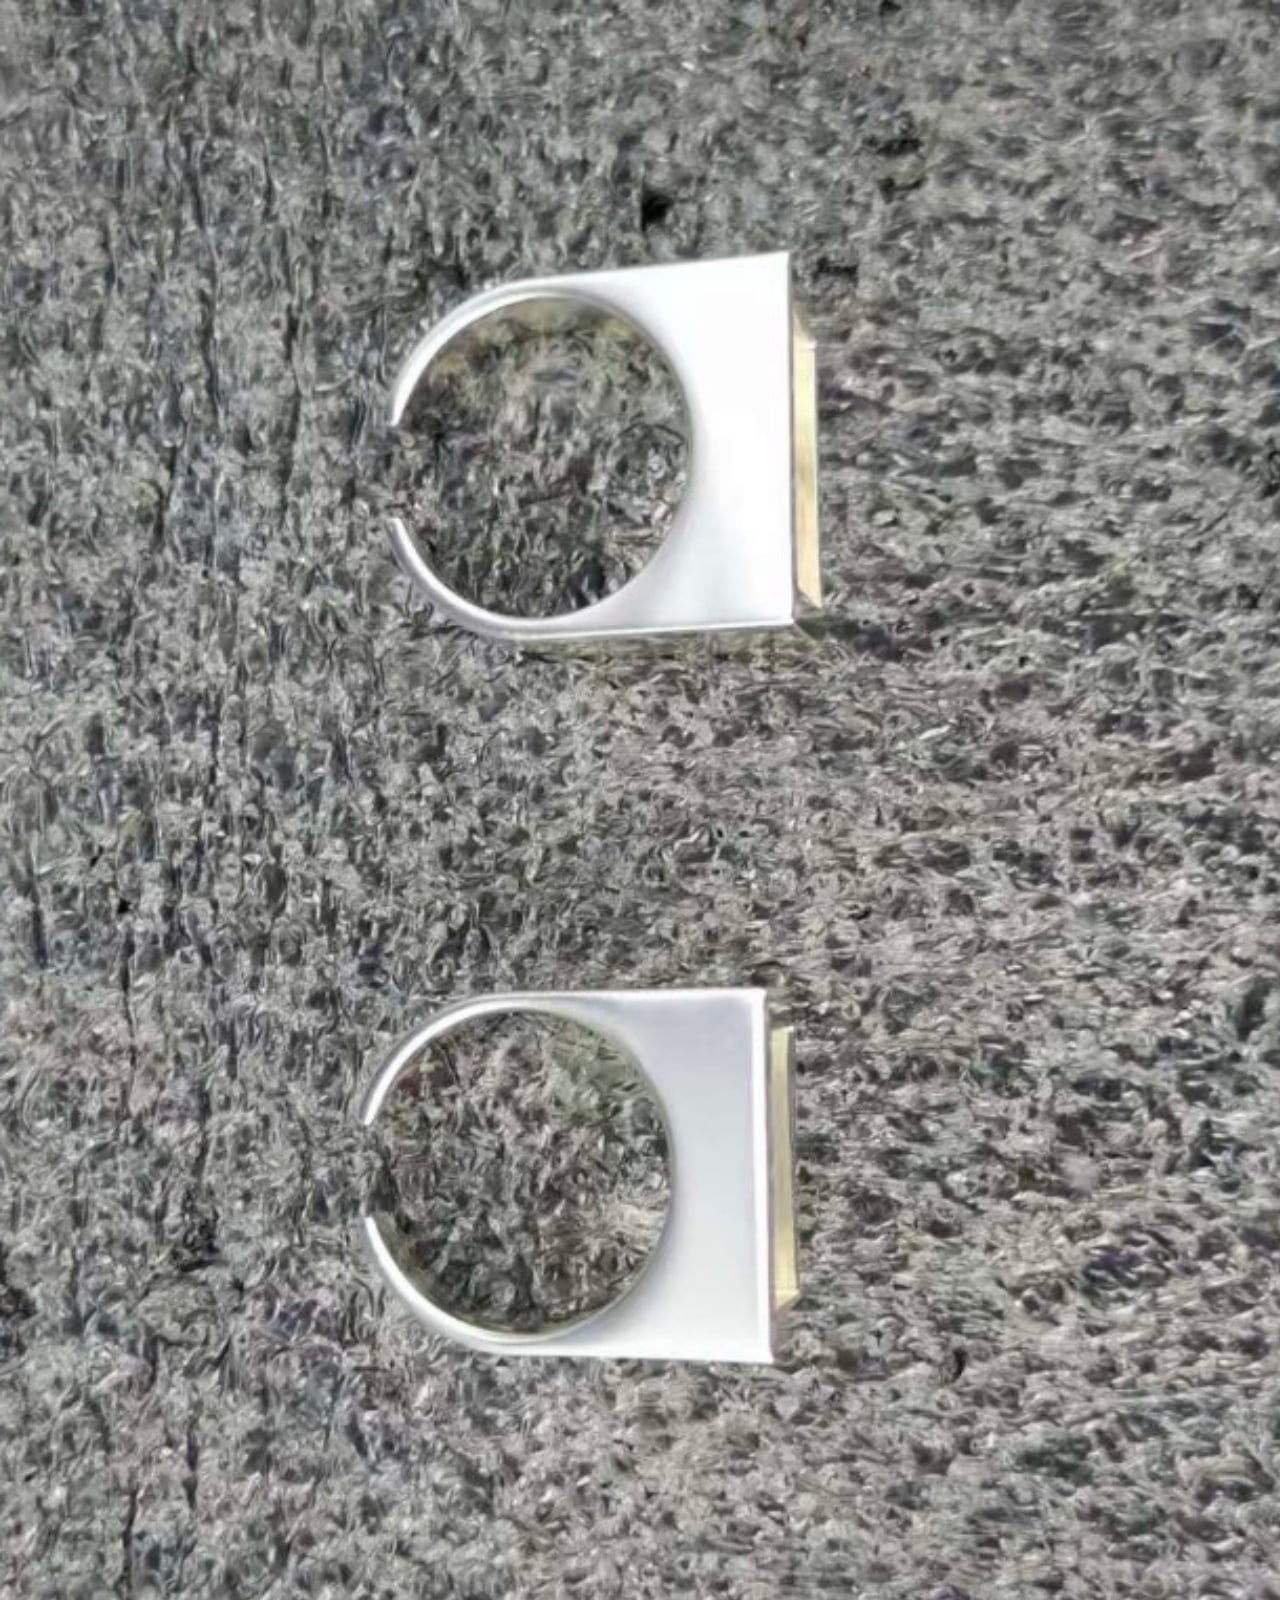
The build sits closer to a real commercial product than most DIY console conversions manage. The 3D-printed shell holds everything together cleanly enough that, at a glance, it reads as something you might actually find in a store. That it came out of a single person’s workshop rather than an engineering team with a production budget makes the result even harder to dismiss.
For now, it remains a one-off. Making it smaller, lighter, or more energy-efficient would require changes to the PS4 Slim’s motherboard that go beyond what any single modder can reasonably achieve. The constraints are baked into the hardware. But as a demonstration of what dedication to a specific piece of gaming hardware looks like when Sony won’t build it themselves, the PS4P v2 makes its point clearly.

The post Someone Built a Handheld PS4 Twice Because Sony Never Will first appeared on Yanko Design.