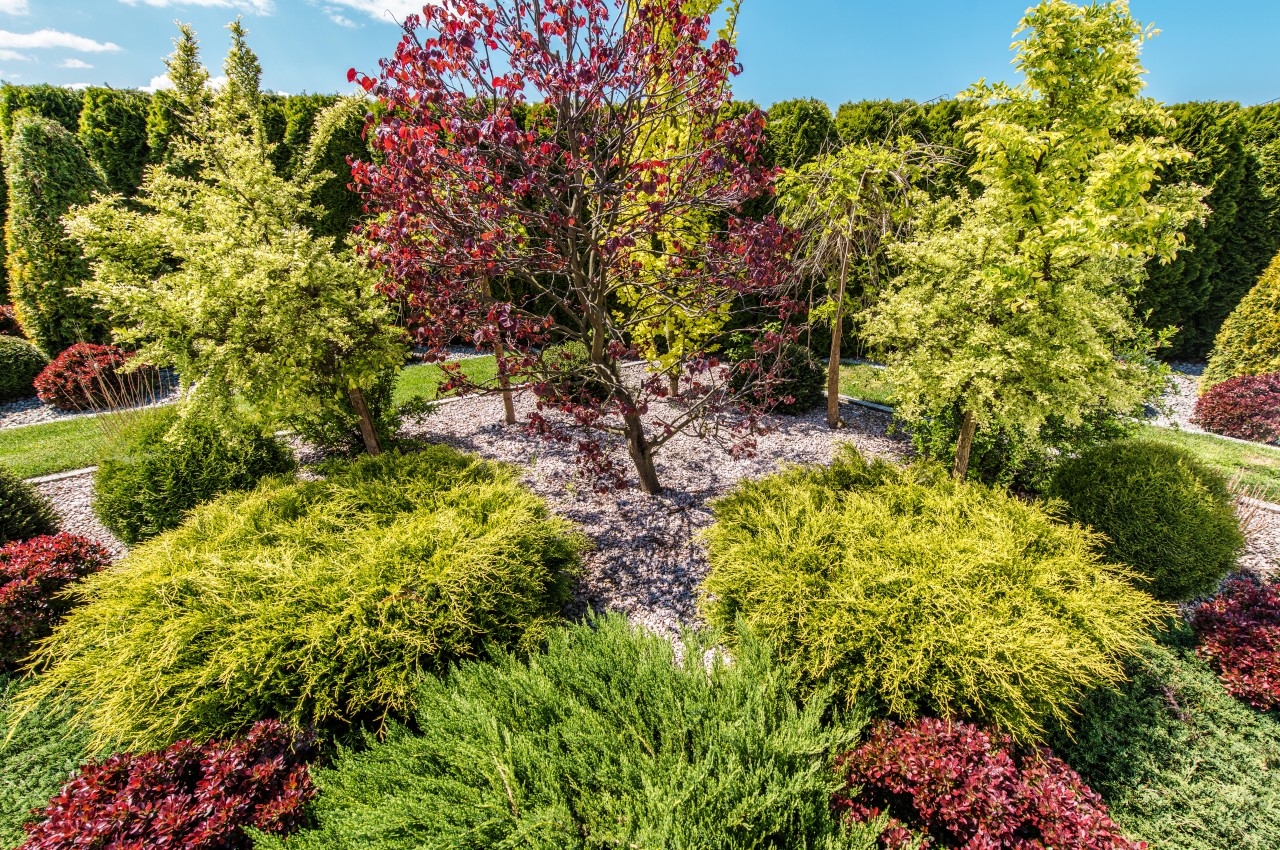
Who says that maintaining a beautifully landscaped garden demands extensive labor? Instead, contemplate these simple principles for crafting an easy-to-maintain outdoor haven that will bring you joy every time you step into it. This guide is designed to help you create a garden that needs little time for maintenance, freeing up more time for you to relish the space itself.
Designer: Austin Maynard Architects


1. Create a Plan
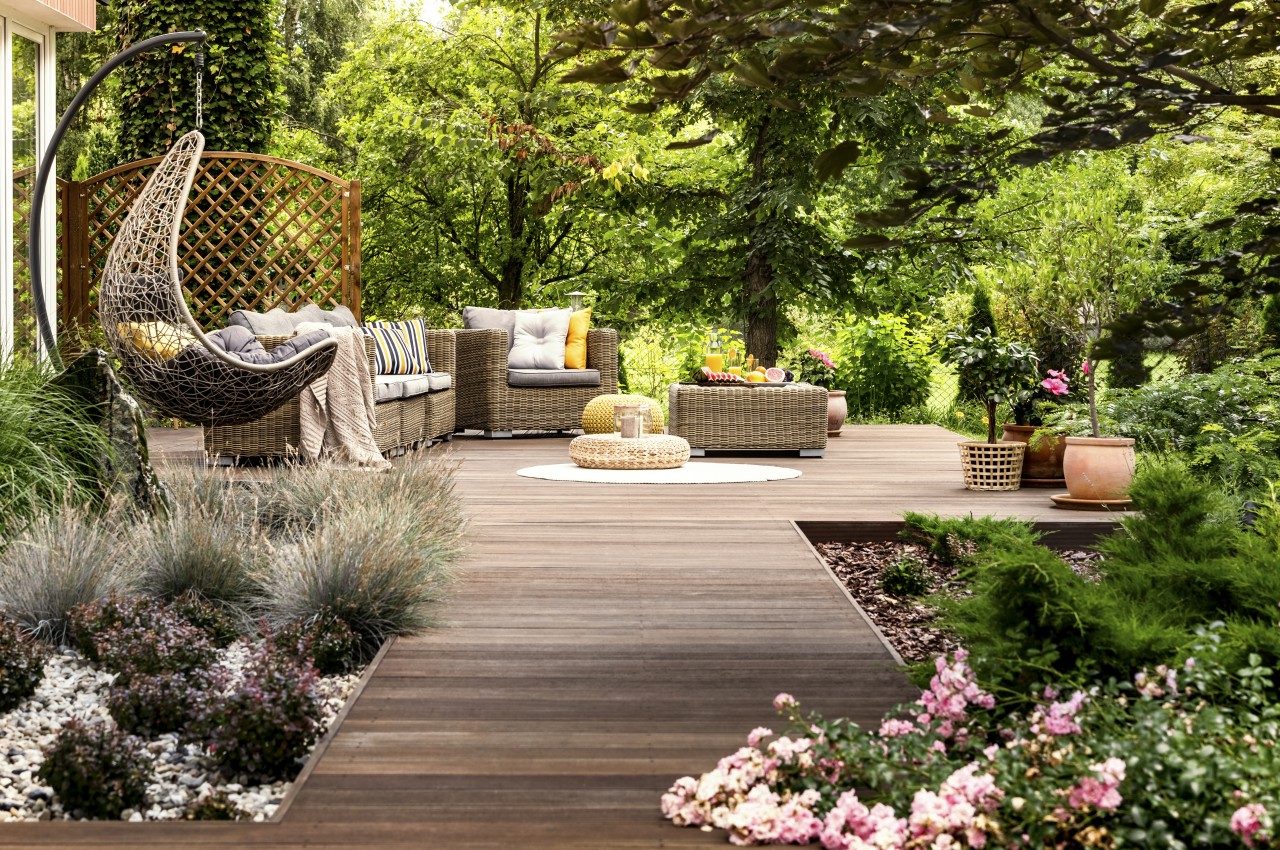
Image courtesy of: bialasiewicz
Plan for yard or lawn renovations, whether small or extensive. Research, sketch, and decide on plants, hardscapes, and furnishings to avoid later expenses and save time.
2. Craft an Outdoor Living Area
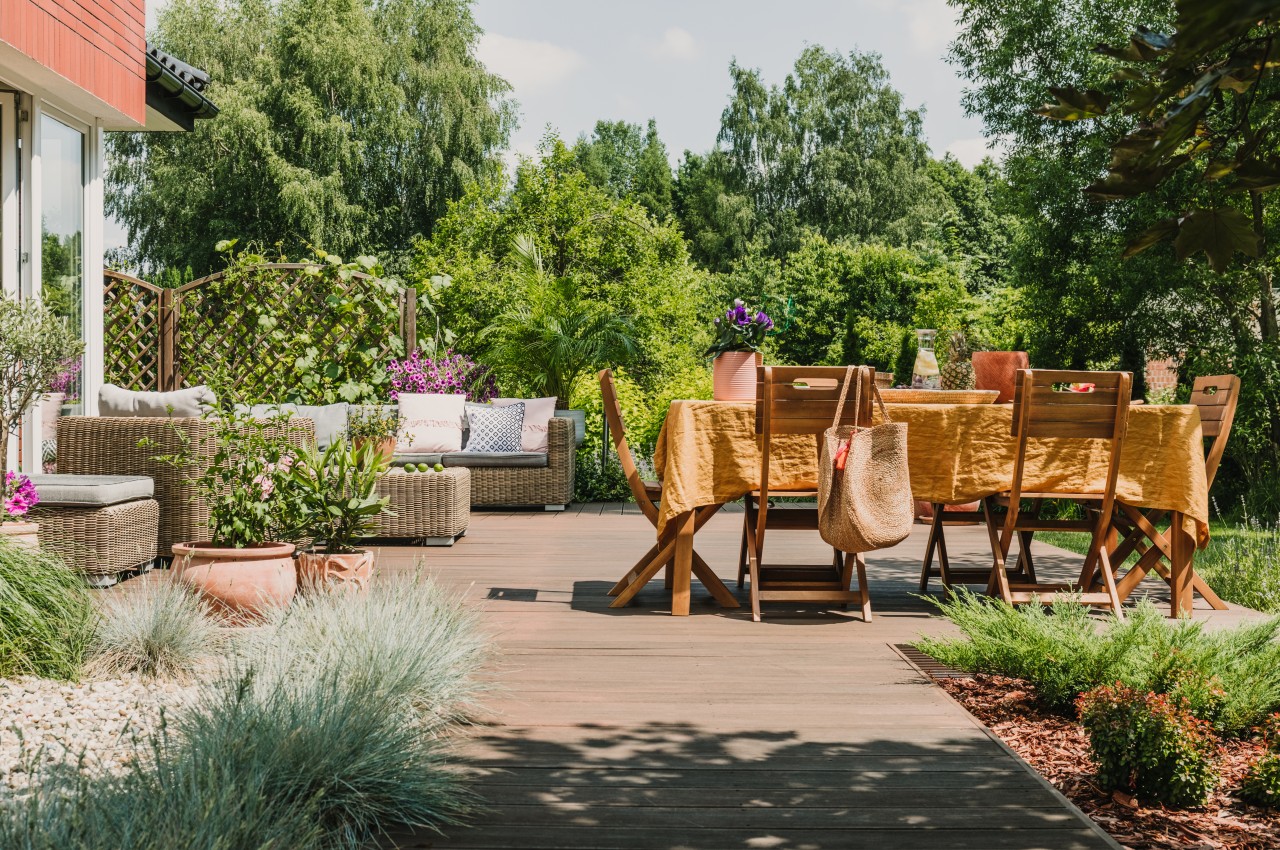
Image courtesy of: bialasiewicz
Establish outdoor living spaces to expand your entertaining options during warm seasons, including dining areas, lounges, and seating arrangements around fire pits. Patios, decks, and terraces reduce the need for extensive planting areas and lawn maintenance. These gathering spots will encourage you to spend more time outdoors and appreciate the garden rather than constantly maintaining it.
3. Get Rid of the Grassy Area
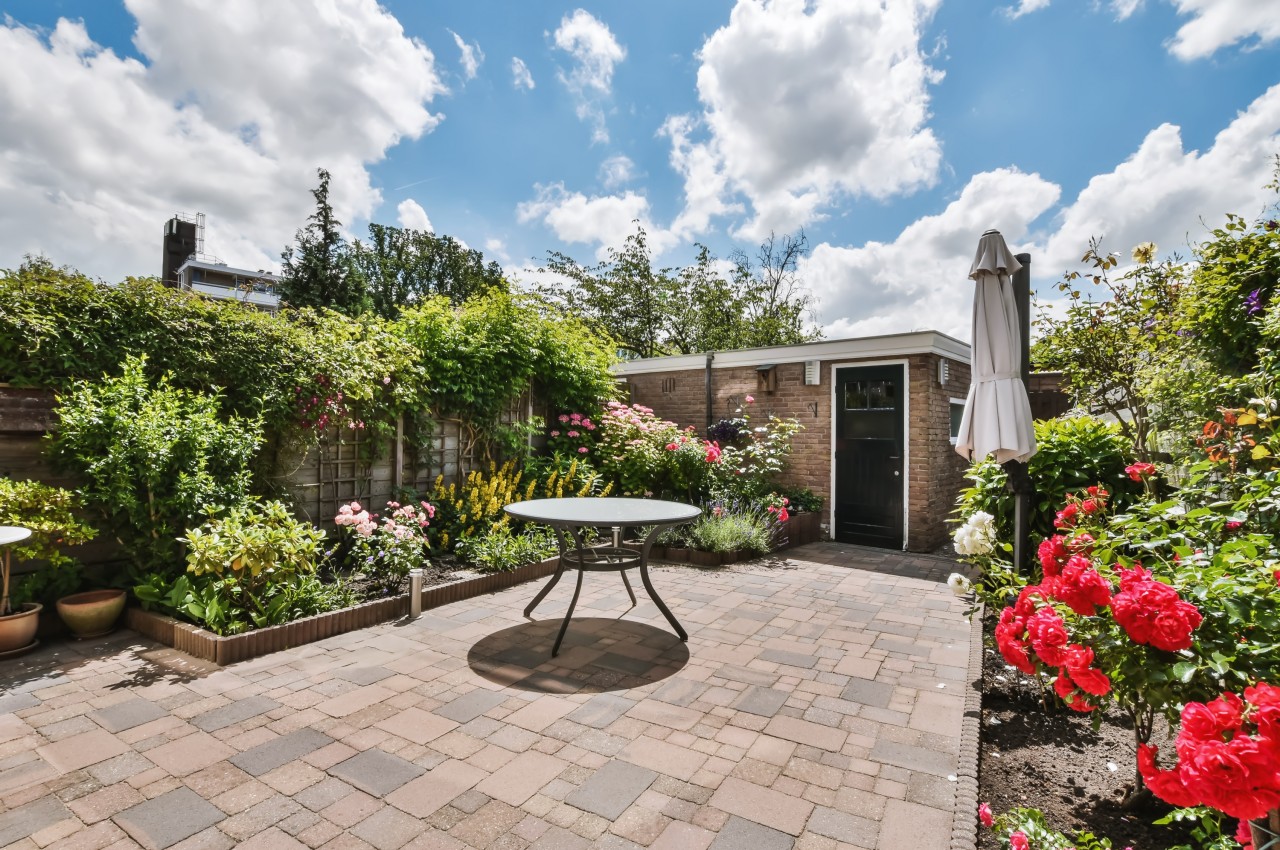
Image courtesy of: pro_creator
If you have a small garden, consider investing in tiled surfaces, paved areas, or decking. This will reduce the effort needed to maintain a well-kept lawn. By avoiding the use of a lawnmower, you can also explore permeable paving alternatives.
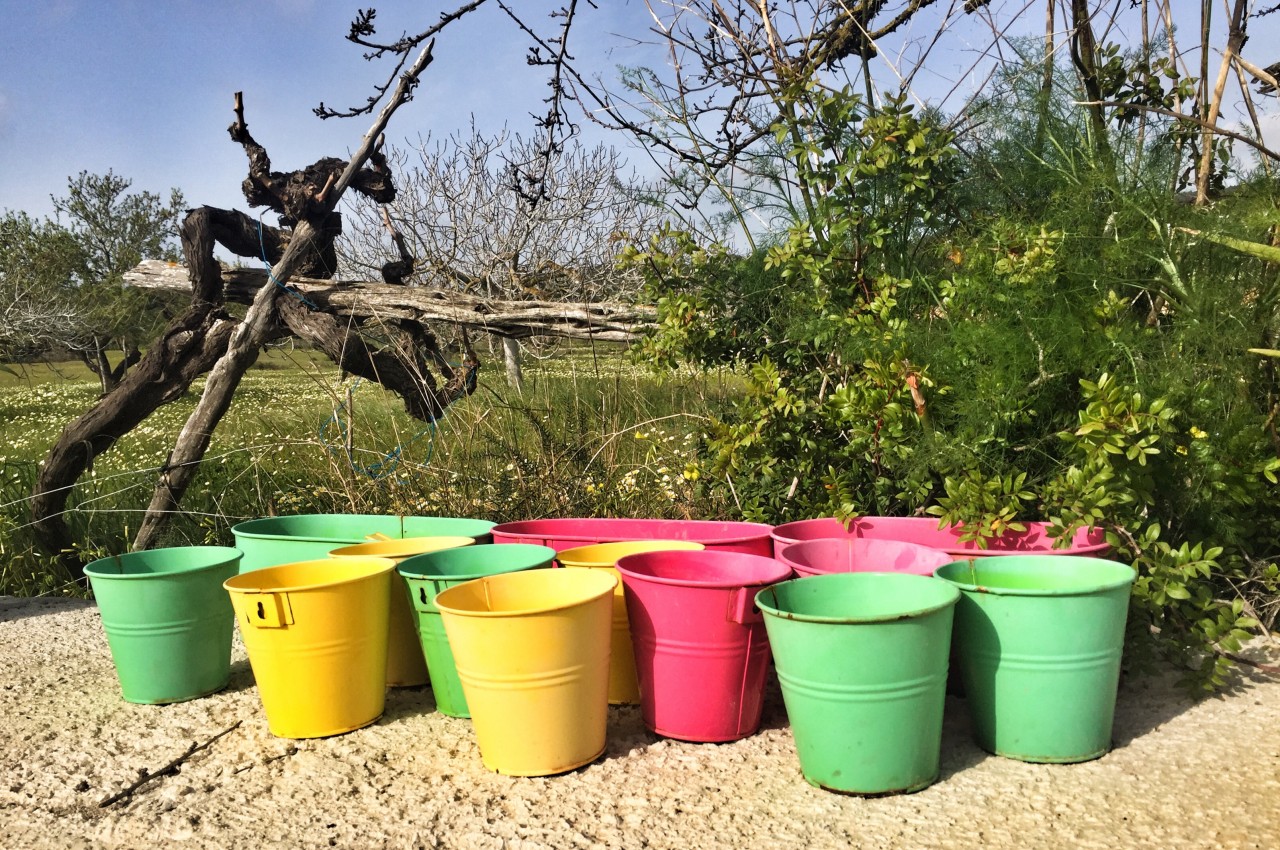
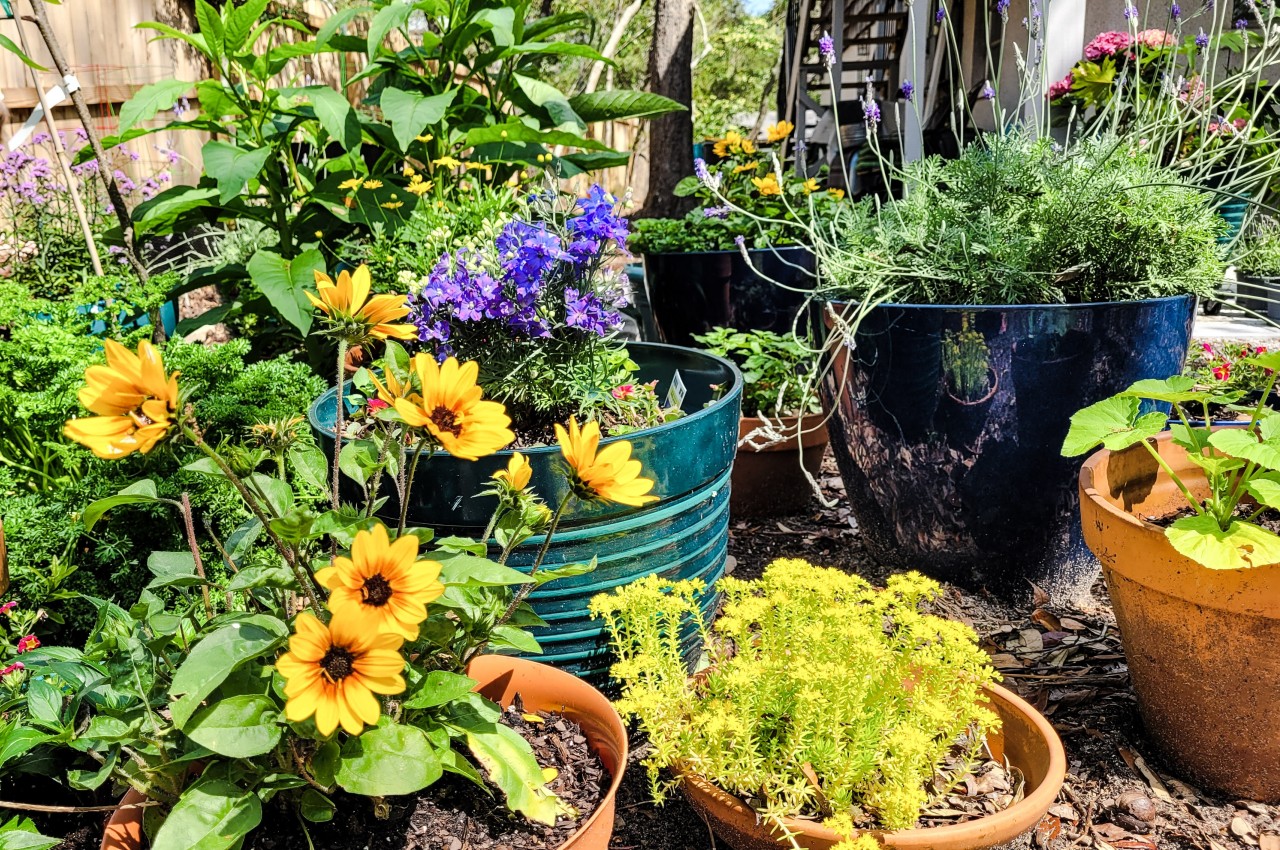
4. Invest in Large Pots
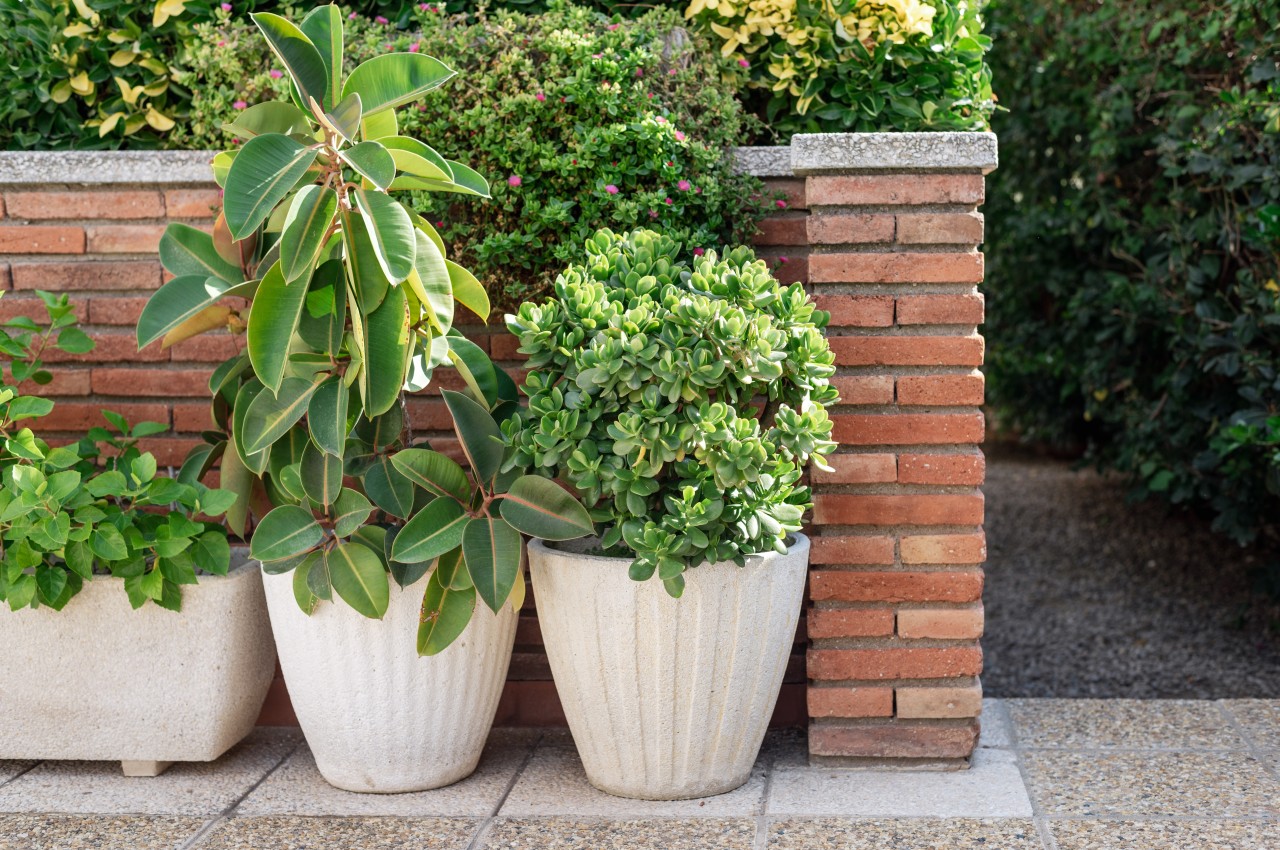
Image courtesy of: slavazolotko
When designing your garden, carefully plan the layout based on sunlight and water availability to determine the appropriate plant selections for each area. Larger pots are simpler to upkeep as they occupy space and demand less watering compared to smaller ones. Go for raised planters or cluster sizable pots if you lack soil, such as in grassy gardens.
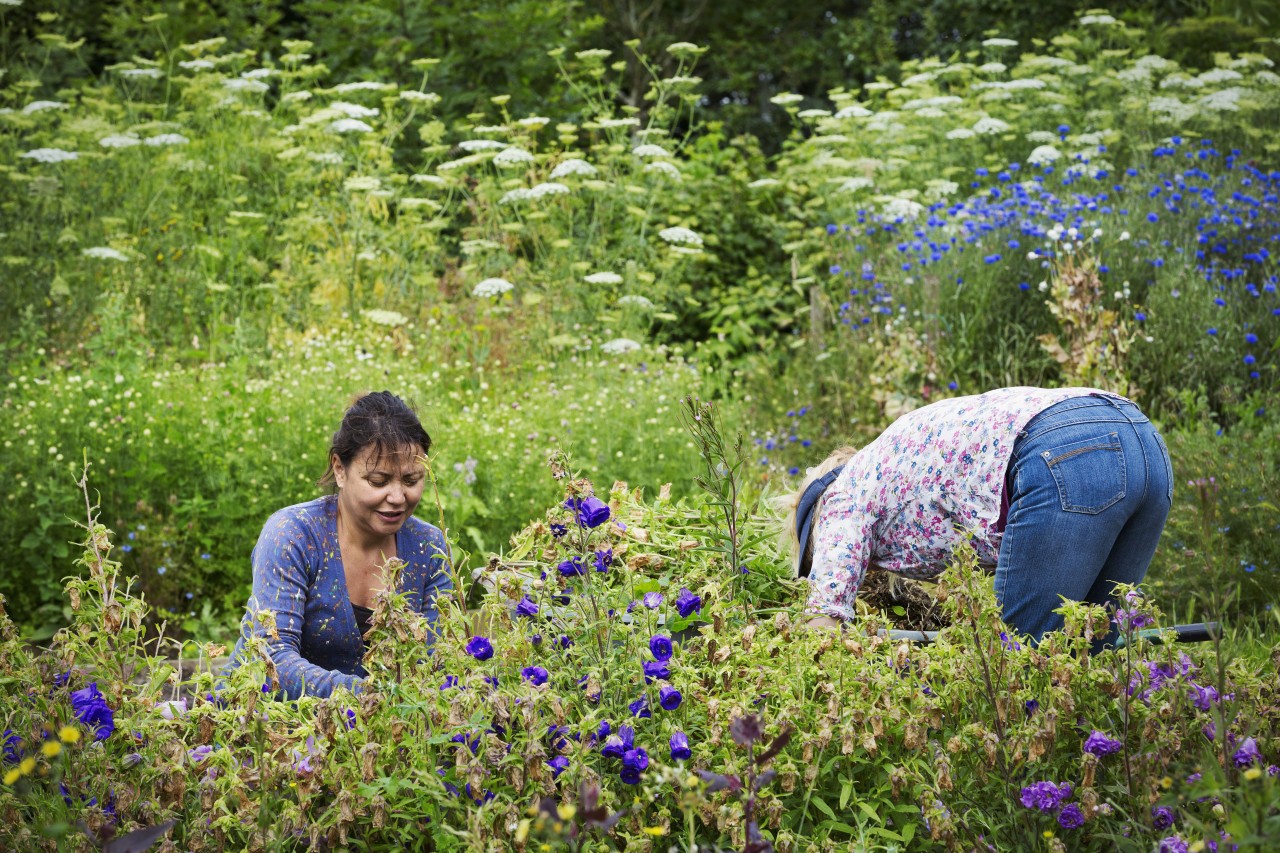
5. Shape and Size of Plants
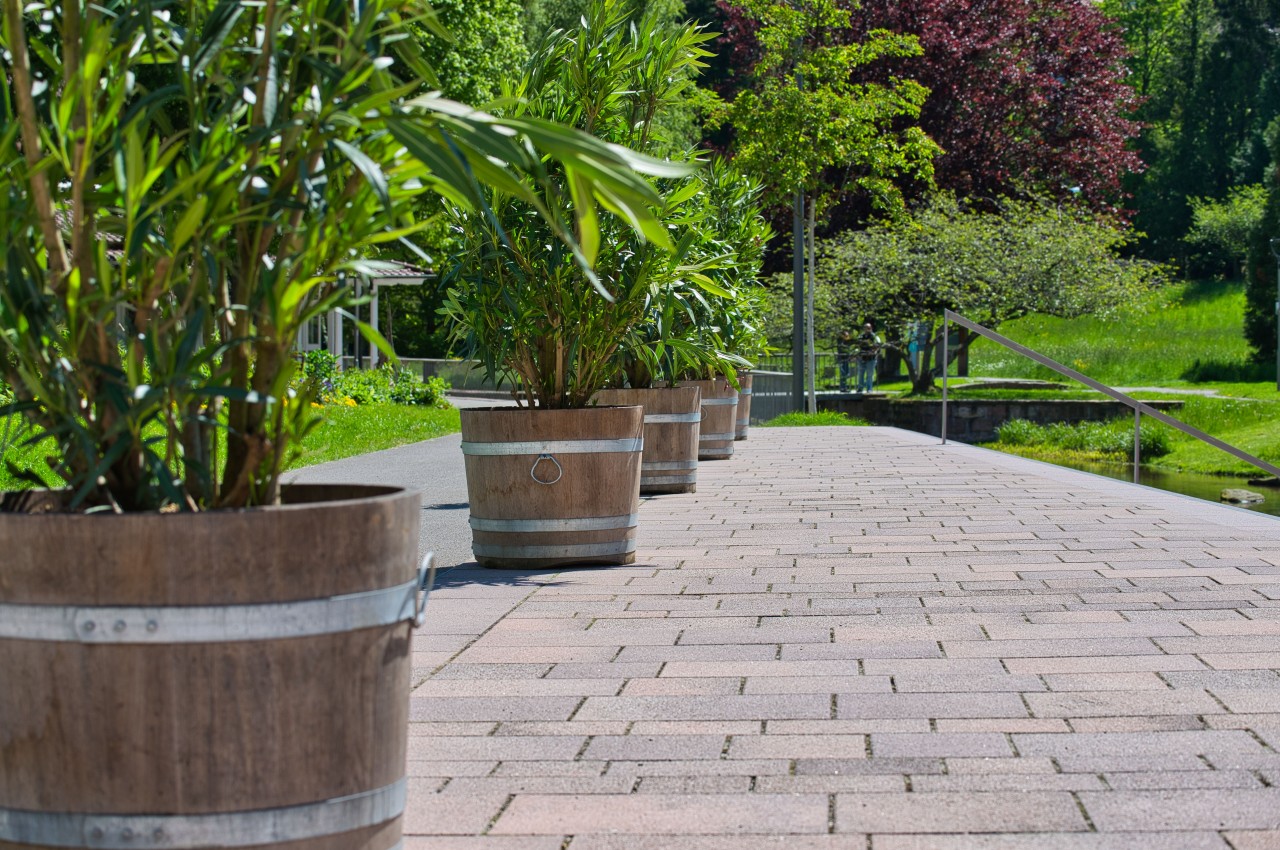
Image courtesy of: wirestock
Consider the sizes of the plants you choose and their placement within your garden; avoid overwhelming the space with excessively tall plants. Make sure that the smaller plants are not overshadowed by larger ones.
6. Choose the Best Area for the Kitchen Garden
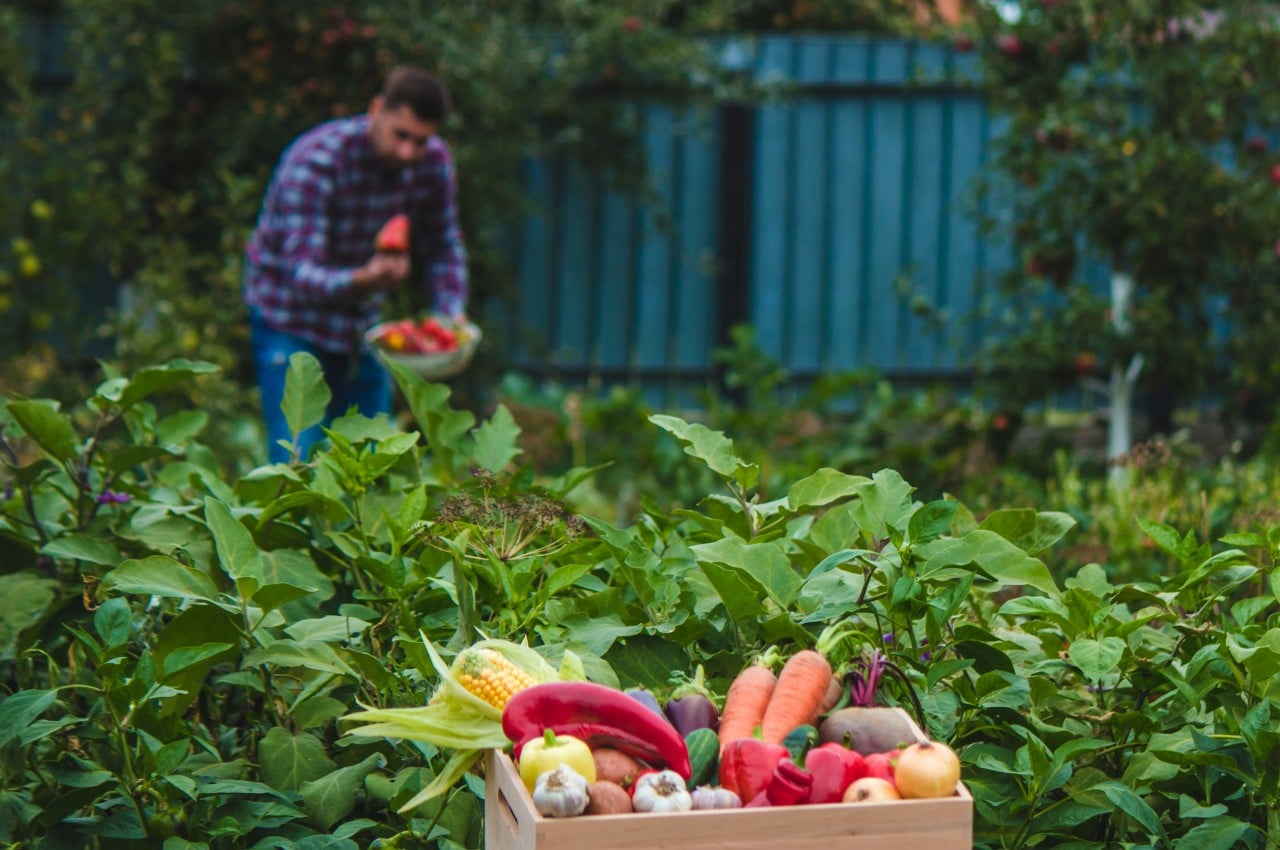
Image courtesy of: solovei23
Most garden vegetables thrive in ample sunlight, while root vegetables and leafy greens benefit from some afternoon shade in hot weather. To prevent waterlogging, avoid low-lying or poorly draining areas, as well as sandy soils that drain too quickly, which can hinder plant growth.
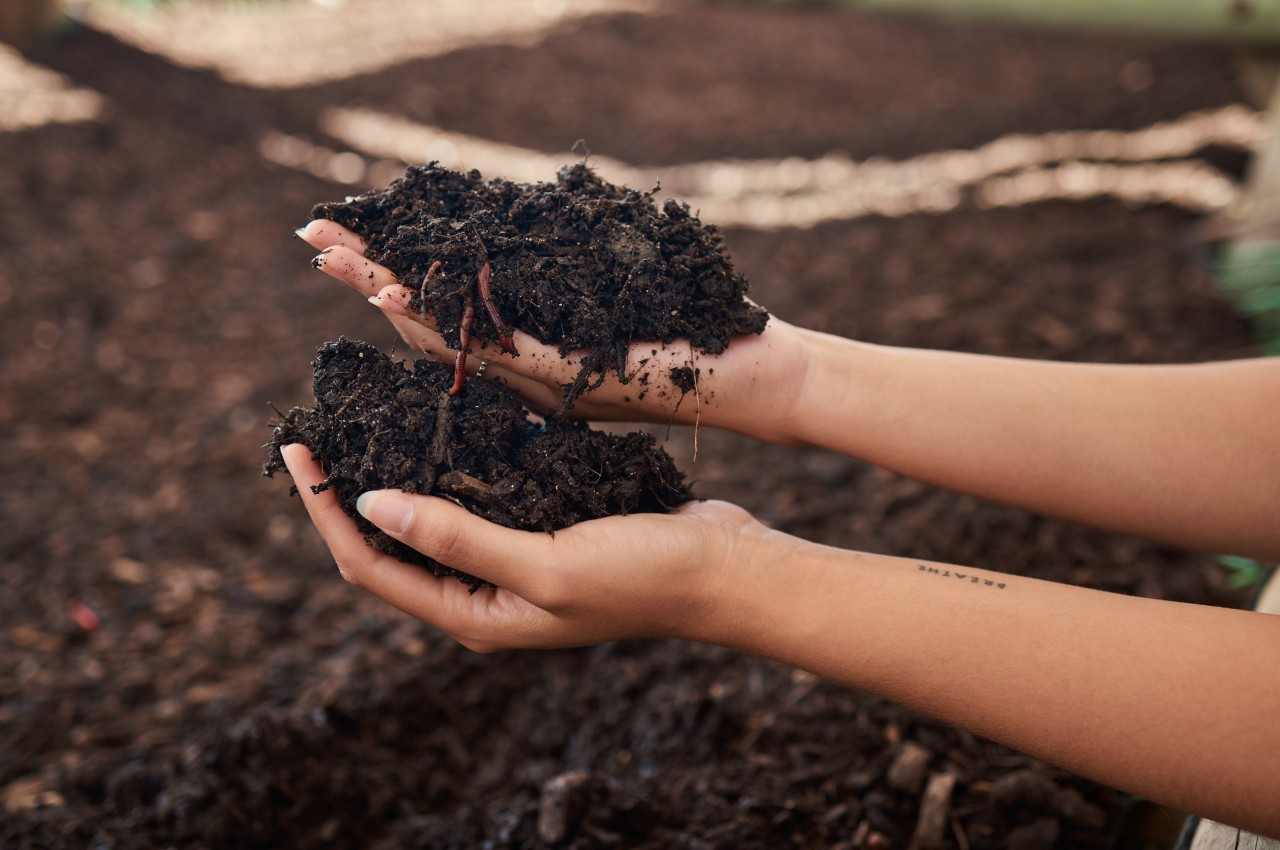
7. Test the Soil

Image courtesy of: deyangeorgiev
Your soil’s condition is crucial for your garden’s health. Check its texture by squeezing a handful as it should crumble easily. Make a note that heavy, sticky soil suggests excess moisture. A soil test helps identify nutrient levels and pH. Low pH may require lime to raise it, while high pH may need other amendments. Address nutrient deficiencies with a balanced fertilizer containing nitrogen, phosphorus, and potassium.
8. Give Your Plants a Good Start
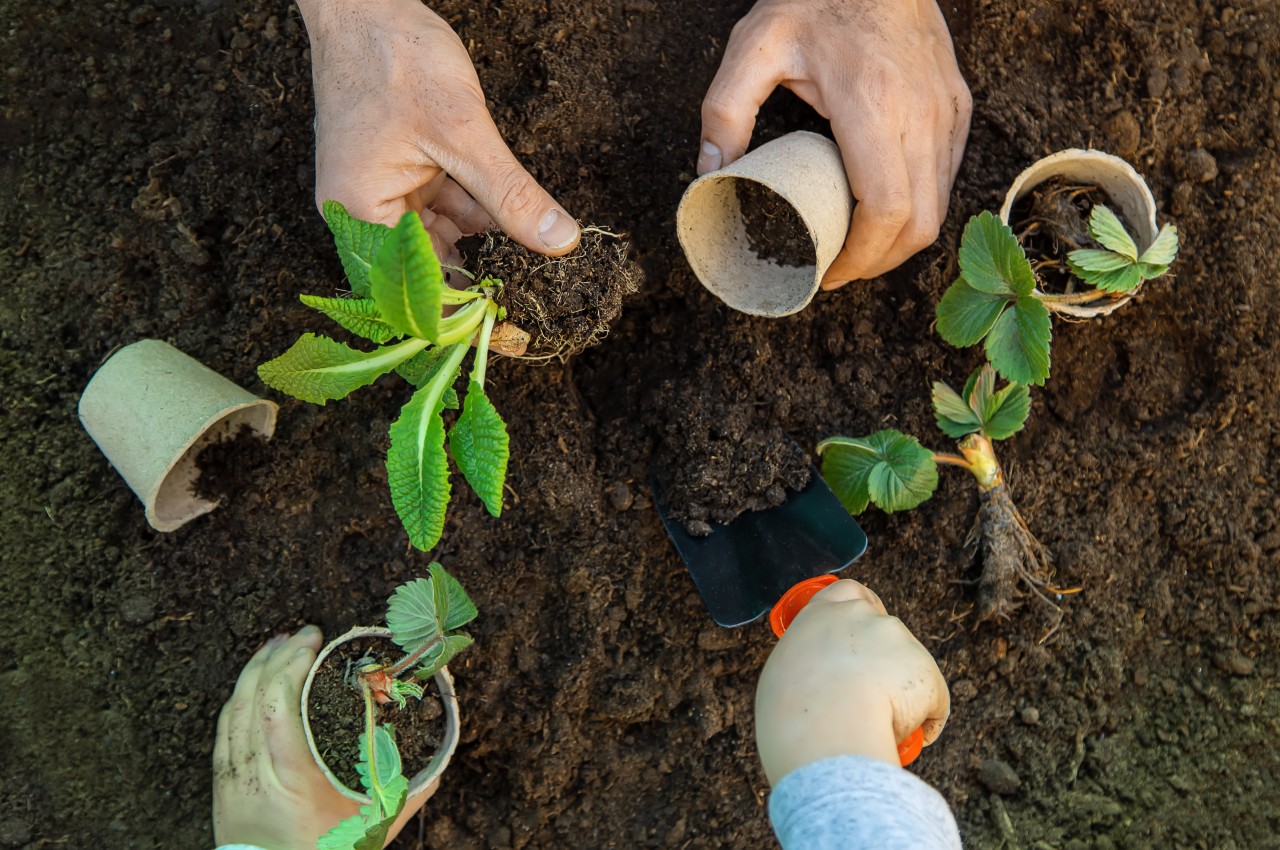
Image courtesy of: yanadjana
Ensure your plants start strong by following planting tips on seed packets and plant tags, considering factors like weather and soil temperatures. Optimal planting times vary; some plants thrive in cool weather and can be planted early in spring, while warm-weather crops require higher soil temperatures and should be planted later. Proper spacing is crucial for growth; bushy varieties need room to spread while climbing plants can be planted closer together and trained upwards.
9. Opt for Climbers
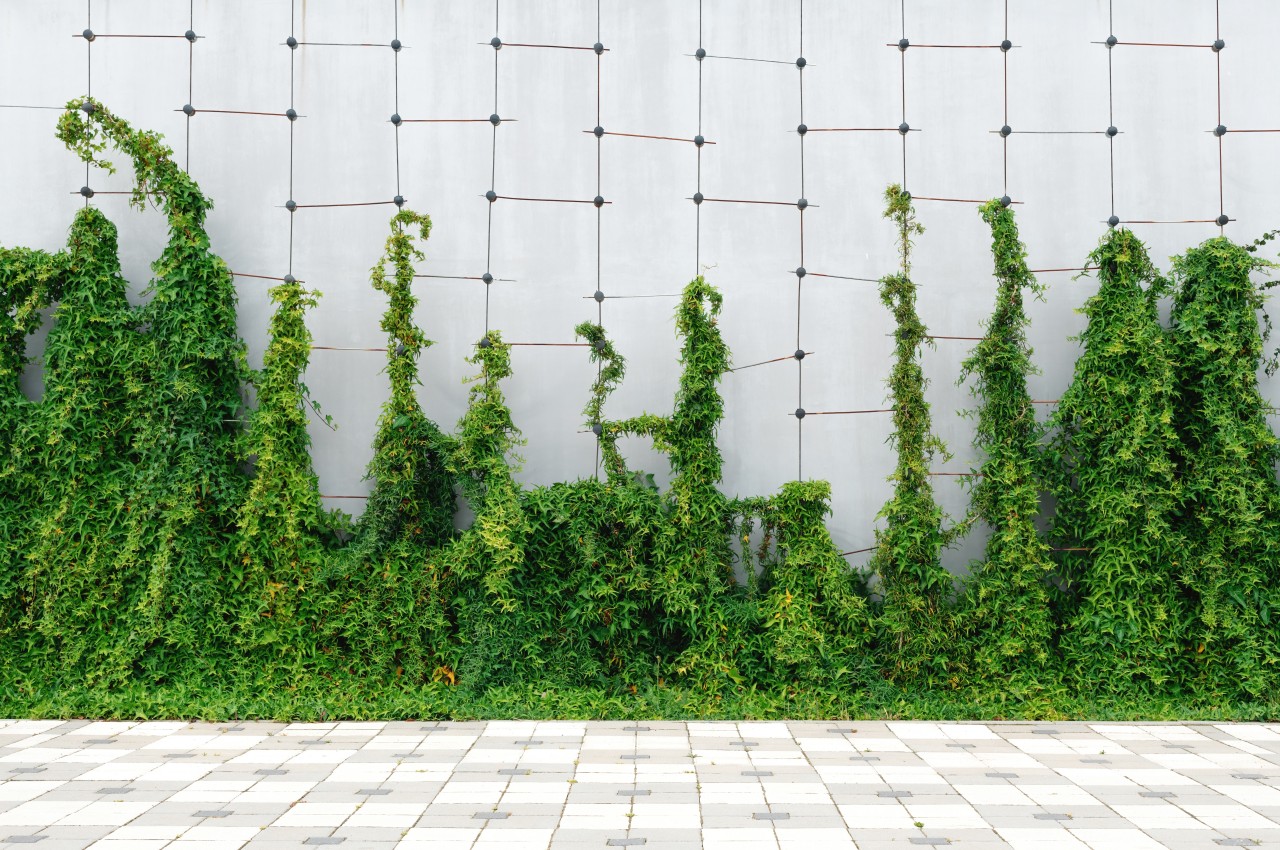
Image courtesy of: stevanovicigor
Climbers offer an ideal solution for expanding your growing area by utilizing walls, fences, or even trees. Examples of climbers include ivy and climbing hydrangea, which naturally adhere to surfaces. Before planting, consider painting or staining the surface for a low-maintenance yet visually striking appearance.
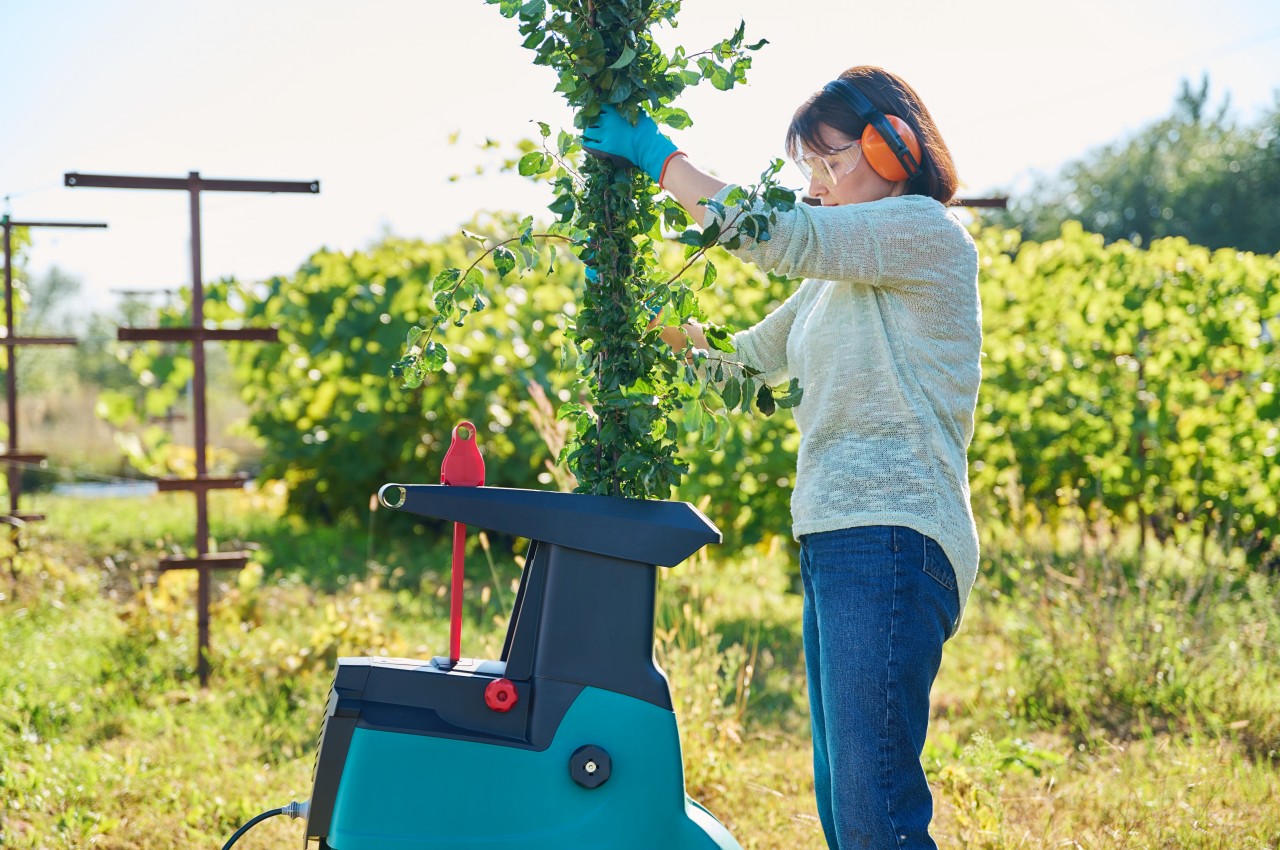
10. Use Mulch
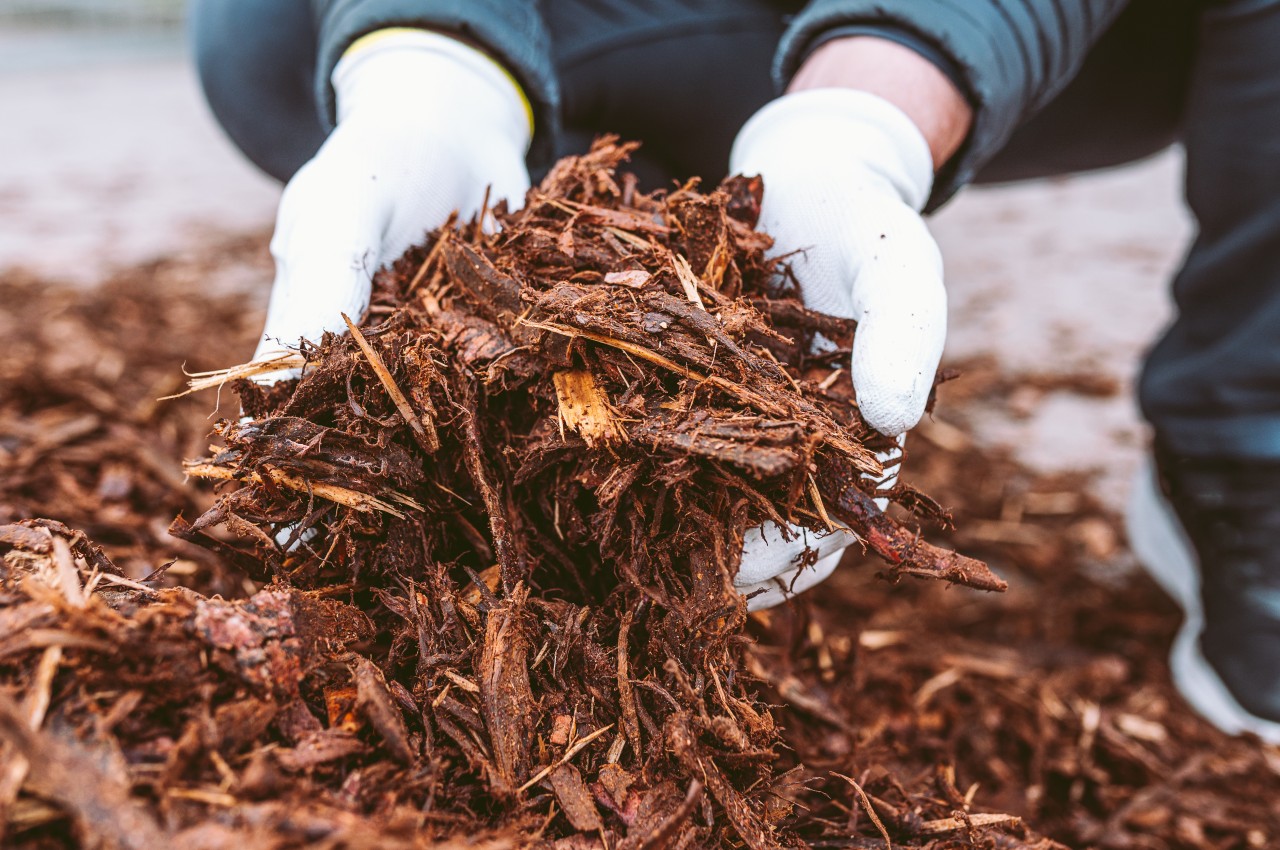
Image courtesy of: larisikstefania
‘Mulching’ involves using materials such as bark chippings or gravel to cover soil around plants, reducing labor by inhibiting weed growth, minimizing watering needs, and preventing water evaporation. Remember, applying a dense 2-inch layer of mulch blocks soil sunlight, inhibits weed seed germination, and retains soil moisture.
11. Invest in Sturdy Plants
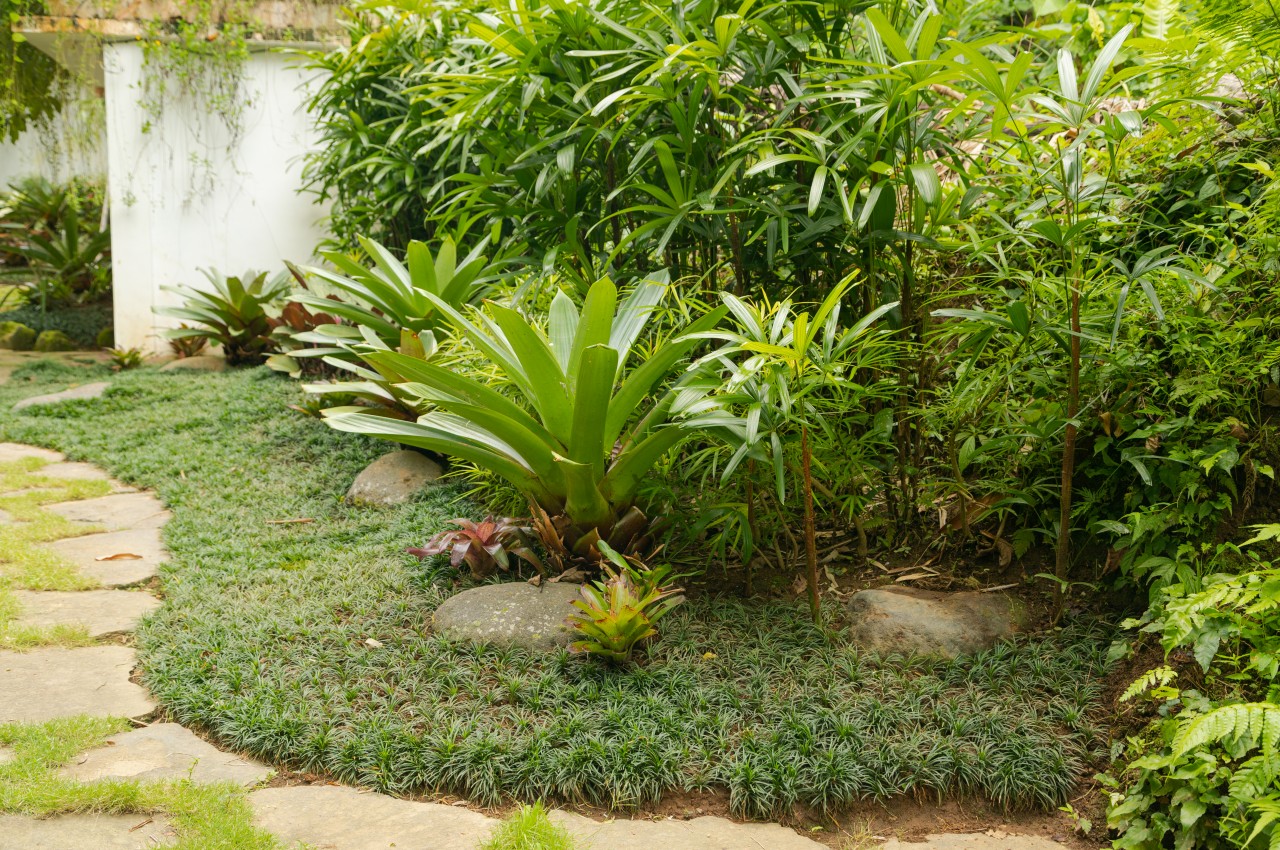
Image courtesy of: uladzimirz
Opt for easy planting by choosing hardy shrubs and evergreens, which are durable, long-lasting, and require less frequent replacement than deciduous plants, while also maintaining their attractive appearance year-round with minimal leaf shedding. Consider plants suited to your local climate to save time and money in the long term by placing them appropriately from the start, ensuring they thrive with minimal care. Additionally, it is highly recommended to grow ‘groundcover’ plants as they suppress weed growth.
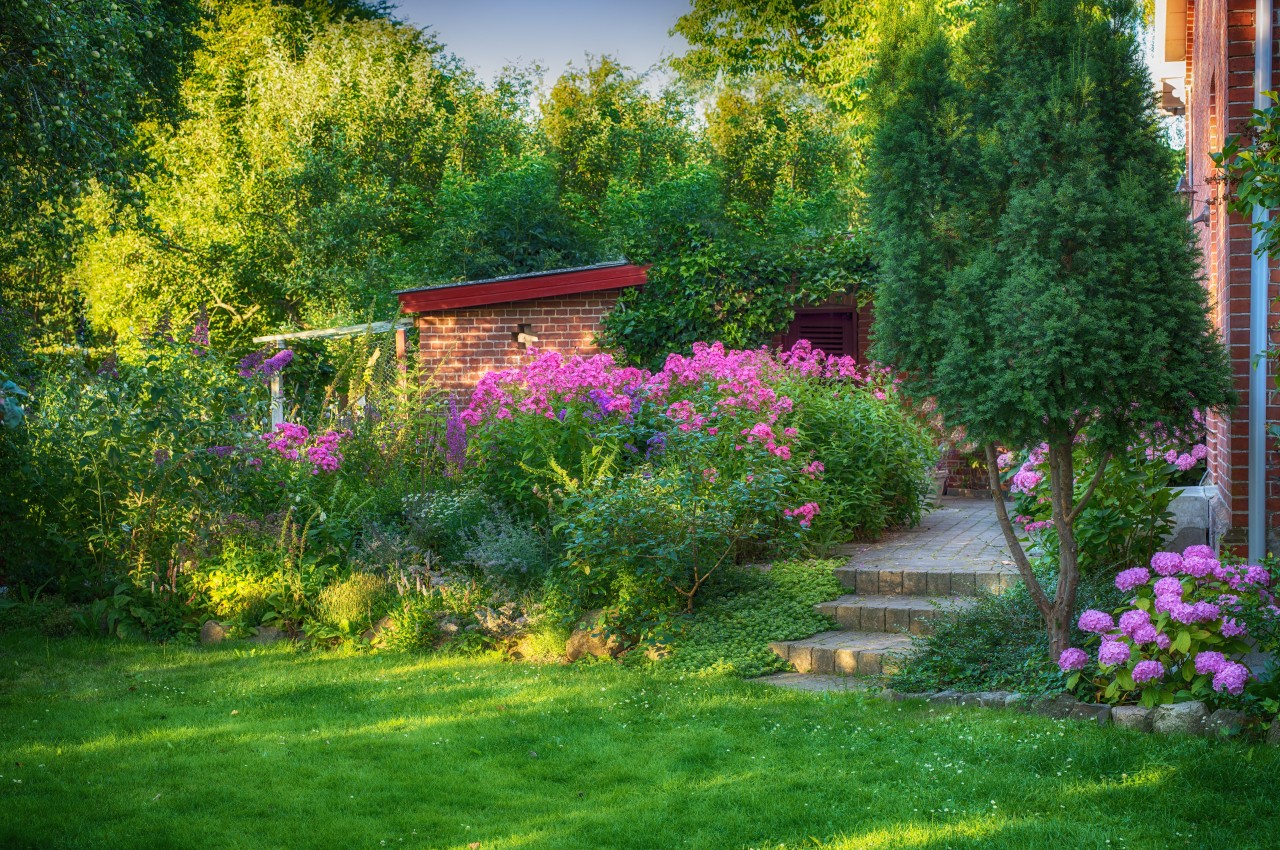
12. Go for Raised Beds
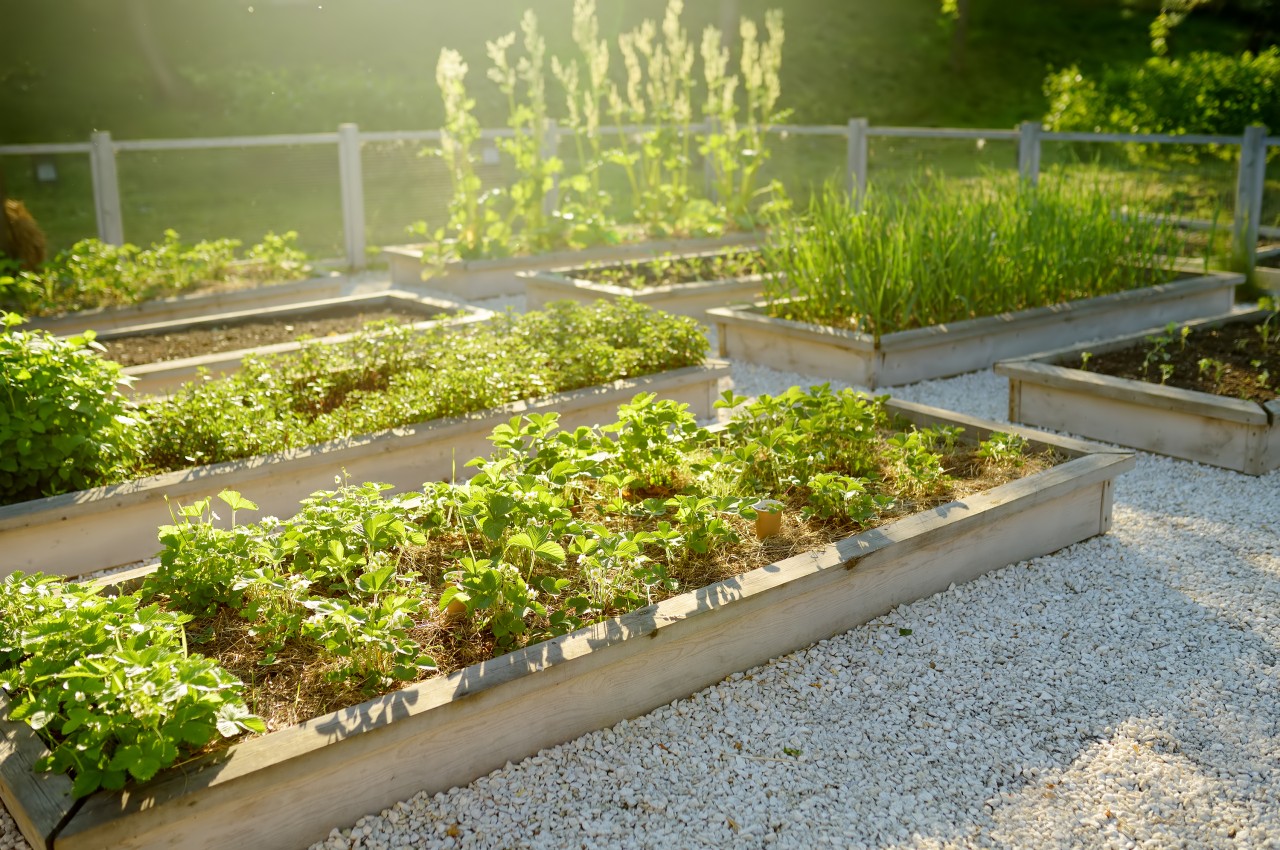
Image courtesy of: Maria_Sbytova
Raised beds offer an ideal solution for creating a low-maintenance small garden design, as they provide a tidy appearance, enhance drainage, minimize weed proliferation, and can be constructed at a convenient height, offering ease on the back by reducing the need for excessive bending.
13. Minimalist Garden
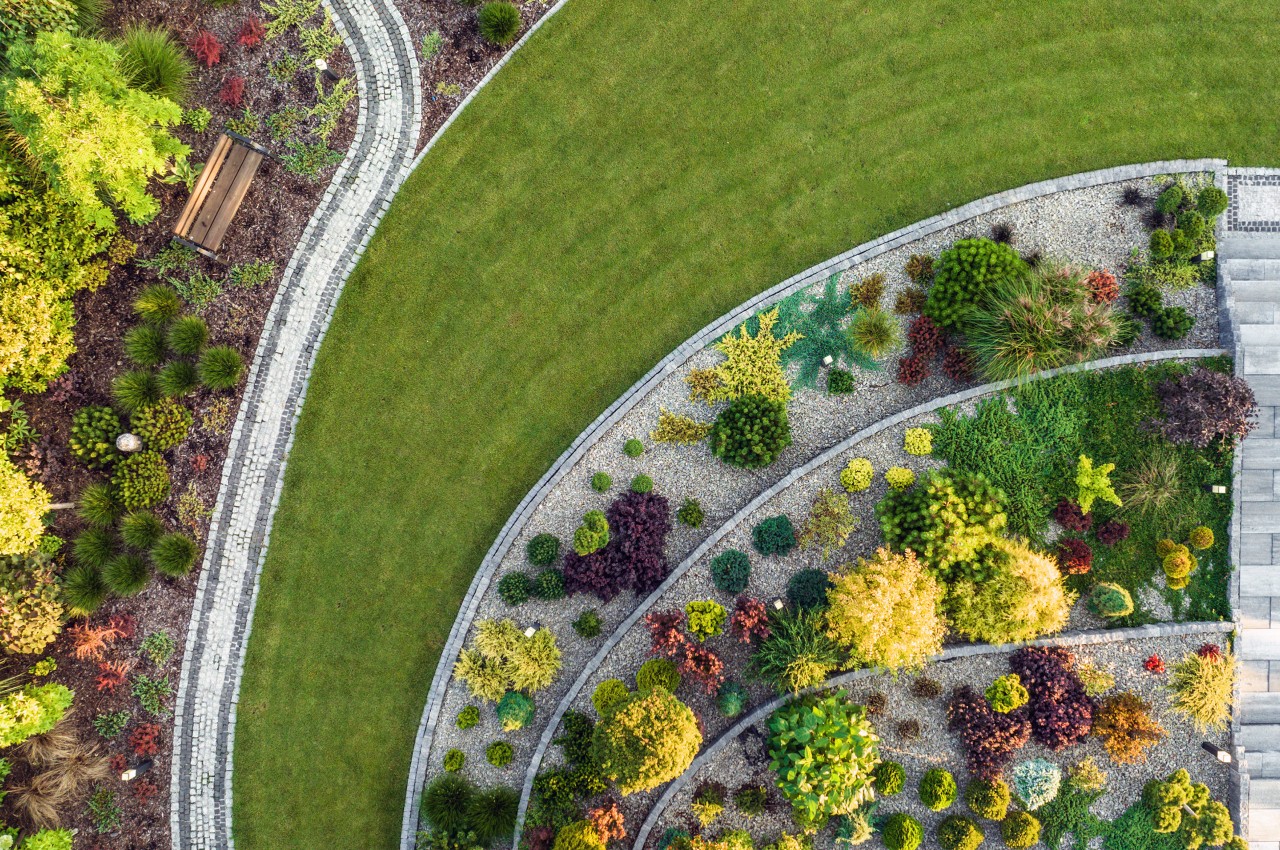
Image courtesy of: duallogic
Choose a modern, minimalist aesthetic over intricate, labor-intensive flower beds by selecting low-maintenance shrubs complemented by sleek hardscaping. Note that hardscape elements can be as diverse and captivating as plants, requiring minimal maintenance.
14. Stay Organized
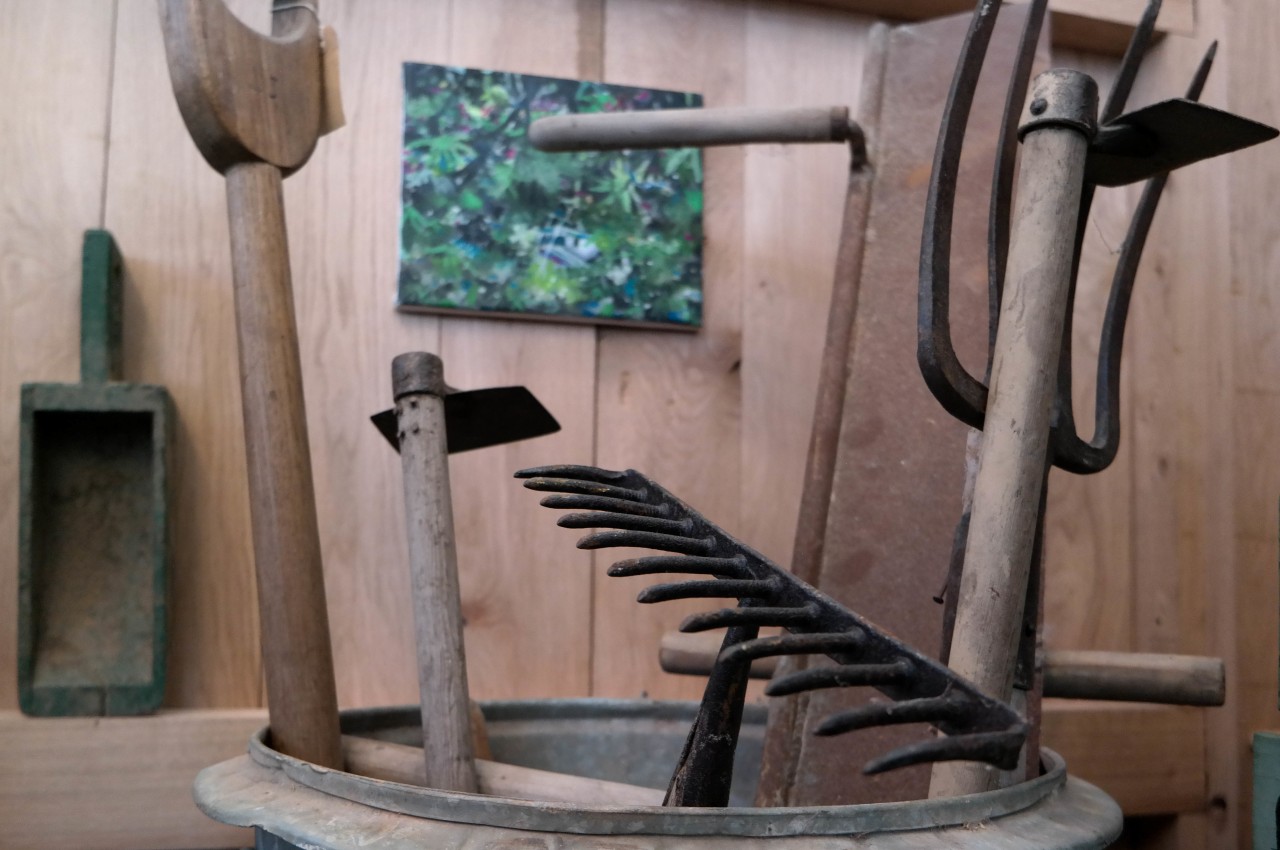
Image courtesy of: balls340
Efficiently arrange your tools to avoid spending more time searching for them than actually tending to the garden. Establish a suitable storage system, whether it be a garden shed or a dedicated cabinet for tools, ensuring easy access and tidy storage after use.
15. Consider a Zen Garden
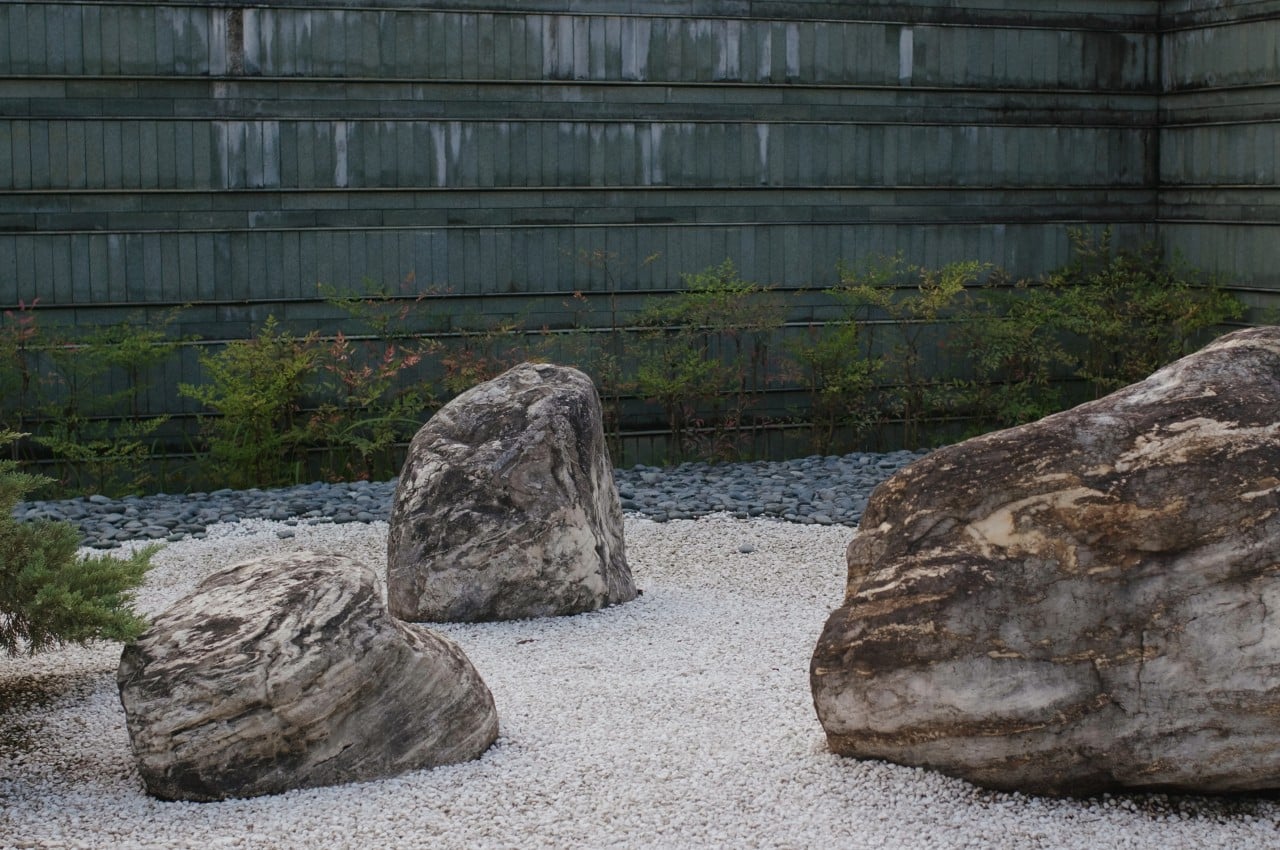
Image courtesy of: leungchopan
Zen gardens epitomize low-maintenance design, focusing on minimalism and tranquillity for meditation and relaxation with little upkeep. They feature raked gravel or sand instead of grass, offering serene patterns, while large rocks and stones serve as focal points, providing stability without maintenance. Sparse planting, with carefully selected plants like bamboo or Japanese maples, cultivates simplicity and calmness within the space.
16. Swap Hedge with Fence
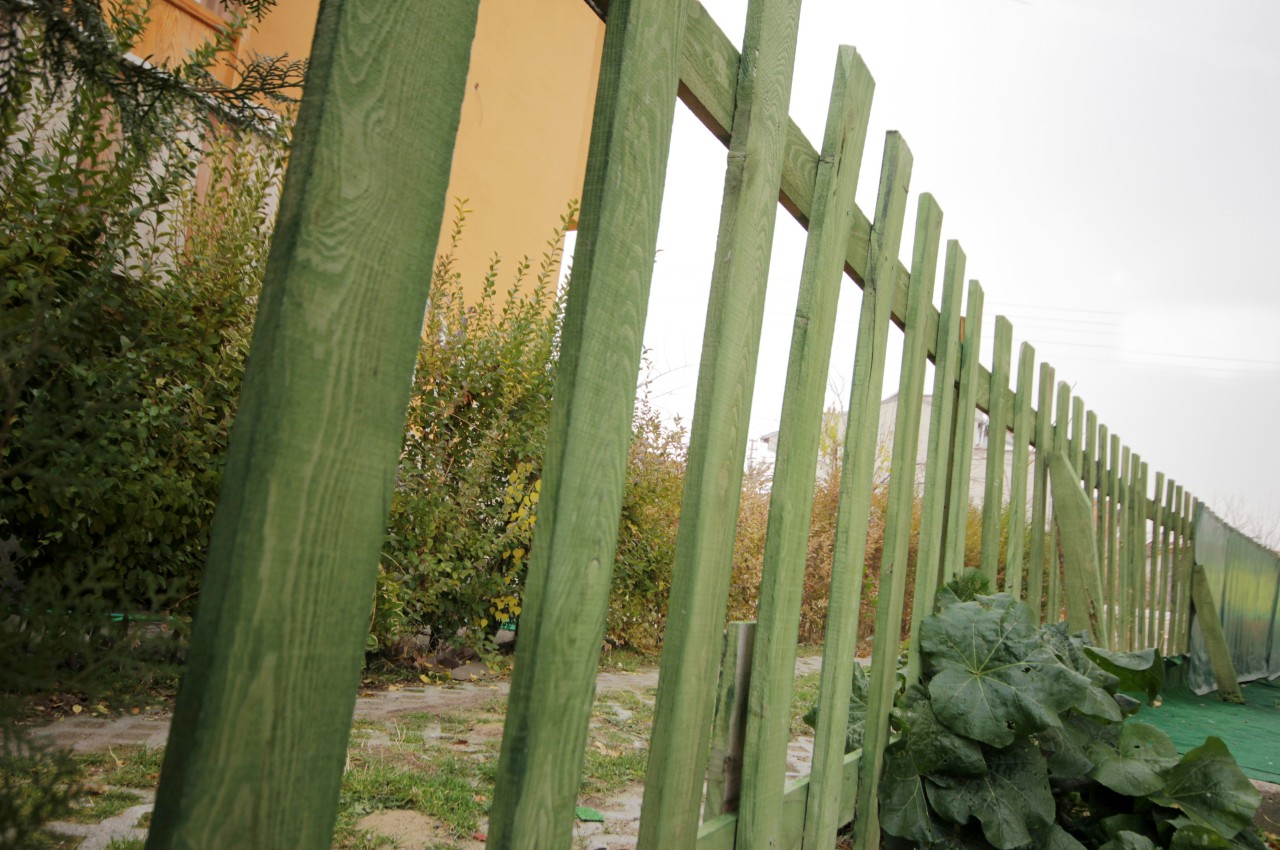
Image courtesy of: safakc1
Replace hedges with fences for less maintenance. Well-kept hedges look good but need regular trimming, which can be time-consuming or costly. Installing a fence initially costs more but saves on upkeep in the long run, especially at the front of your property where it improves security and curb appeal.
17. A Simple Water Feature

Image courtesy of: edemarco5
Maintaining sizable water features can be cumbersome and messy. If you desire a water element, opt for something easy to clean, such as a low-maintenance outdoor water fountain for the soothing sound of flowing water or a straightforward stone basin filled with water.
18. Look out for Pests

Image courtesy of: NadezhdaNovikova
Stay vigilant for pests as healthy plants are better equipped to withstand insects and their damage. Regularly inspect your garden for signs of infestation such as sticky residue, fruit holes, or damaged leaves. Identify the specific pests present to select the most suitable pesticide for effective control.
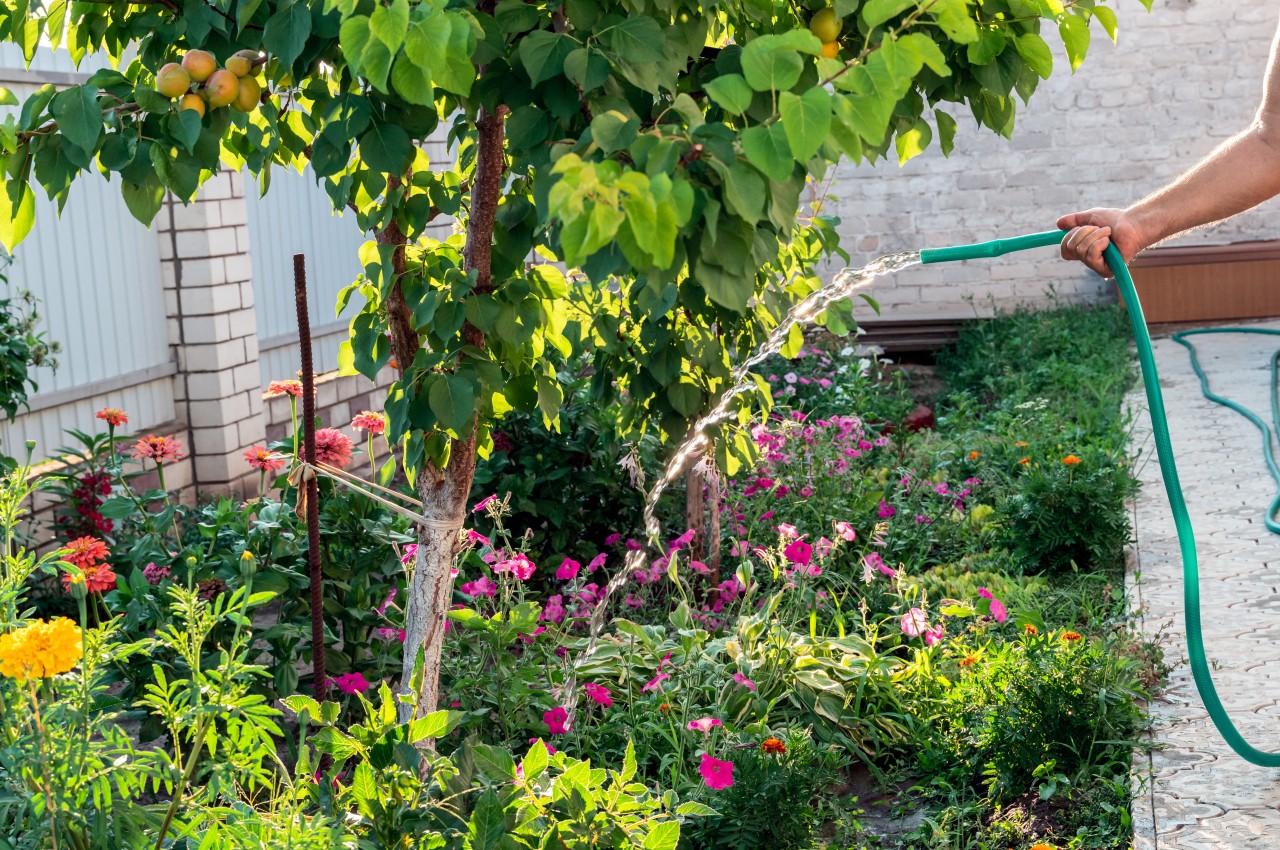
19. Install an Efficient Irrigation System
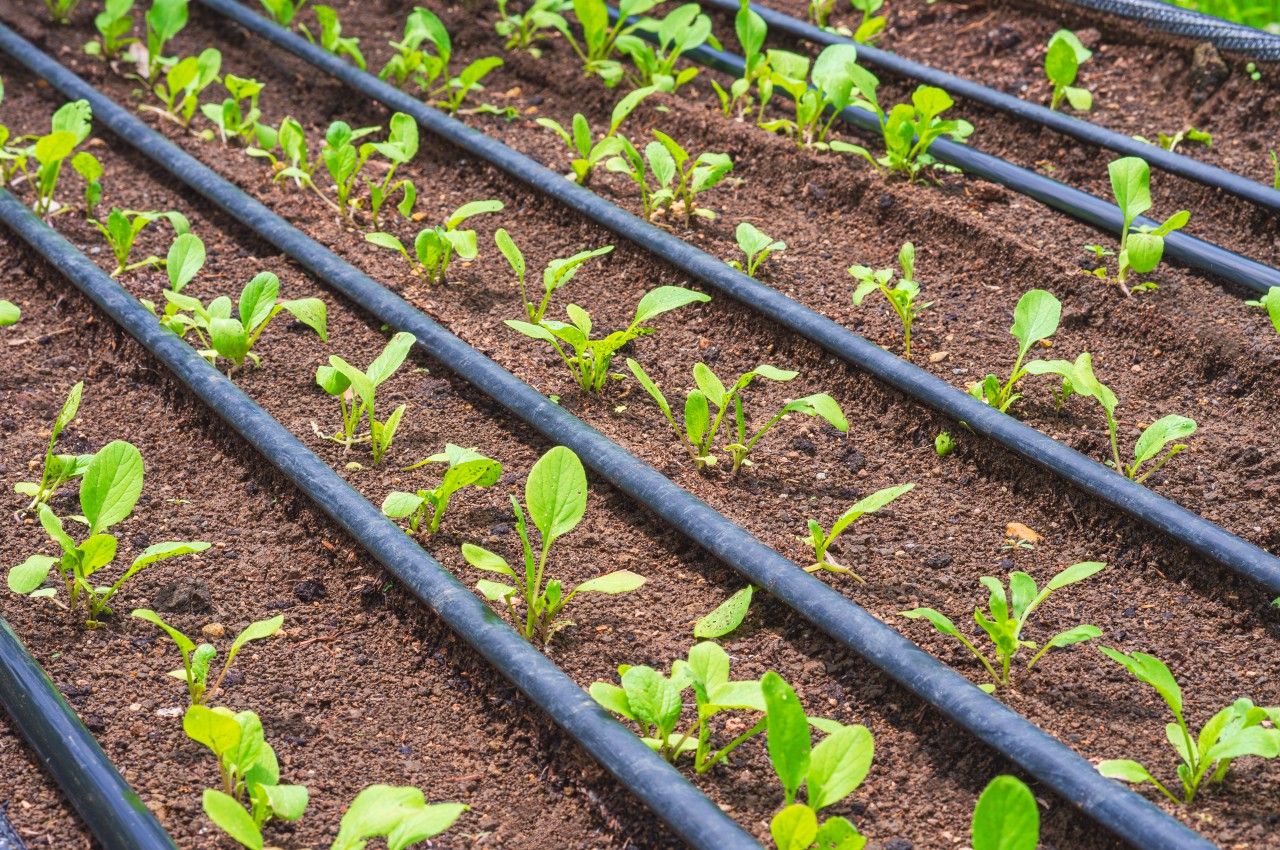
Image courtesy of: aowsakornprapat
Overhead watering with a hose or sprinklers encourages garden fungal diseases. To simplify and optimize watering, install a drip irrigation system. It delivers precise water amounts to the soil, minimizing waste and fungal risks. When choosing a system, prioritize timers but remain adaptable to weather changes for efficient watering.
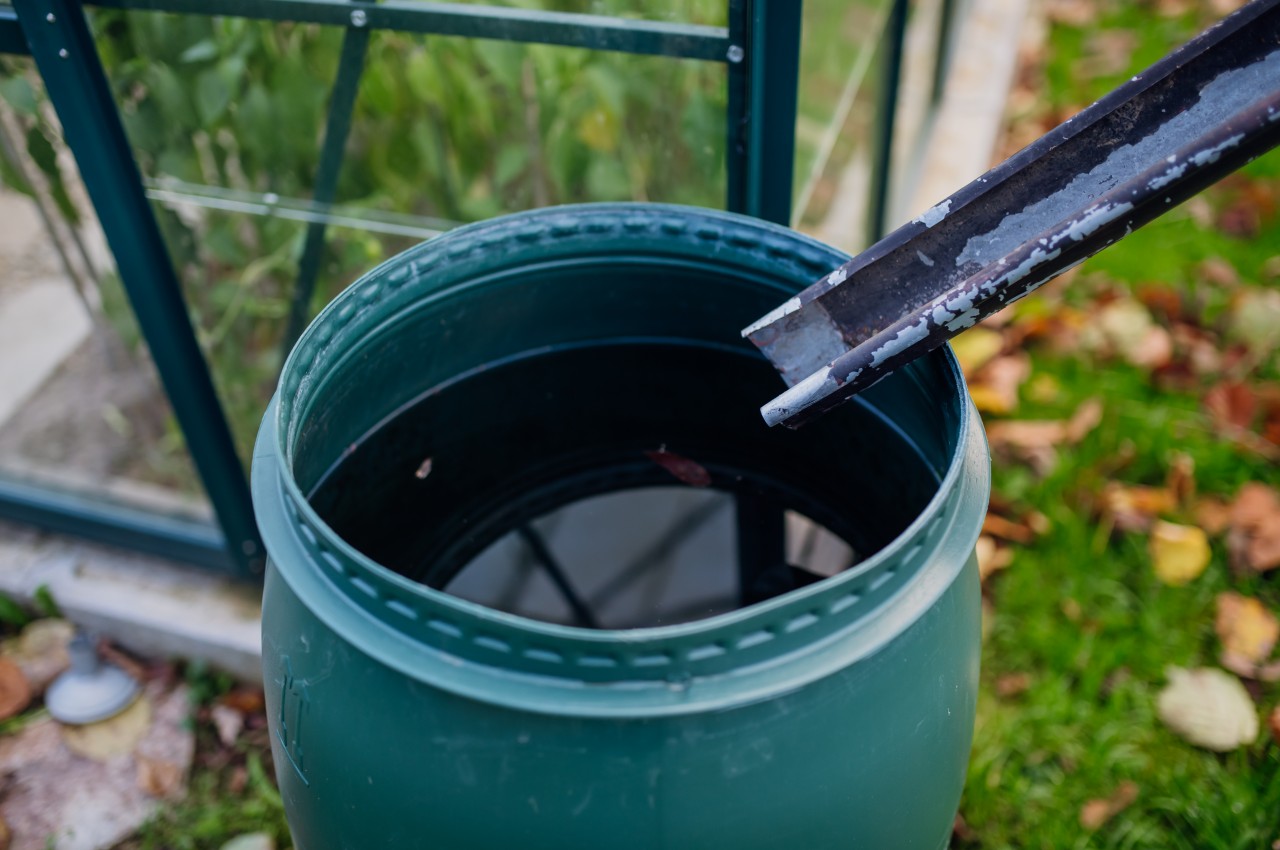
20. Create Your Compost
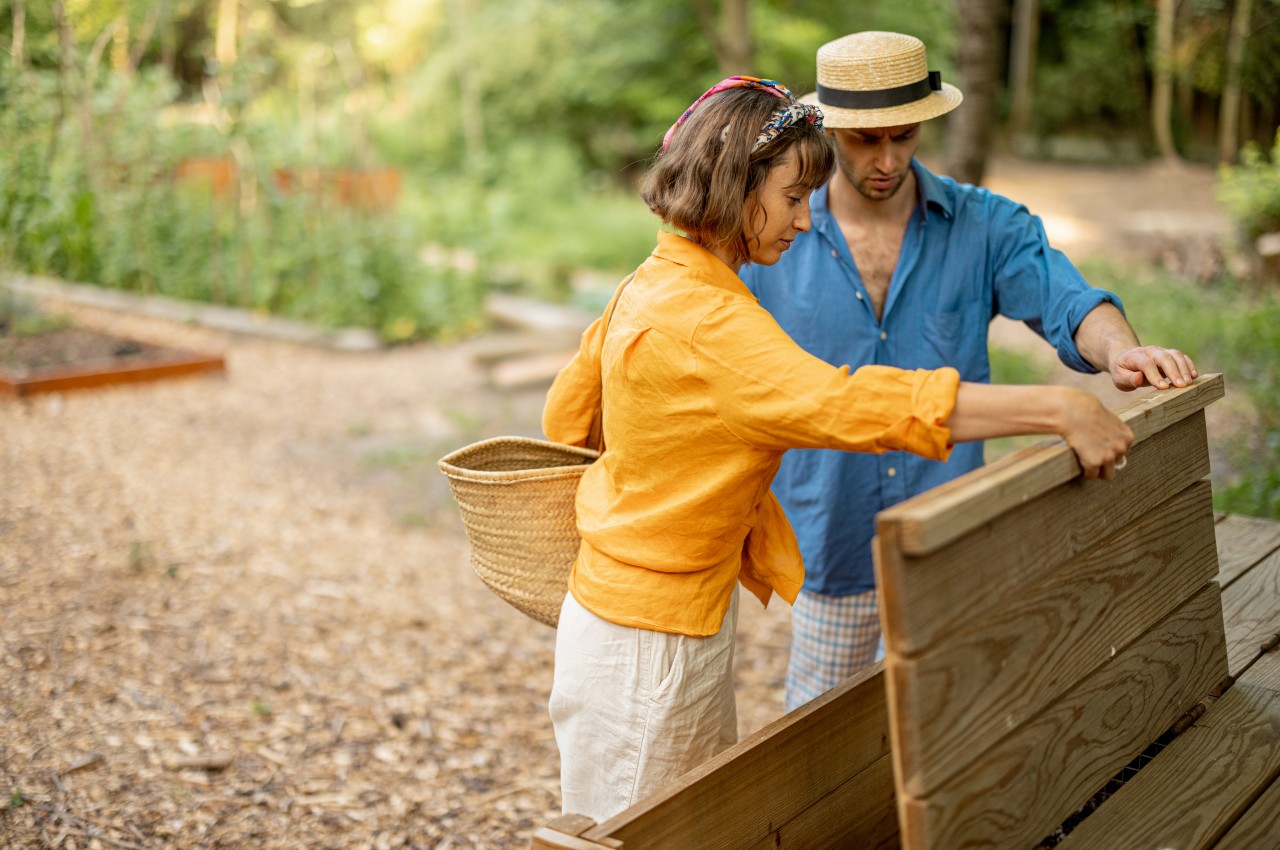
Image courtesy of: RossHelen
If you’re dedicated to cultivating numerous plants, having a quality compost heap is crucial. This allows you to recycle various waste materials like grass clippings, kitchen scraps, and more. Not only does this practice promote sustainability, but it’s also environmentally friendly. Despite the effort required to maintain a compost heap by turning it regularly for proper aeration and decomposition, there’s a convenient solution for rotating compost bins.
In conclusion, even individuals leading busy lives with limited time can achieve a low-maintenance garden with minimal effort by implementing these guidelines.
The post Top 20 Tips for Designing a Low-Maintenance Garden first appeared on Yanko Design.