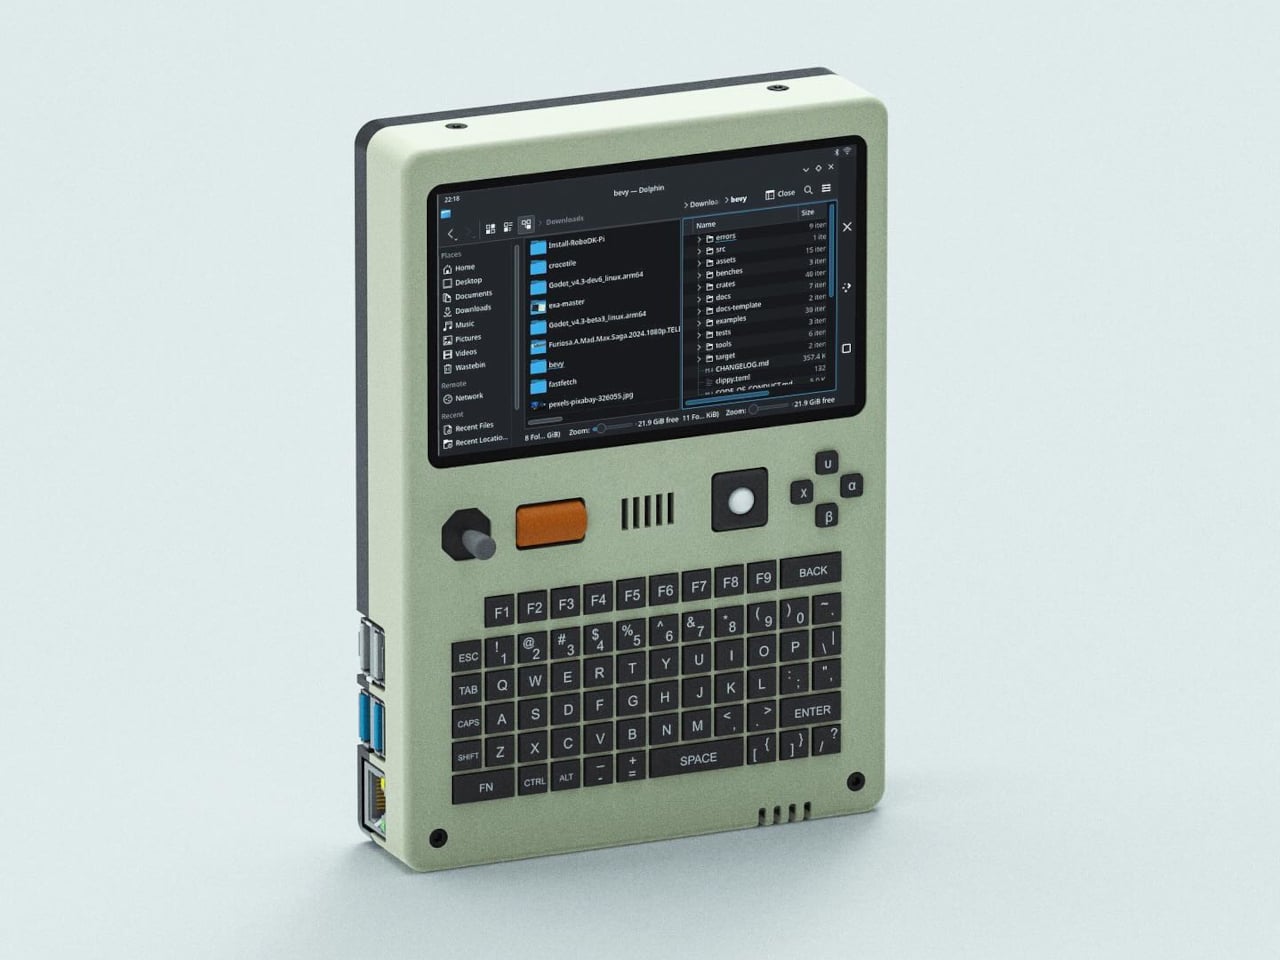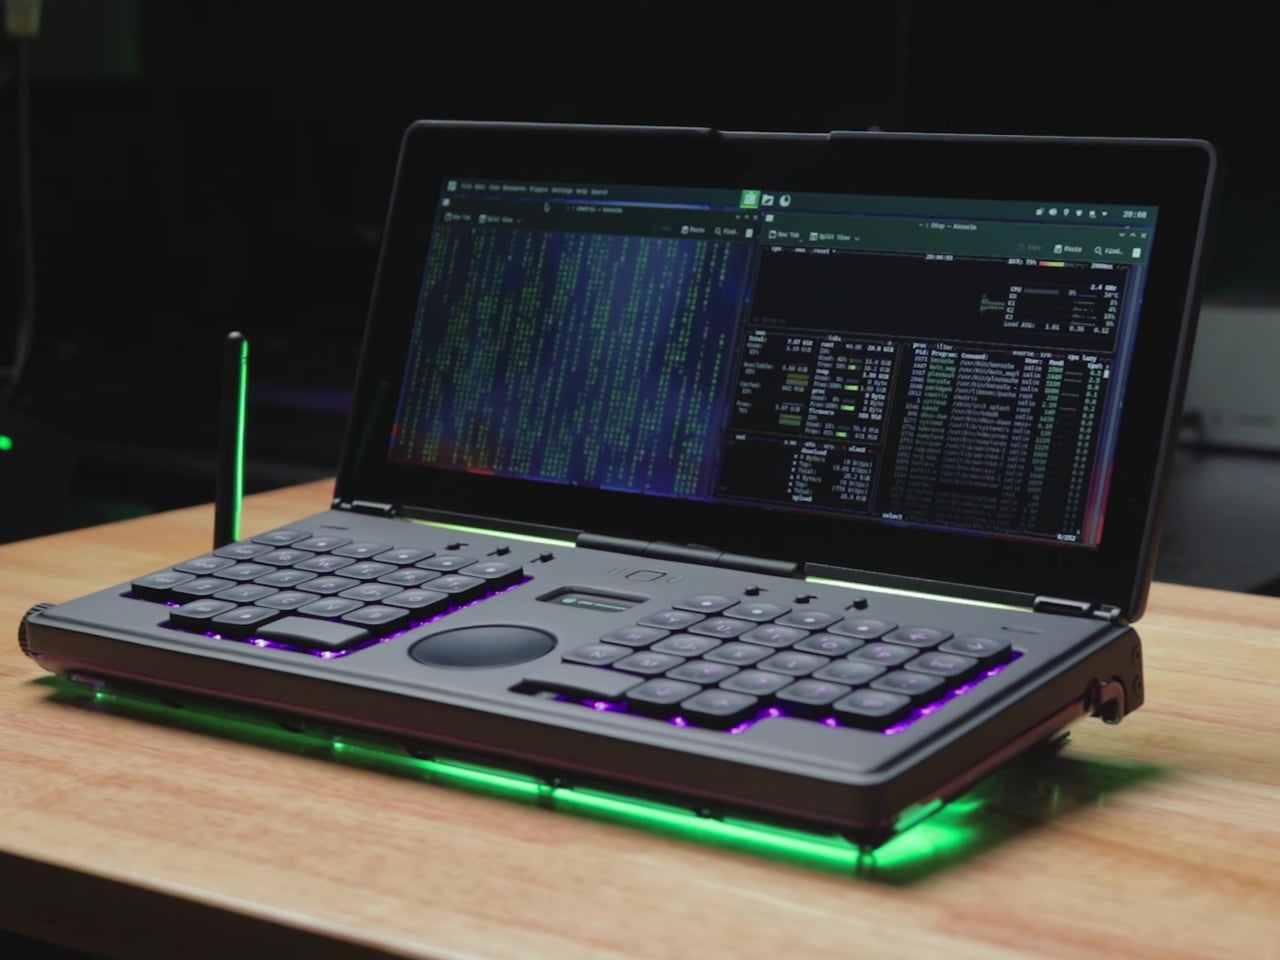
Most cyberdecks sit somewhere between prop and prototype, fun to look at but often awkward to use, with bolted-on parts and layouts that prioritize aesthetics over ergonomics. They’re conversation starters that rarely stay on the desk once the novelty wears off. This “CMDeck” build is interesting because it tries to behave like a real laptop-class machine you could actually reach for when you want to write or tinker.
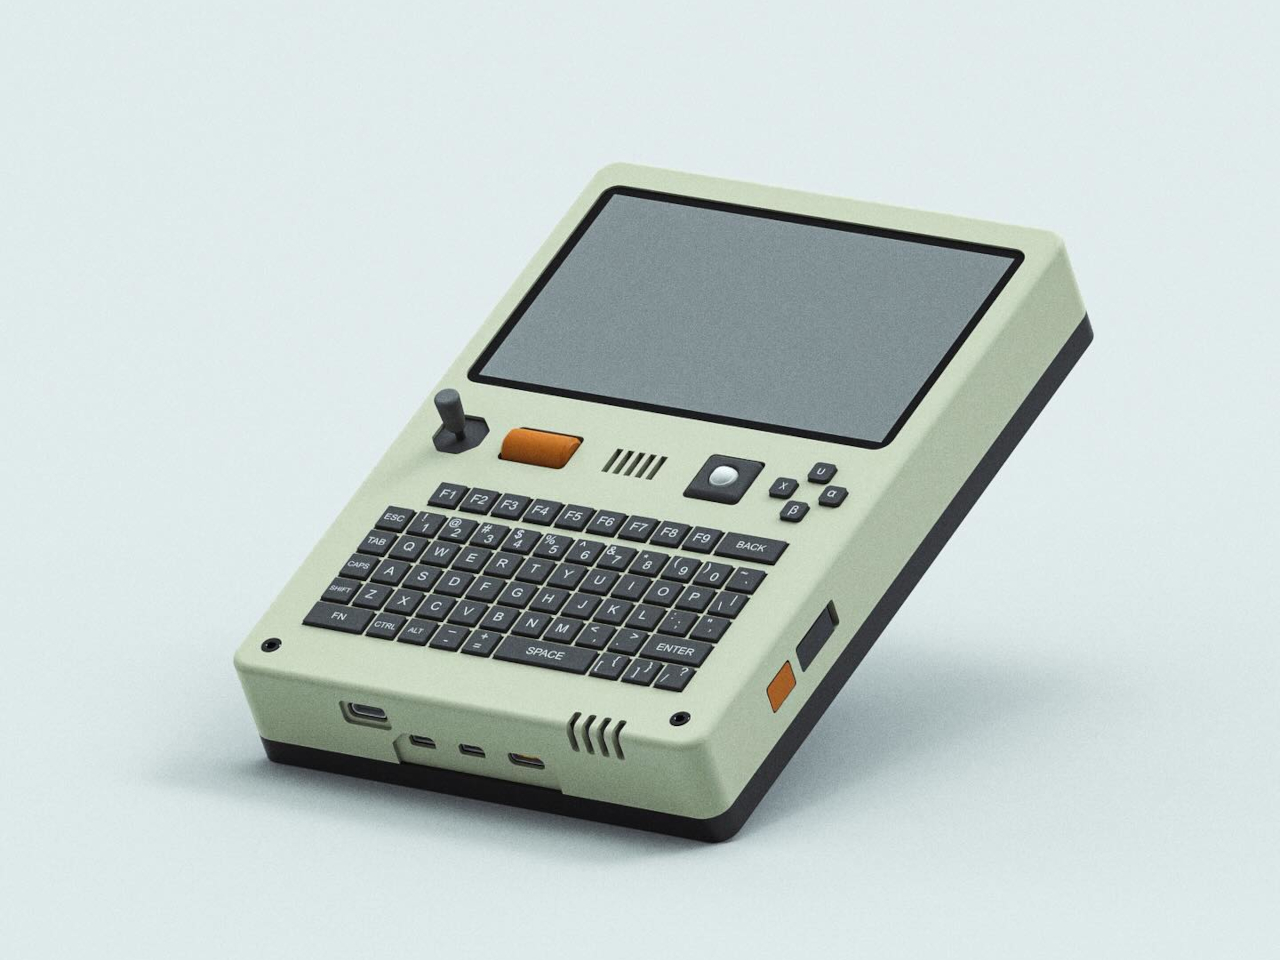
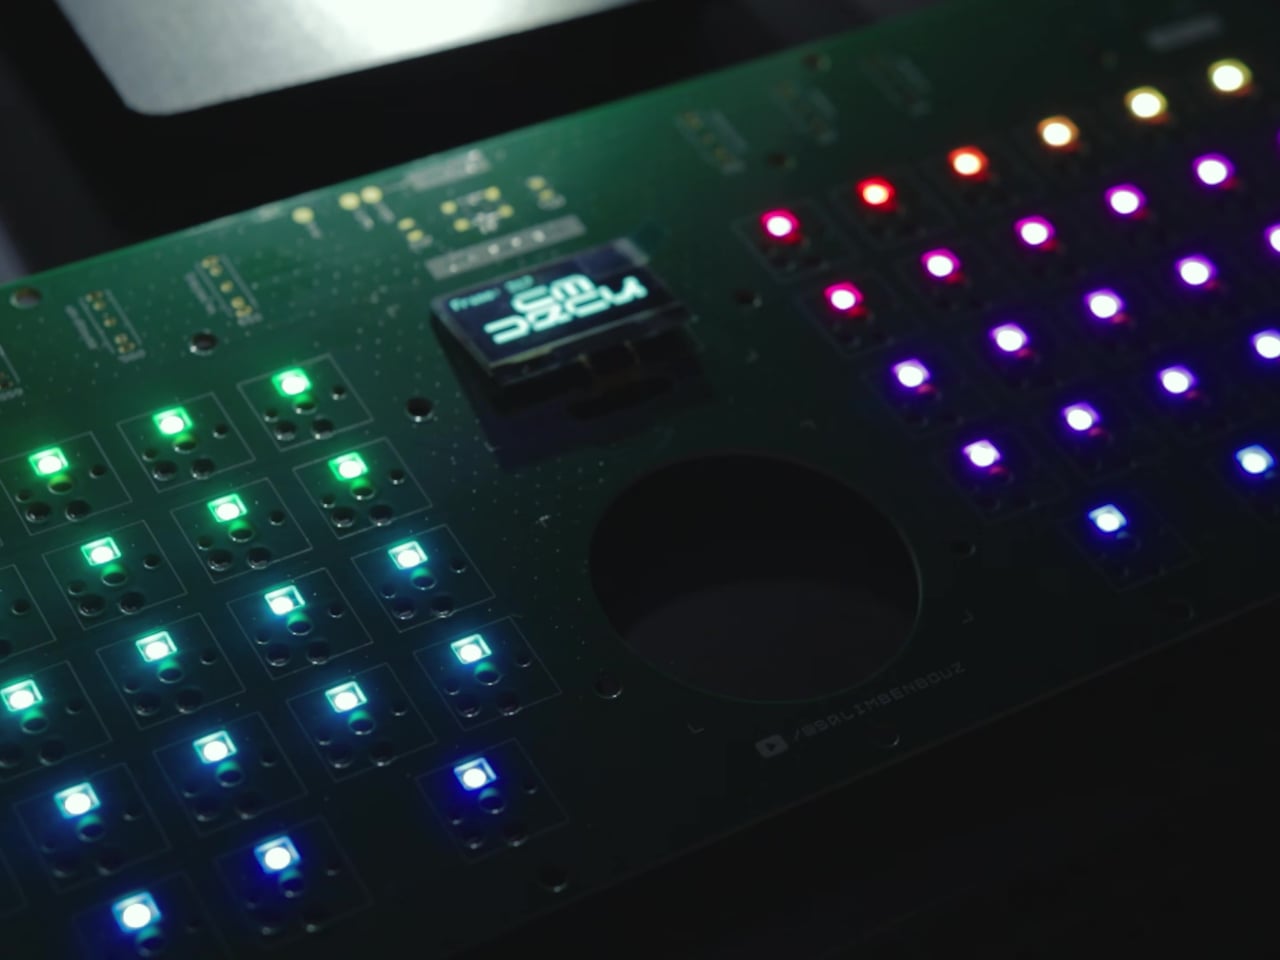
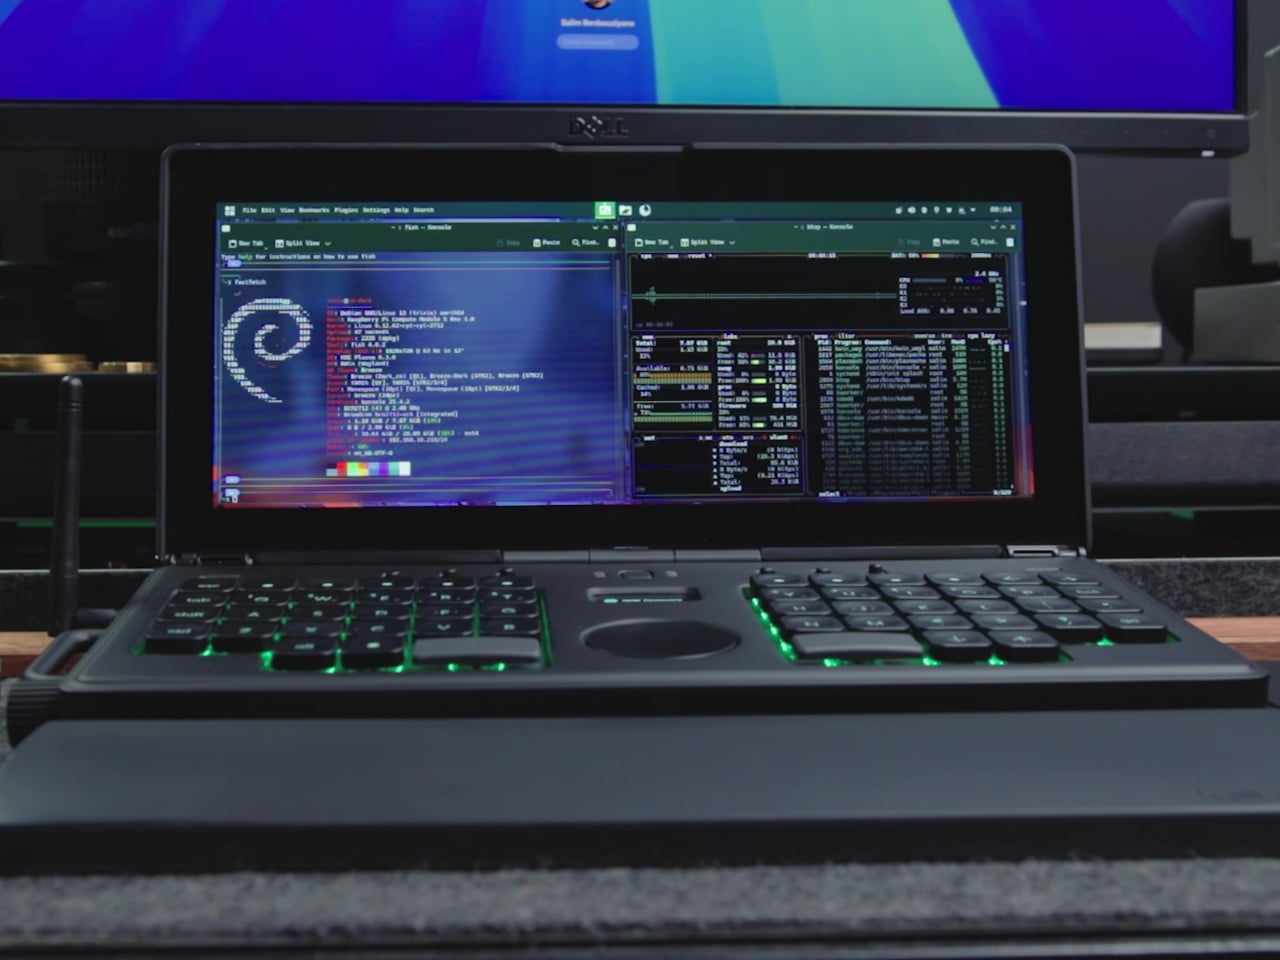
Salim Benbouziyane’s core decision was to give the deck the footprint of a full-size keyboard, a wide clamshell that feels anchored instead of chunky. A 12-inch touch display sits up top, and a custom low-profile mechanical keyboard lives below, with a split ortholinear layout, central trackpad, and small OLED. It’s framed as a deliberate workspace rather than a random collection of parts that happened to fit in a box.
Designer: Salim Benbouziyane
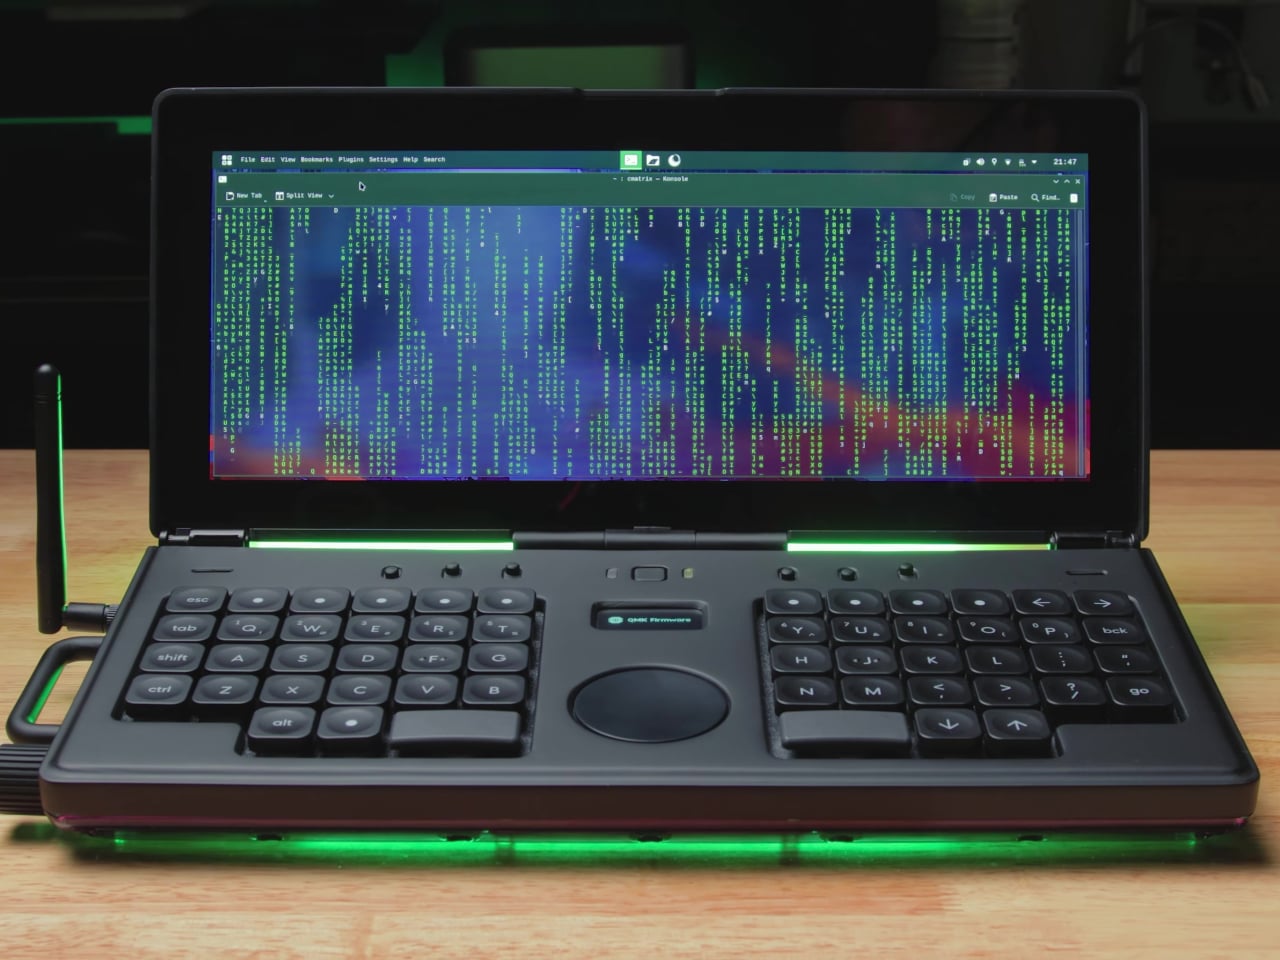
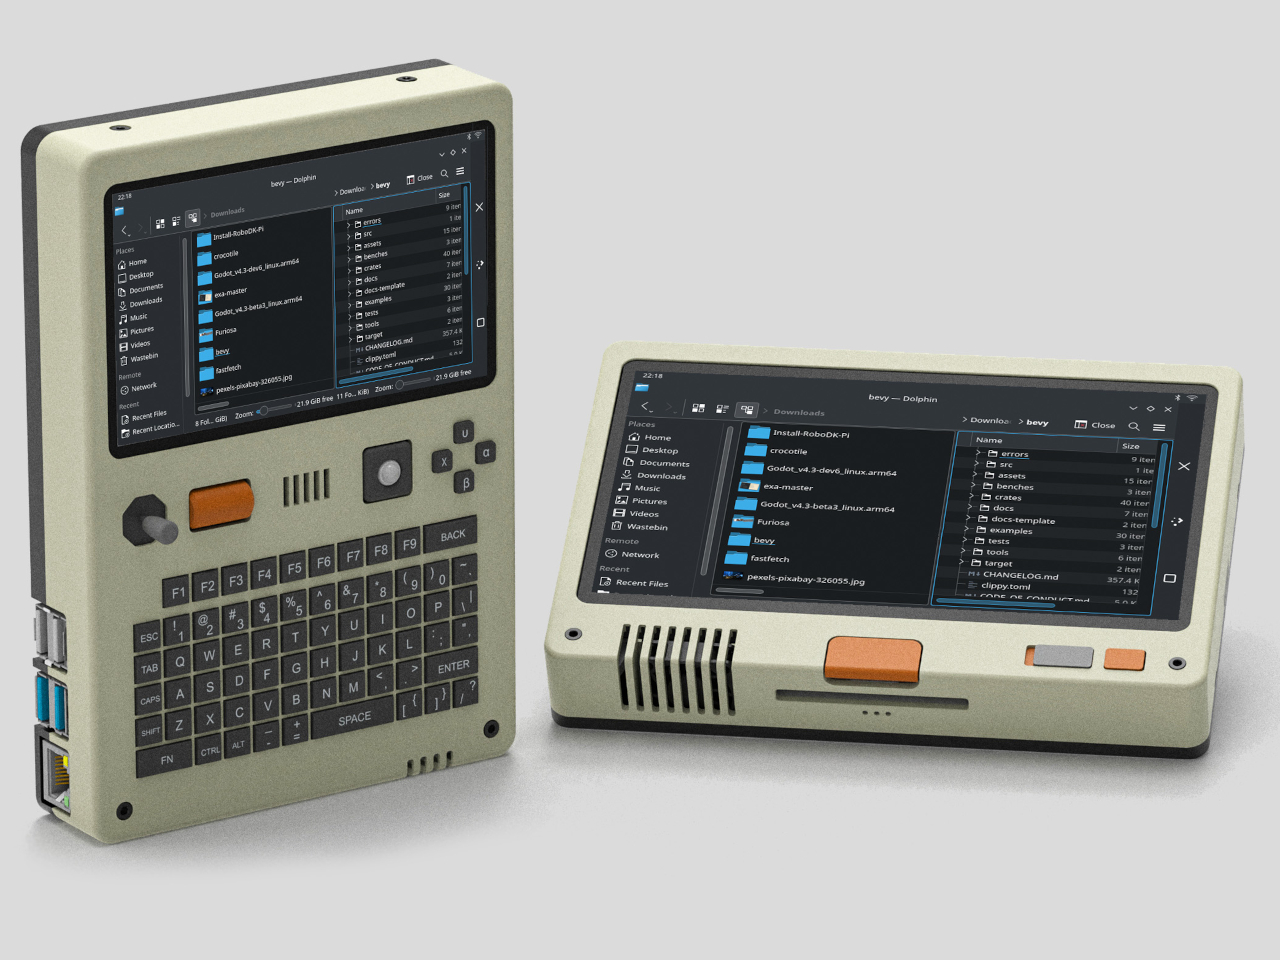
The split ortho layout and central trackpad push your hands outward, leaving a clear middle zone for navigation and status. The low-profile switches and custom keycaps keep the deck thin enough to feel like a proper clamshell, while the OLED hints at system status without cluttering the surface. It’s a layout aimed at writing, coding, and multi-window work, not just showing off an unusual key arrangement that makes typing harder.
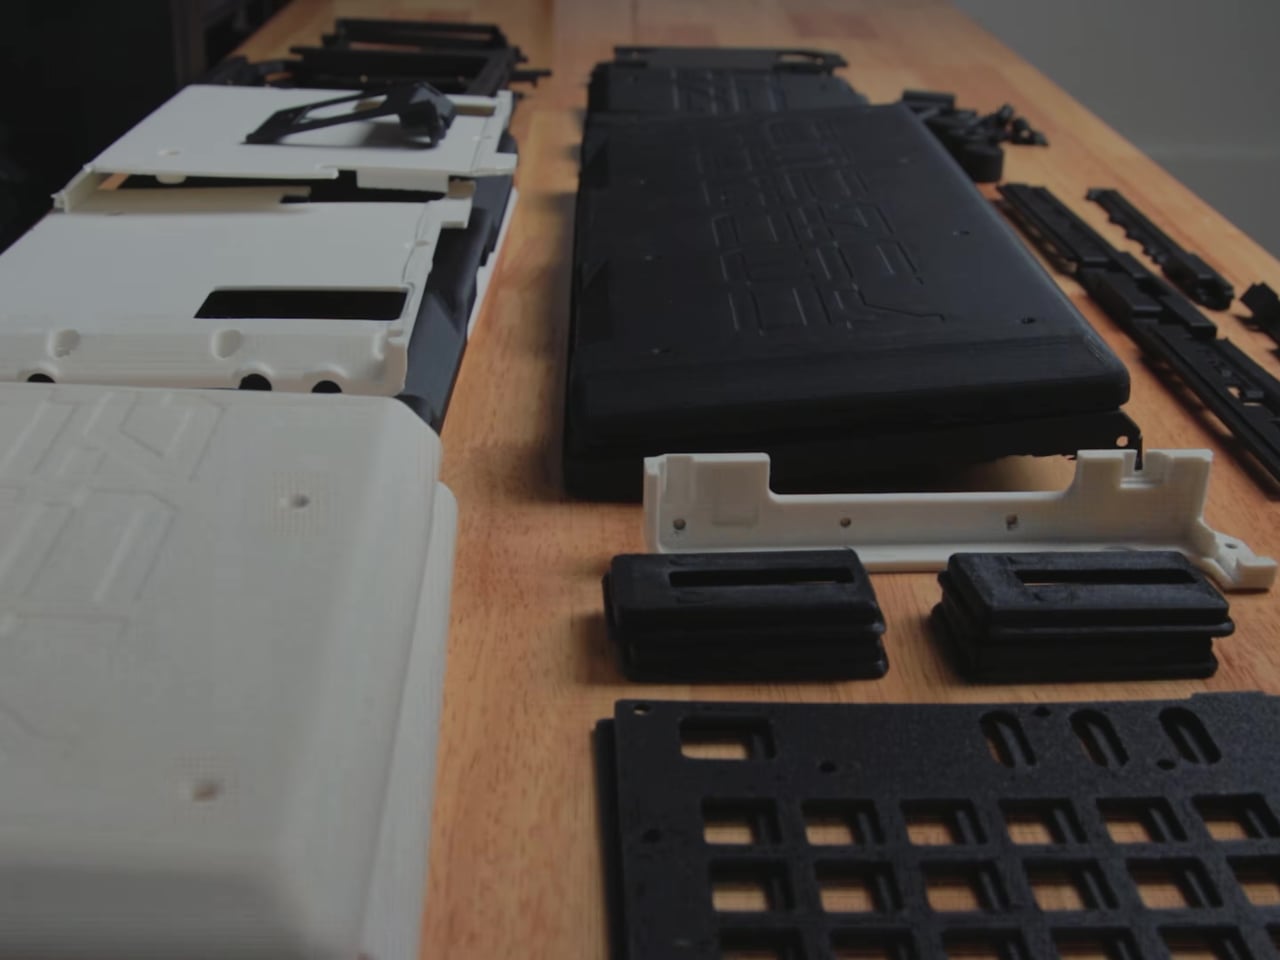
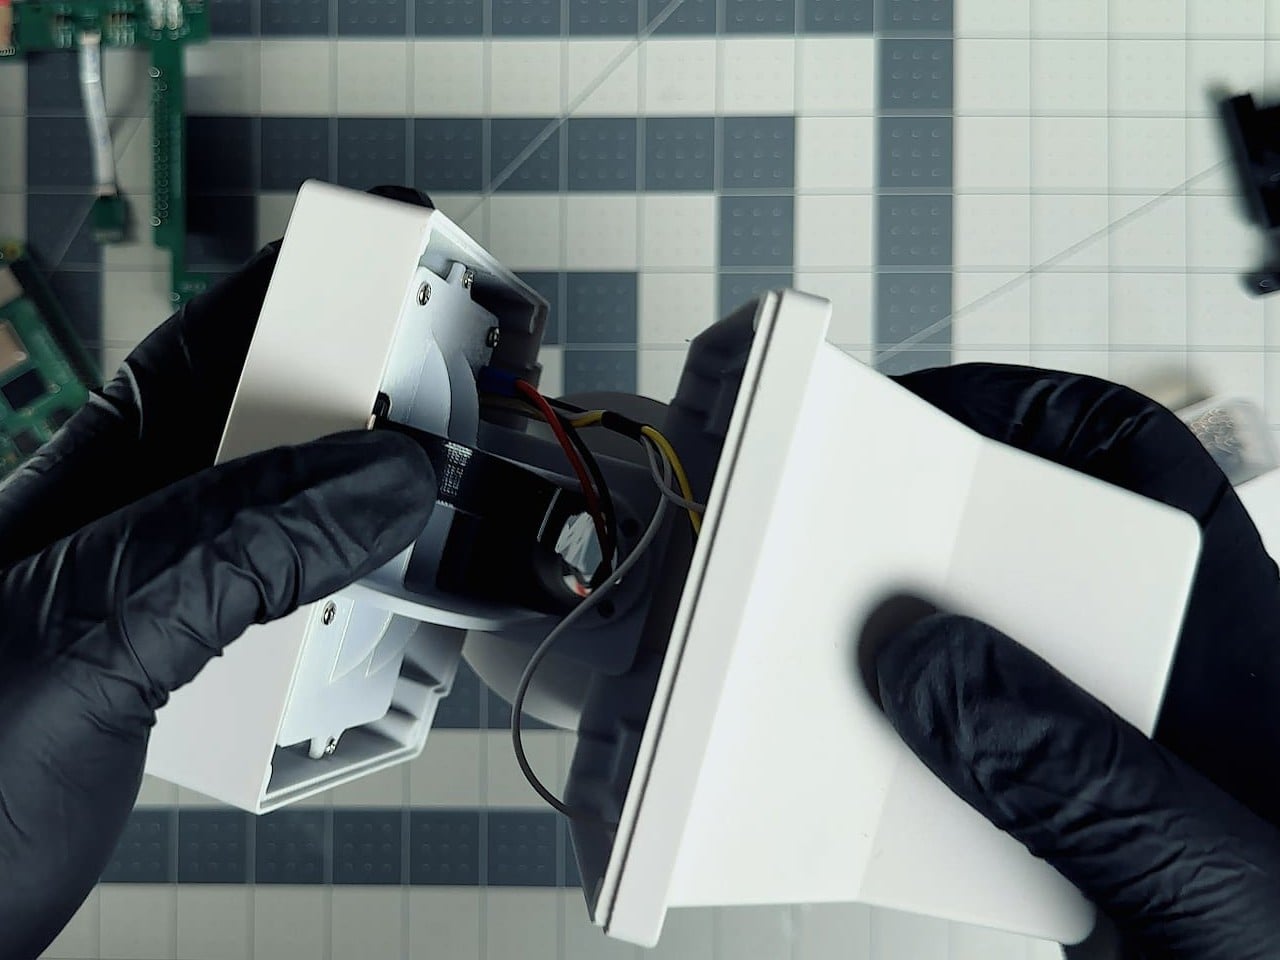
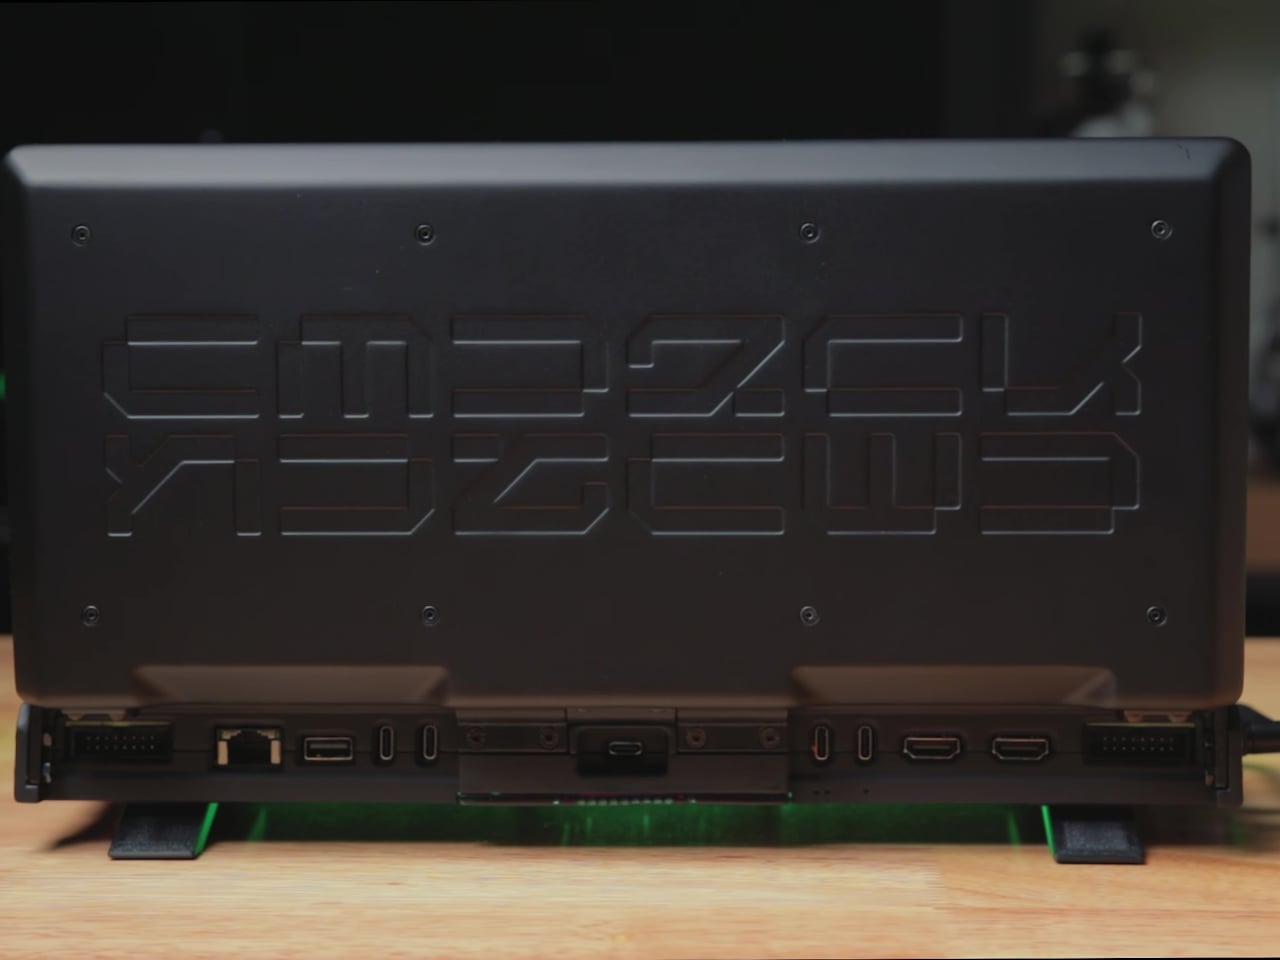
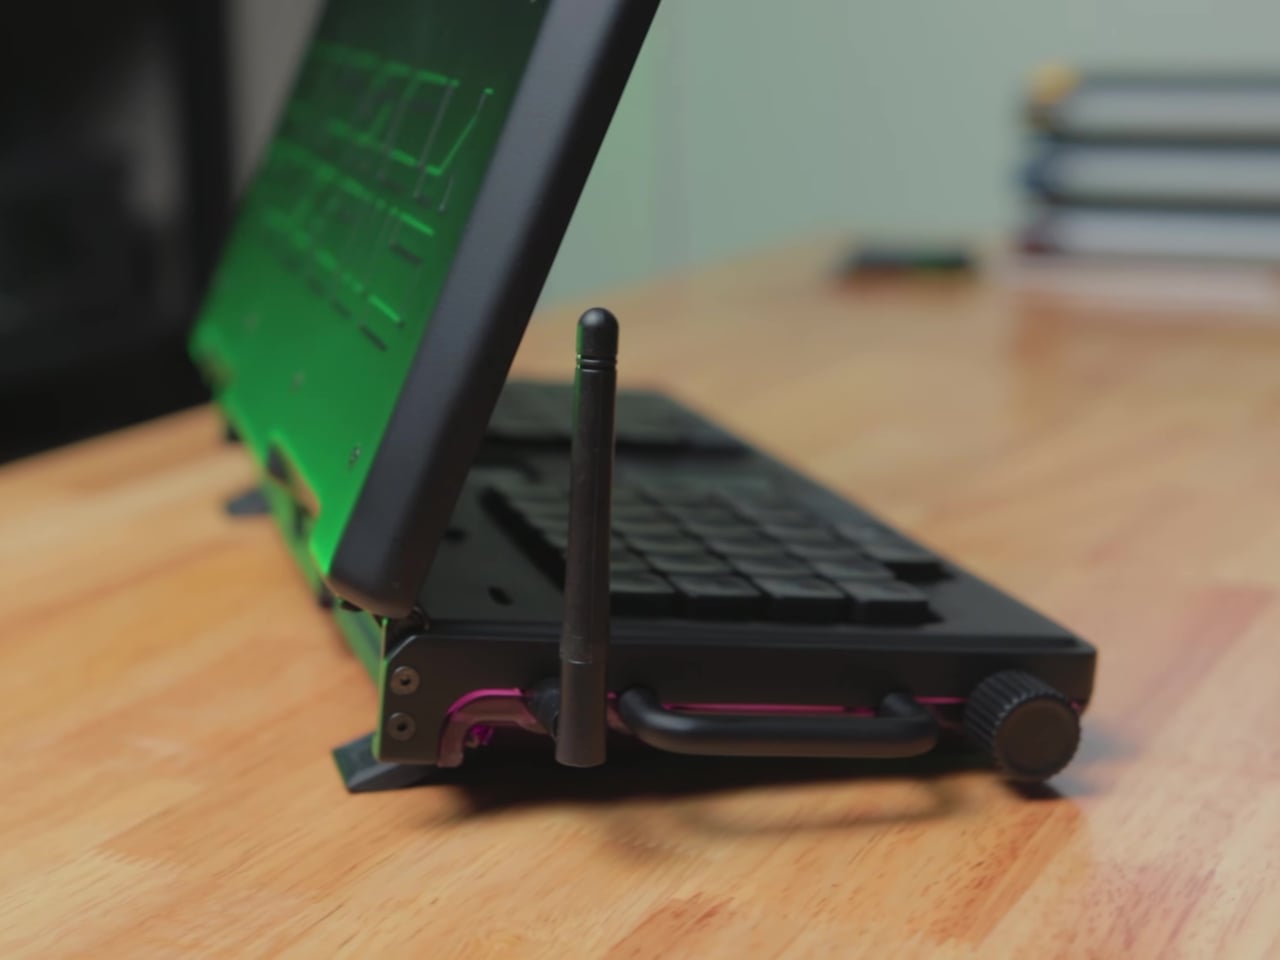
The enclosure journey is where the design process shows most clearly. The first CAD pass looked clean with all the I/O on the back, then immediately ran into reality when cables blocked the lid from opening. Salim carved clearances, added a removable rear section for assembly, and reworked hinge mounts after early prototypes ripped screws out. The heavy display forced him to add brass weights so the deck could open fully without tipping backward.
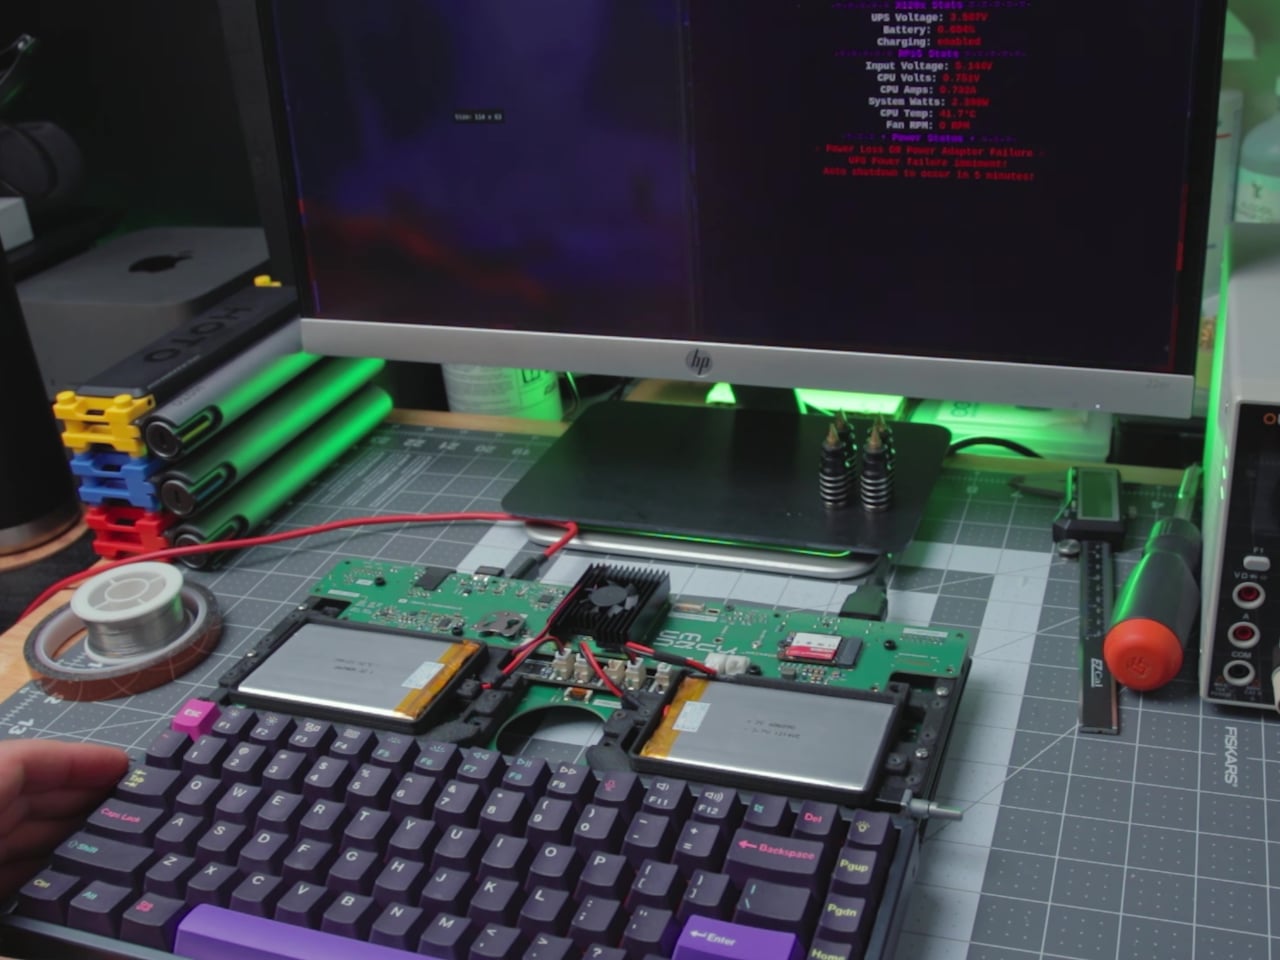
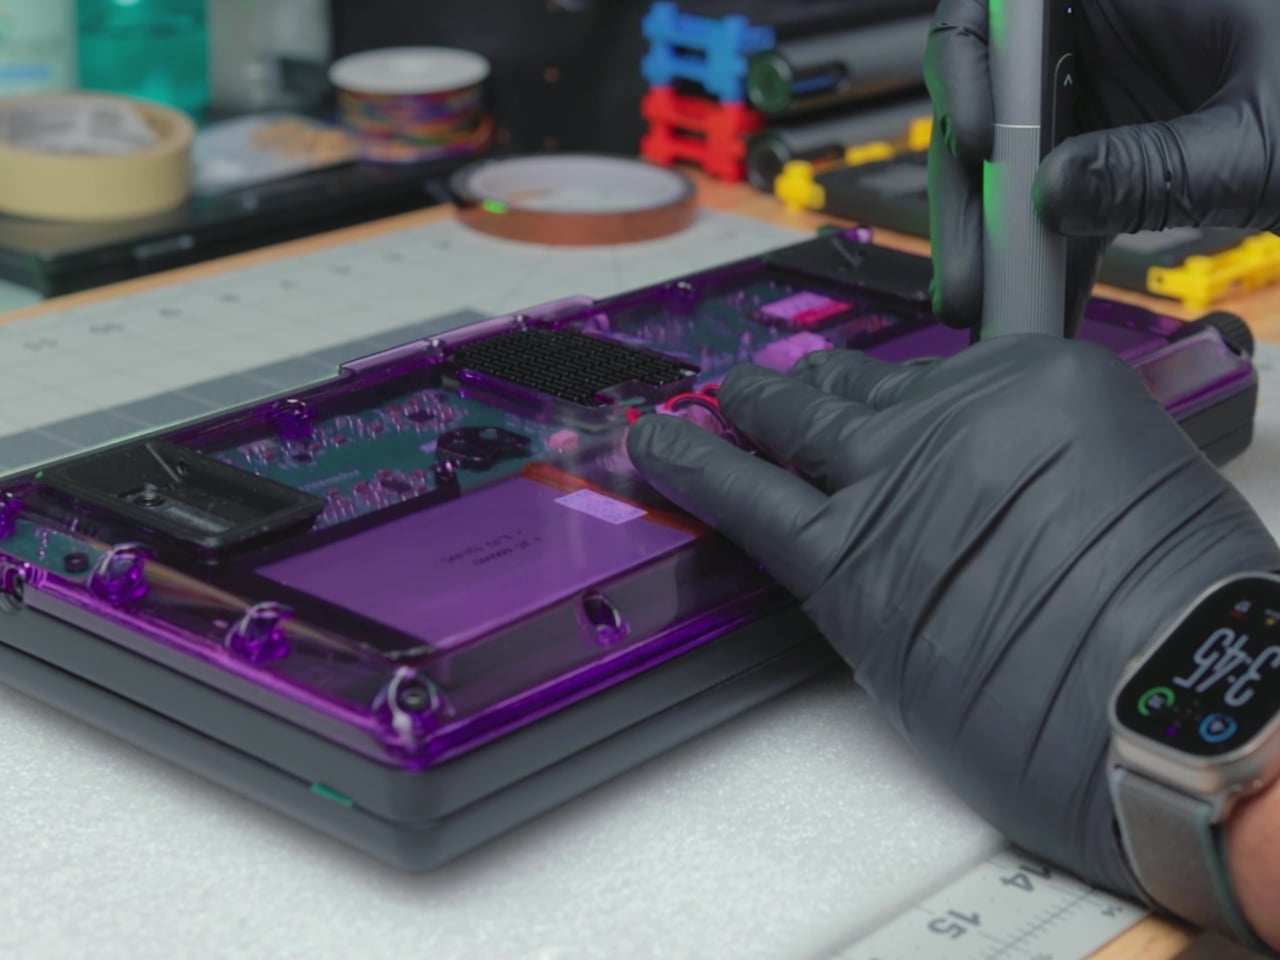
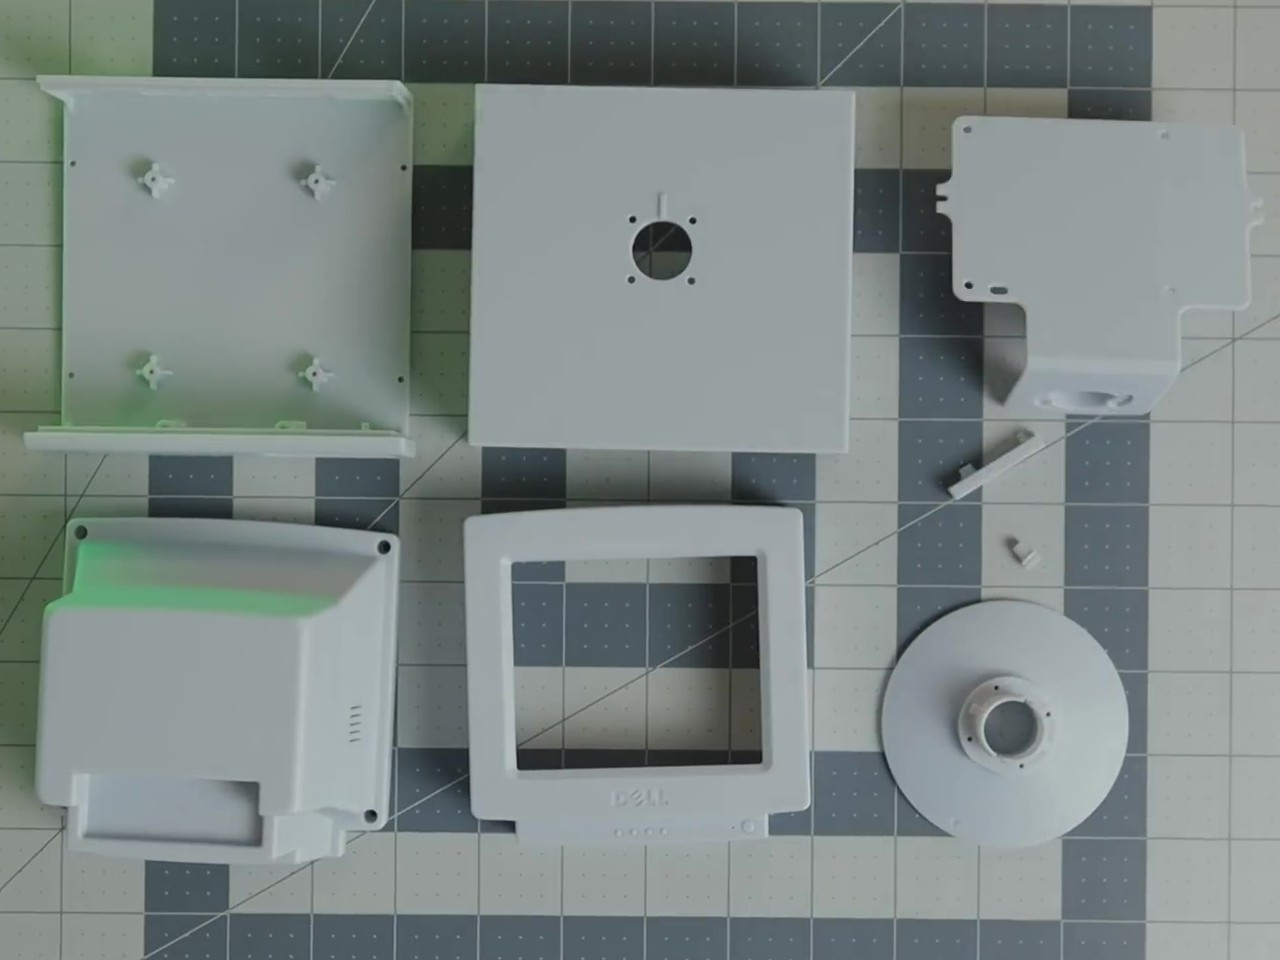
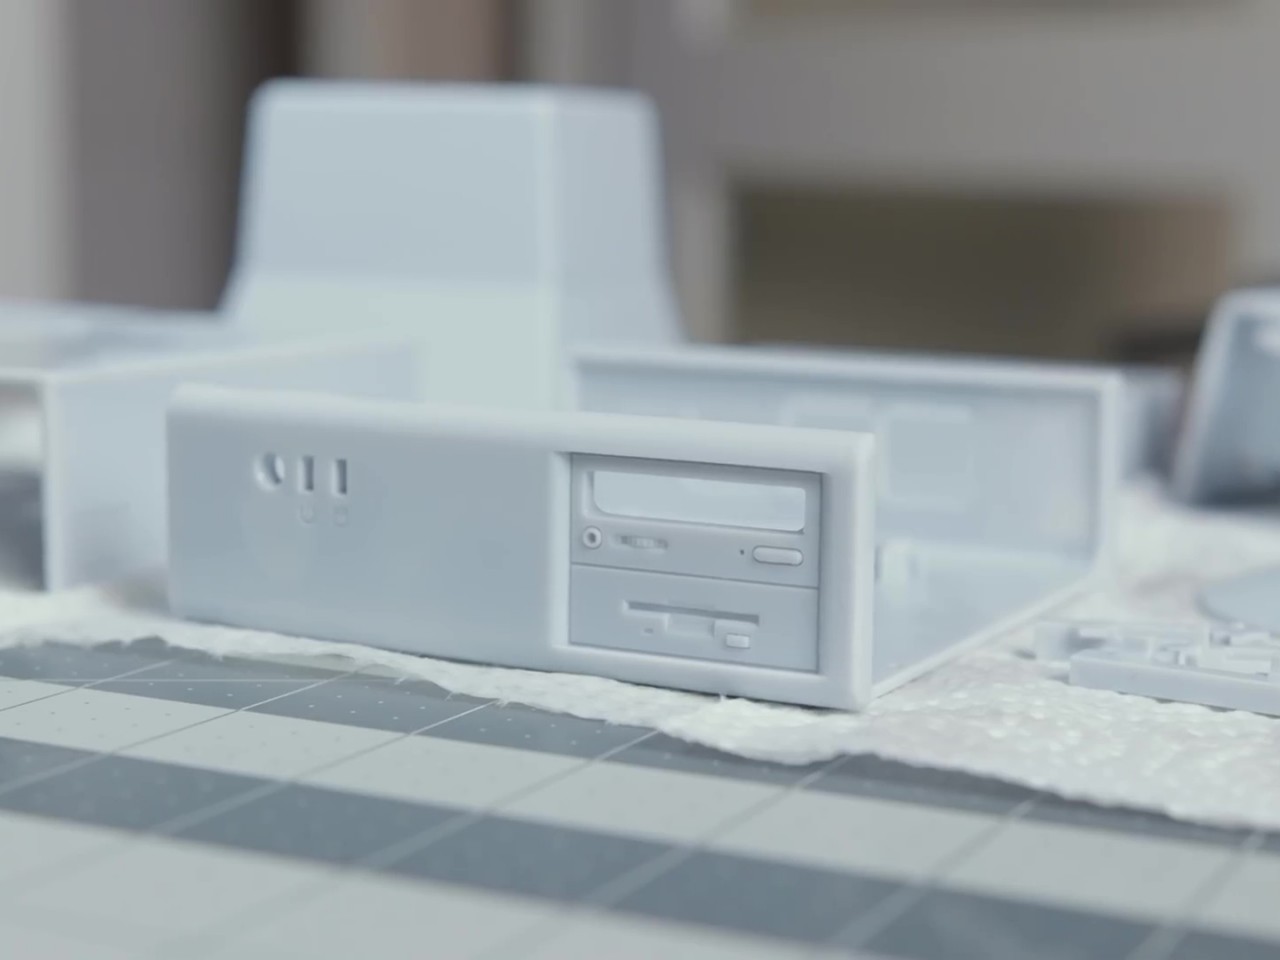
The decision to make the bottom shell translucent purple is a nod to transparent tech nostalgia that also turns the internals into part of the visual identity. Resin-printed and CNC-finished parts give the case a smooth, almost commercial feel, while PETG support structures and brass inserts handle the mechanical load. It’s a mix of show and structure that makes flipping the deck over as interesting as opening it to type.
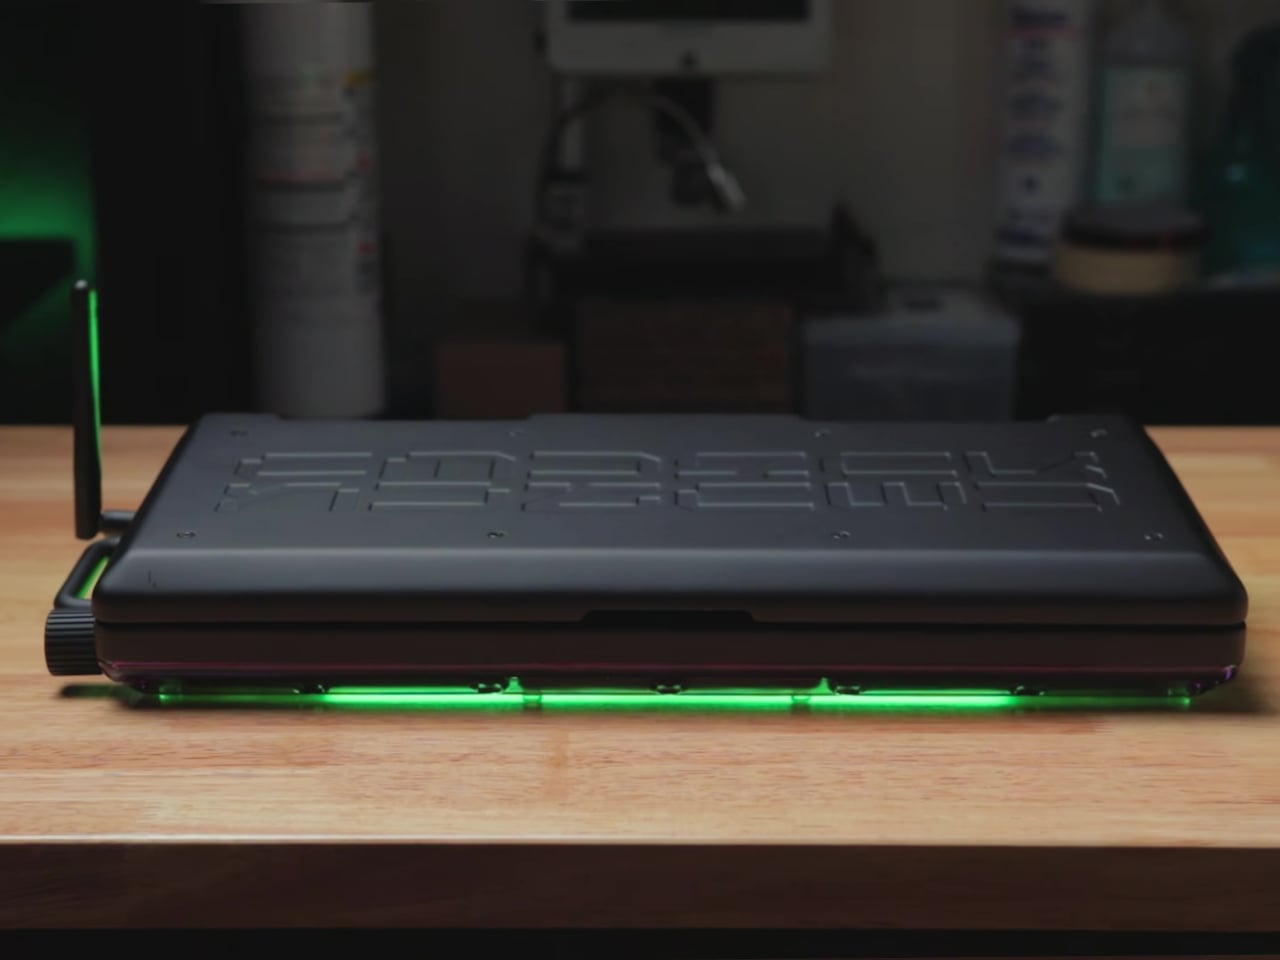
Small interaction details make it feel finished. Riser modules tilt the keyboard and improve airflow, magnets in the lid help keep it closed, and the touch display keeps the deck usable even when the keyboard is borrowed by another machine through a special USB port. These are the kinds of decisions that make the deck feel like a finished object rather than a one-off experiment you’d be afraid to actually use daily.

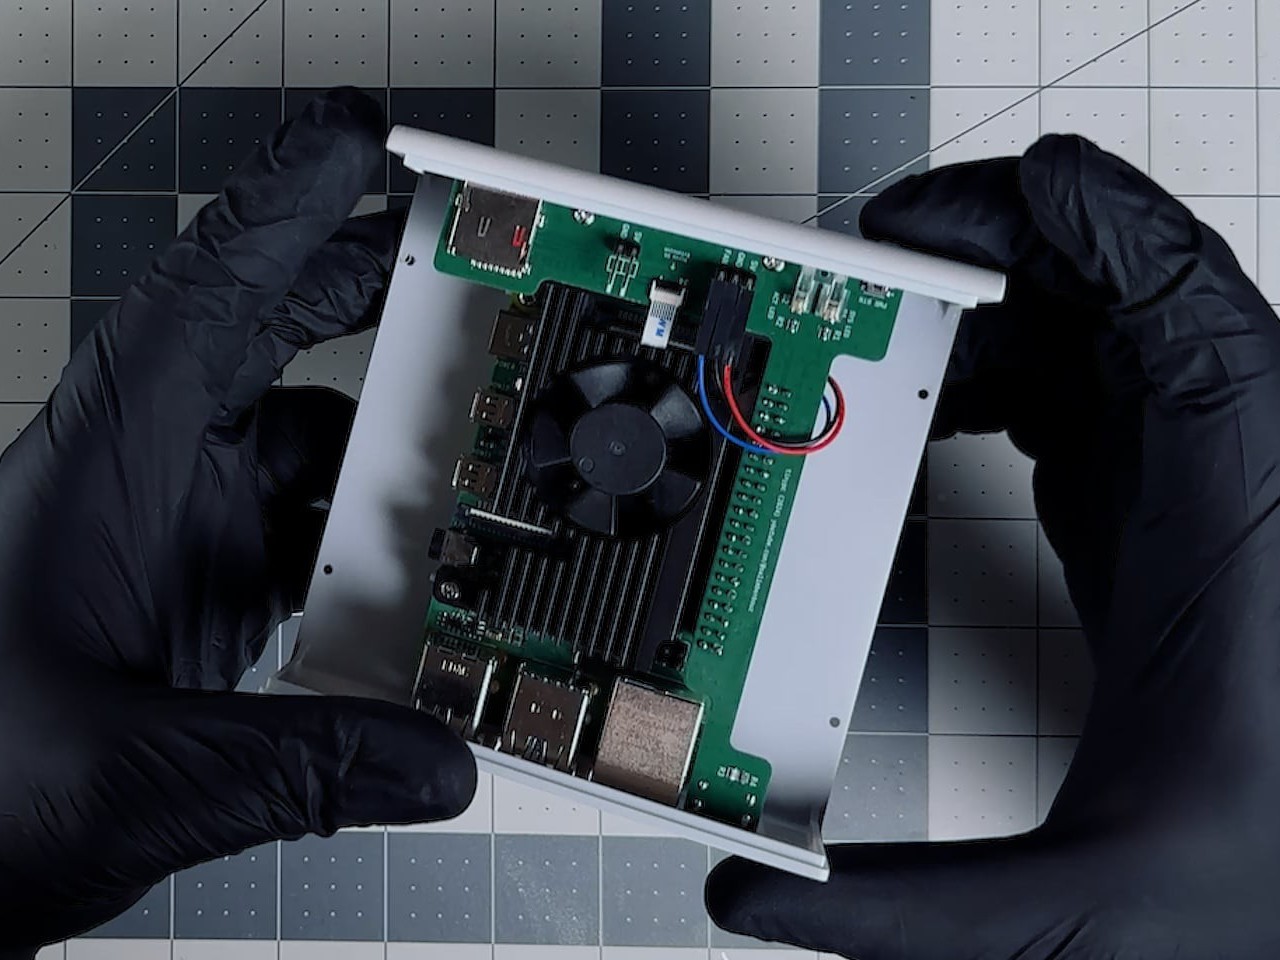
The project took months of iteration, from fighting ribbon cables to reprinting support structures and swapping coolers, all in service of a form factor that feels right on a desk. The result is a cyberdeck that invites everyday use, especially for writing and side-by-side windows, and a reminder that the most interesting DIY builds now are as much about industrial design as they are about electronics, where getting the hinge geometry right matters just as much as the circuitry underneath.
The post This DIY Cyberdeck With a 12-Inch Screen Actually Works Like a Laptop first appeared on Yanko Design.