Mycelium, an intricate mesh of fungal filamentous cells known as hyphae, is formed by fungi across a broad spectrum of organic substrates. Mycelium, known for durability and eco-friendliness, is ideal for creating daily-use products, offering resilience and sustainability for designers aiming to craft durable, environmentally responsible items with minimal ecological impact.
Designer: Interesting Times Gang and OBOS

What are the advantages of using Mycelium?
Mycelium, the root structure of fungi, is gaining attention in product design for several reasons:
• Sustainable Material
Mycelium is an eco-friendly material and an alternative to plastic or foam. It’s important to note that mycelium-based products are renewable, biodegradable, and can be combined with agricultural waste products to create composite materials.
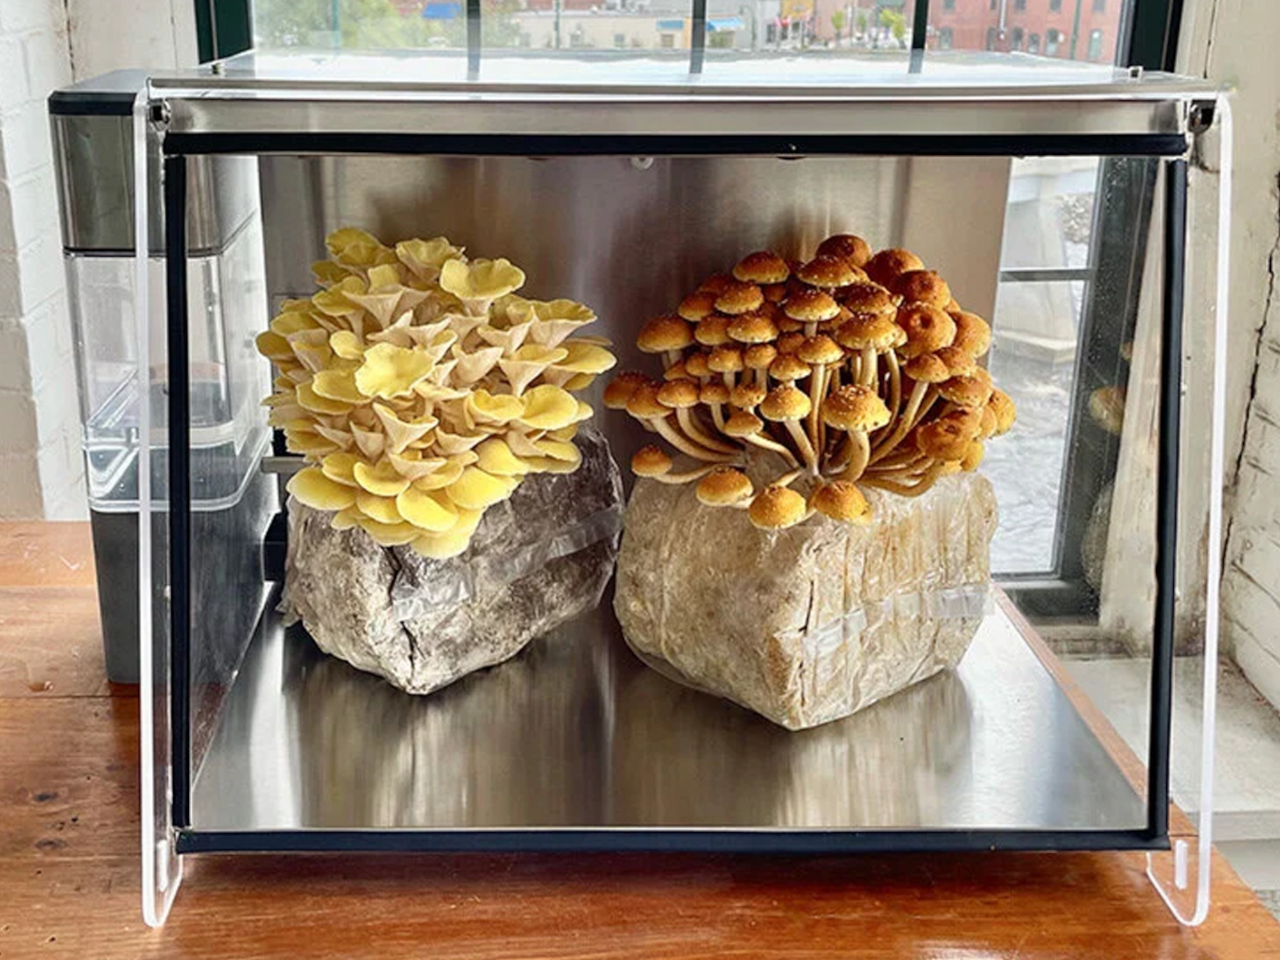
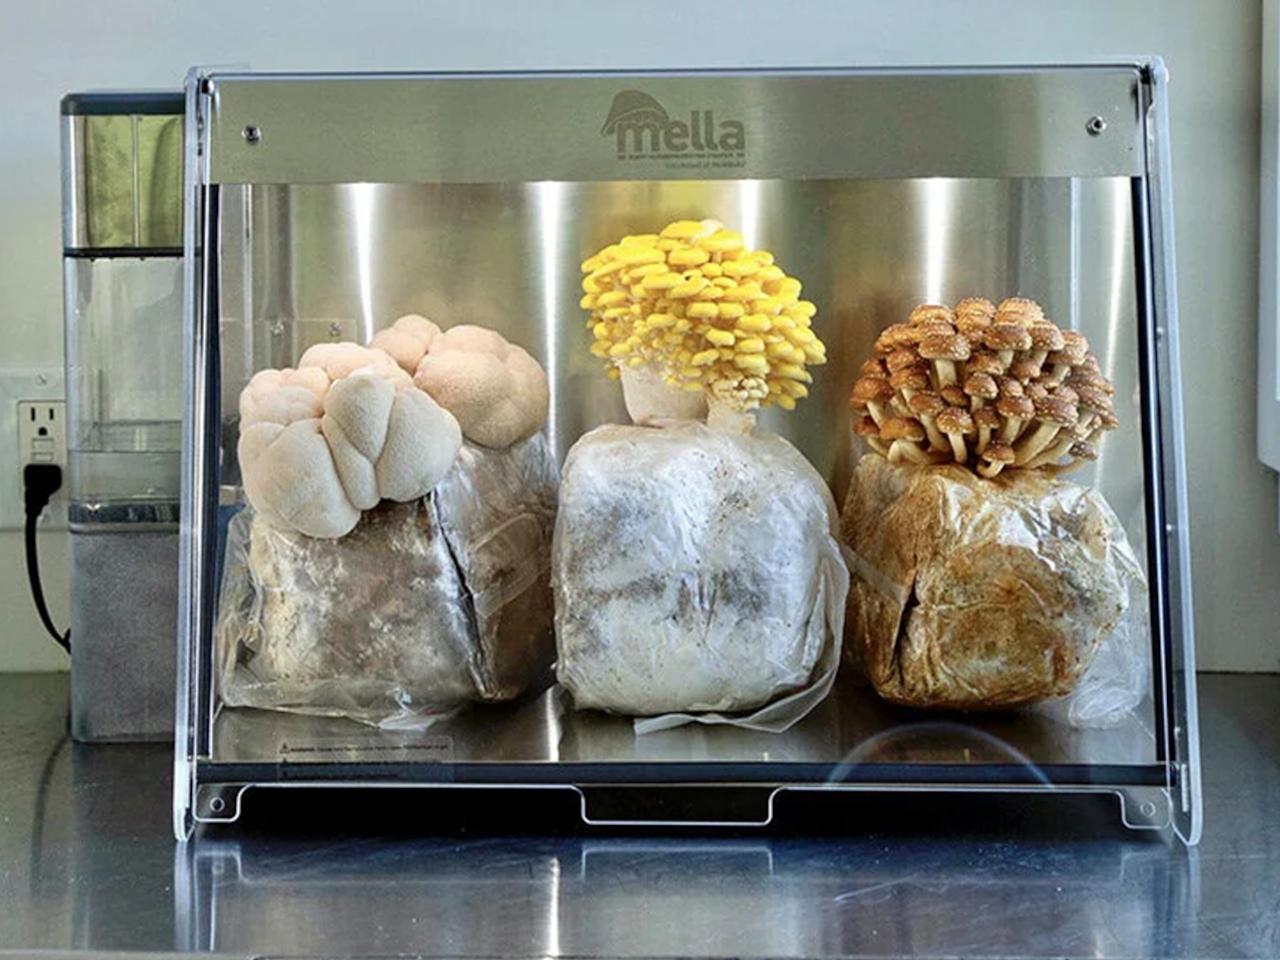
Designer: FirstBuild
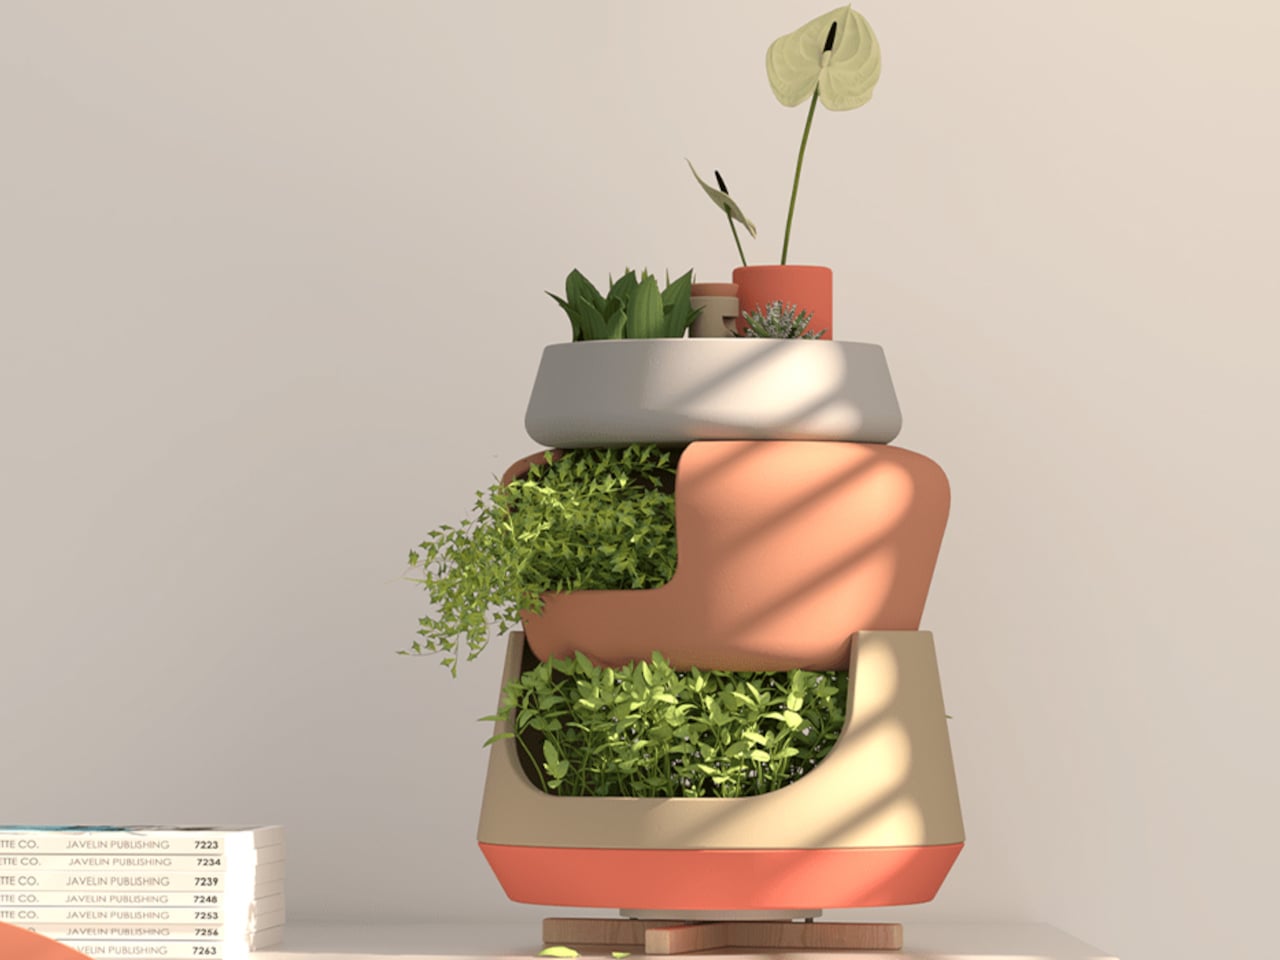
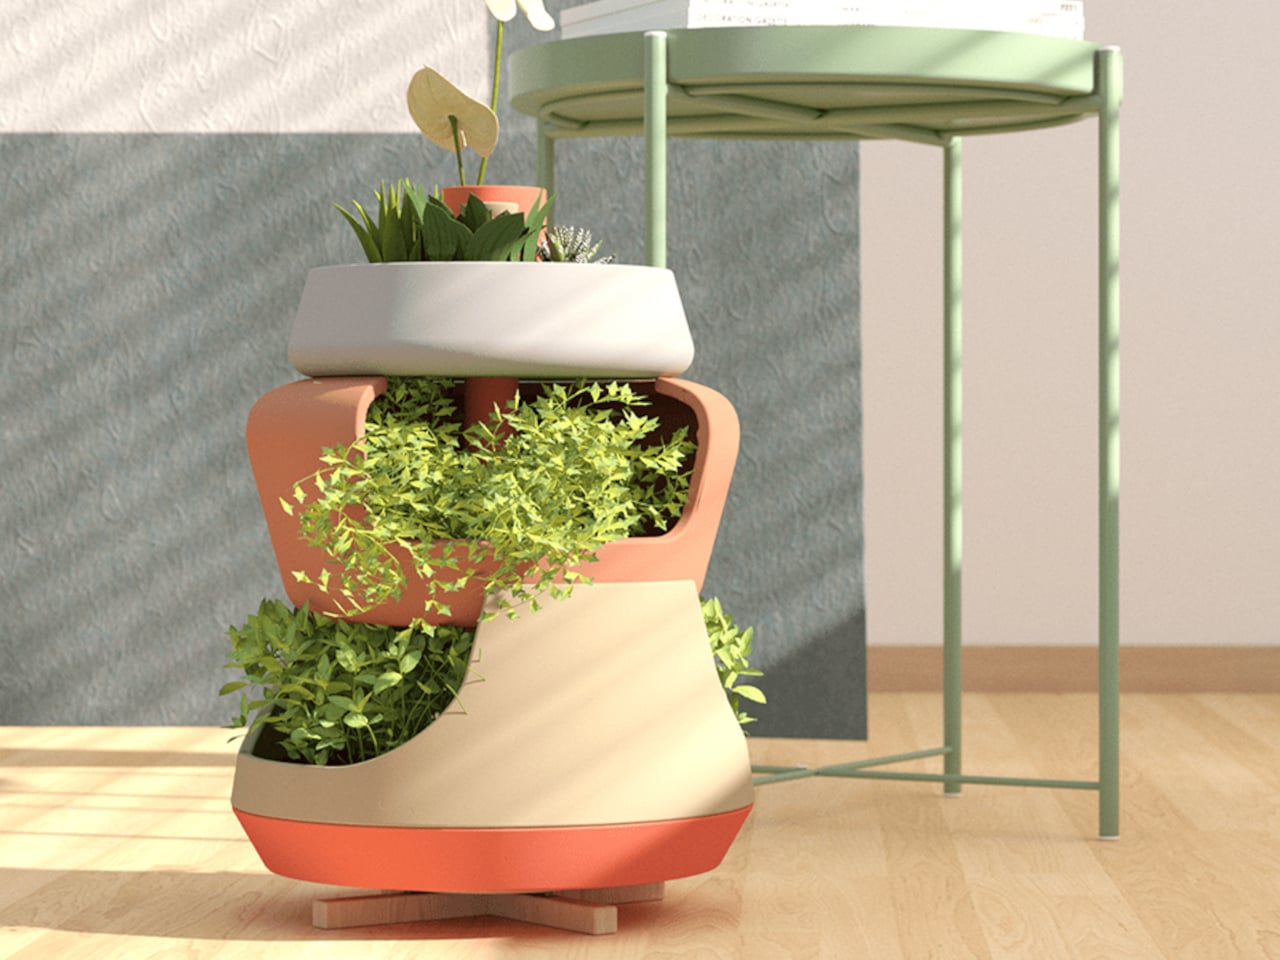
Mella is an automated chamber designed for effortless cultivation of various crops at home. Utilizing smart technology, Mella regulates environmental conditions to ensure optimal growth and harvest. With features like a refillable water basin, LED lights, and WiFi compatibility, Mella simplifies the cultivation process for all types of crops, making home gardening convenient and accessible.
• Flexible
Mycelium is a flexible material that can be grown and molded into various shapes and forms. It can be used to create numerous products, ranging from furniture to packaging.

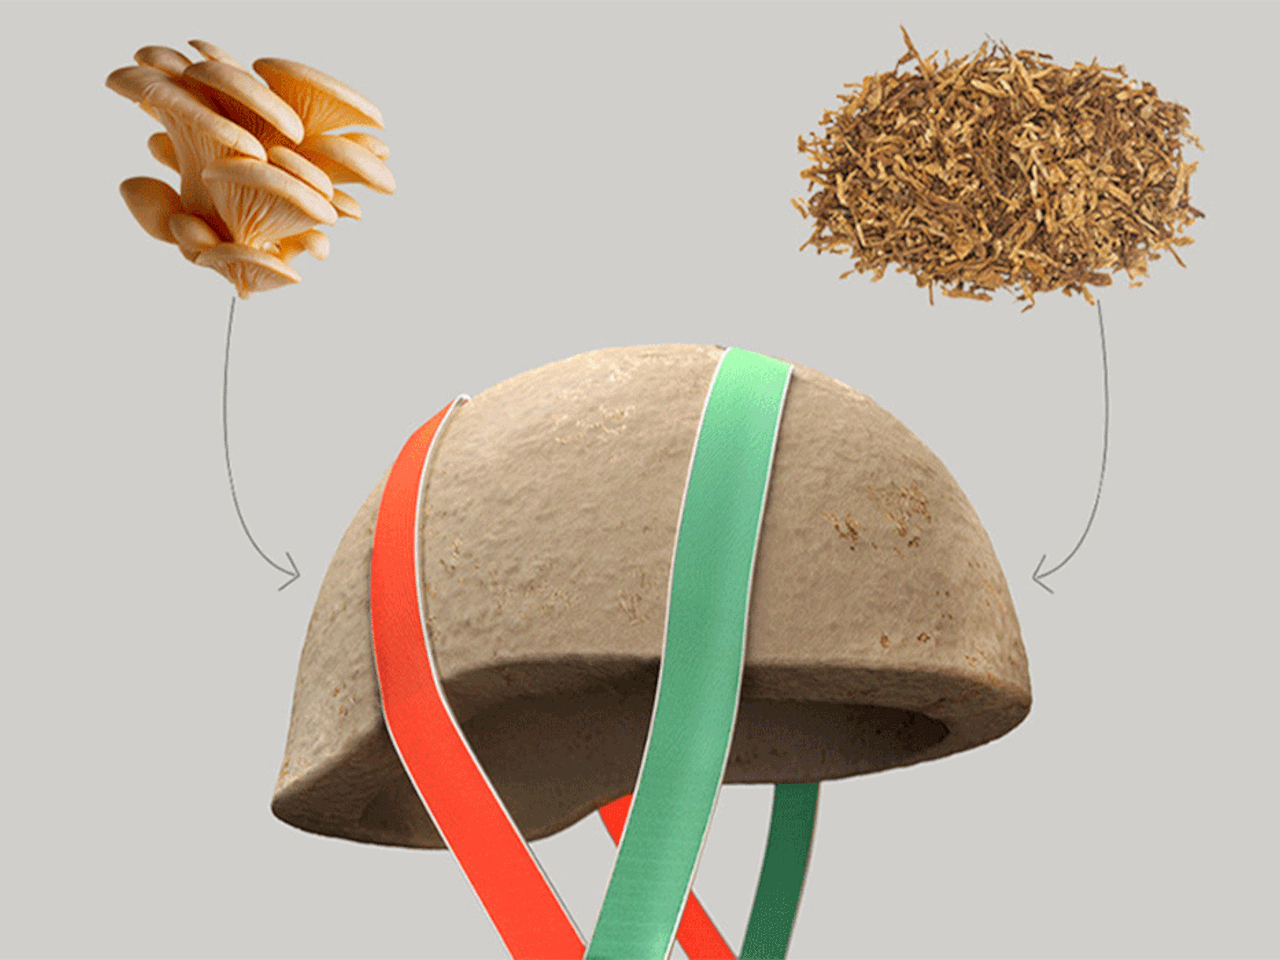
Designers: Diego Mata and NOS Design
The Grow It Yourself Helmet is a sustainable DIY helmet crafted from mushrooms that actually grows on its own! Created by NOS Design, this innovative helmet is made from mycelium, the vegetative part of fungi. It’s 100% compostable, breathable, and impact-resistant, reducing the need for plastics. Partnering with Polybion, the helmet utilizes Fungicel, a mycelium-based material that provides cushioning upon impact. This biodegradable, low-cost alternative promotes sustainability and engages users in a meaningful DIY activity, offering a practical and eco-friendly solution.
• Highly Durable
Mycelium products are strong and durable, their strength and durability depend on their conditions of growth and processing techniques.
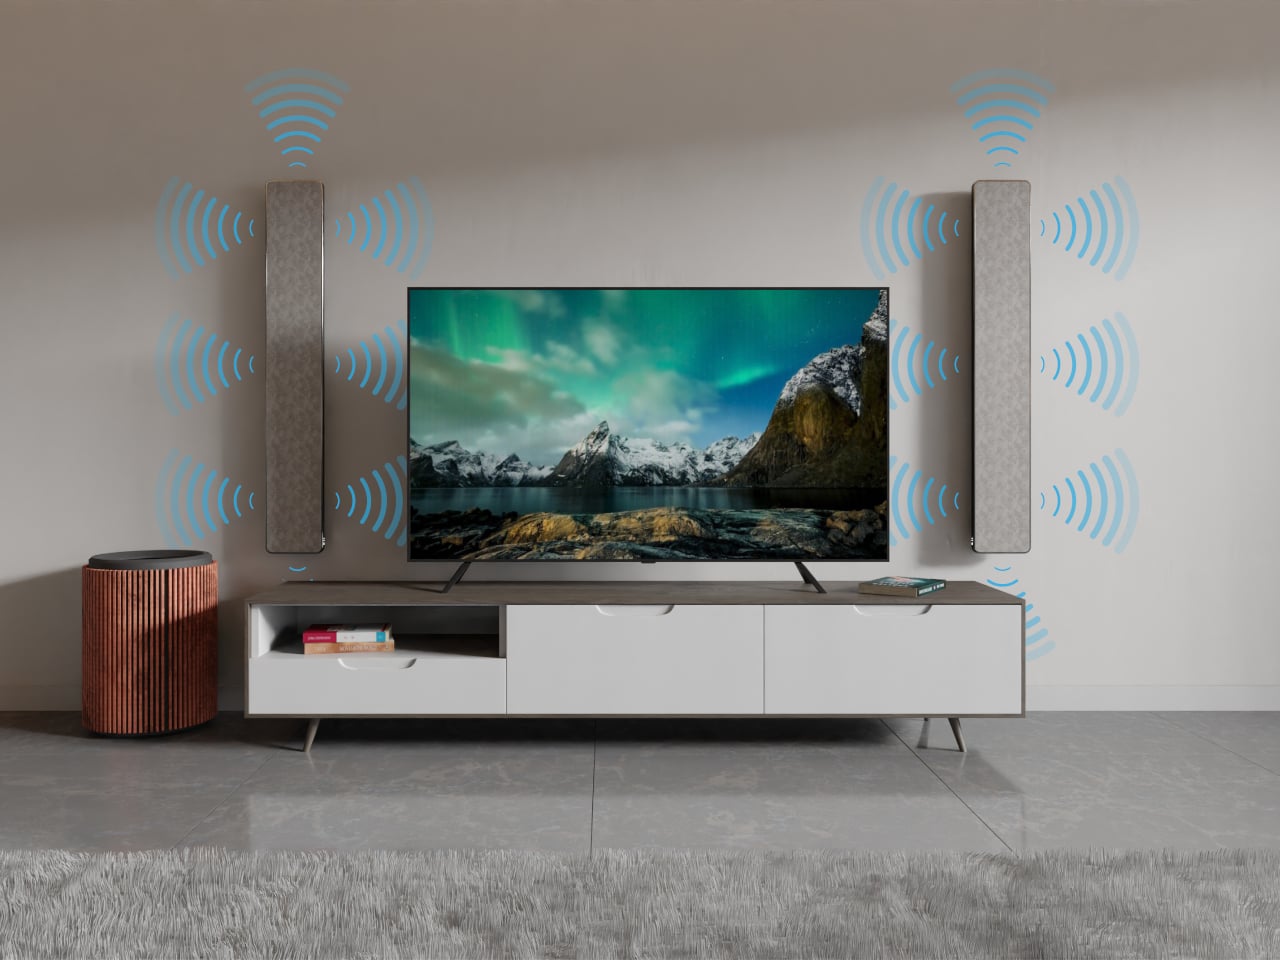
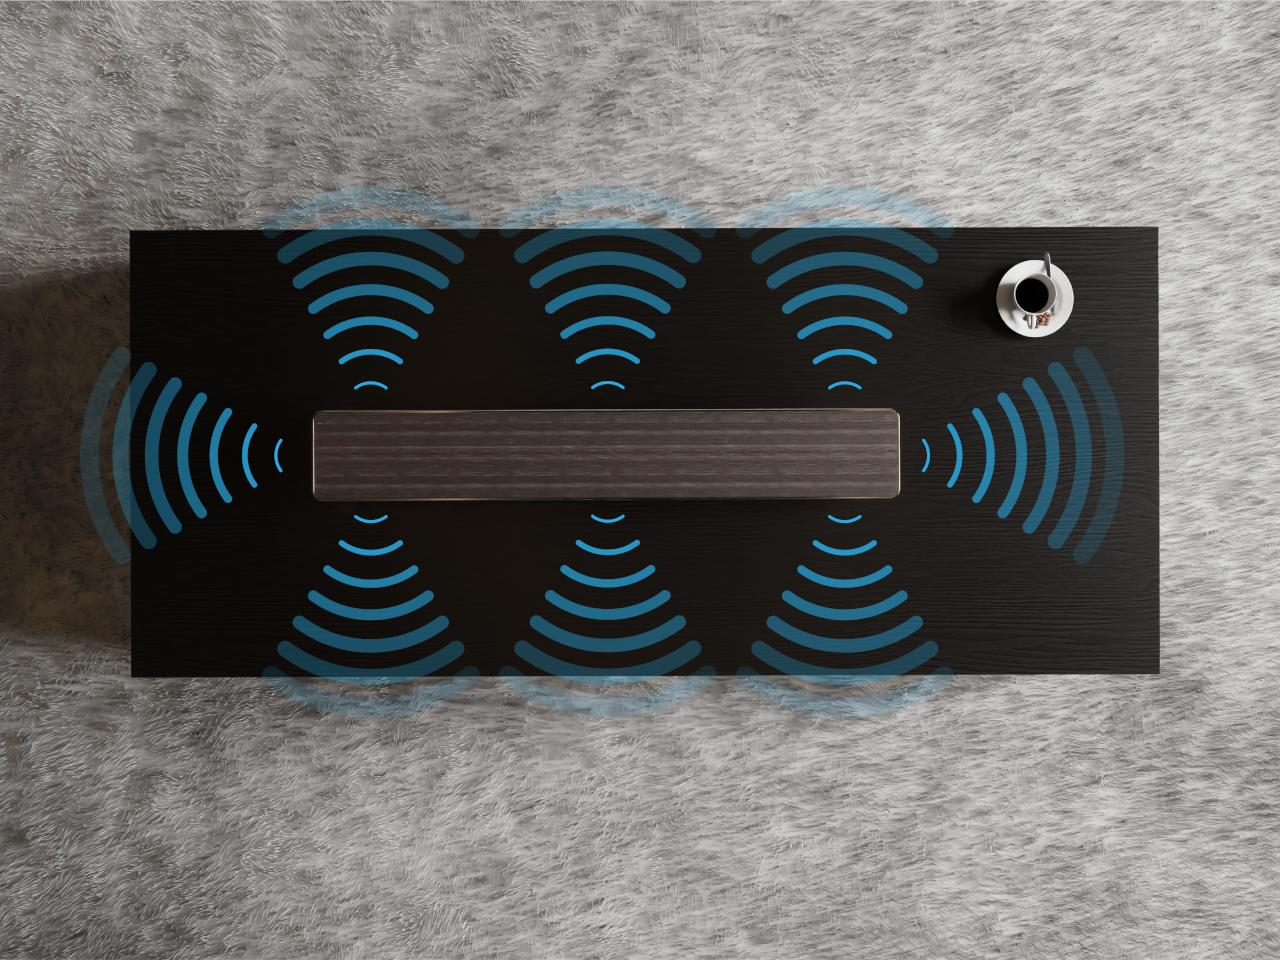
• Thermal and Acoustic Insulation
Mycelium has excellent thermal and acoustic insulation properties and finds its application in the construction and packaging industry, where insulation is essential.
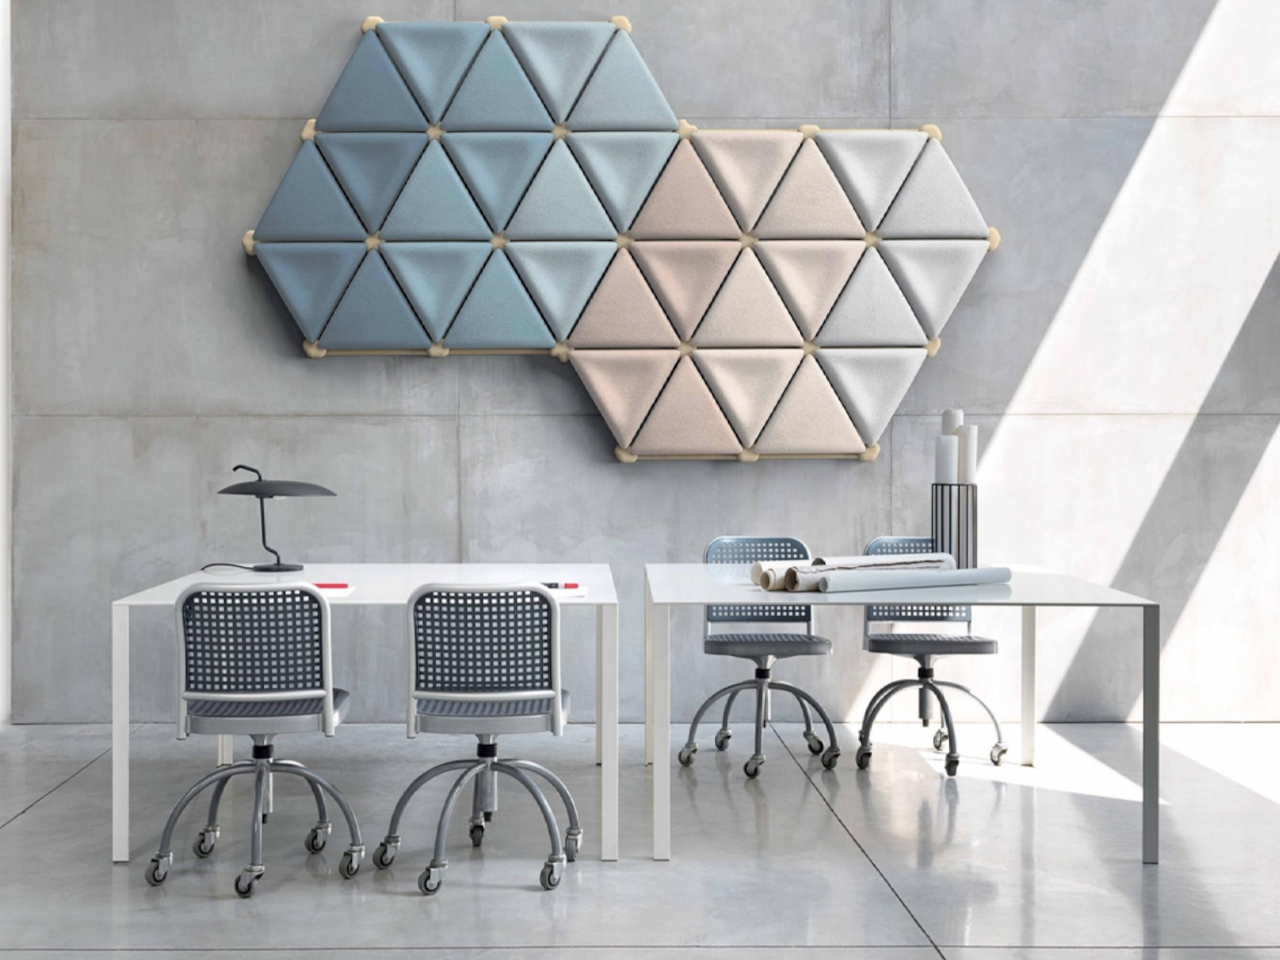

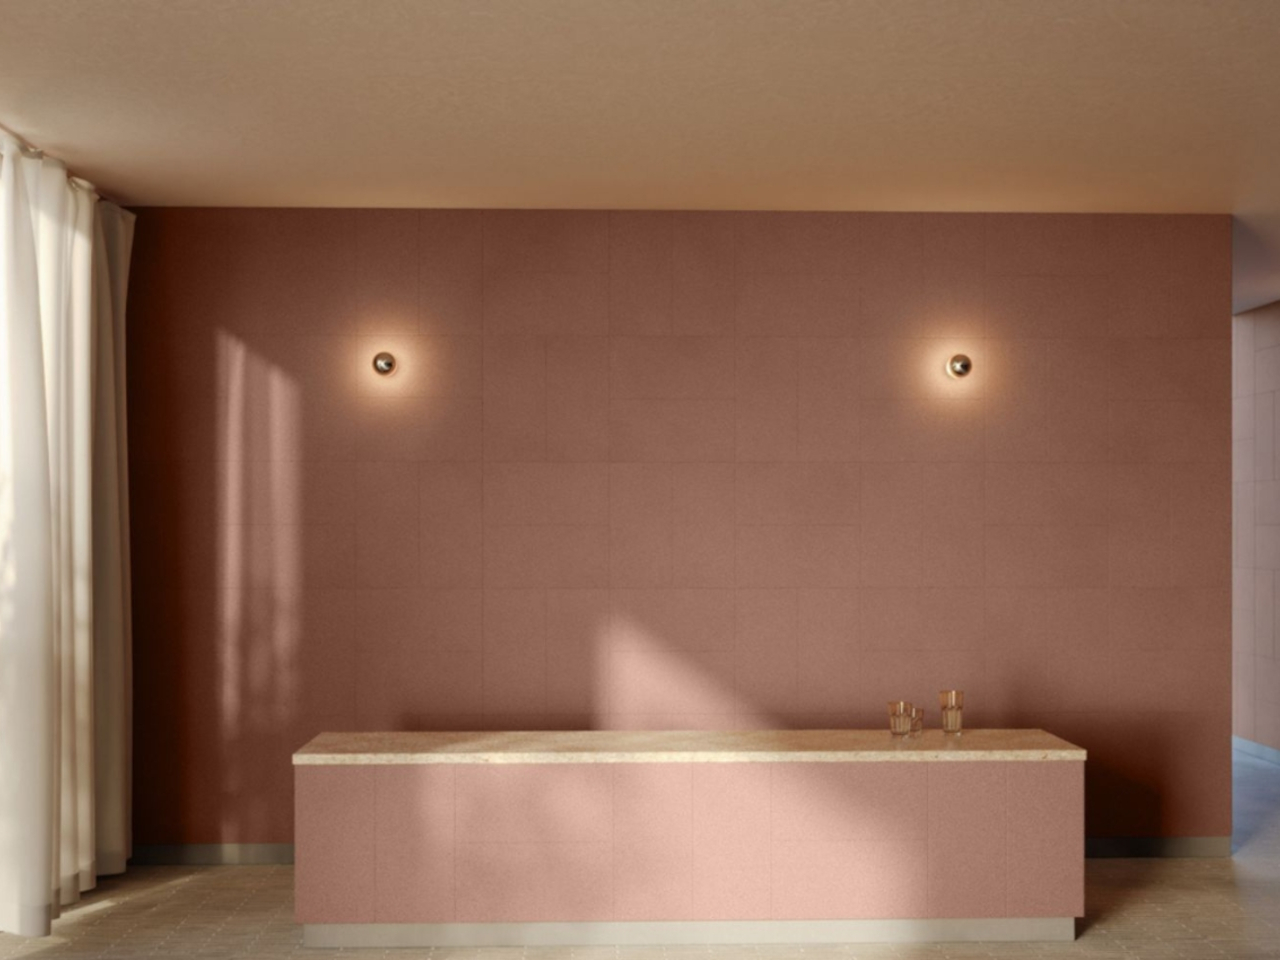
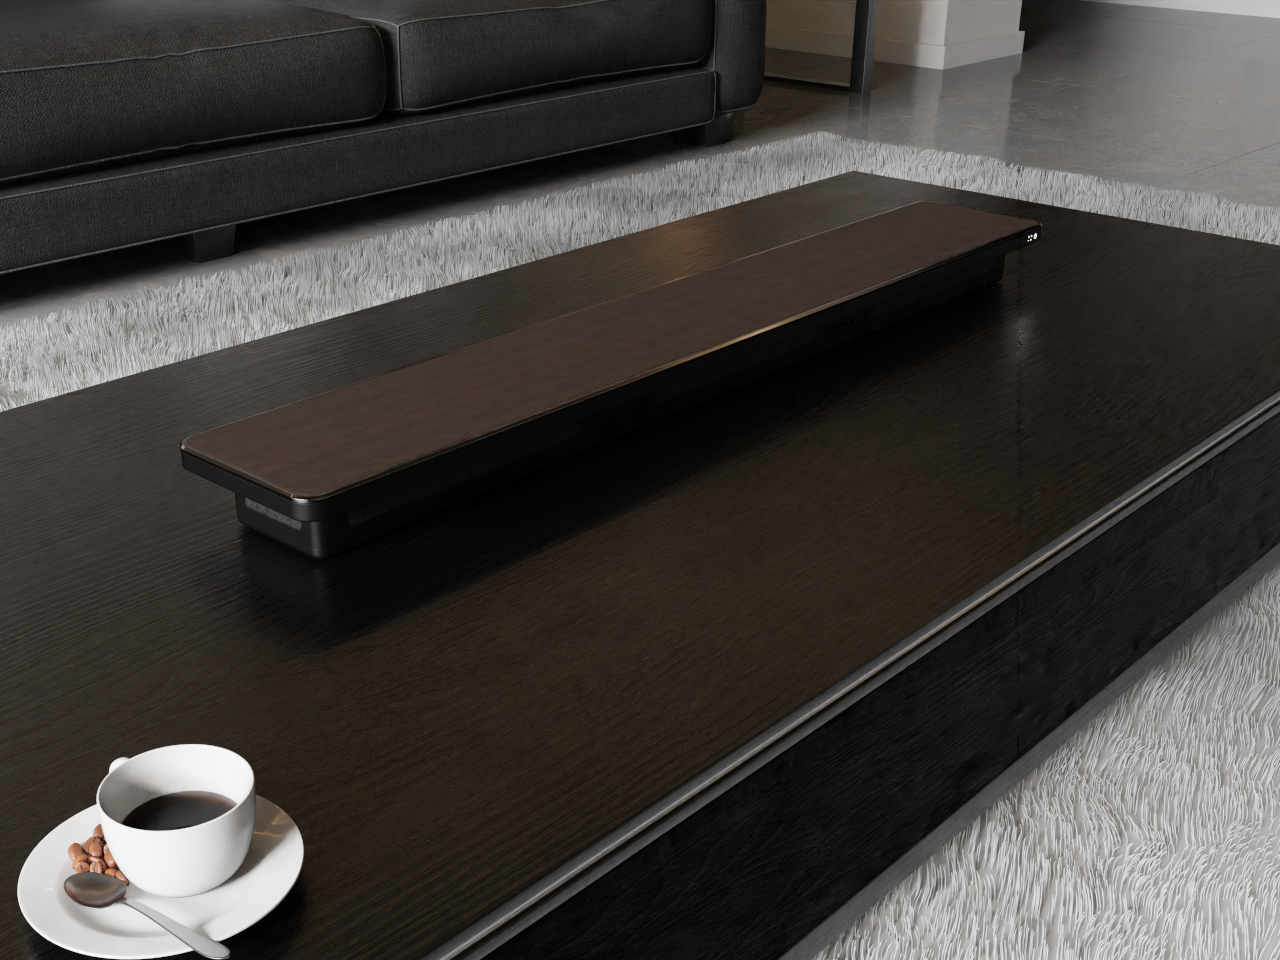
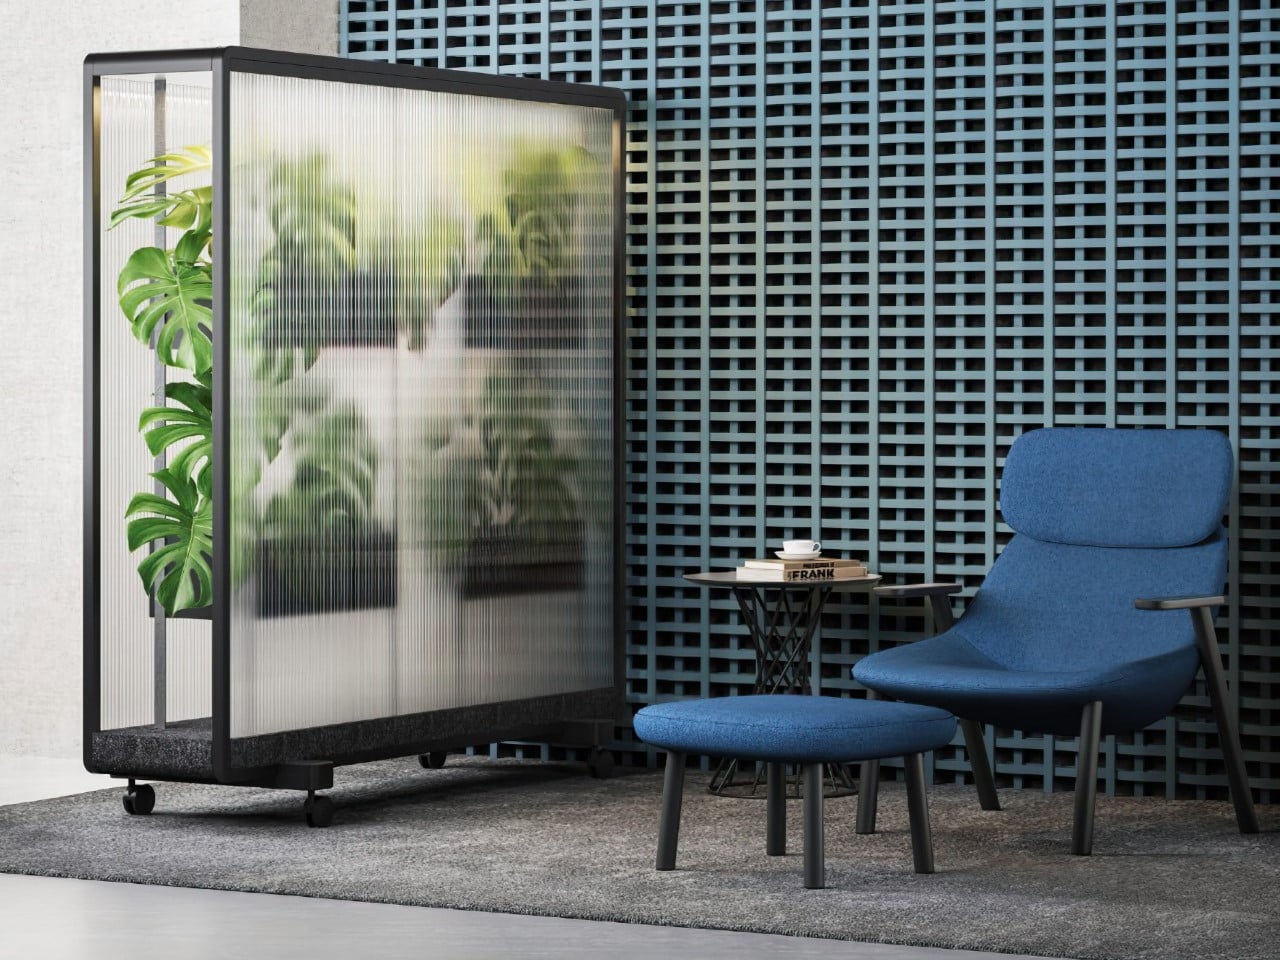
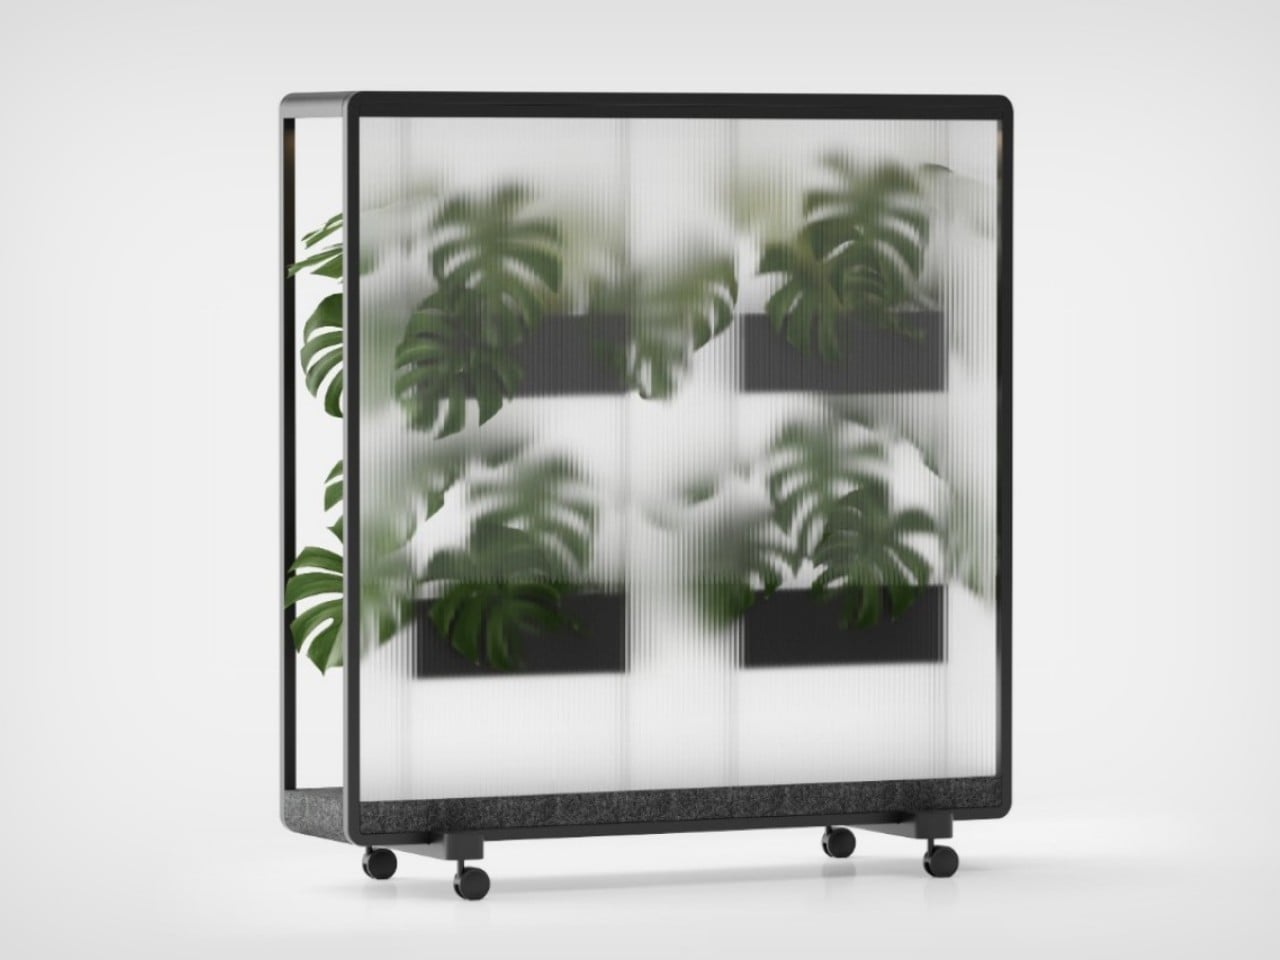
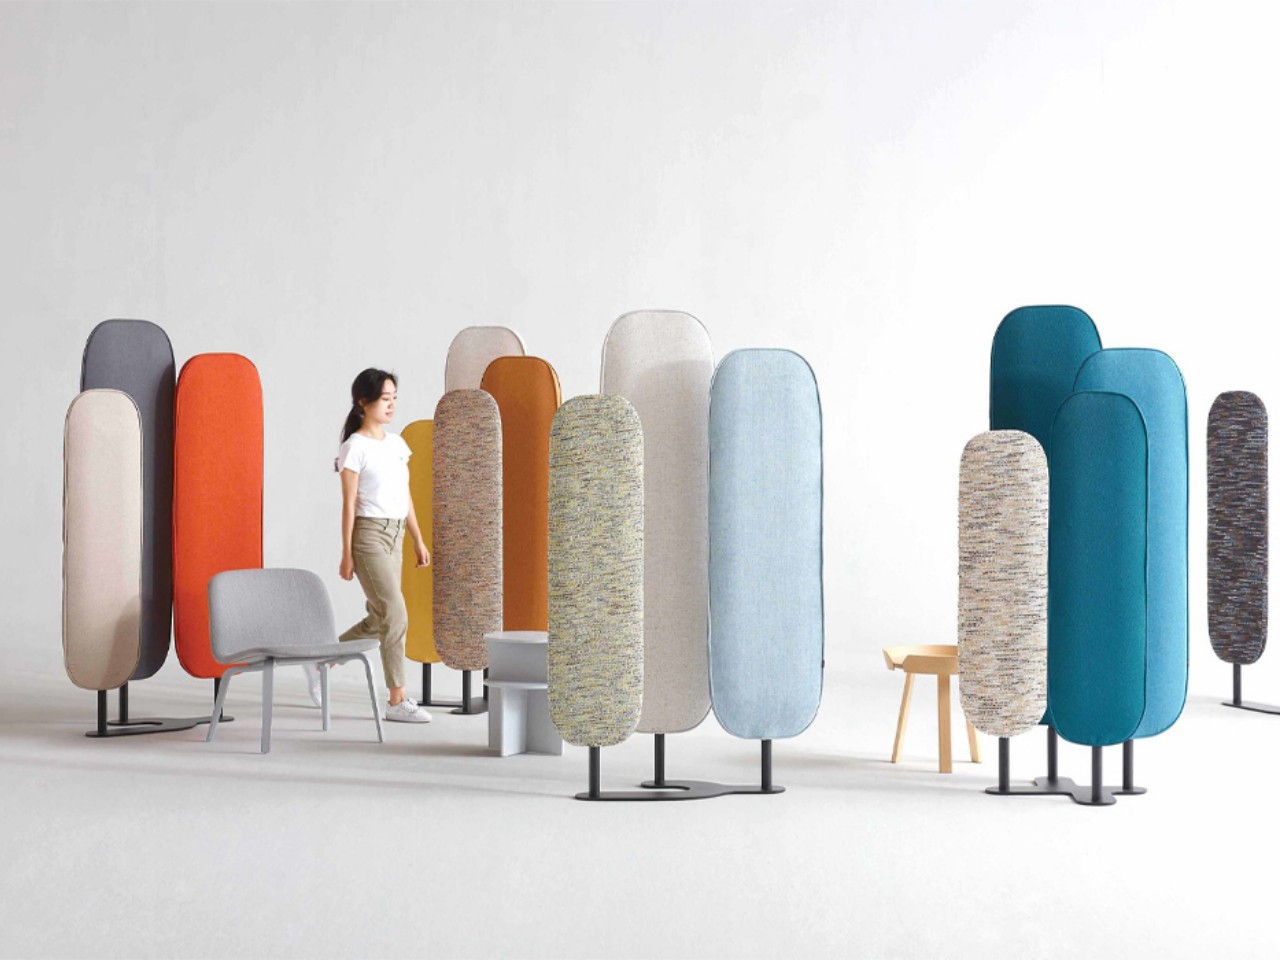
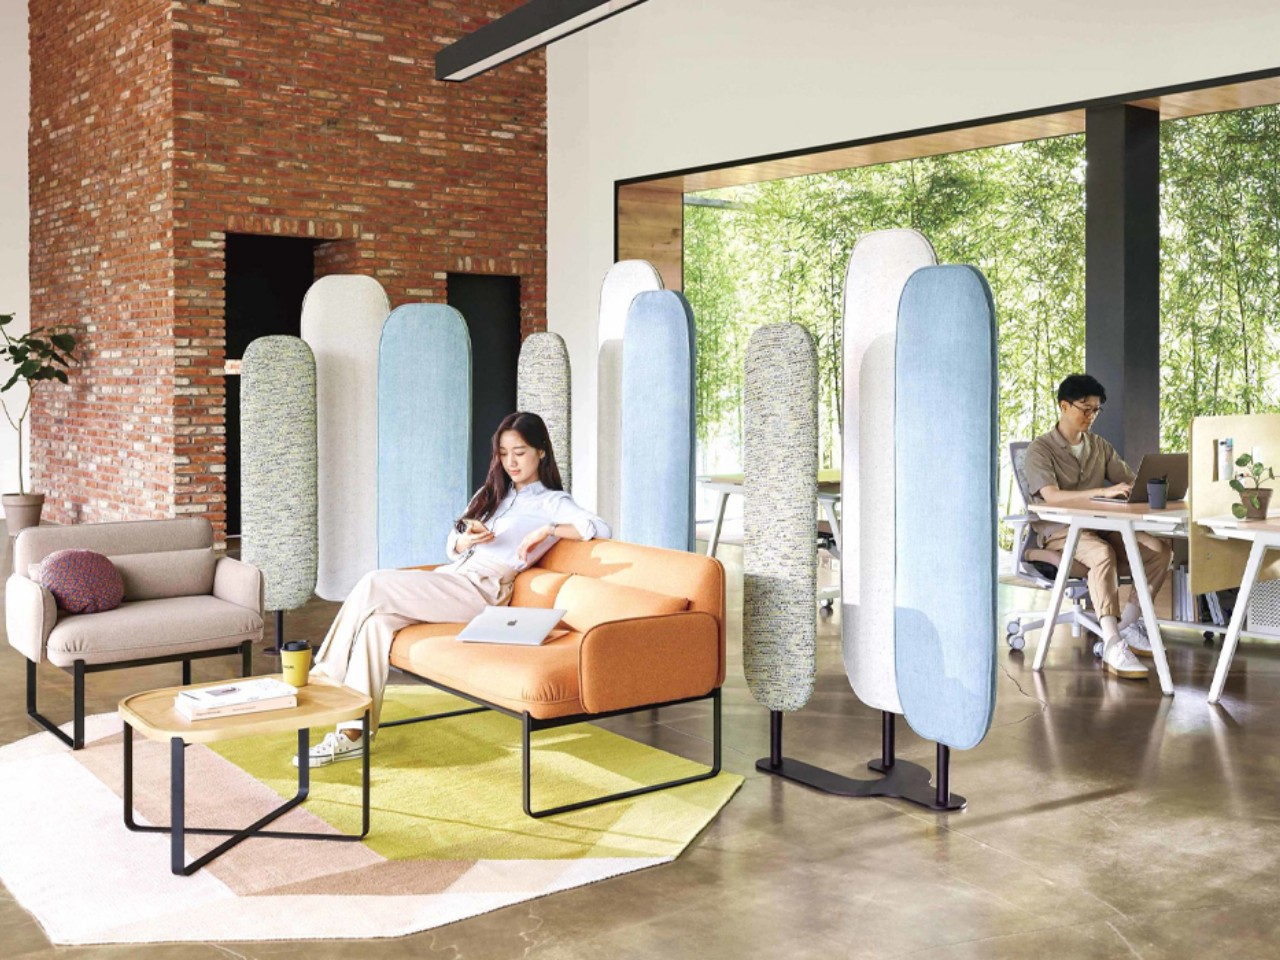
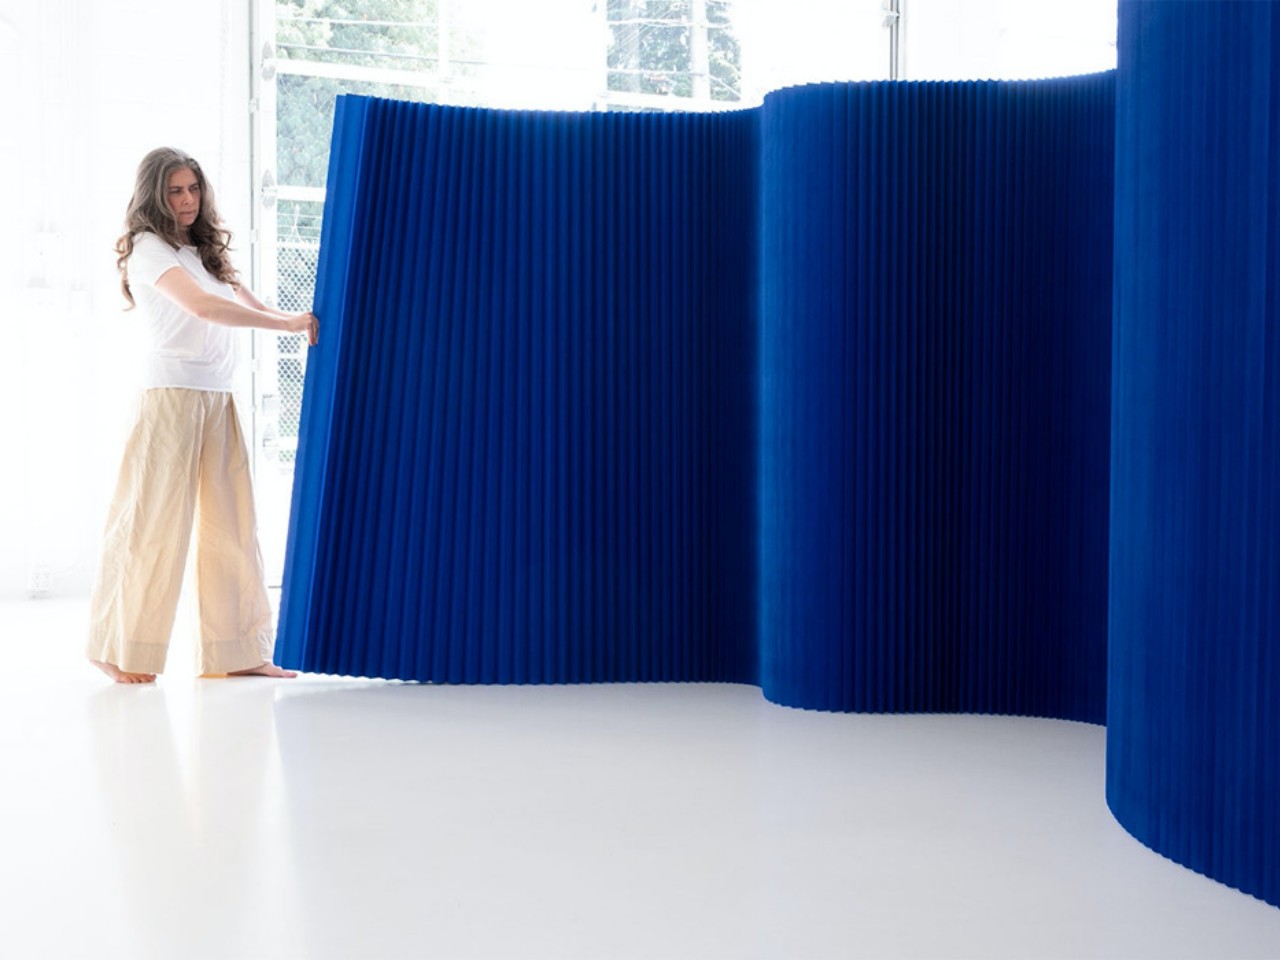
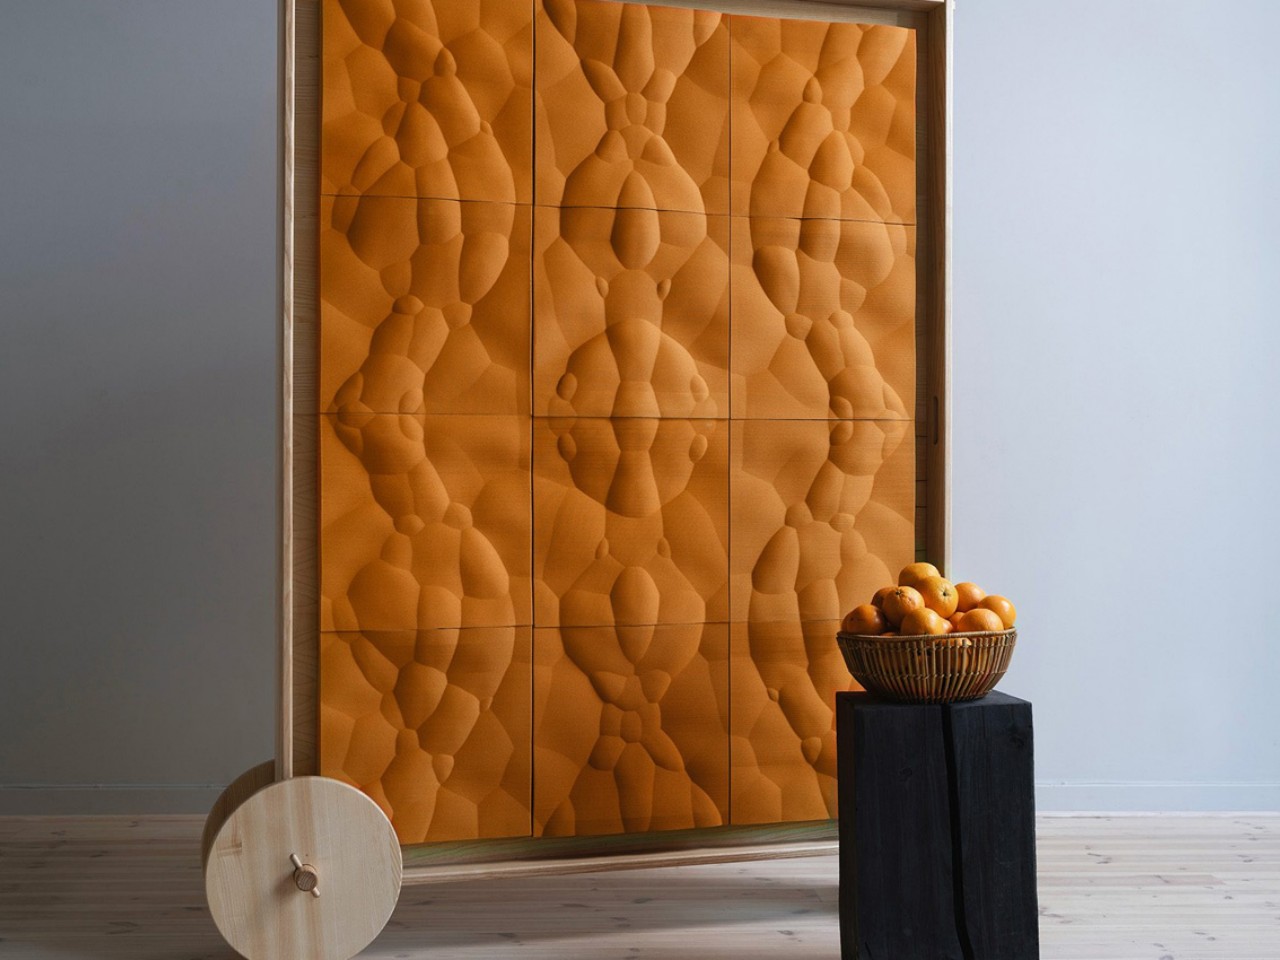
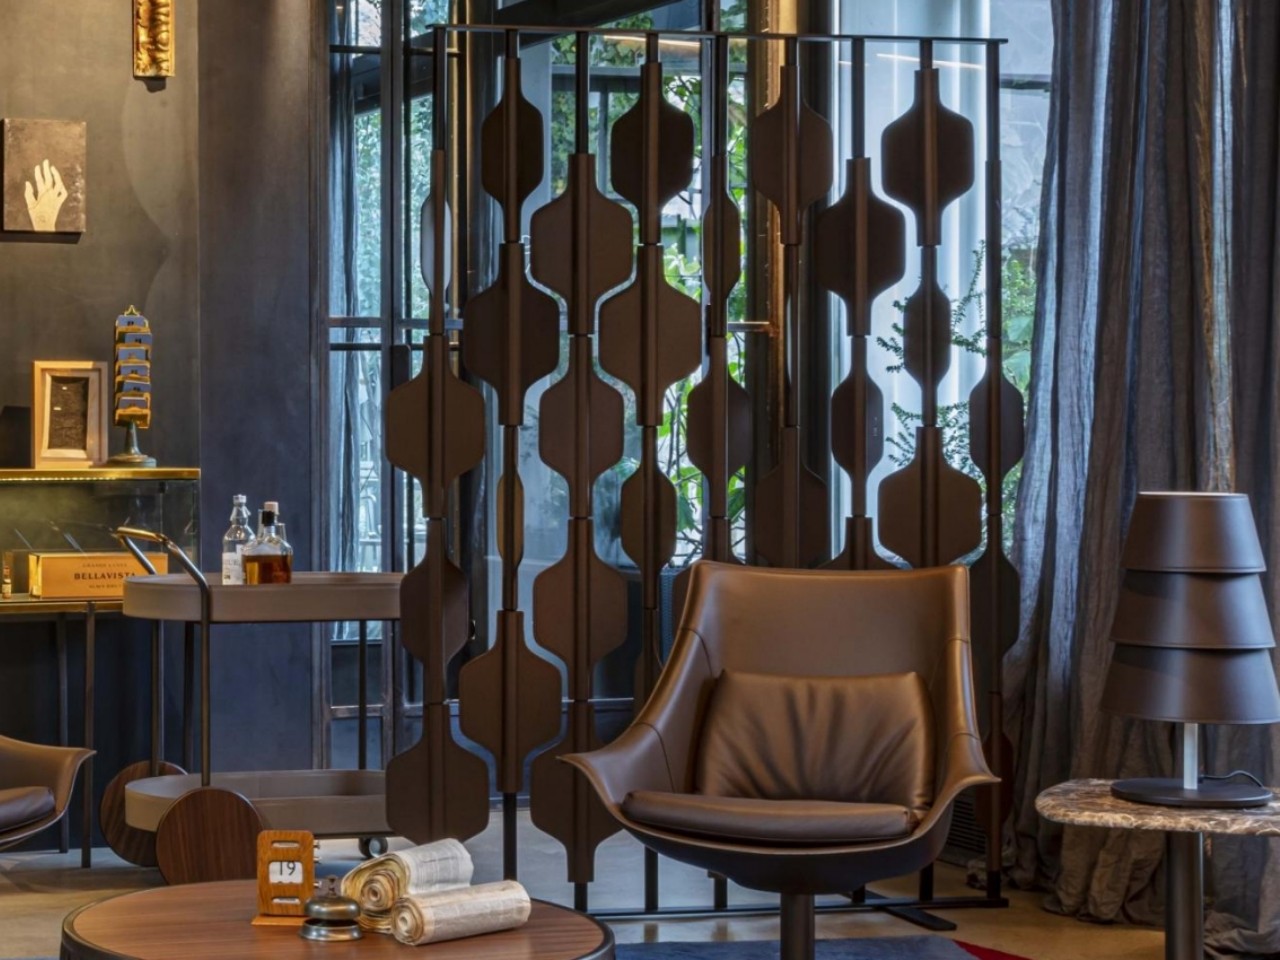
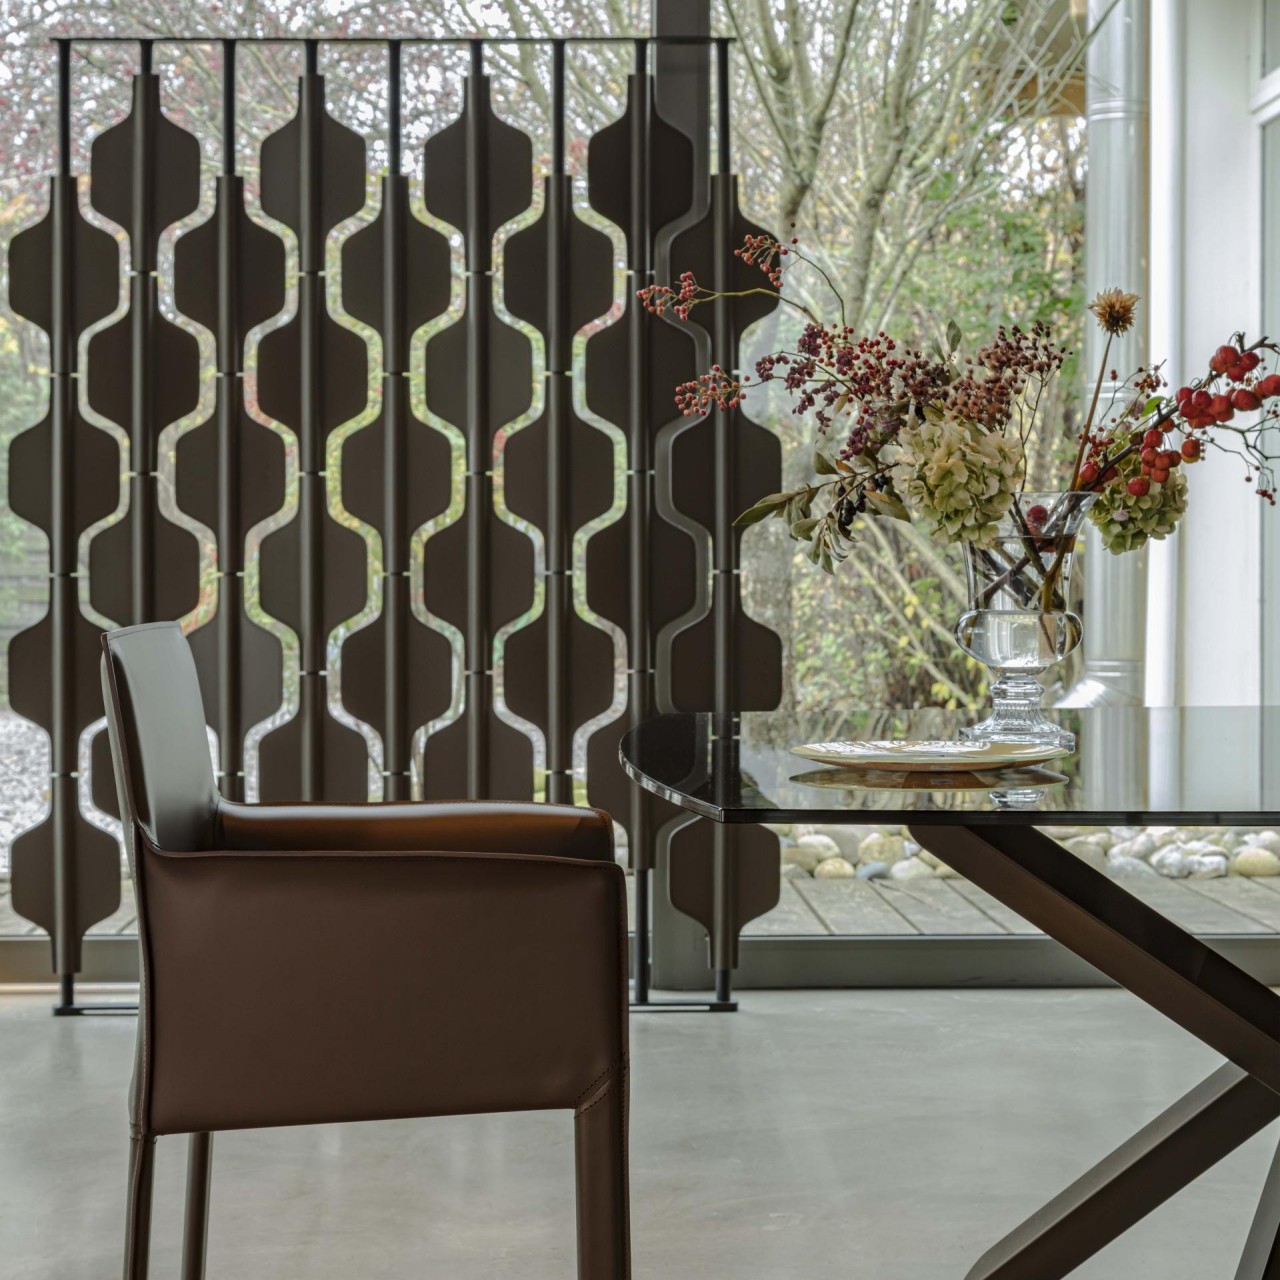
Designer: Mogu
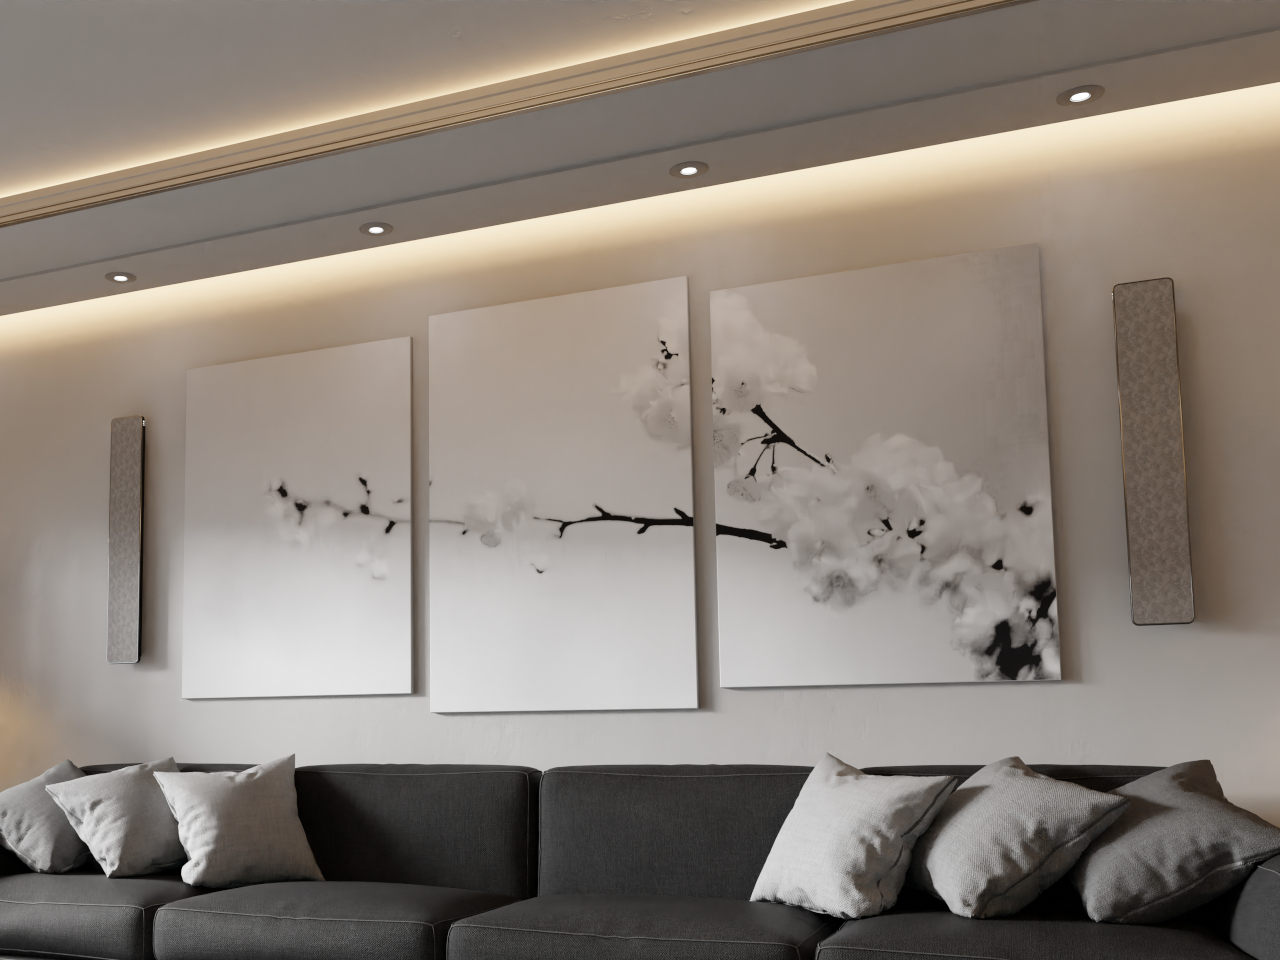
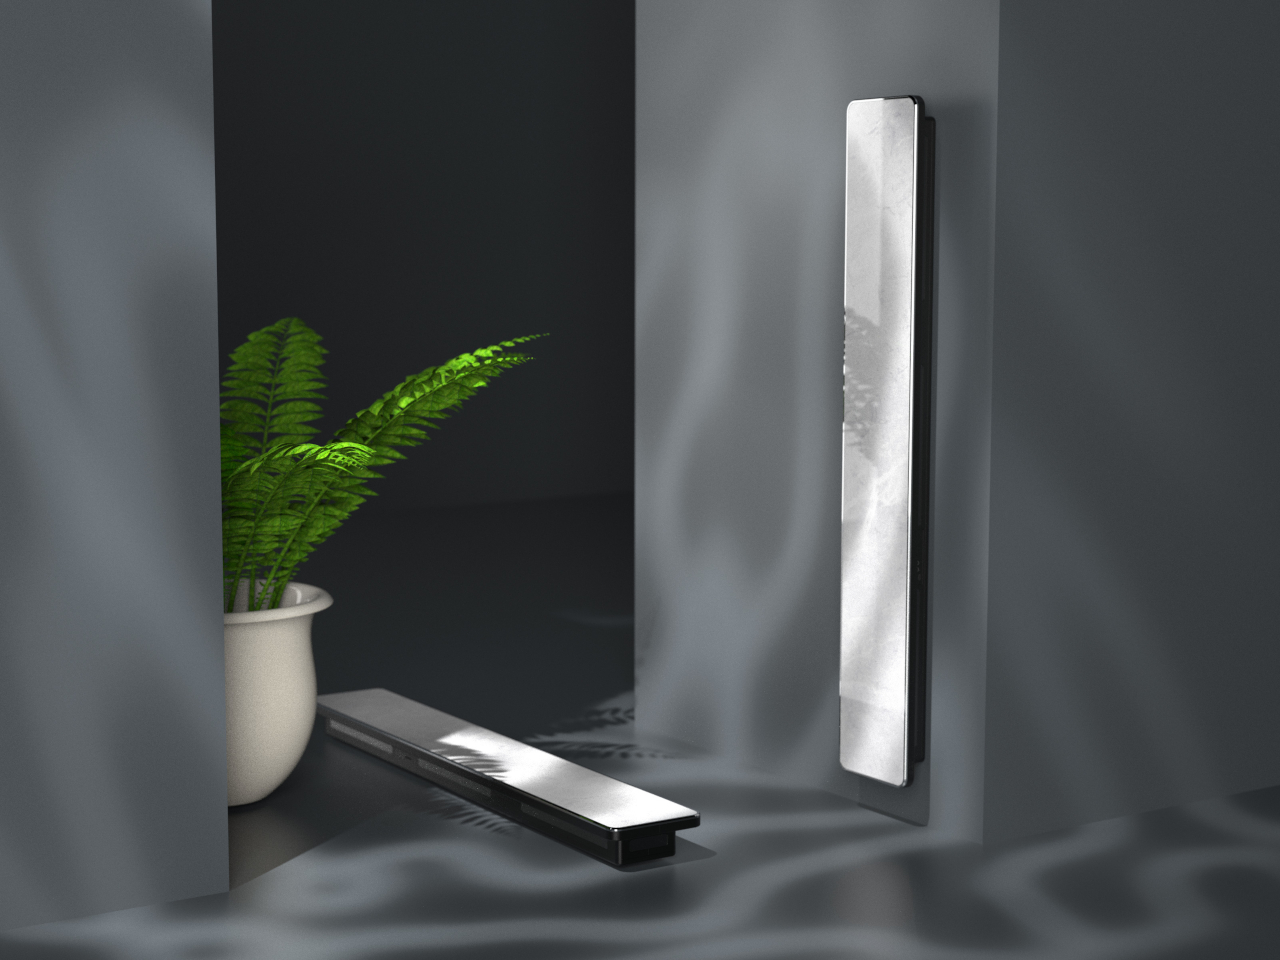
The Foresta System by Mogu is a groundbreaking collection of sustainable modular acoustic panels. Crafted from a unique blend of mycelium and upcycled textile materials, these panels offer organic yet durable noise-reduction solutions for spaces like offices and restaurants. Recognized for its eco-conscious design, Foresta integrates mycelium into its build. With a 100% circular design ethos and advanced wood processing technologies, Foresta combines elegance with innovation, setting a new standard in acoustic panel design.
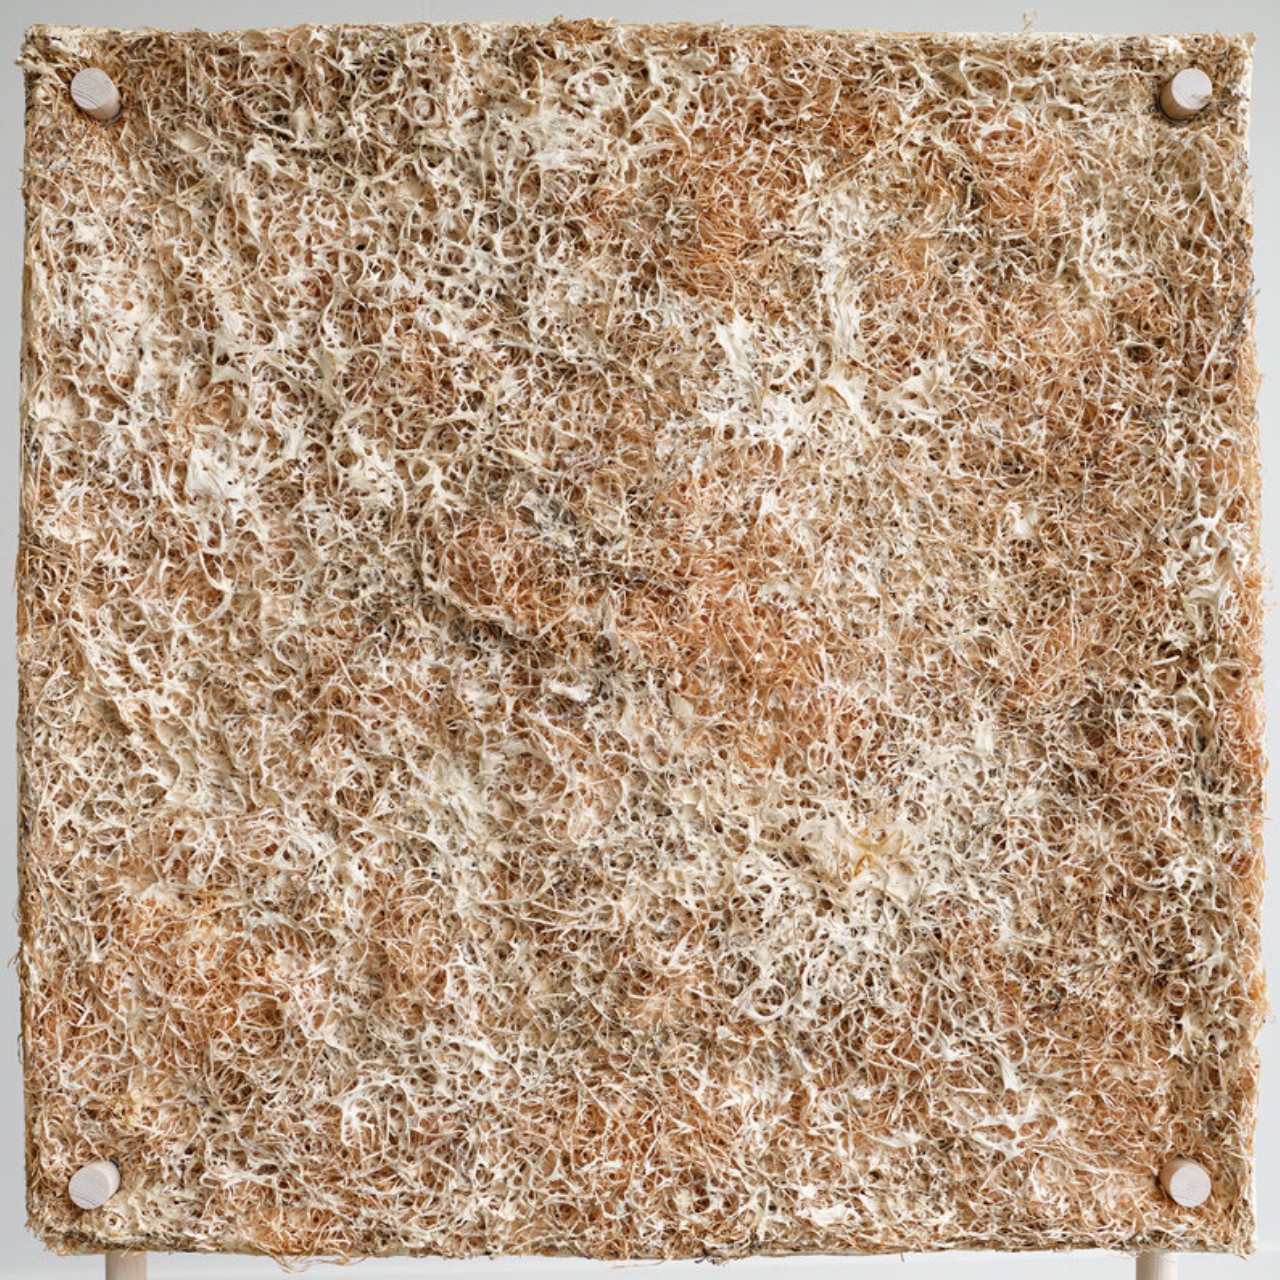
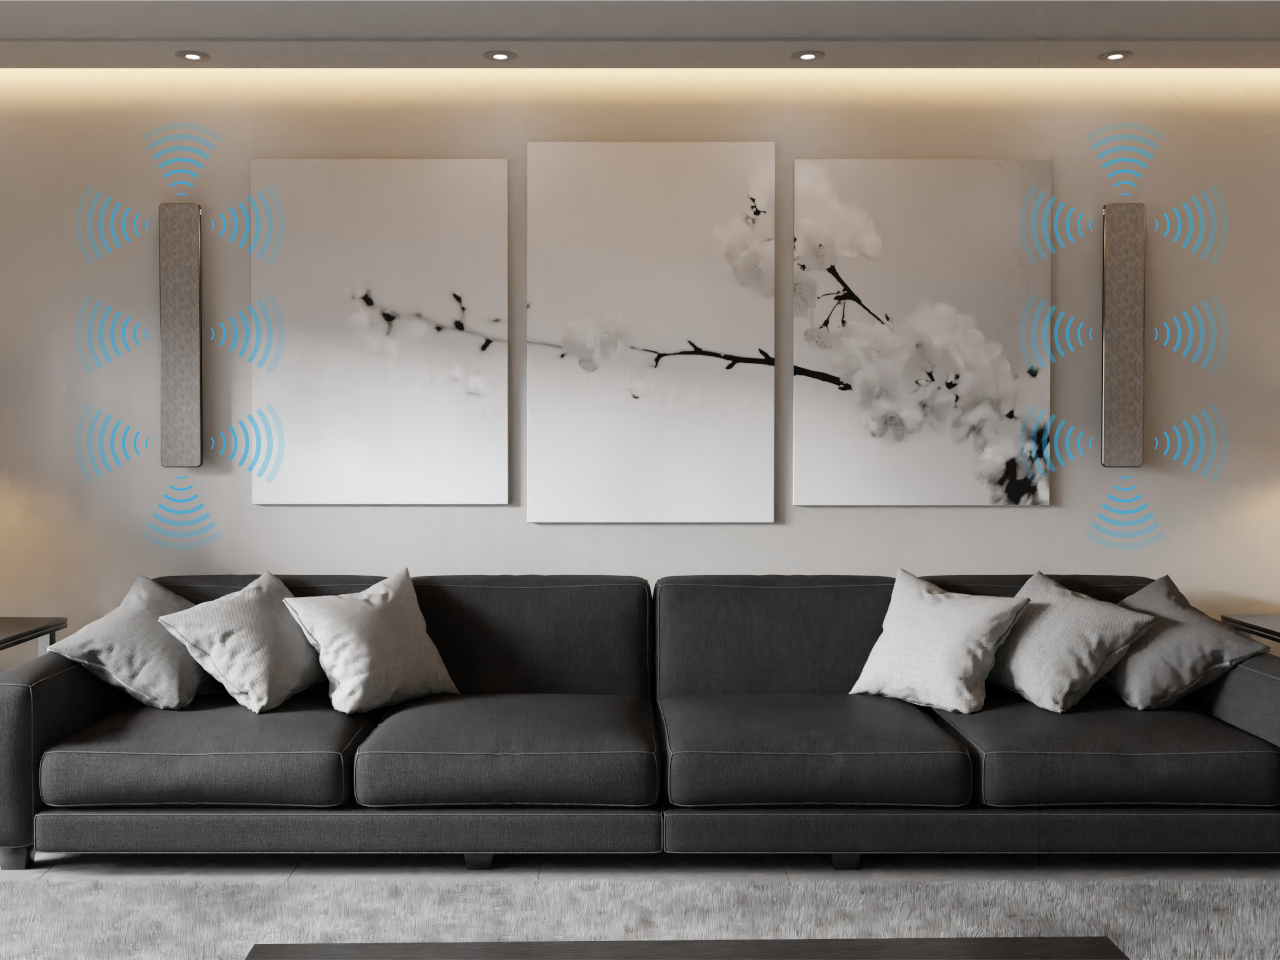
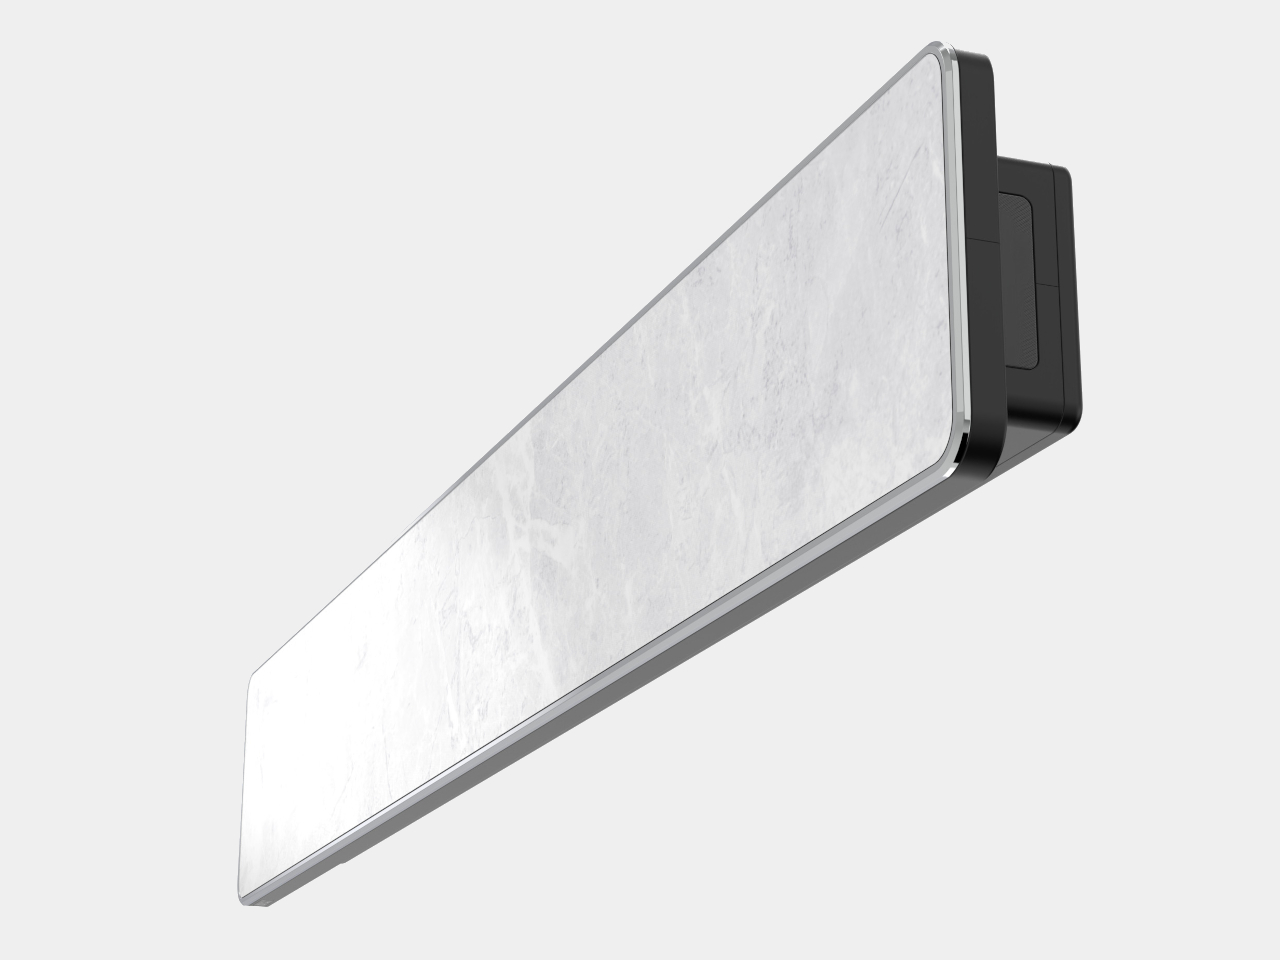
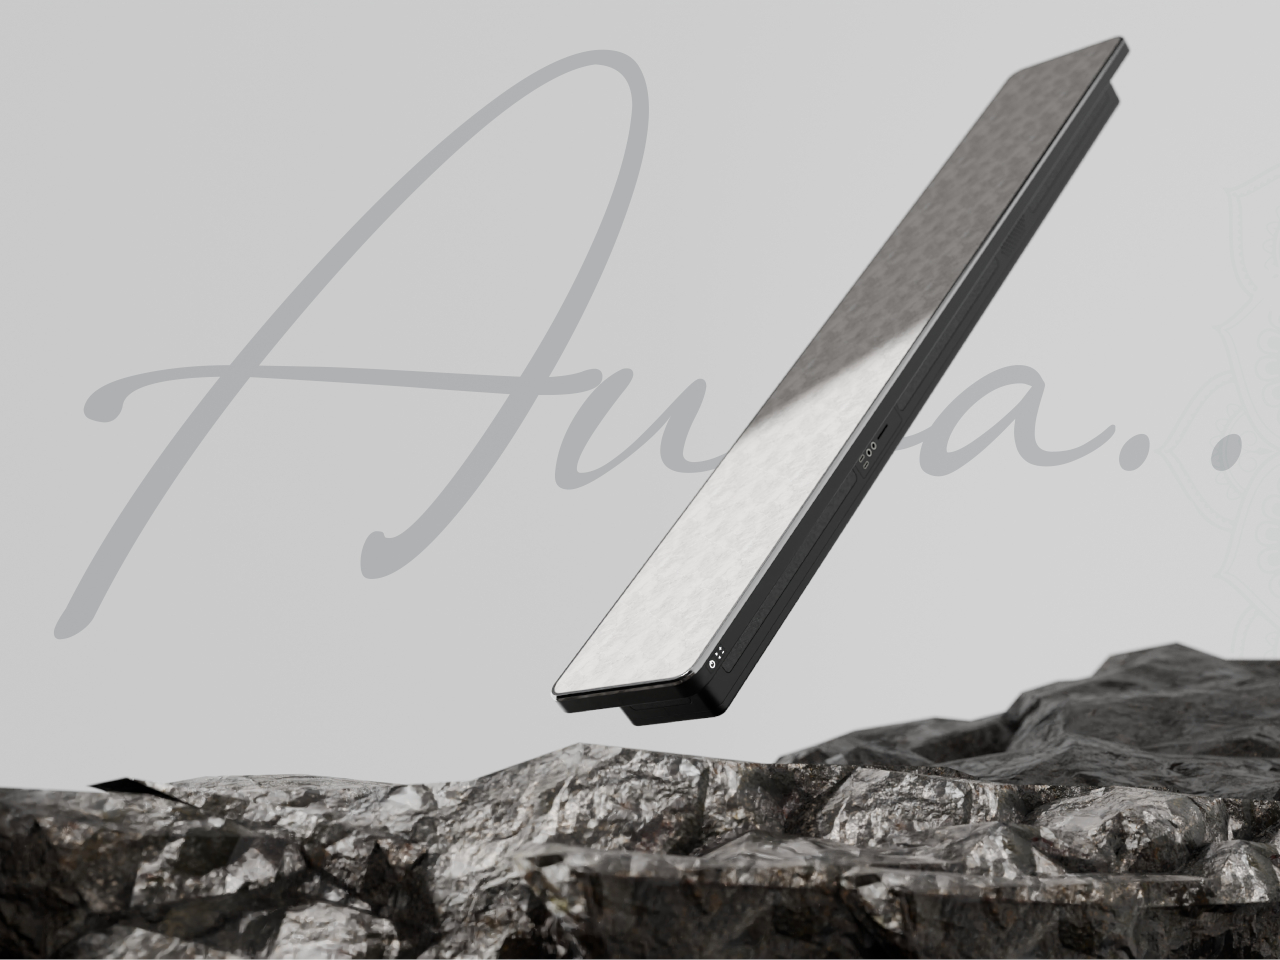
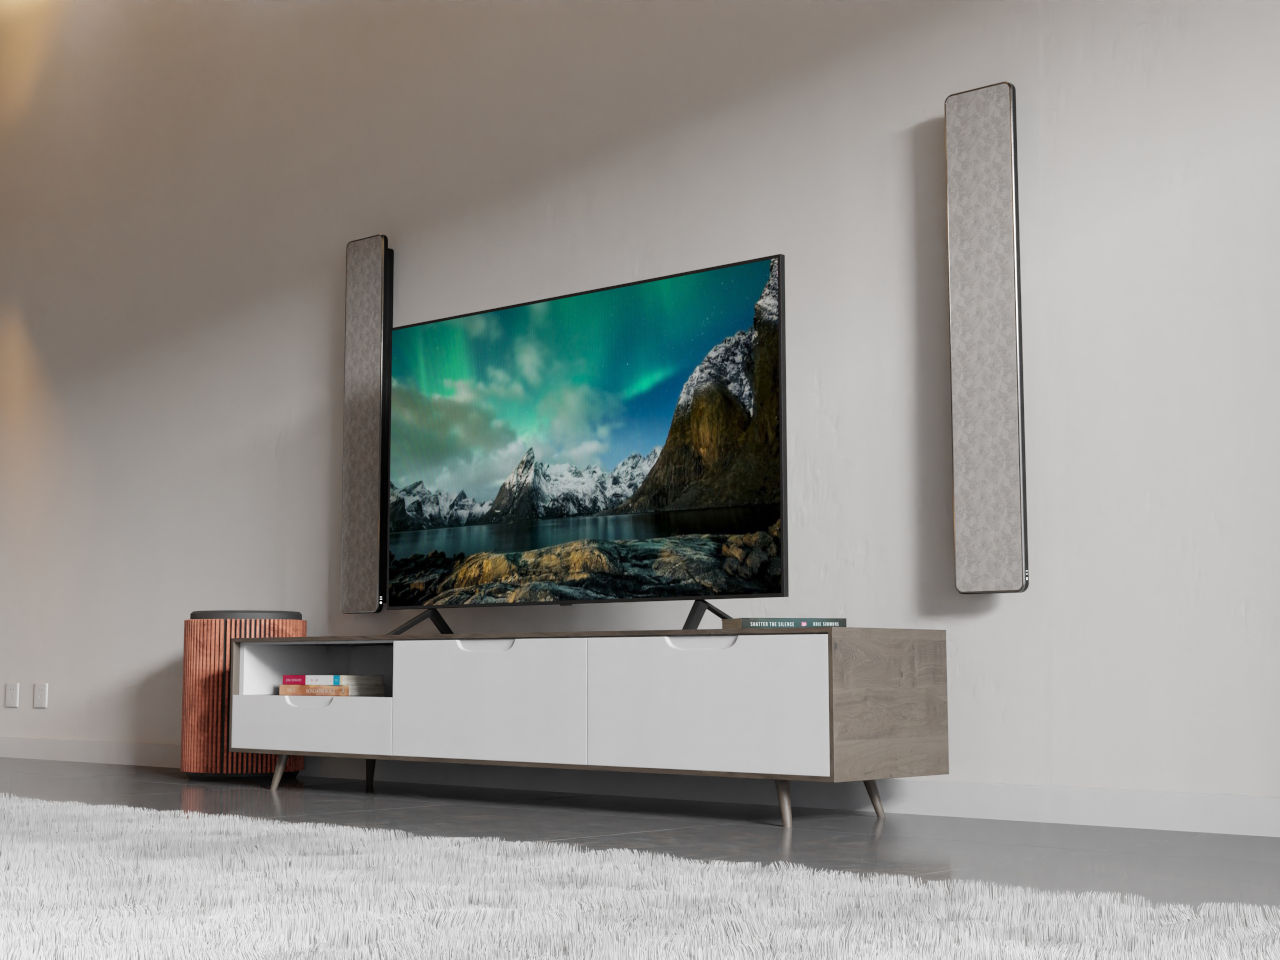
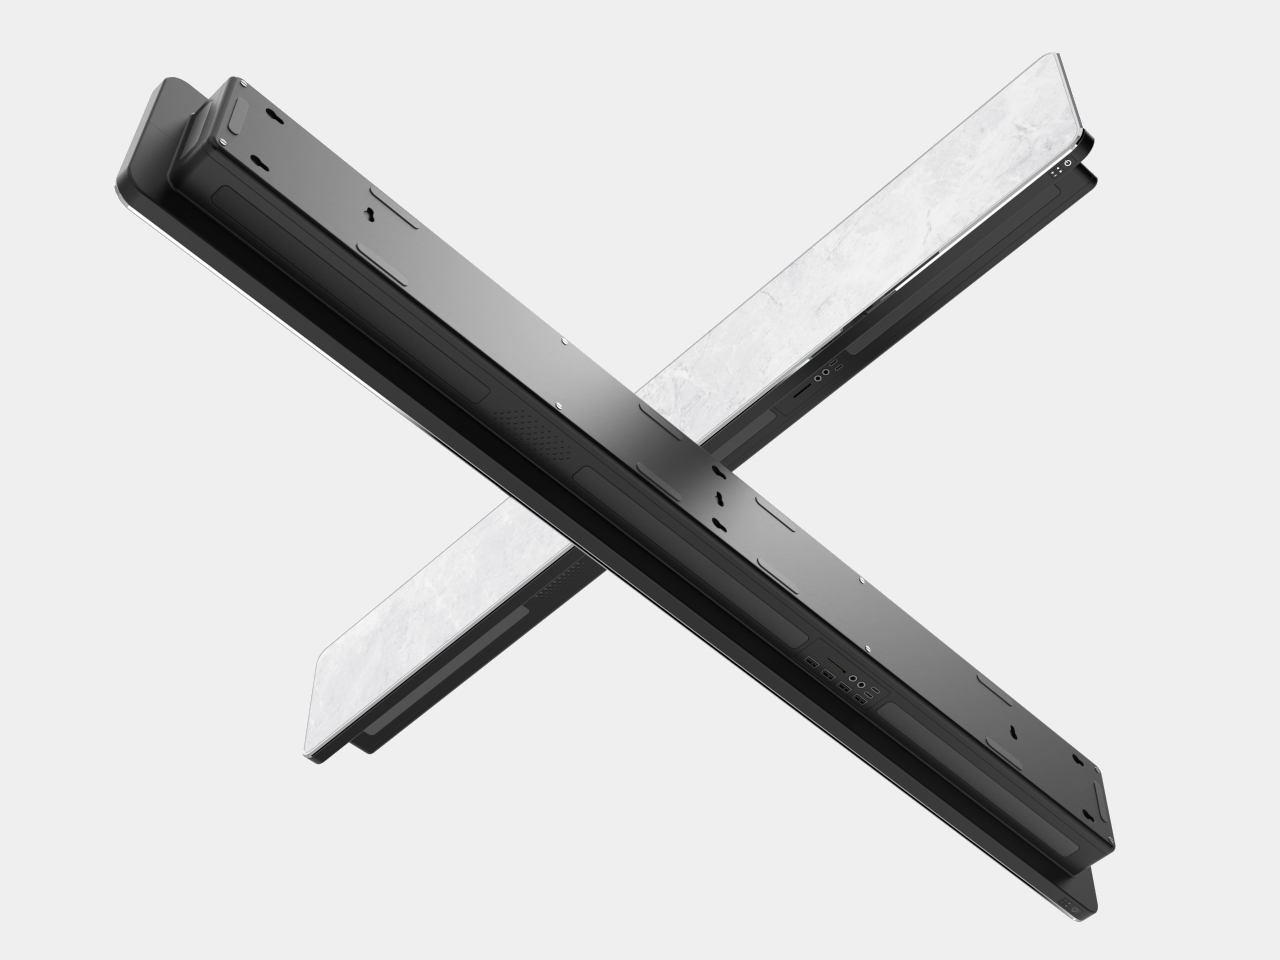
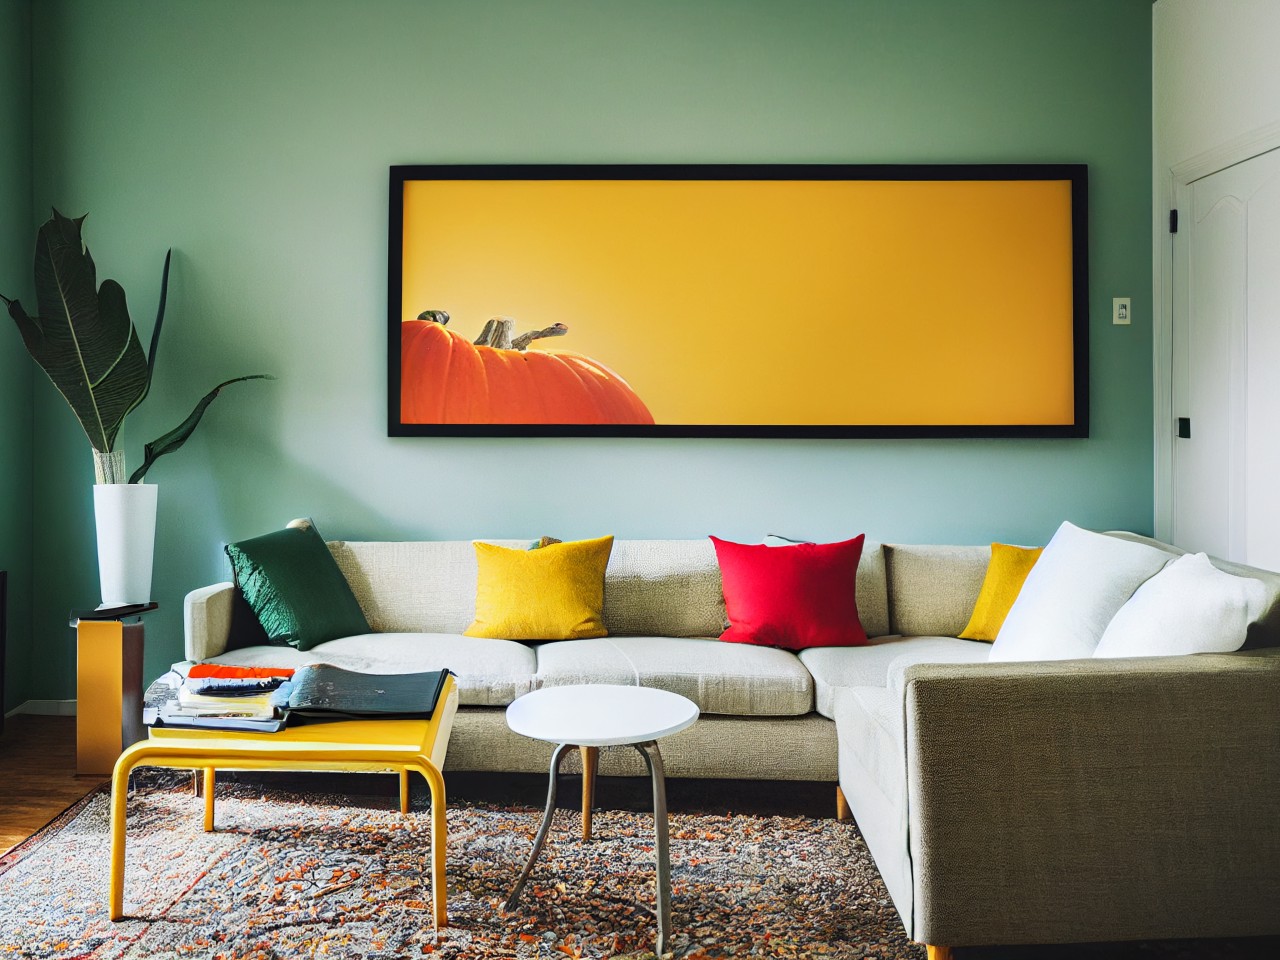
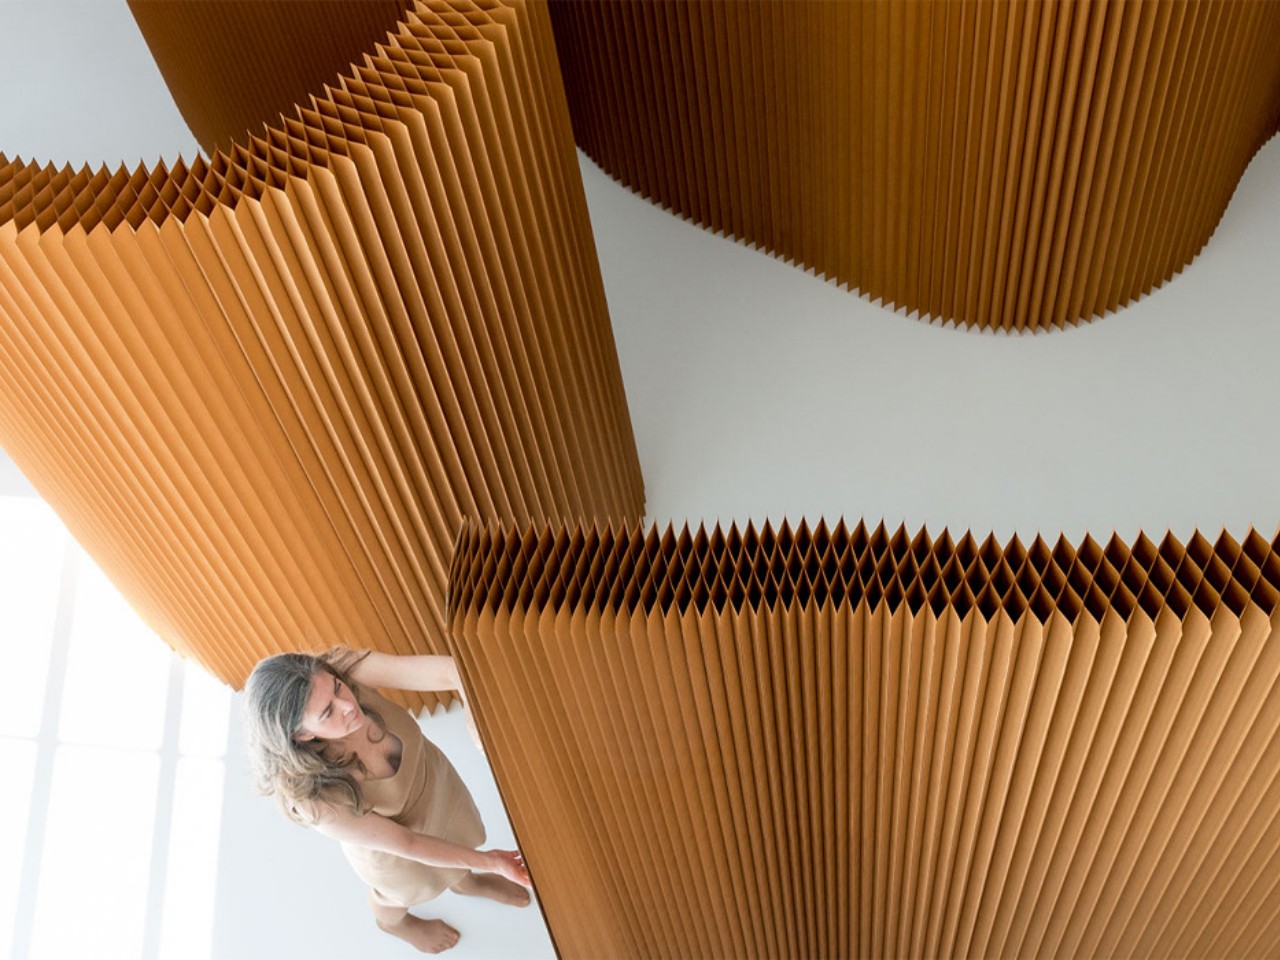
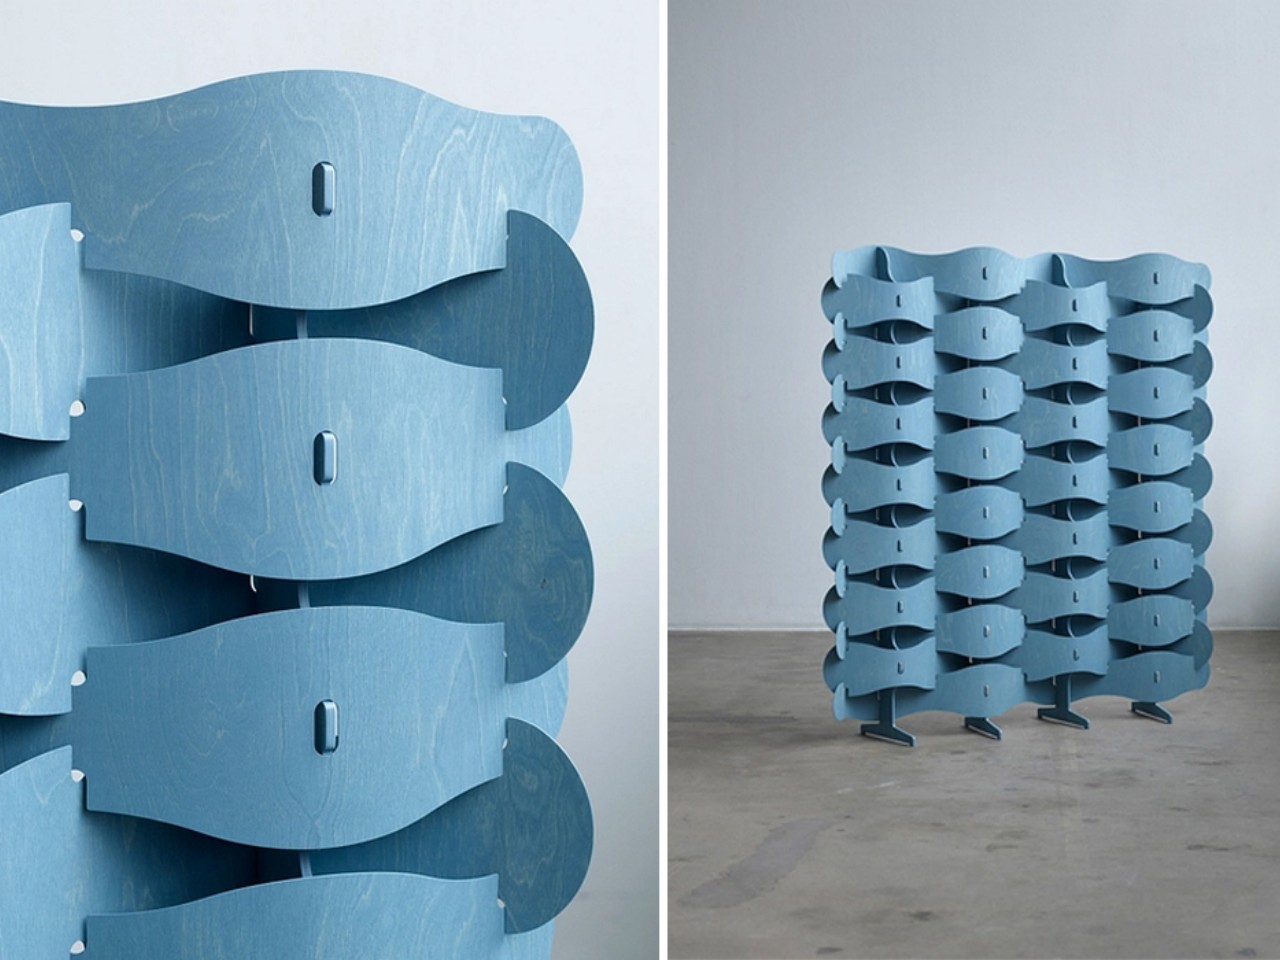
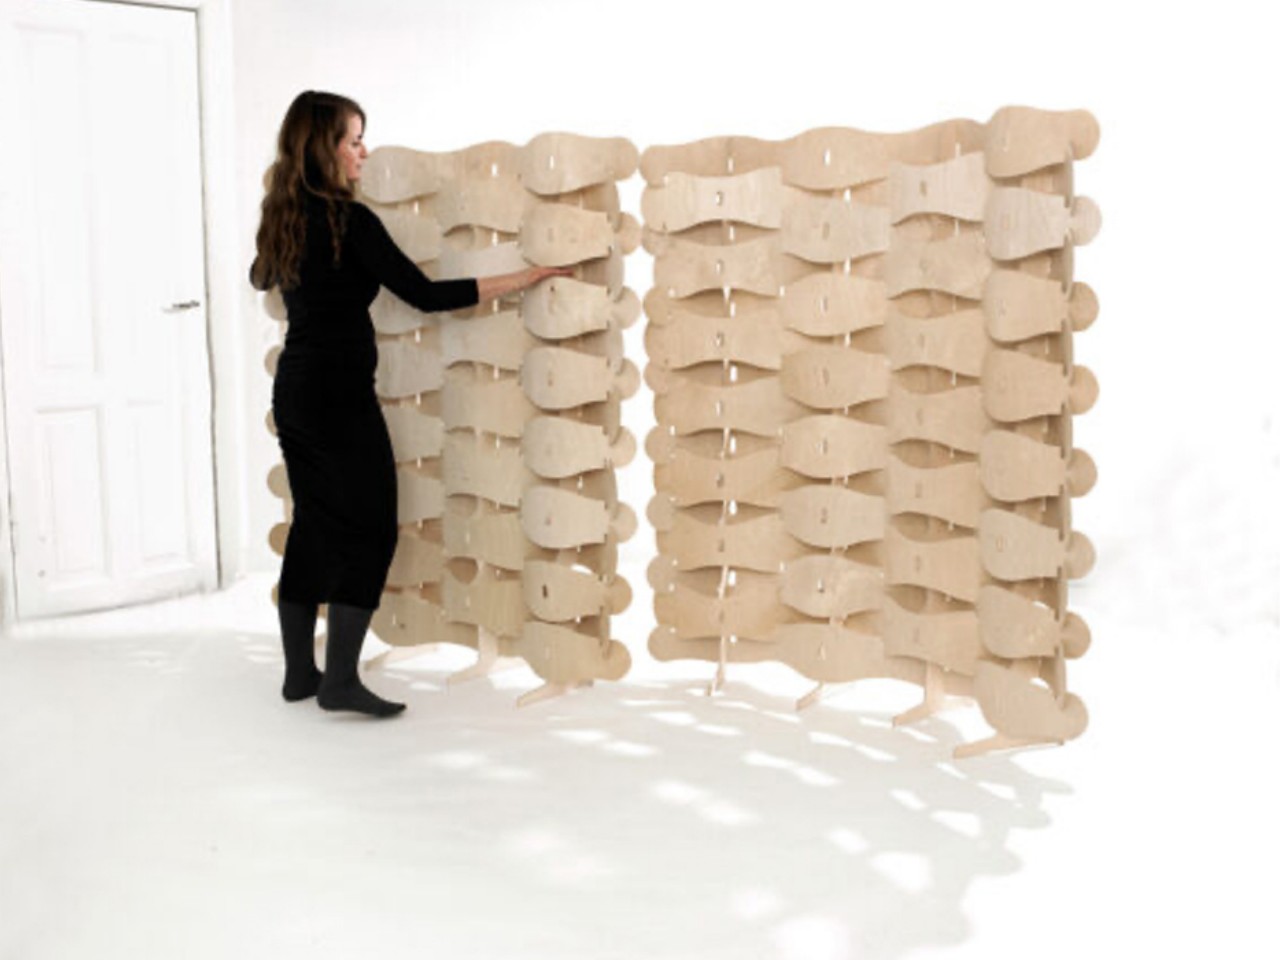
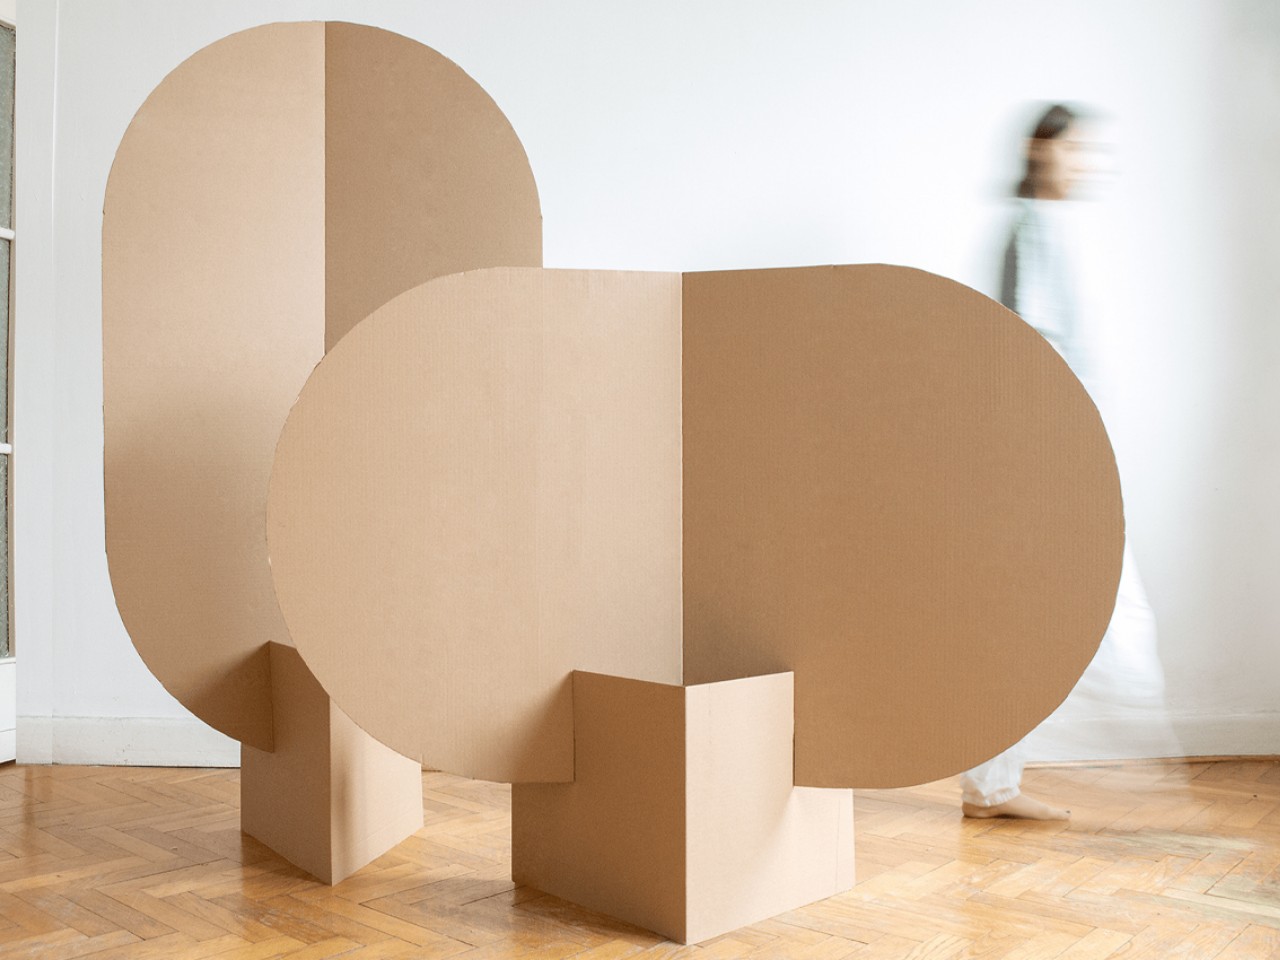
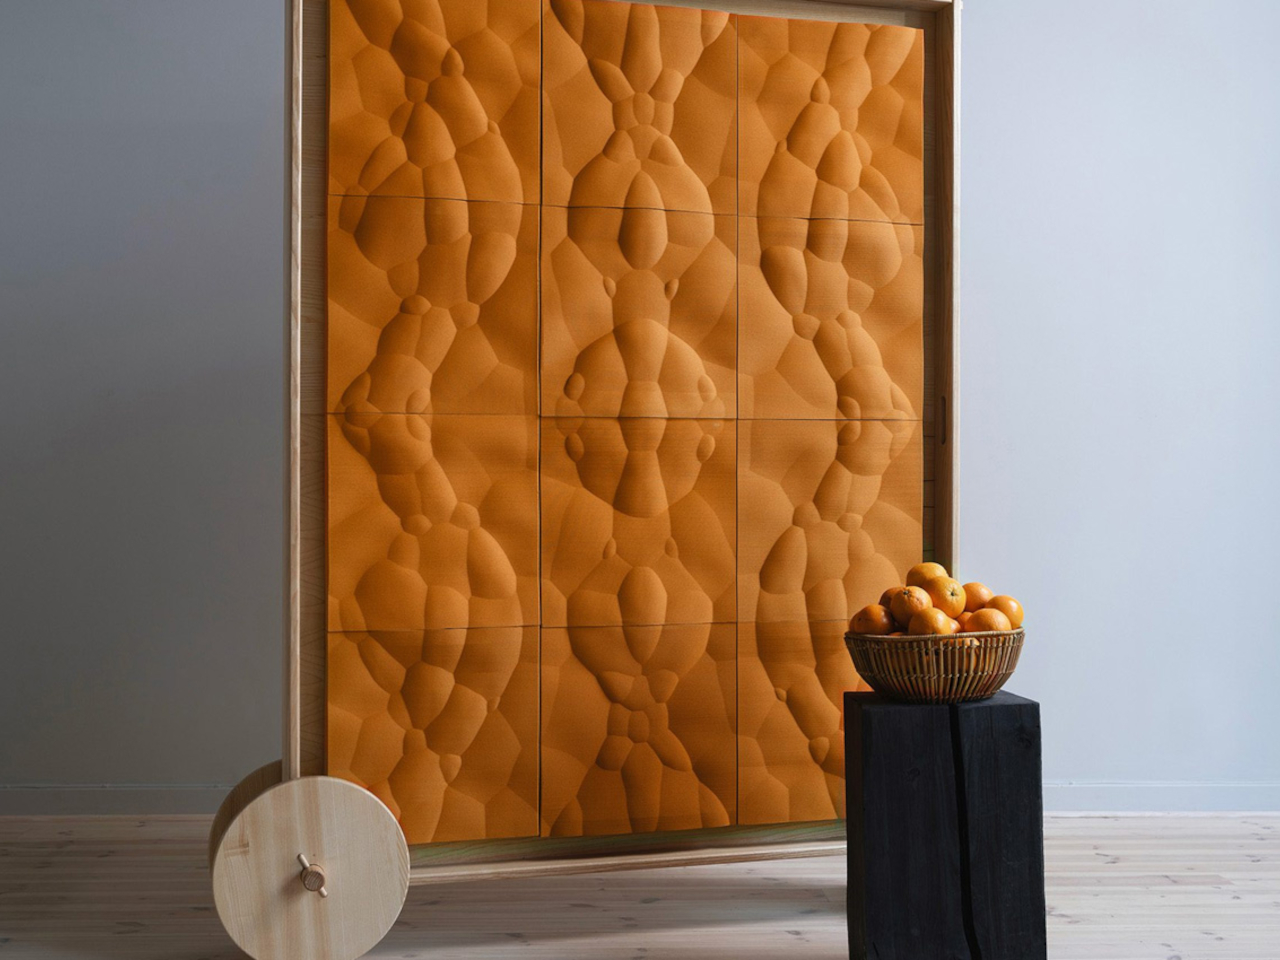
Designer: Jonas Edvard
Jonas Edvard’s Myx Sail / Floor is a groundbreaking sound-absorbing panel, merging mushroom mycelium, hemp, and willow in a 1m x 1m design. Collaborating with nature, he explores mycelium’s flexibility and rigidity within a modular mold, envisioning its seamless integration into living spaces. With a focus on sound absorption, Edvard’s research highlights the viability of mycelium in reducing environmental impact while inspiring a harmonious relationship between design and nature.
• Biodegradable
Mycelium is a biodegradable material that breaks down naturally at the end of its lifecycle thus reducing its environmental pollution.
• Low Carbon Footprint
Growing mycelium demands fewer resources, it does not release a lot of greenhouse gases which makes it better for the environment.
• Material and Product Innovation
Another advantage is that mycelium can be combined with other natural materials like hemp or straw to create stronger composite materials with enhanced properties.
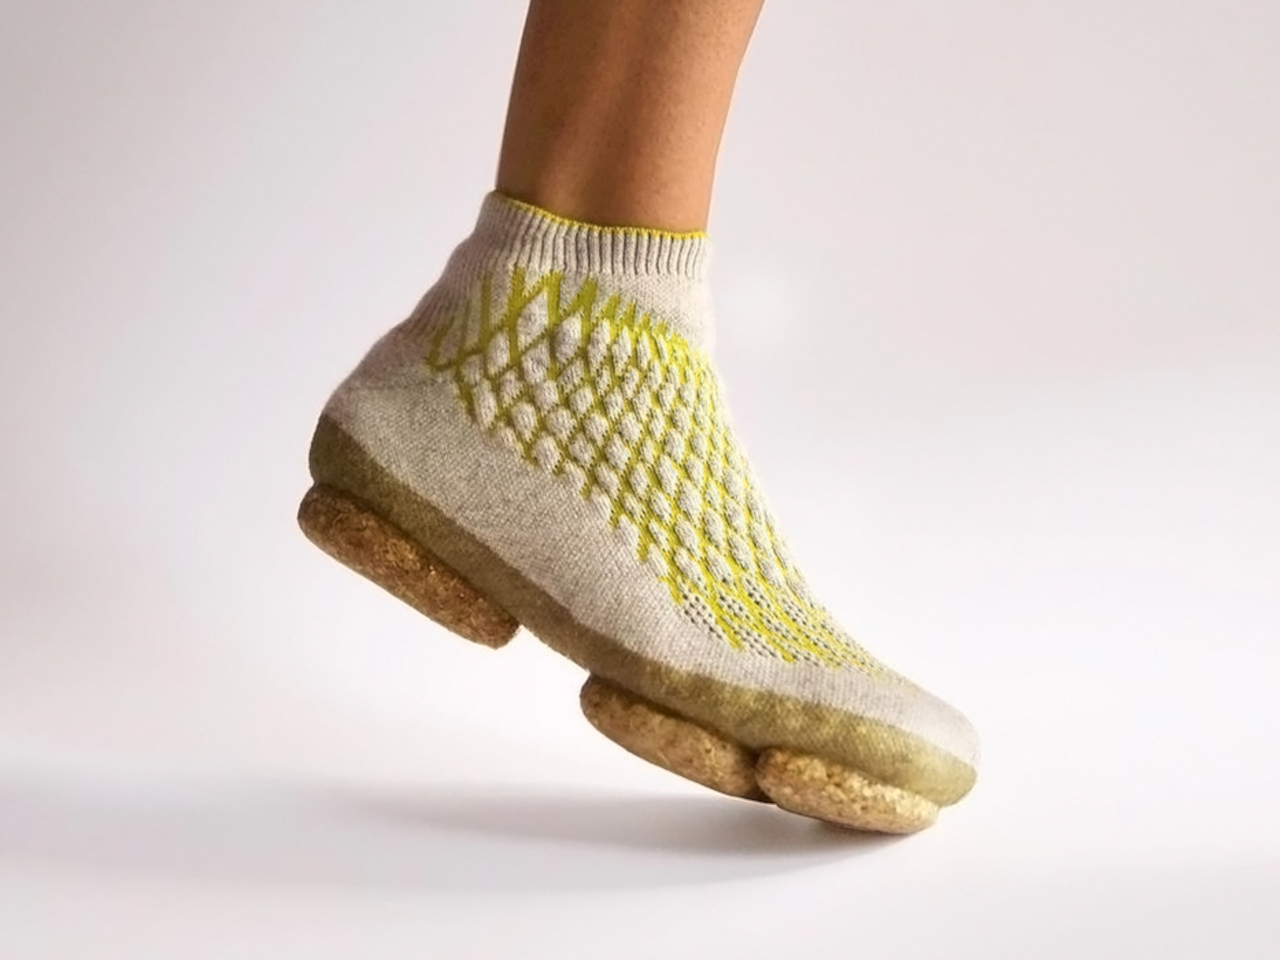
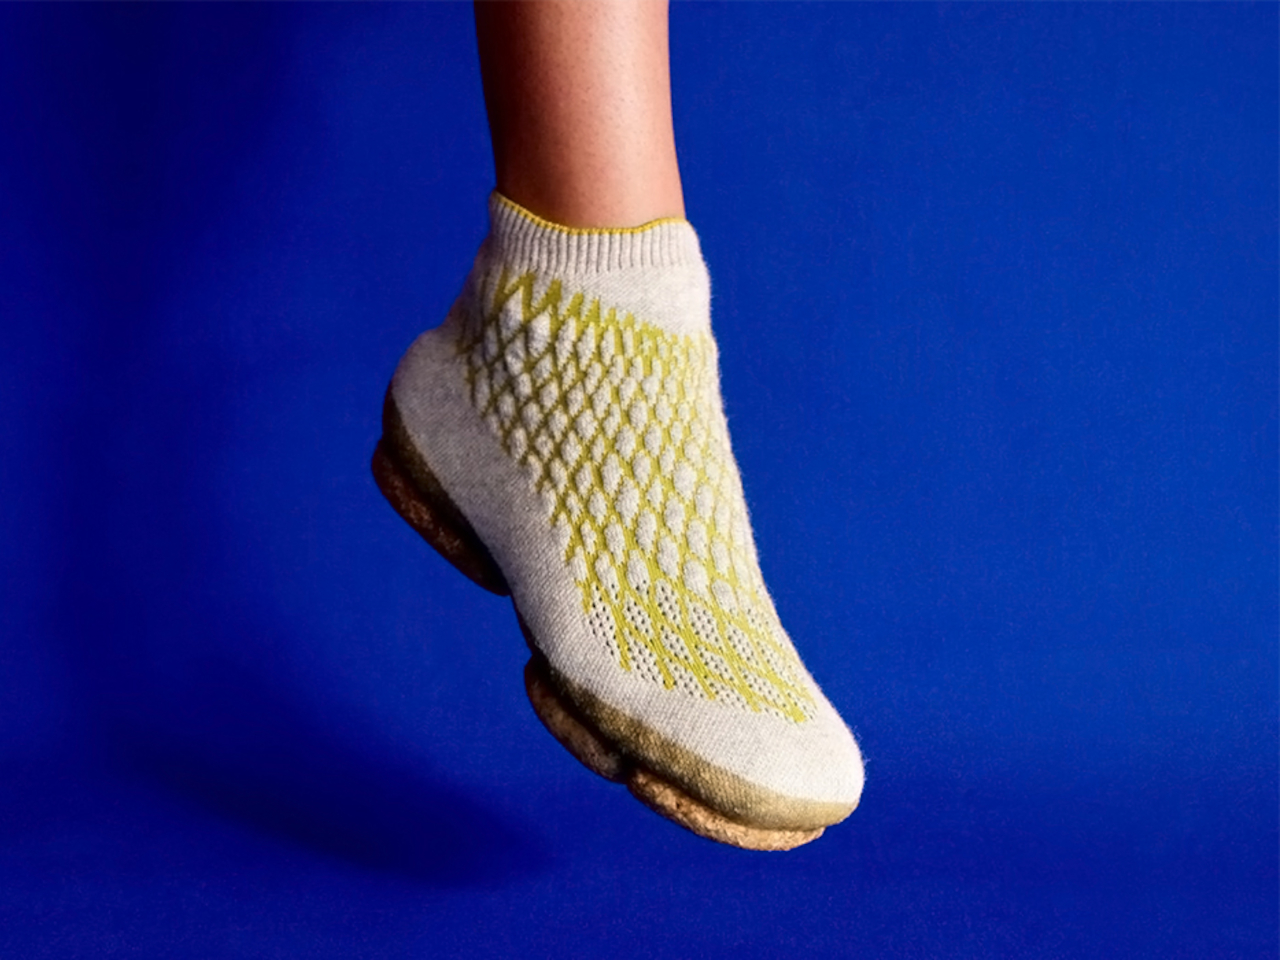
Designer: Emilie Burfeind
Sneature is a biodegradable shoe crafted with waste materials and 3D knitting technology. Designed by Burfeind, this sustainable sneaker offers an eco-conscious alternative to traditional footwear. Featuring a protein-based 3D knit membrane made from dog hair and a mushroom mycelium sole composed of local vegetable waste, Sneature prioritizes sustainability and customization. With water-repellent properties and a second-skin feel, Sneature combines style with environmental responsibility.
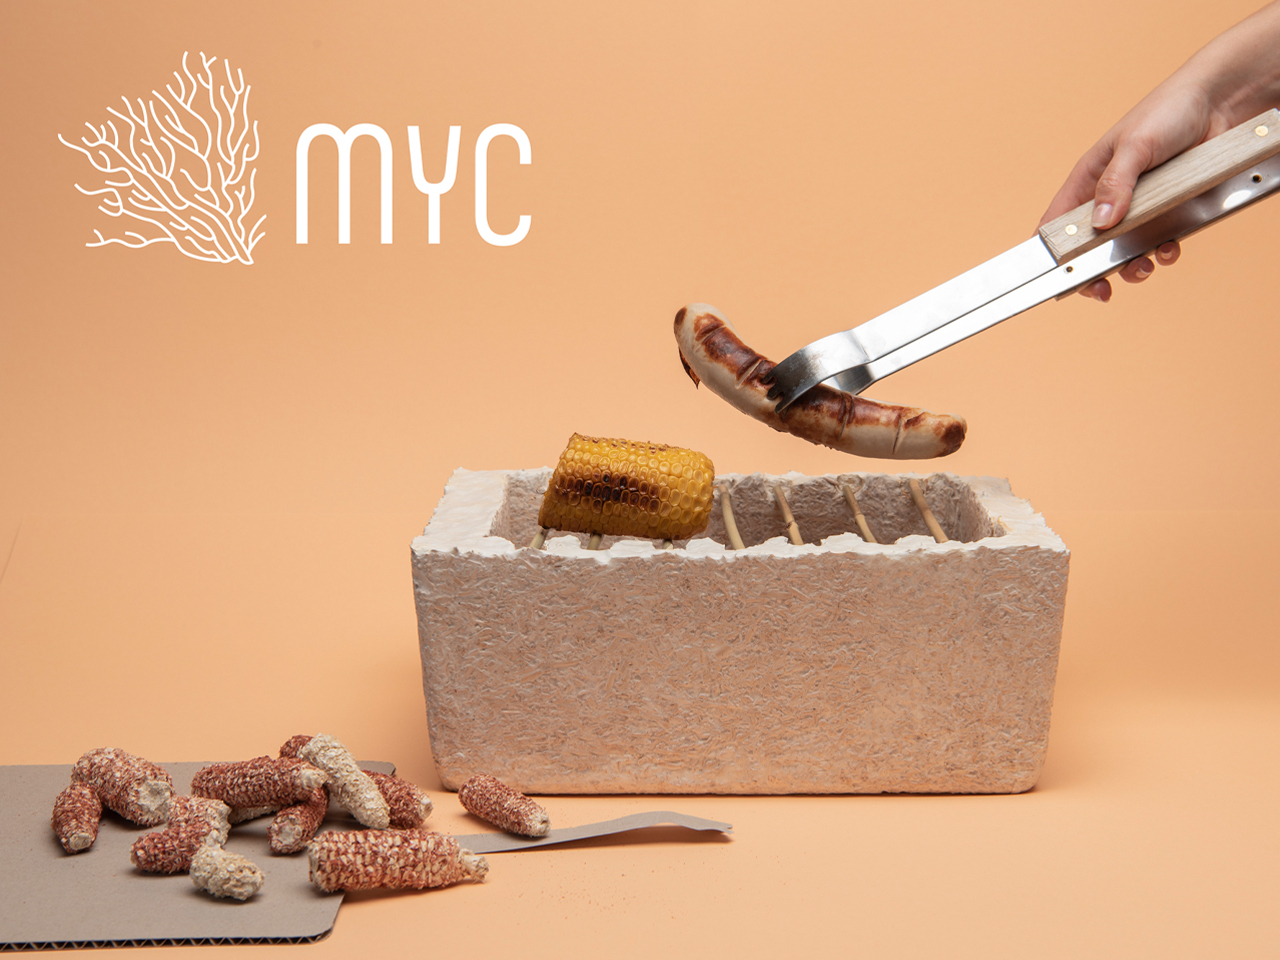
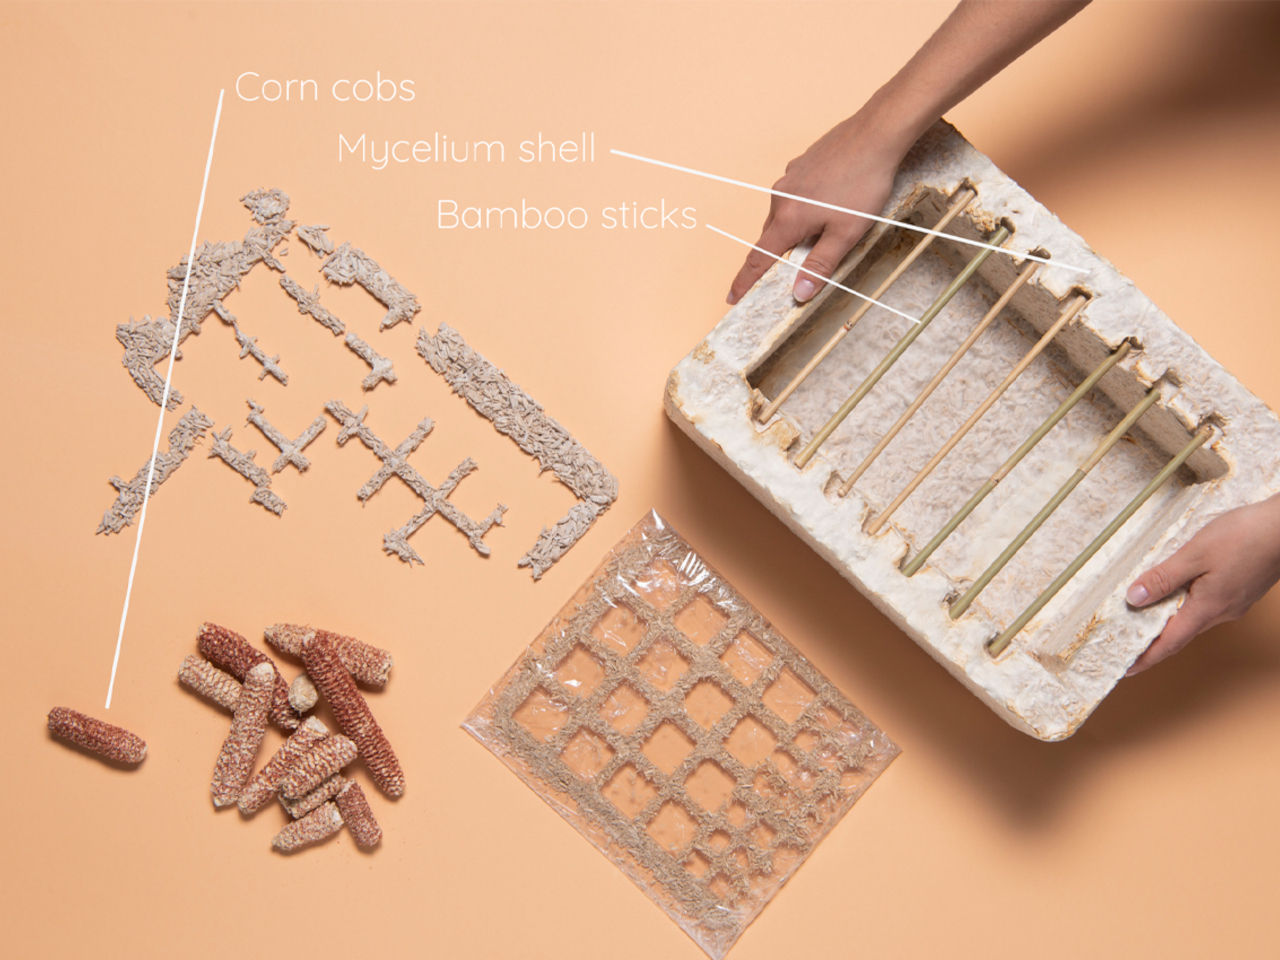
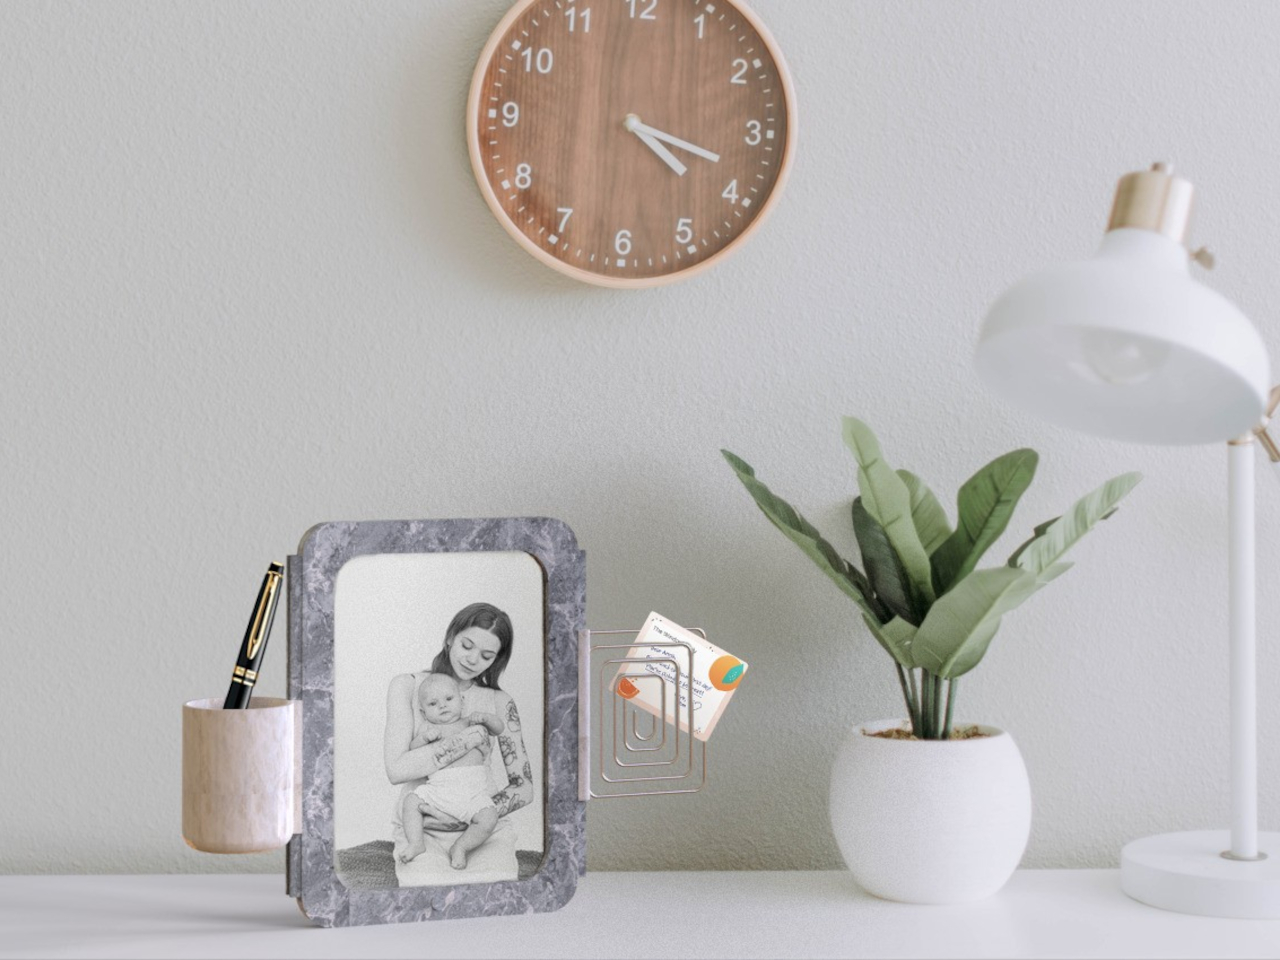
Designer: Stephanie Singer
MYC is a sustainable disposable grill made from mycelium and was created by industrial design student Stephanie Singer, MYC offers an eco-friendly alternative to traditional aluminum grills. After use, MYC can be left to biodegrade and enrich the soil. With a grate made of bamboo sticks and dried corn cobs as fuel, MYC promotes sustainability without compromising convenience.
• Organic Aesthetic
Mycelium-based materials can offer a unique, organic aesthetic with a natural look, making them attractive to product designers.
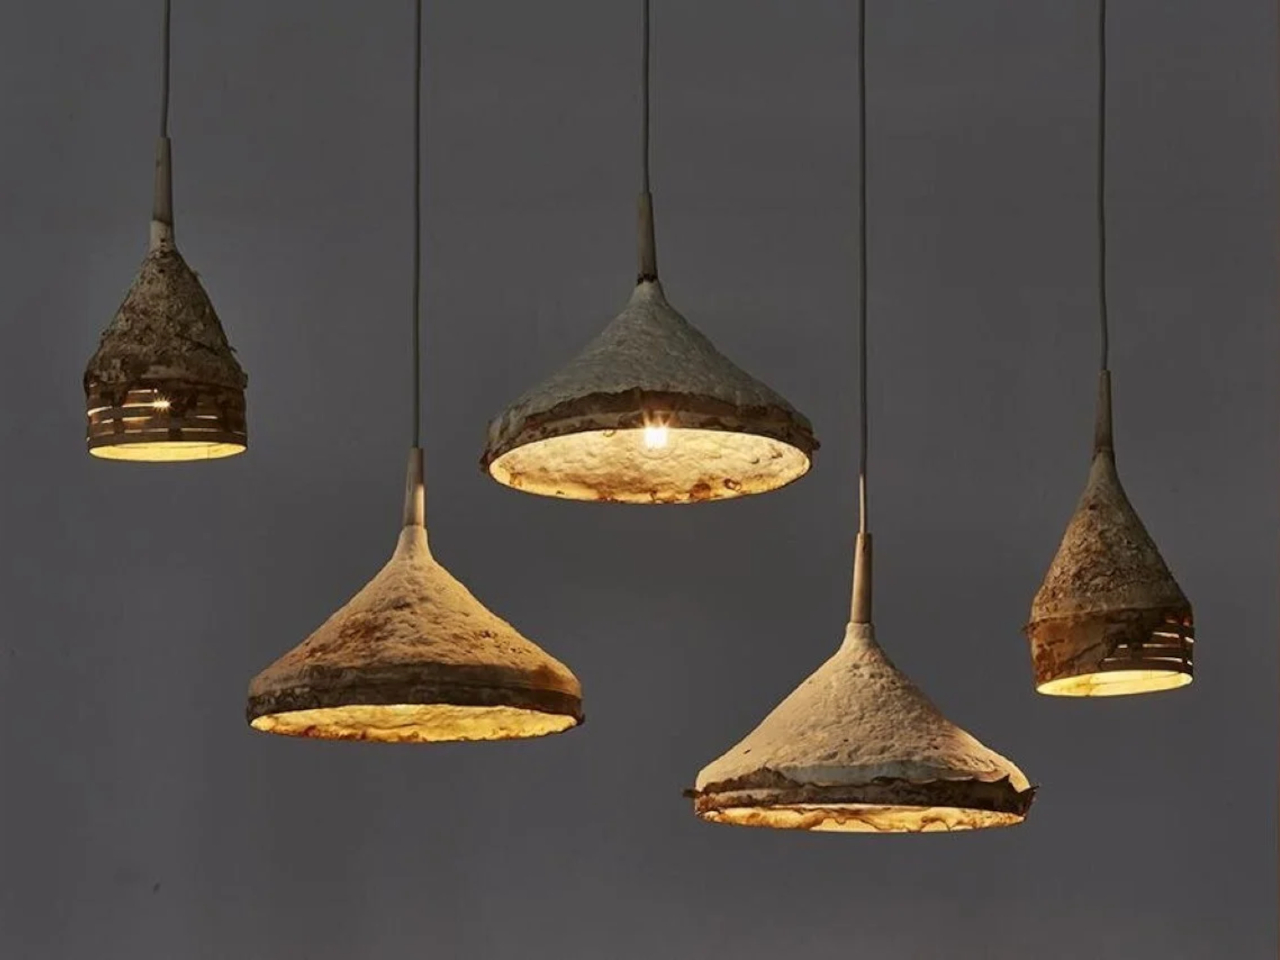
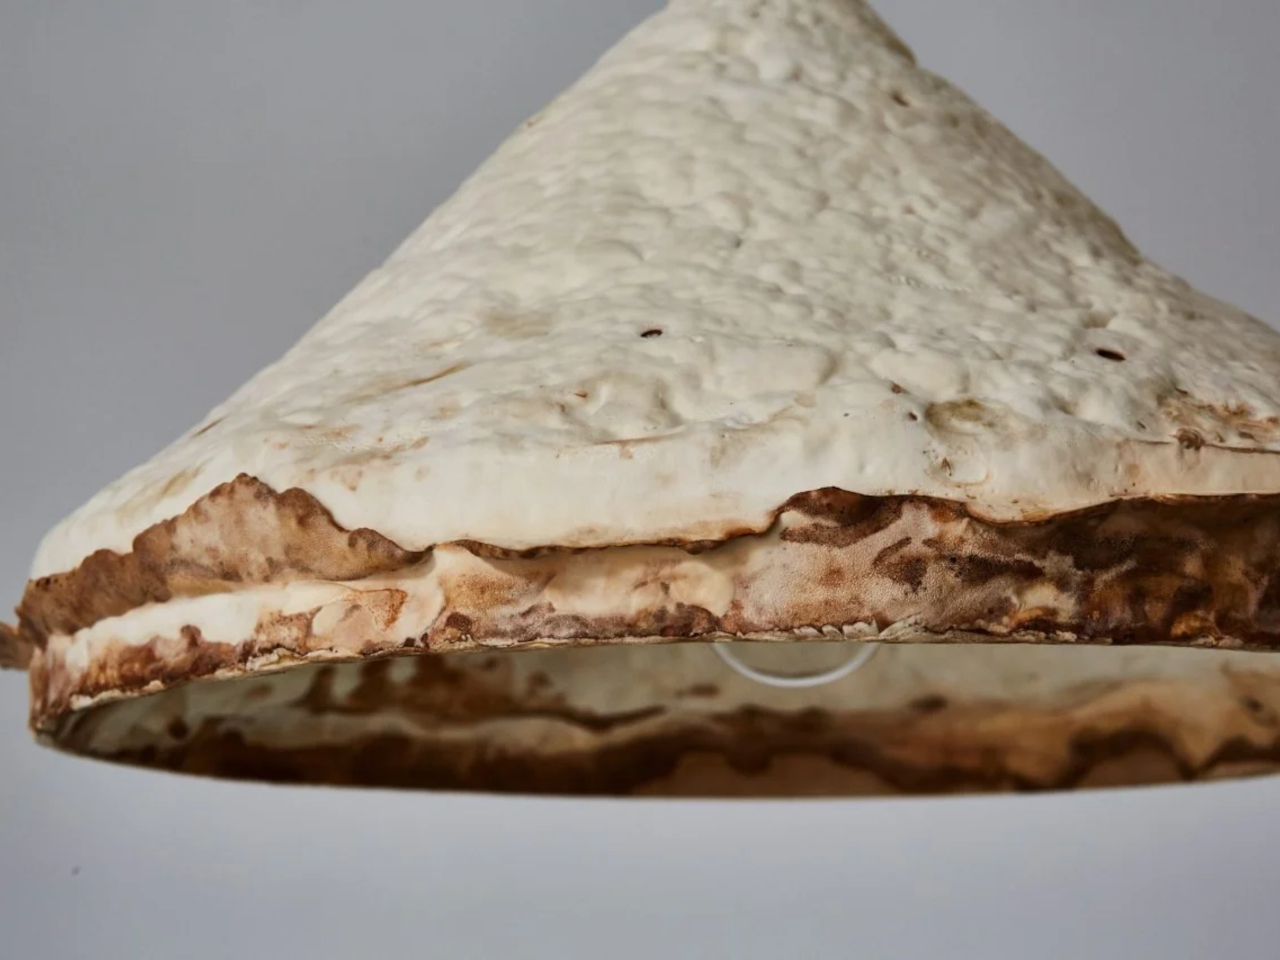
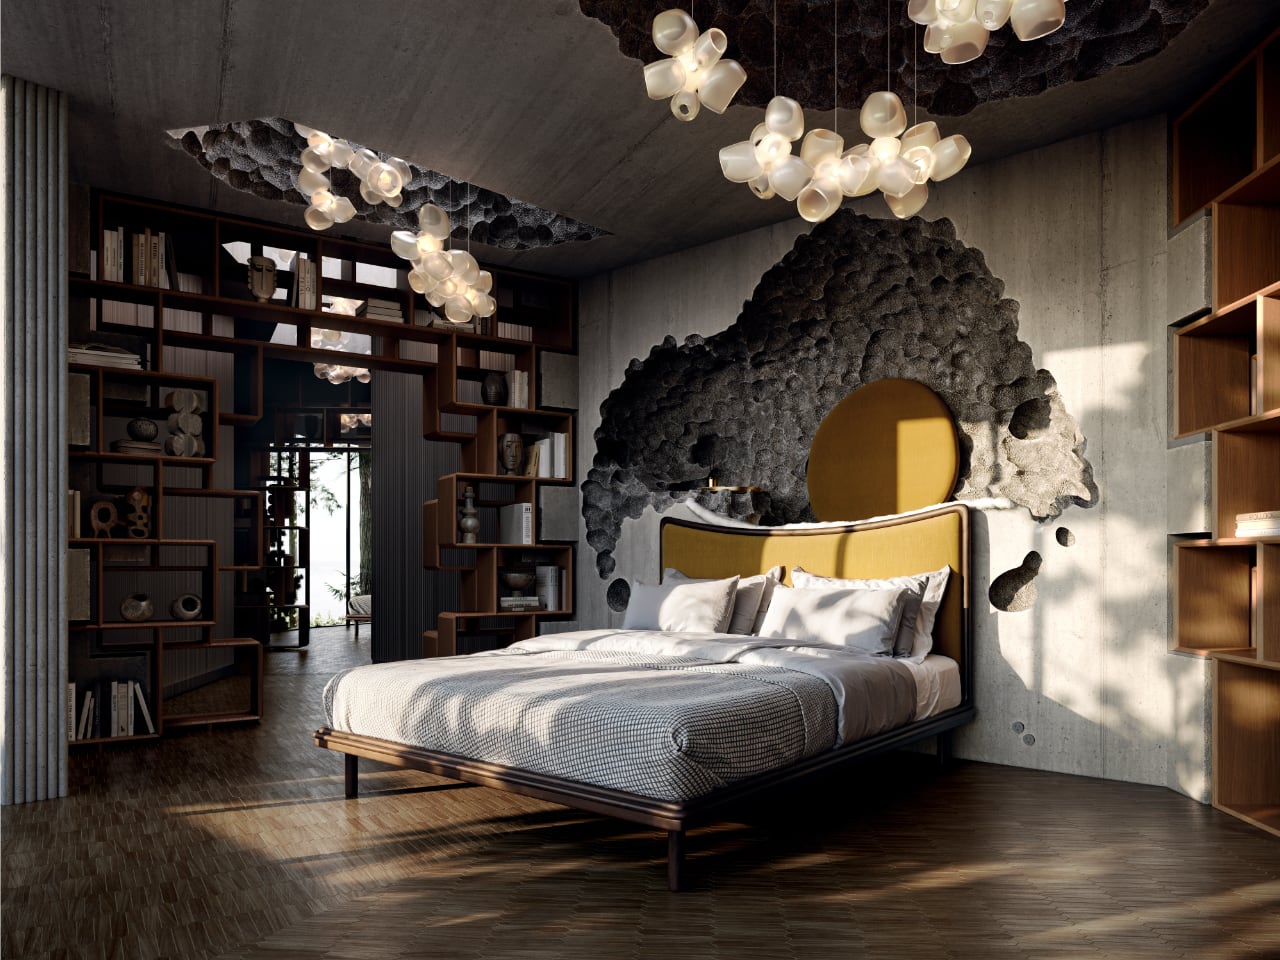
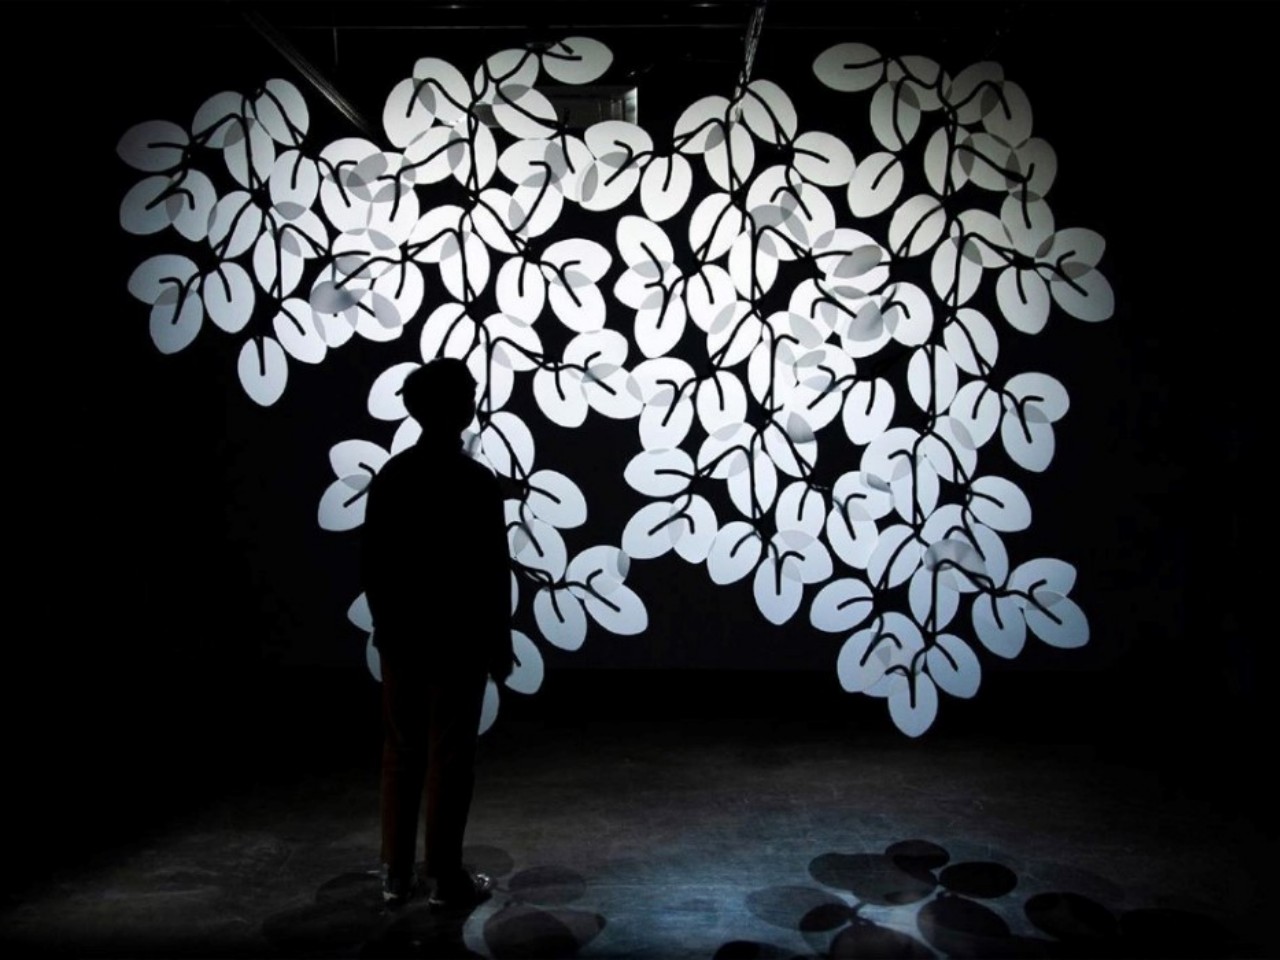
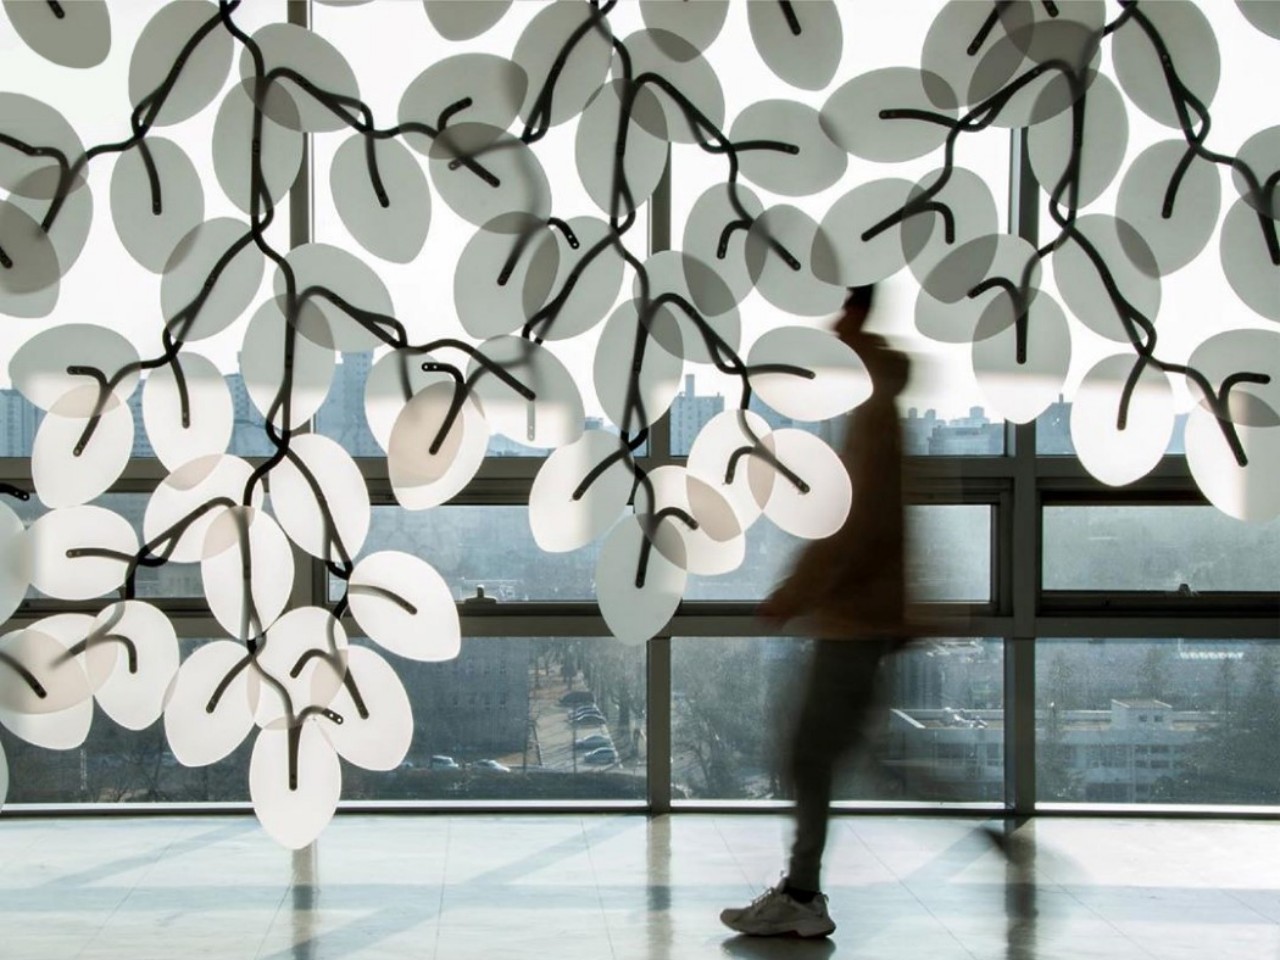
Designer: Sebastian Cox with Ninela Ivanova
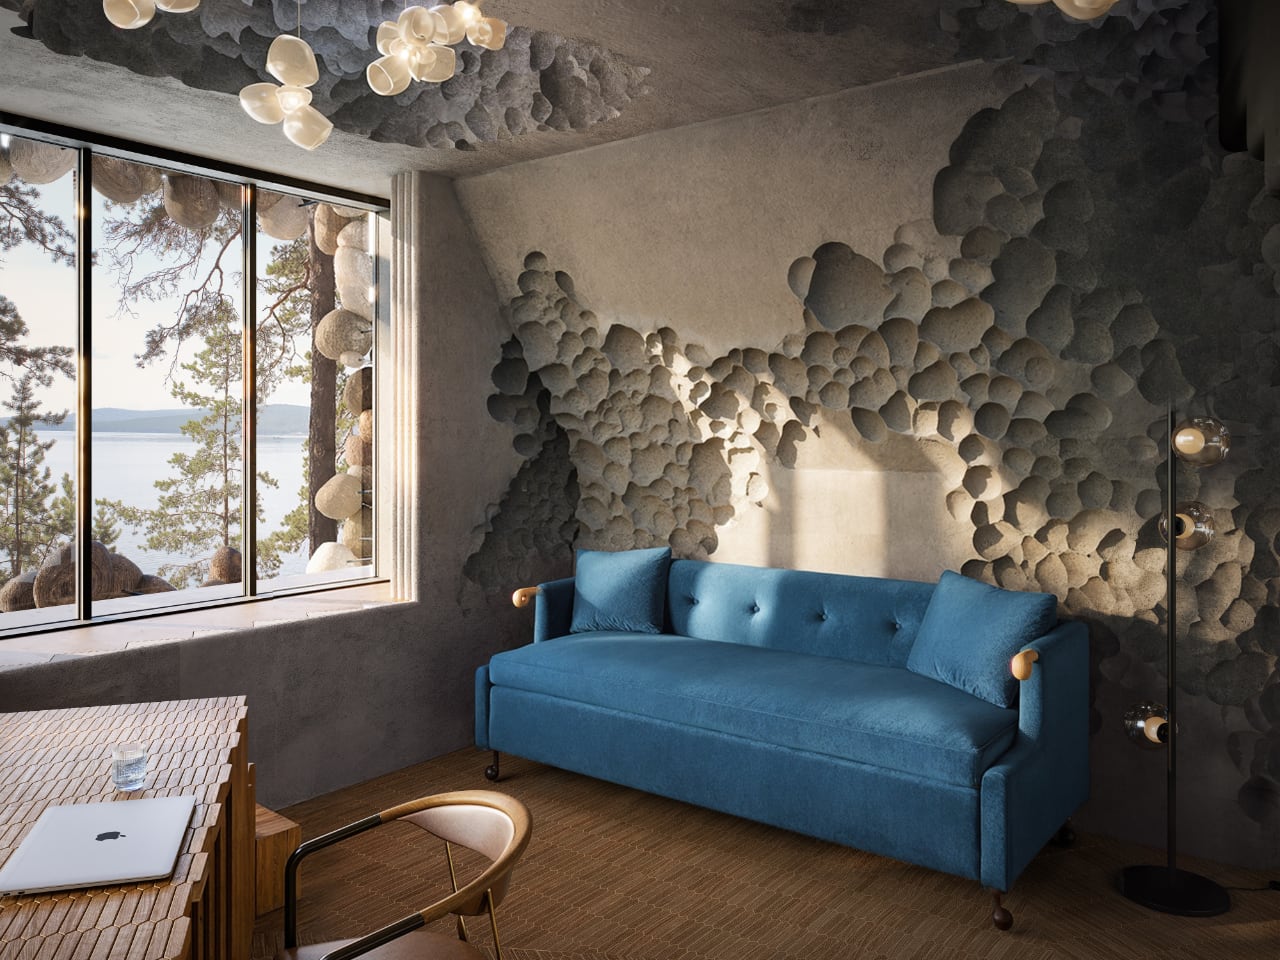
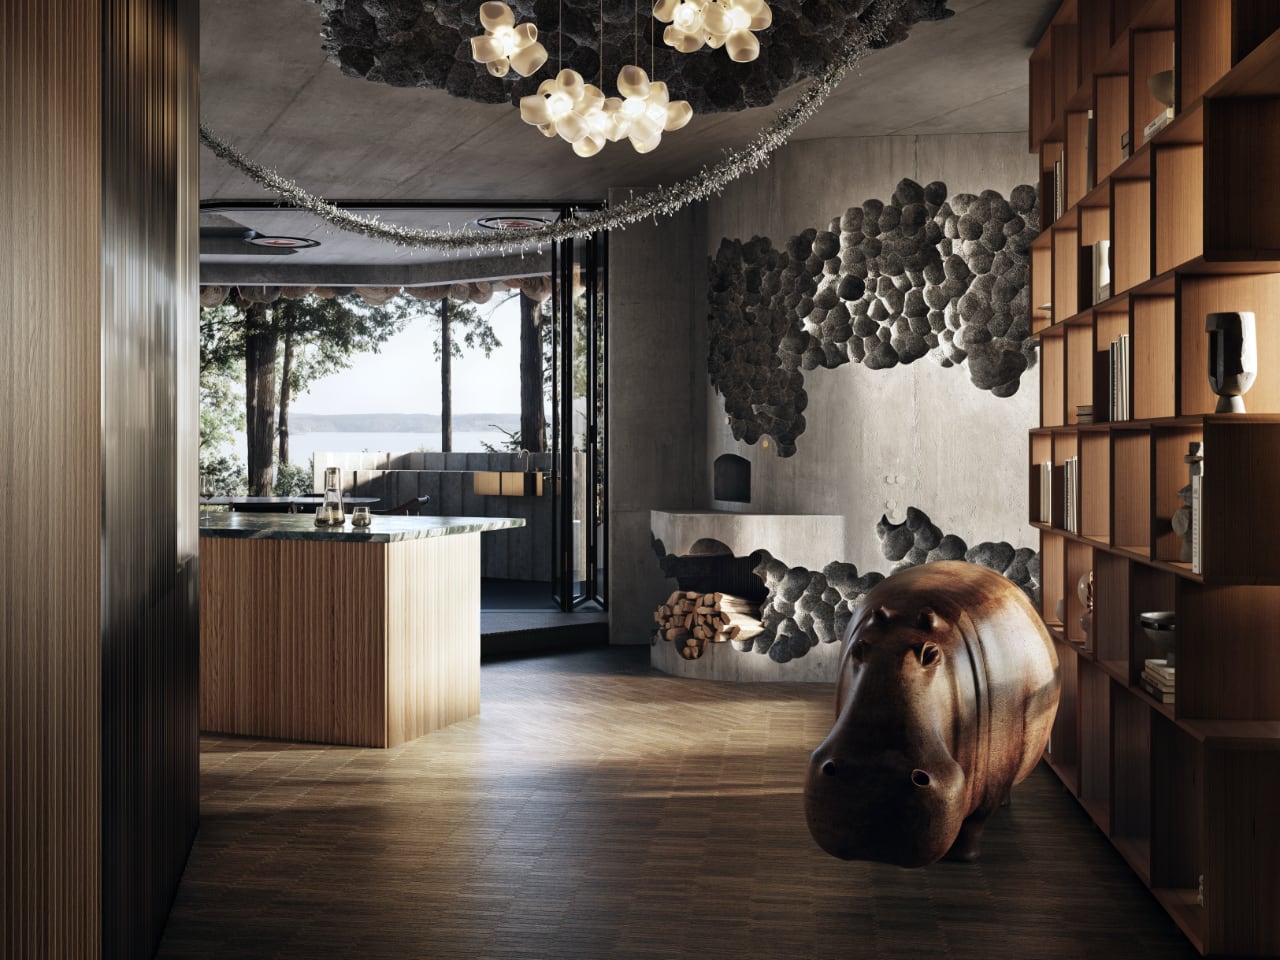
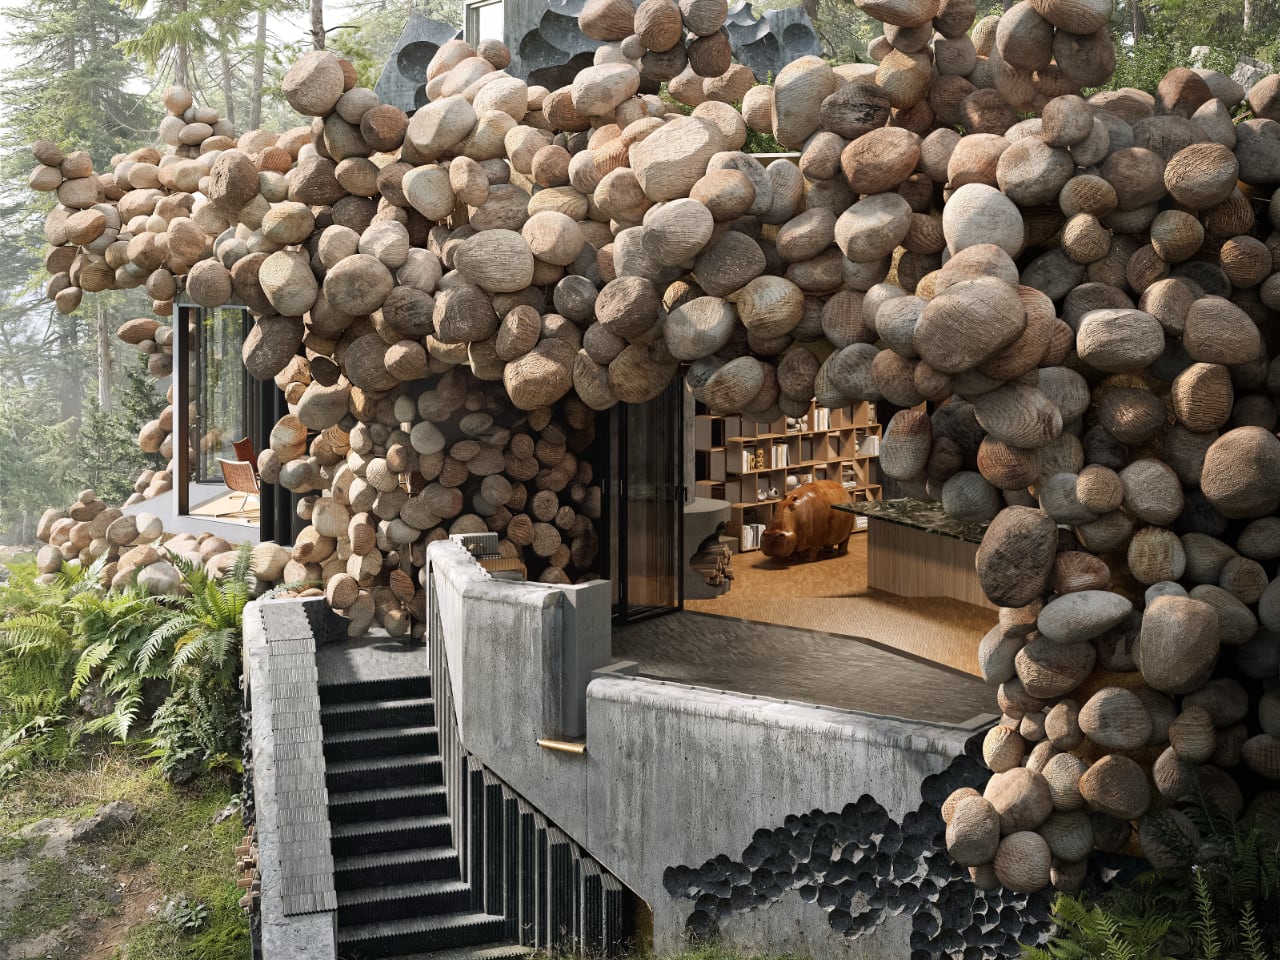
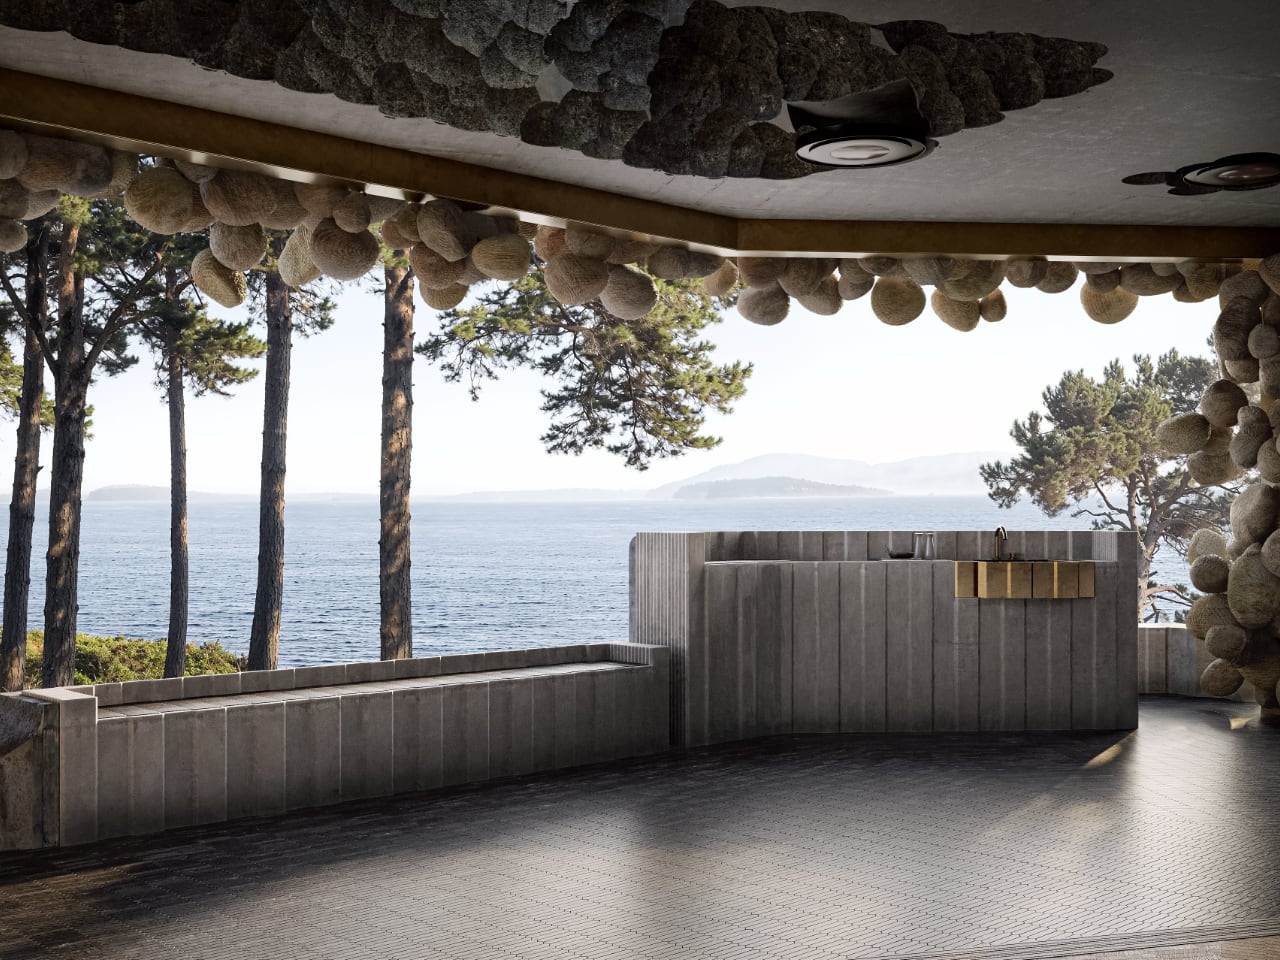
Sebastian Cox’s Mycelium pendant lamps redefine production by growing rather than being manufactured. Partnering with researcher Ninela Ivanova, Cox utilizes mycelium, the vegetative part of mushrooms, and scrap willow wood to create these uniquely rustic lamps. Each lamp takes 4-12 weeks to grow and is entirely compostable, showcasing the fusion of natural elements in sustainable design.
What are the disadvantages of using Mycelium?
Although mycelium is a sustainable material, it faces some challenges
• No Standardization
As mycelium is a natural product, its growth is influenced by temperature and humidity, making it difficult to achieve a standardized and consistent product. Note that mycelium growth takes longer and is not suitable for mass production or time-sensitive projects.
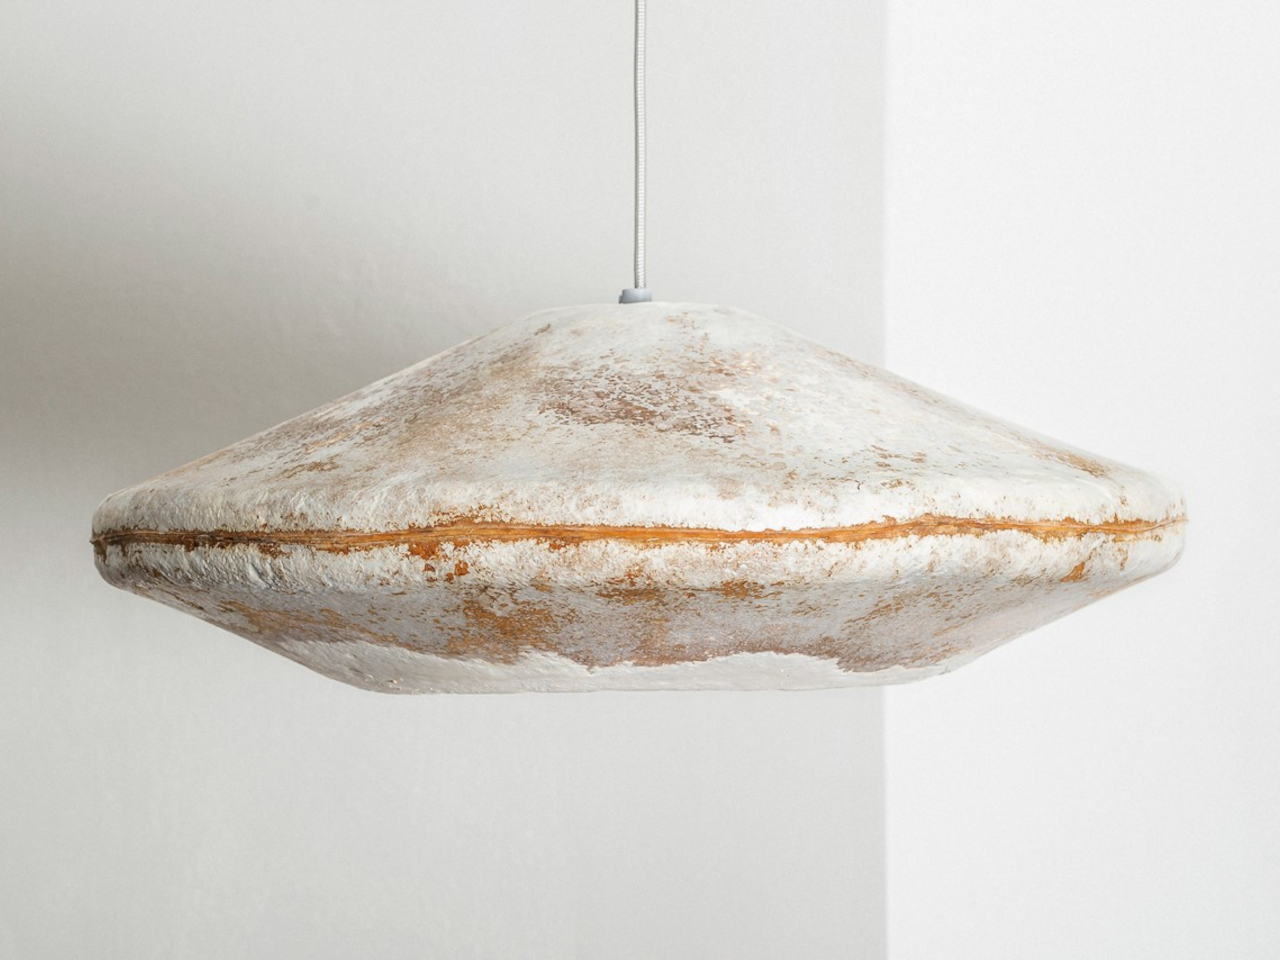
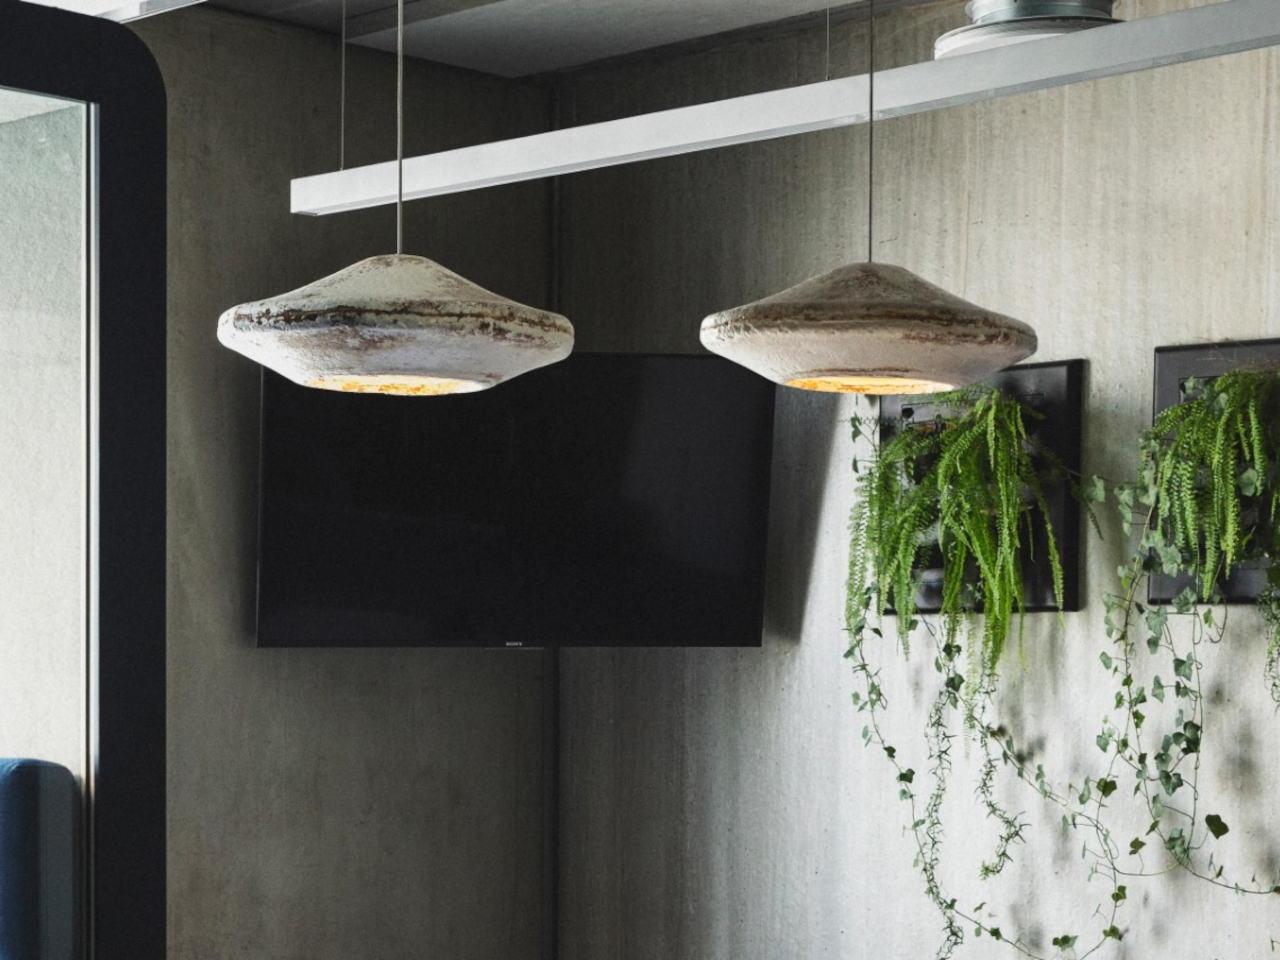
Designers: Myceen
‘B-Wise’ by Myceen is a sustainable lampshade crafted entirely from mycelium. This innovative design grows into its unique shape in just 5 weeks, using organic waste materials. With a rugged appearance reminiscent of leather, mycelium offers eco-friendly properties and versatile applications, even extending to architecture and space exploration.
• Moisture Sensitivity
Mycelium-based materials are susceptible to moisture, which can impact their structural strength and lifespan, potentially leading to product degradation if not stored correctly.
• Limited Applications
Mycelium-based products have limited applications and may not be suitable for items exposed to high temperatures or humidity. Furthermore, mycelium is yet to gain widespread market acceptance.
Designer: RMIT University
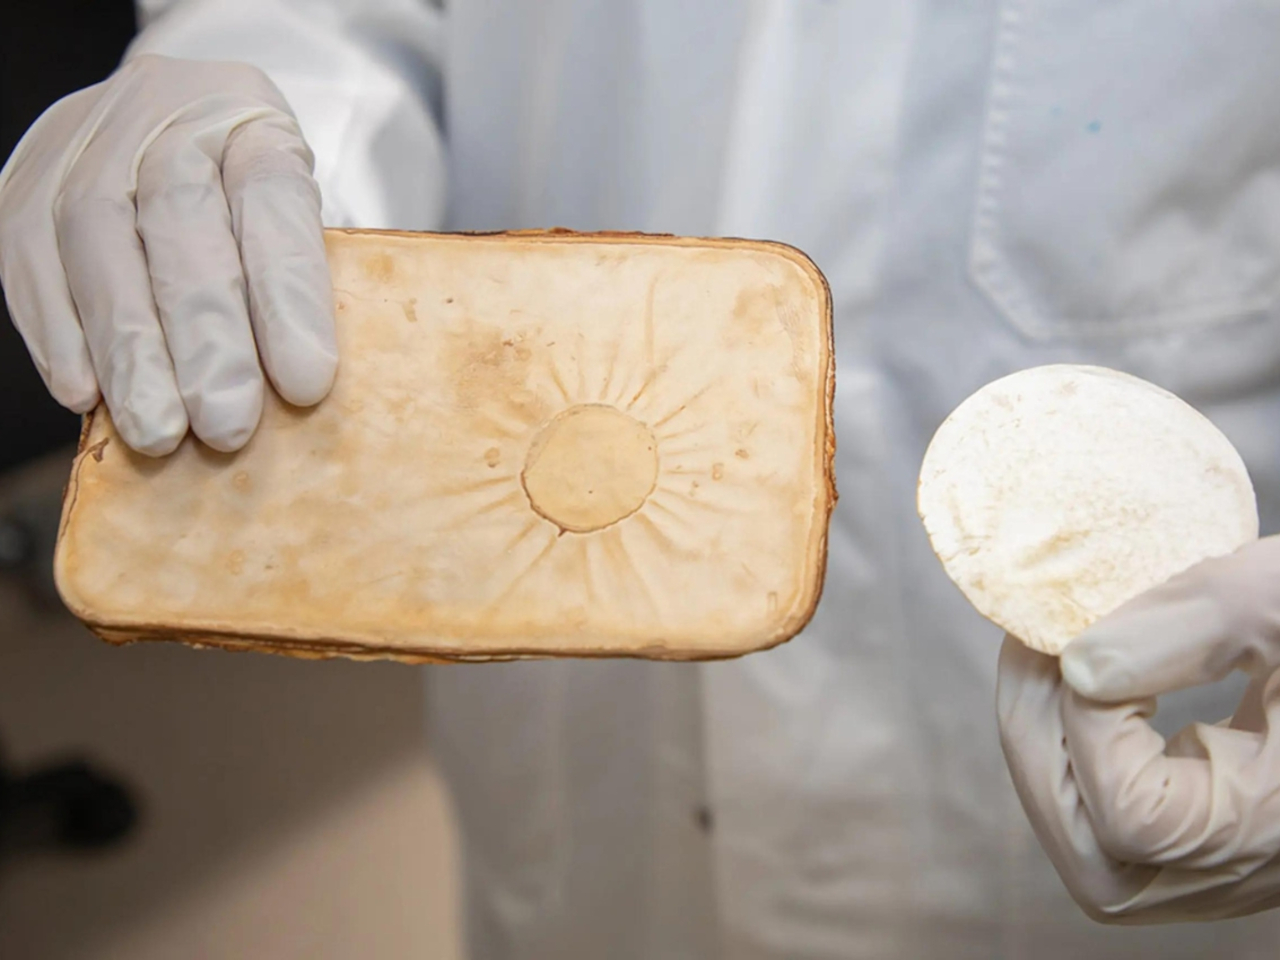
Fungi could become a game-changer in fireproofing homes. Researchers at a Melbourne university have developed fire-retardant mycelium sheets that offer insulation and can be applied over flammable surfaces. These bioengineered sheets, derived from fungi, are both sustainable and environmentally friendly, emitting natural water and carbon dioxide. The aim is to enhance fire safety in buildings while minimizing environmental impact.
• Costly Material
The costs associated with research and development contribute to the expense of producing mycelium-based products, making them economically unfeasible for certain applications.
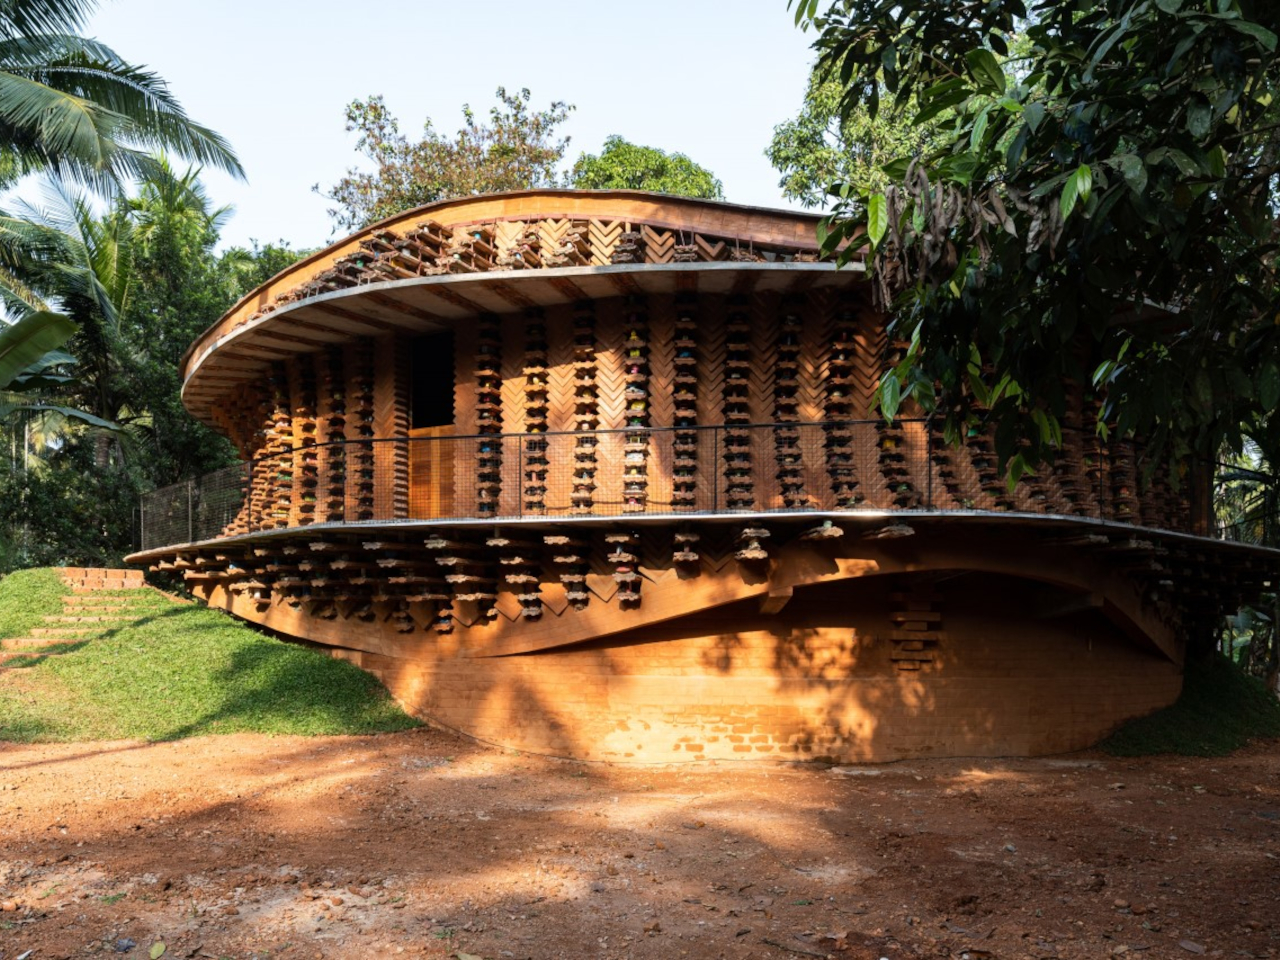
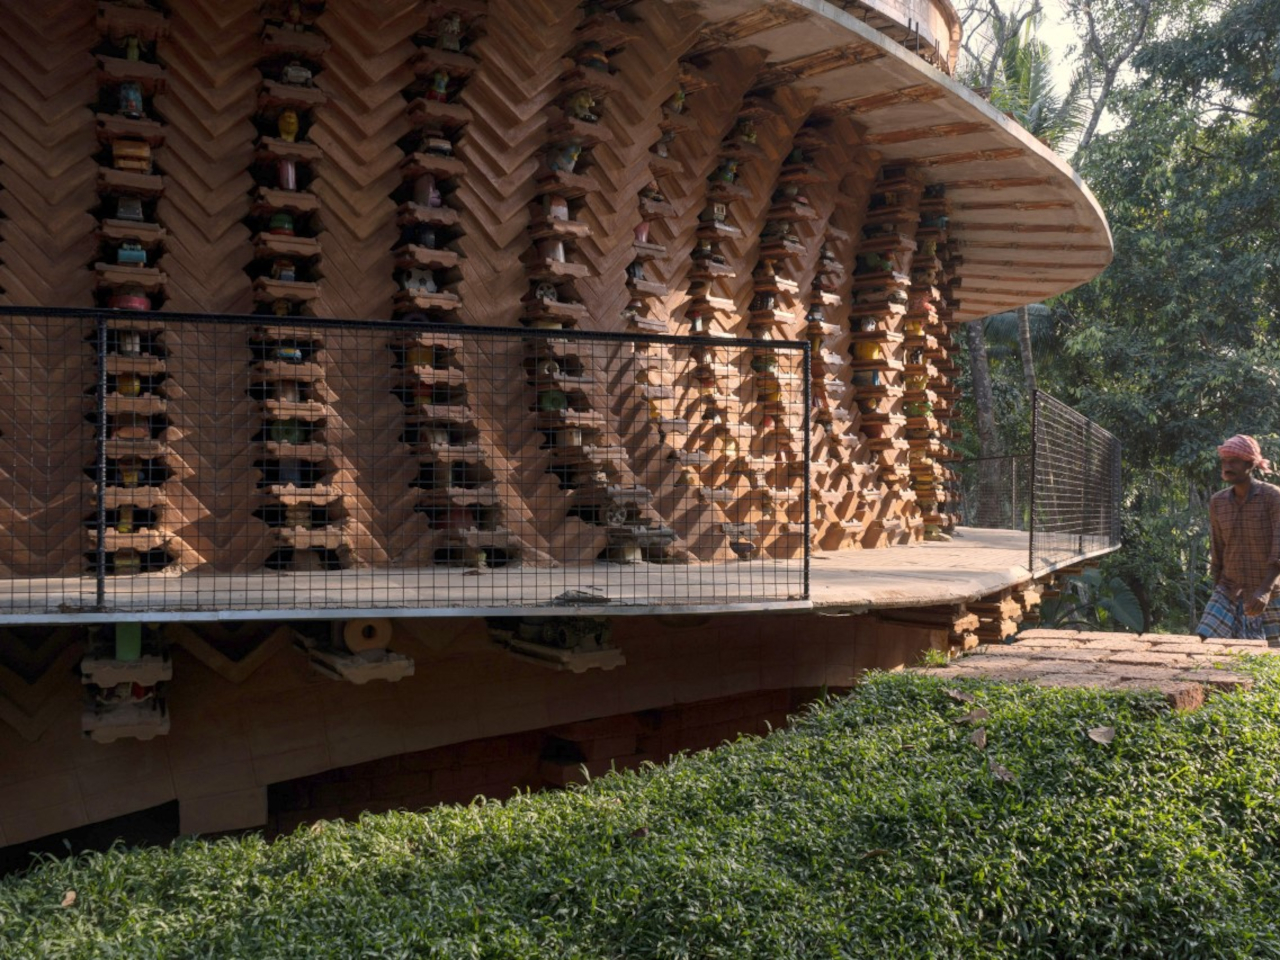
Why is Mycelium becoming a popular construction material?
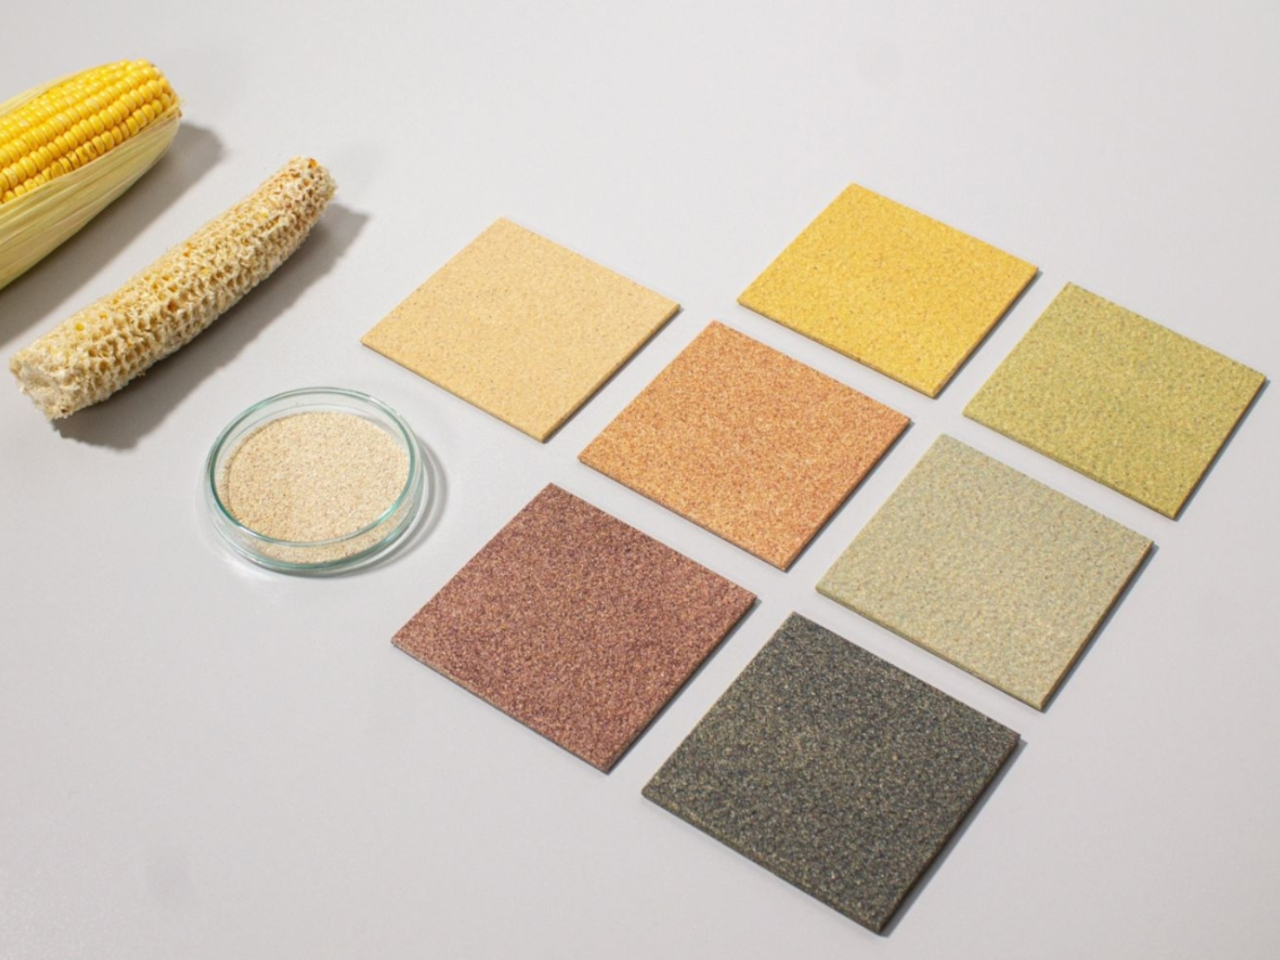
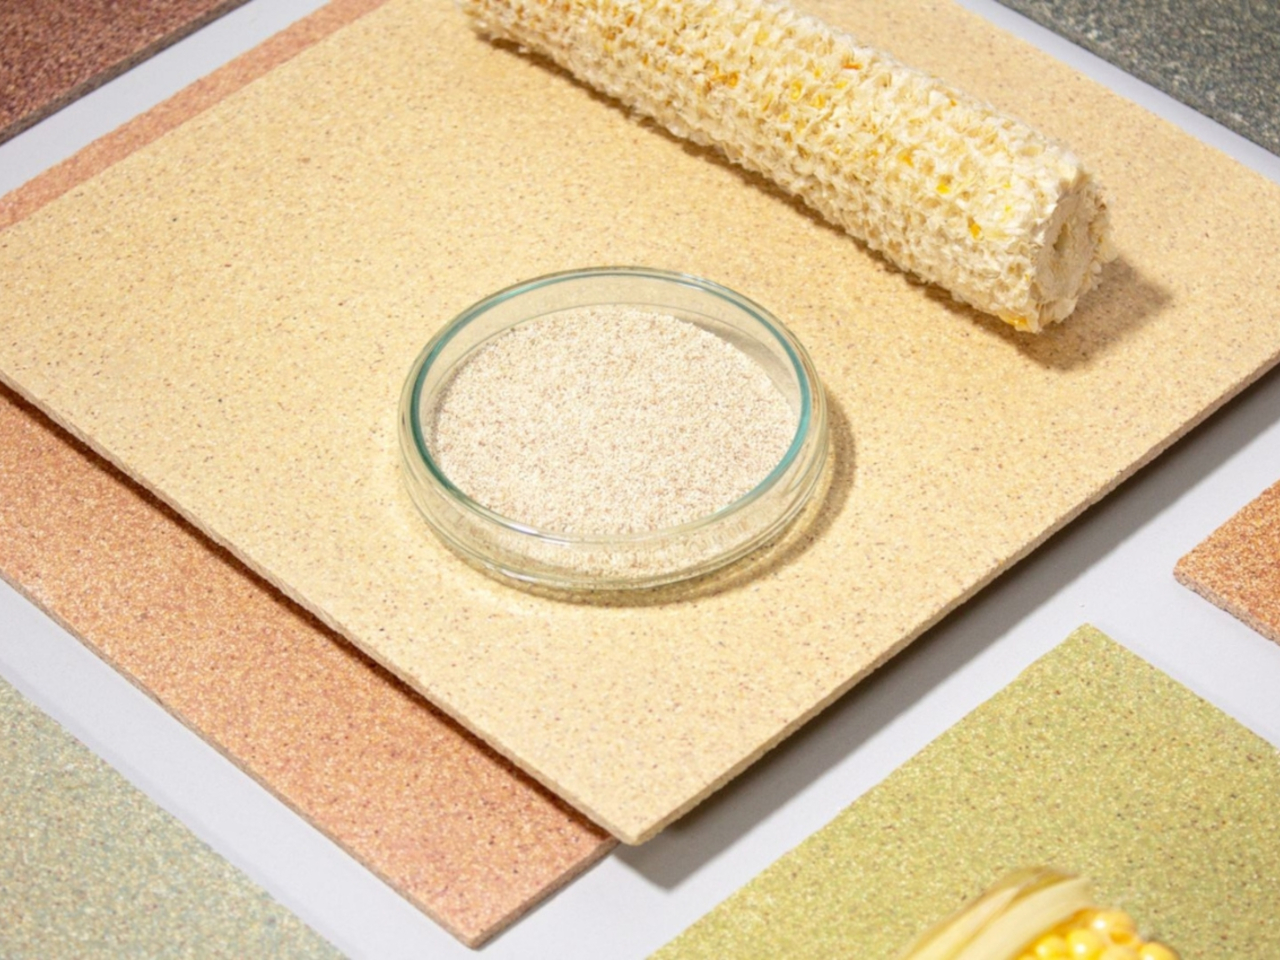
Mycelium-based building materials are crafted via myco-composite manufacturing which blends mycelium with agricultural waste such as straw, sawdust, or hemp. This mixture is poured into molds and left to settle for several days. During this time, the mycelium digests the agricultural waste, bonding with it to create a sturdy, cohesive material. Once fully grown and solidified, the material is removed from the molds, and ready for construction use.
Although this eco-friendly solution is still under study for its strength and durability compared to conventional options like bricks, mycelium finds applications in insulation, soundproofing, and lightweight construction blocks.
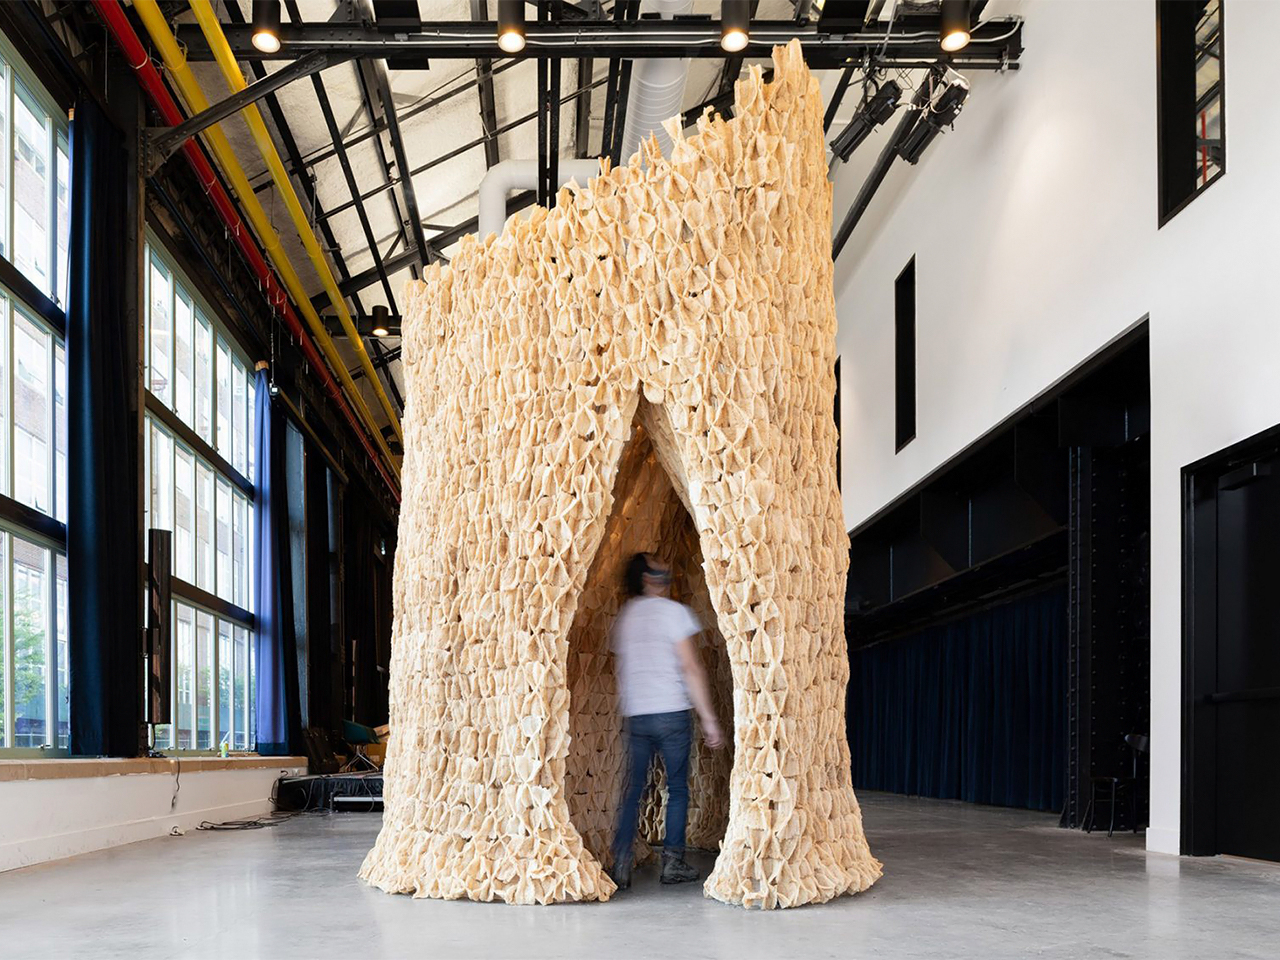
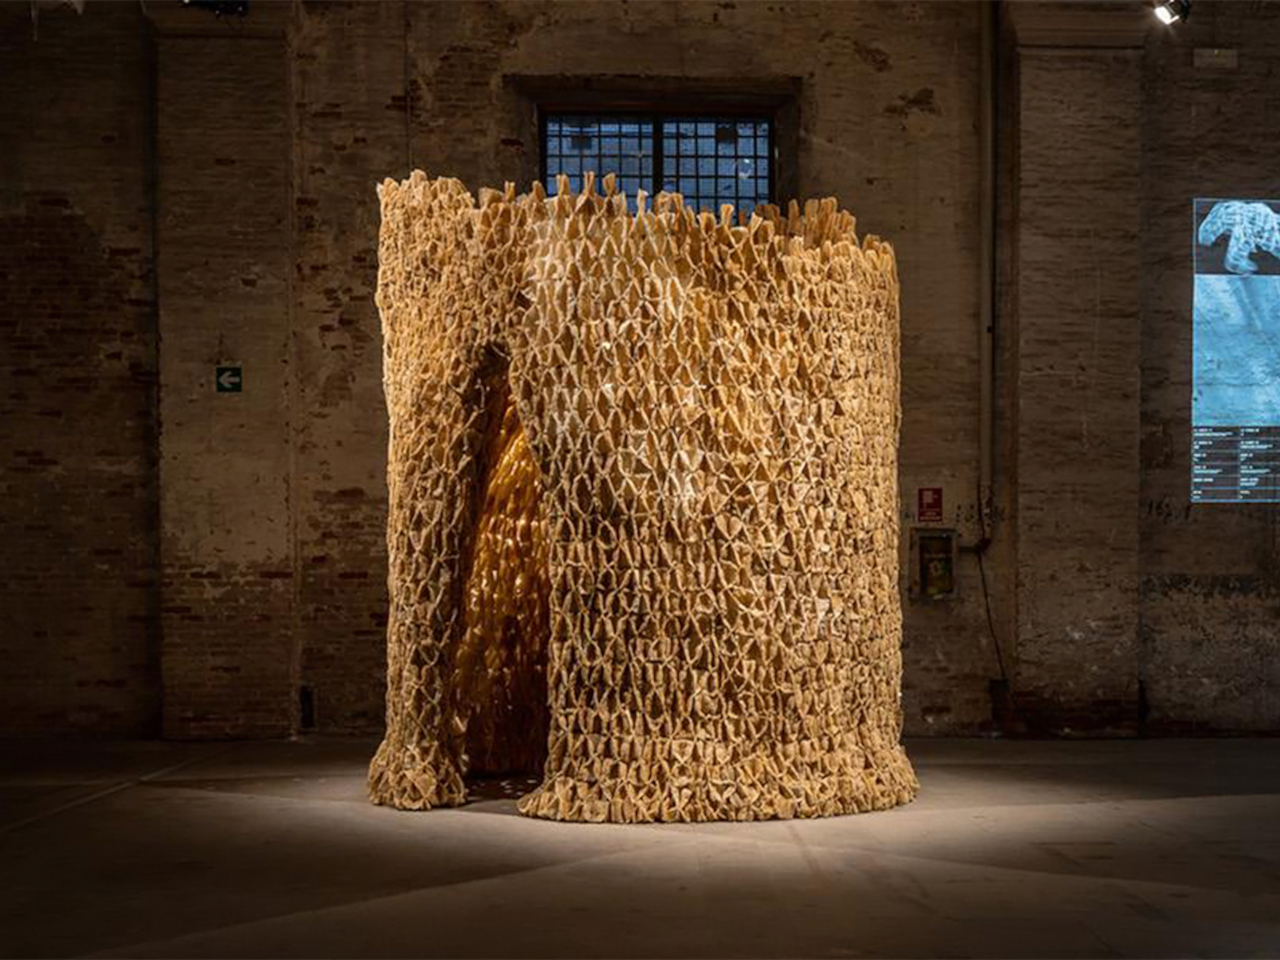
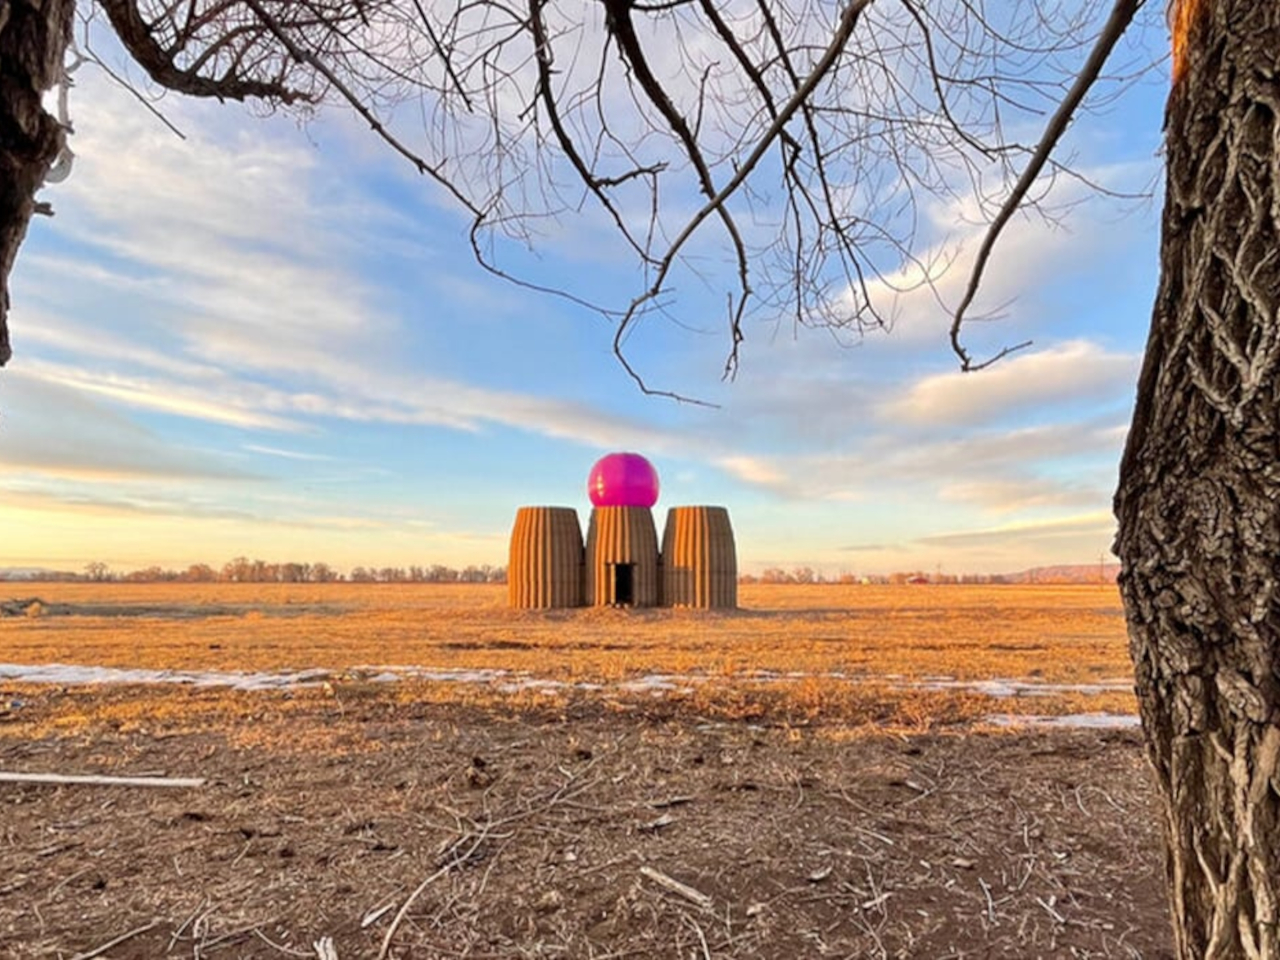
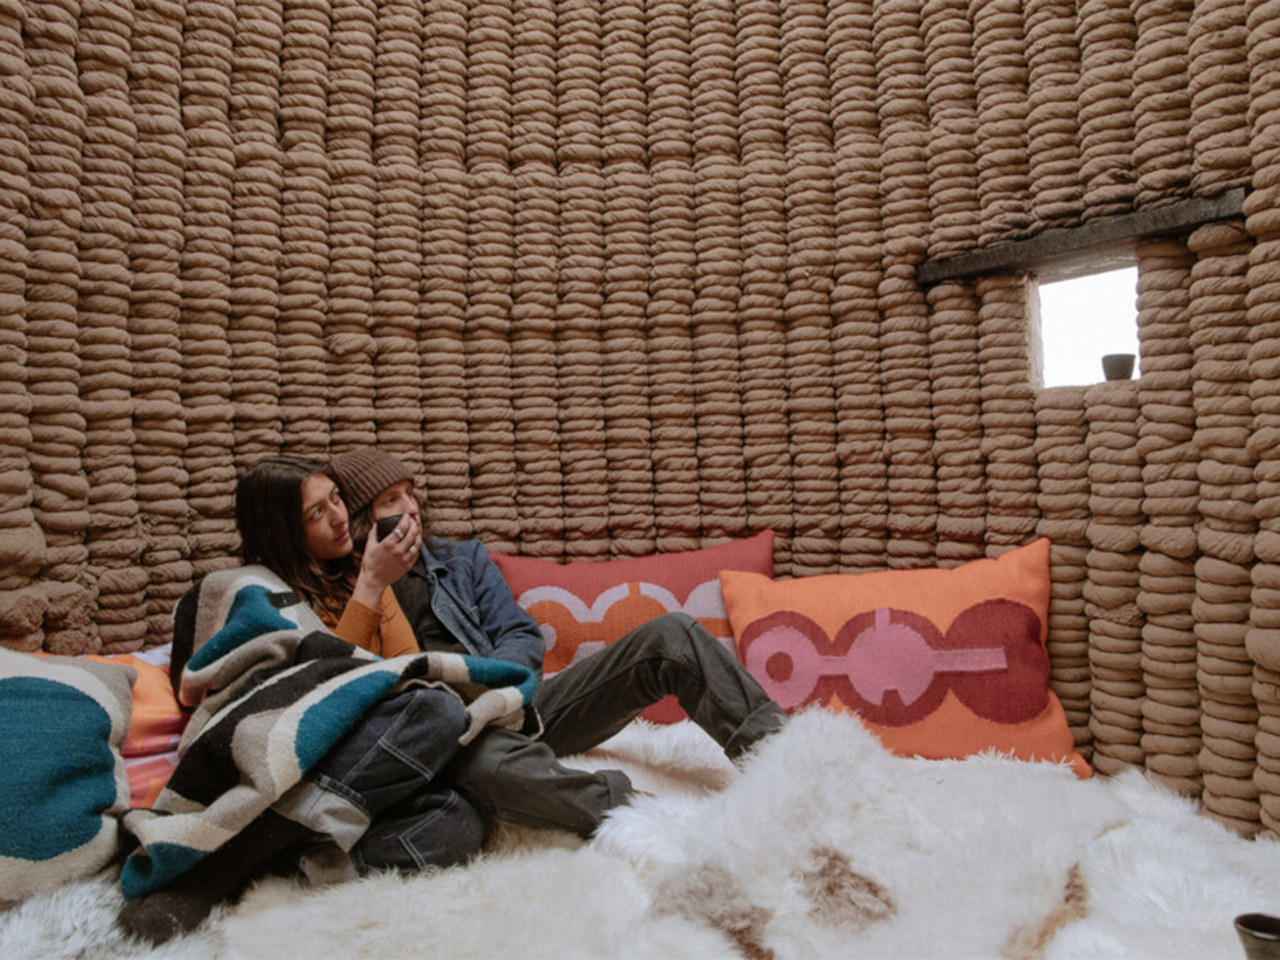
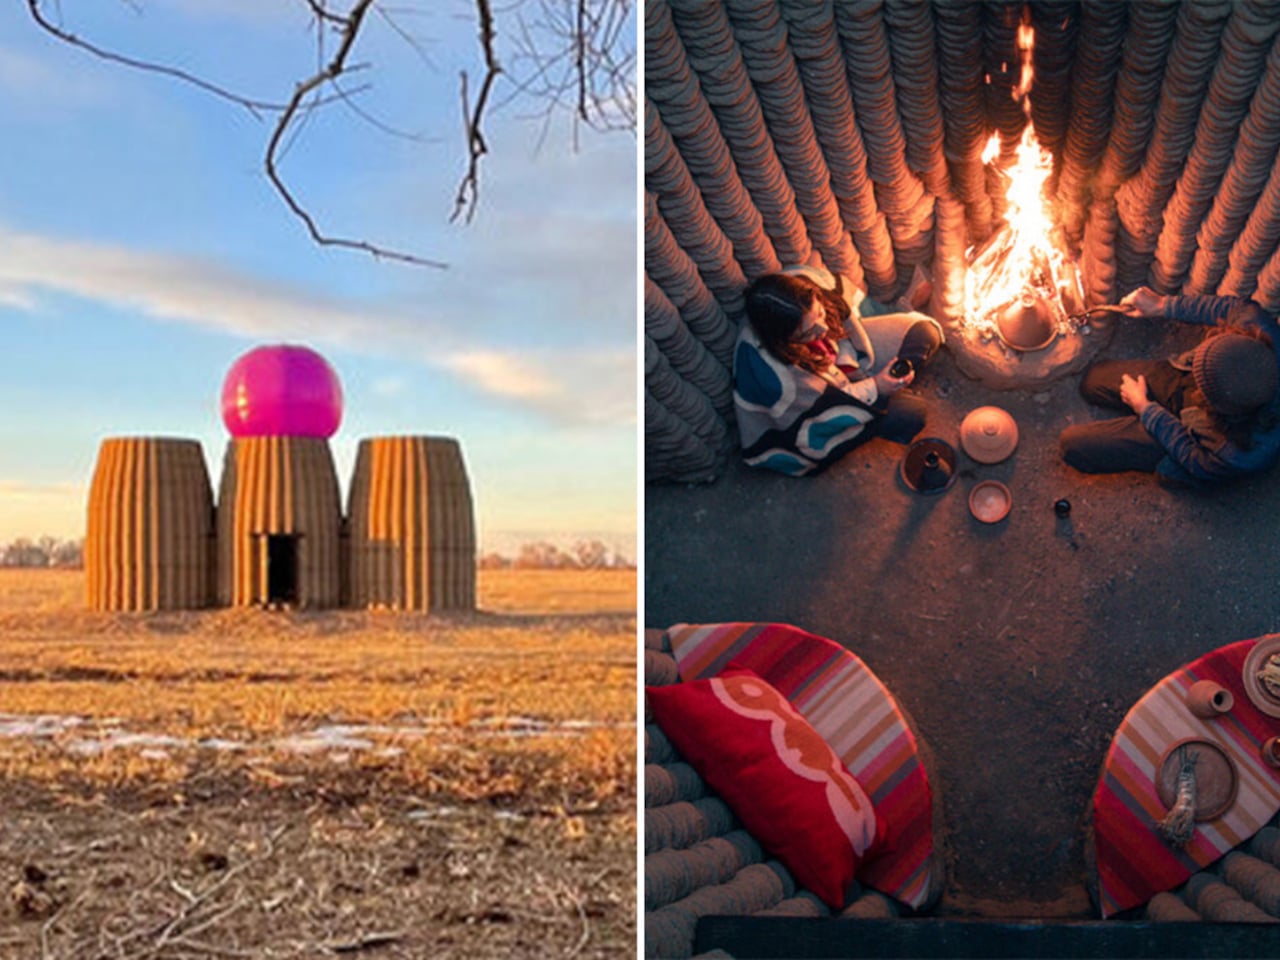
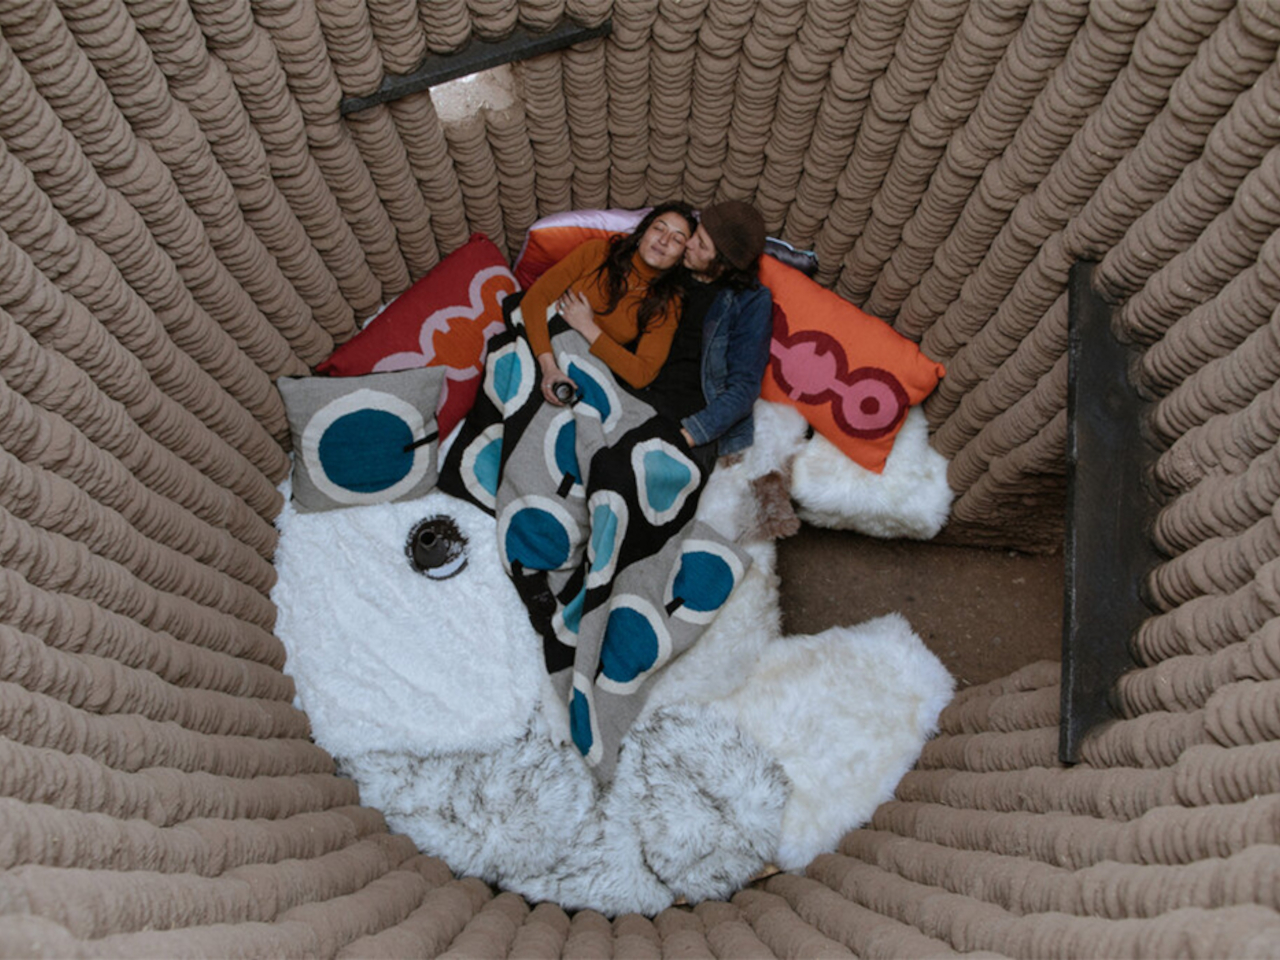
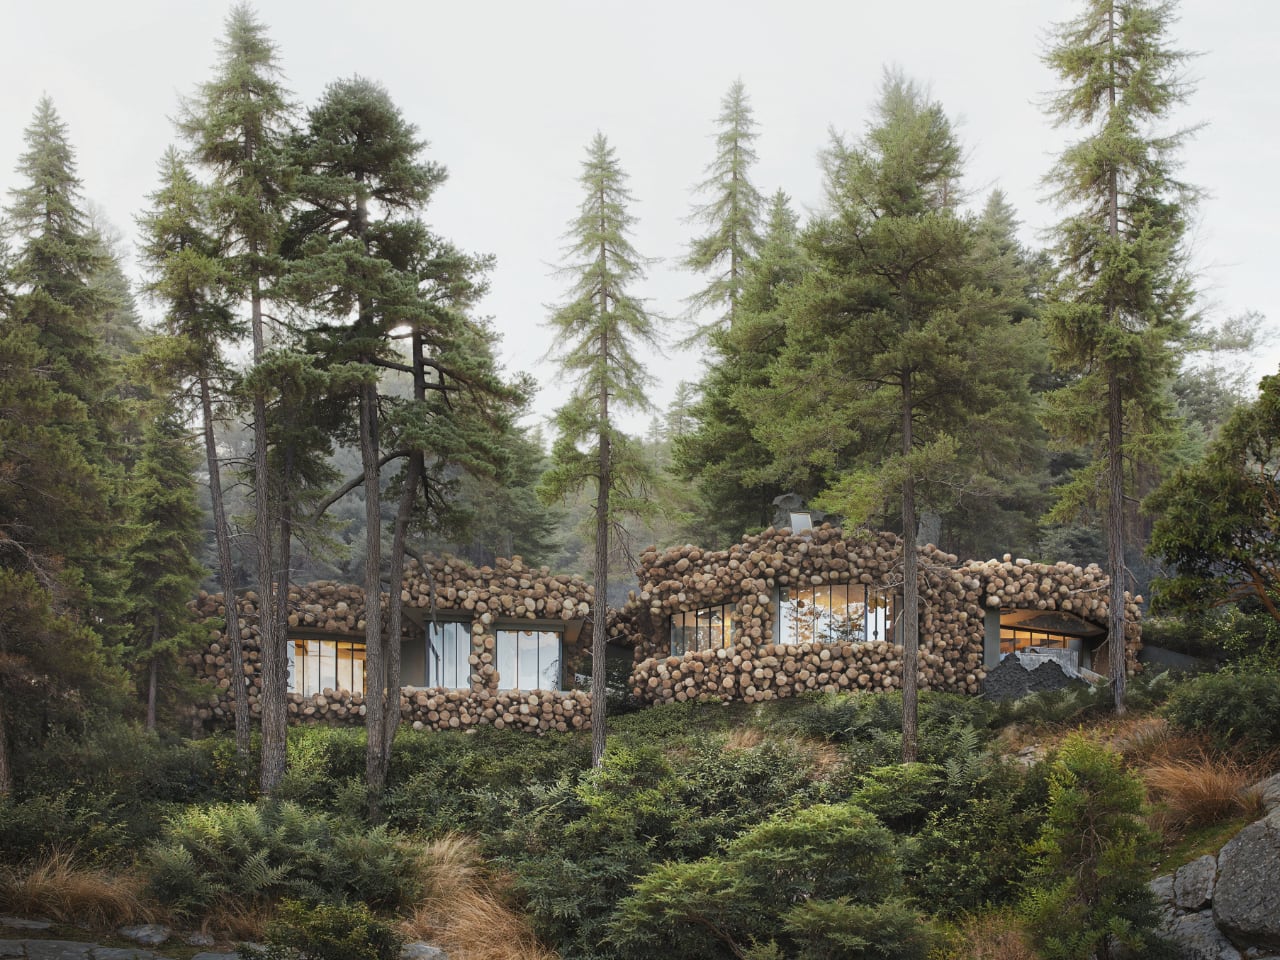
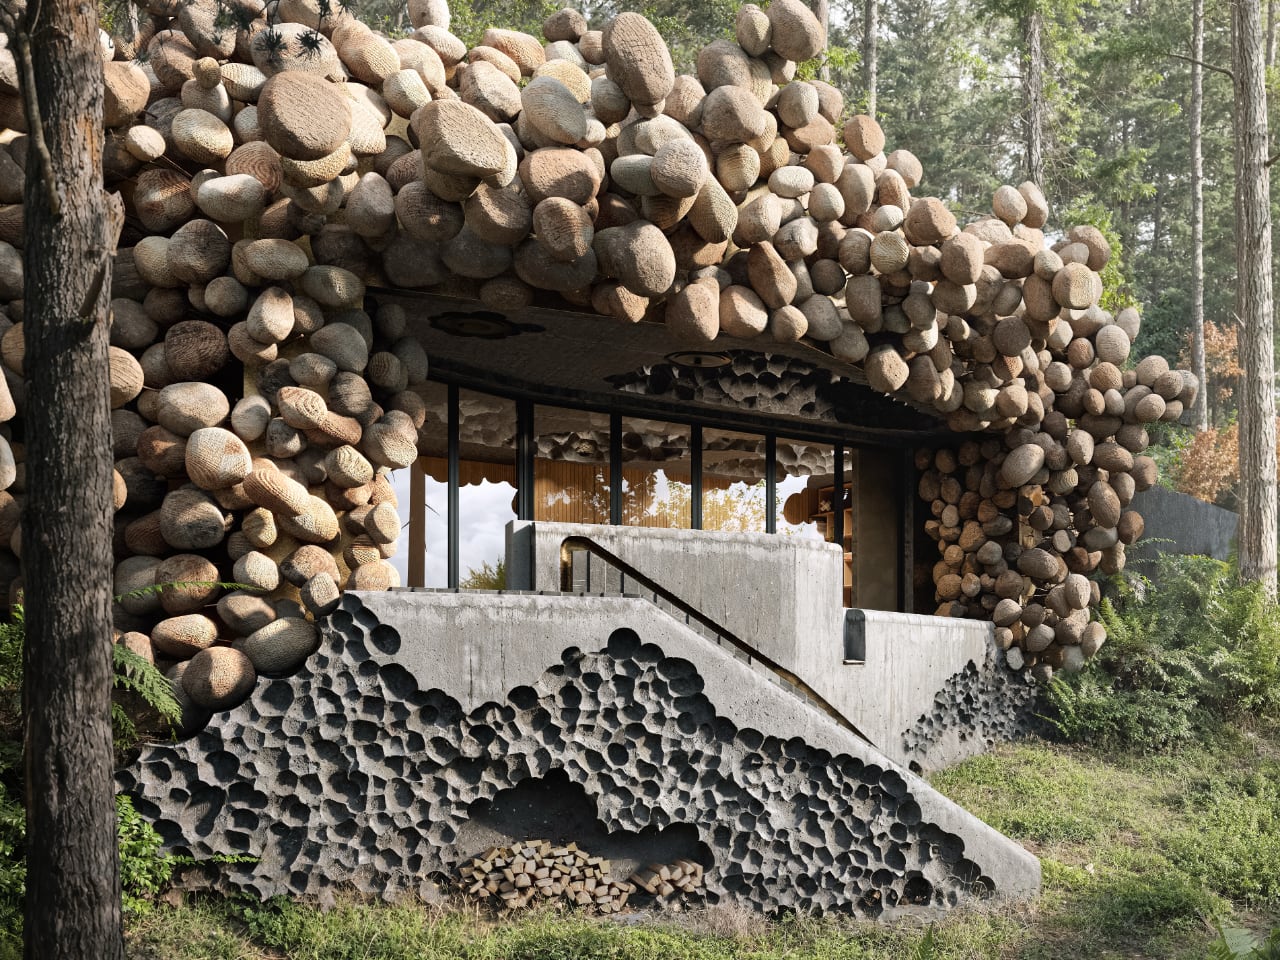
Designer: The Living
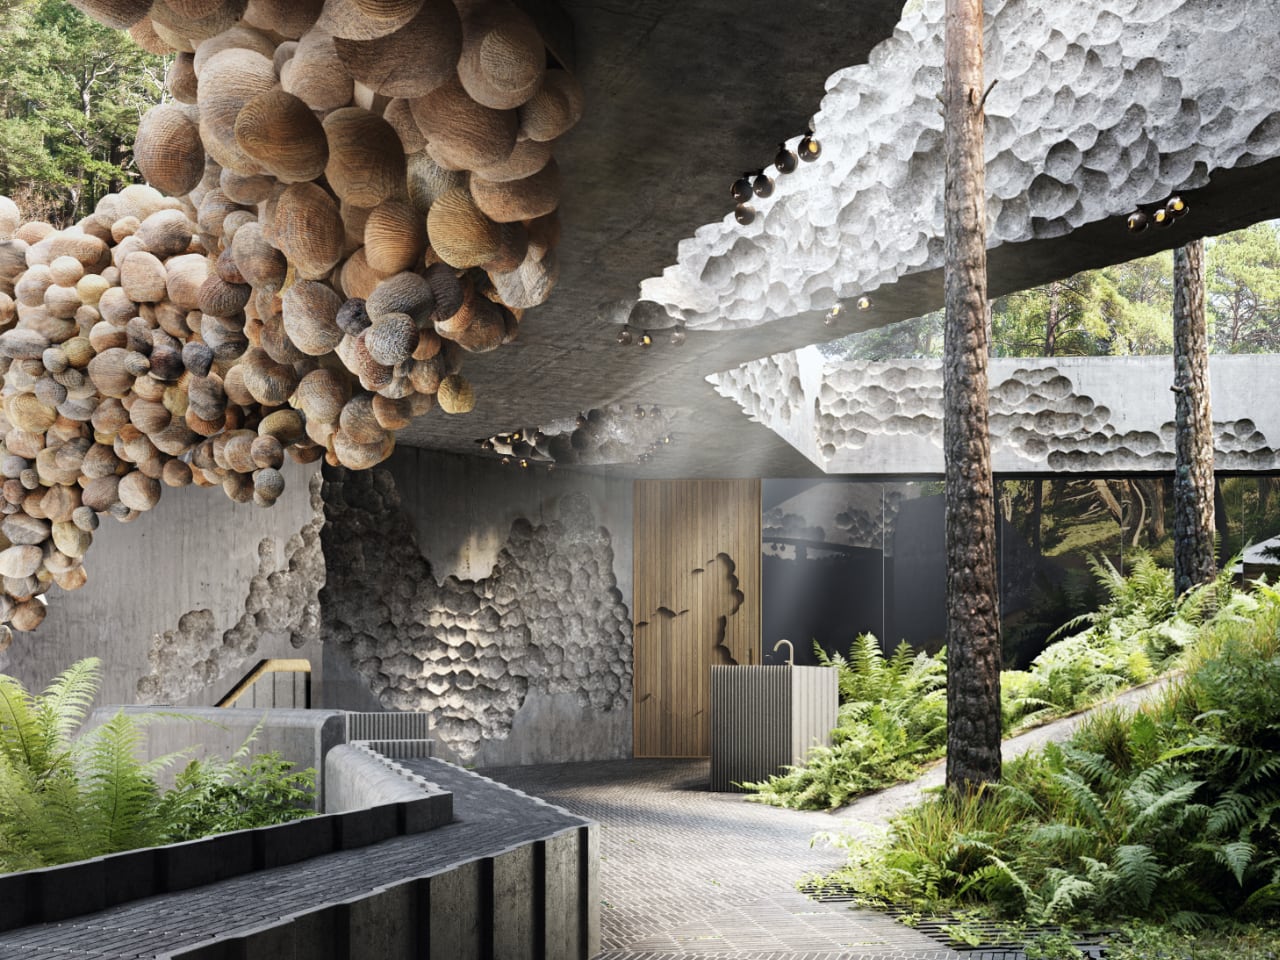
“Alive” is a groundbreaking architectural prototype by The Living. This innovative structure utilizes probiotic materials, showcasing the future of sustainable architecture. Crafted from mycelium, the vegetative part of mushrooms, it offers a glimpse into a new era of eco-friendly design. Its organic, porous construction provides a habitat for various microbes while facilitating interaction between humans and microorganisms. Made from renewable luffa fibers, this prototype embodies sustainability and adaptability. “Alive” is not just a concept for the future – it’s a practical solution for creating healthier, more environmentally friendly spaces today.
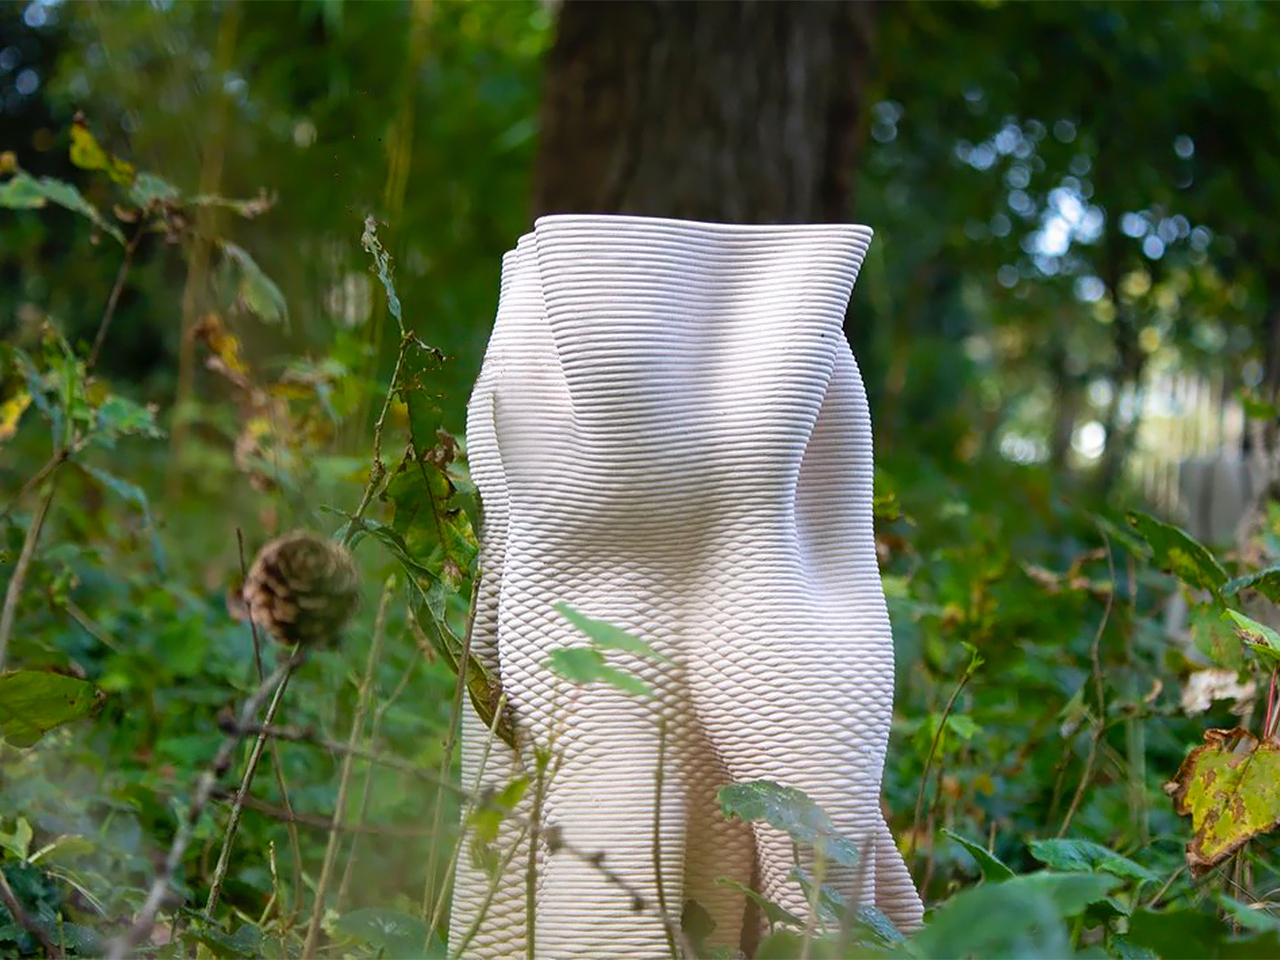
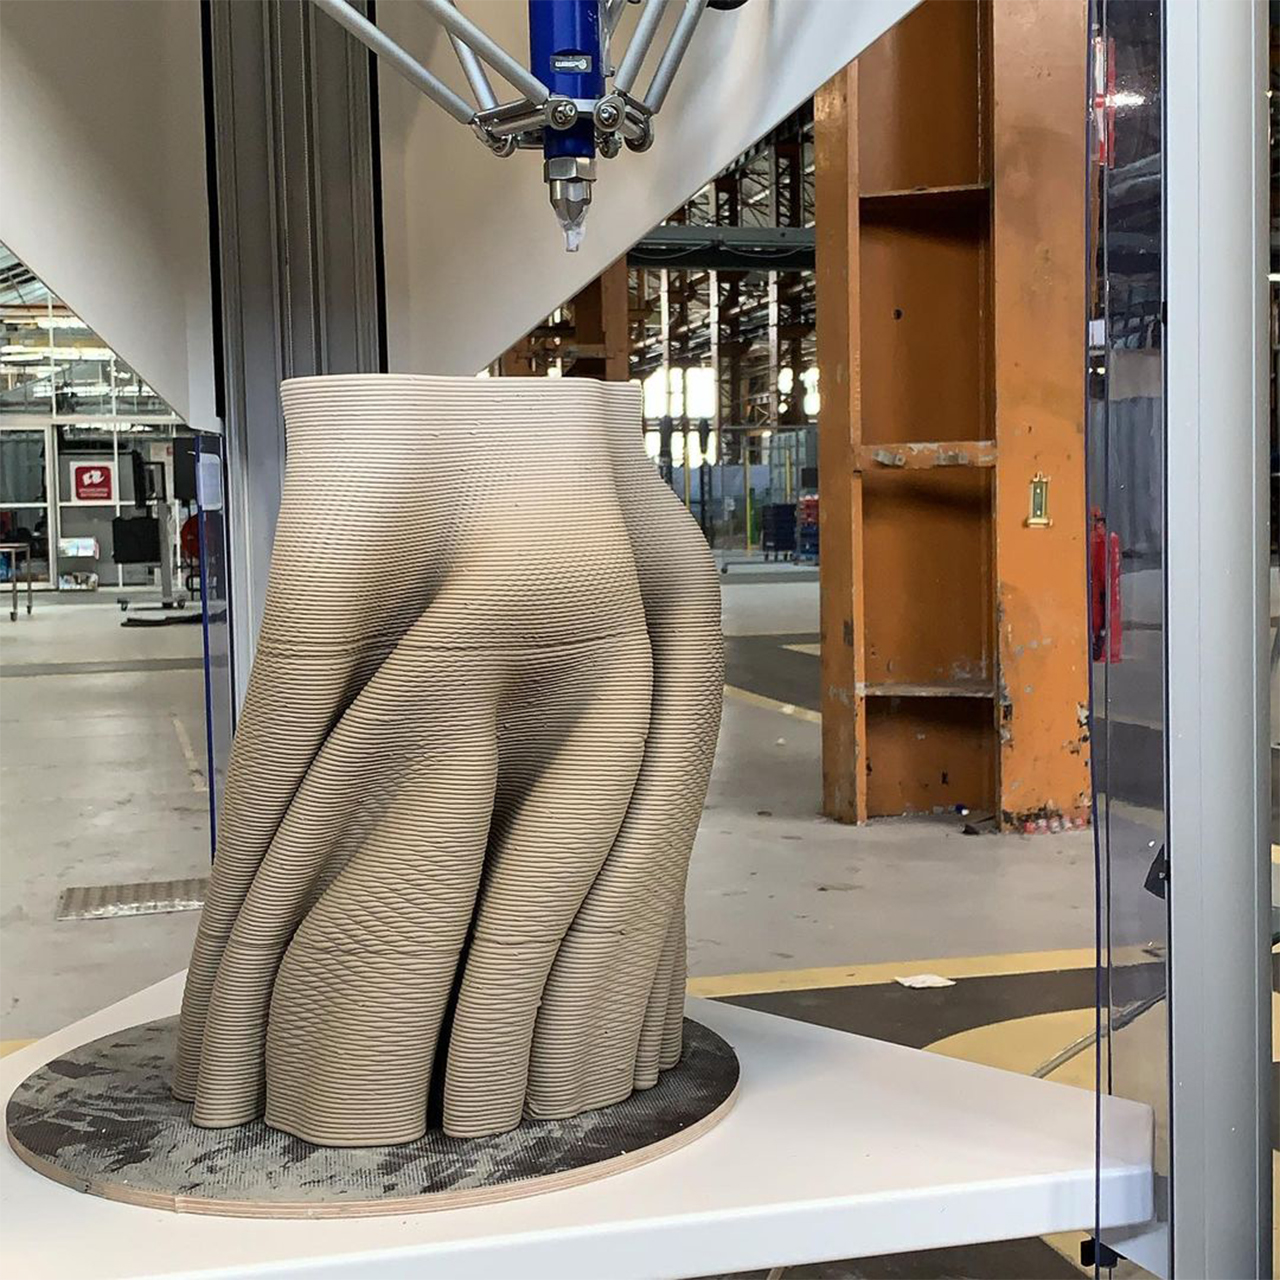
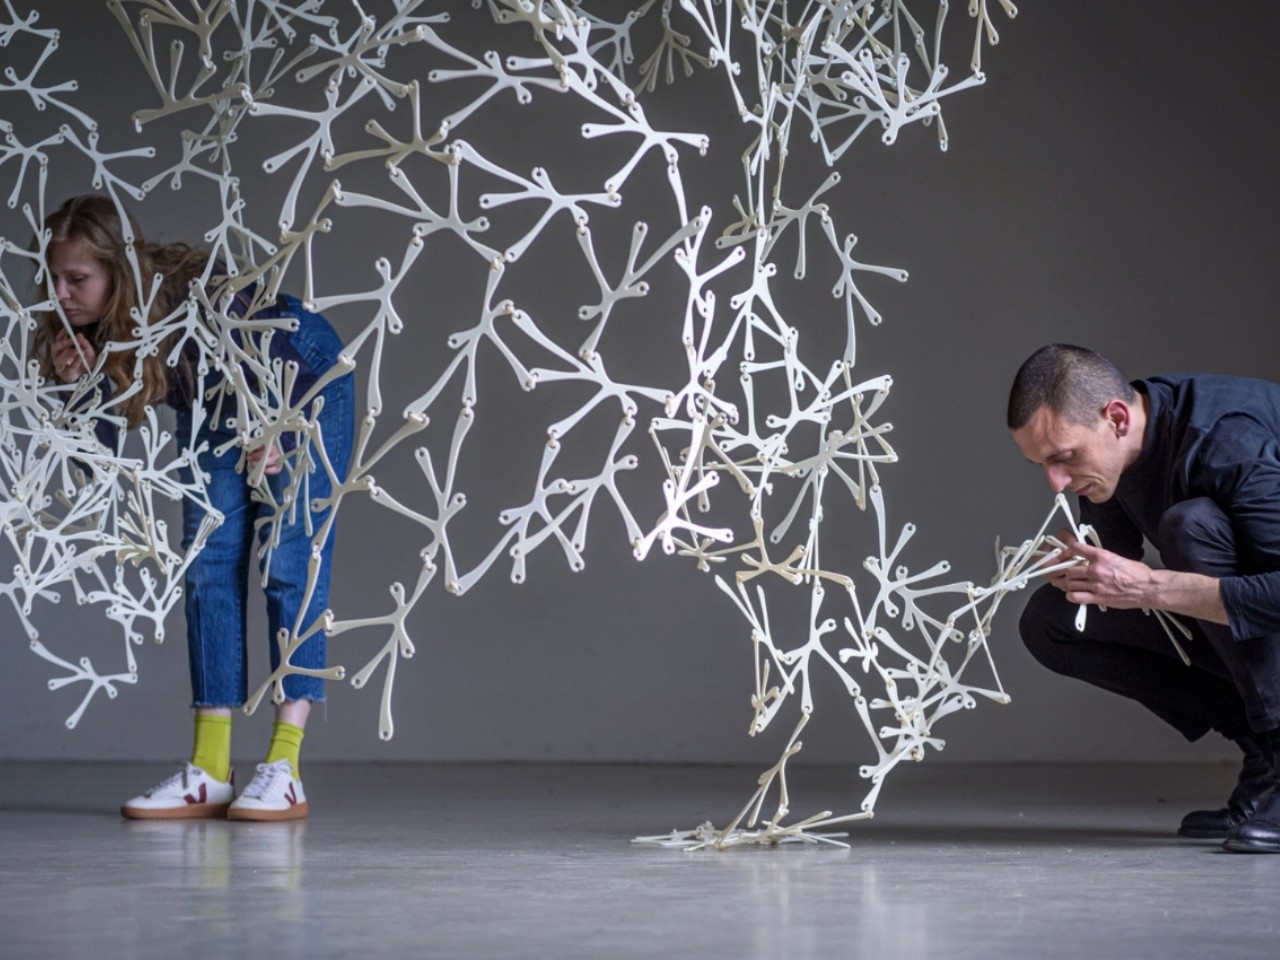
Designer: Pierre Oskam and Max Latour
Urban Reef is a 3D-printed mycelium-based structure designed to enhance biodiversity in cities. Developed by a Netherlands-based company, this innovative project aims to stimulate water circularity and support diverse ecosystems within urban environments. Utilizing porous materials like ceramics and mycelium composites, Urban Reef creates an ideal habitat for fungi and vegetation to thrive, promoting sustainable urban ecosystems without human intervention.
The post Why is Mycelium Nature’s Sustainable Hero in Building Materials? first appeared on Yanko Design.