Magnus Carlsen banging the table. That image alone tells you everything about what Gukesh Dommaraju means to the world of chess right now. At Norway Chess in June 2025, the reigning World Champion, a 19-year-old from Chennai, sat across from the greatest player the game has ever seen and dismantled him in classical format. Carlsen, a man who has made a career out of psychological composure, was so rattled he slapped the table before collecting himself and patting Gukesh on the back. That moment, quiet and electric all at once, was the clearest signal yet that the throne had genuinely changed hands, and that its new occupant had no intention of warming it for anyone else.
Titan was paying attention. The Indian watchmaker’s “Titan of the Year” platform exists precisely to freeze moments like this in metal and mineral, and for 2026 they had an obvious, irresistible choice. The result is the Grandmaster X Gukesh Dommaraju Special Edition, a 500-piece limited run that takes the geometry, hierarchy, and quiet intensity of chess and presses it into one of the most thoughtfully designed Indian watches in recent memory.
Designer: Titan
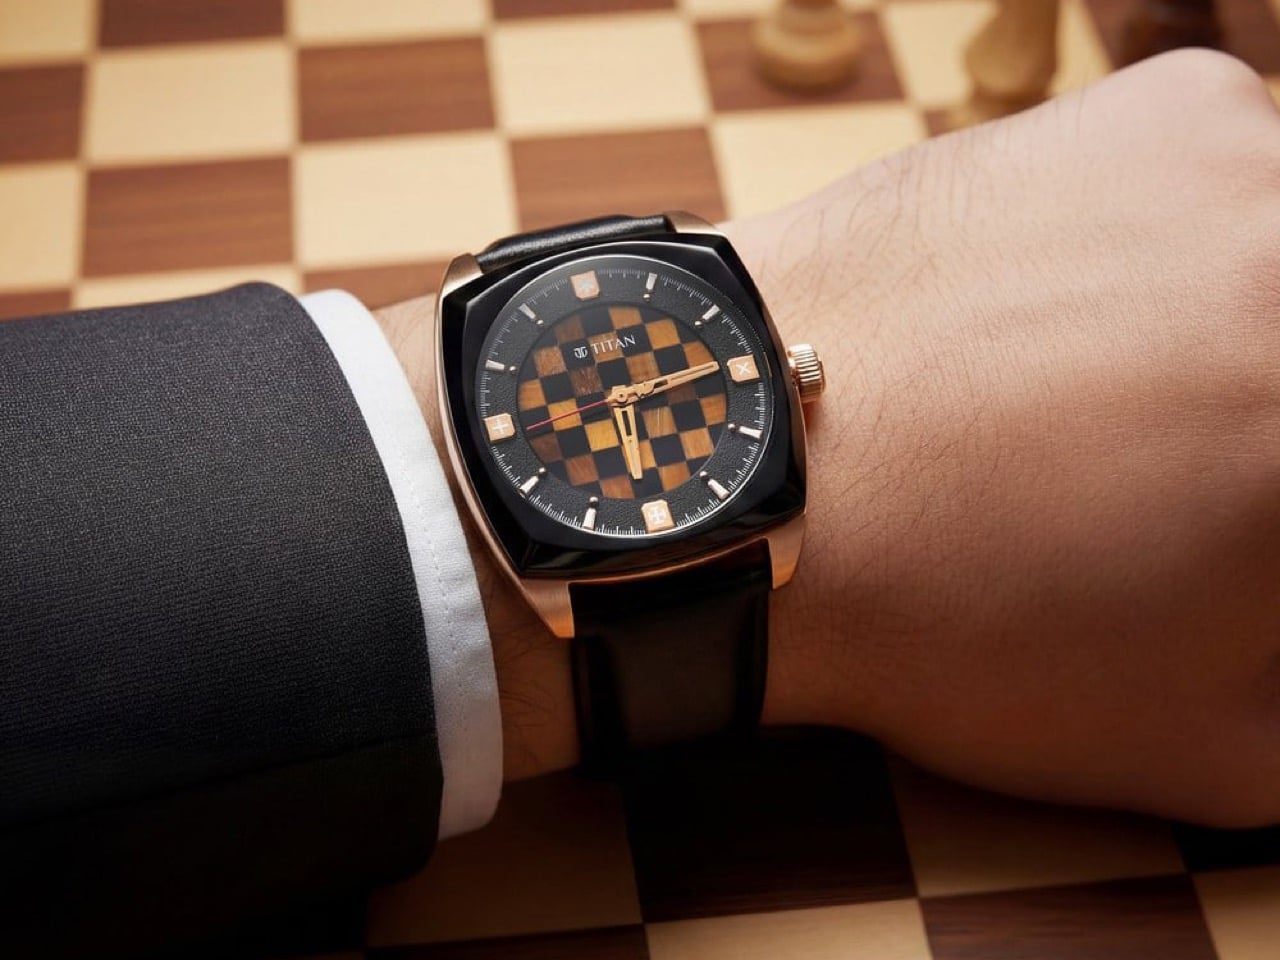
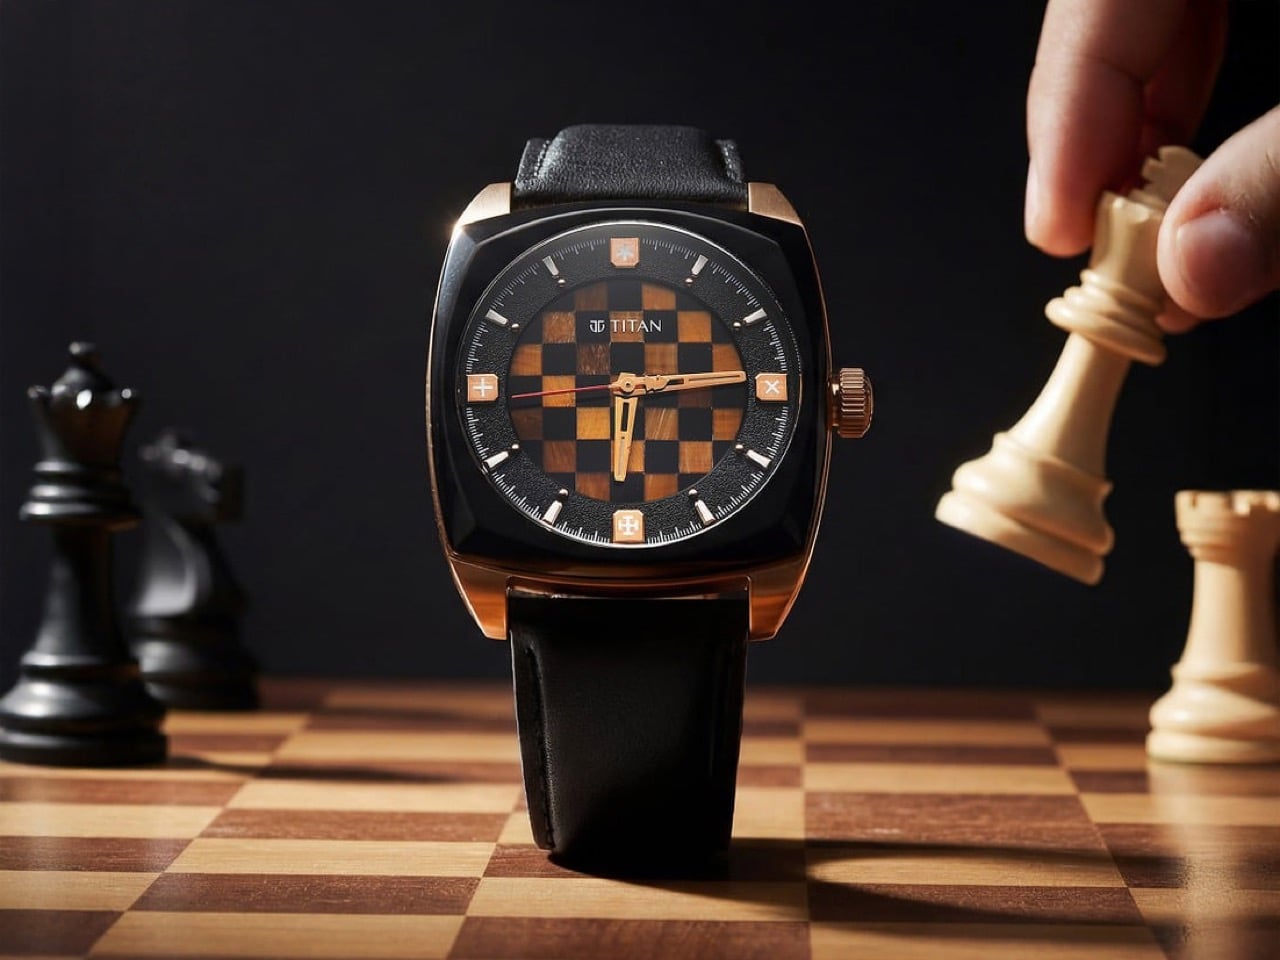
The centerpiece of the watch, quite literally, is the dial. Titan’s design team went well beyond printing a chessboard pattern on a disc and calling it a day. The dial is a hand-crafted stone marquetry composition in tiger eye and black agate, two minerals with very different personalities that together produce the warm amber-and-dark-grid texture of a real wooden chess board. Closer inspection rewards patience, and the design team clearly understood that a chess player’s watch should reveal itself the same way a brilliant move does: slowly, deliberately, with growing appreciation.
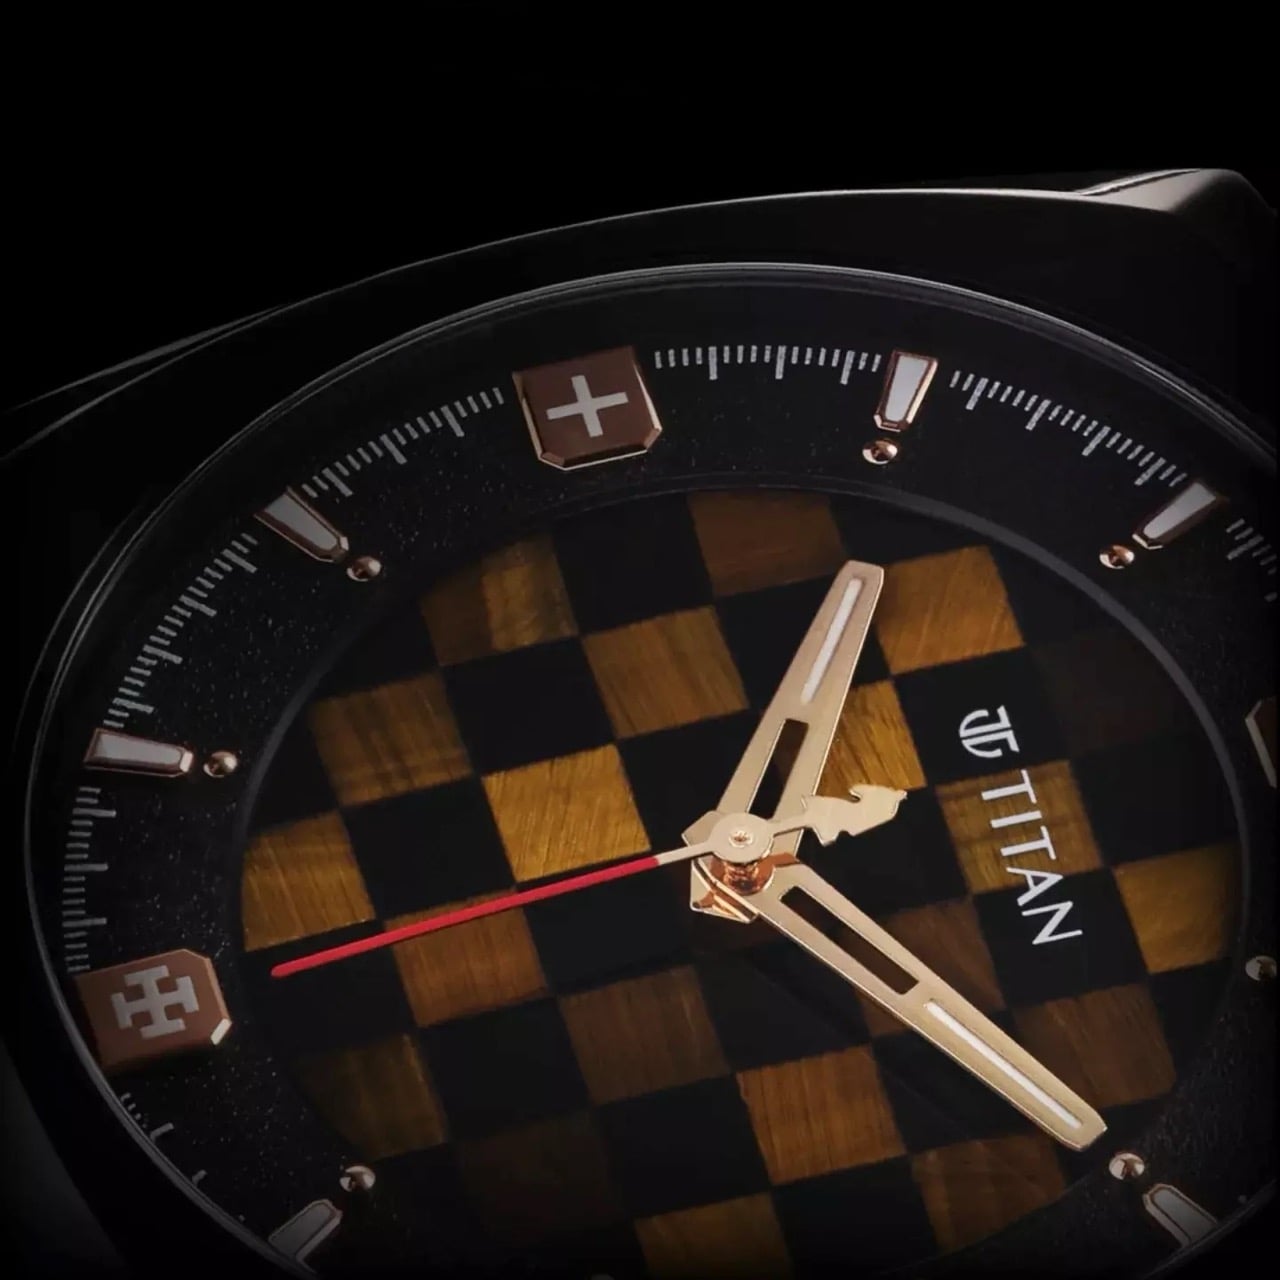
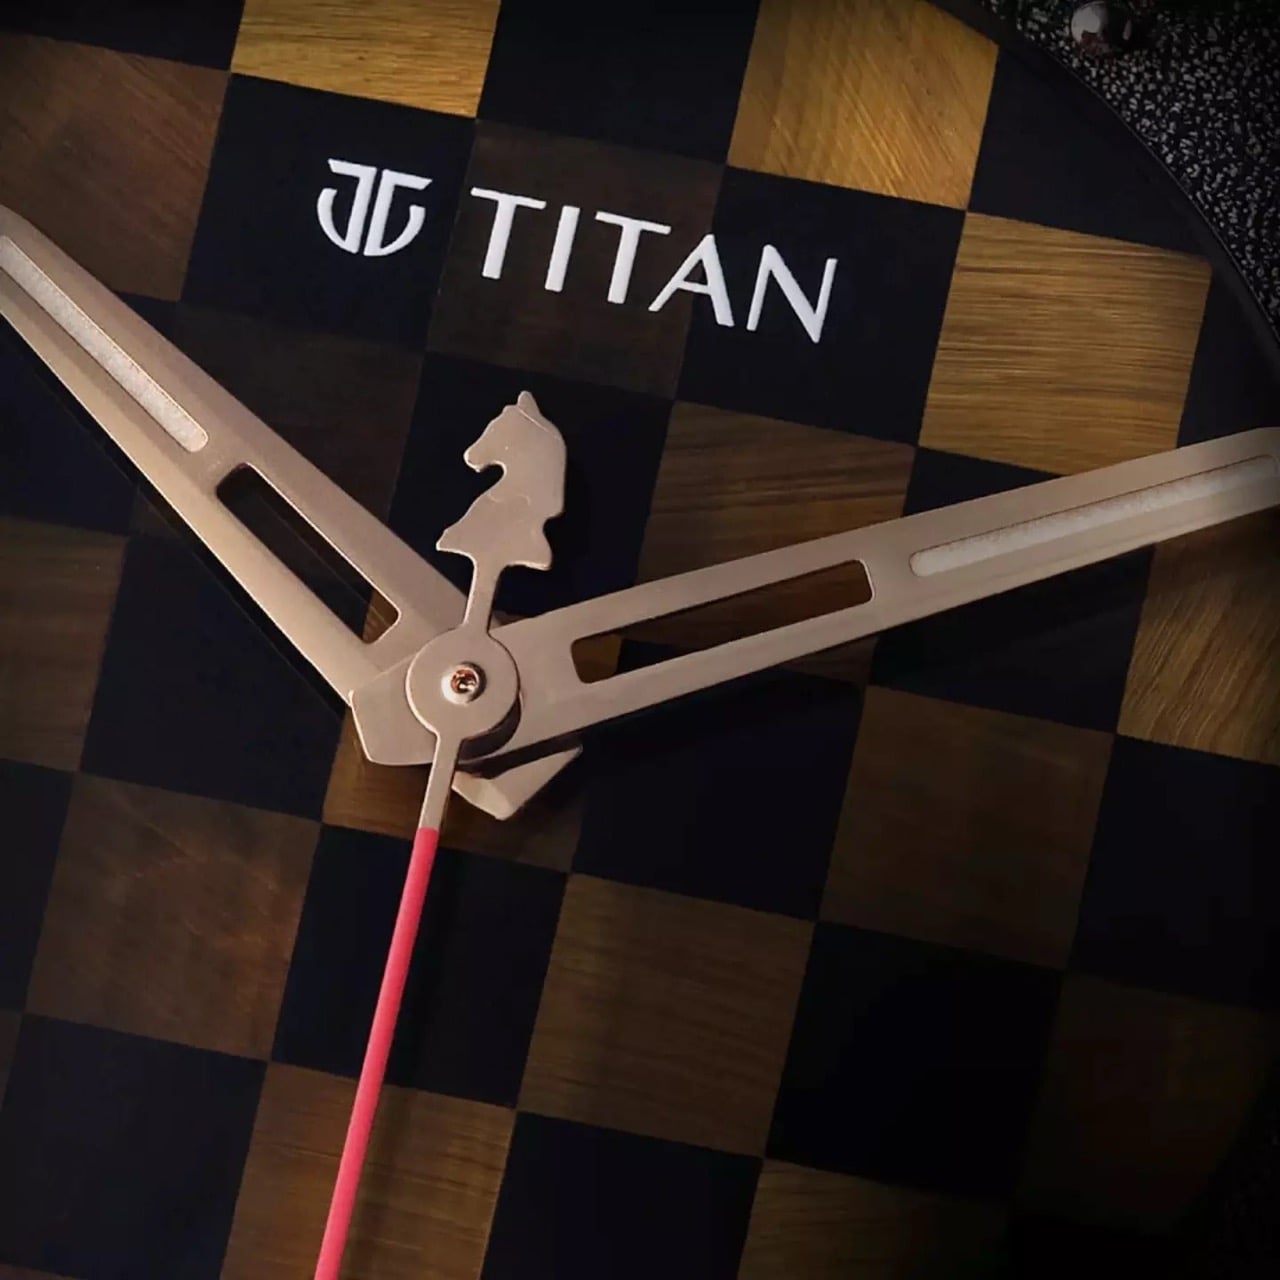
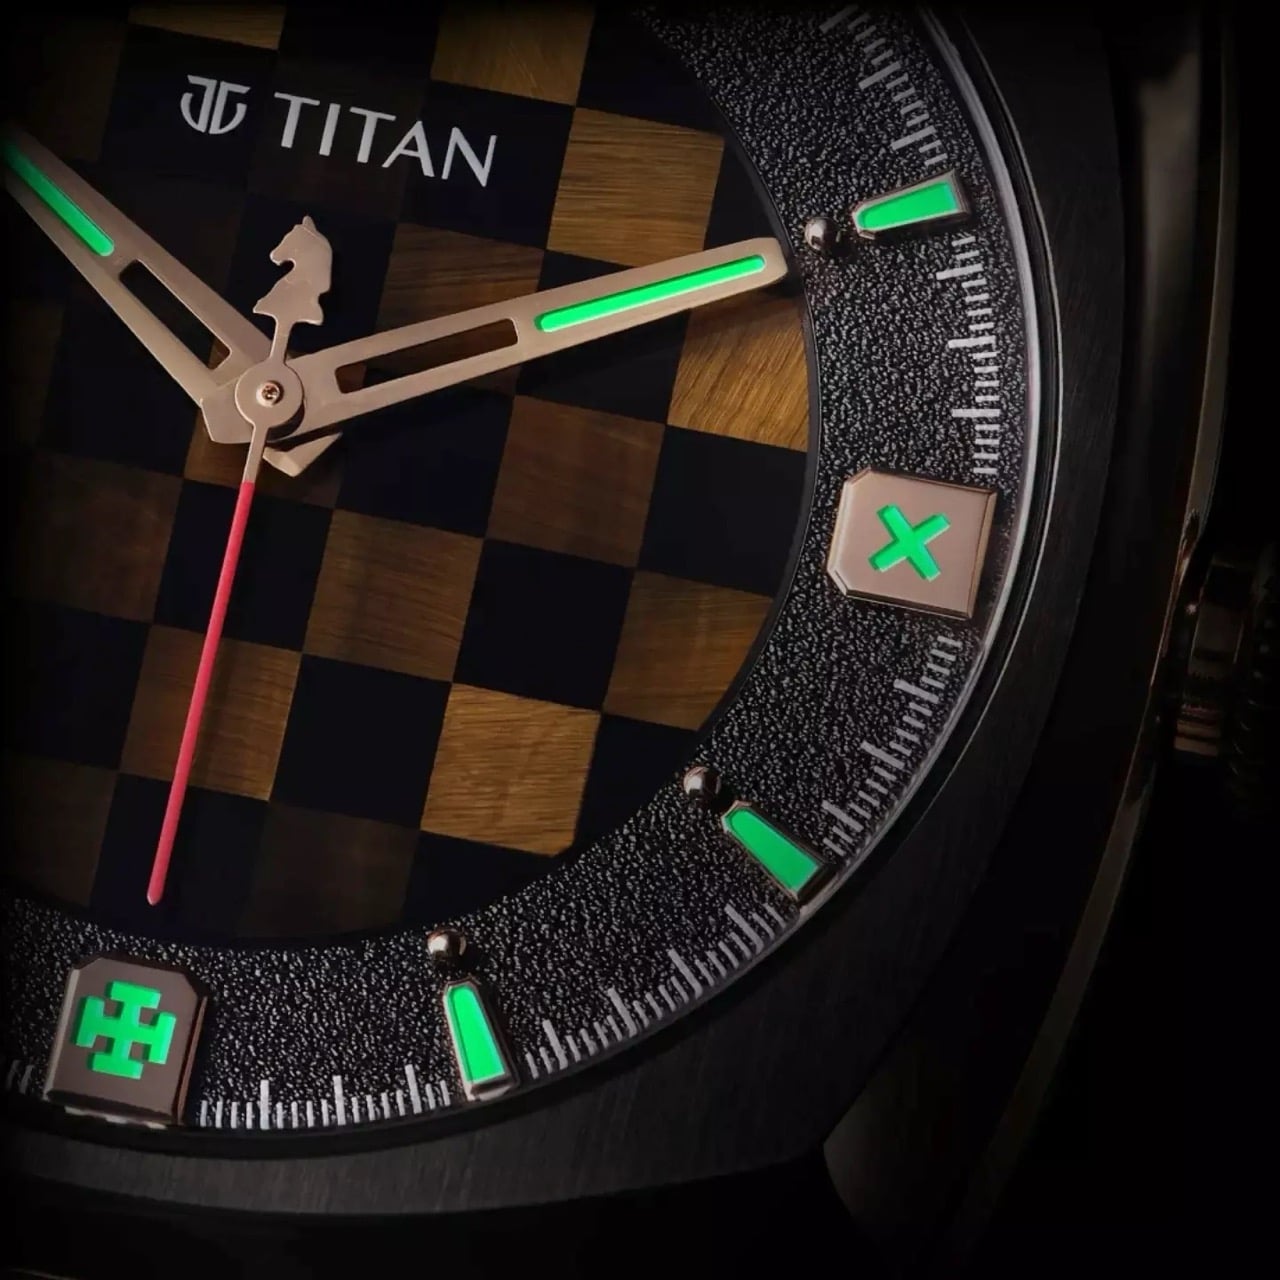
The hour indices follow the movement logic of chess pieces. The Queen sits at 12, the Rook at 9, the Bishop at 3, and the King at 6, while the remaining markers take the shape of pawns. The red seconds hand carries a Knight counterpoise, a nod to Gukesh’s favorite piece on the board. Every glance at the time becomes a subtle re-engagement with the game. Then the lights go out, and the watch transforms entirely. The lume application on this dial is genuinely dramatic. The chess piece indices, rendered as sculpted rose-gold markers with lume fills, blaze a vivid green against the dark textured chapter ring. The hands, with their open-worked cutouts, carry the same green charge.
The case is 316L stainless steel with a rose-gold finish, warm and contemporary without being flashy, much like the man it honors. A sapphire crystal sits over the dial, and the whole thing rides on a calf leather strap with a butterfly clasp. Flip it over and the caseback gives you the real collector’s moment: a rotor embossed with the Grandmaster Knight motif, personally signed by Gukesh, alongside the inscription marking his achievement as the youngest World Chess Champion at 18.
Inside, Titan’s in-house calibre 7A20 automatic movement does the work, 22 jewels, 40-hour power reserve, and entirely built without outsourcing the mechanical heart of the watch. That’s a point of pride for Titan, and rightly so.

The watch ships in specially designed packaging with a personal note from Gukesh, and it’s priced at Rs. 69,995 (roughly $840). With only 500 pieces in existence, each one numbered, this is a watch that exists at the intersection of cultural moment and material craft. Whether you’re a chess obsessive, a collector of Indian design milestones, or someone who appreciates a dial that rewards long, careful attention, the Grandmaster X Gukesh is already playing its own quiet, masterful game.

The post This Titan Grandmaster Watch Hides a Chessboard Inside It, and Only 500 People Can Own One first appeared on Yanko Design.