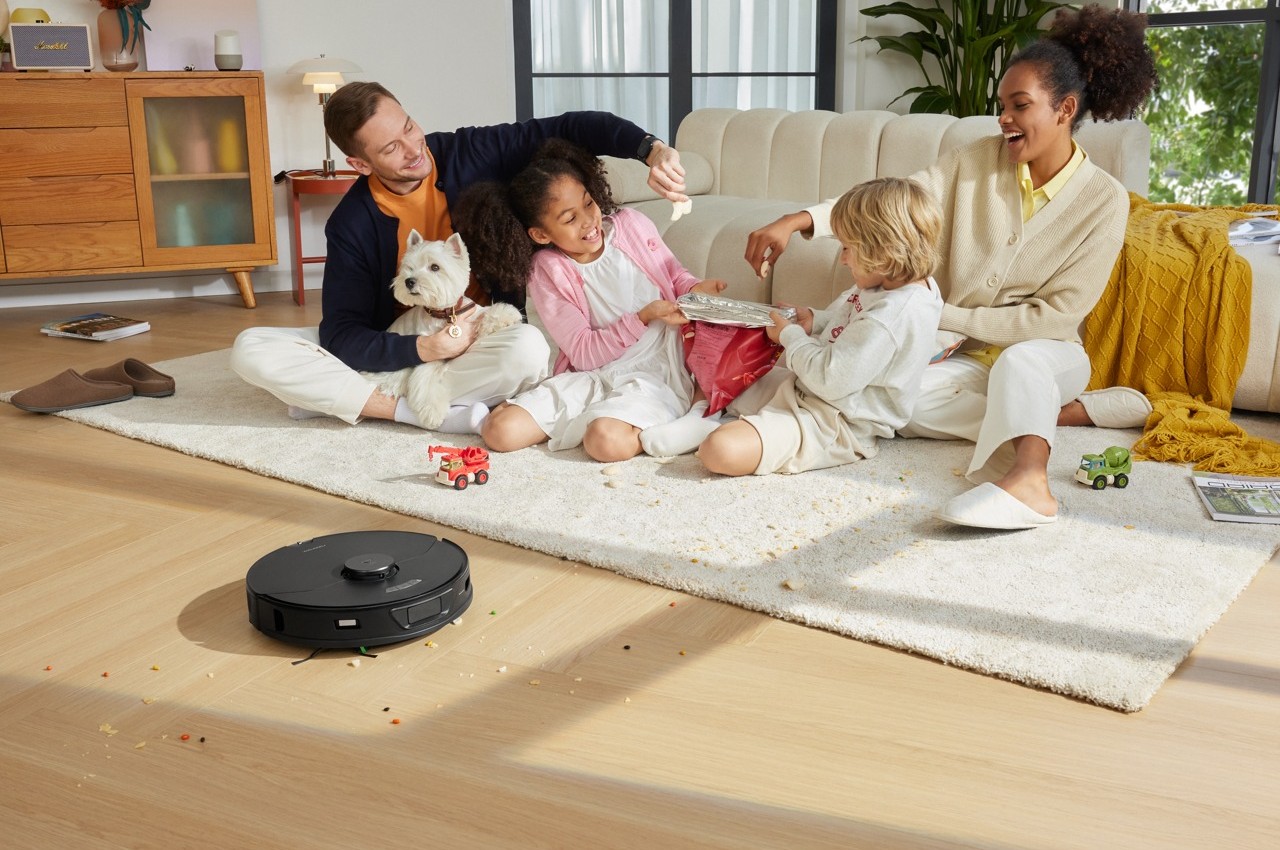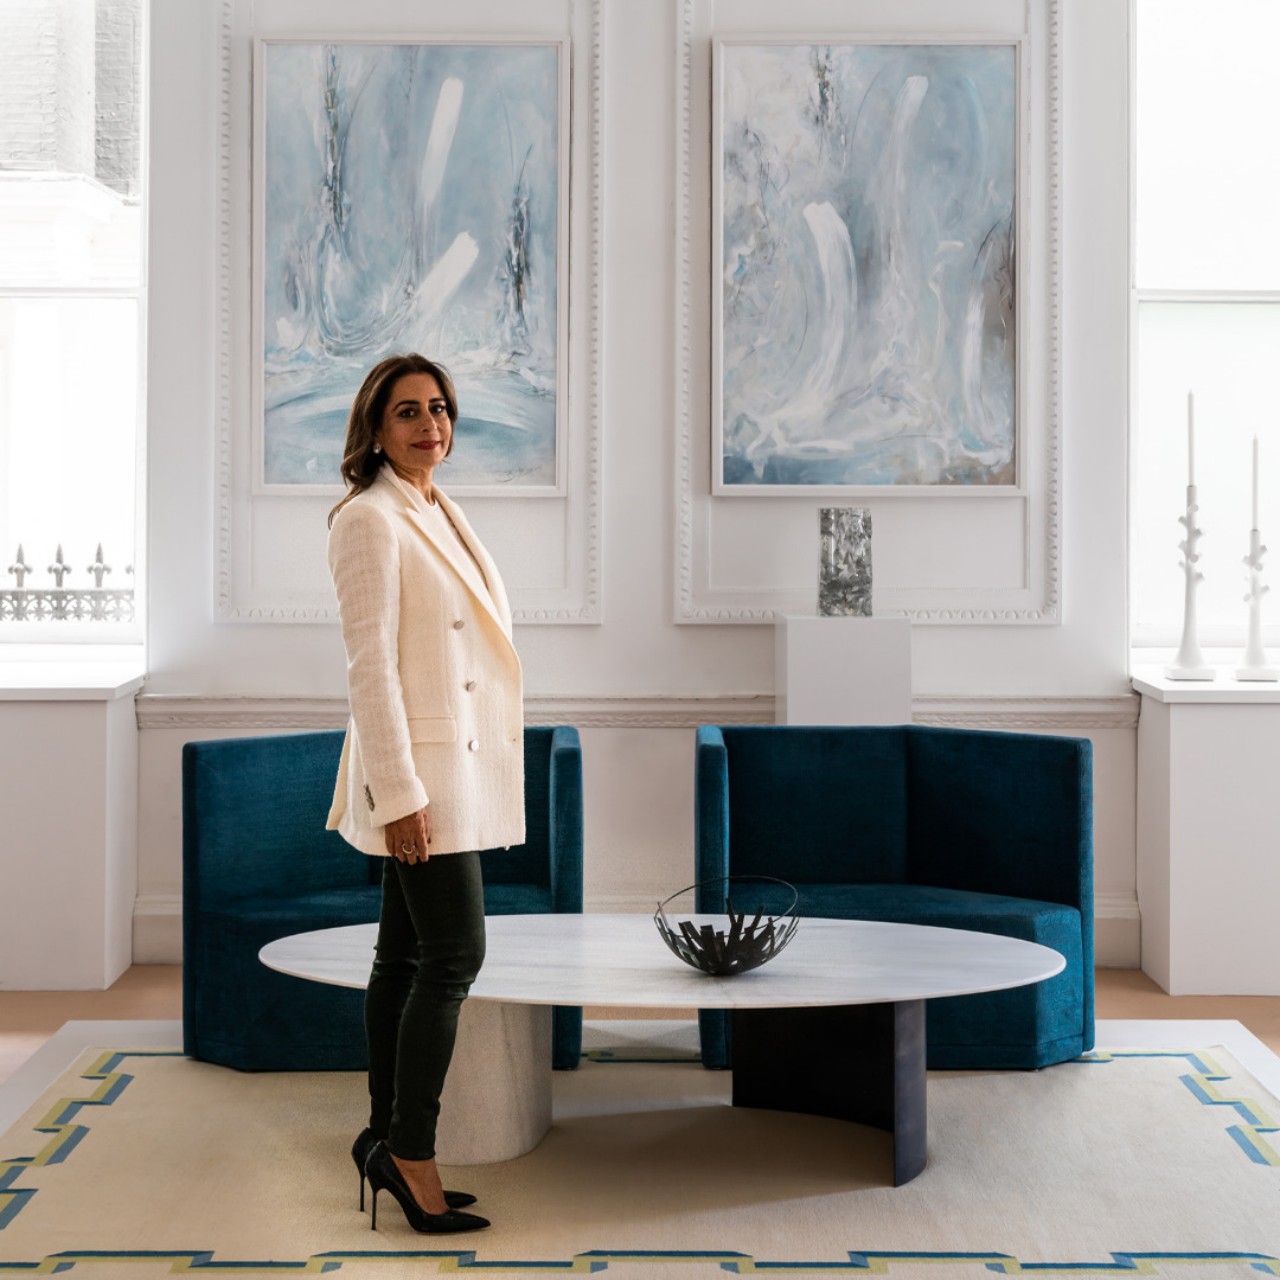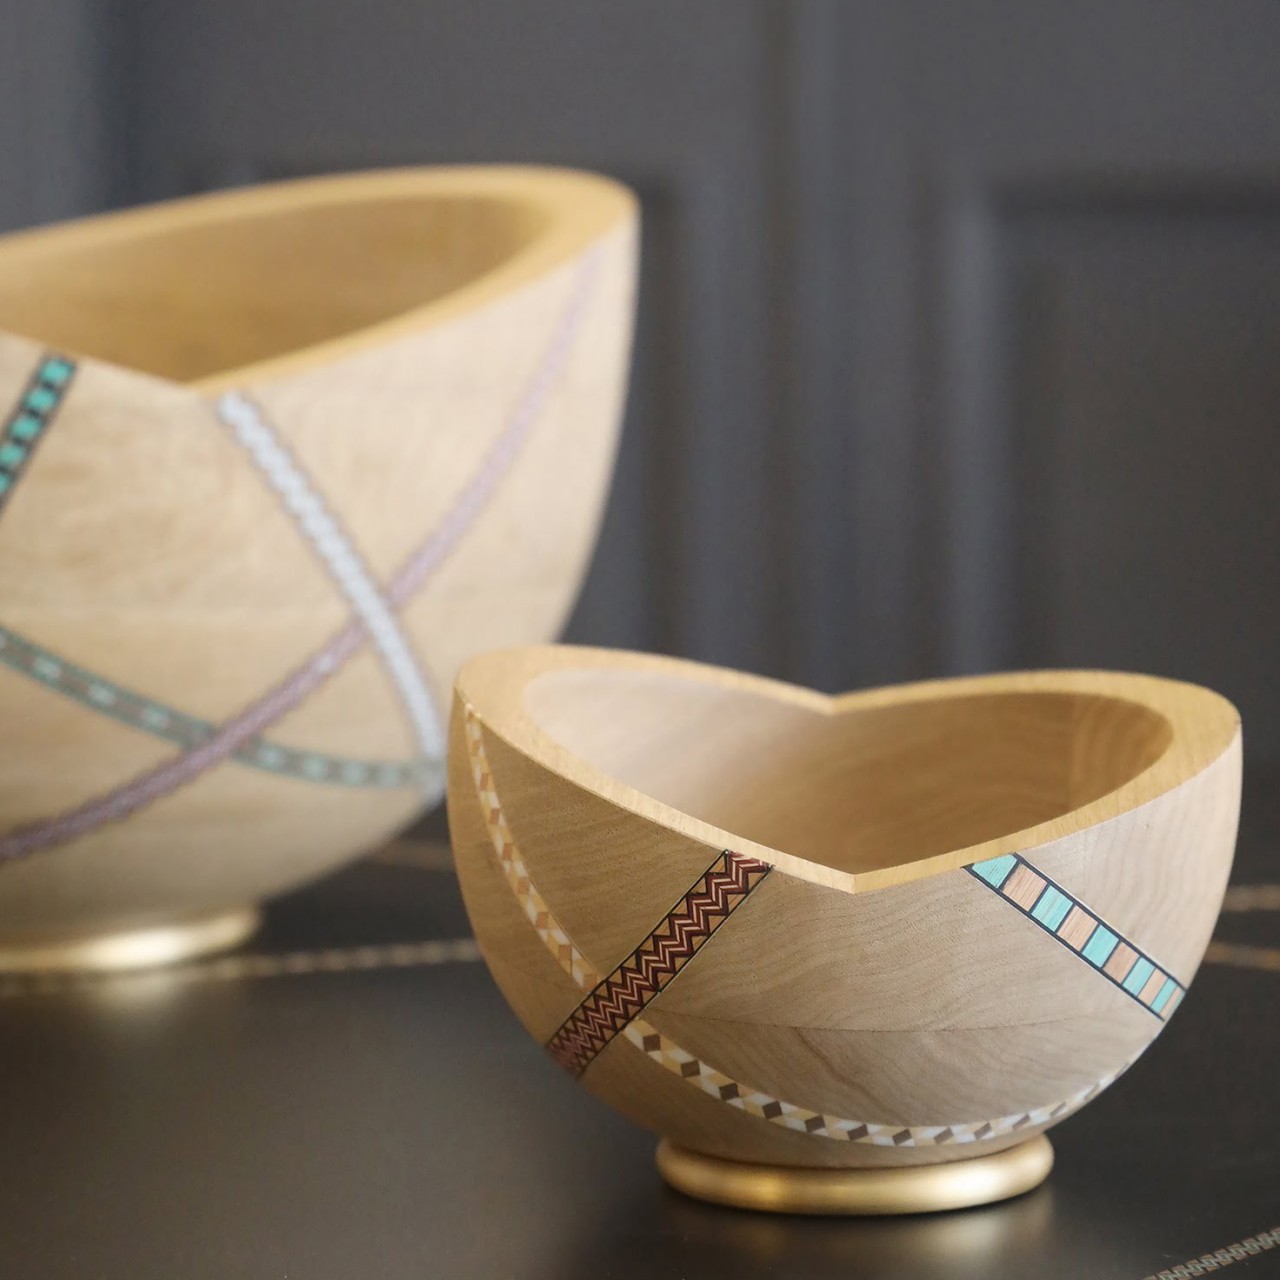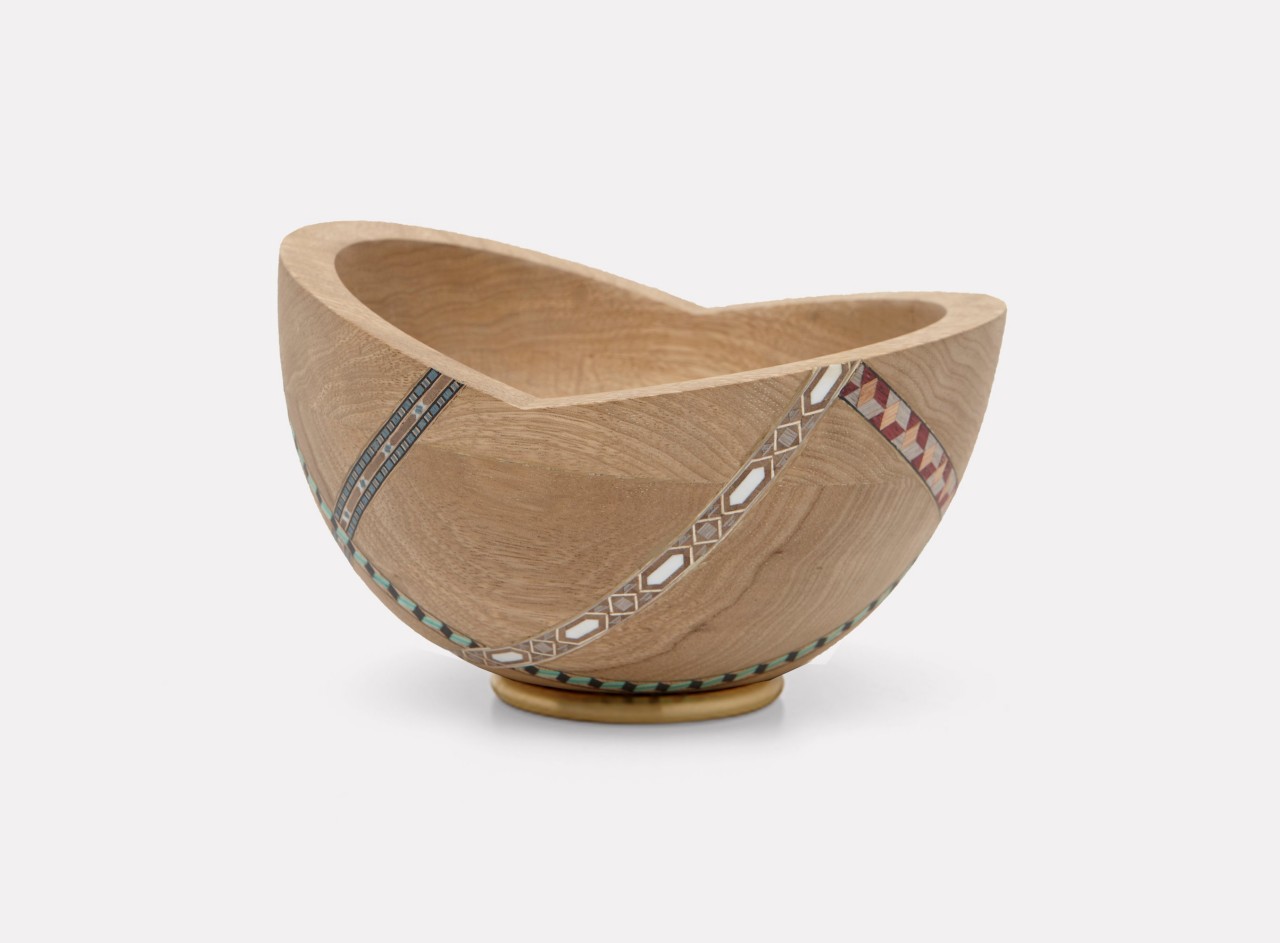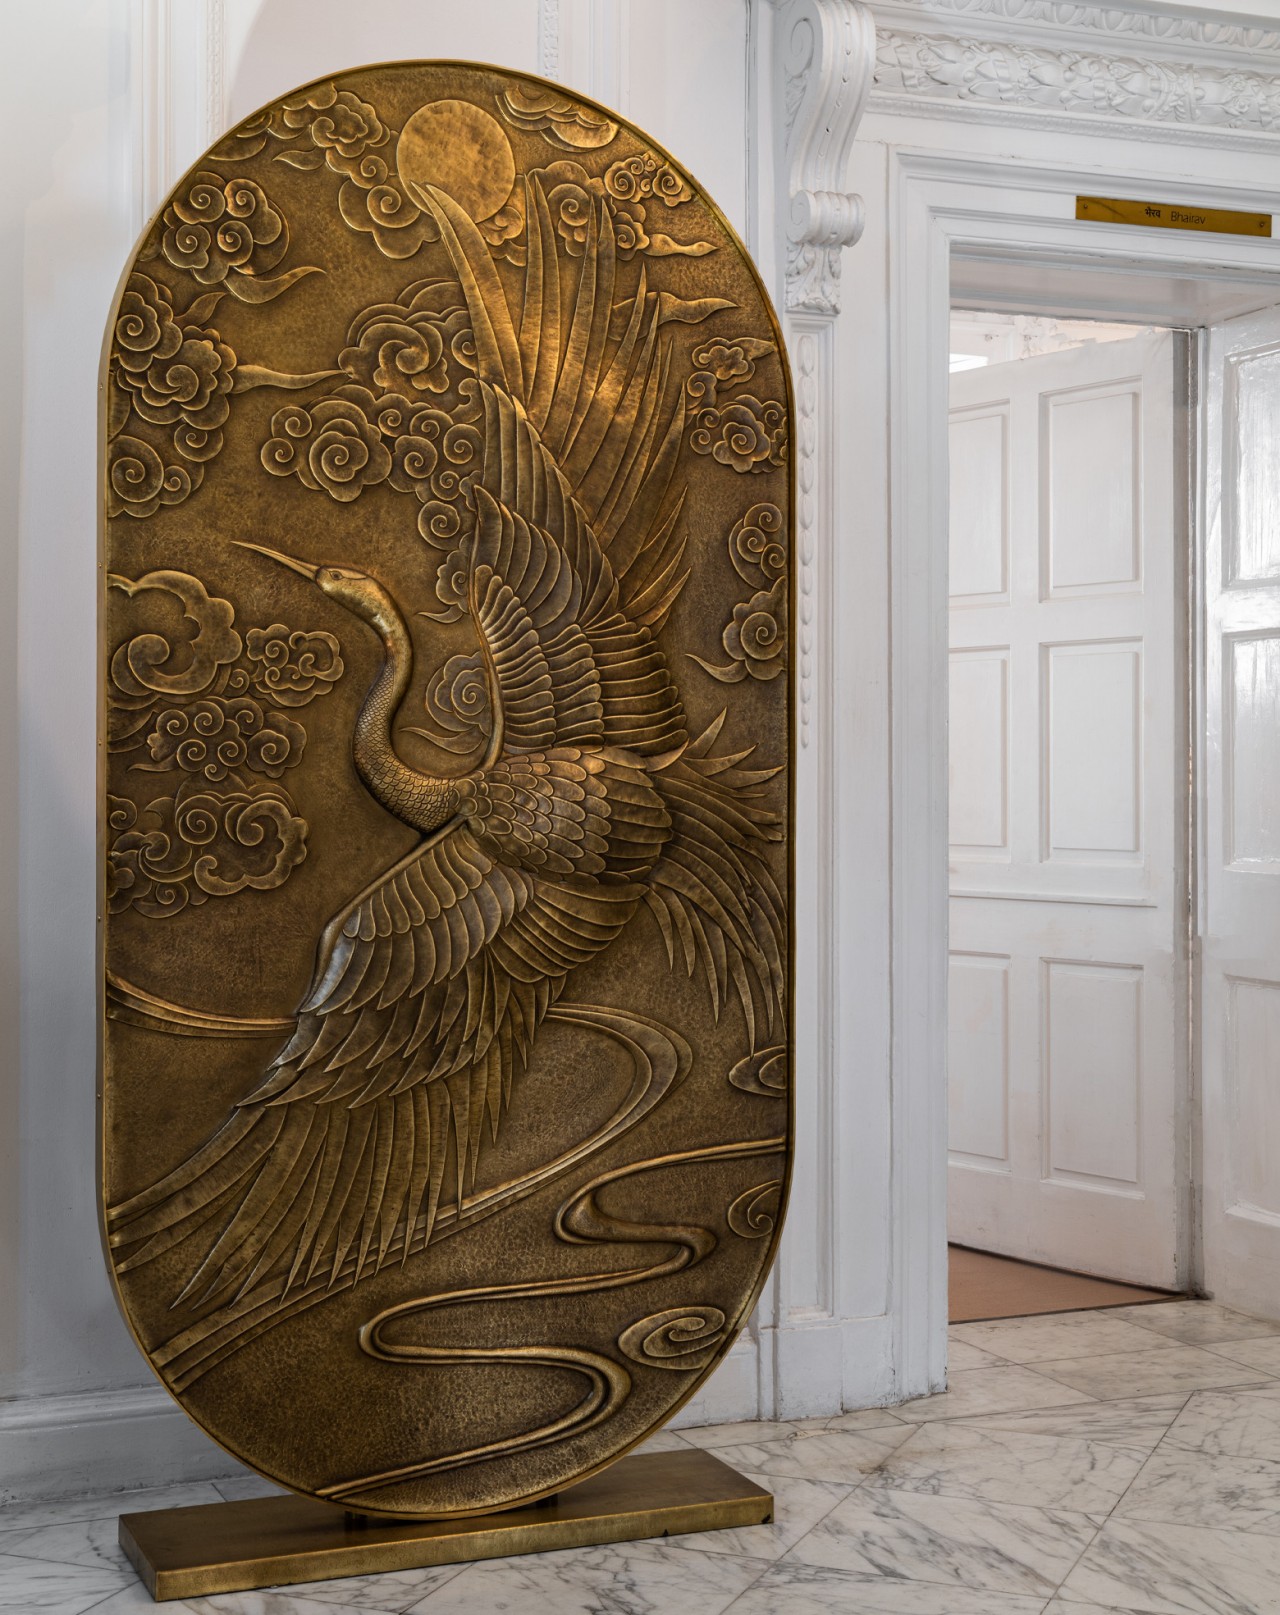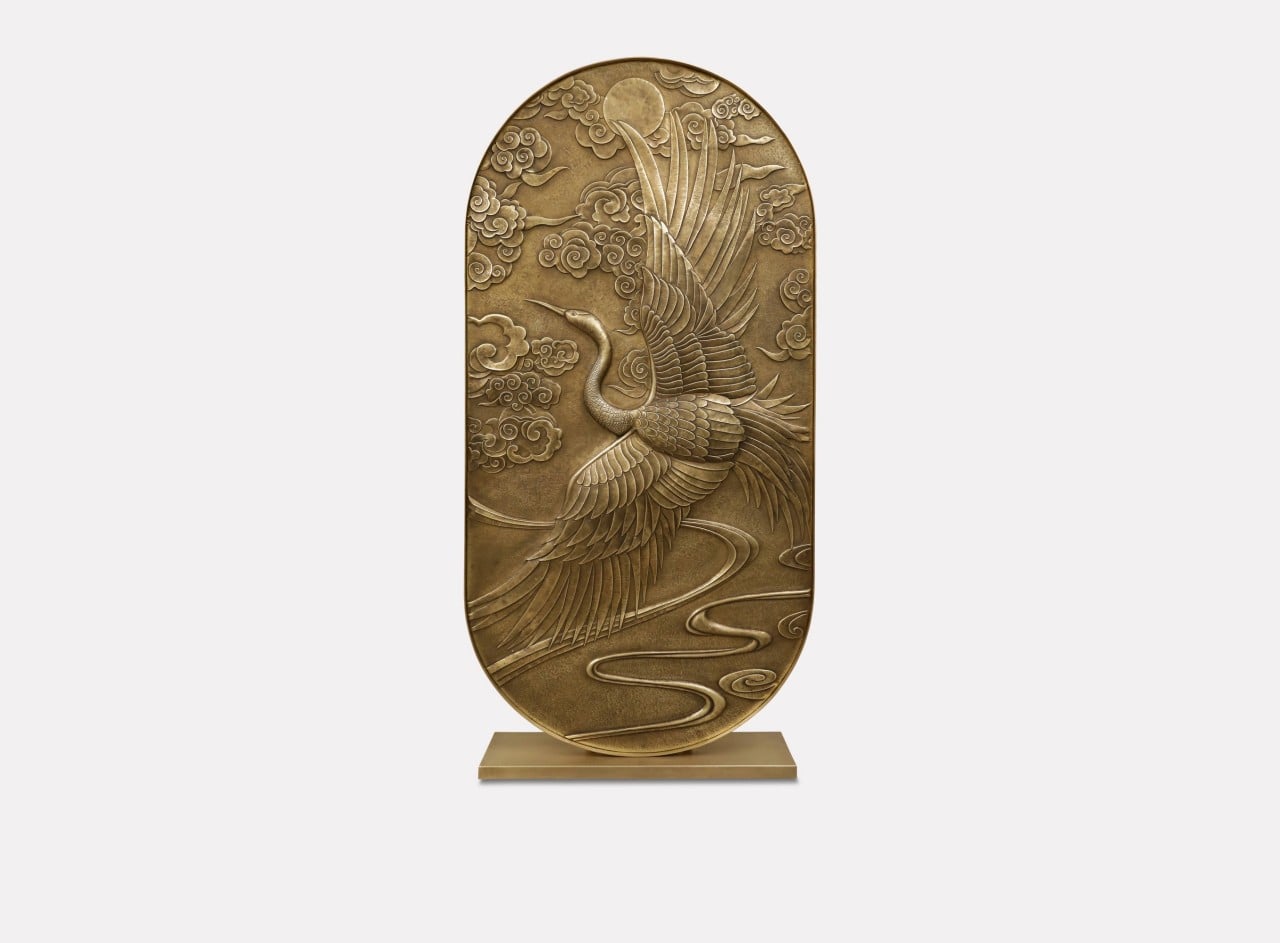
Interior design is a creative field that incorporates a variety of principles that combine to create visually appealing as well as functional spaces. These principles form the basis upon which designers create their themed compositions that ensure harmony, balance, and coherence within the interiors and also enhance the quality of life of its occupants. Whether planning a renovation with professionals or embarking on a do-it-yourself project, it is important to understand these principles of interior design. The seven fundamental principles of interior design include Balance, Harmony, Rhythm, Proportion and Scale, Emphasis, Contrast, and Detail.
Designer: Hygge by Kate
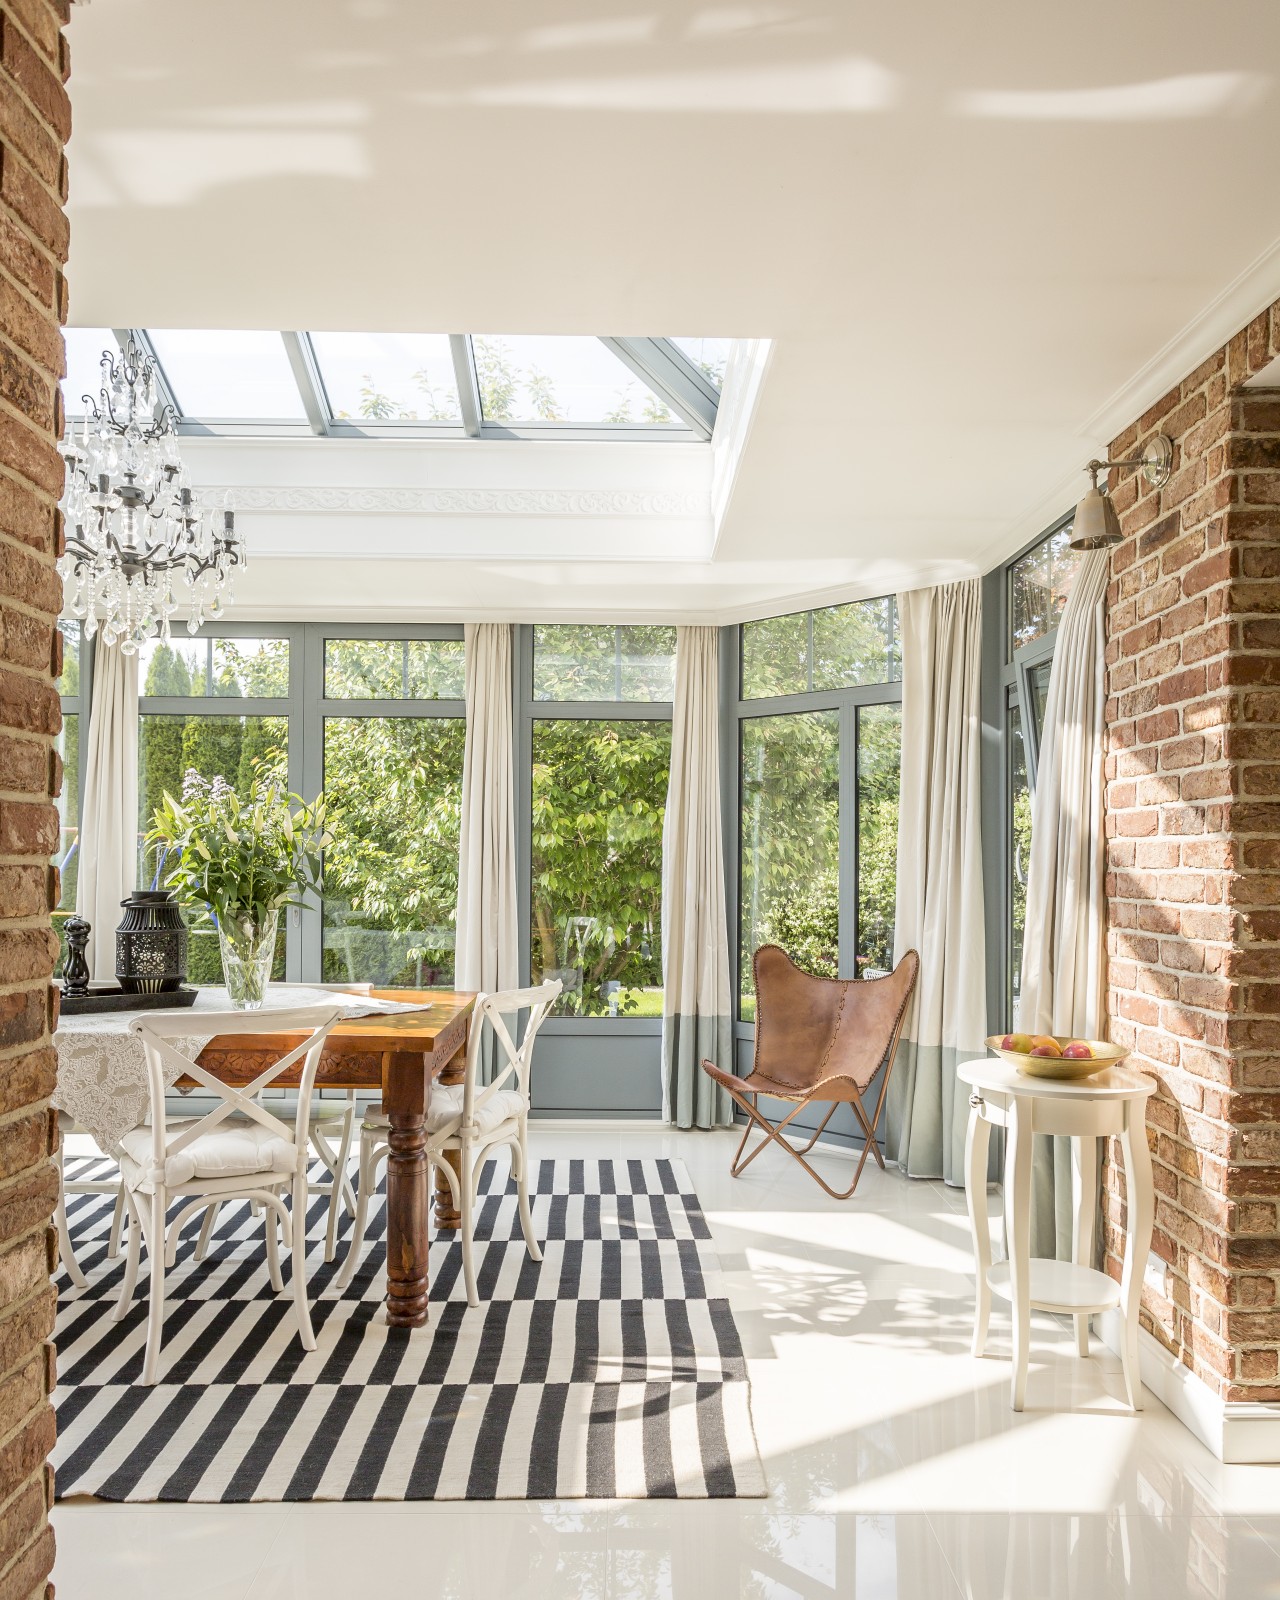
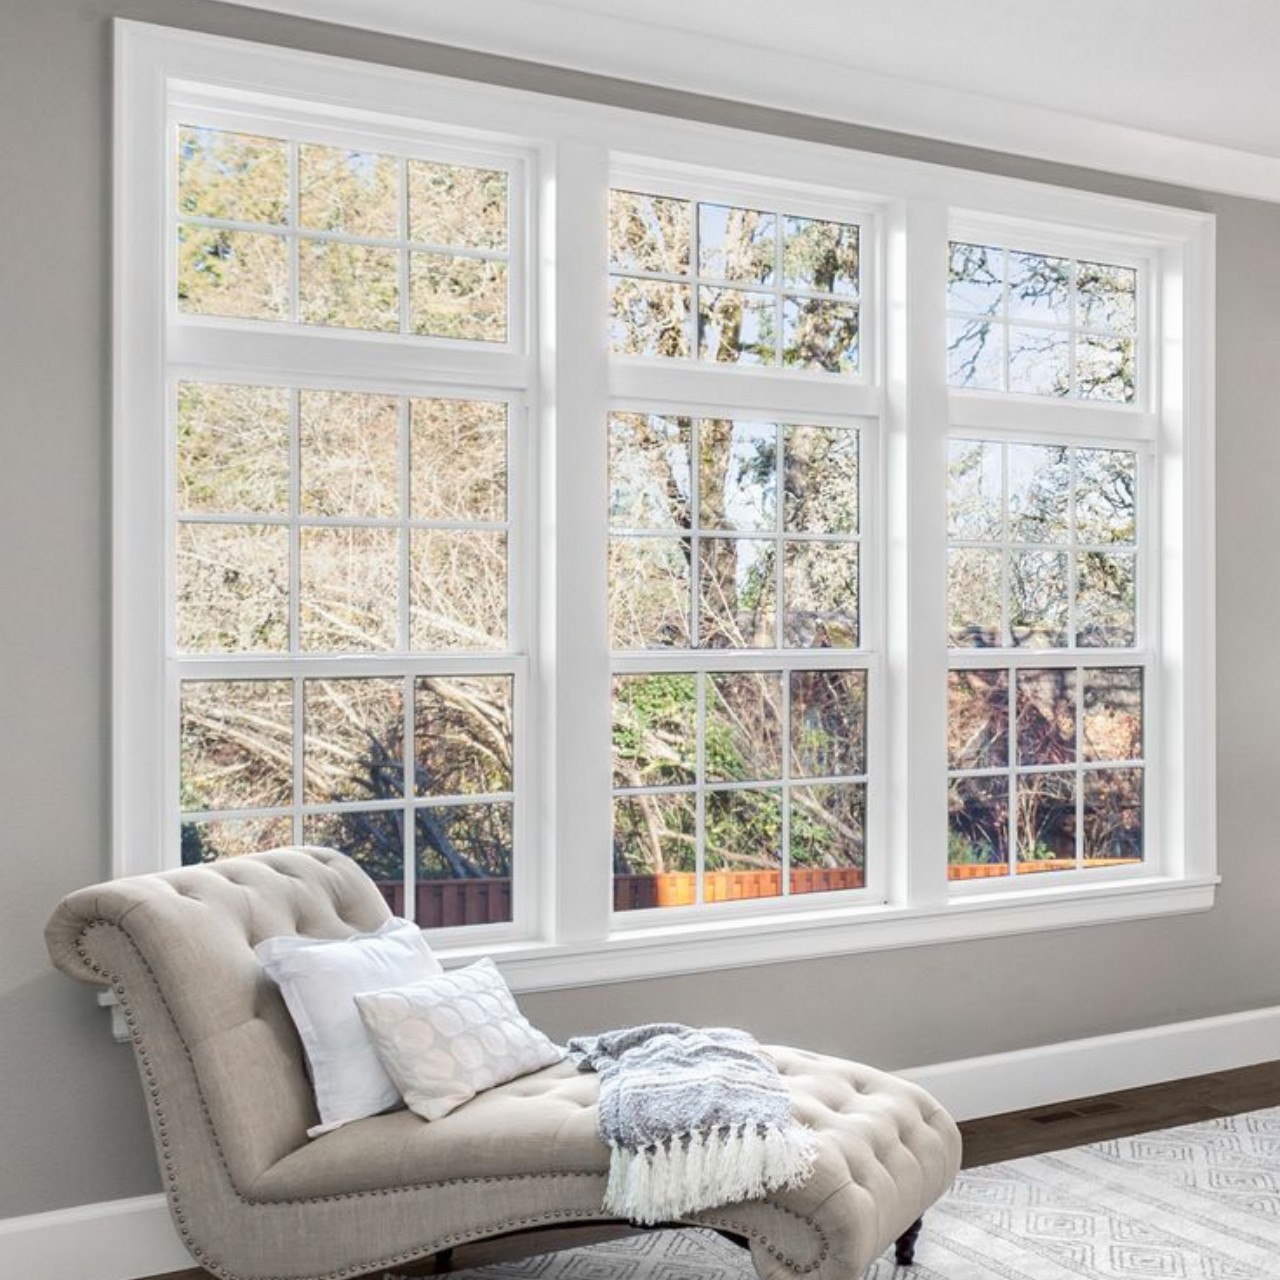
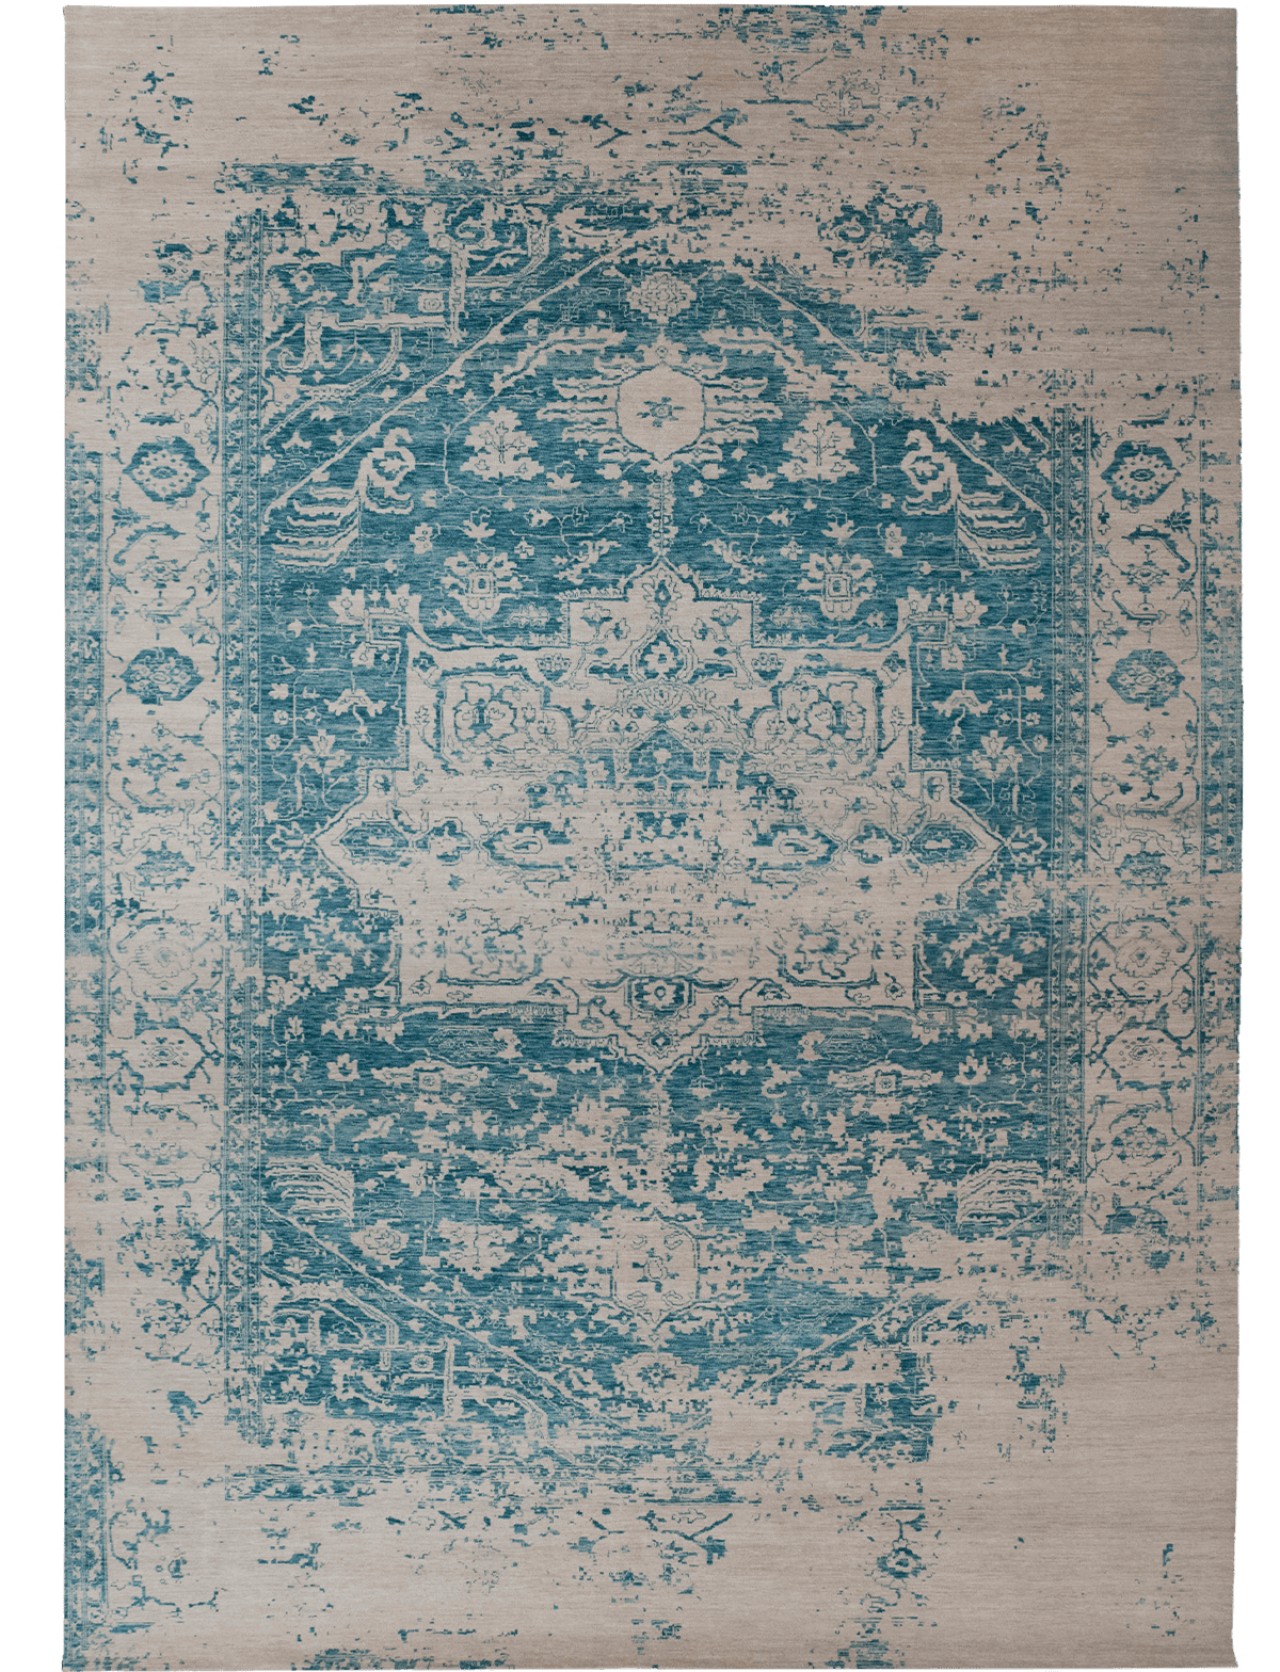
1. Balance
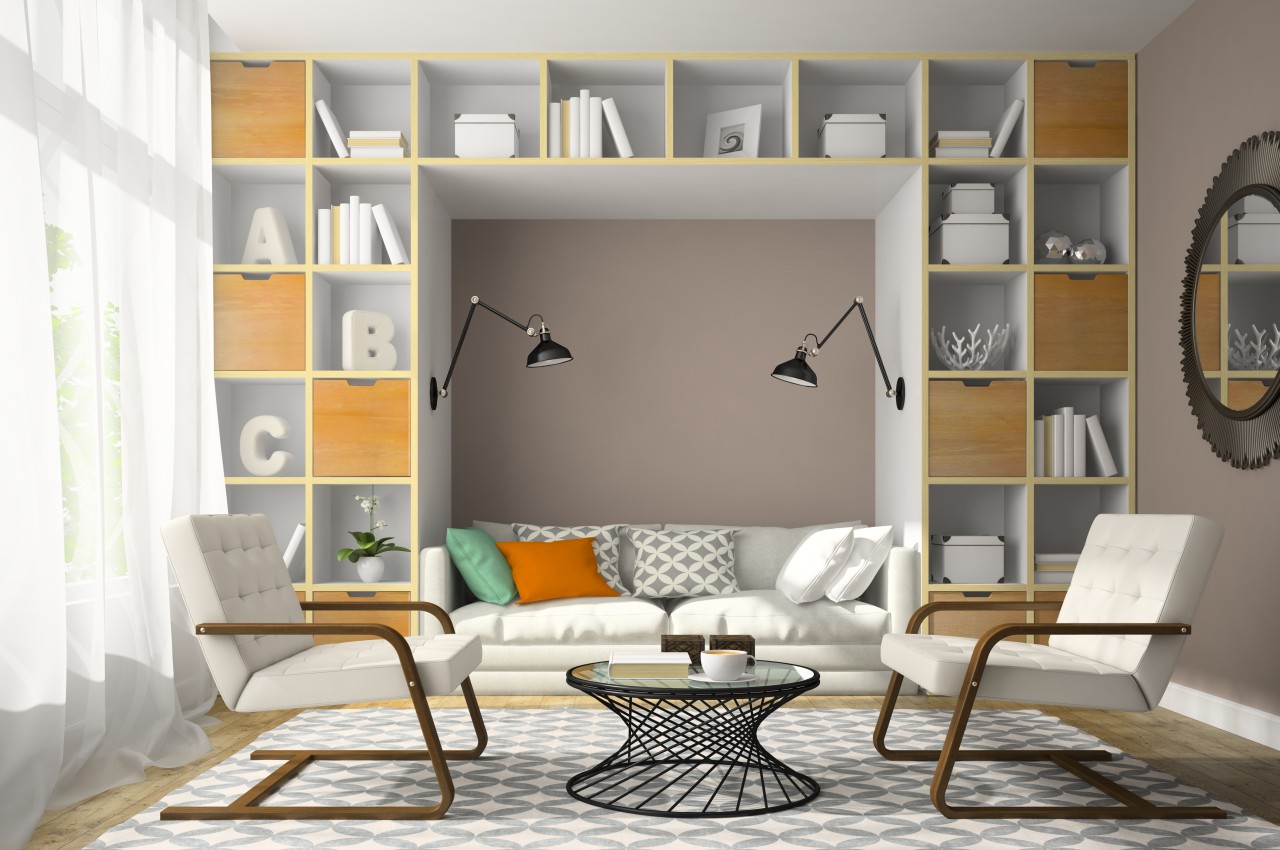
Image courtesy of: hemul75
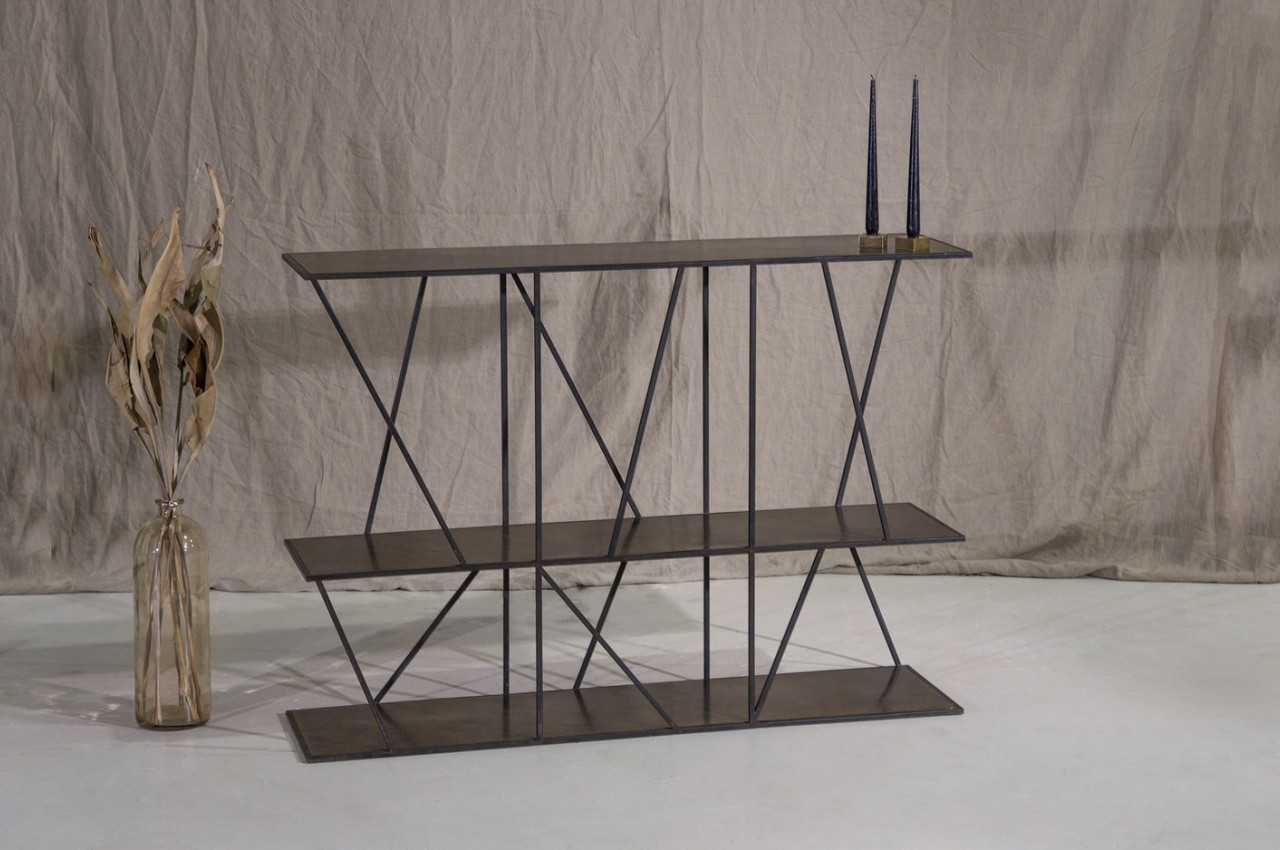
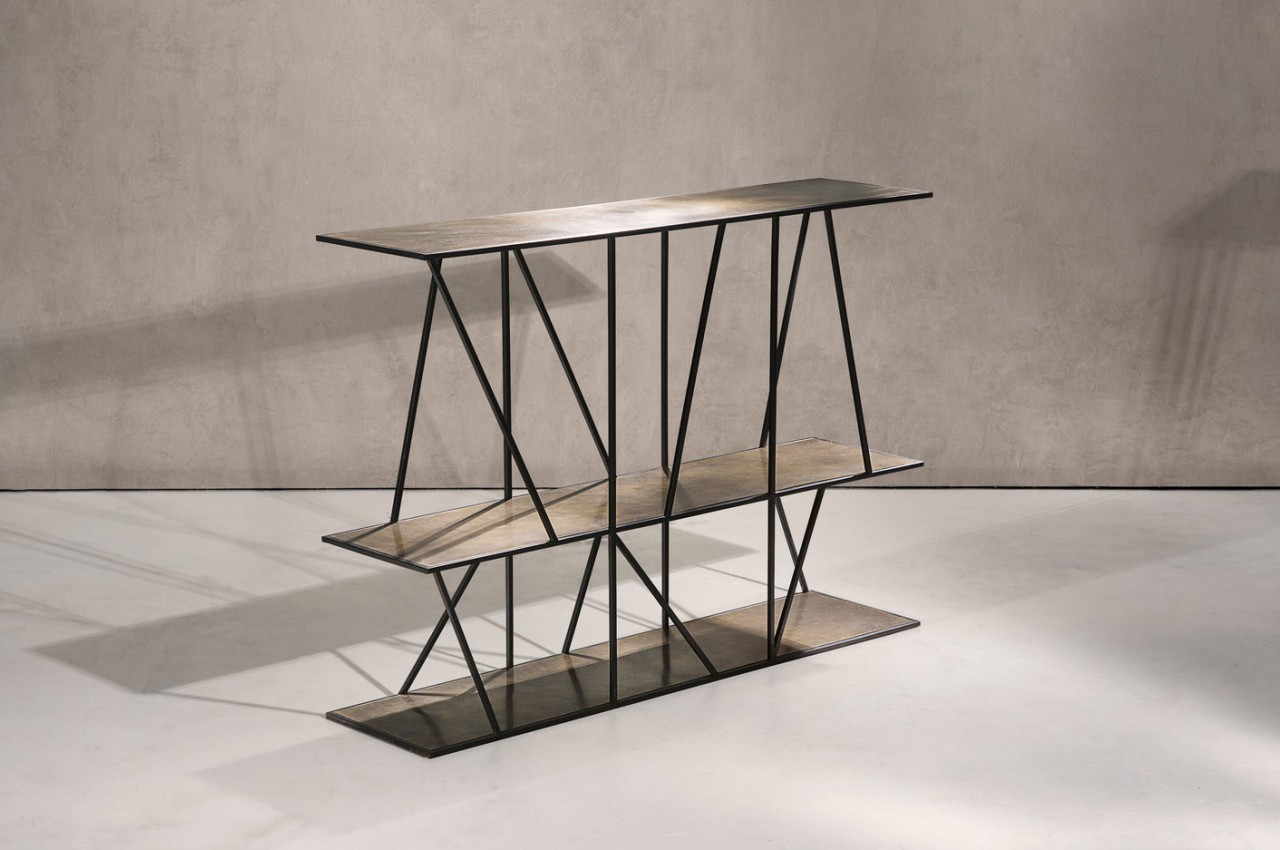
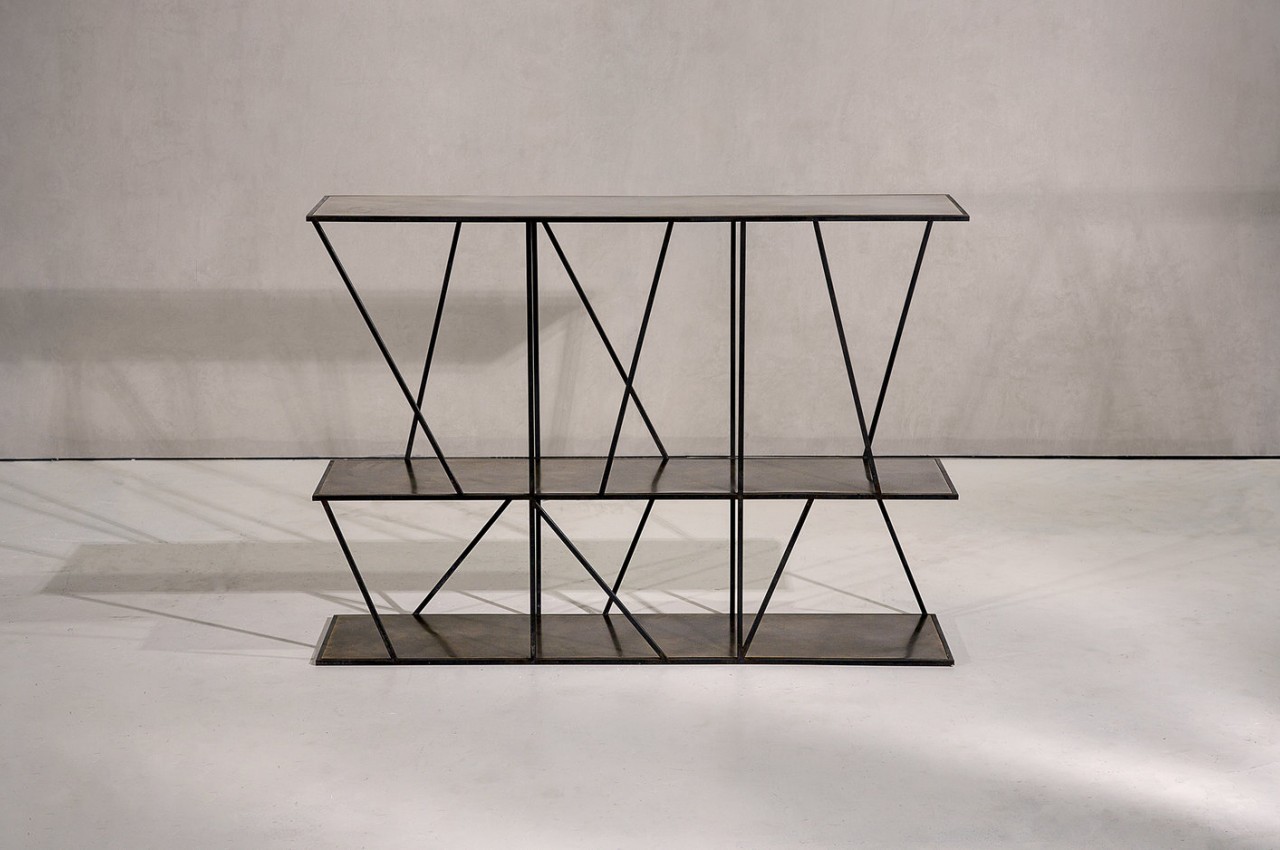
In interior design, balance creates a sense of harmony as it pertains to the visual arrangement of furniture and décor that distributes objects evenly to achieve a sense of equilibrium within the room décor. Achieving balance involves careful consideration of the placement of elements within the space so that it visually stabilizes a space, ensuring no single element dominates in terms of visual weight. A well-balanced room feels calm and comfortable, while imbalance creates discomfort and visual discord. Achieving balance, from managing color and texture to furniture arrangement, can be challenging, therefore well-designed spaces achieve visual balance by harmonizing elements like colors, lines, forms, furniture, lighting, and décor. Balance can be broadly classified into three categories.
Symmetrical Balance
Symmetrical or formal balance is the primary method of achieving balance in interior design as it evenly divides space into mirroring sides. For instance, in a living room, symmetrical balance is achieved with two identical armchairs flanking a coffee table. Similarly, in a bedroom, symmetry is attained with matching bedside tables and lamps. Note that too much symmetry in modern design can create a lack of visual interest.
Asymmetrical Balance
Asymmetrical balance is a contemporary interior design approach that prioritizes flexibility over the replication of identical objects. Instead, it seeks balance through variations in visual weight, shape, dimensions, and size. Unlike symmetry, which imposes uniform order, asymmetry introduces a dynamic, informal atmosphere. Balancing visual elements such as weight, texture, and color becomes pivotal. Despite its challenges, an asymmetrical design can significantly elevate a space.
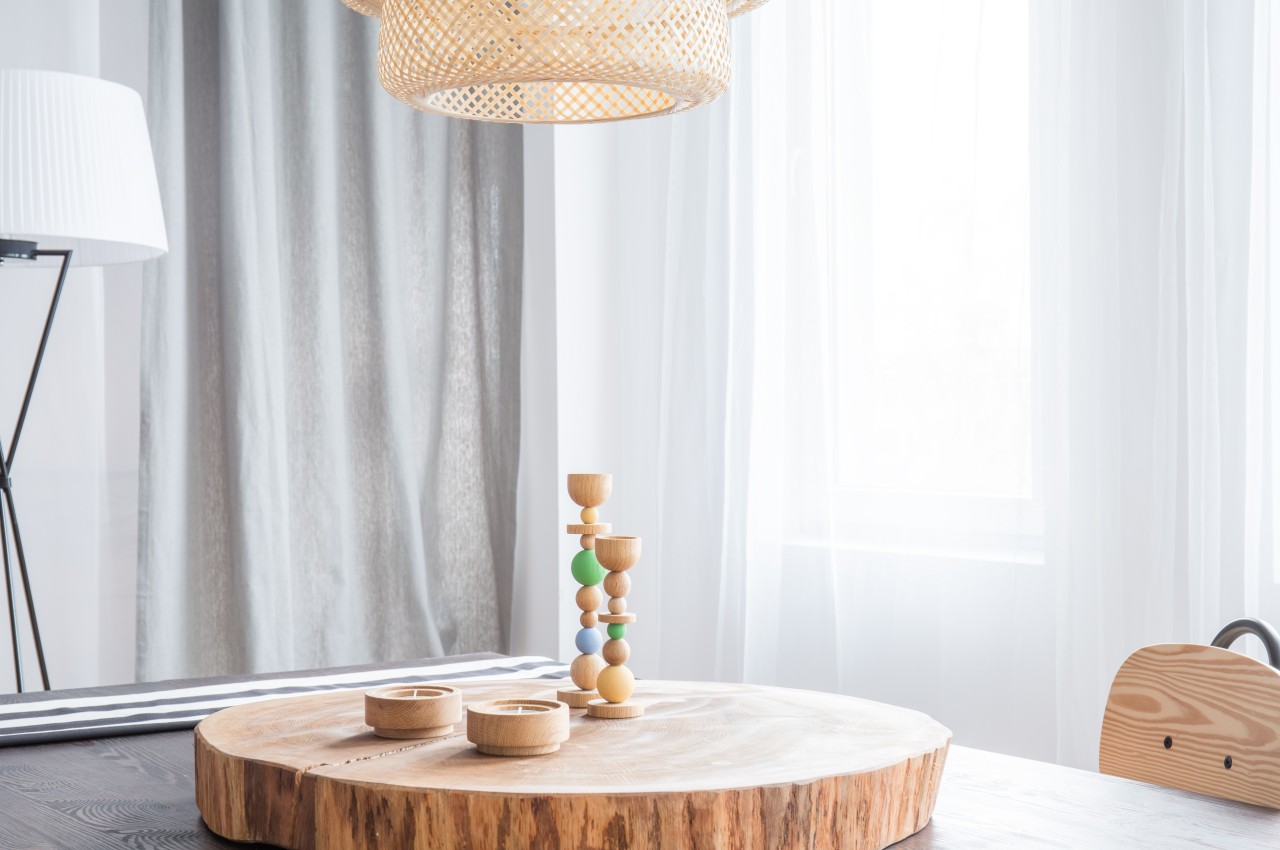
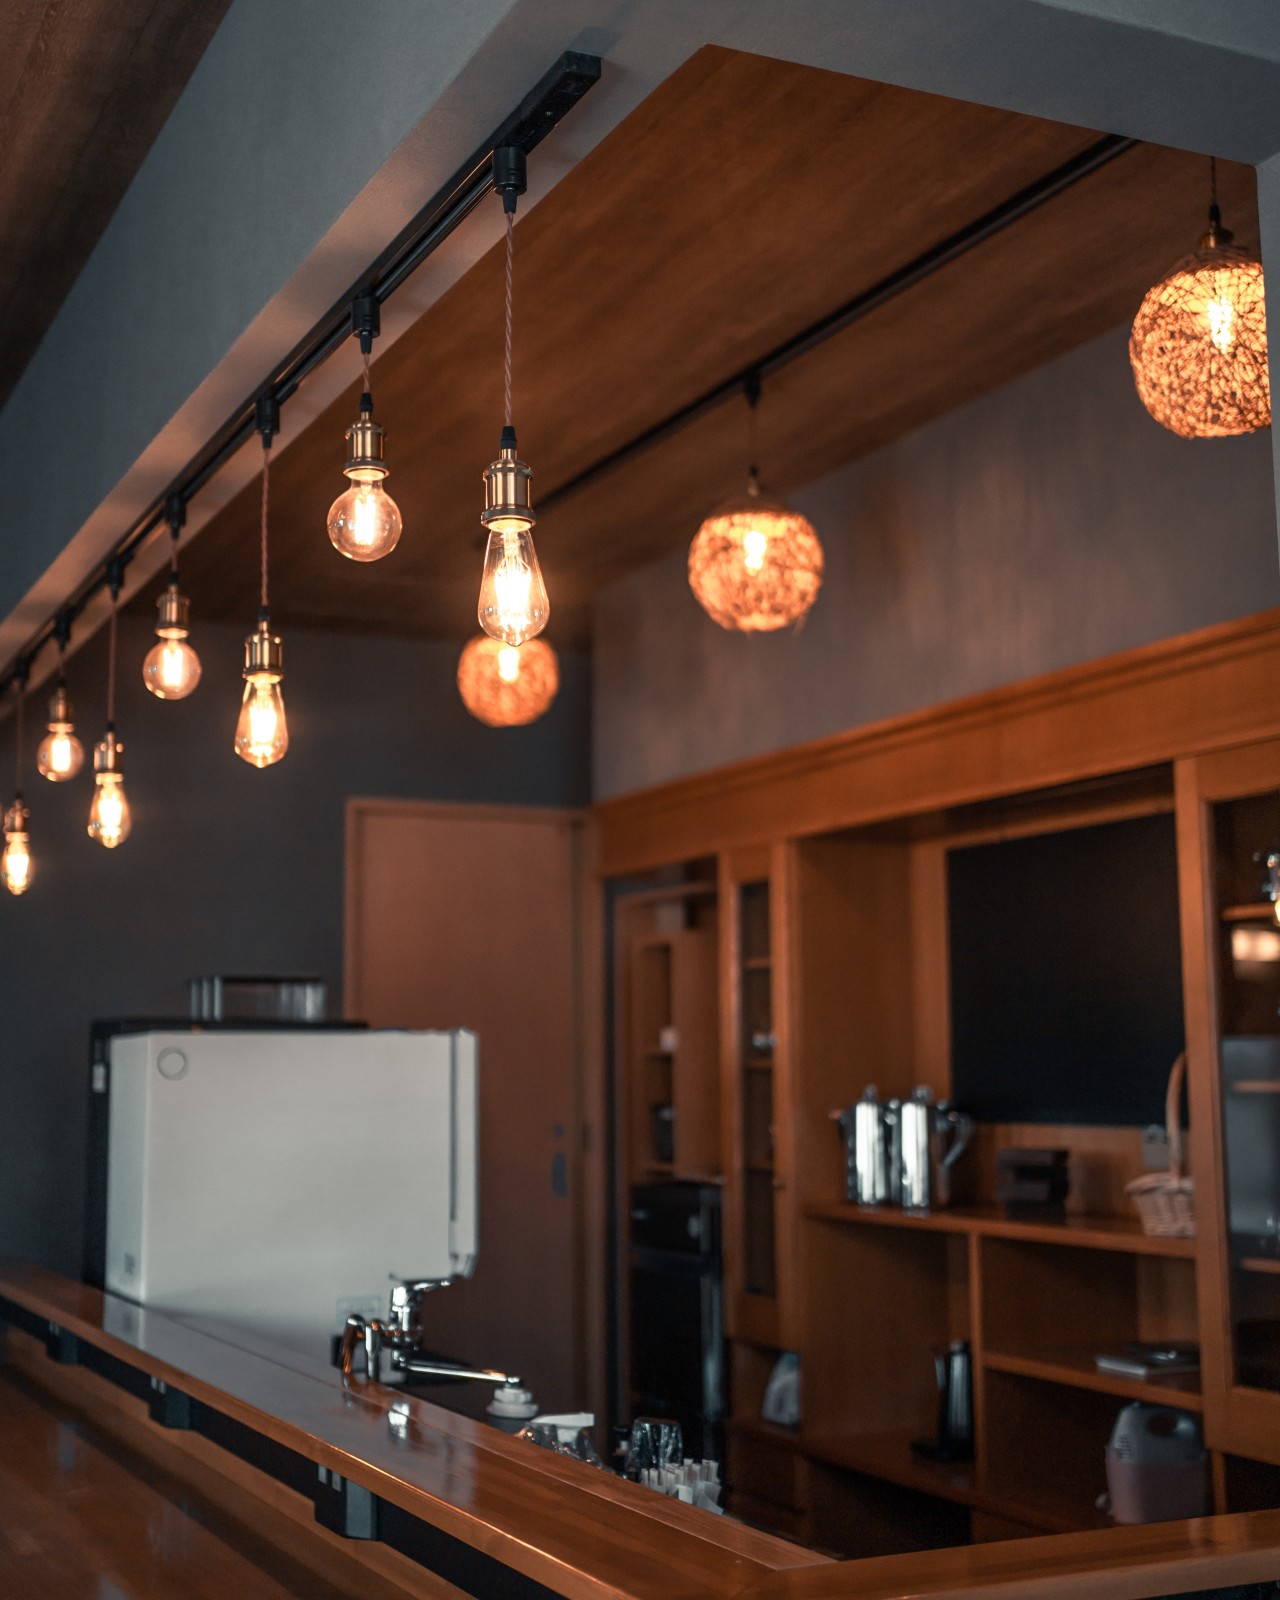
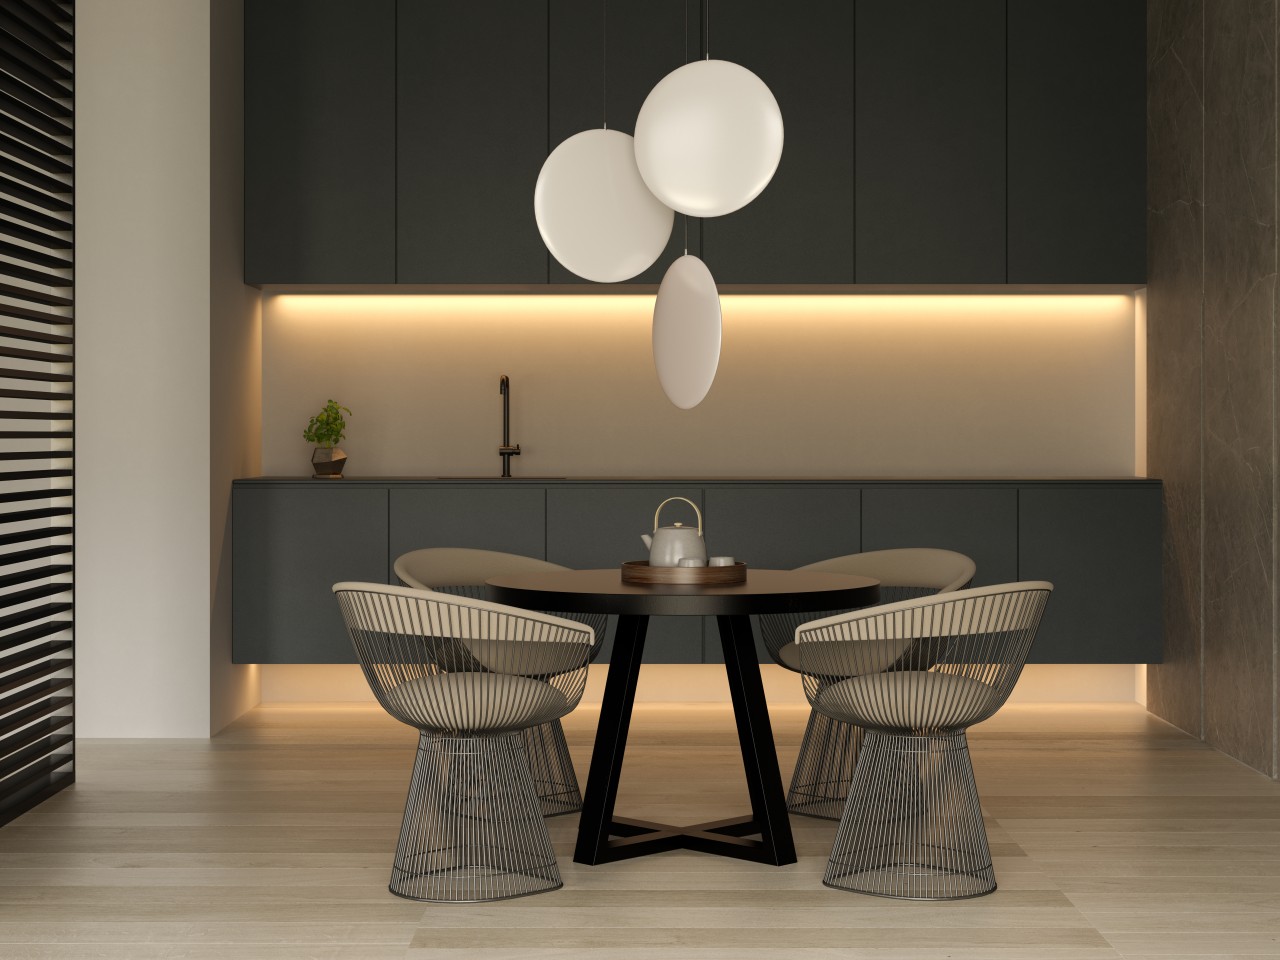
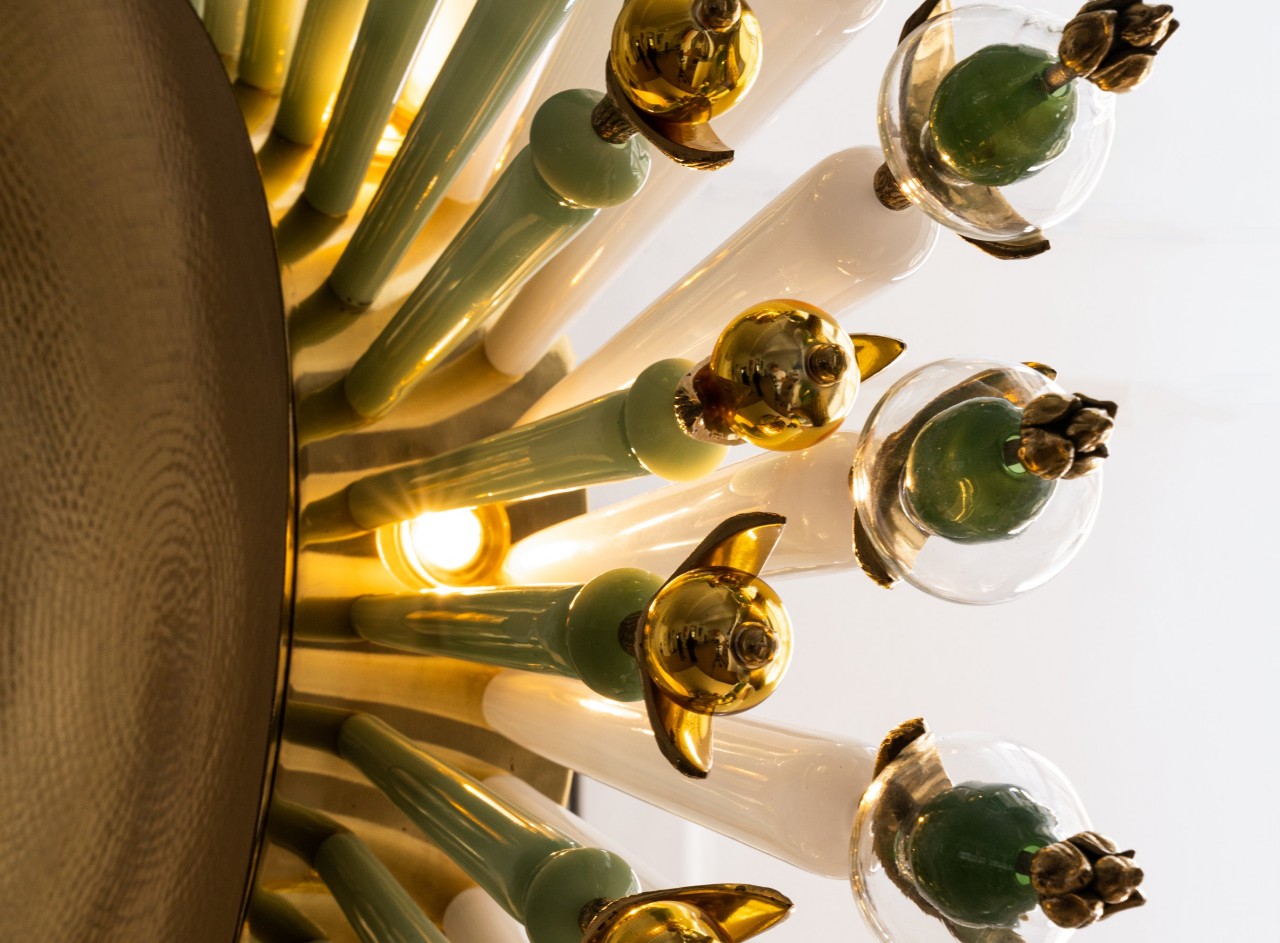
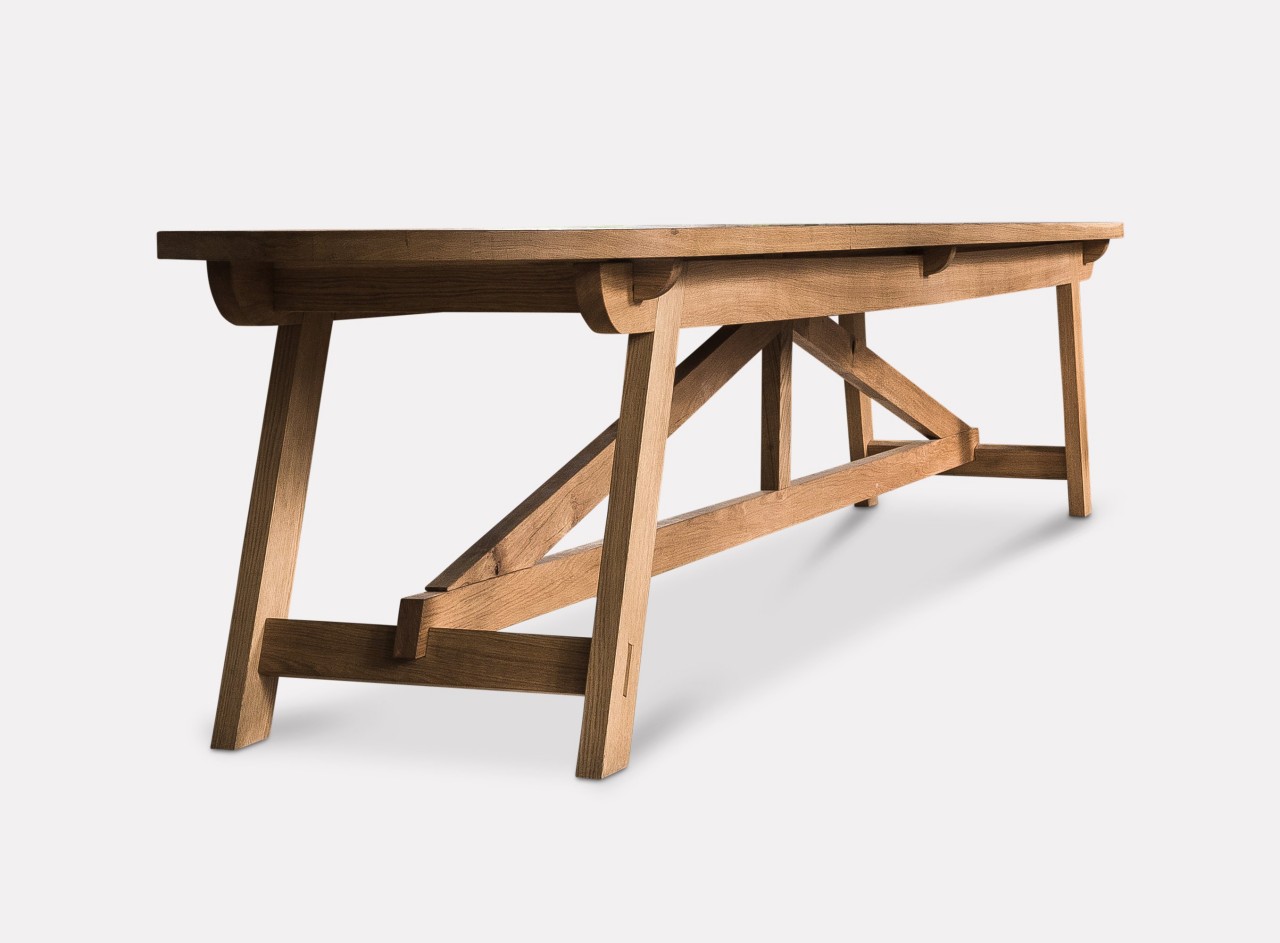
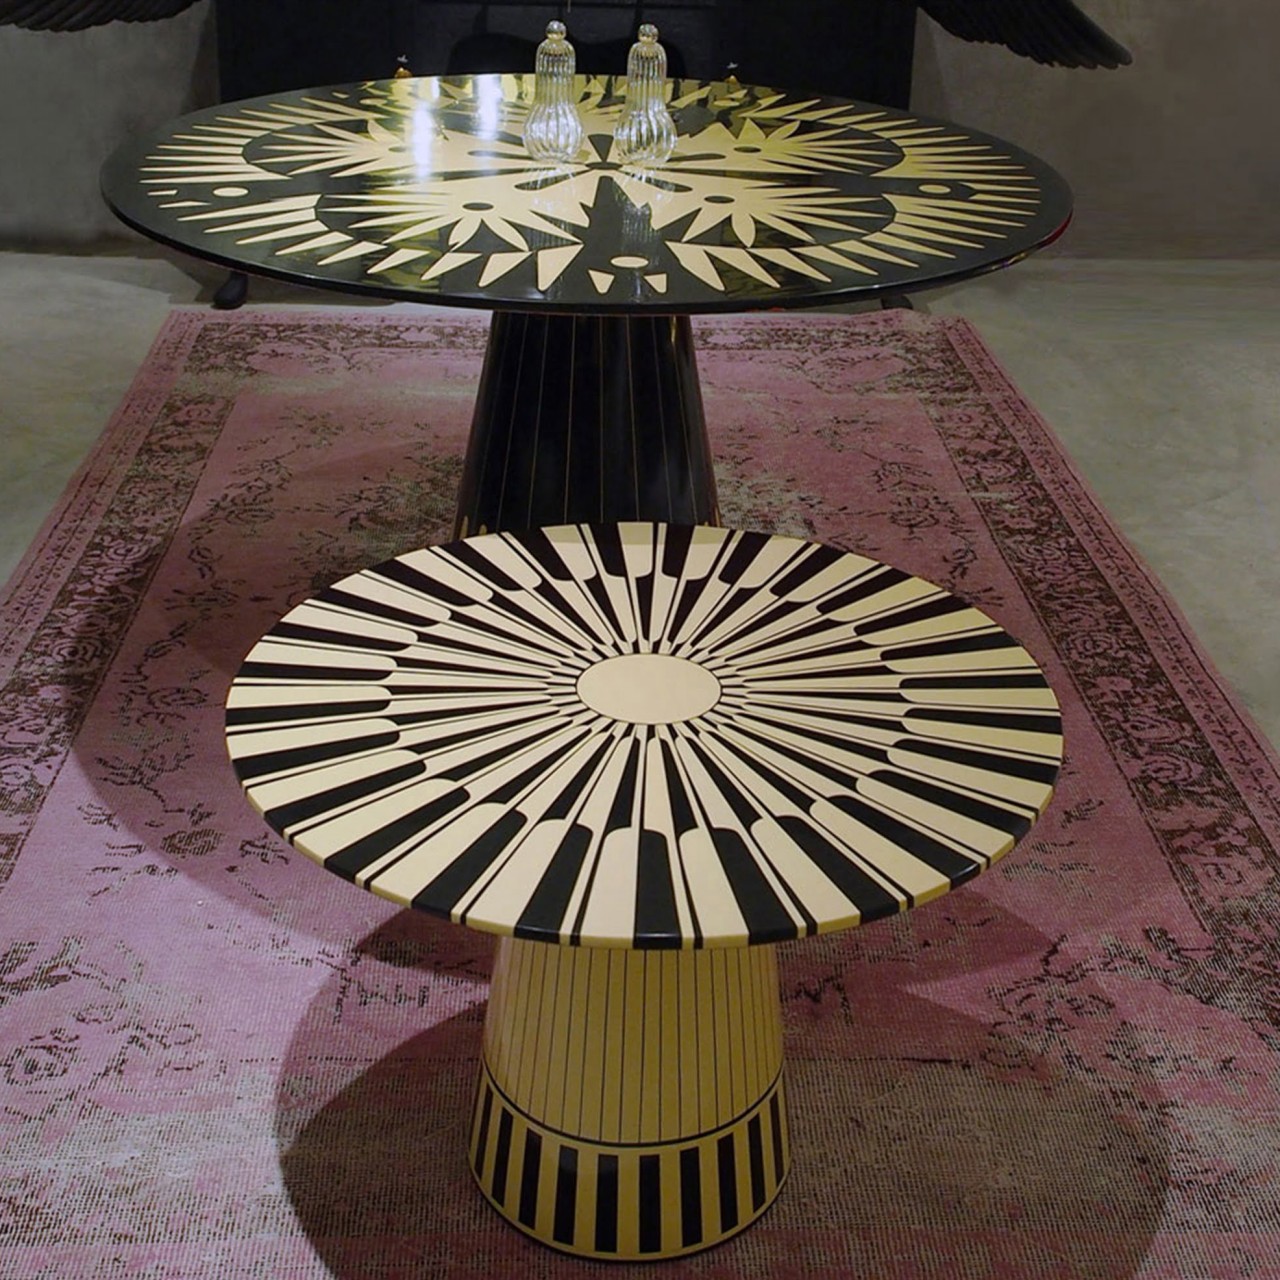
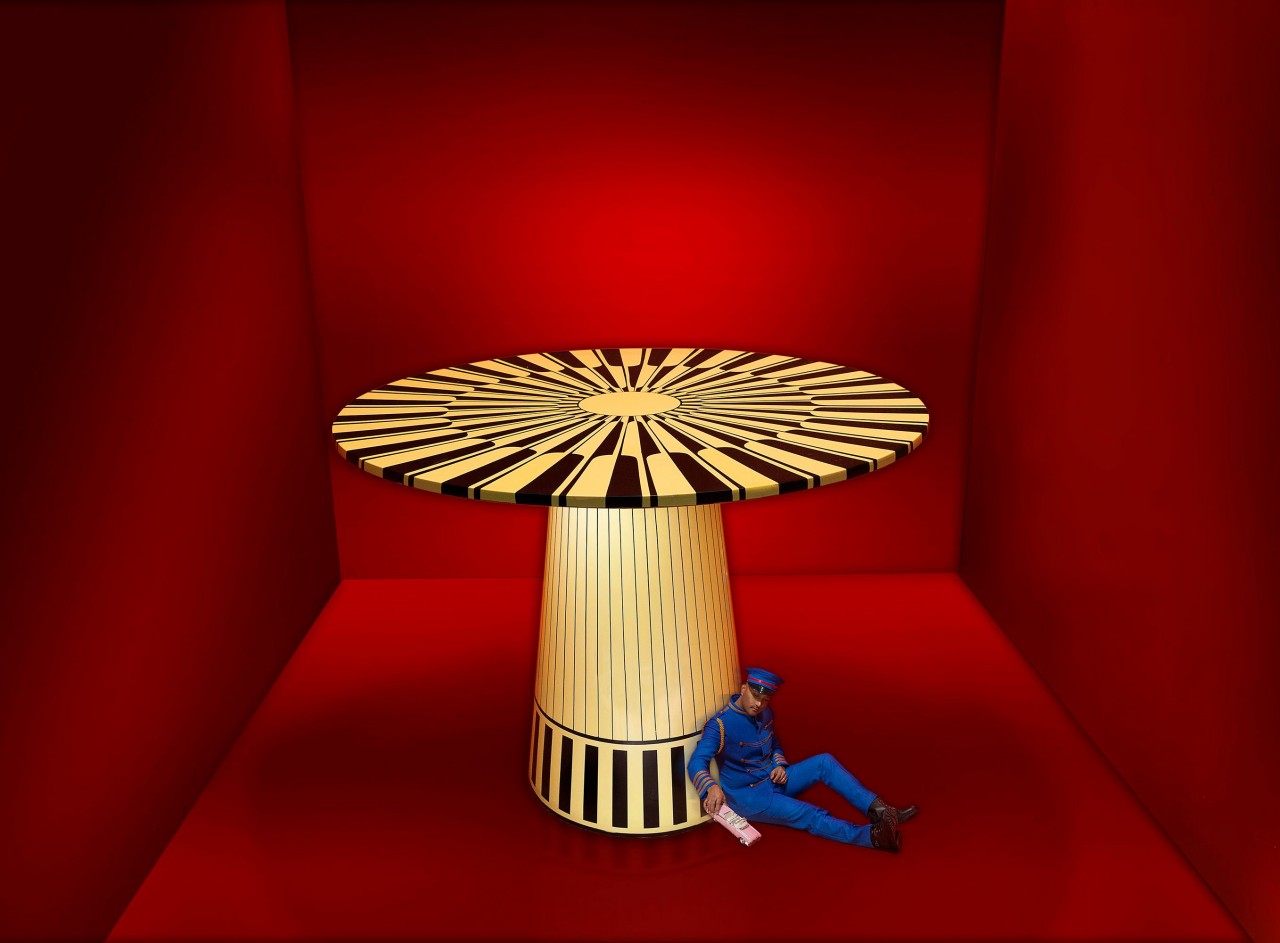
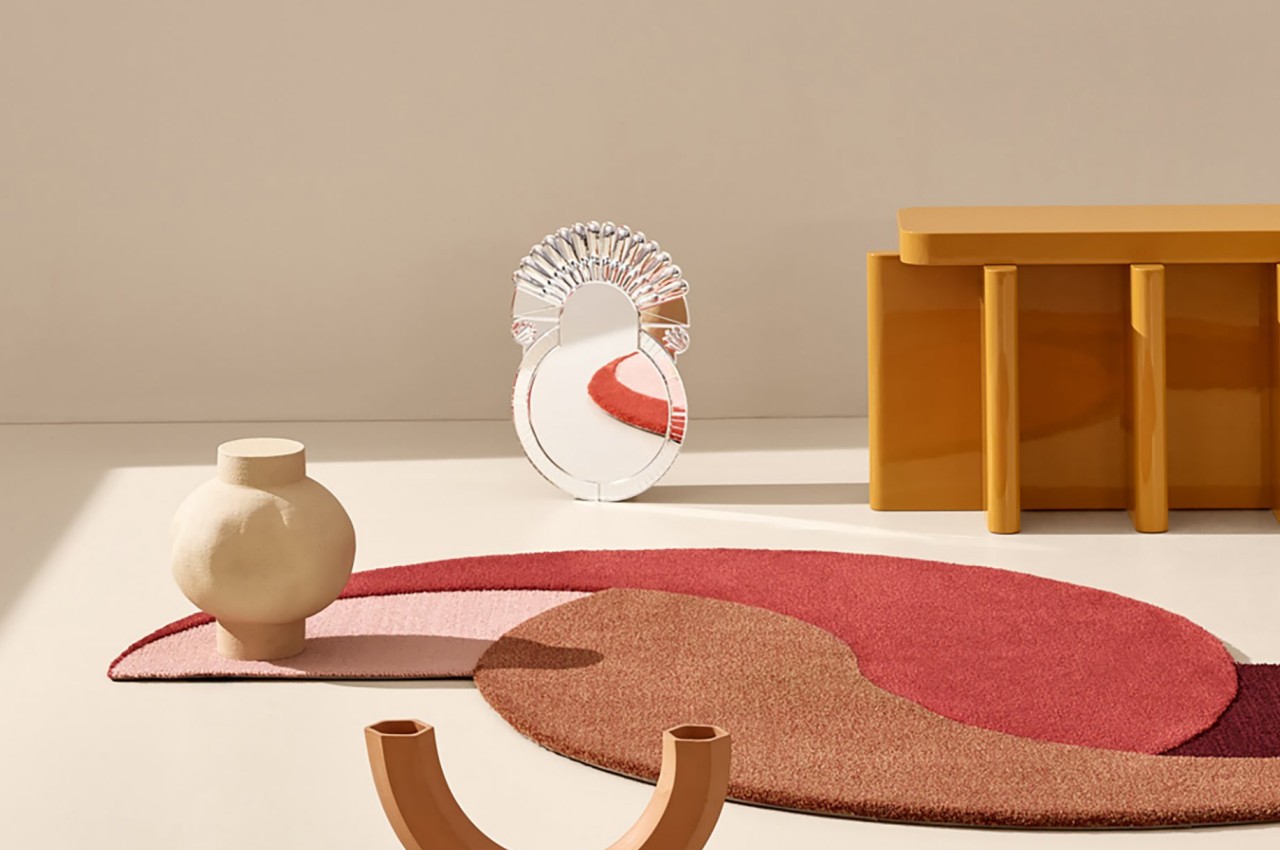
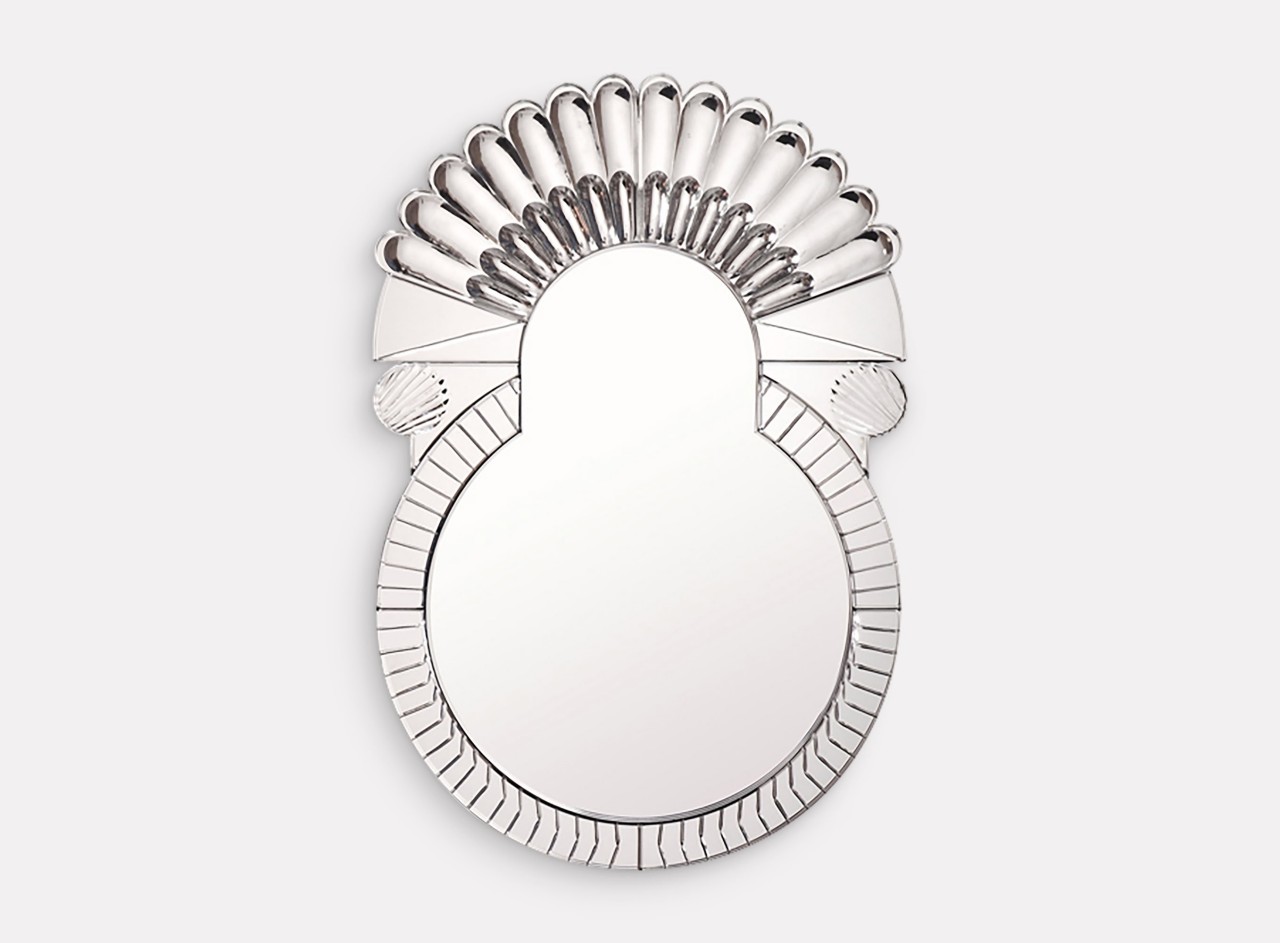
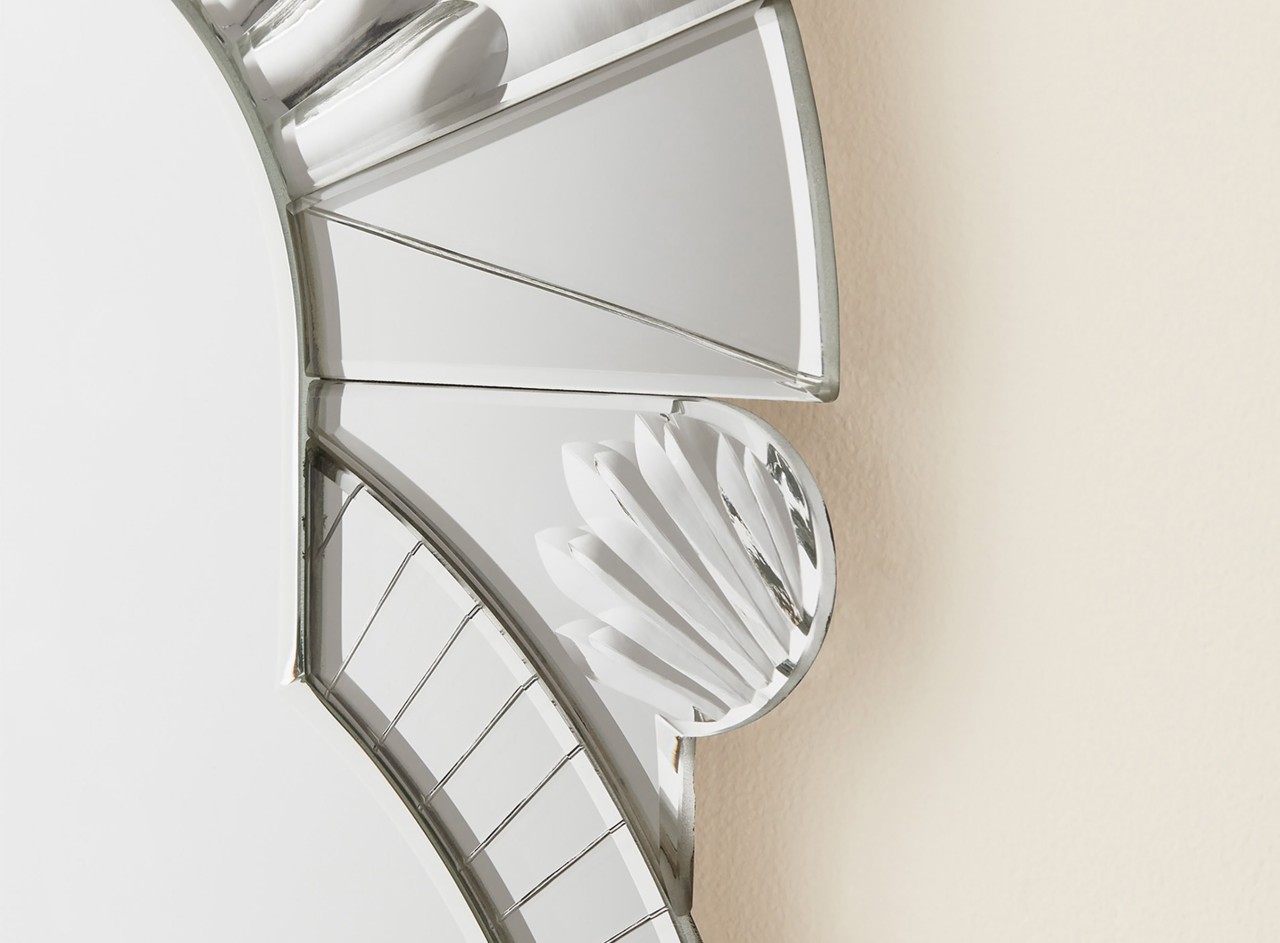
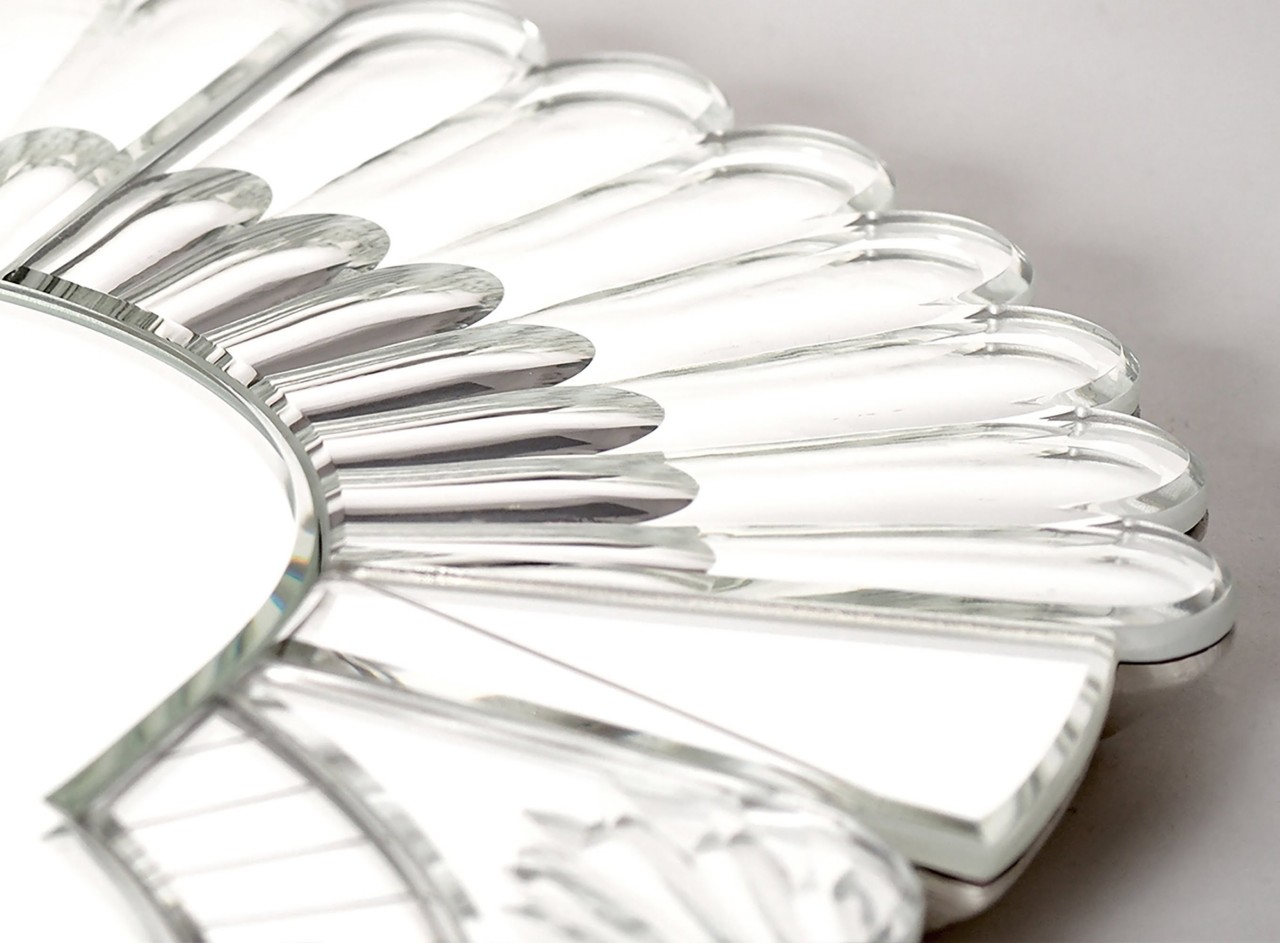
Radial Balance
Radial balance employs a central focal point from which design elements extend outward or inward. It uses a more intricate approach and revolves around a central focal point, such as a round rug or pendant light fixture, with all other elements arranged symmetrically around it.
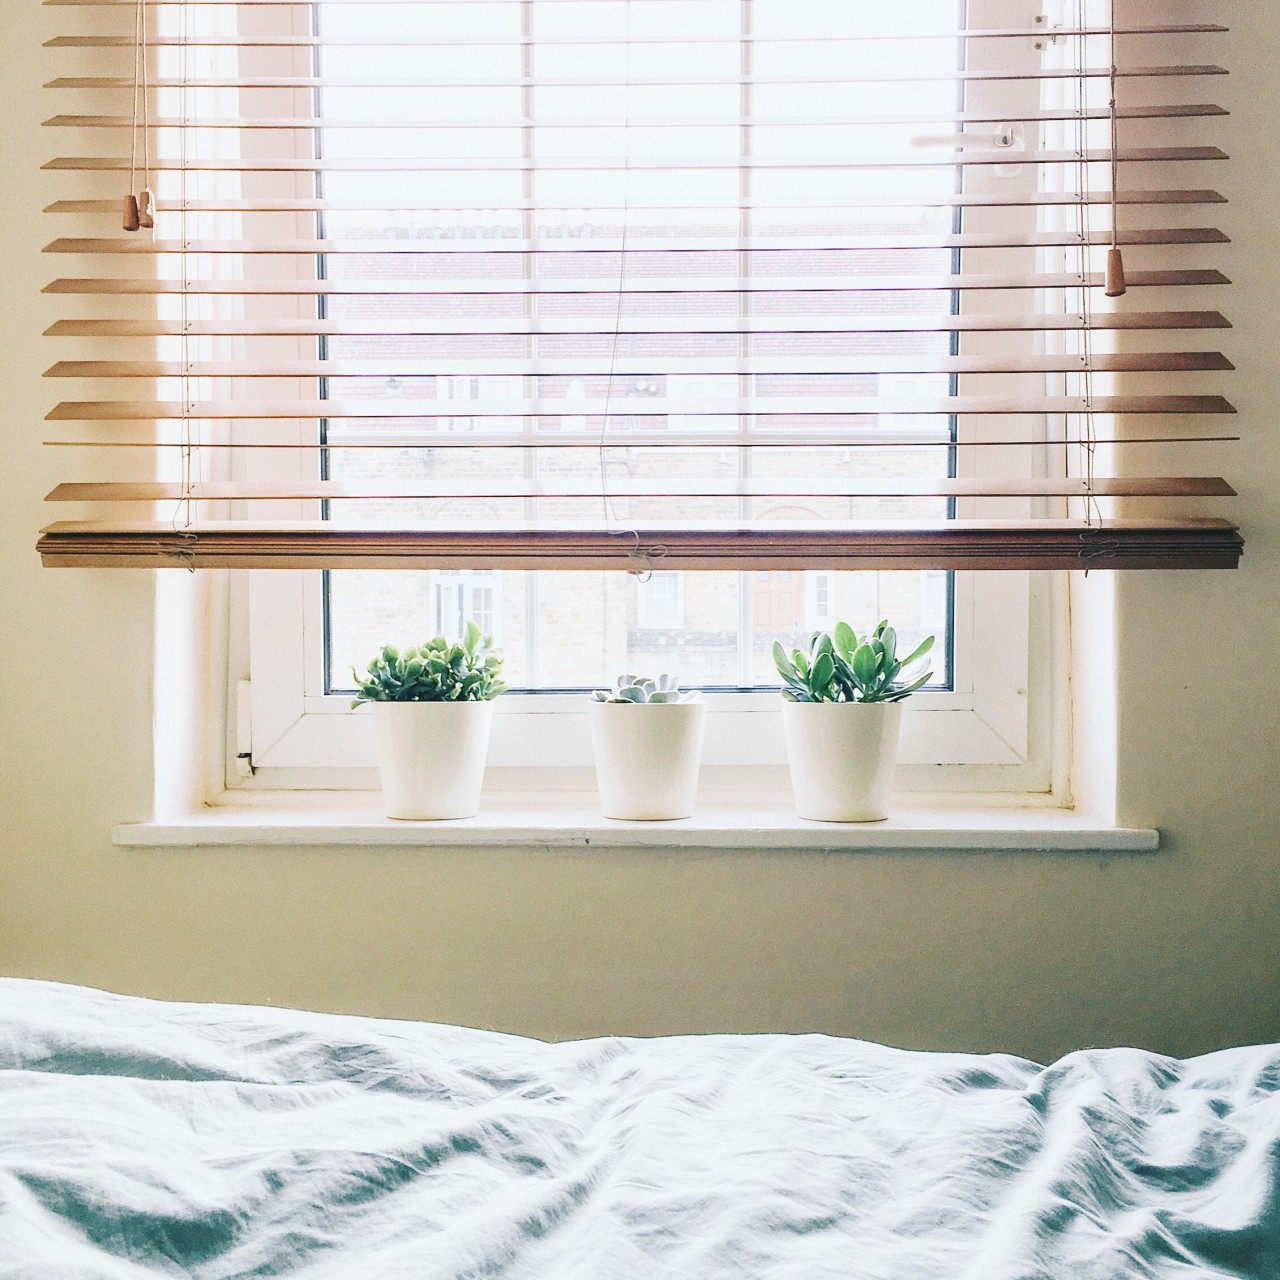
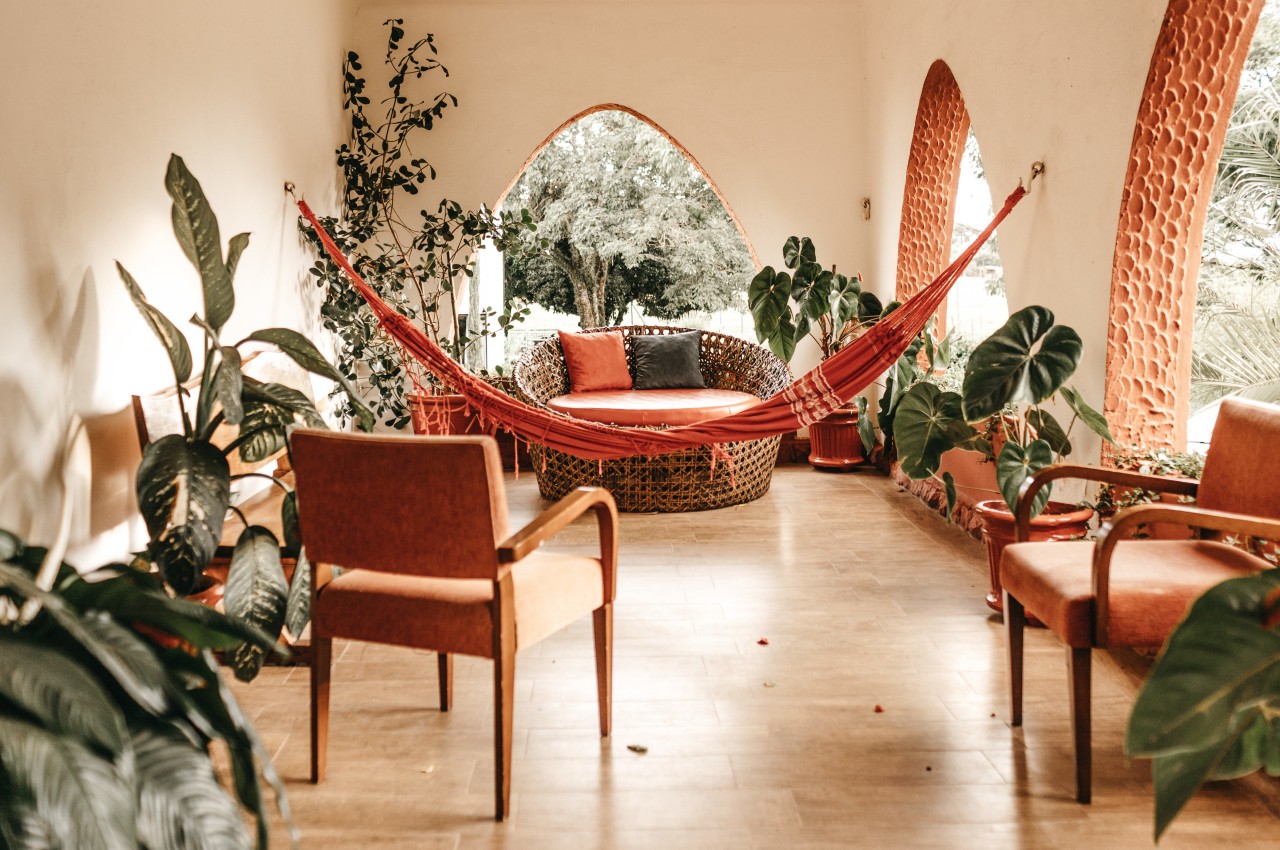
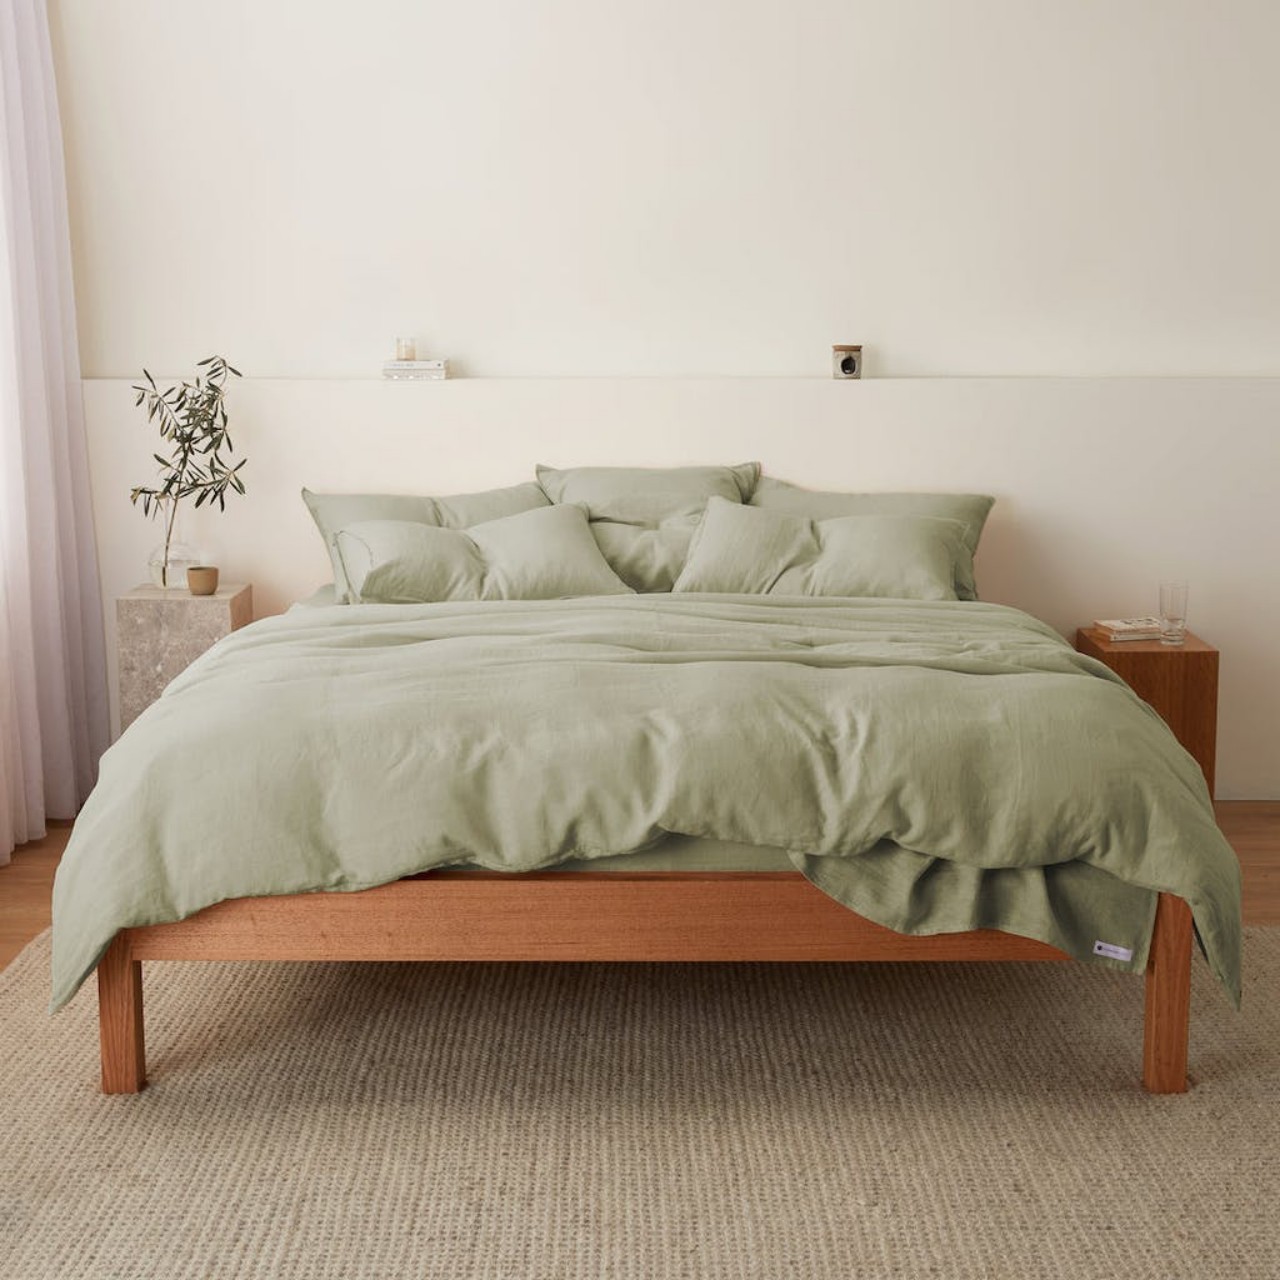
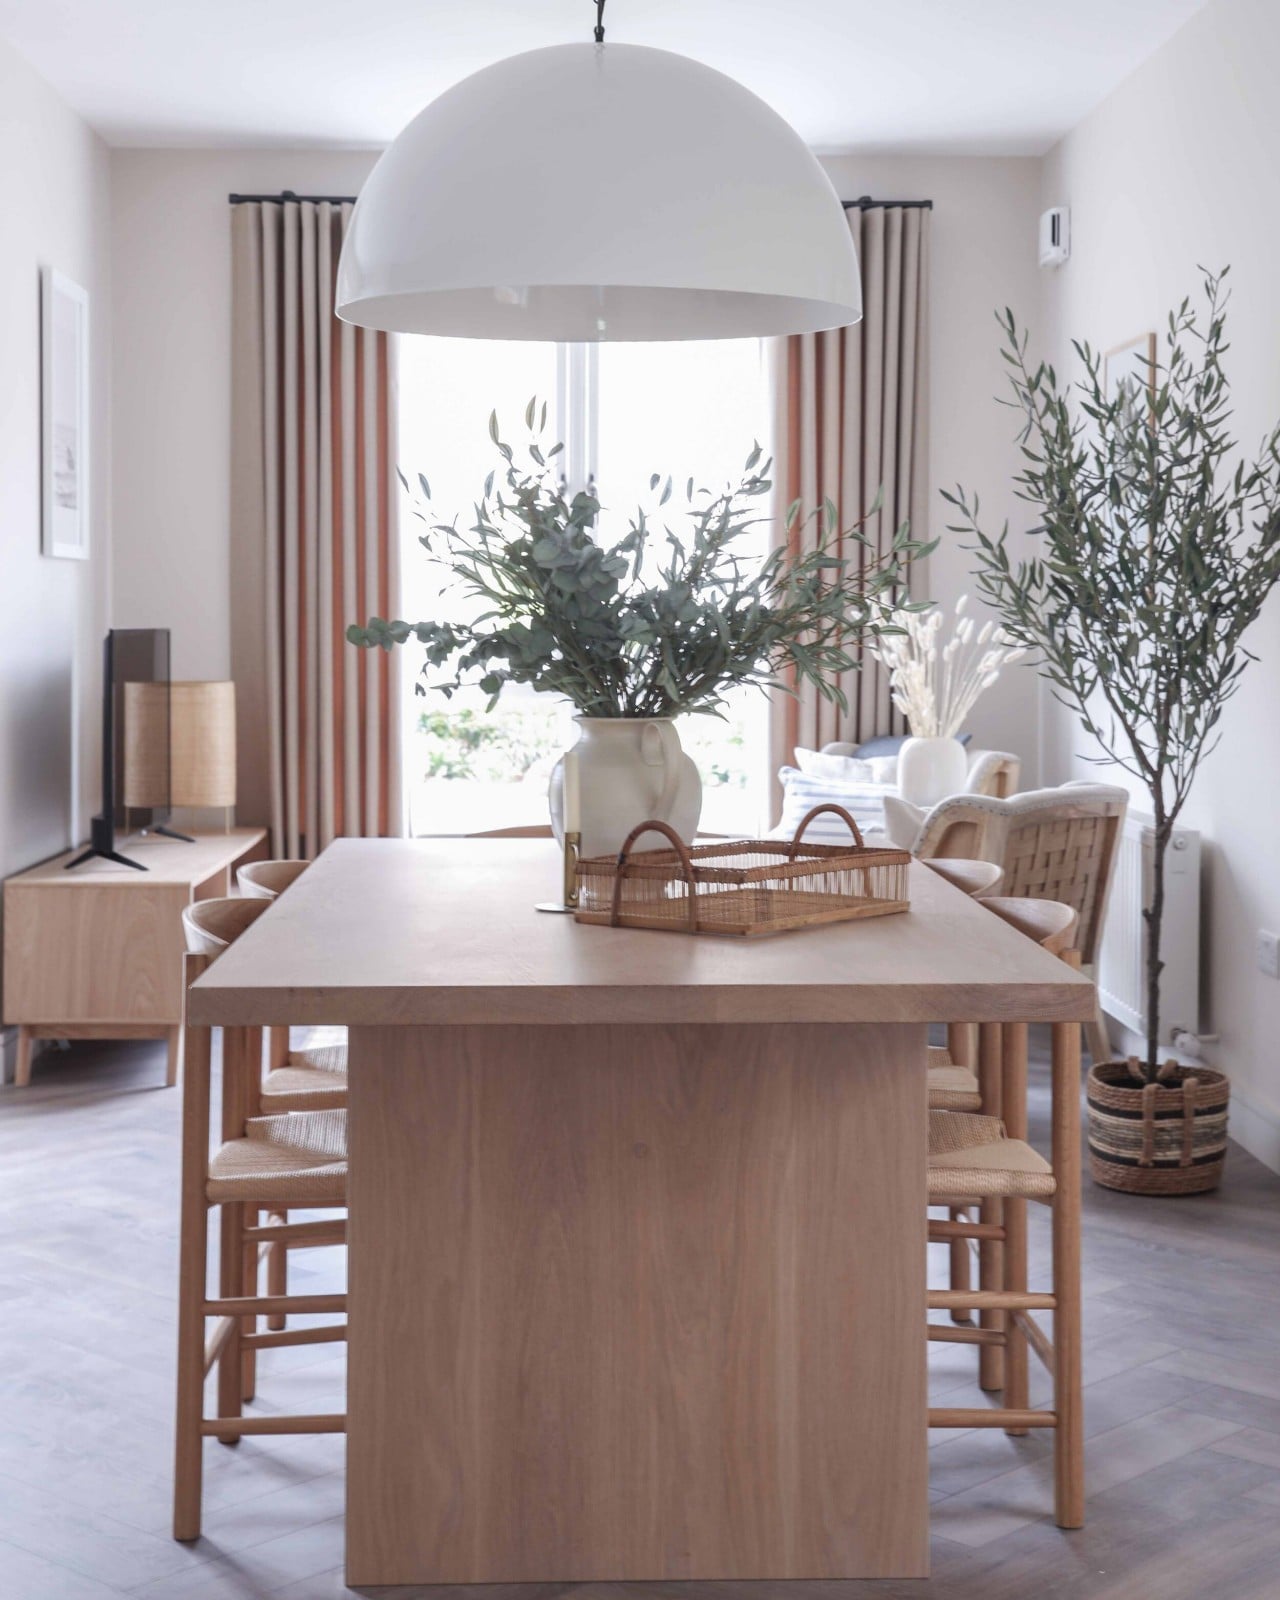
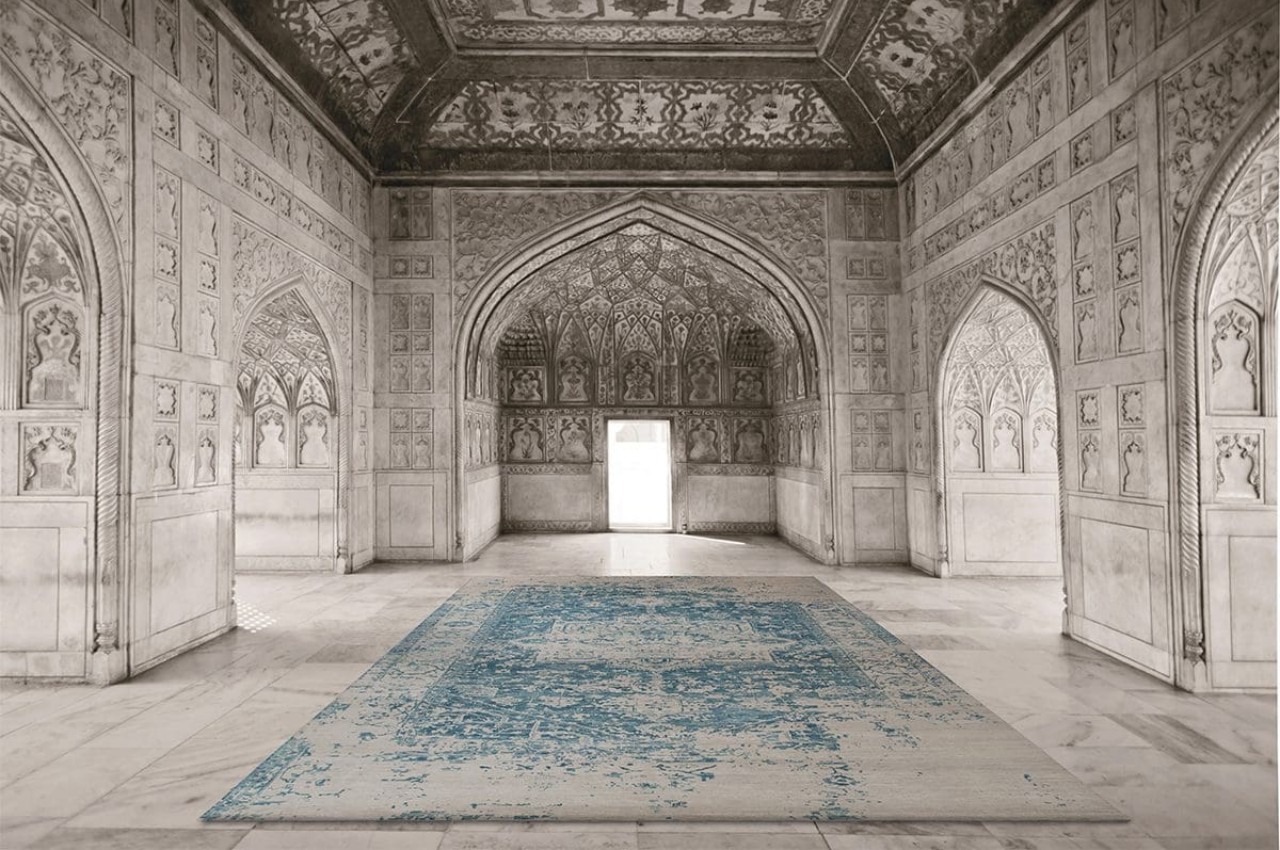
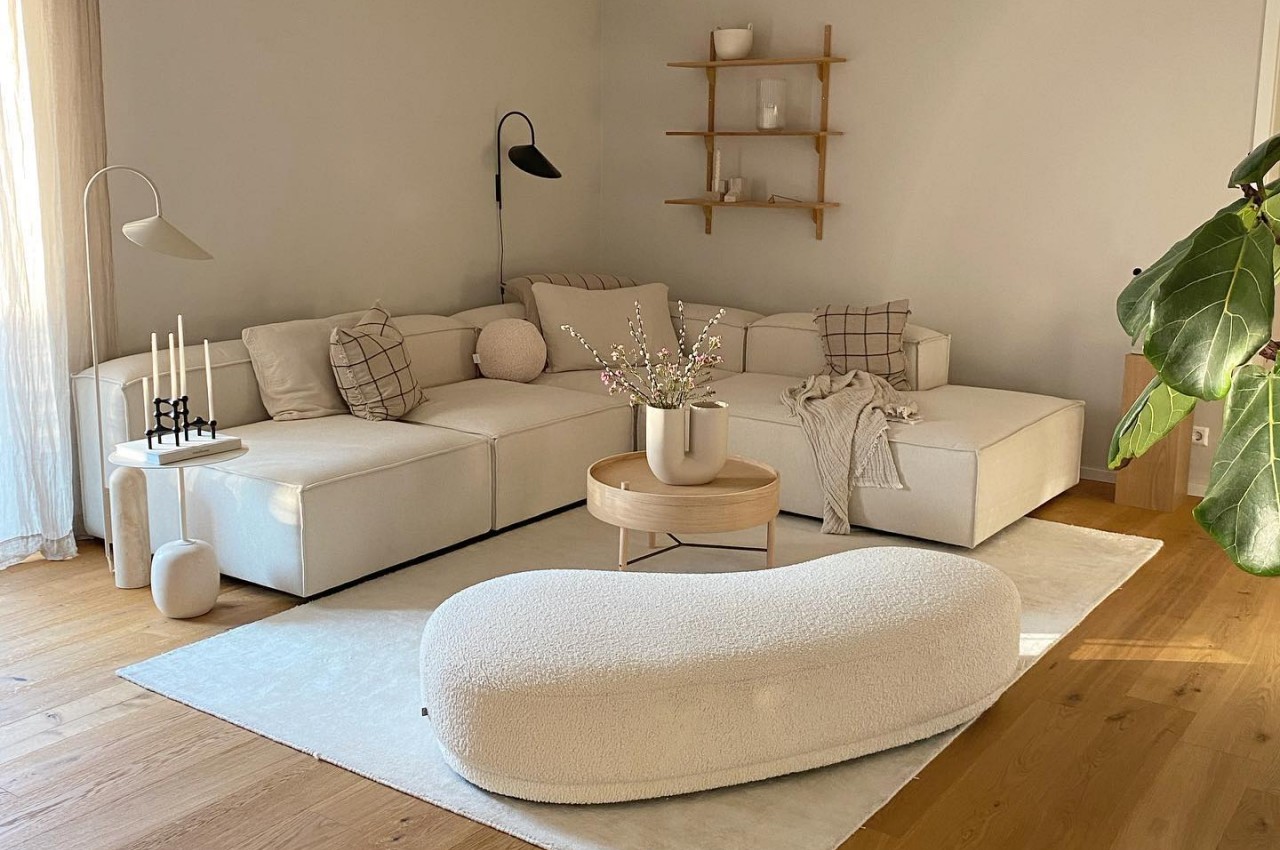
2. Harmony
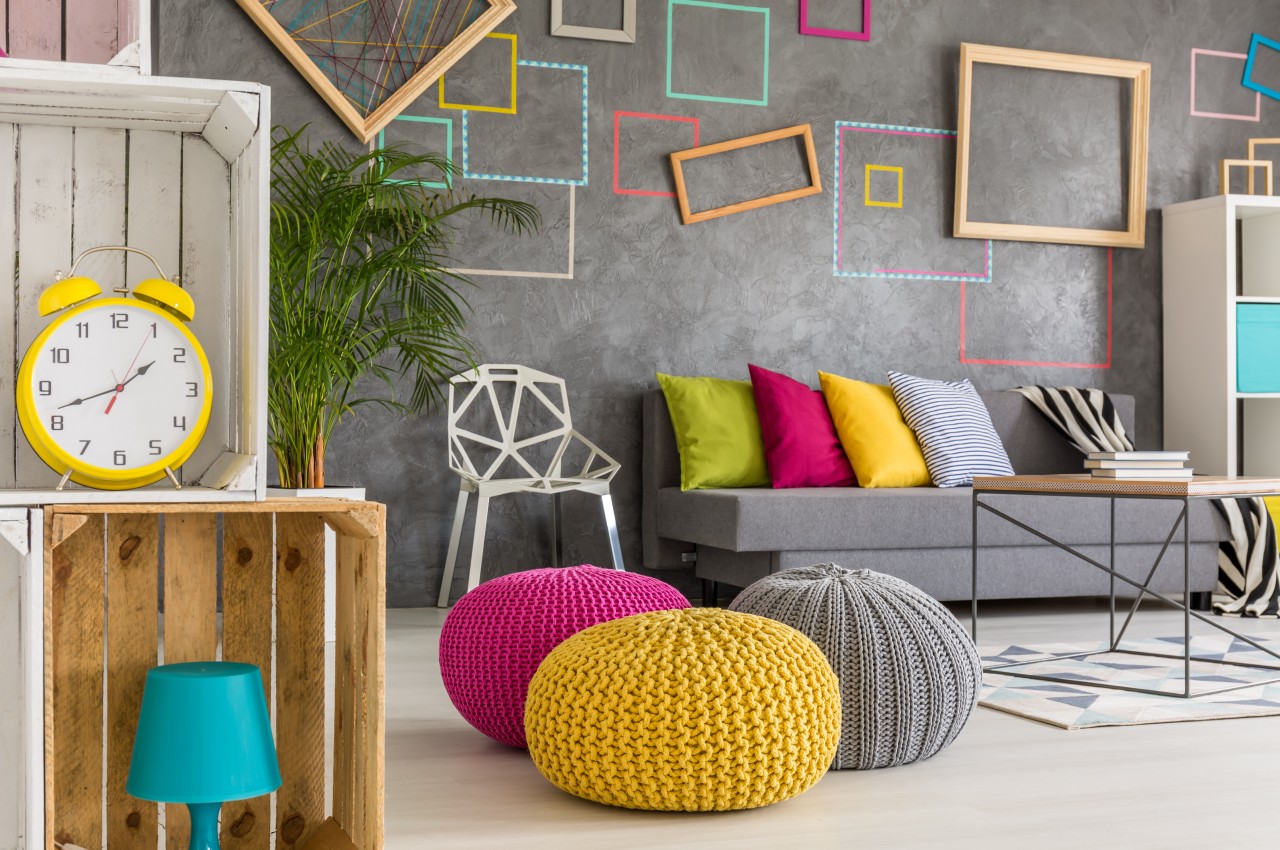
Image courtesy of: bialasiewicz
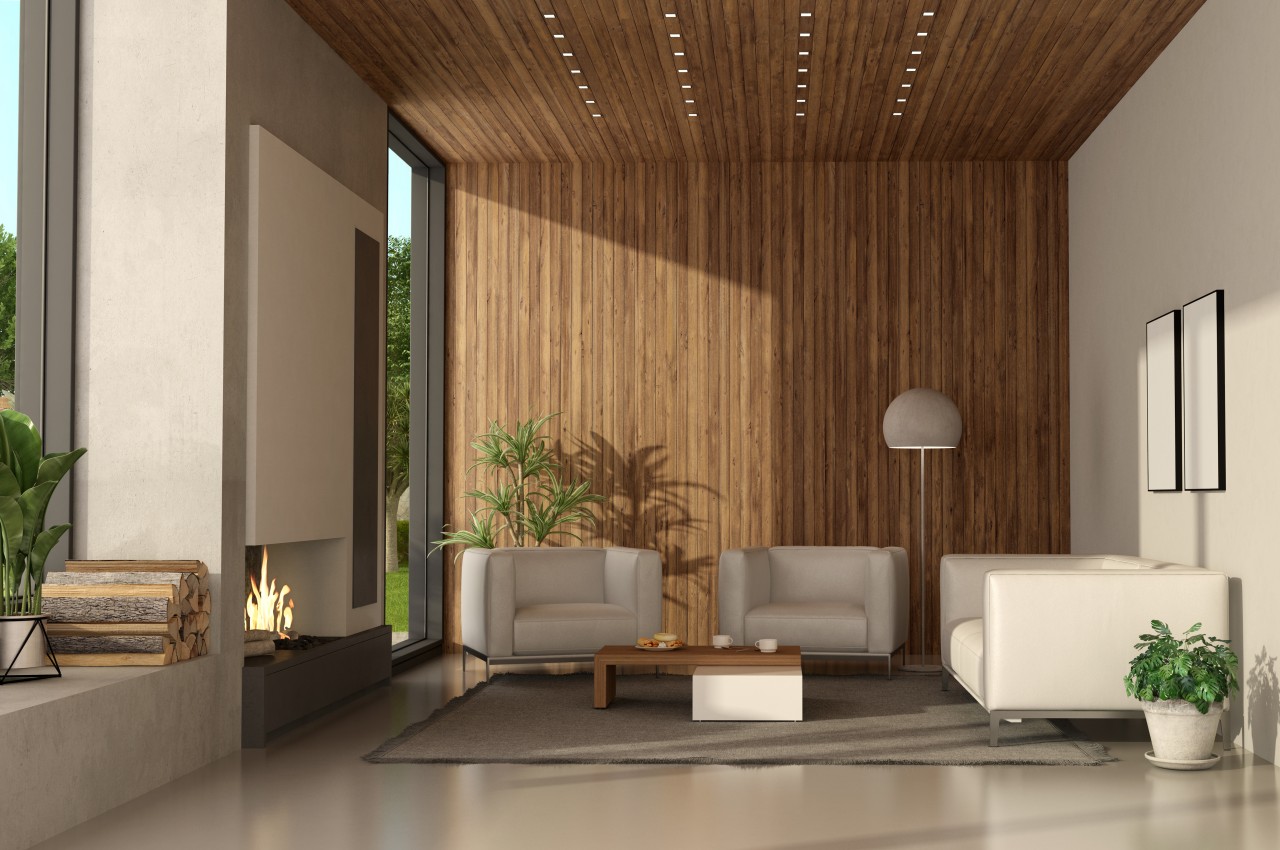
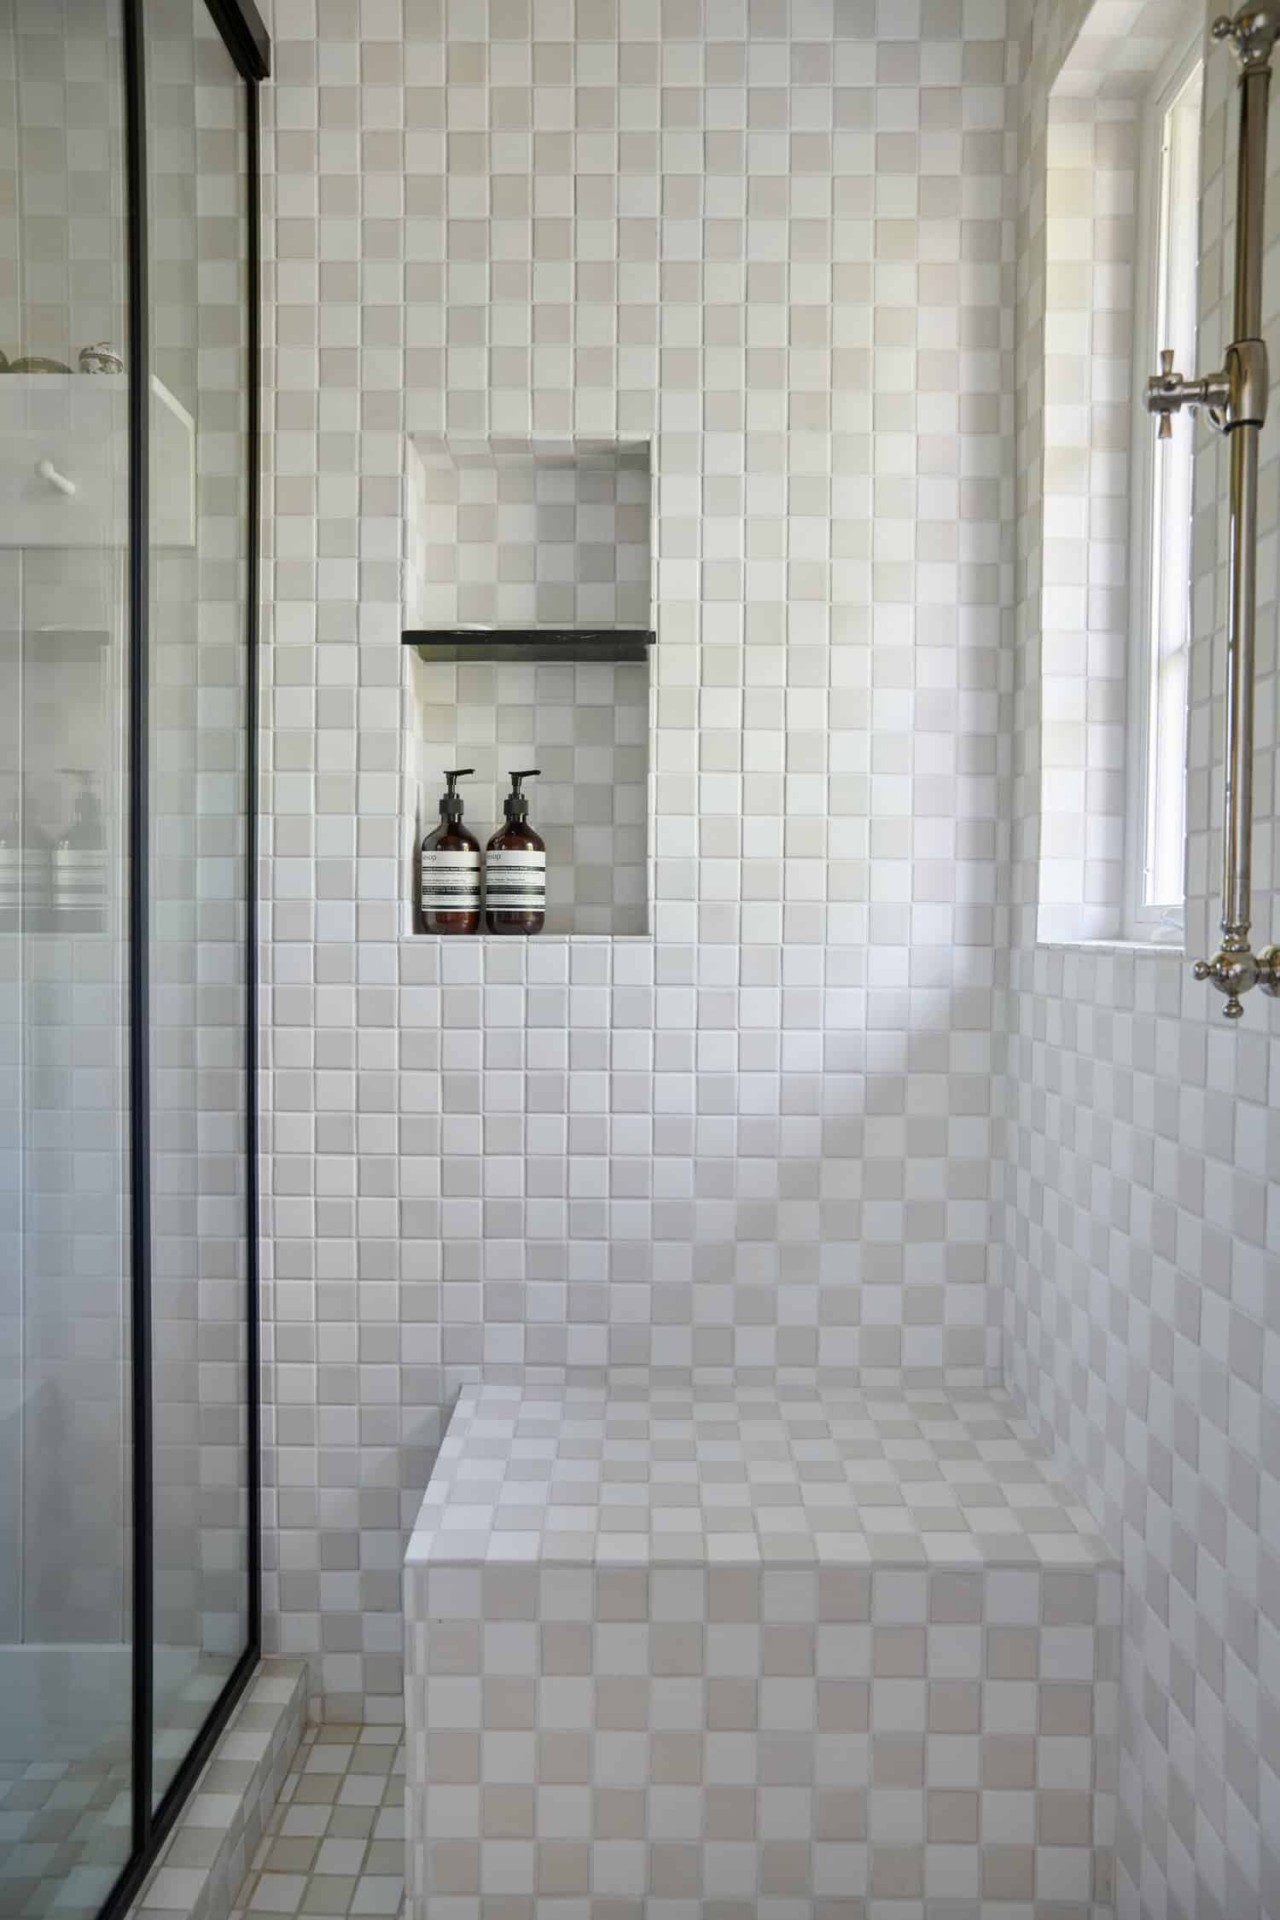
Harmony in design involves arranging objects and colors in a space to create a unified and cohesive aesthetic. It’s achieved when everything in a room works together to reinforce a common theme or style throughout the space. This might involve using a dominant color or pattern or selecting furniture pieces with similar shapes and textures. Harmony in interior design principles involves seamlessly blending style, theme, or mood to create a sense of unity and belonging in the room’s design. While not every element needs to match, they should complement each other, such as through the use of a consistent color scheme or pattern.
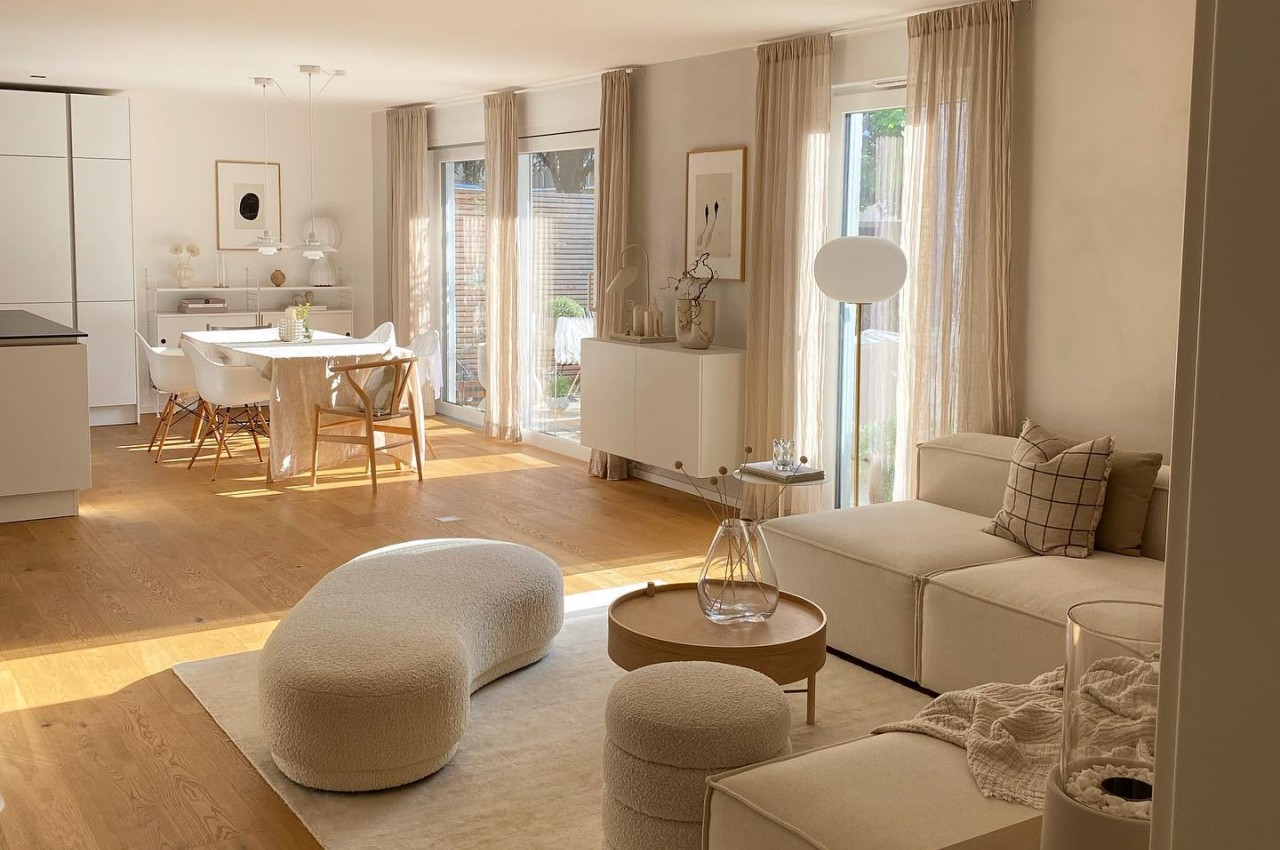
3. Rhythm
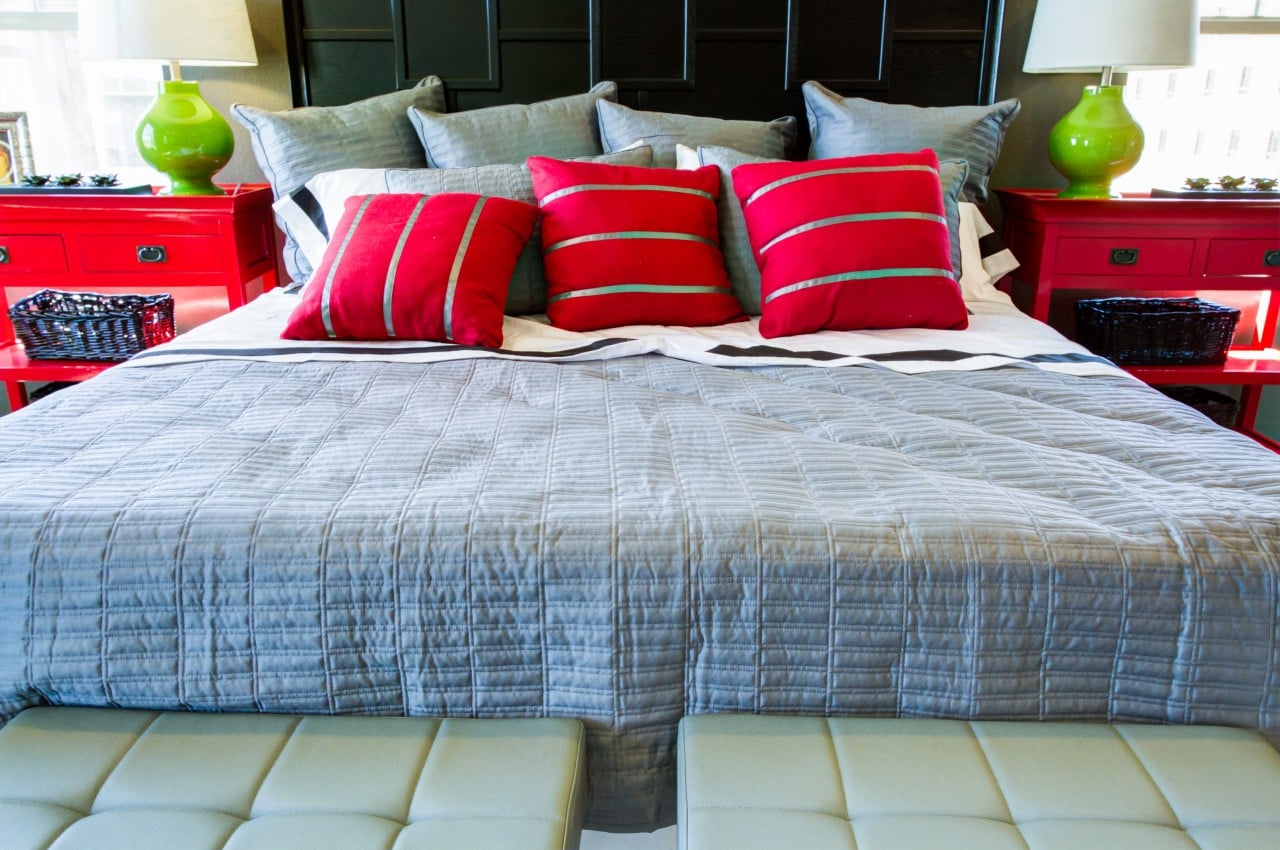
Image courtesy of: arina-habich
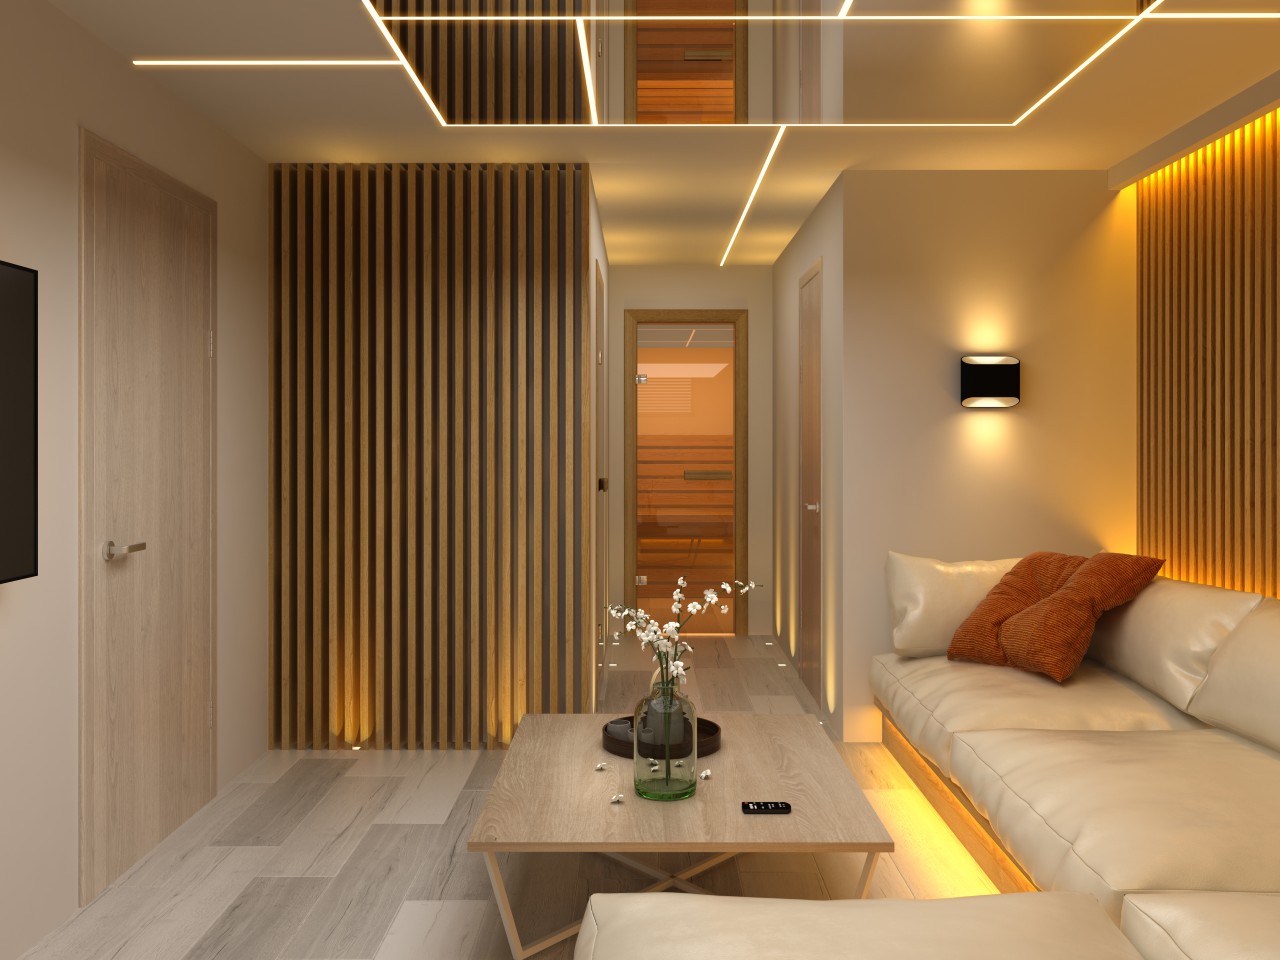
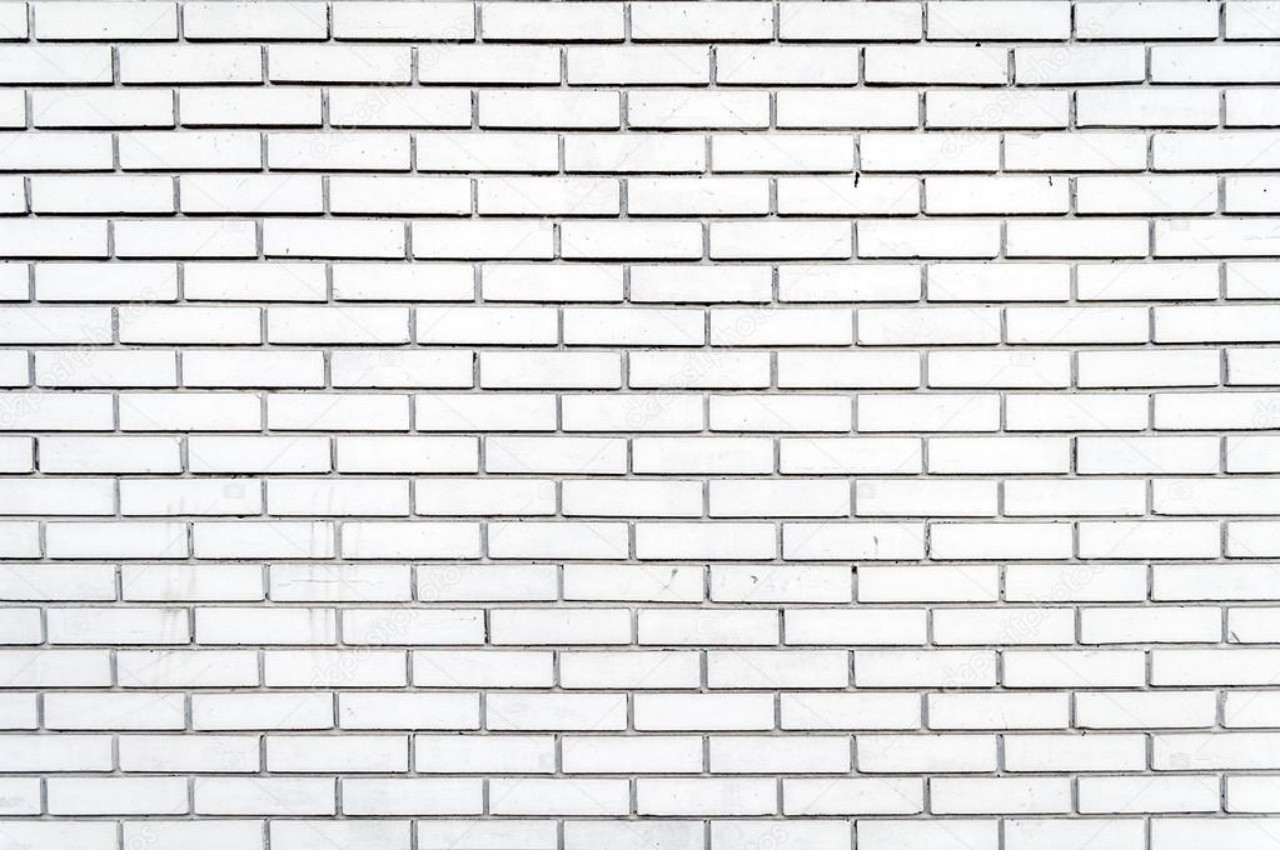
Rhythm is an important principle in interior design that revolves around the repetition or contrast of design elements to create movement and visual interest. Much like music and poems use repetition to establish rhythm, in interior design, repeating specific elements at regular intervals defines rhythm. This element is crucial for a well-executed design, as it significantly influences both the functionality and aesthetic appeal of a space. Colors, patterns, and textures are employed in rhythm to generate visual interest and guide the eye throughout the space. For example, repeating a geometric pattern across various elements like rugs, throw pillows, and artwork establishes rhythm and cohesion within the overall design. By utilizing these visual techniques, the eye can be directed throughout the space and enhance the room’s overall appeal.
4. Scale and Proportion
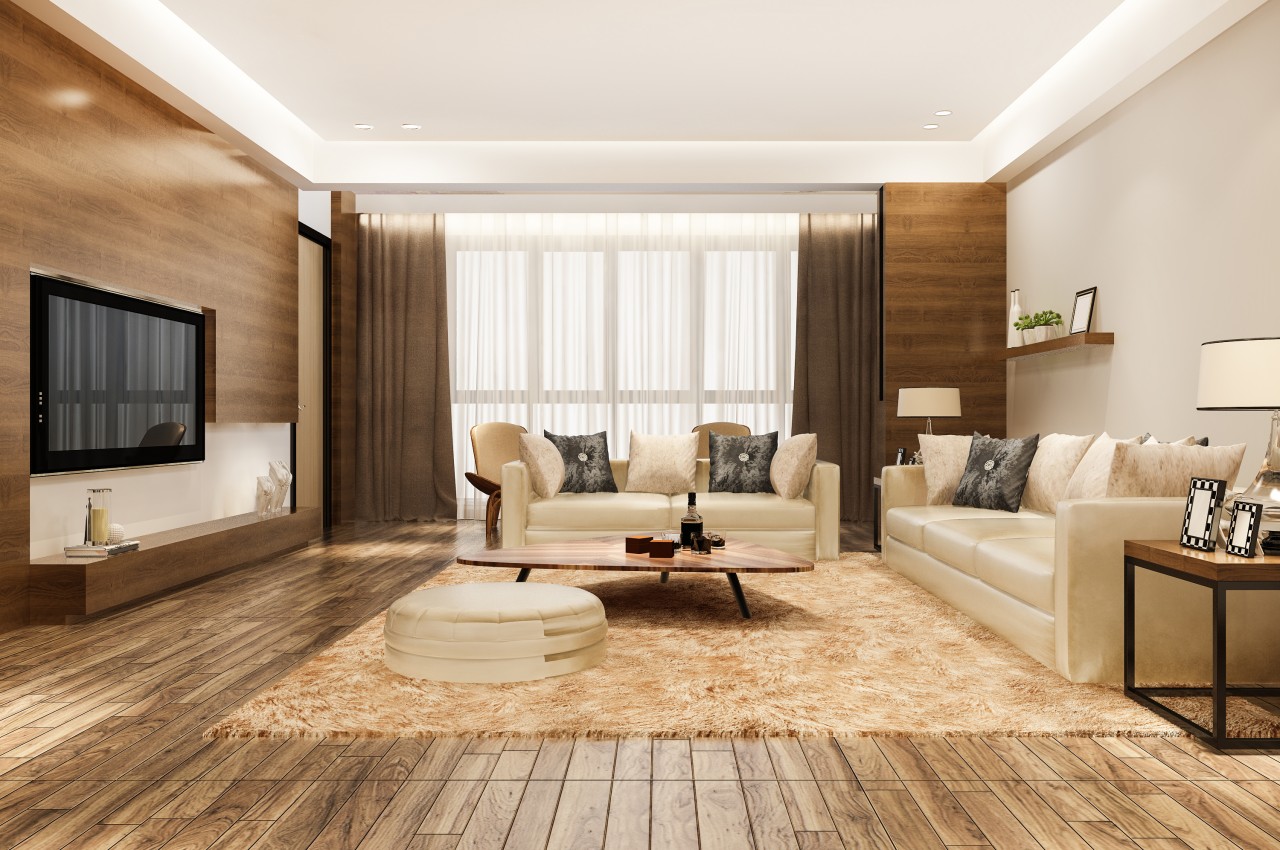
Image courtesy of: dit26978
Proportion refers to the relationship between two items, while scale concerns how one object’s size relates to another. For instance, a tiny rug in a spacious living room can appear disproportionate. Conversely, an oversized lamp on a small side table might seem overwhelming in scale. In the industry, both scale and proportion relate to object size. Scale refers to the size of objects to others or the space itself. For example, a bed may be measured in proportion to the average human body. Note that the ancient Greeks unveiled the mystery of proportions through the Golden Ratio, a formula that enhances aesthetic appeal by simplifying proportions into a harmonious equation. This ratio embodies perfect symmetry between two proportions and is not only evident but also widely employed by artists and architects for its profound impact on design.
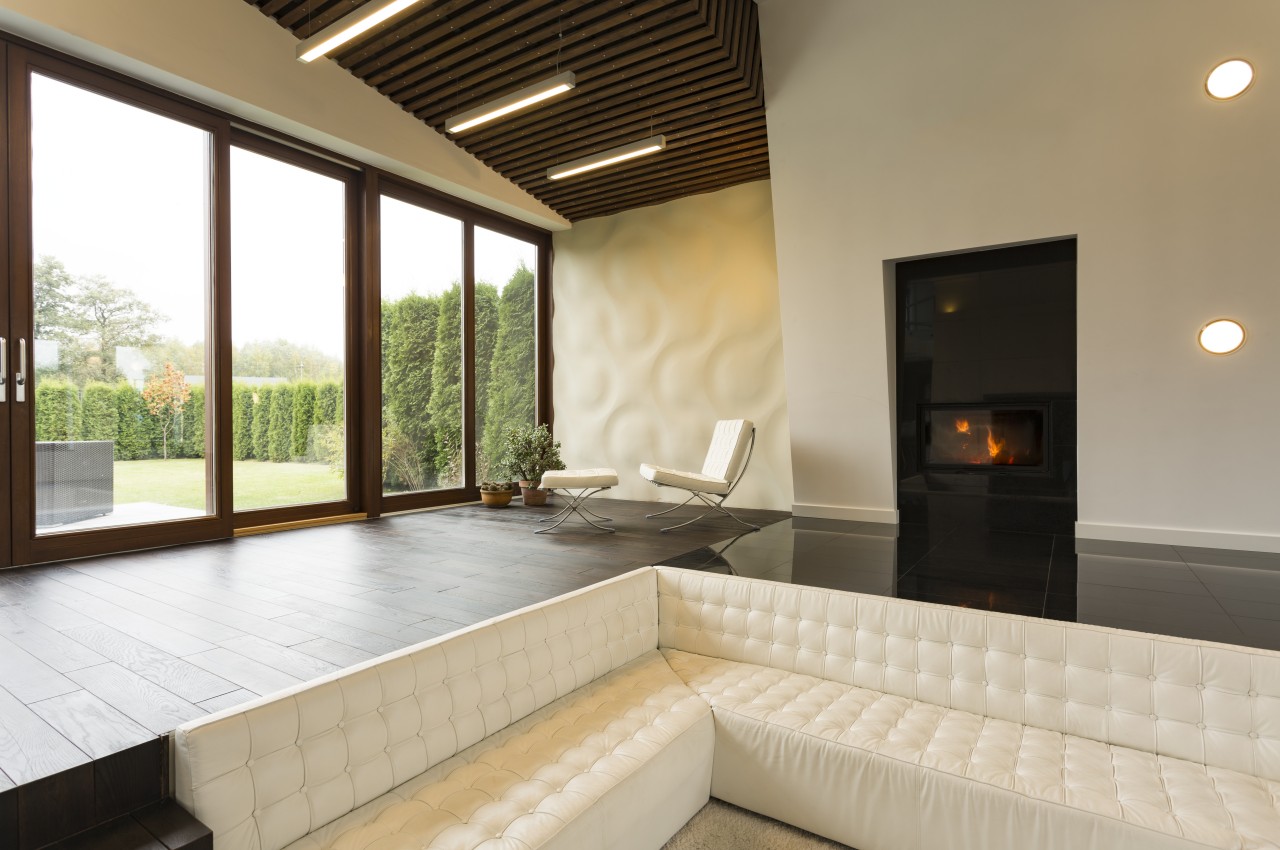
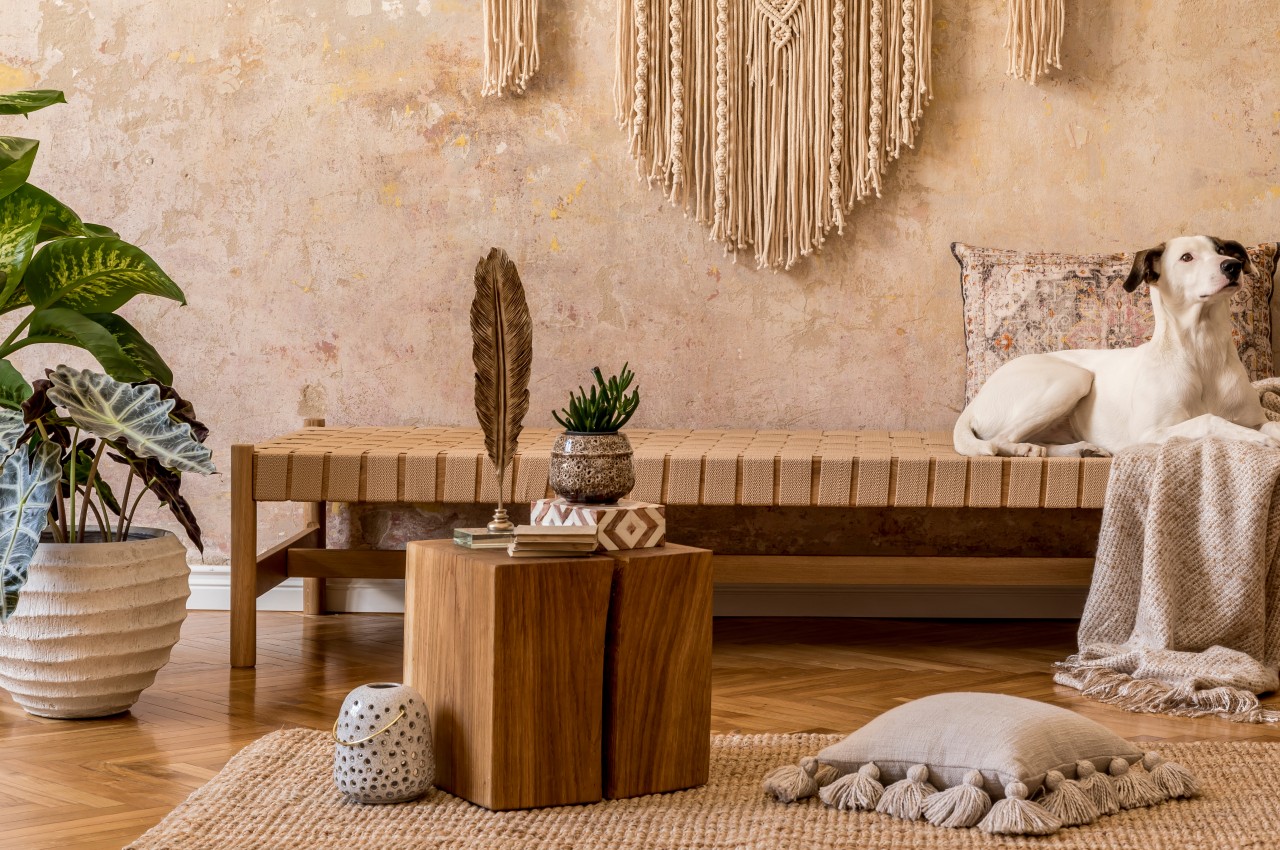
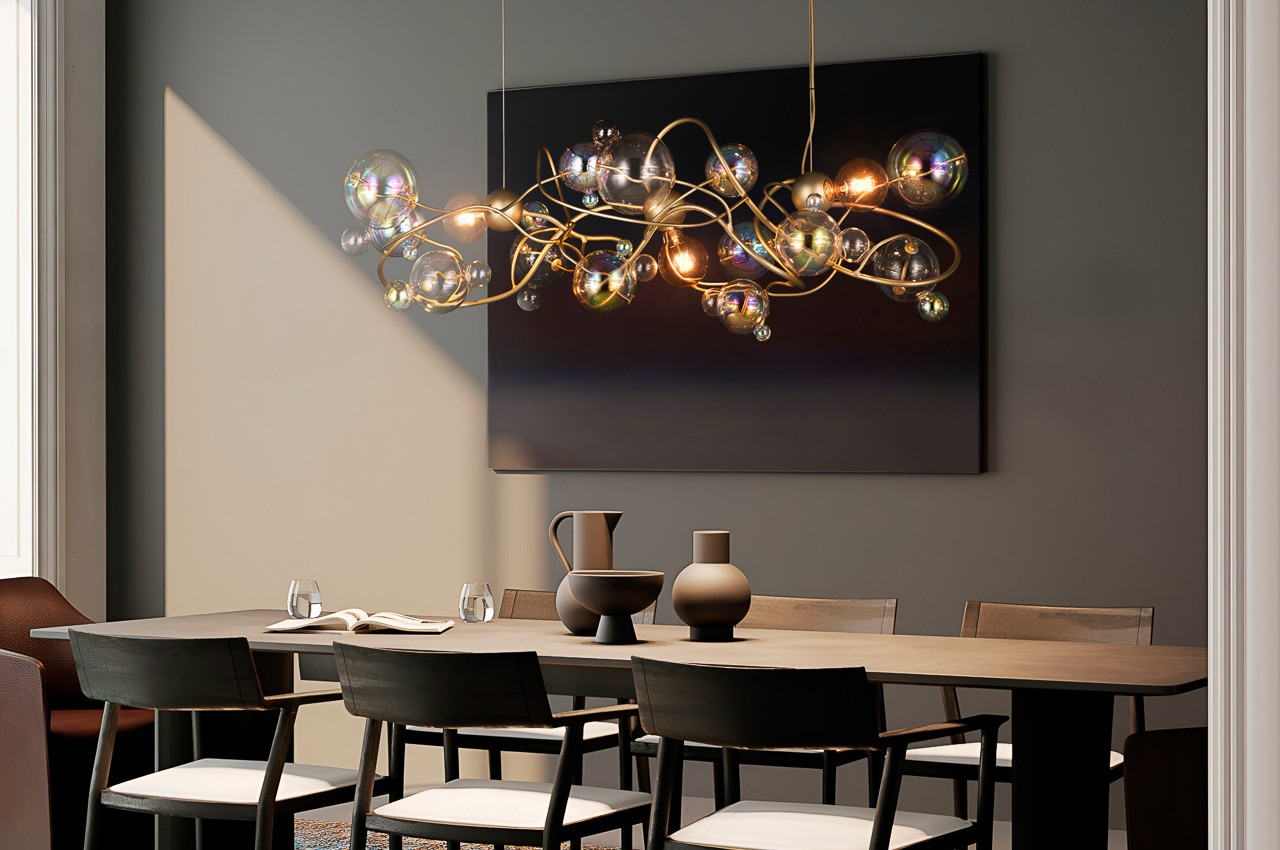
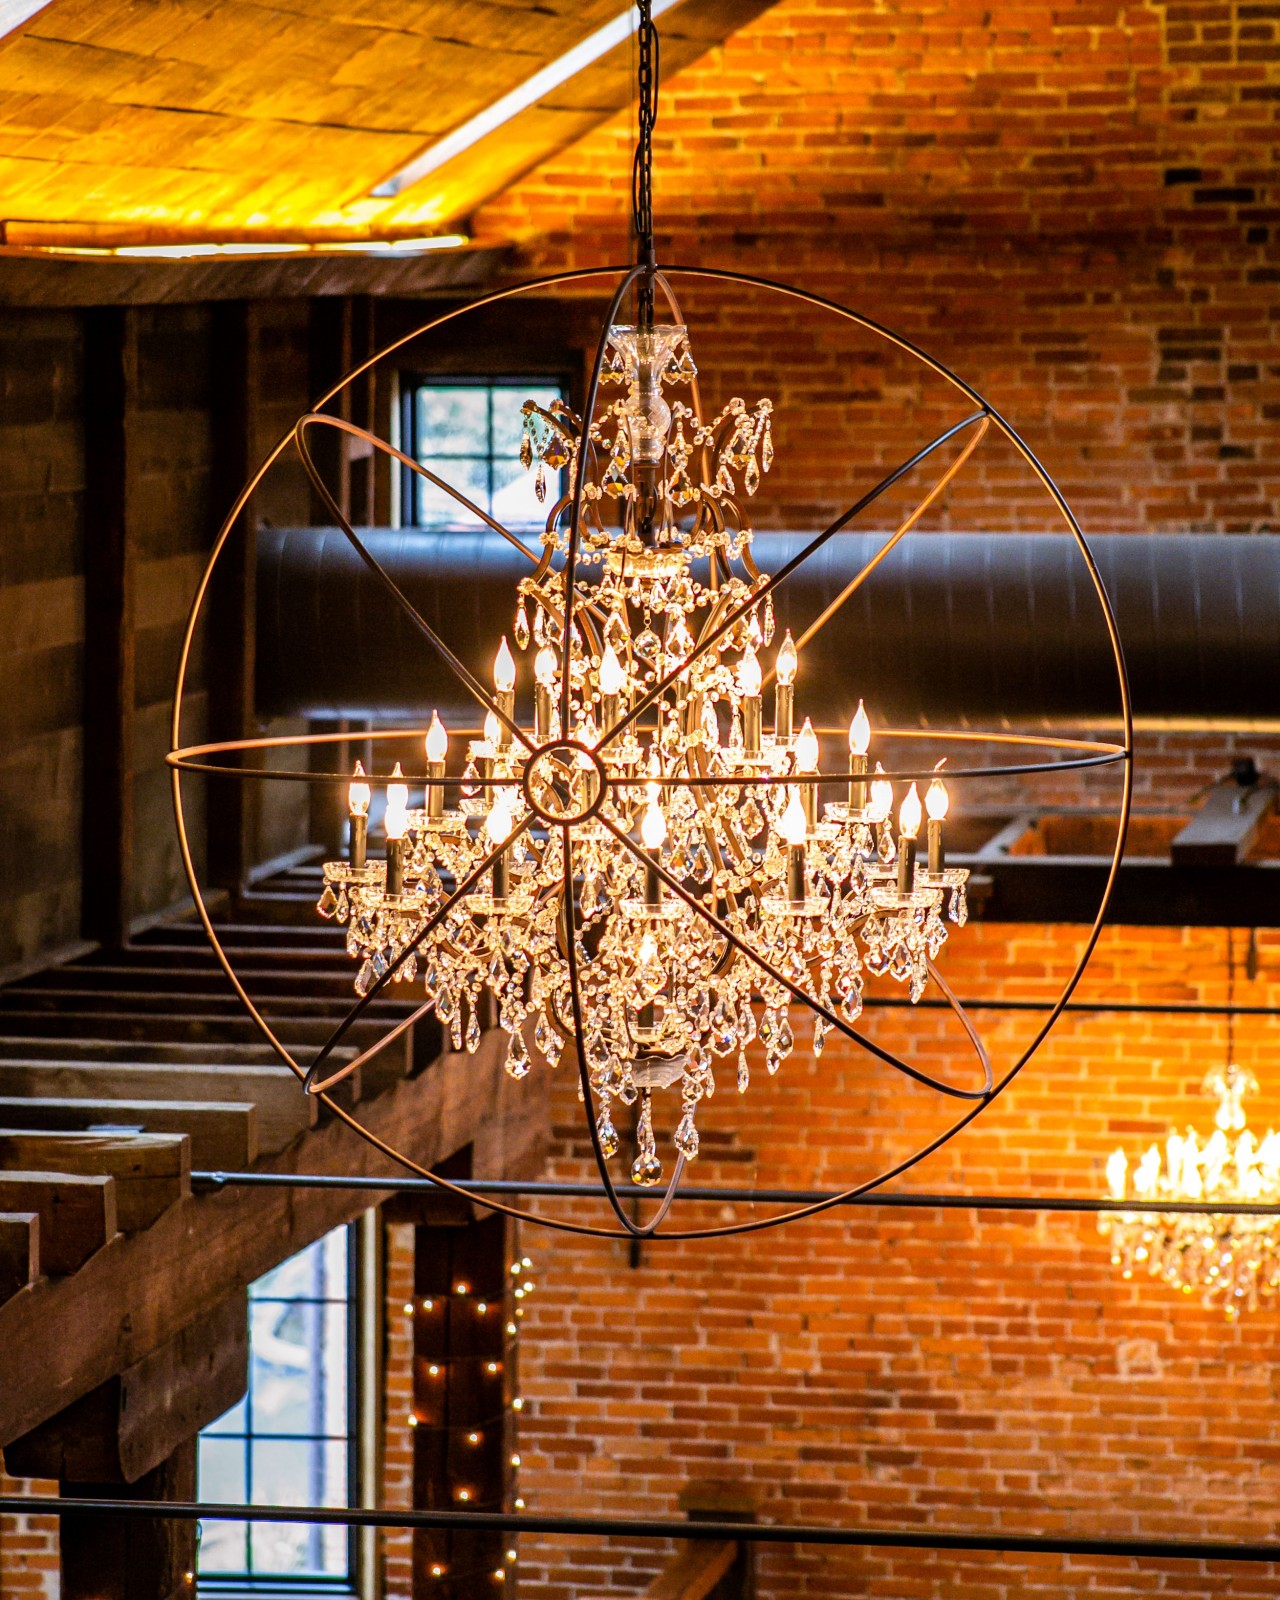
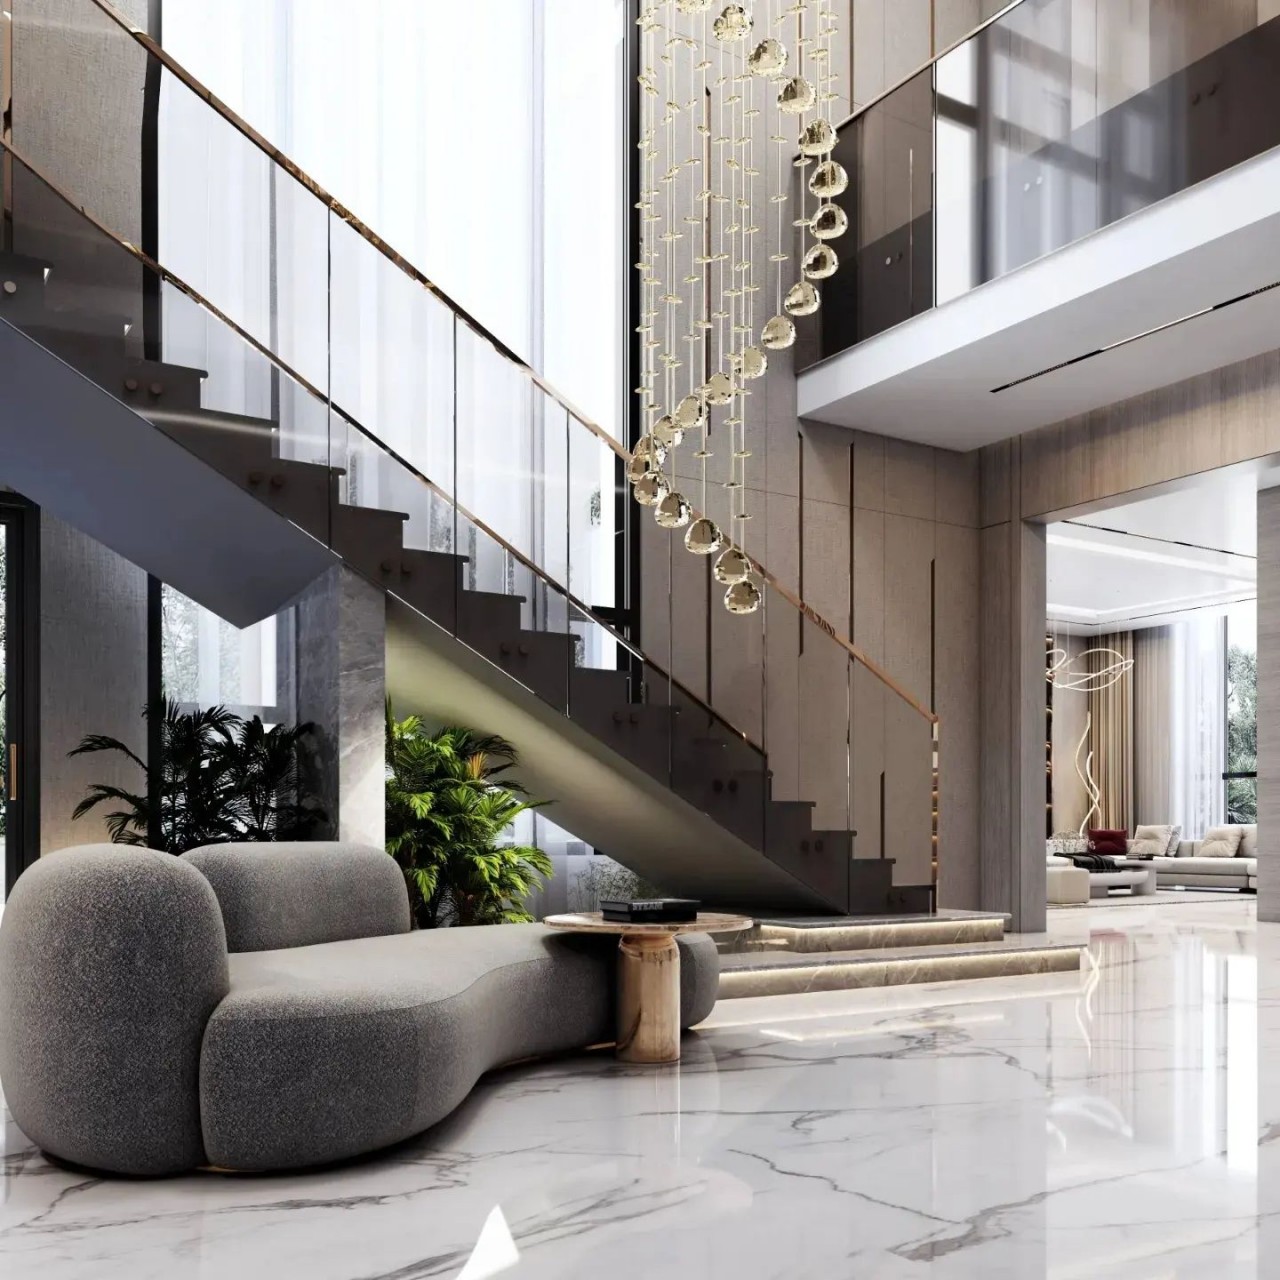
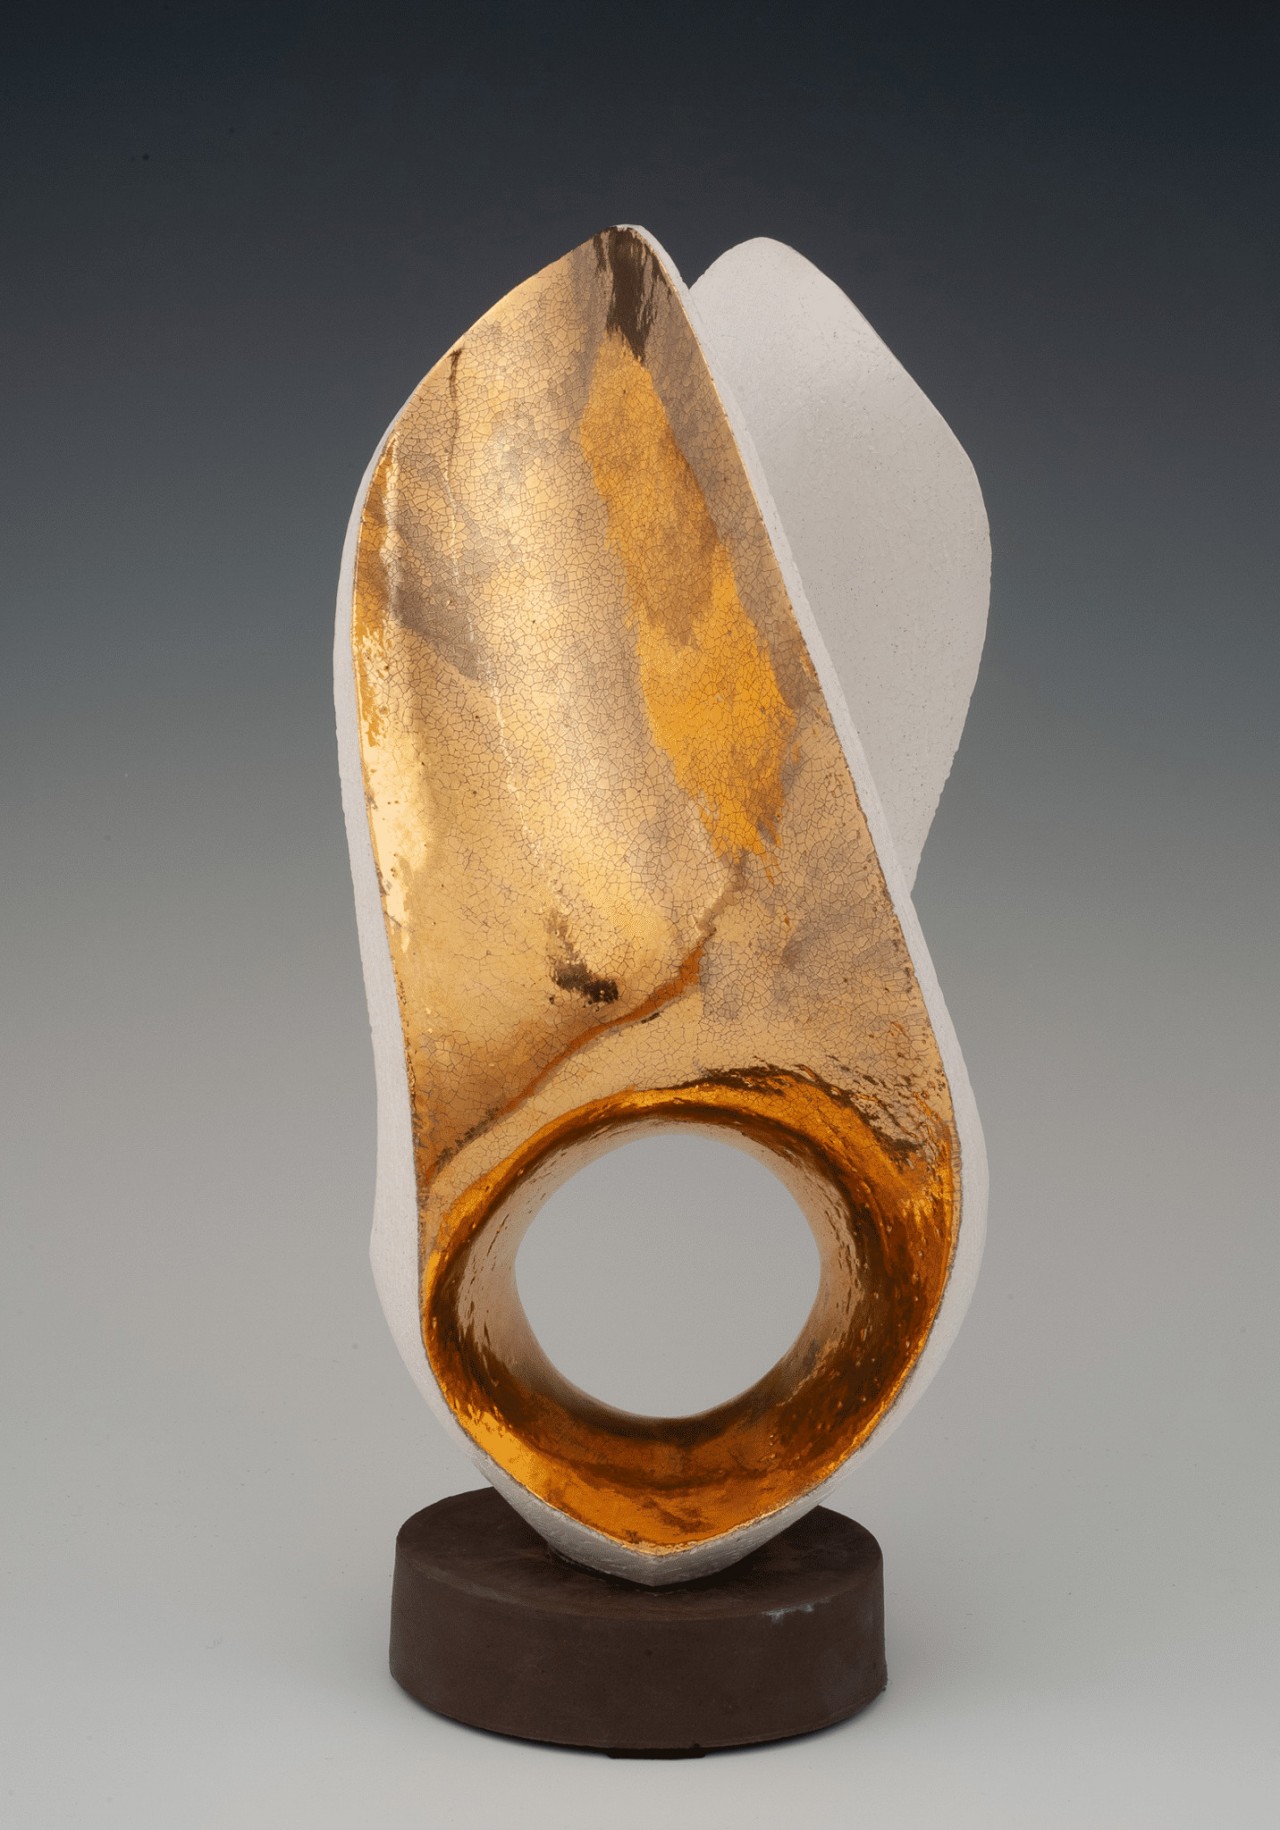
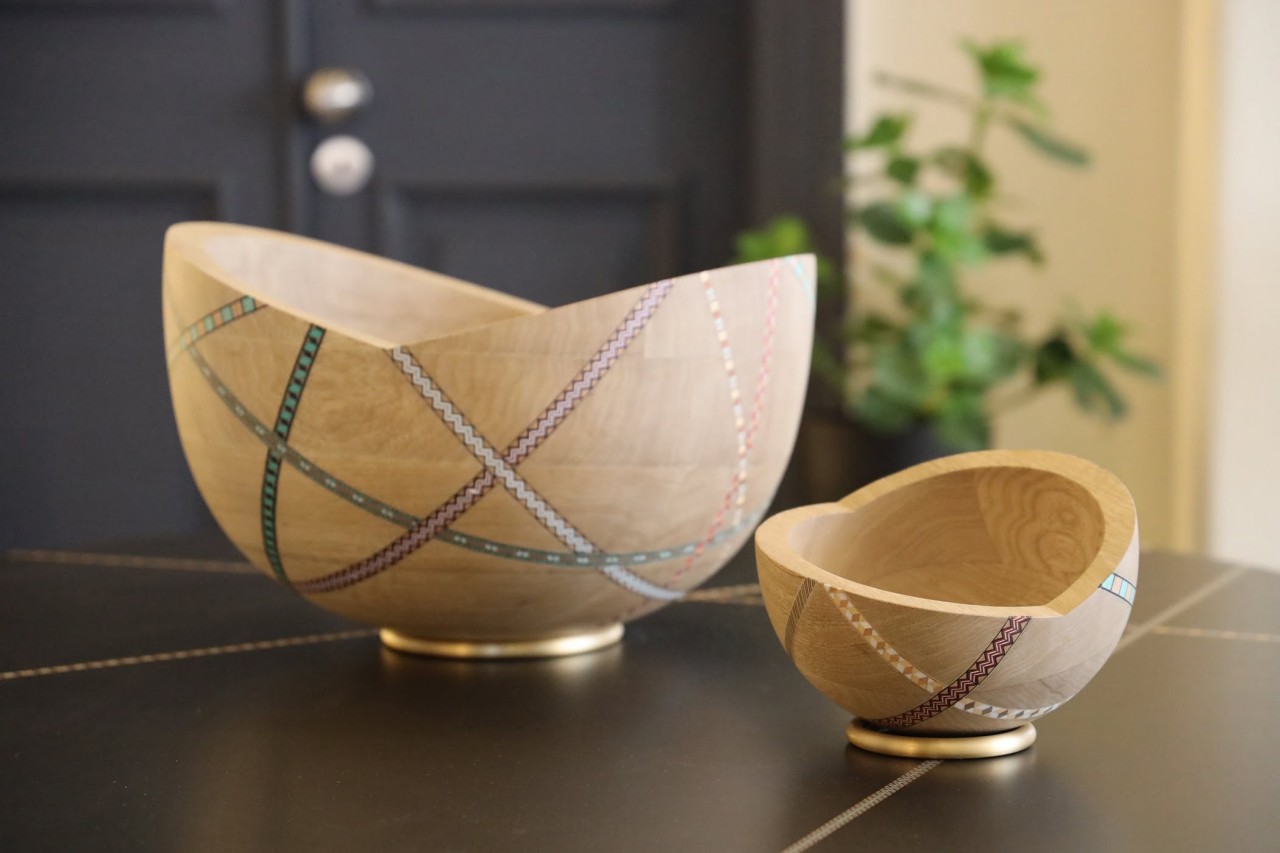
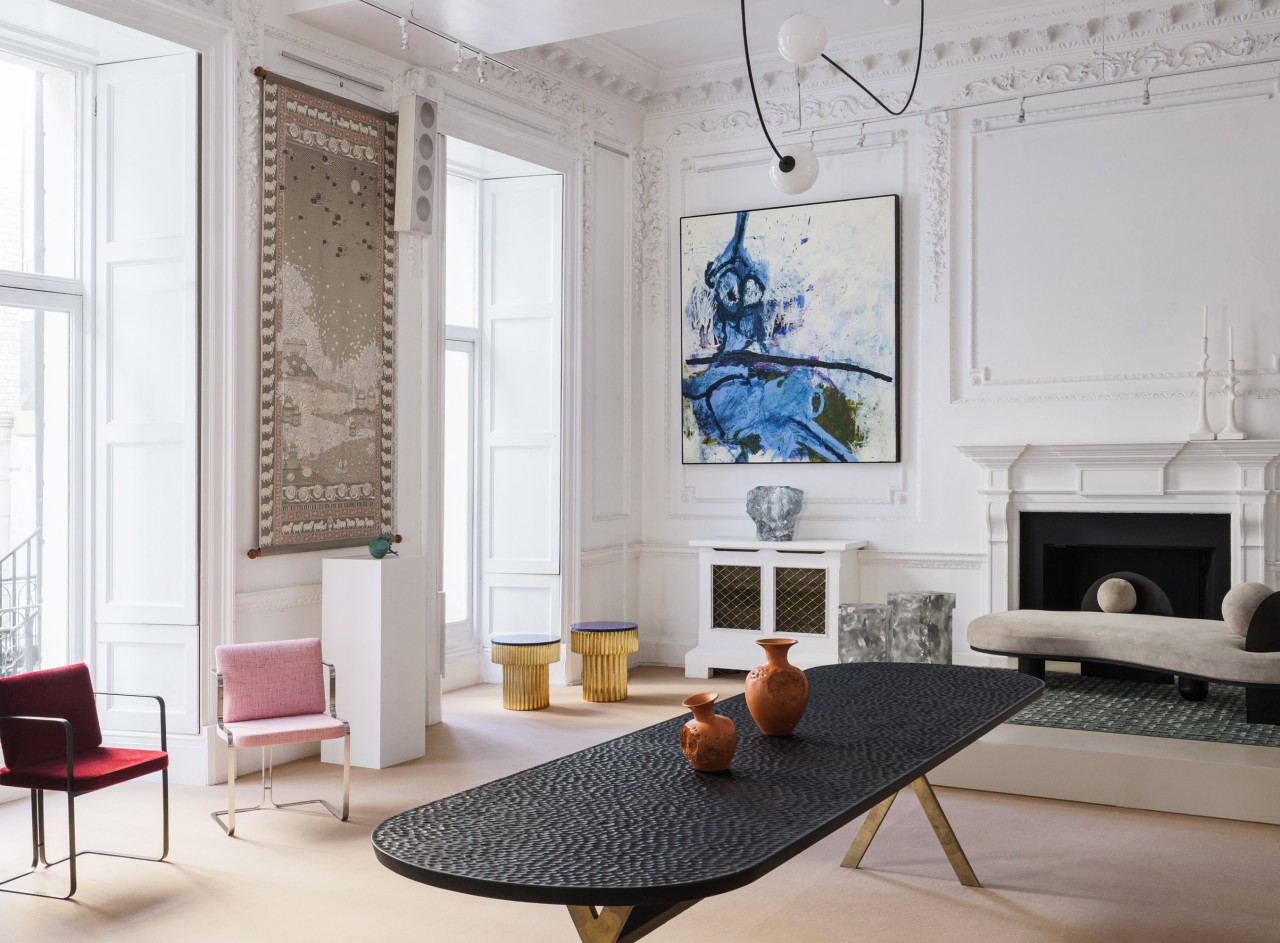
5. Emphasis
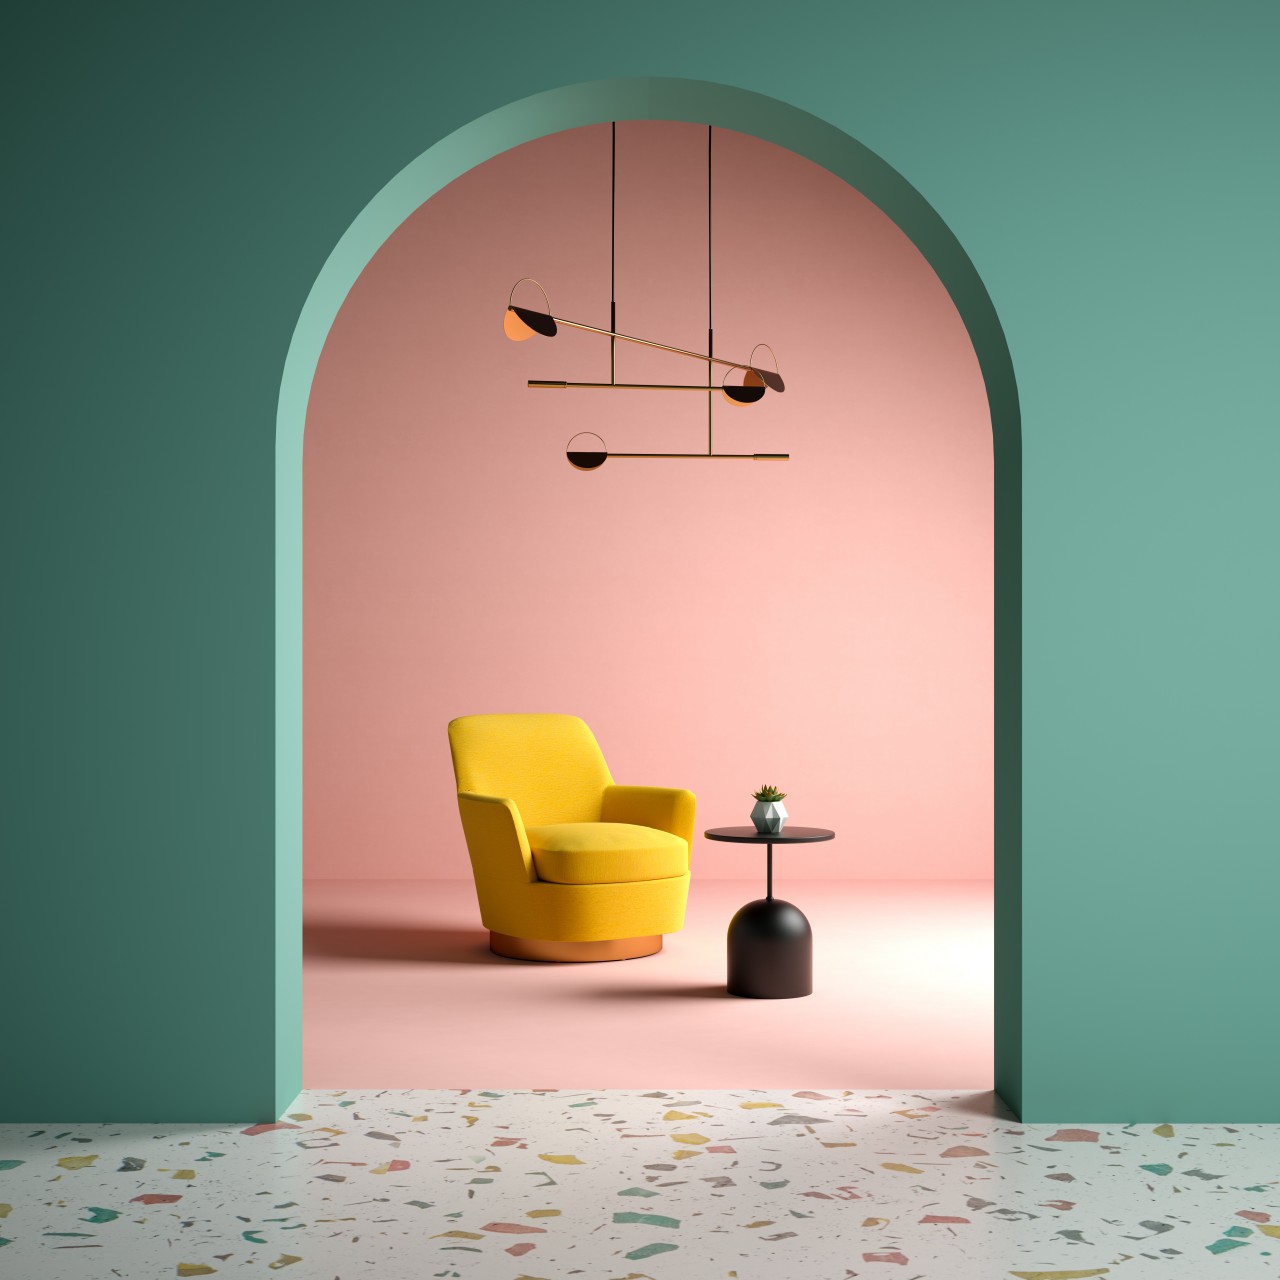
Image courtesy of: hemul75
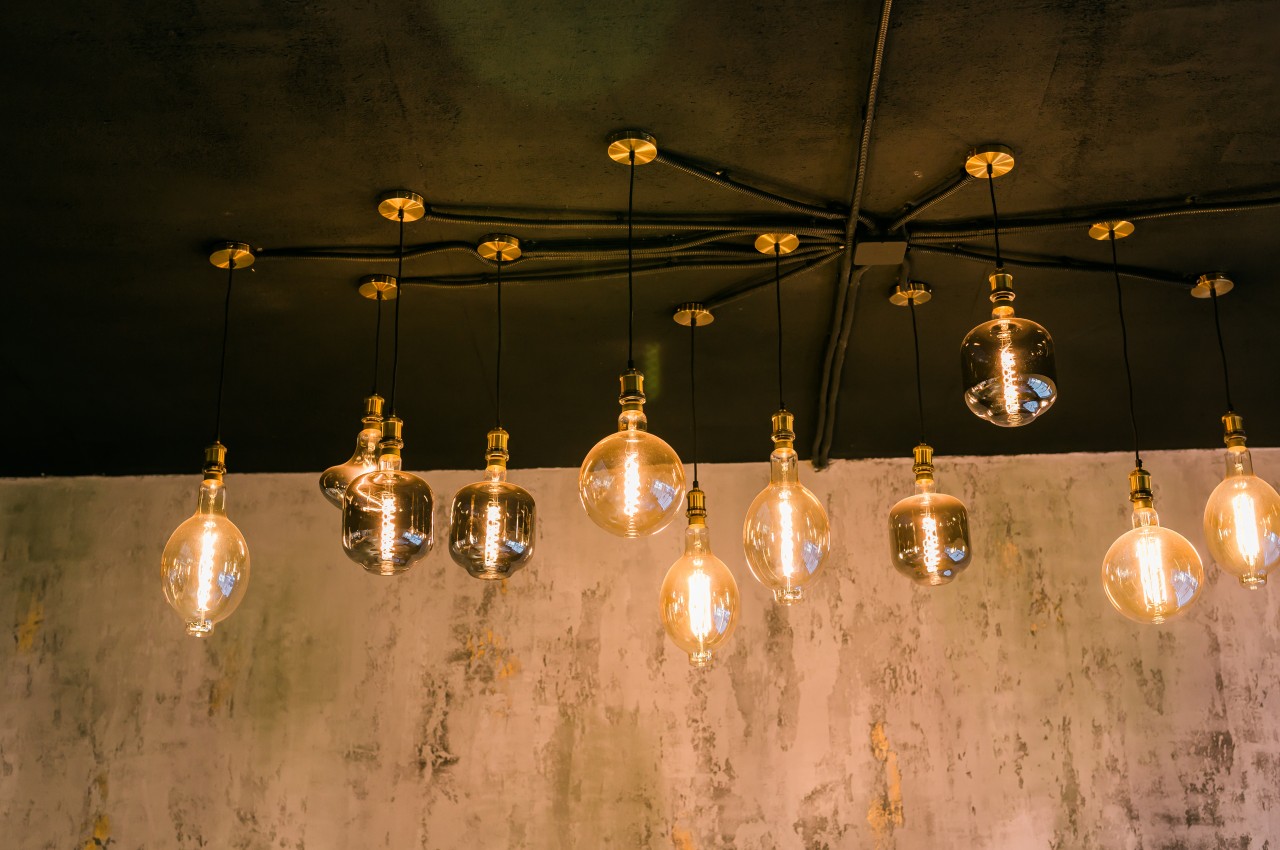
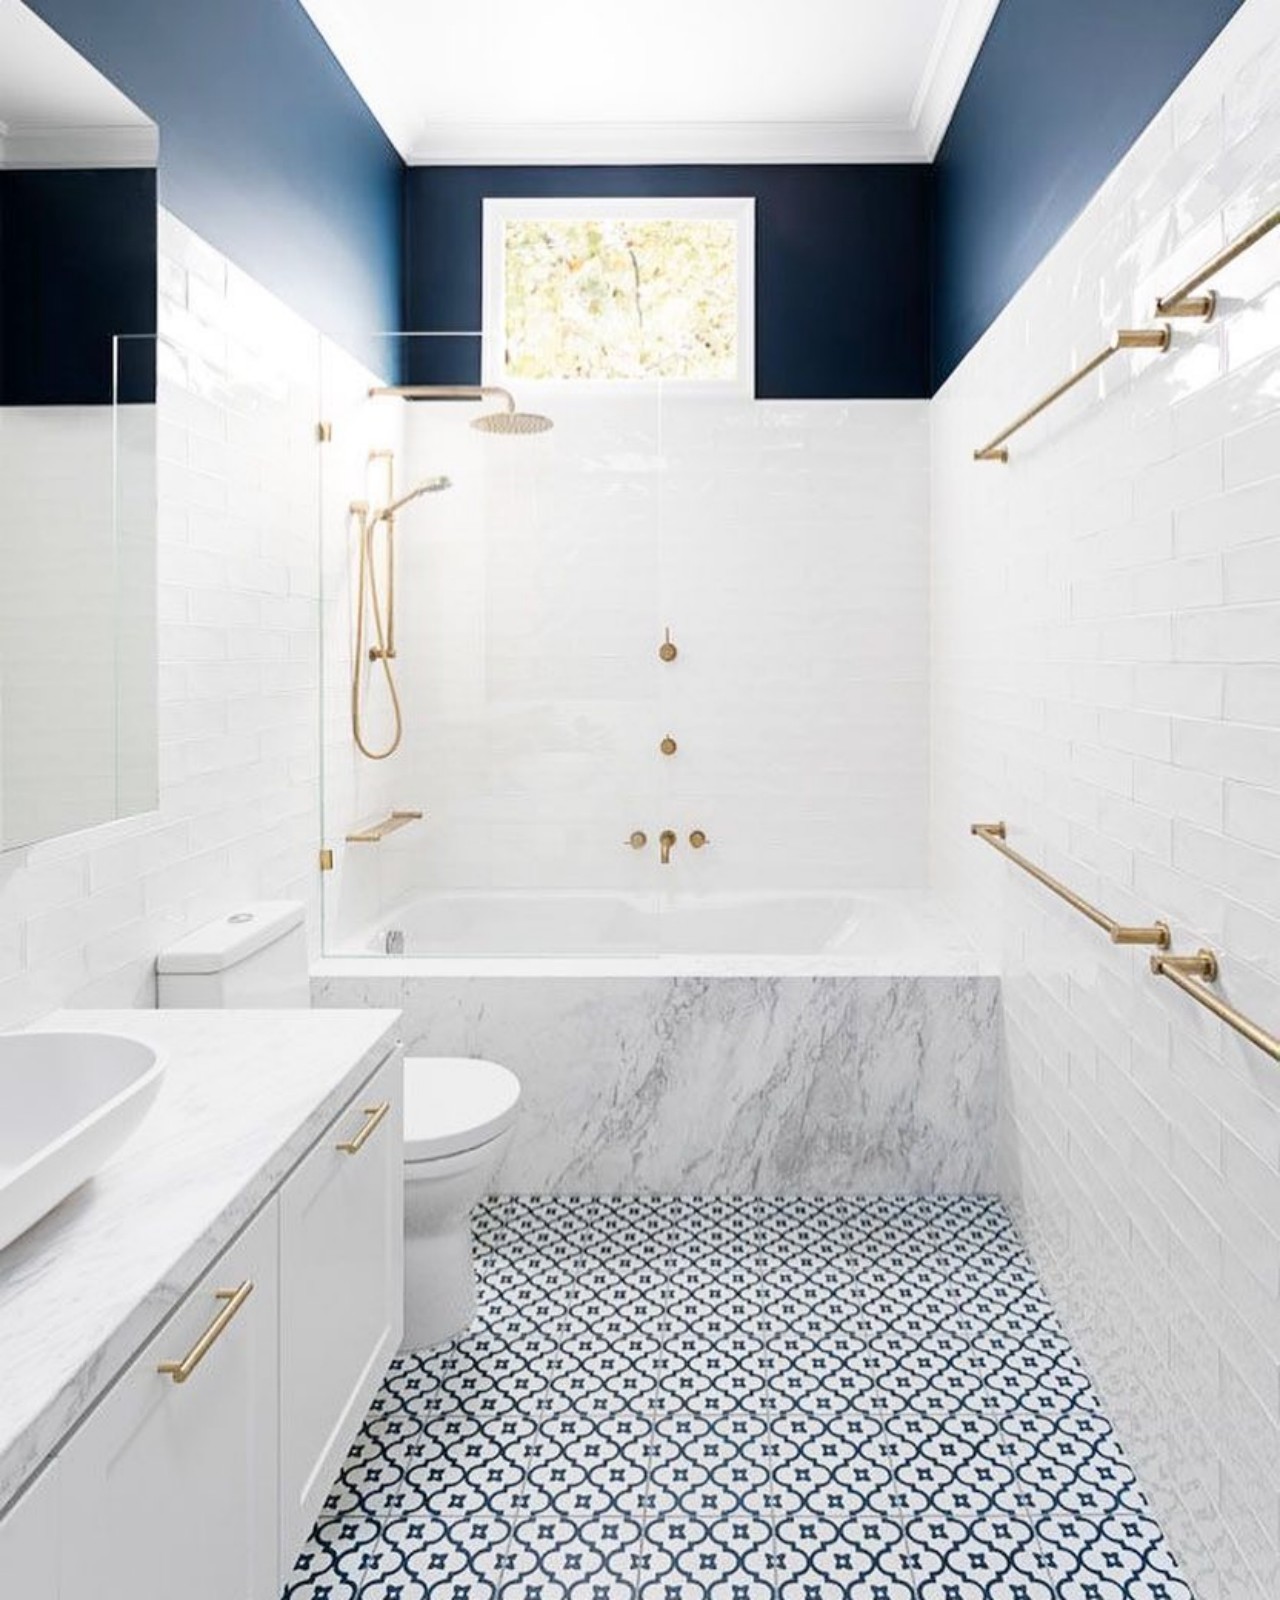
While balance and harmony are important in interior design, focusing solely on them can result in a lack of dynamism in a space. This is where emphasis becomes crucial as it involves incorporating a focal point, such as a striking piece of art or unique sculpture, to anchor the room. Radial balance complements this concept by directing focus towards the chosen focal point, enhancing its prominence within the space. There are numerous ways to apply this principle, including statement lighting fixtures, bold rugs, or eye-catching architectural features like fireplaces or exposed beams. A focal point catches the viewer’s attention upon entering a room, standing out prominently due to the space’s arrangement. Design elements can highlight a focal point, allowing it to dominate the space and unify the design. Regardless of its nature, a focal point should draw the eye more than other areas of the room. Various techniques, such as the use of color, statement furniture, artwork, or architectural features, can establish emphasis. However, color is a powerful tool for emphasis where using a bold color immediately draws attention, making it effective for highlighting specific areas. Bold patterns can also create emphasis and make a strong statement, while subtle ones add interest without overwhelming the space.
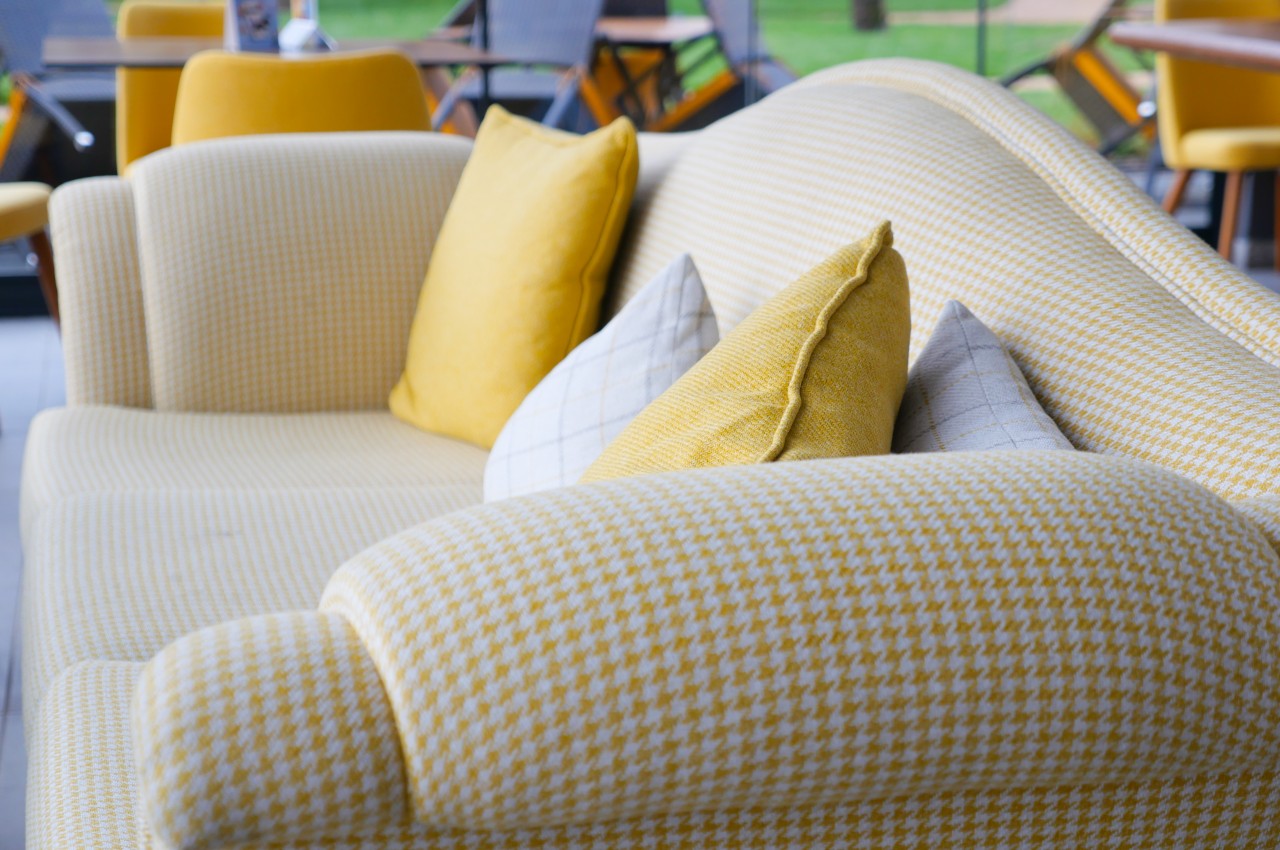
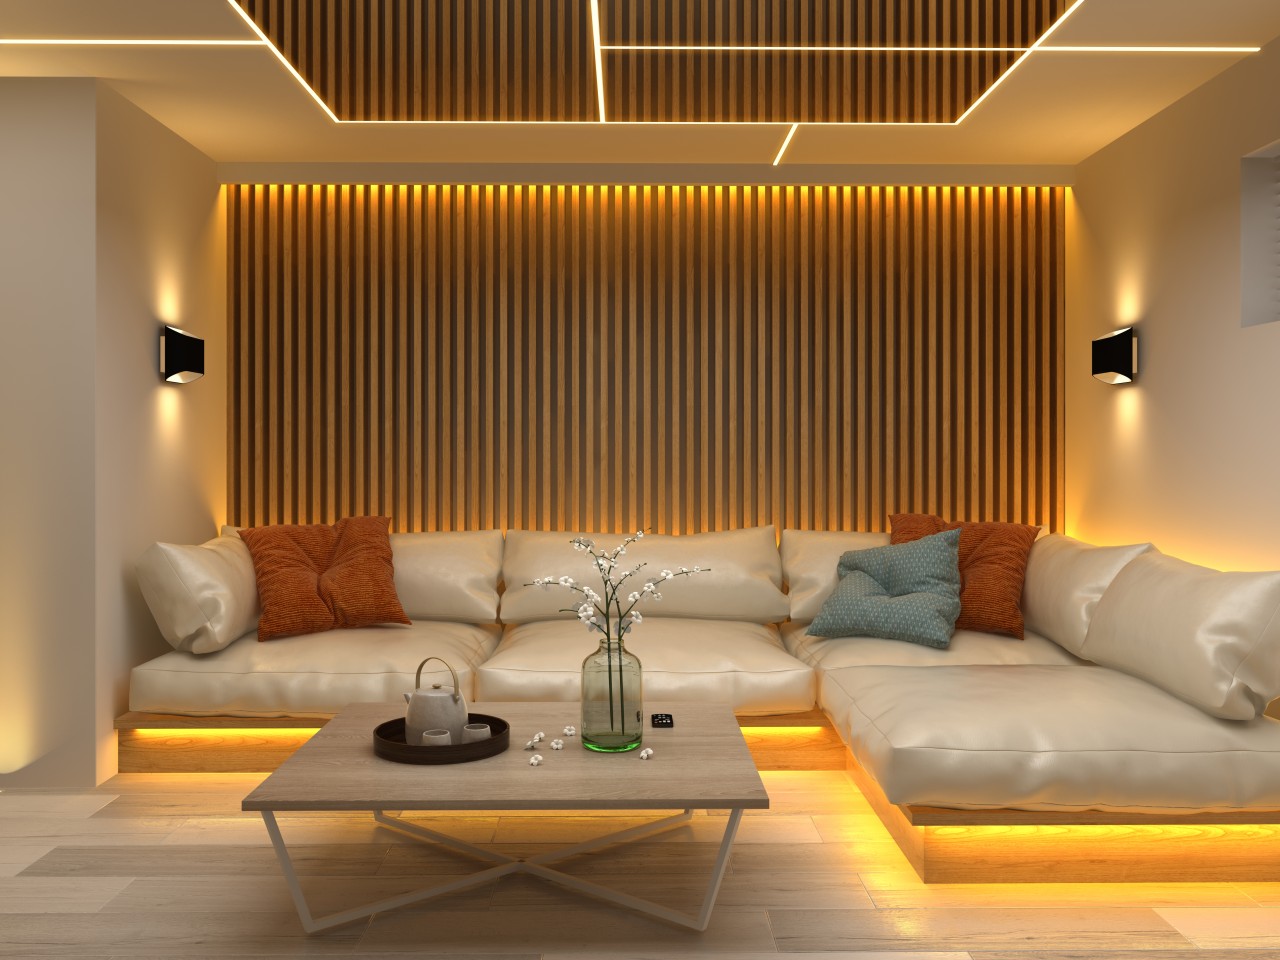
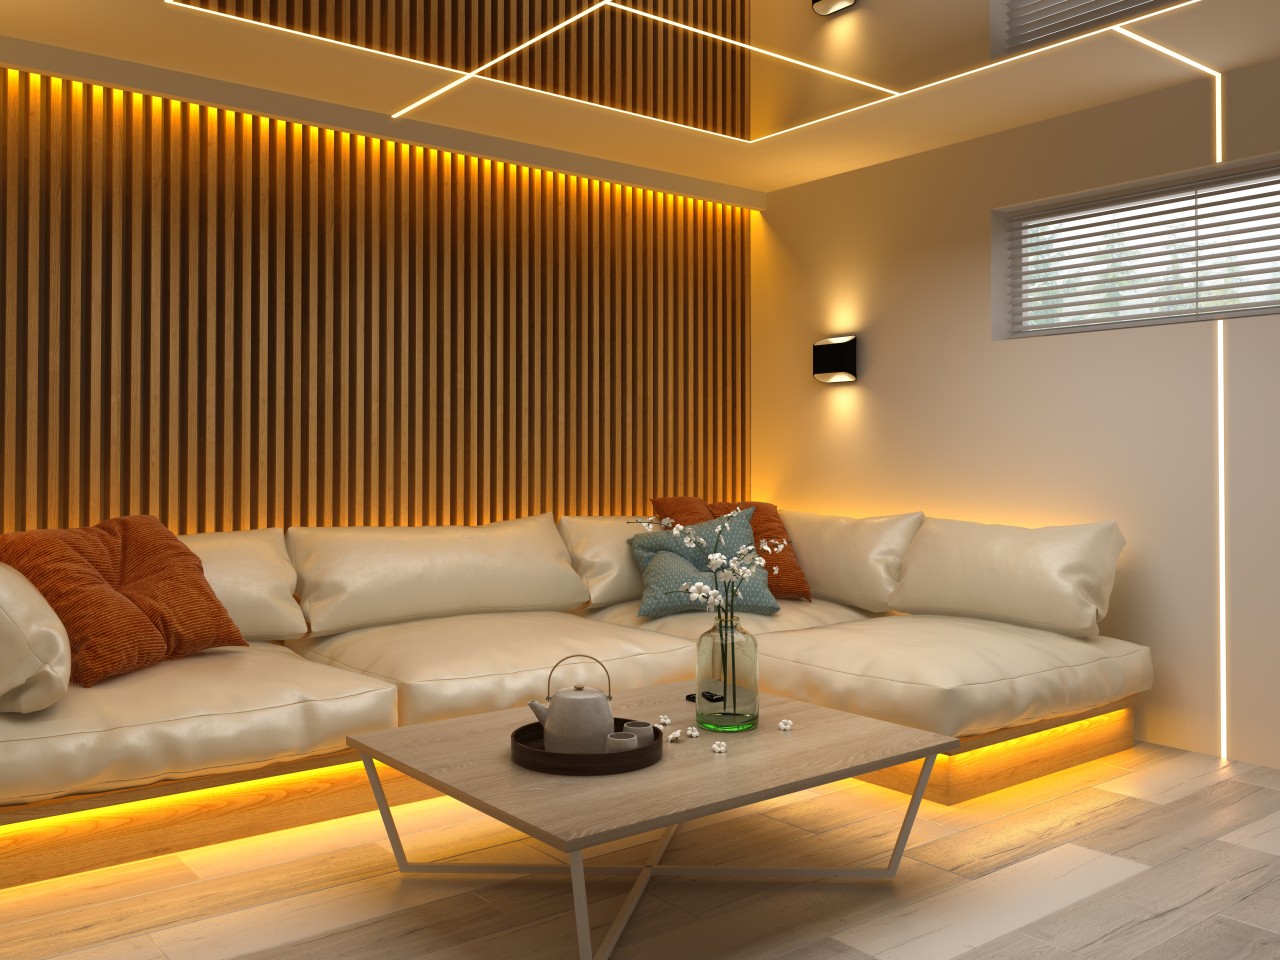
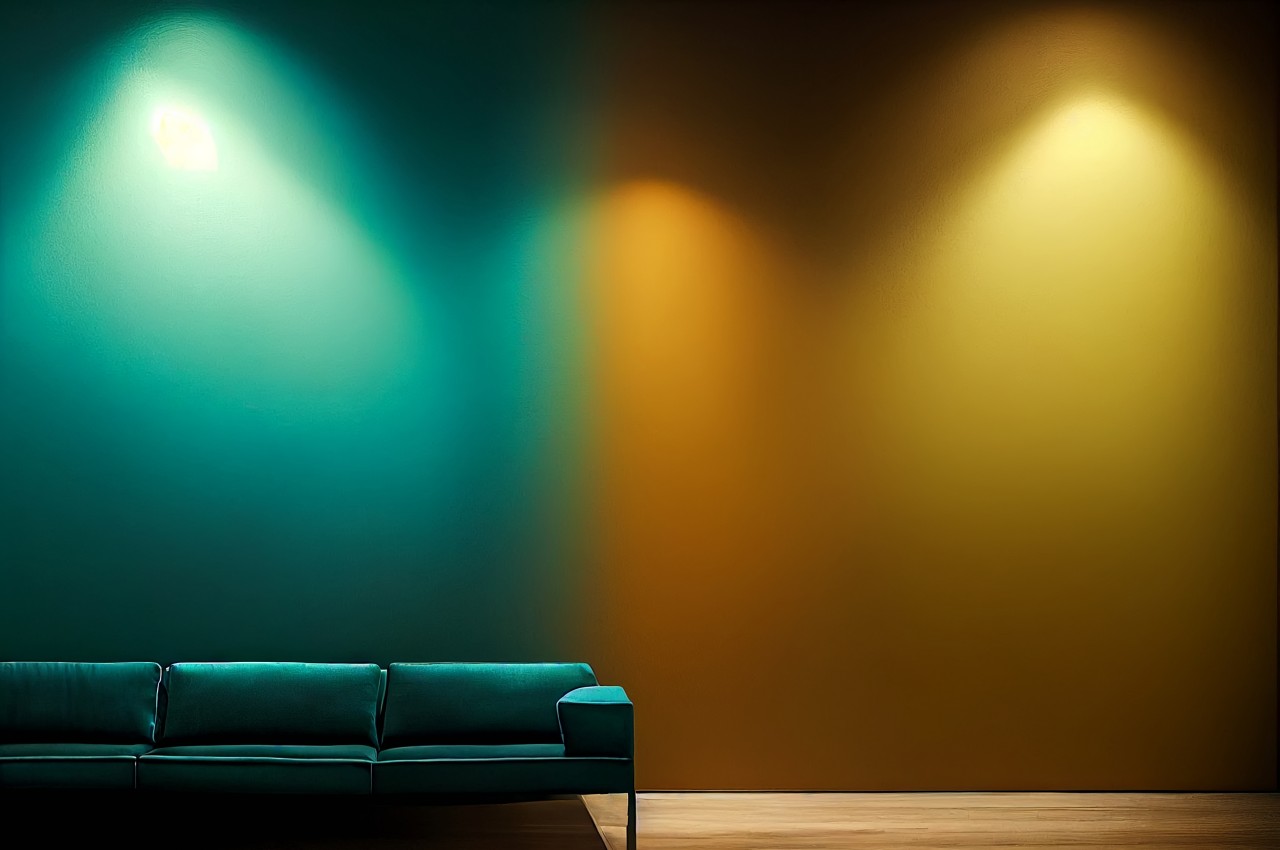
6. Contrast
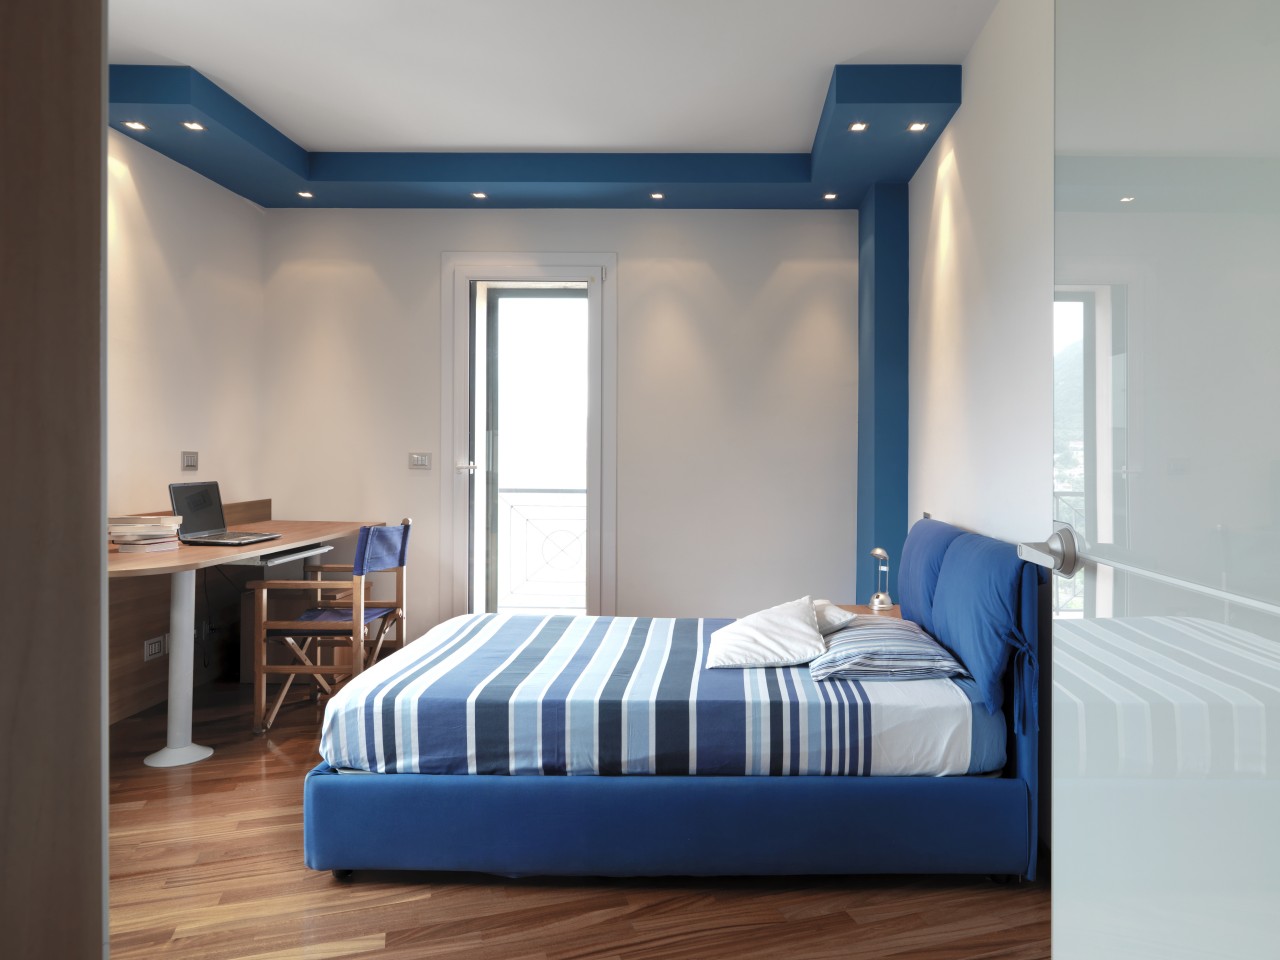
Image courtesy of: adpephoto
Contrast is a cornerstone of interior design, injecting spaces with visual intrigue and vitality. While harmony is crucial, an excess of uniformity can render a space dull and uninspiring, lacking in distinction. Contrast serves to strike the necessary balance, allowing specific room features or design elements to command attention effectively. Contrast infuses playfulness, drama, and visual interest into space through various means like juxtaposing colors, blending geometric patterns with organic ones, unifying modern minimalism with vintage charm, contrasting textures such as rough and smooth surfaces, and integrating circular forms with angular furniture.
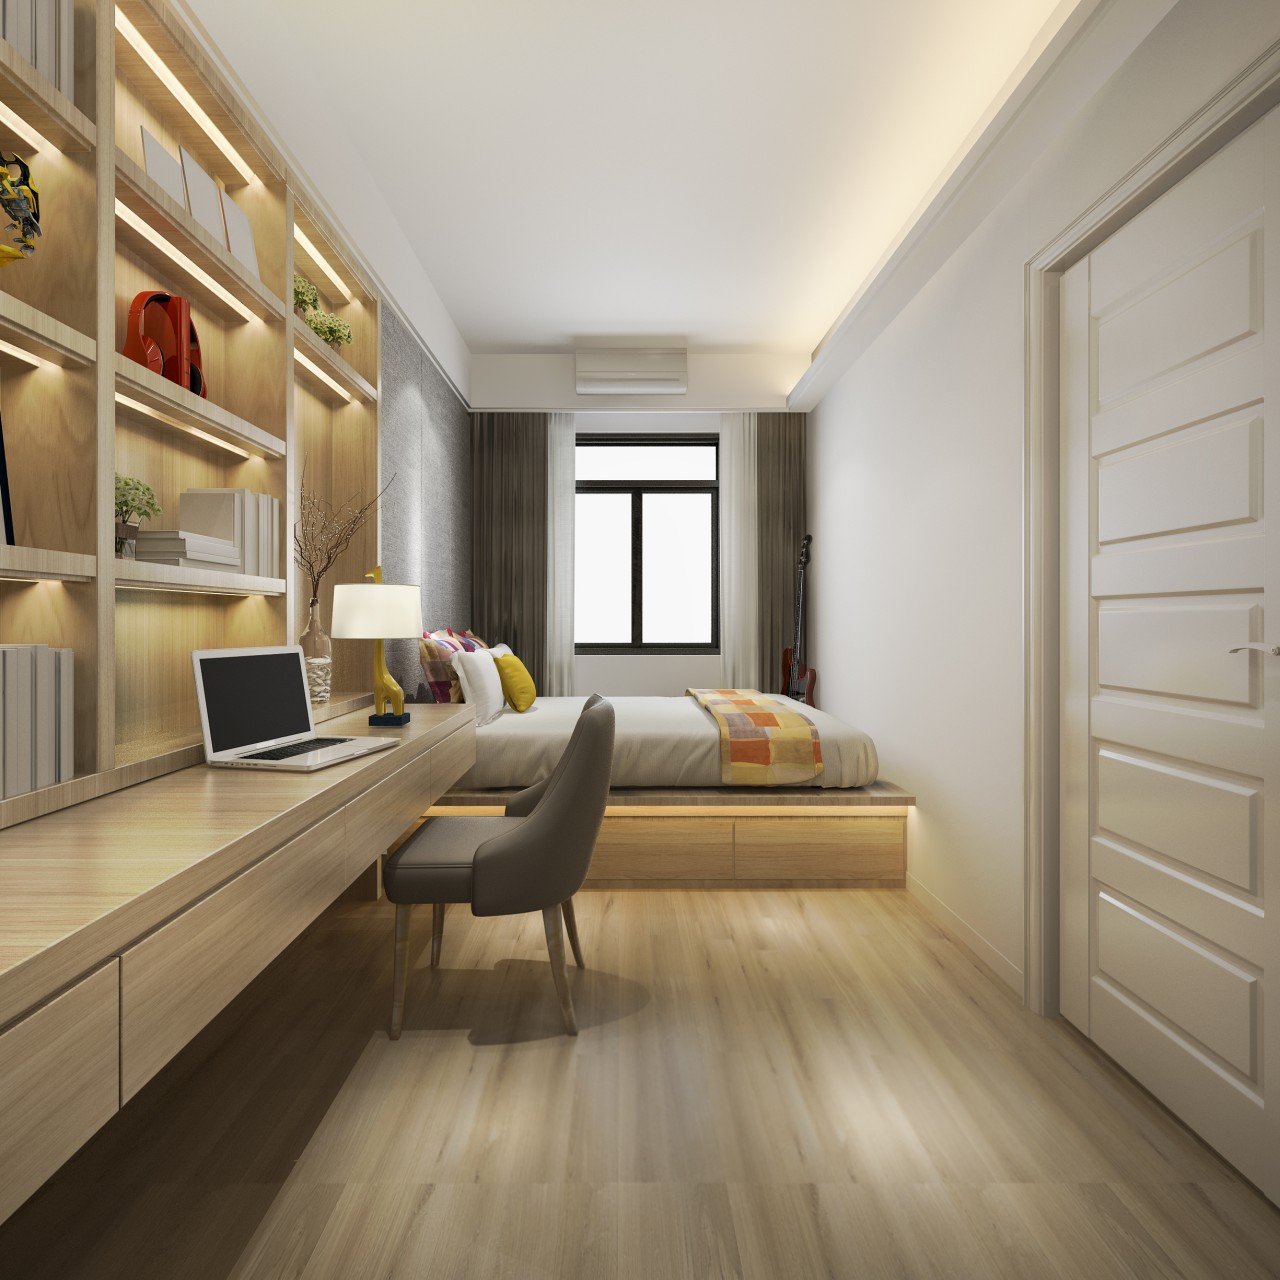
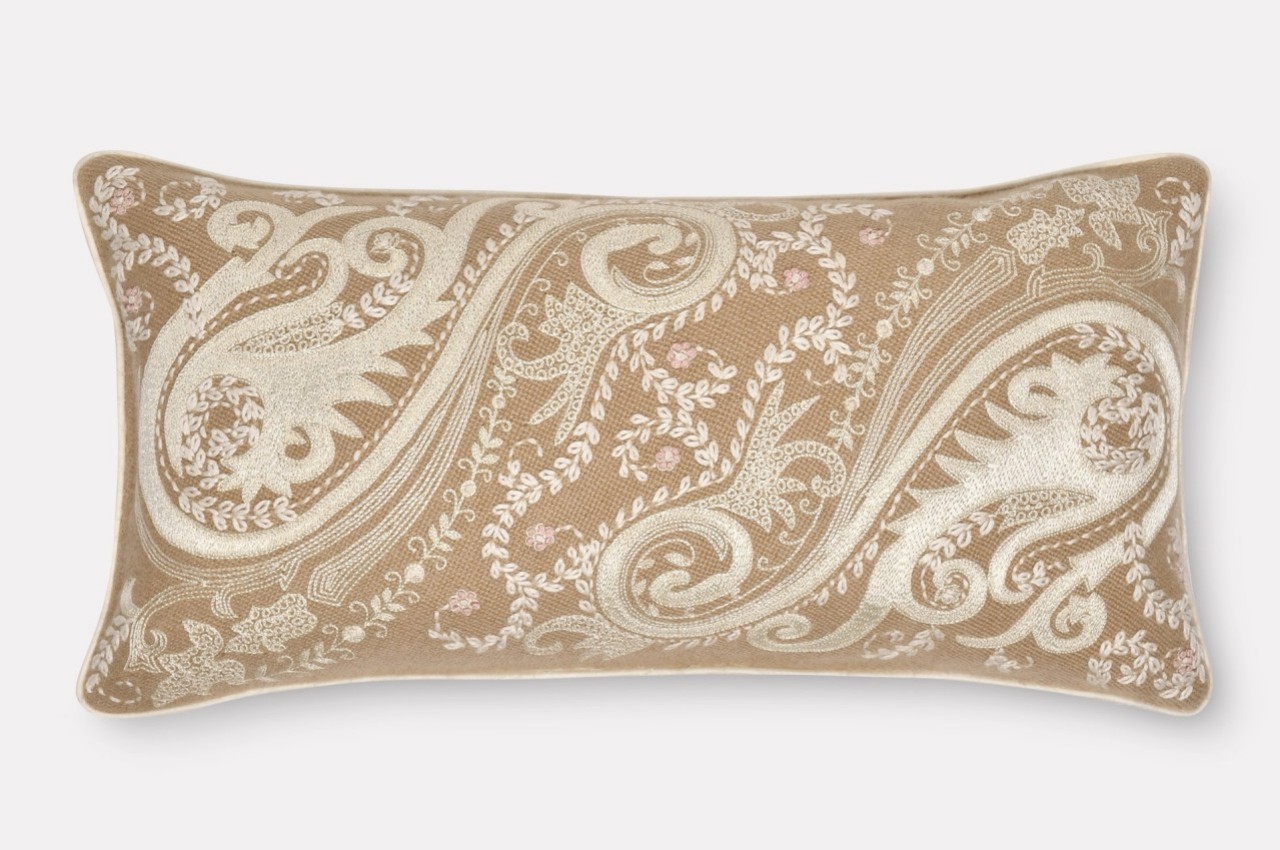
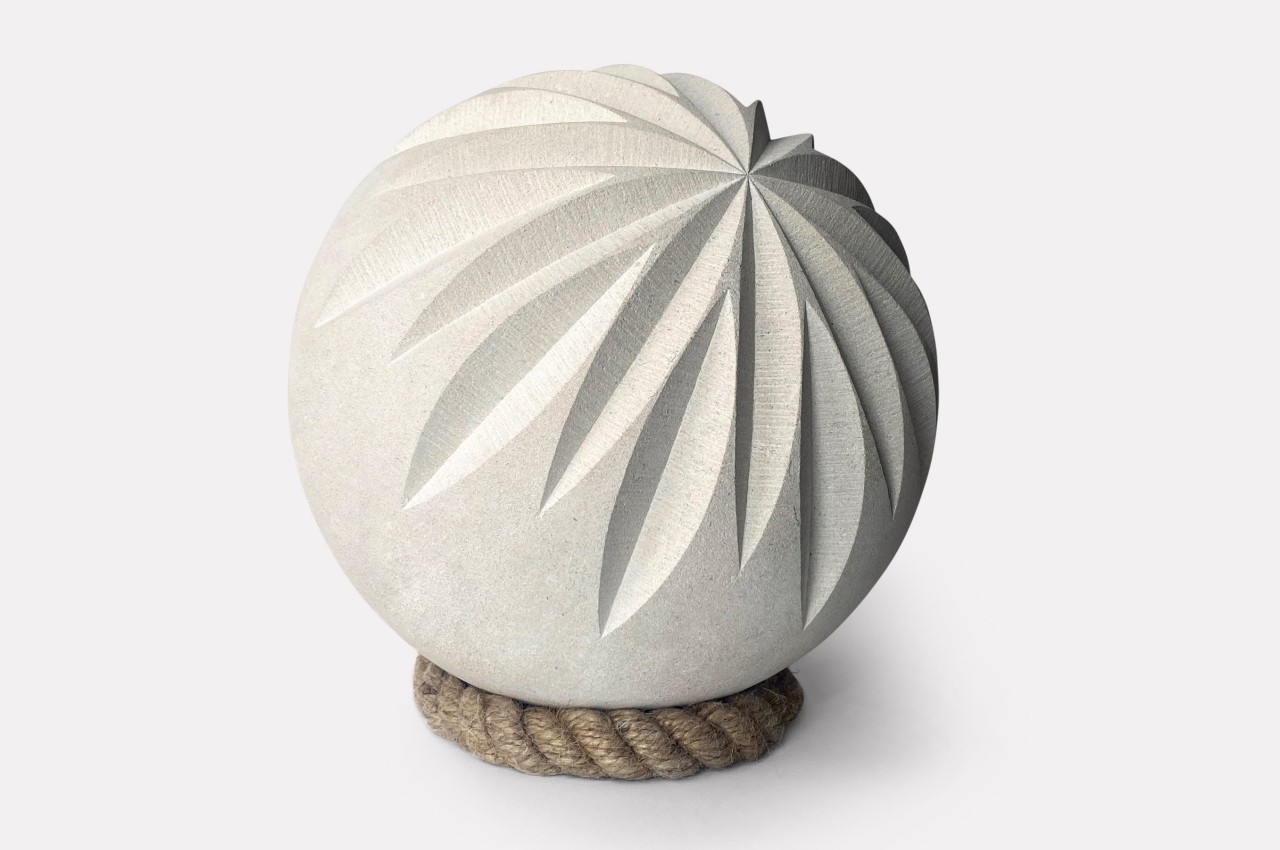
7. Details
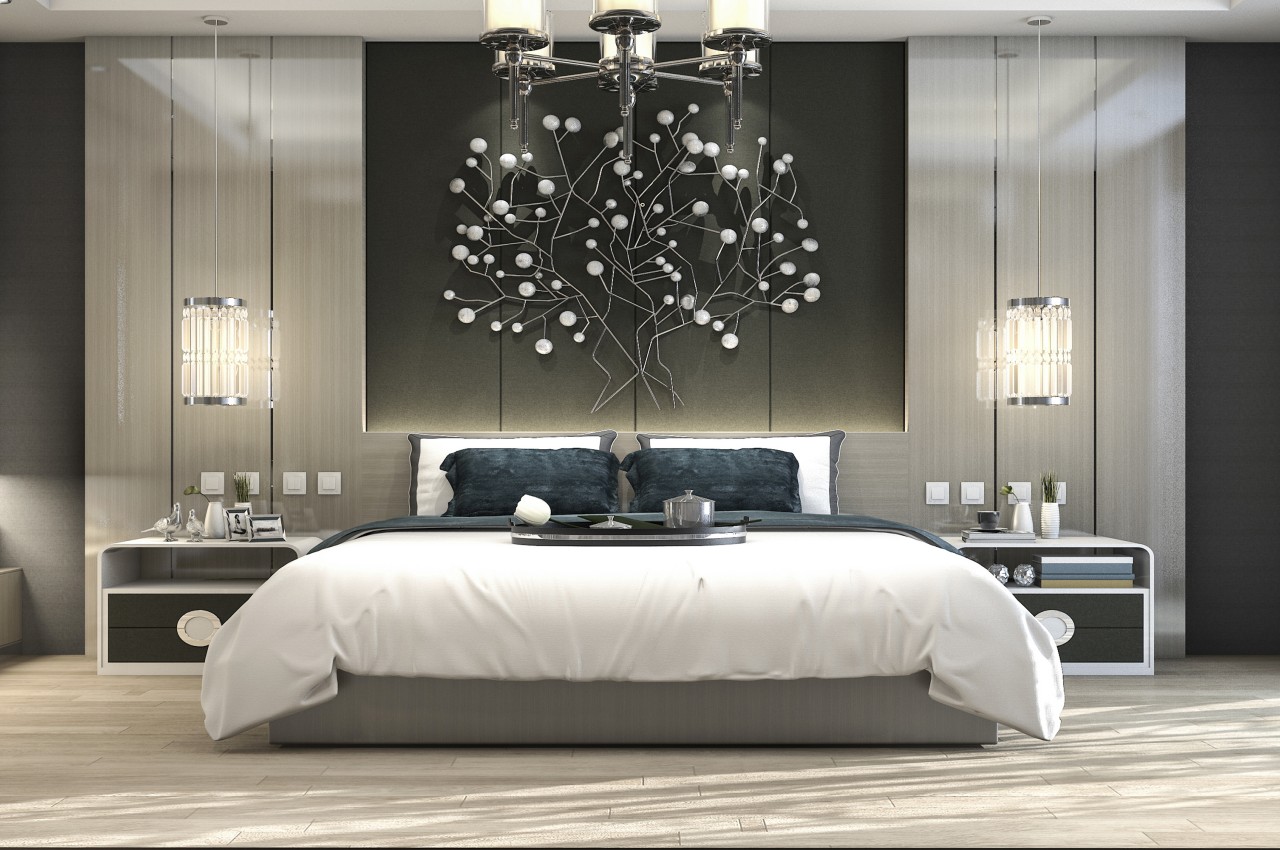
Image courtesy of: dit26978
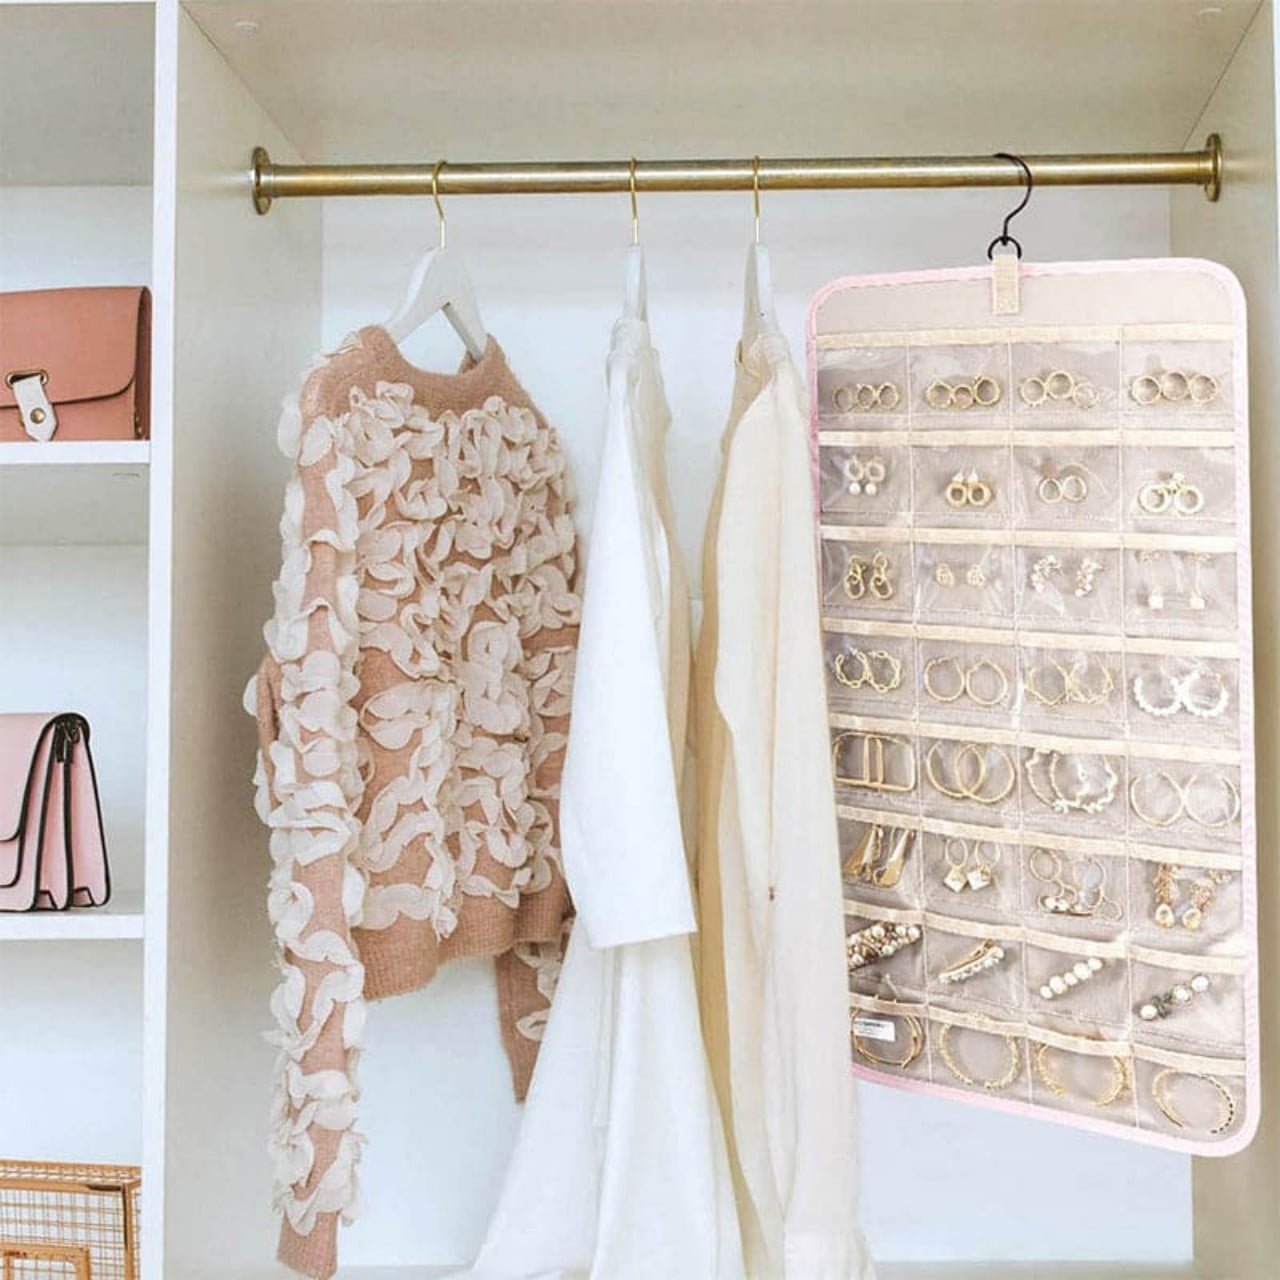
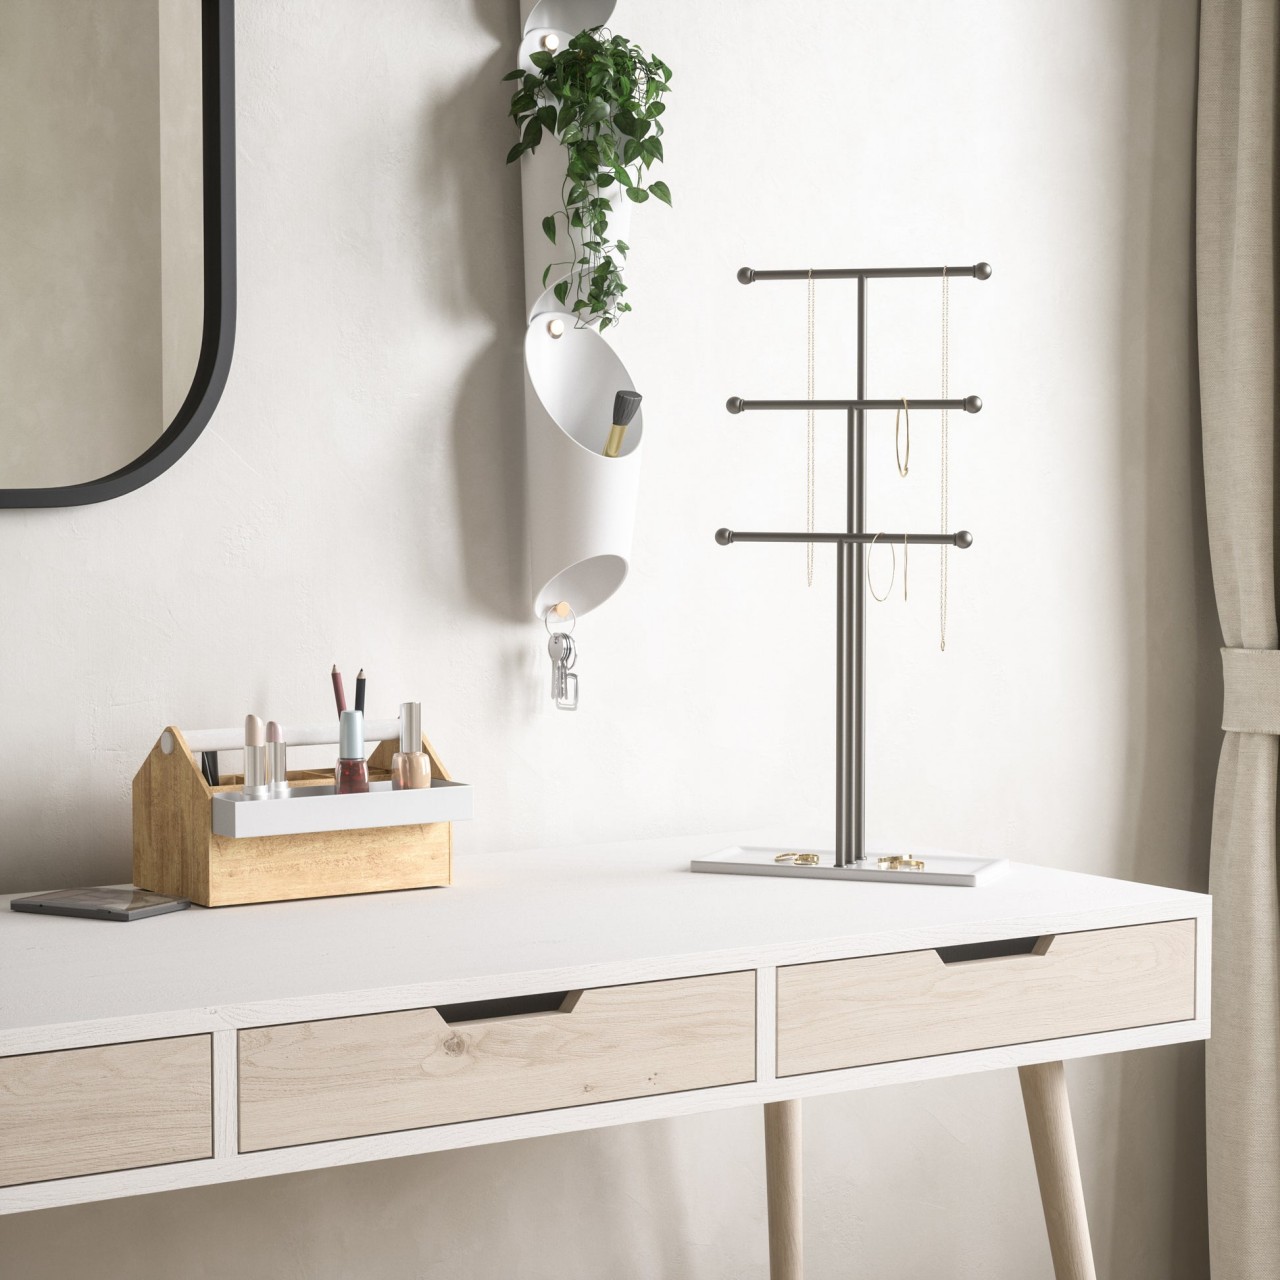
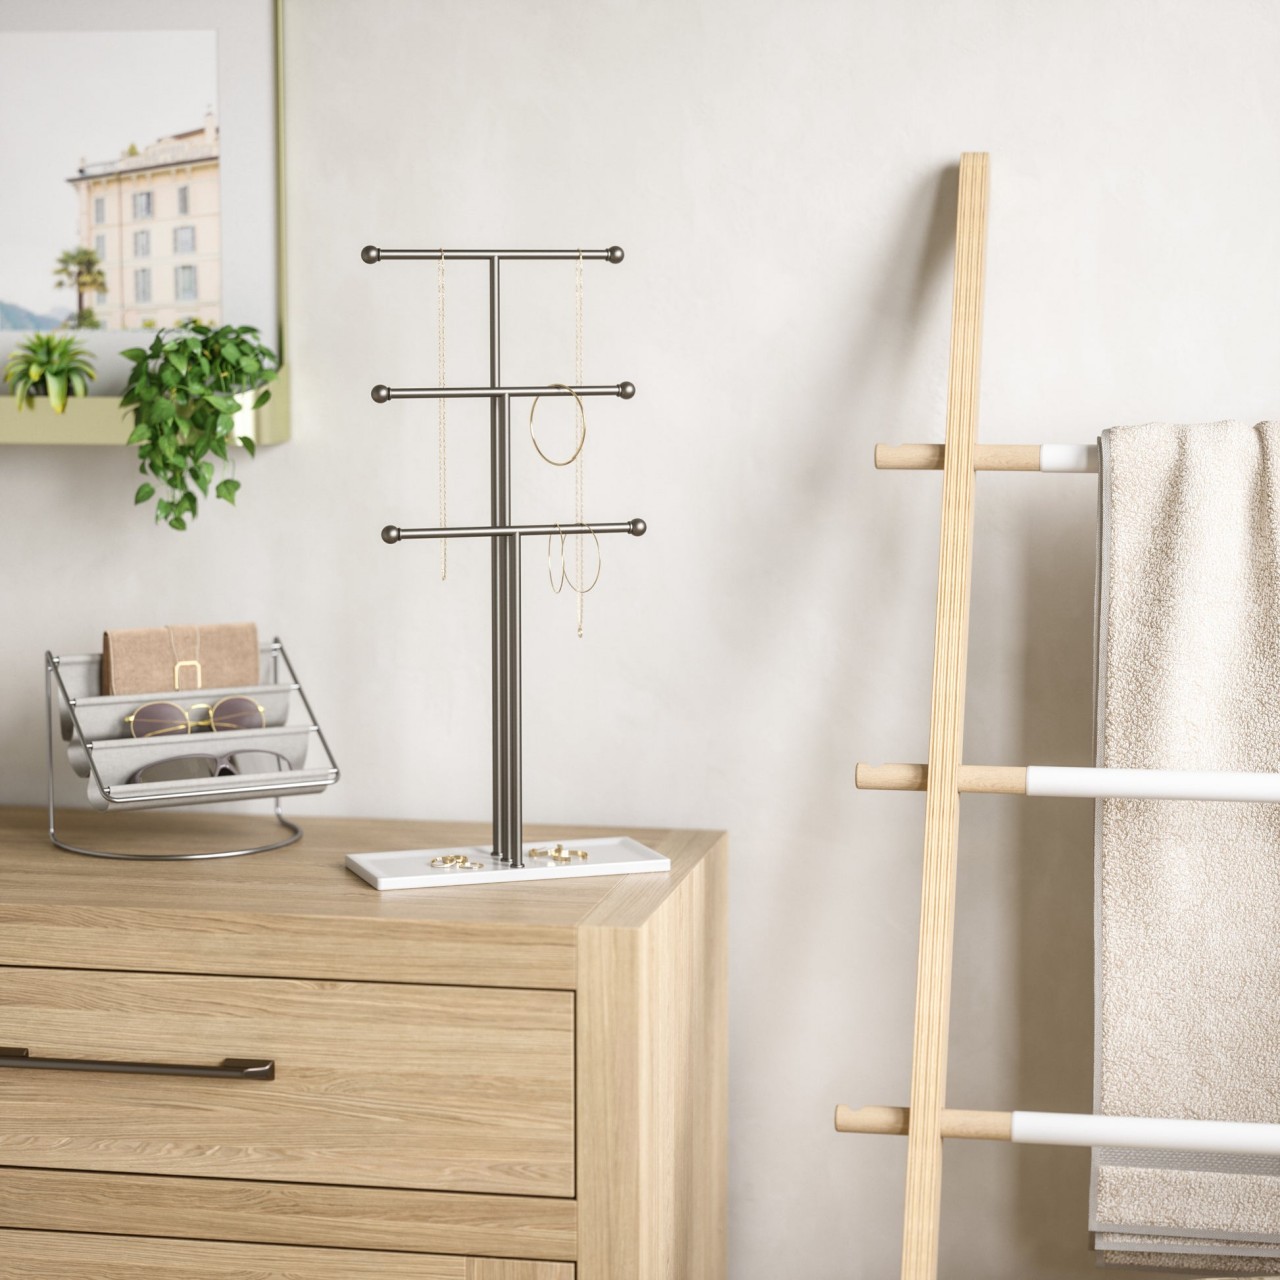
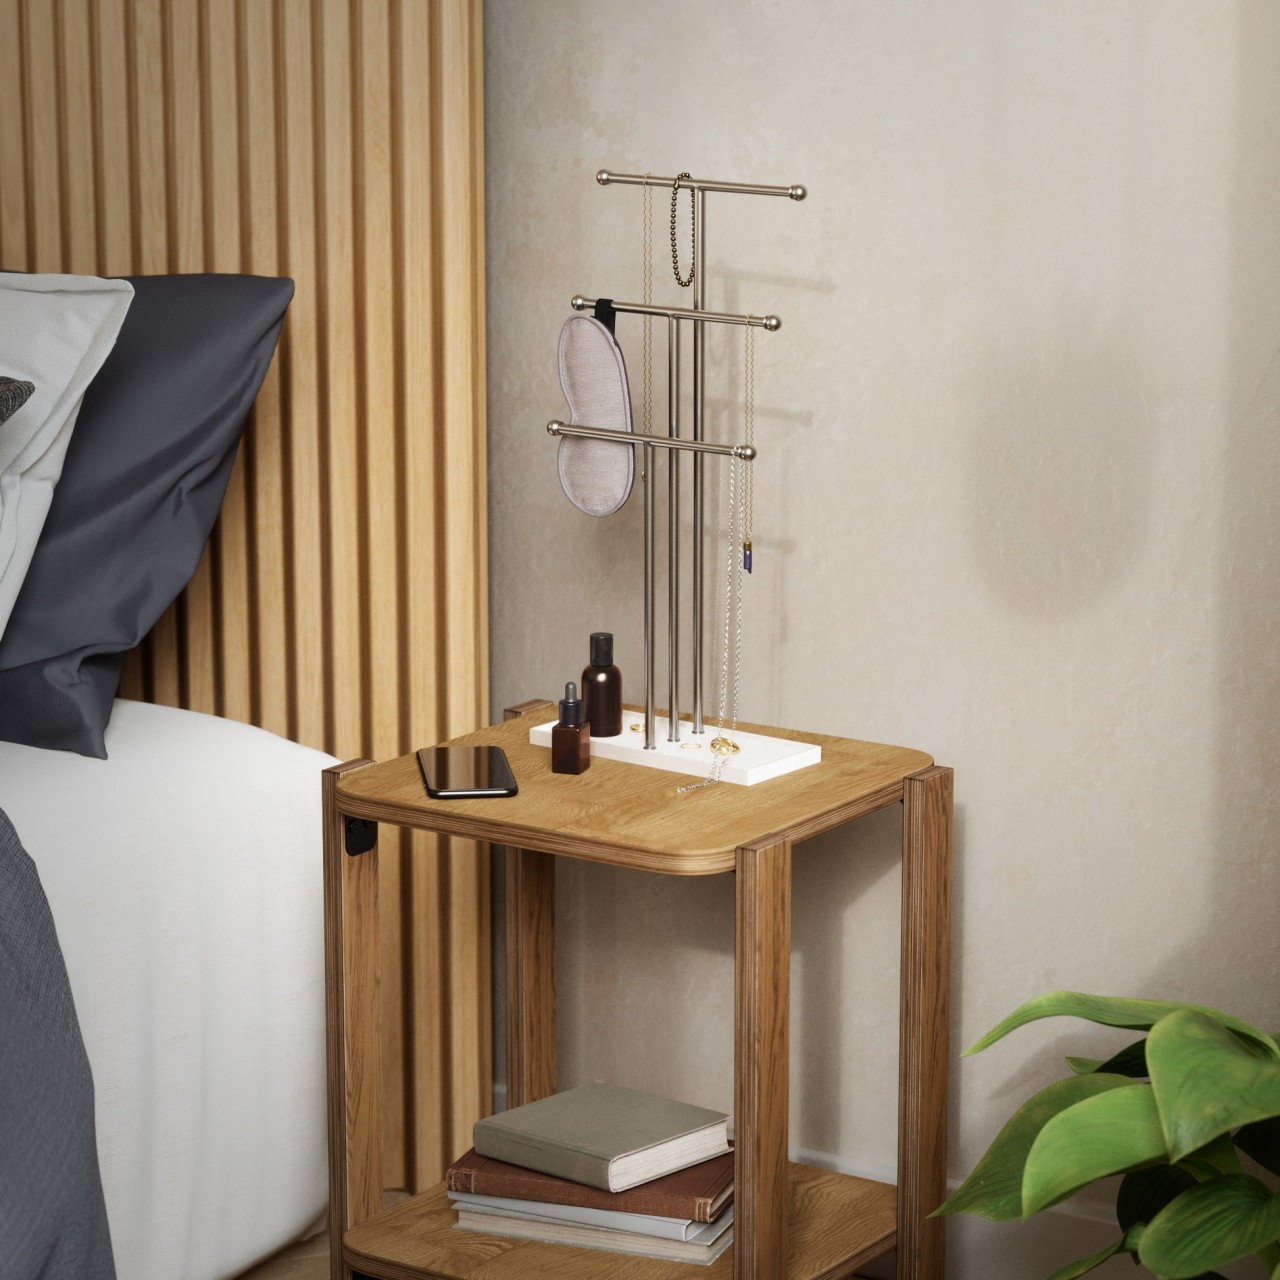
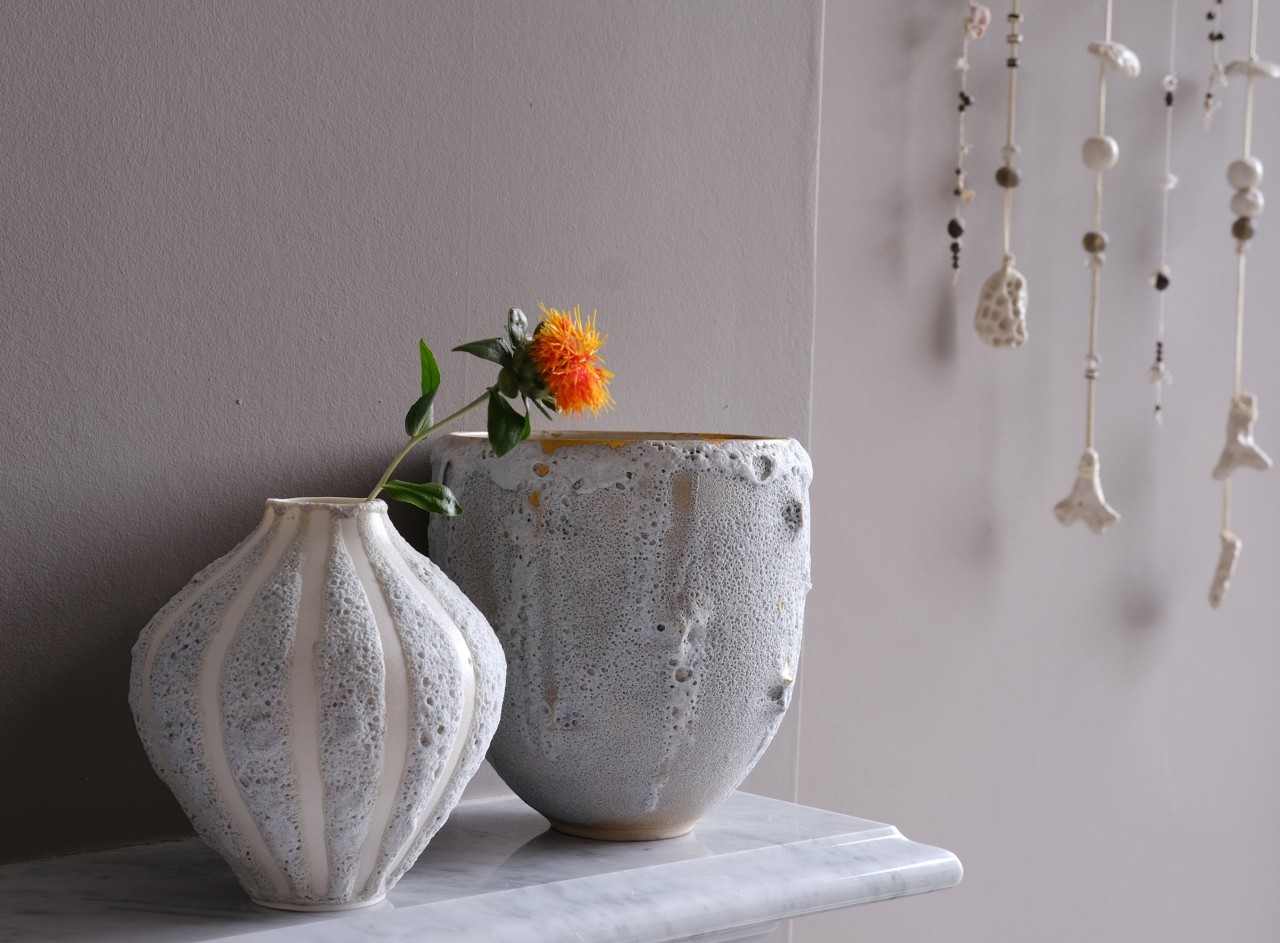
Details, the last fundamental principle of interior design, are of immense importance as they form the essence of design. A room, no matter how well-designed, feels incomplete without attention to these elements. This principle provides an opportunity for personal expression, allowing one to truly customize the space. From selecting unique hardware like drawer pulls and faucets to choosing artwork, plants, and textiles, these small elements imbue the room with character.
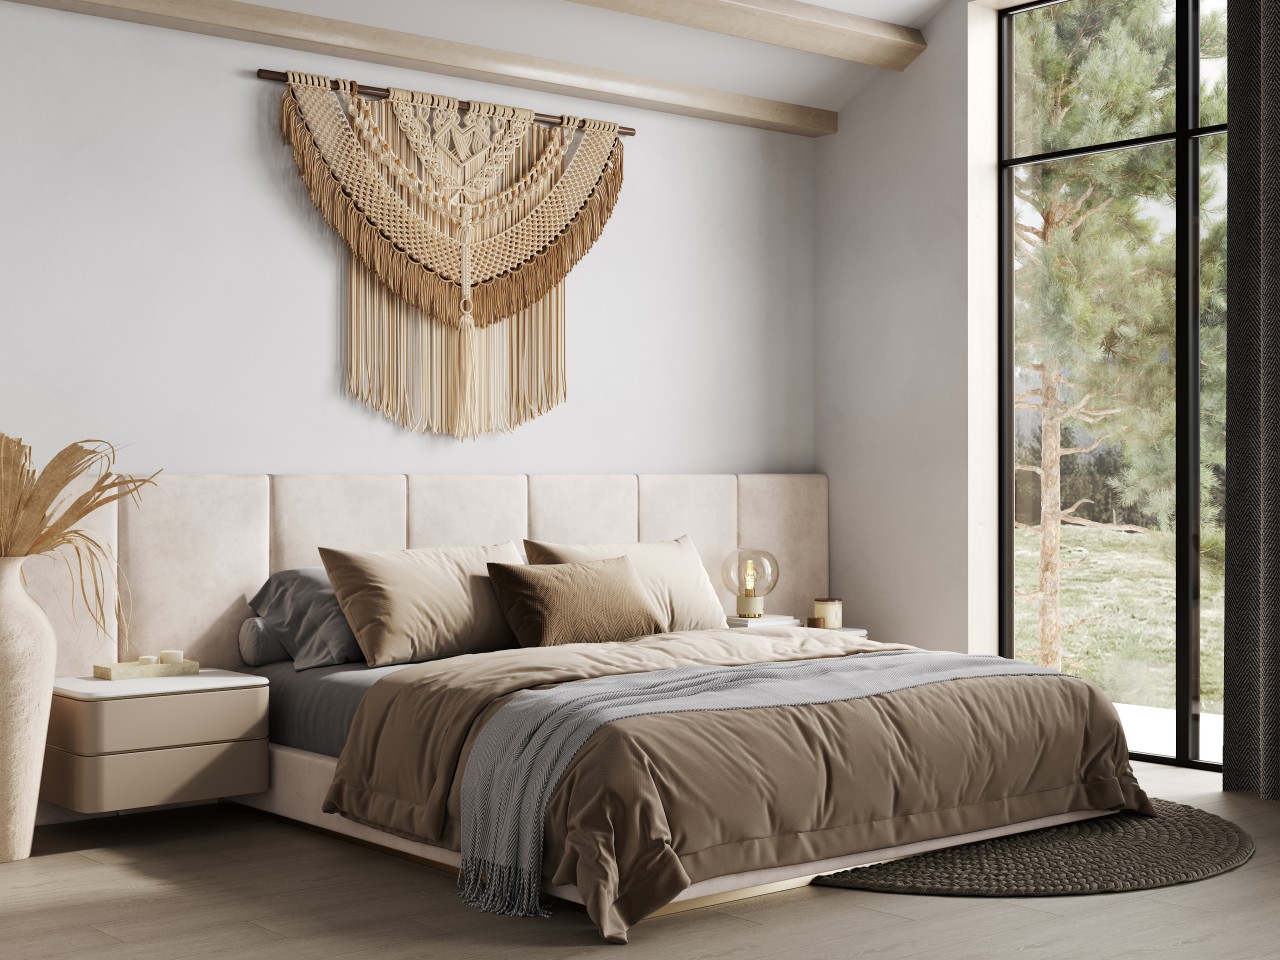
Image courtesy of: lytvynliliia
In conclusion, the principles of interior design provide a framework for creating highly functional and aesthetically pleasing spaces. By applying these principles, designers can achieve harmony, balance, rhythm, emphasis, proportion, and unity within interiors. Every aspect of the design contributes to a cohesive and inviting interior environment. Mastering these principles empowers designers to transform spaces into inspiring reflections of both style and purpose.
The post What Are The 7 Principles Of Interior Design? first appeared on Yanko Design.